


-origonal nose

-new nose

-origonal tail end
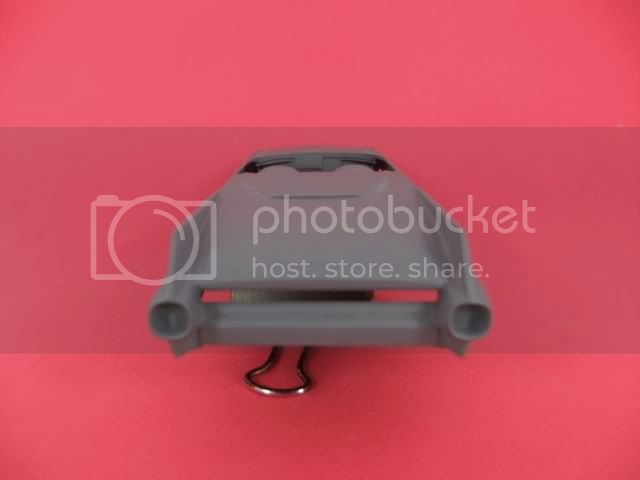
-new tail end

I smoothed out the body sides for a cleaner look as well
-origonal sides
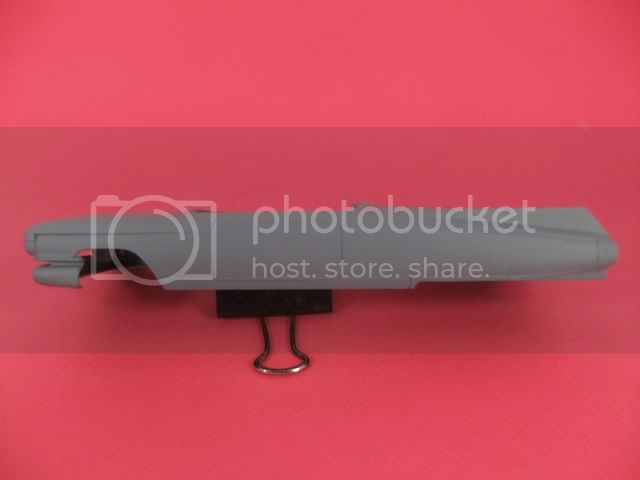
-new sides

Here's another shot of the body but that's really unchanged

Got alot done on the interior bucket...just need to make the bomber seats for it


This car will be built as a rolling road bomber and the olive drab paint is the next color to go on after I do the needed salt treatment- the reason she's silver now is because that's the underlying color coat to simulate bare metal, I'll add intermittant areas of water and table salt sprinkled on that to be able to knock those areas off after the O.D. paint goes on for a "lost paint chips" look. Yup, paint right over the salt after it dries- then rub or knock the salt off. I want her to look "war weary"{...used}.
The rims are still questionable...as in I really don't have a clue yet as to what I want, but full baby moon covers sound pretty good for this project. A bit of some kind of "cheesecake" on the hood or front fenders would add to the effect but I haven't anything picked out for that yet either.


