

Go to automodeler.com for the current dynamic site!


Trucks
Scale truck modeling topics.
Scale truck modeling topics.
Hosted by Jim Starkweather
OTR Australian Army Diamond Reo

grimmo

Joined: January 17, 2006
KitMaker: 752 posts
Auto Modeler: 16 posts

Posted: Monday, September 13, 2010 - 01:02 AM UTC
Hey Nige, good work there. What is the tool there in your last pic?

okdoky

Joined: April 30, 2007
KitMaker: 1,597 posts
Auto Modeler: 63 posts

Posted: Monday, September 13, 2010 - 01:28 AM UTC
Hi Matt
It is a cheap multi tool (supposed survival tool - tee hee) from my local poud store. Not seen it in stock since though.
I used the knife edge to start off the folds whilst I had a narrow metal ruler in the centre panel.
Worked very well.
Nige
It is a cheap multi tool (supposed survival tool - tee hee) from my local poud store. Not seen it in stock since though.
I used the knife edge to start off the folds whilst I had a narrow metal ruler in the centre panel.
Worked very well.
Nige

grubbyfingers
Joined: September 07, 2007
KitMaker: 404 posts
Auto Modeler: 60 posts

Posted: Saturday, October 02, 2010 - 01:43 AM UTC
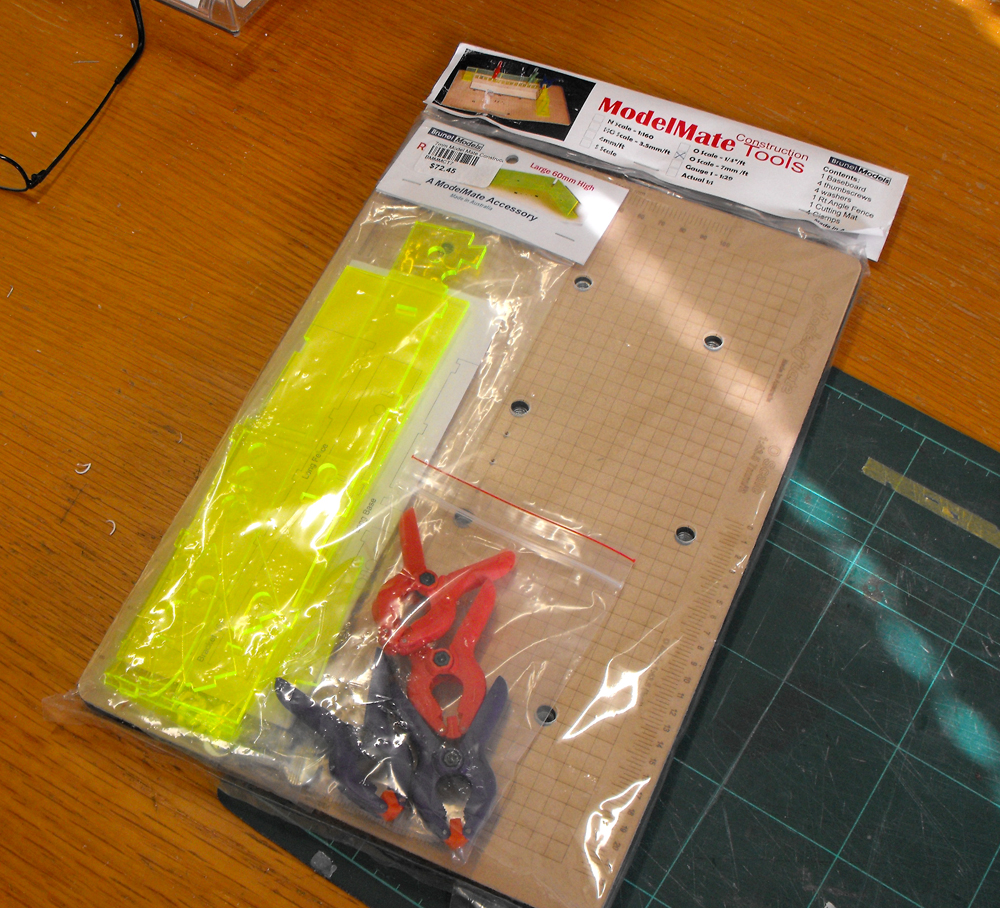
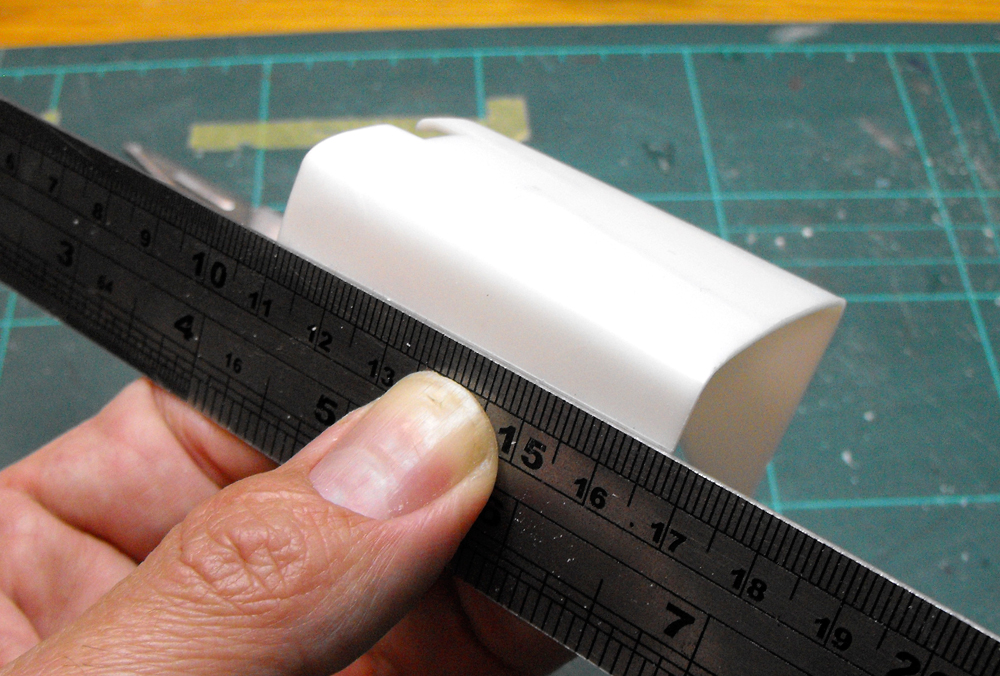
I have found lately that I am fabricating more bits and pieces on my models. Up until now I have always used a basic set square to get parts at right angles. After two unsuccessful attempts with the set square to get a guard set up, I bit the bullet and spent some dollars on a modelling aid. My LHS is Brunel Hobbies. Brunel Hobbies is well known in Australian model railroad world as a key supplier of accessories and tools. They market a gadget, the ModelMate, that helps you get sides square. I believe was designed initially for the railroad crowd to make creating buildings and rolling stock easier. They're not cheap, the version I got was over $70AUD, but they do work.
It consists of a flat base with strategically placed nutserts and a printed grid. There is also a glue-proof cover sheet with a scale grad on it. A set of parts to make up the 90° walls complete the set. The walls are made of very accurate laser cut acrylic and, once glued up with superglue, form a nice and rigid surface to clamp parts to.
Here is my ModelMate assembled.
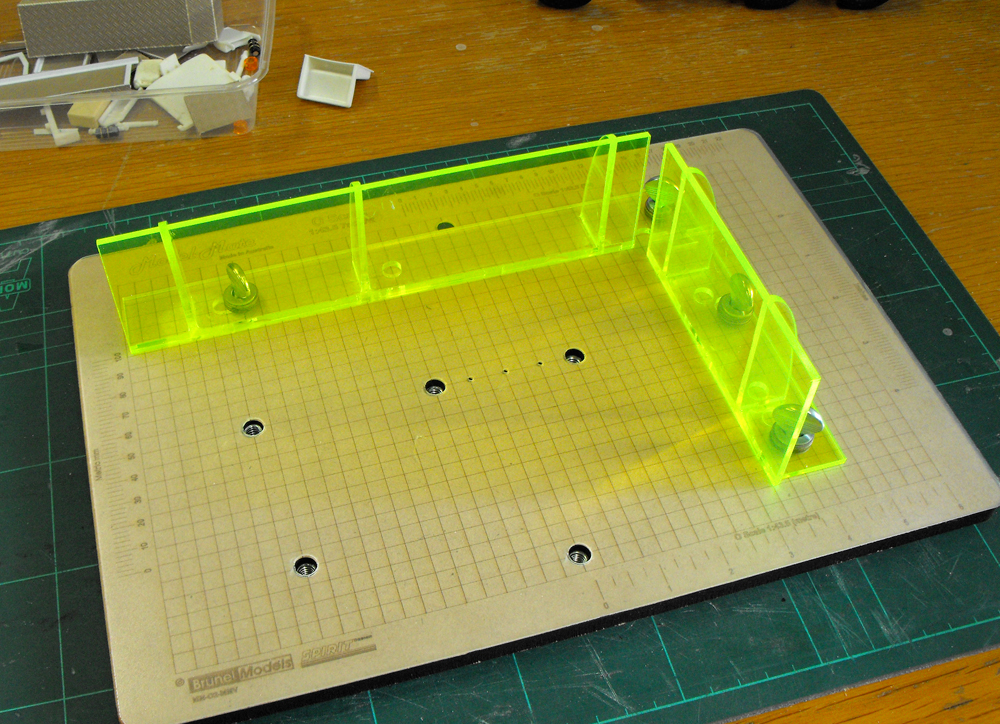
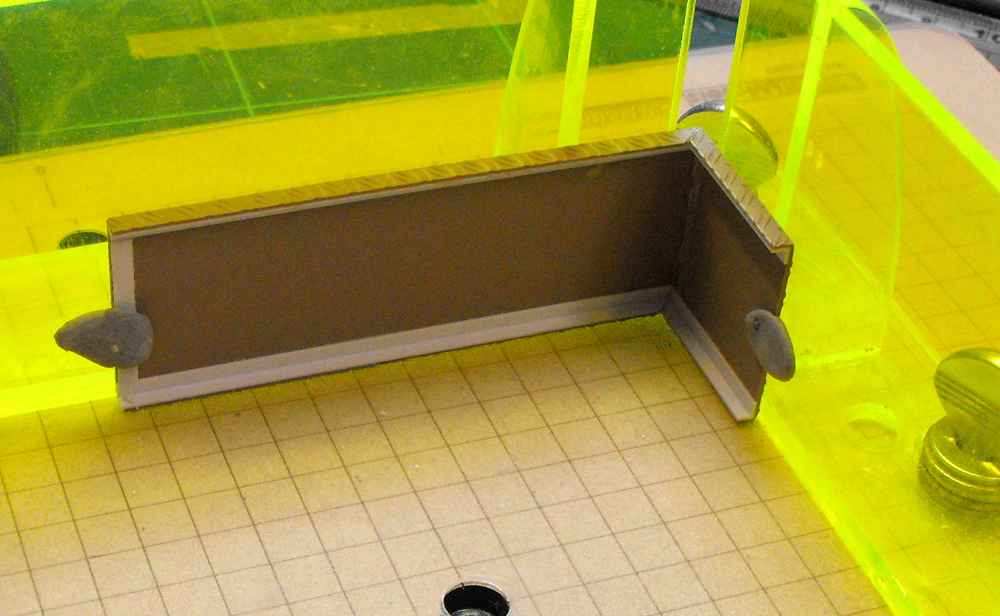
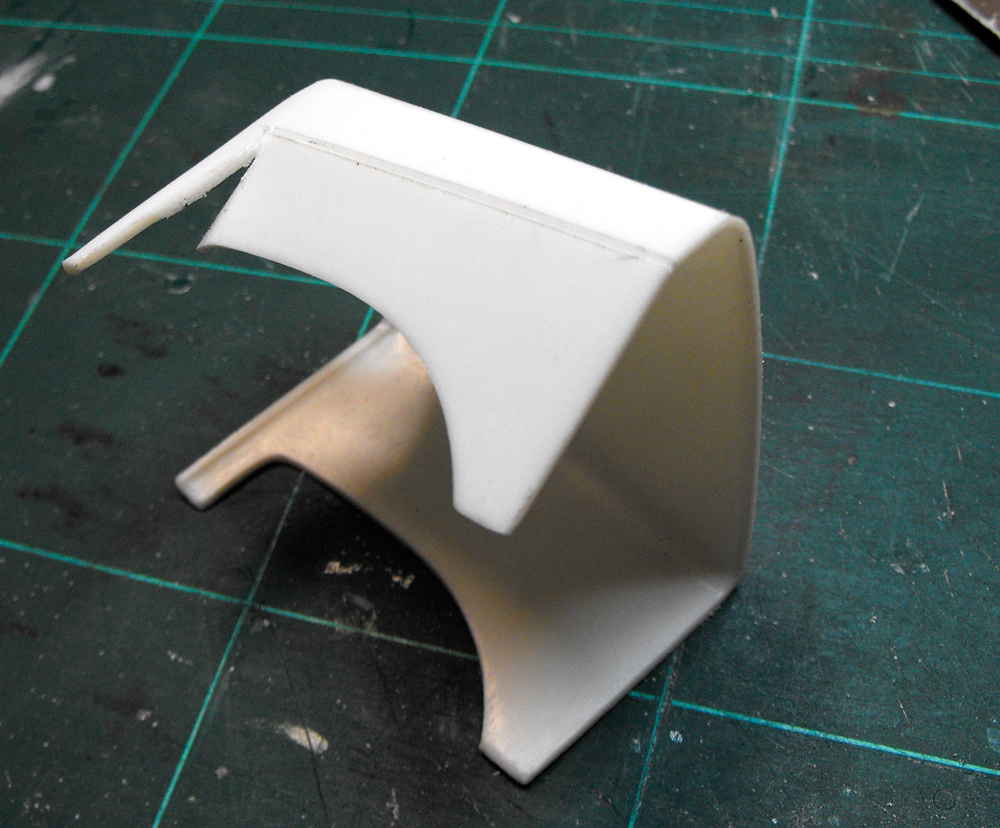
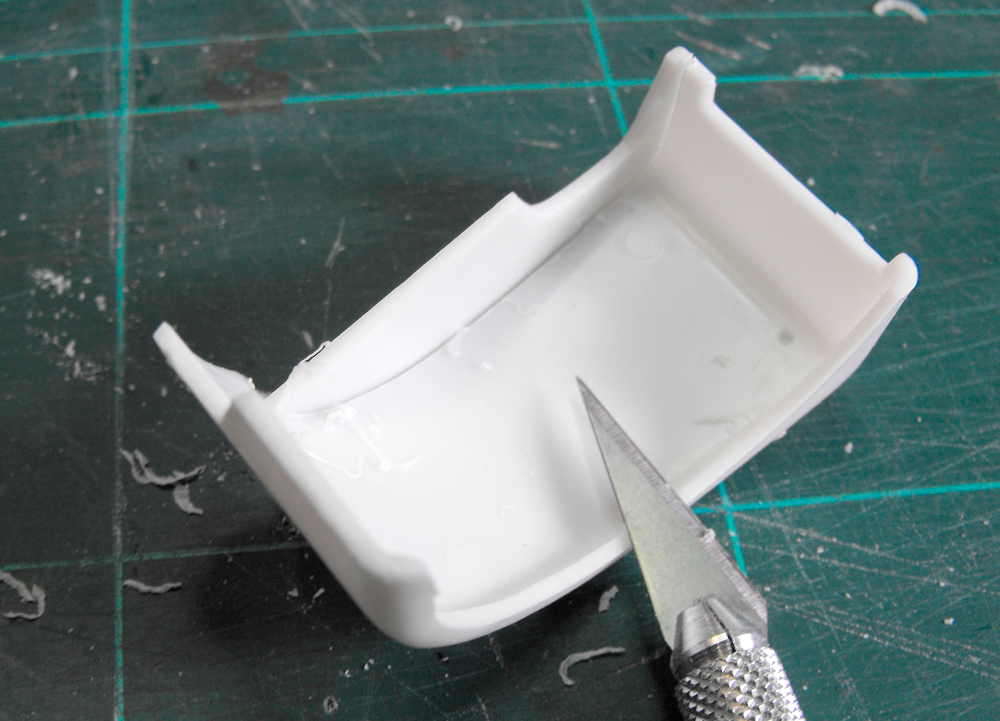
I did find the walls were a too tall for me to use the clamps supplied. Shorter wall sets are available and I'll get one of those next time I'm there. Here is the first guard being held against the ModelMate with blutak for glueing. The mating edges of the guard have been chamfered with a glass nailfile.
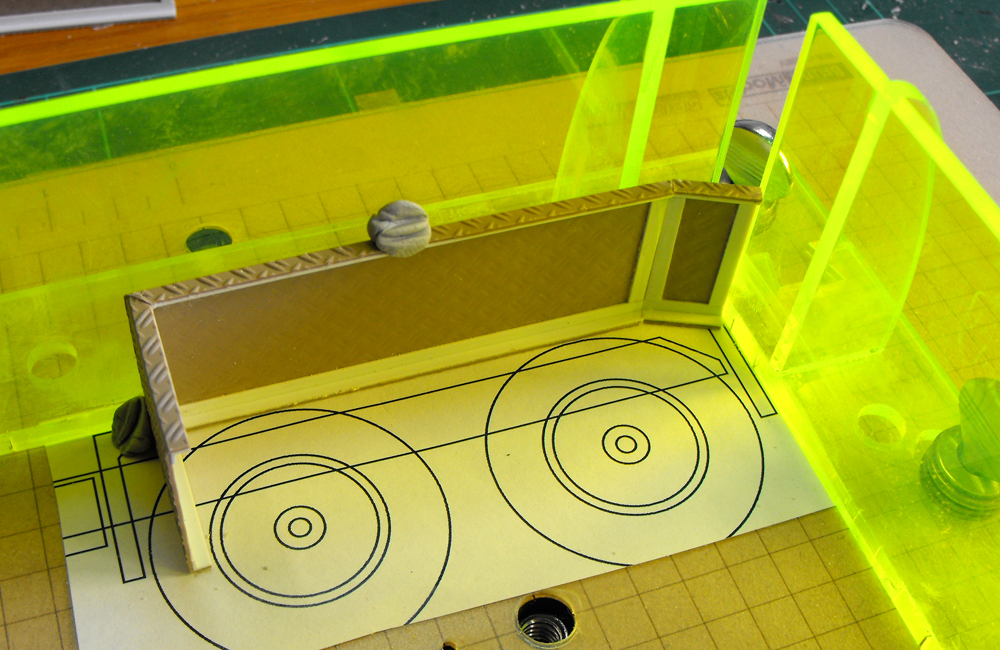
It is quite easy to clamp a drawing under the walls to act as a reference. Here I'm using the drawing to get the right angle on the rear drop-off of the guard.
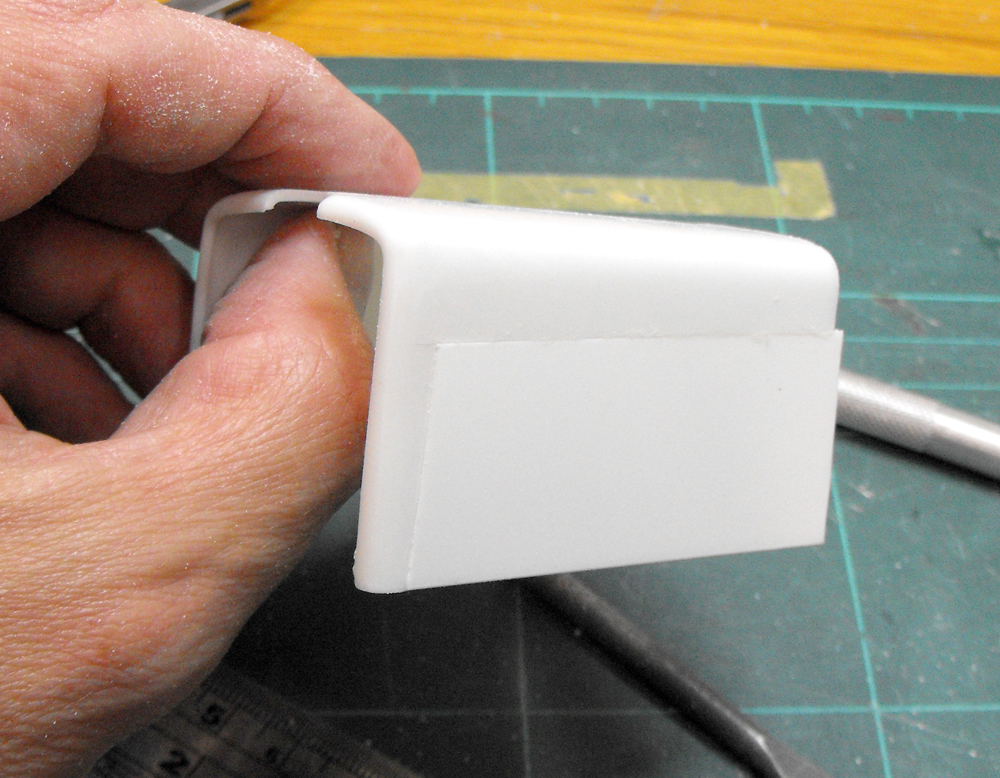
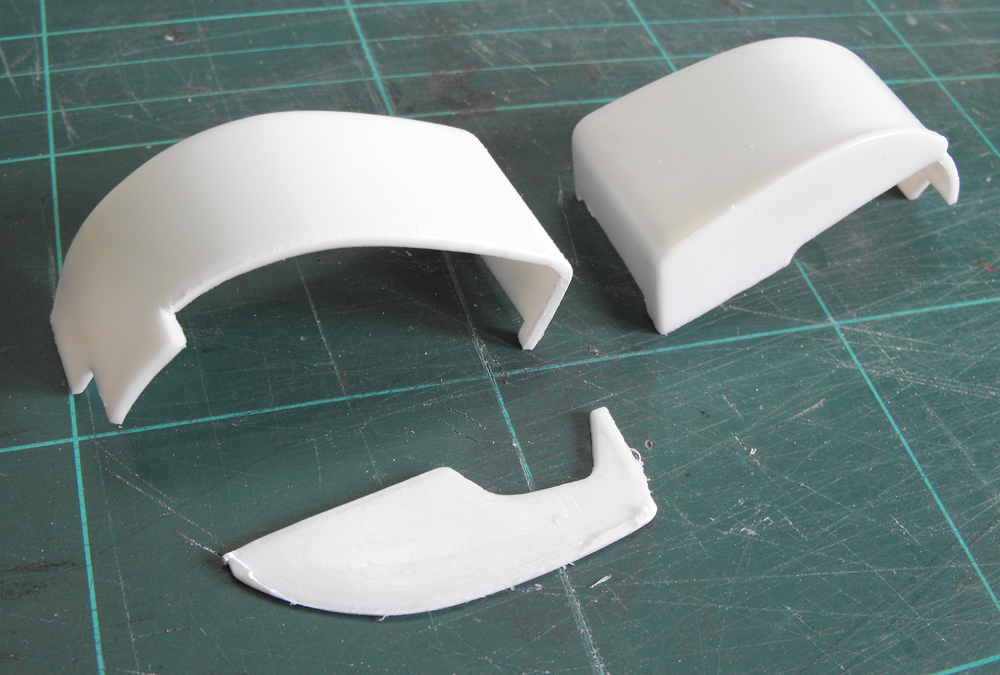
On to the bonnet. Rather than try to fill the existing wheel-arch hole with an odd-shaped plug, I decided to cut a rectangular section out of the side of the bonnet so I could just slot in a piece of rectangular card. I used a steel rule and the back of a hobby knife to score and snap the piece to be removed.
...just like that.
It was simply a matter of replacing the cutout with a plug of sheet styrene.
The bonnet was then filled and sanded.

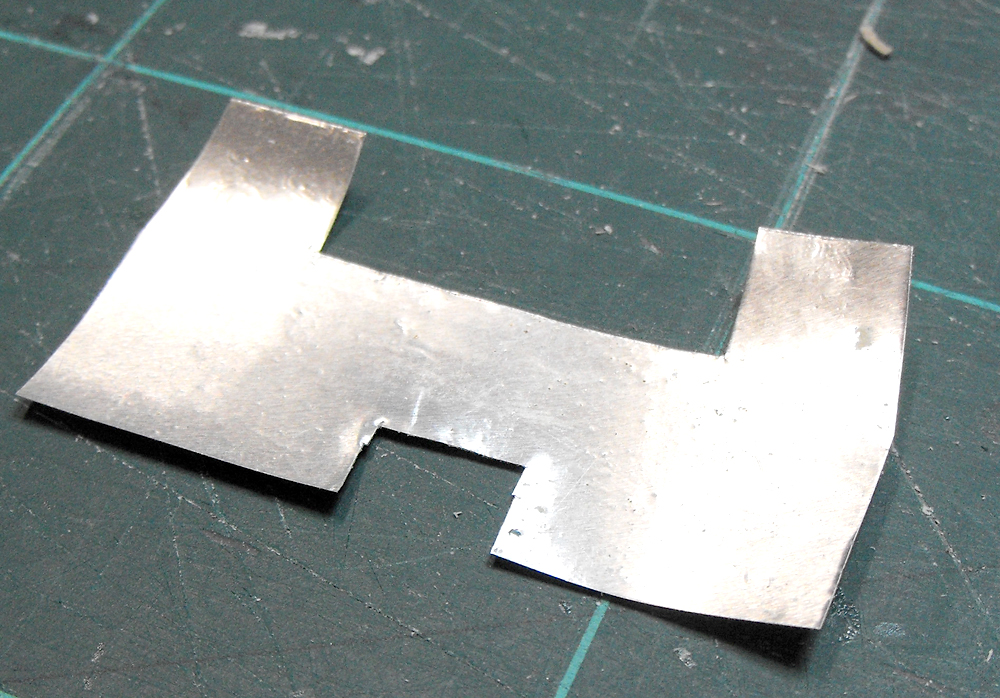
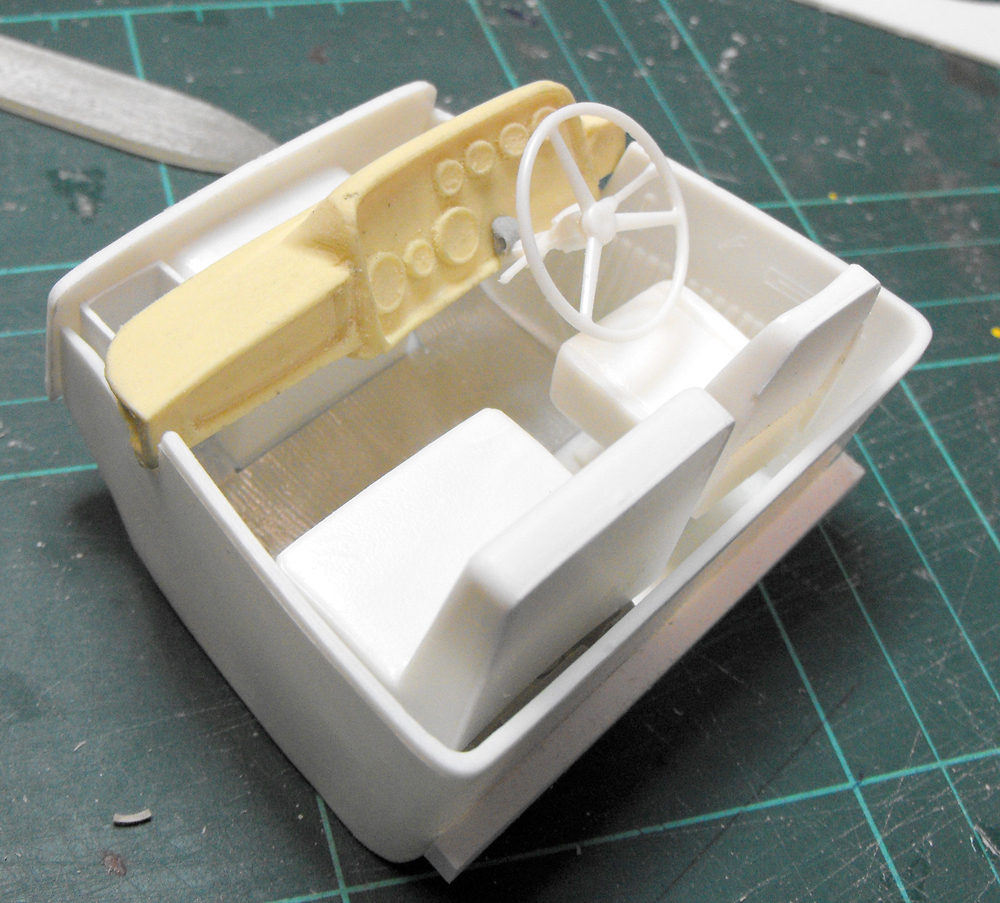
A piece of metal foil was cut to represent rubber matting on the floor and cover up the holes for the LHD pedals.
Dry run of the cabin bits and pieces. The dash casting is a bit rough and I'm worried how well it will come up. We'll see.
The internal blanking plates from the front guards are no longer needed, so they were cut through by scoring with the back of a hobby knife.
Like this.
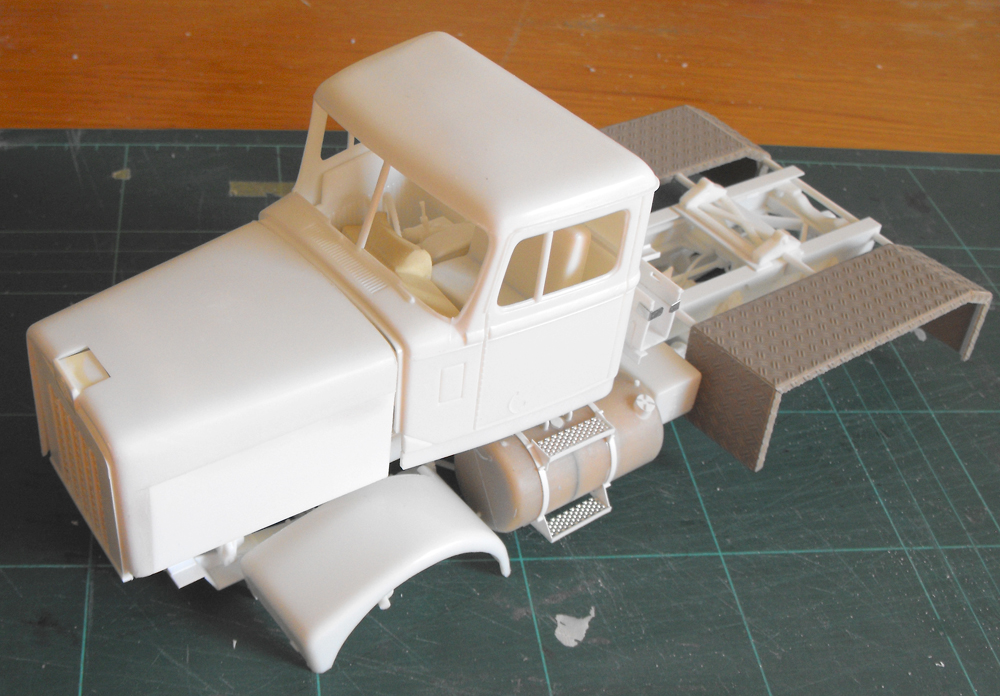
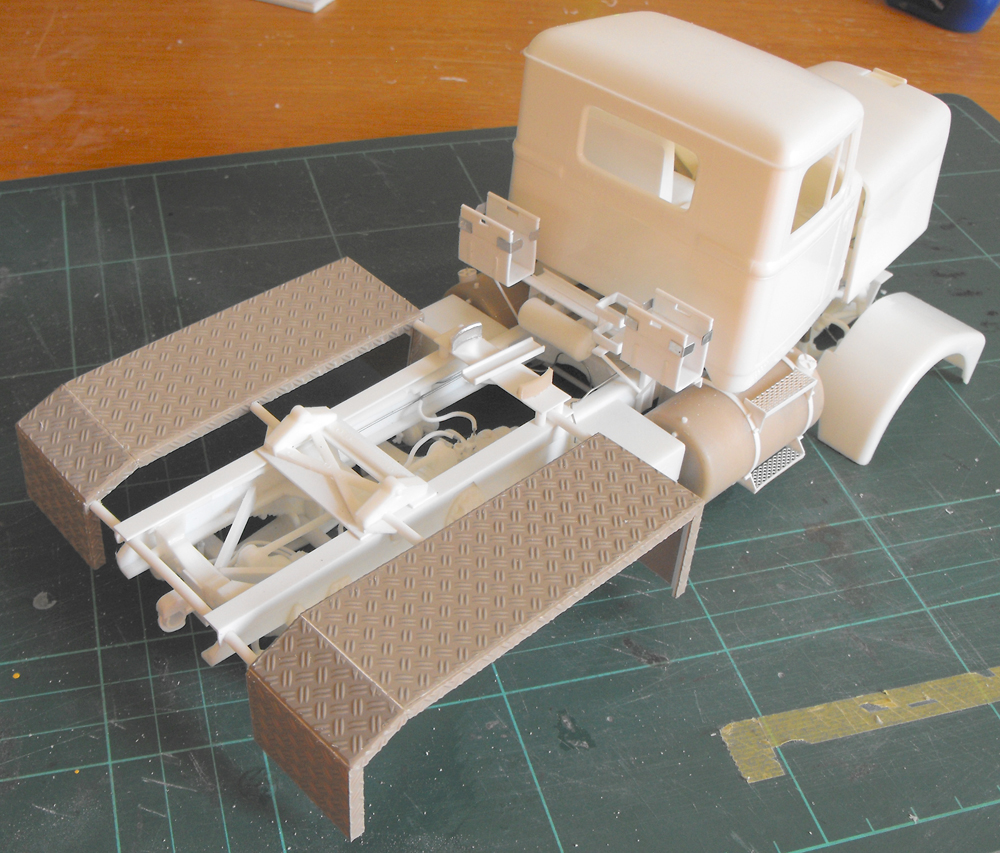
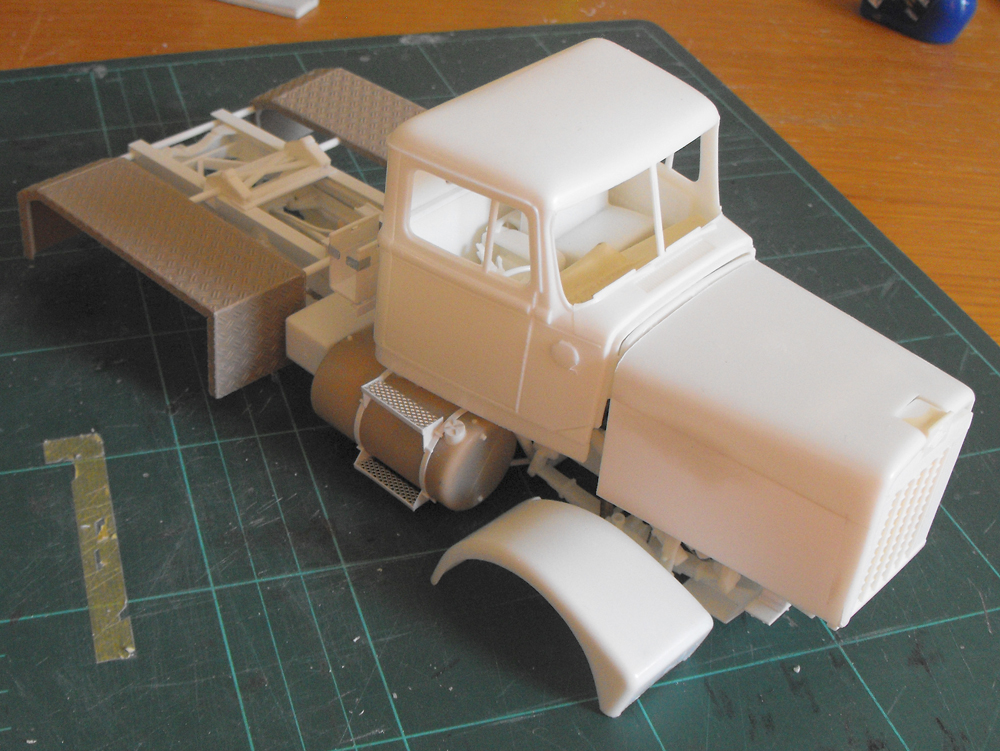
The cab skirts were added and the old oil cooler hole plugged.
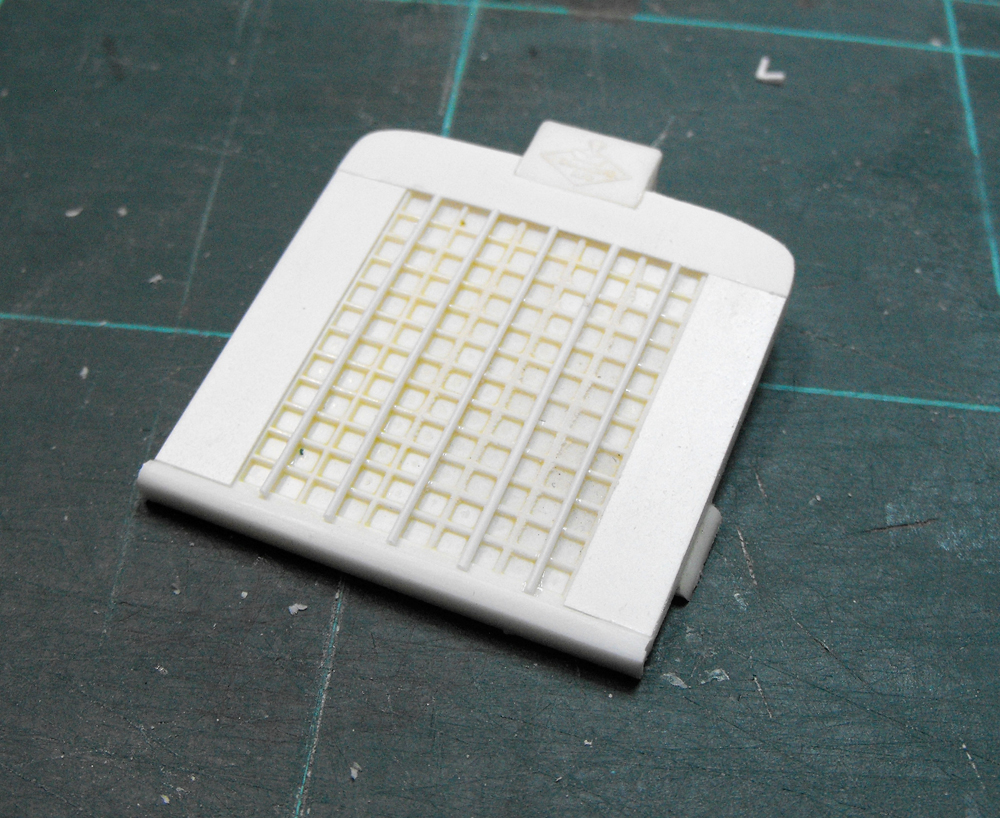
The radiator has a metal sheeting suround added. I'm not at all sure why when it was operating in Viet Nam where you certainly wouldn't have needed baffles! There were also some strengthening ribs added.
Onto the chassis subframe. As I mentioned before, It turns out I know the chap who engineered the subframe and guards! Under his direction, I fabricated up the frame and guard supports and the spare carrier. He pointed out something interesting: It doesn't look like the spare, if fitted to the carrier, will fit under the nose of a trailer. I'll have to see as we progress.
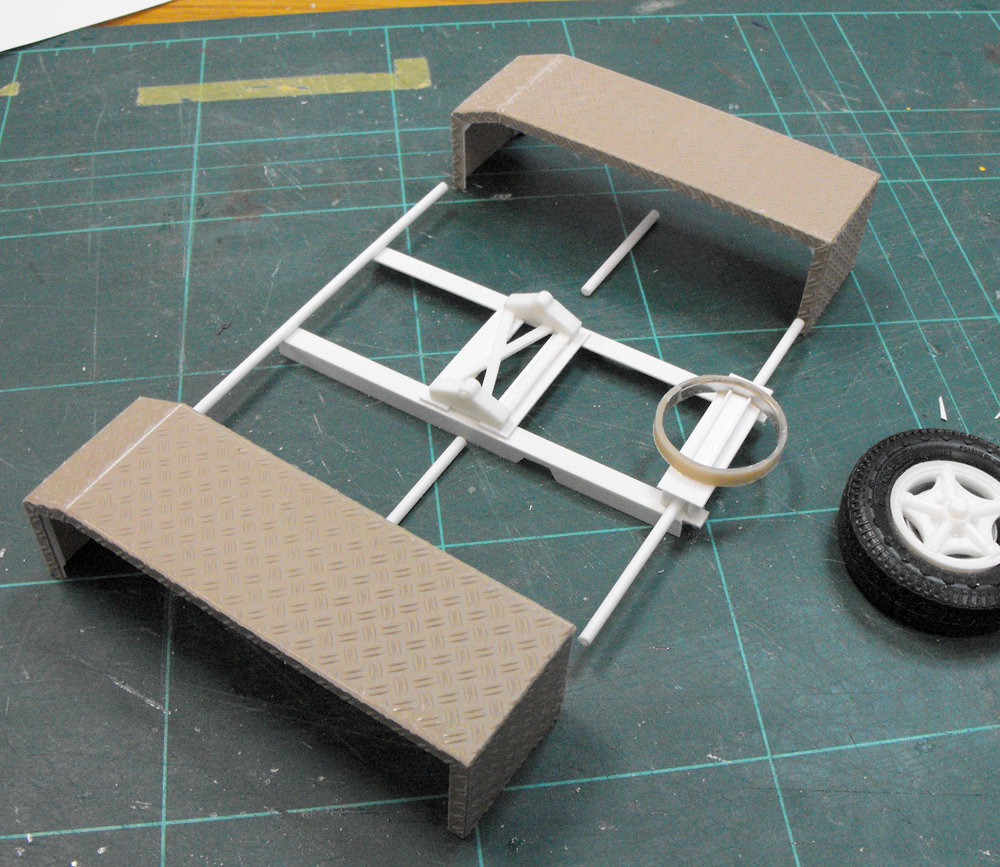
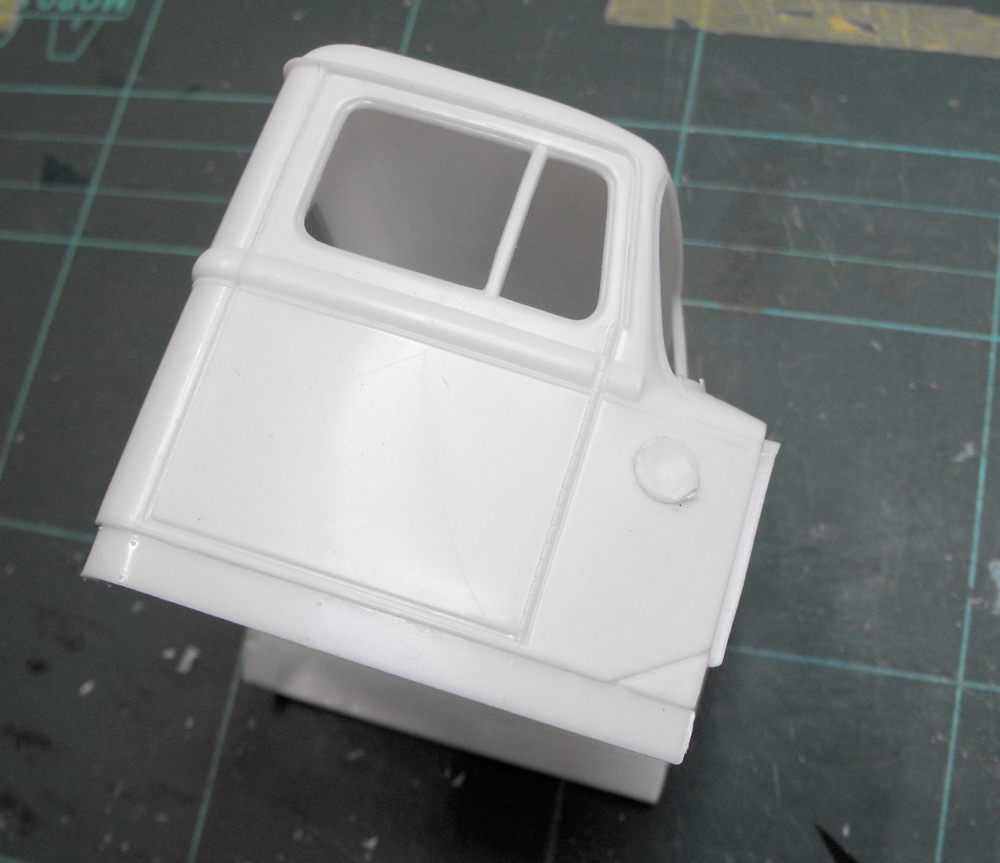
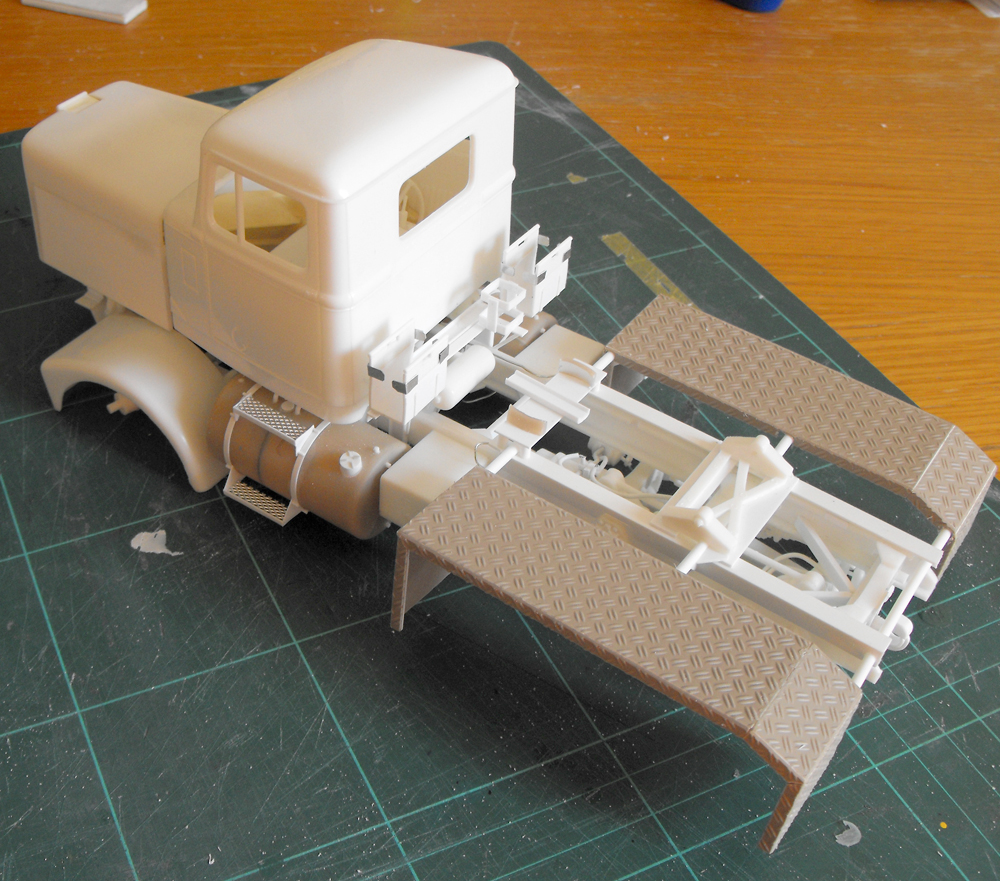
Time for another dry run. Here are the engine, hassis, radiator grille, bonnet, front guards, rear guards, and interior resting together. It looks like it's almost time for some paint!
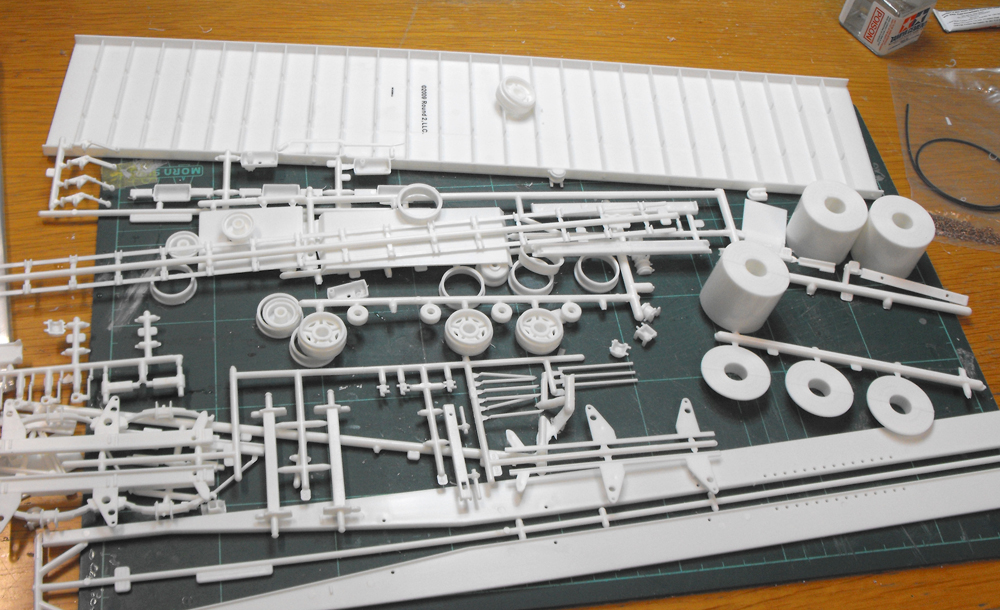
While some glue cures, I've pulled out the trailer kit to make a start on that. That single-piece deck is quite a monster. It'll give a good solid base. There are minor mods to do to the trailer including adding tie-down rails and rearranging the tail end. I'll also scratch up some cages.


jimb

Joined: August 25, 2006
KitMaker: 2,539 posts
Auto Modeler: 1,405 posts

Posted: Saturday, October 02, 2010 - 06:36 AM UTC
That's looking really nice. I like your modifications.
Jim
Jim

okdoky
Joined: April 30, 2007
KitMaker: 1,597 posts
Auto Modeler: 63 posts
Posted: Saturday, October 02, 2010 - 09:05 AM UTC
Hi Graeme
Those mudguards have worked a treat this time round. It is really taking shape.
Nige
Those mudguards have worked a treat this time round. It is really taking shape.
Nige

animal

KitMaker: 4,503 posts
Auto Modeler: 217 posts

Posted: Saturday, October 02, 2010 - 09:50 AM UTC
It is going to be an absolute shame to have to cover all the scratch building you have done. This is a first class build for sure. 
Bigred69
Joined: December 27, 2015
KitMaker: 290 posts
Auto Modeler: 8 posts

Posted: Sunday, March 13, 2016 - 01:00 AM UTC
Wow, what an awesome build! I have always had a soft spot for Aussie Trucks. 

ti

Joined: May 08, 2002
KitMaker: 2,264 posts
Auto Modeler: 210 posts
Posted: Saturday, October 15, 2016 - 02:24 PM UTC
Truly awesome work. Love it.

 |

WEB HOSTING BY


Copyright ©2021 Auto Modeler and Kitmaker Network, a subsidiary of Silver Star Enterprises
All Rights Reserved. Please read our Conditions of Use and Privacy Policy.
All Rights Reserved. Please read our Conditions of Use and Privacy Policy.