_GOTOBOTTOM
Cars
Discuss all types of automotive modeling here.
FERRARI 458 "LIBERTY WALK" (LB PERFORMANCE) -
elmarriachi
_VISITCOMMUNITY
Baden-Württemberg, Germany
Joined: December 26, 2009
KitMaker: 813 posts
Auto Modeler: 146 posts
Posted: Wednesday, January 18, 2017 - 08:06 PM UTC
The well known Japanese tuner LB-Performance / Liberty Walk is specialised on the "remodelling" ("Kaiza") of upper class cars such as Ferrari, Lamborghini, Porsche etc. The typical "work-style" with fender flarings, put on the original fenders with visible nuts, new front and rear bumpers and further spoilers are typical designs of the "Liberty Walk". One of their super-cars is the "Liberty Walk" version of the Ferrari 458 model.


(Quelle: www.crankandpiston.com)

Hobby Design is offering a kit with Resin and photo etched parts for this "Liberty Walk" version on the base of the Ferrari 458 from Fujimi. I will do some further modifications including a lowering of the car.

The colors I want to use for the final painting is exactly the one on the picture before!

Here is the kit I will use ...


Cheers
Micha
elmarriachi
_VISITCOMMUNITY
Baden-Württemberg, Germany
Joined: December 26, 2009
KitMaker: 813 posts
Auto Modeler: 146 posts
Posted: Thursday, January 19, 2017 - 01:21 PM UTC

Hello,

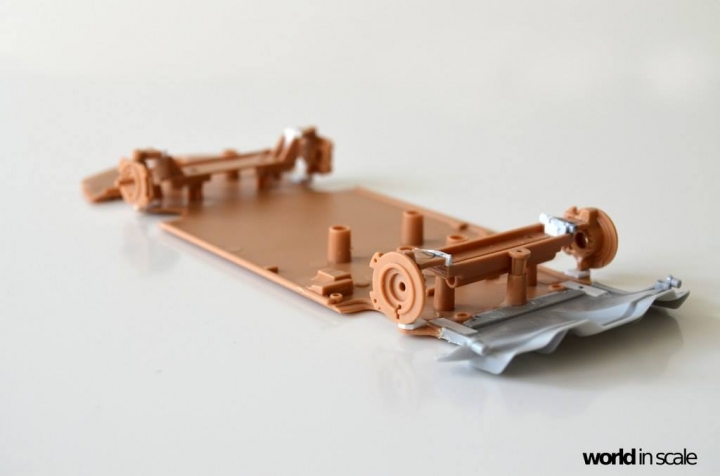
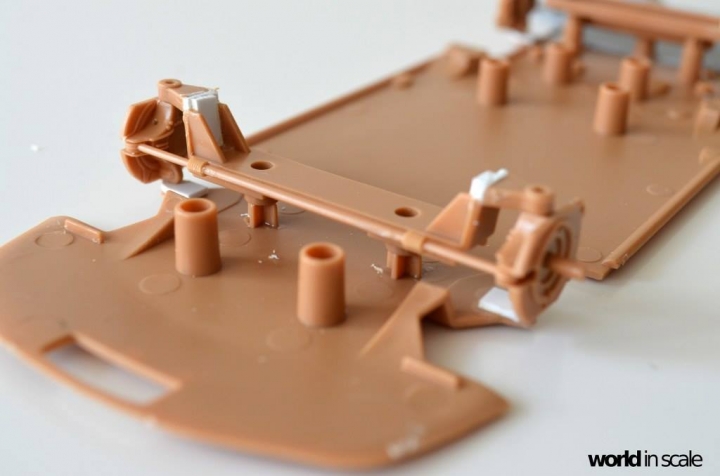
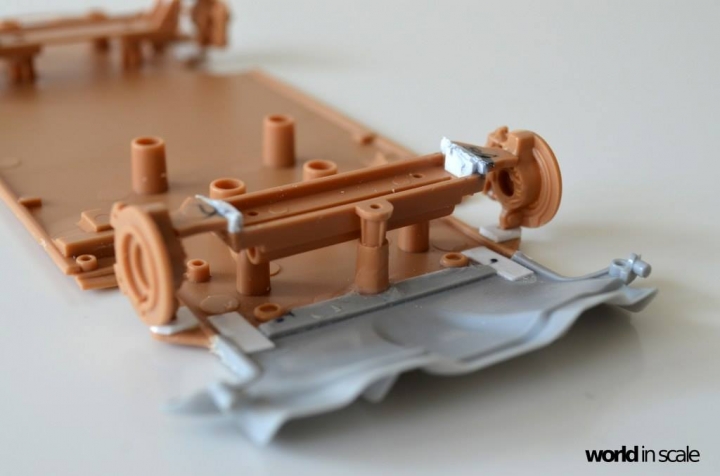
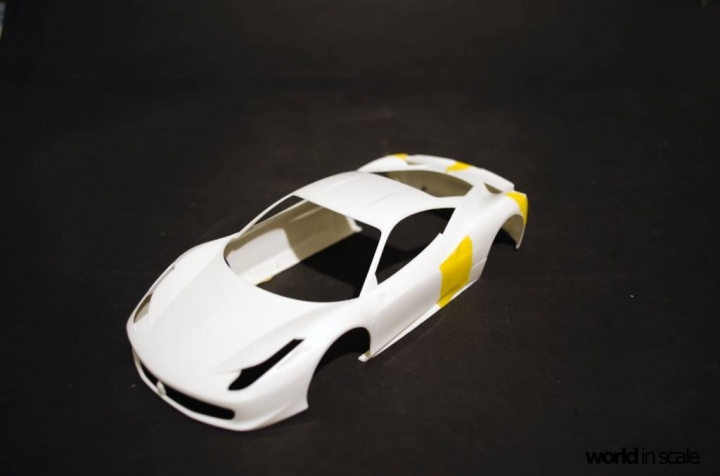
first I put the serial parts of the Fujimi kit together.... testing... fitting very good so far.
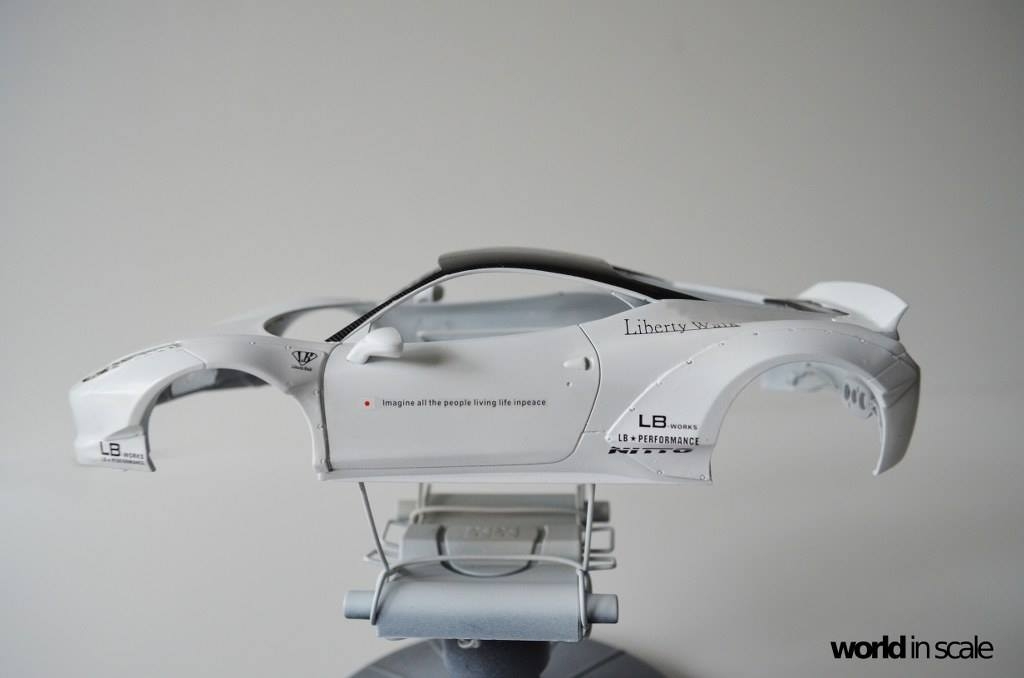
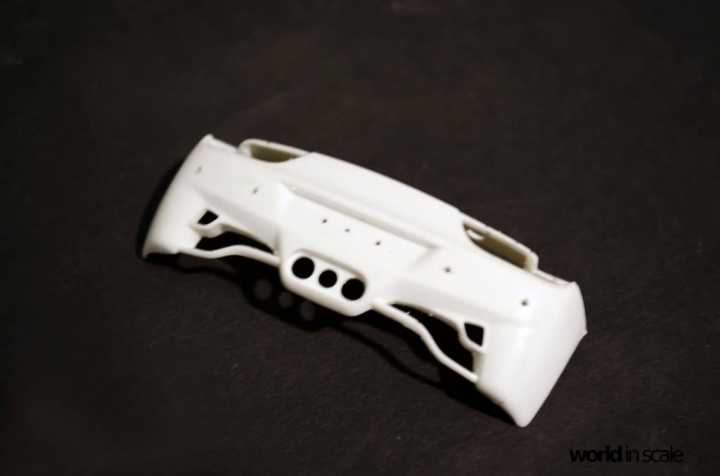
Next I have cleaned the Resin-parts under water ... 2-piece front bumper, rear spoiler, diffusor and fender flarings front and rear ...


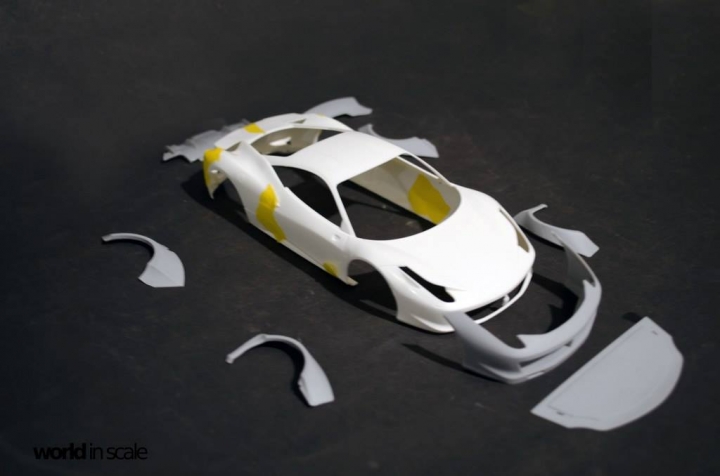
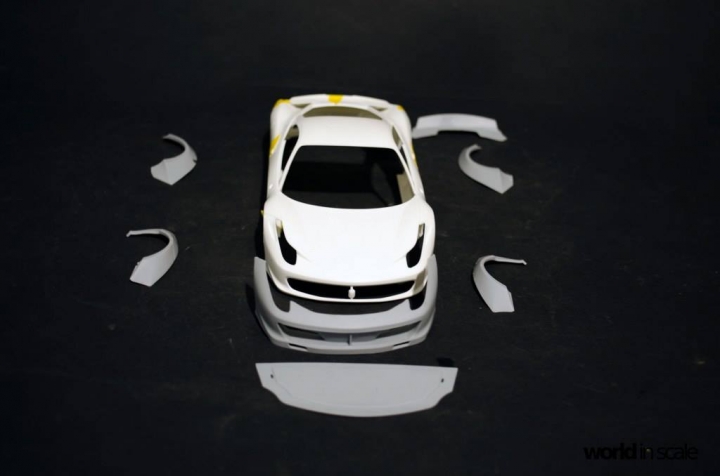
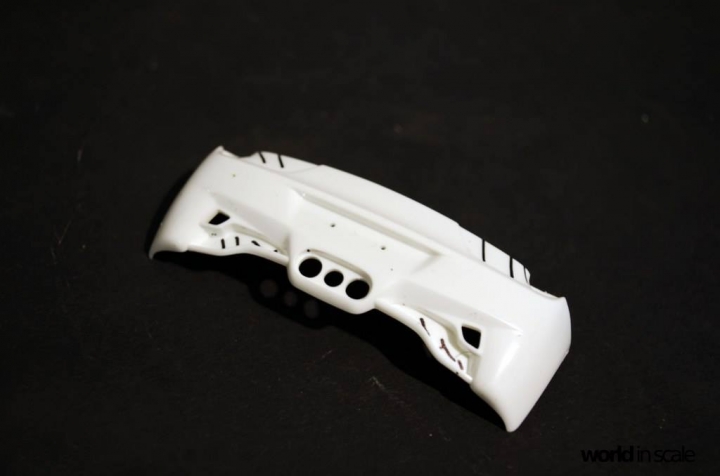
Then I have drilled and cut and sanded the air intakes in the rear bumper... later I will add photo etched mesh inside ...
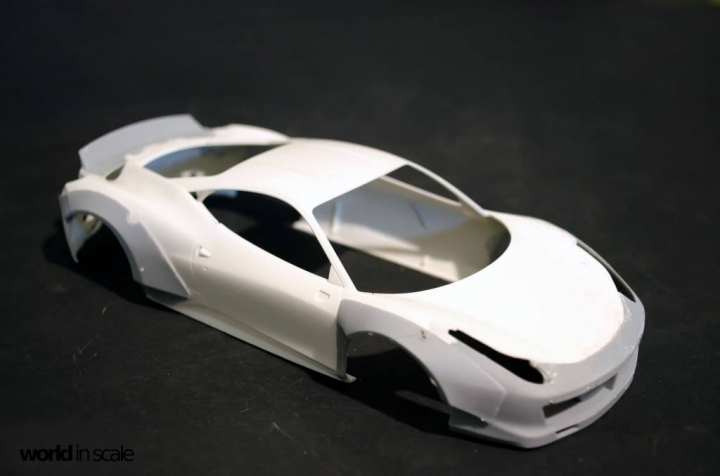
The standart front bumper was removed with a small saw.... also some parts at the rear for the rear spoiler.
Front- and rear bumper also received the holes for the Parktronic-sensors, drilled, later closed with plastic parts.


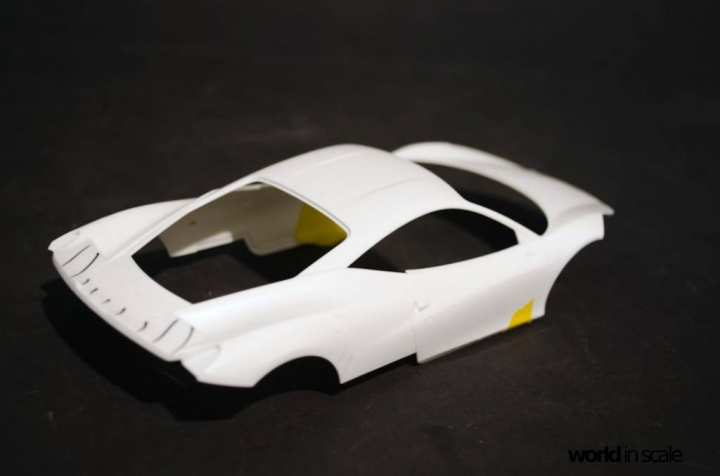
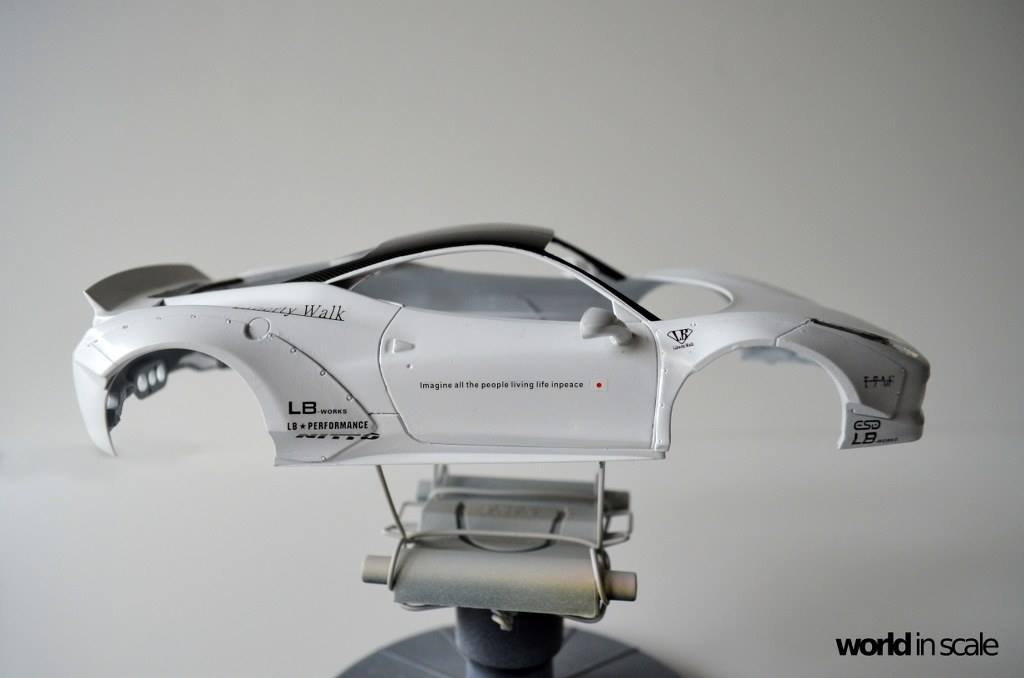
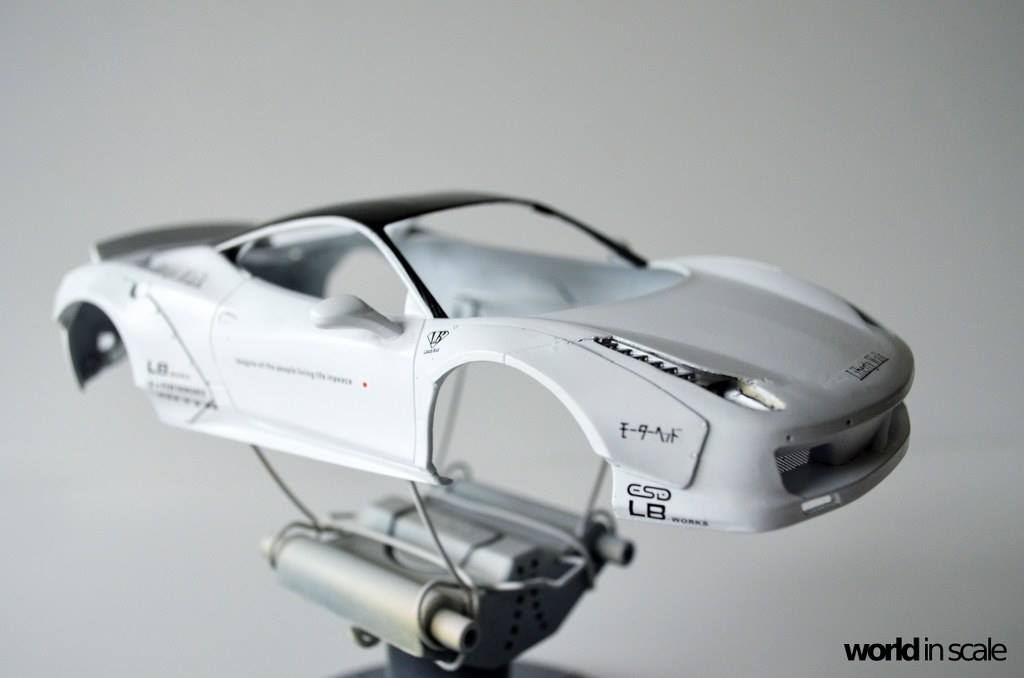
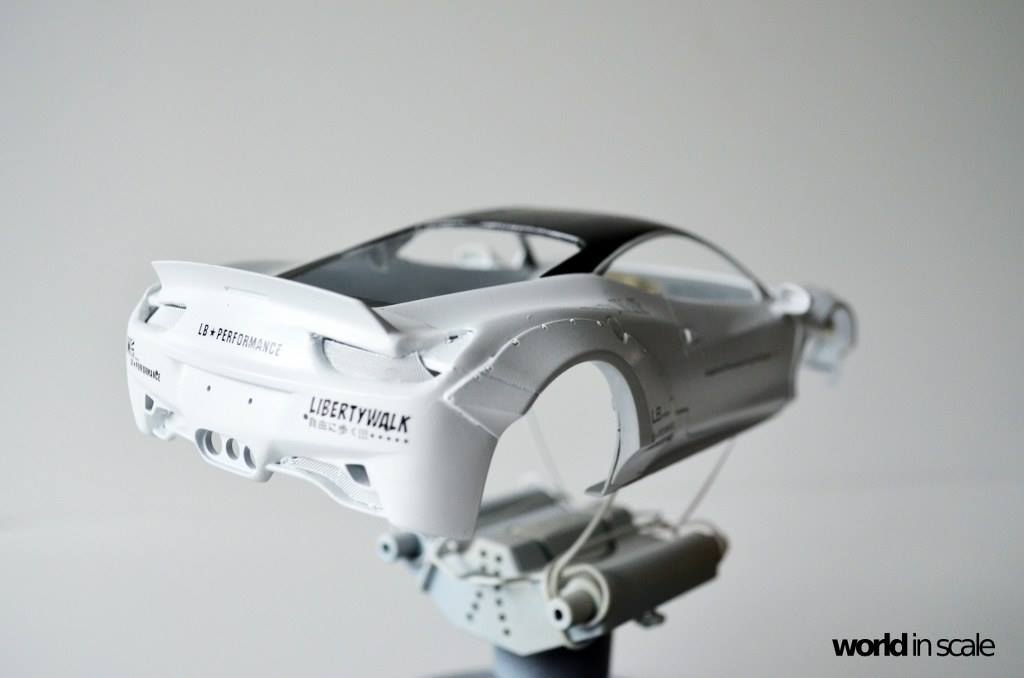
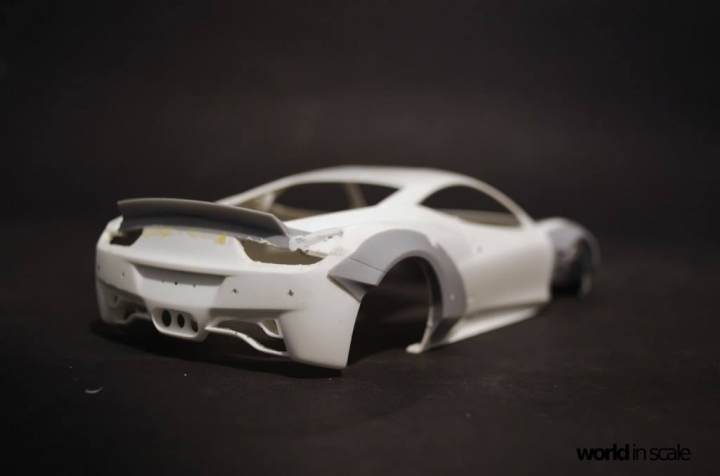
No the fun begins. First glued the finished rear bumper, side skirts and small inserts in the side windows to the body.
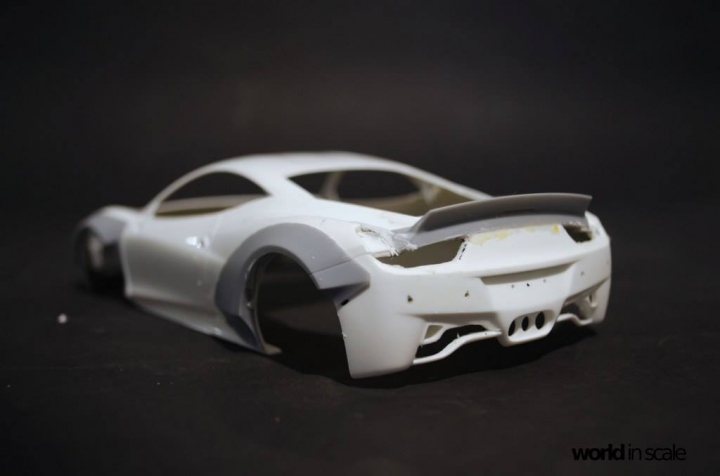
Once dry I glued the rear spoiler to the body. Make attention here as it is not fitting good. I used some sheet at the underside and some Magic Sculp to rework the shape of the body/rear spoiler. Later I will sand it smooth again.
The front bumper fits perfect, glued at the front of the body and also used some plastic sheet and magic sculp on the downside to strenghen it more.
Then the fender flares were added, these also fit very well.


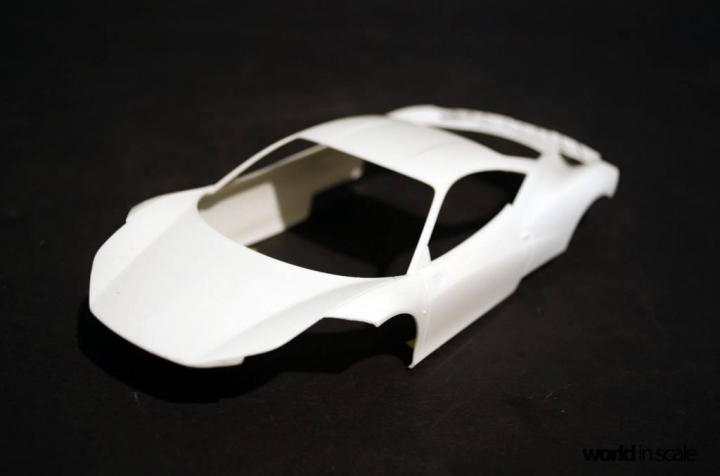
Next I wil clean the body and sand all the glued parts, the new formed areas and will engrave some beadings new ....

Cheers
Micha
elmarriachi
_VISITCOMMUNITY
Baden-Württemberg, Germany
Joined: December 26, 2009
KitMaker: 813 posts
Auto Modeler: 146 posts
Posted: Sunday, January 29, 2017 - 03:17 PM UTC
Hello,

some update....
I have lowered the chassis about 1,2mm front and rear. Therefore I have added some plastic card at the lower suspension modified the upper part as well. Also I had to cut out the fenders at the inside.
A new difusor at the rear followed, this came from the Hobby Design kit ....


The chassis was painted in matt black, the engine in Aluminium. Some add on parts in silverm dark grey and red. Some PE-parts at the engine followed befor I have put the engine together.
The interior was primered in black, then painted in red from Zero Paints. Some details were painted in black, silver and grey.
Decals and PE parts followed in the interior as awell, then some clear coat matt from Valleyo was sprayed over the interior.
The brake discs were painted in Carbon color from Zero Paints and added later ...


Cheers
Micha
Hwa-Rang
_VISITCOMMUNITY
Kobenhavn, Denmark
Joined: June 29, 2004
KitMaker: 6,760 posts
Auto Modeler: 2,182 posts
Posted: Sunday, January 29, 2017 - 04:13 PM UTC
Great work so far Michael.
Clunbb9
_VISITCOMMUNITY
California, United States
Joined: March 14, 2016
KitMaker: 66 posts
Auto Modeler: 64 posts
Posted: Friday, February 03, 2017 - 08:56 AM UTC
Great work so far, keep going. Can't wait to see the finished car.
elmarriachi
_VISITCOMMUNITY
Baden-Württemberg, Germany
Joined: December 26, 2009
KitMaker: 813 posts
Auto Modeler: 146 posts
Posted: Sunday, February 05, 2017 - 03:14 PM UTC
Hello,

I have some new updated for the Liberty Walk ....


The brake disks were painted in a carbon look with colors from Zero Paints. Die brake pads were painted in yellow.


The resin-wheels from Hobby-Design were cleaned and painted in silver first, then with AK Interactive's clear red.


The body was painted in several thin layers with Zero Paints Brilliant white. After the drying I have added some carbon decals on the roof and on the A- and B-pillars, plus behind the rear window. I will keep the rest in white without black painted areas... I like the white body ...
The Liberty Walk markings were added then, easy without any problems... great quality of the decals.


Now the body will rest a few days to dry 100% before I will add clear coat and polishing ...

Cheers
Micha
 _GOTOTOP