_GOTOBOTTOM
Cars: Custom
For customized car kits and projects.
VW Samba "Sleepah"
The_Snowman
_VISITCOMMUNITY
England - South East, United Kingdom
Joined: August 26, 2015
KitMaker: 92 posts
Auto Modeler: 57 posts
Posted: Tuesday, January 29, 2019 - 08:42 AM UTC
Hi ya all!

Its been a while since my last post. Just completed a Lancia Stratos which left me enthused.

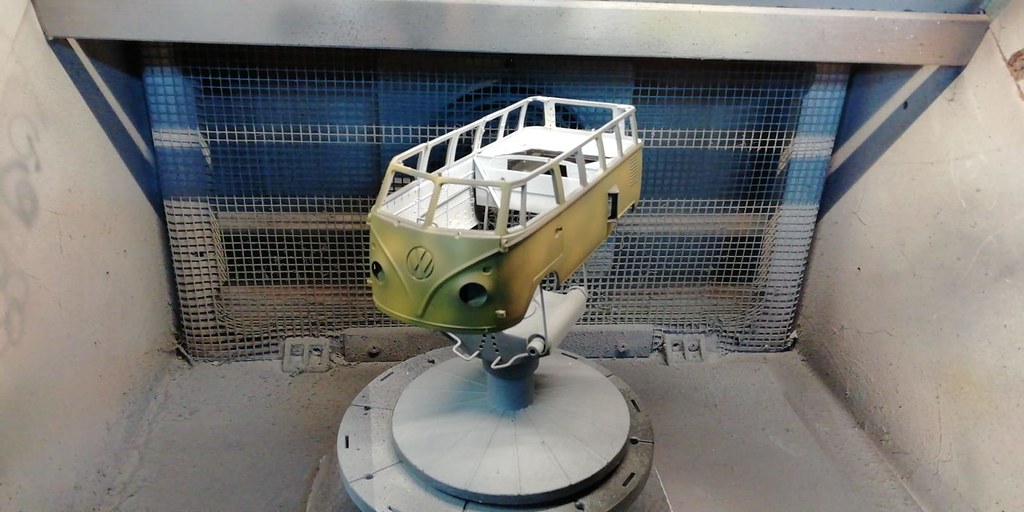
I decided that I want to create a sleeper as in hotrod version of the VW Samba bus after seeing a couple of outlandish mods on Netflix and YouTube!

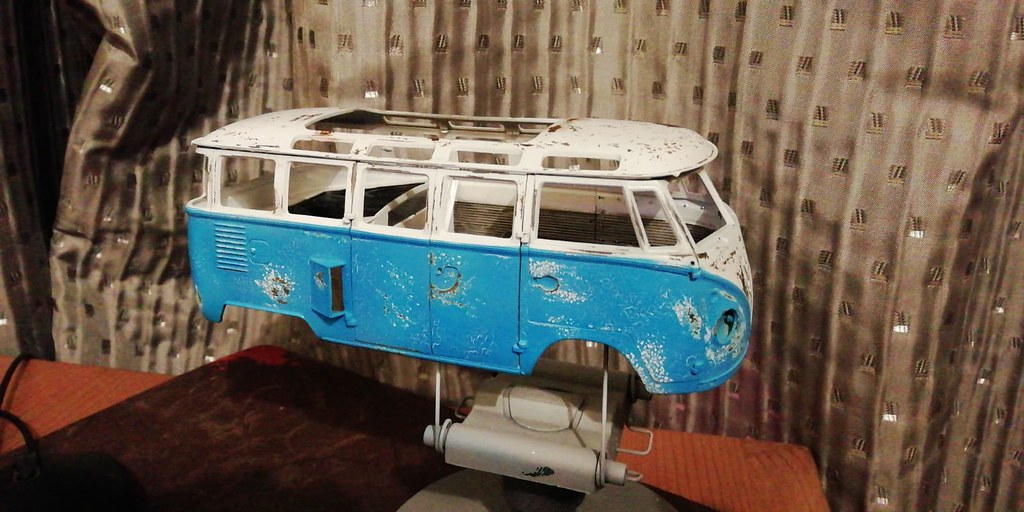
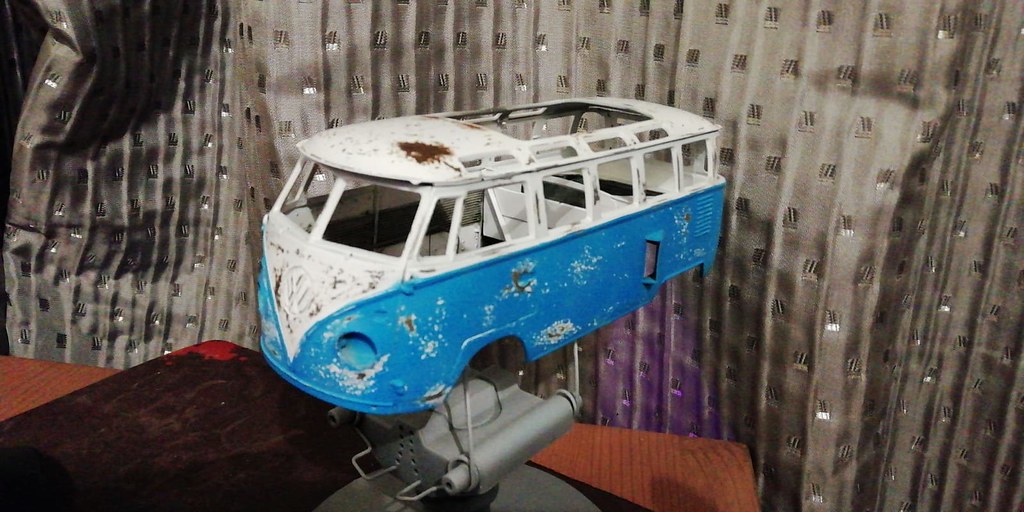
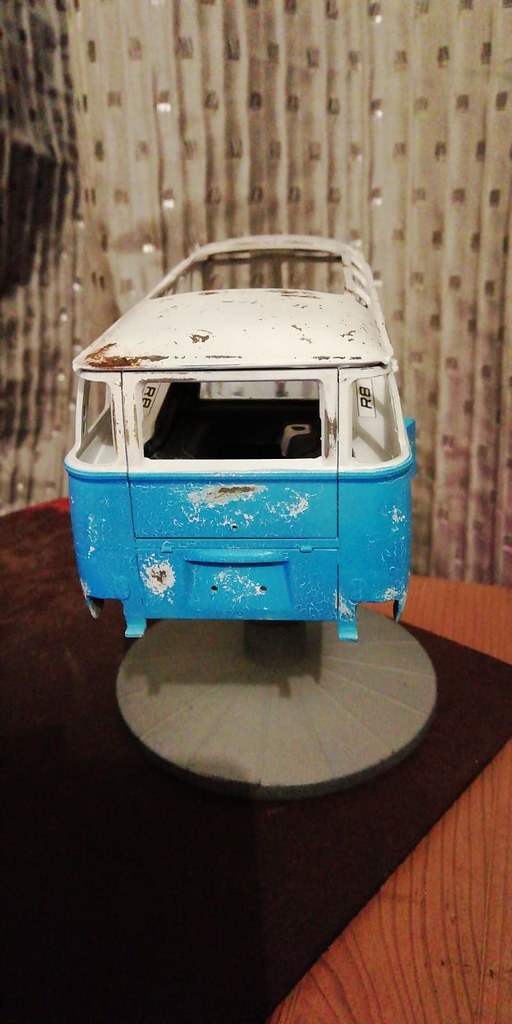
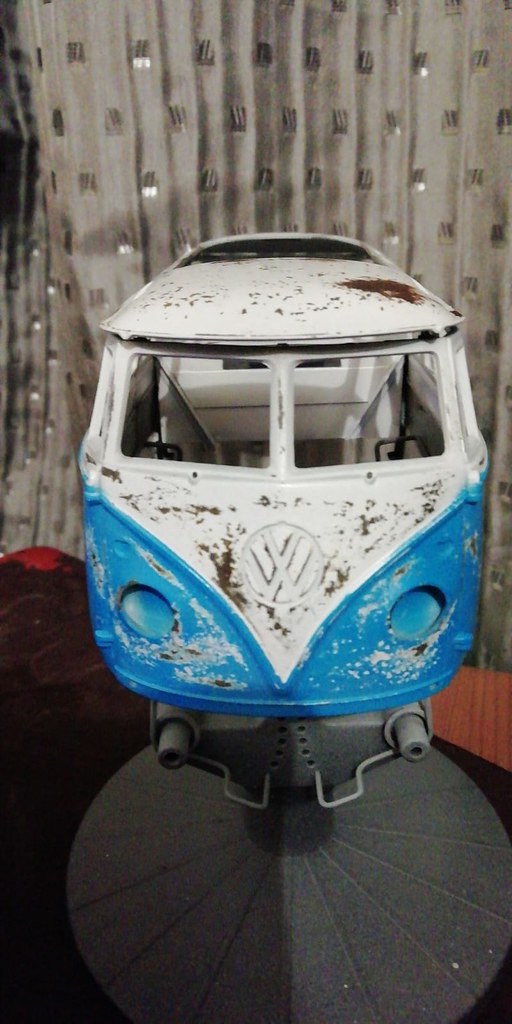
I wanted a worn looking Samba so not be an obvious custom rod, but it had to be low slung to show intent. To achieve this I at first wanted to stick in a 911 engine, but that is so "old hat" and done to death in the real world, i wanted to try something else. Thinking about this for while longer, I decided to create a "hybrid" Frankenstein by combining a Revell Audi R8 for its engine & wheels with the Revell Samba kit. Where to begin? How to modify? How to blend the two kits in a way that it does not land up being a total waste of what is essentially two very nice kits?


I have lots to ponder, as this is a very unfamiliar world, far beyond just adding a bit extra detail.

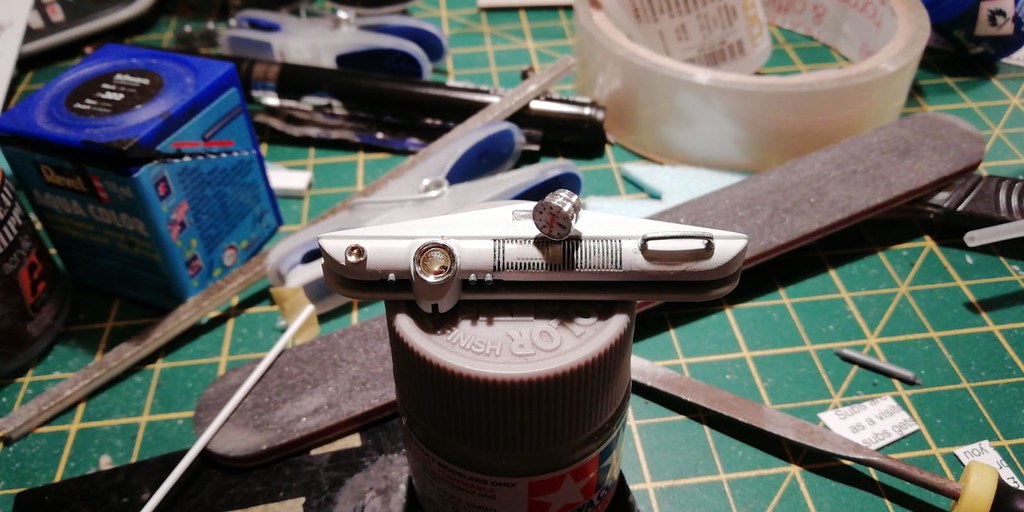
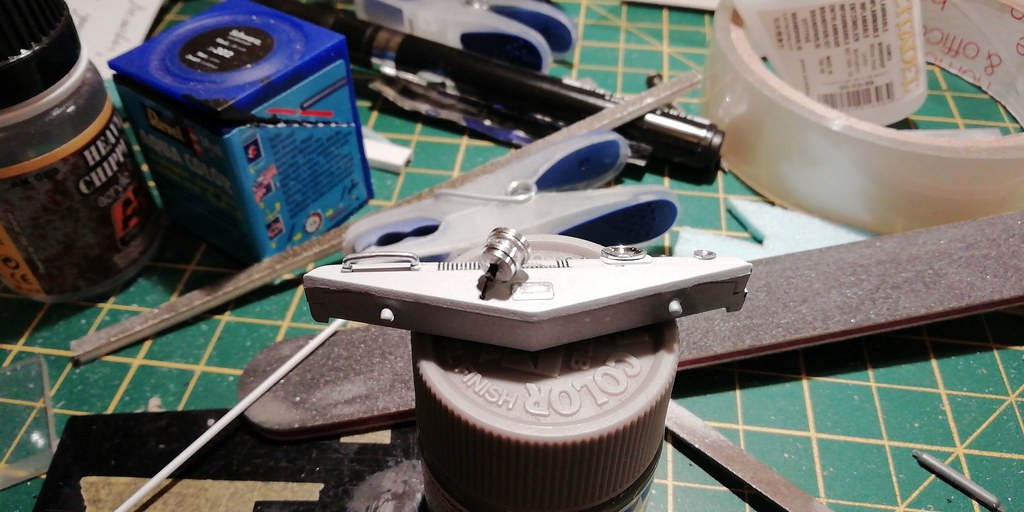
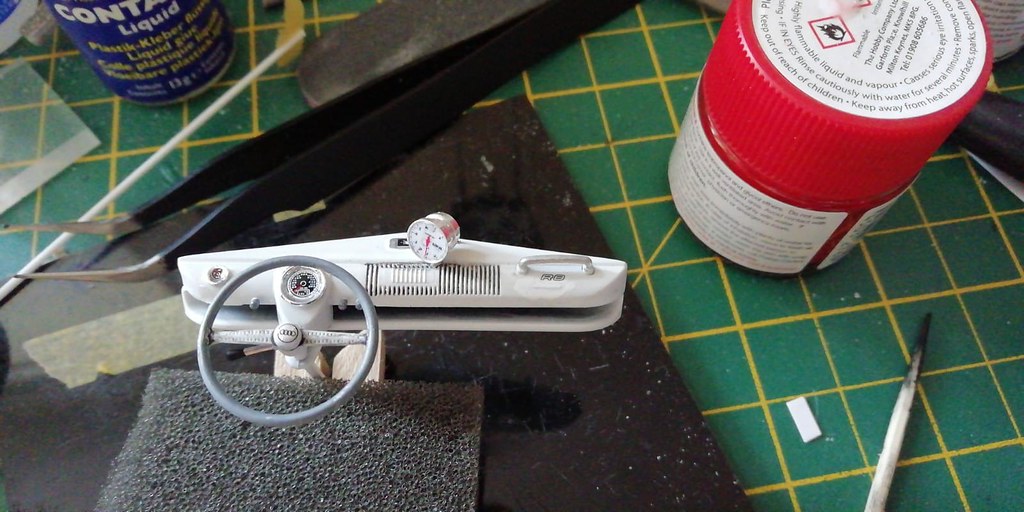
Well, here are my test subjects for my Frankenstein build. I tried to do some initial planning for cut outs to fit the R8 engine and compared chassis to see "compatibility"

Next round I'll show some of my work on the chassis's.


Thanks for looking!
md72
#439
_VISITCOMMUNITY
Washington, United States
Joined: November 05, 2005
KitMaker: 4,950 posts
Auto Modeler: 555 posts
Posted: Tuesday, January 29, 2019 - 09:07 AM UTC
Well, that's a bit out of the ordinary. Good luck with it. Keep posting pictures!
The_Snowman
_VISITCOMMUNITY
England - South East, United Kingdom
Joined: August 26, 2015
KitMaker: 92 posts
Auto Modeler: 57 posts
Posted: Tuesday, January 29, 2019 - 10:31 AM UTC
Thanks for the support!
Clearly this work that I have already completed, but wanted to share the process with you.

The mission continues....

The chassis don't quite match......check

Some surgery is required....check

The cutout for the engine needs to be bigger.


Chopped off the rear portion of the R8 chassis to mate with the lower portion of the Samba chassis


mmmmm......does this work??? Samba & Audi lower chassis pan....


Plan B or that C or D........lost count??? Anyway I have decided to use a chopped down R8 chassis pan.


The upper Samba pan needs more surgery to accept the R8 pan.


The engine looks good on the back of the hybrid chassis.


Well that all for now, thanks again for looking!
Stickframe
#362
_VISITCOMMUNITY
California, United States
Joined: December 01, 2013
KitMaker: 1,661 posts
Auto Modeler: 431 posts
Posted: Tuesday, January 29, 2019 - 10:46 AM UTC
This looks like a great project in the works! Looking forward to seeing your next post -

Cheers
Nick
AussieReg
Staff MemberAssociate Editor
AUTOMODELER
#007
_VISITCOMMUNITY
Victoria, Australia
Joined: June 09, 2009
KitMaker: 8,156 posts
Auto Modeler: 2,953 posts
Posted: Tuesday, January 29, 2019 - 10:50 AM UTC
Hi Gavin.

This will be a great project to follow, cool idea! Thanks for sharing so much detail on the process, very helpful to those of us who have never attempted major surgery and transplant like this.

Looking forward to more progress.

Cheers, D
The_Snowman
_VISITCOMMUNITY
England - South East, United Kingdom
Joined: August 26, 2015
KitMaker: 92 posts
Auto Modeler: 57 posts
Posted: Tuesday, January 29, 2019 - 11:38 AM UTC
Thanks guys, I need all the support I can get with this Frankenstein!
AussieReg
Staff MemberAssociate Editor
AUTOMODELER
#007
_VISITCOMMUNITY
Victoria, Australia
Joined: June 09, 2009
KitMaker: 8,156 posts
Auto Modeler: 2,953 posts
Posted: Tuesday, January 29, 2019 - 12:01 PM UTC

Quoted Text

Thanks guys, I need all the support I can get with this Frankenstein!


You need to give it a name now, FrankenSamba or SambaStein, or perhaps SambaR8.

, D
Hwa-Rang
_VISITCOMMUNITY
Kobenhavn, Denmark
Joined: June 29, 2004
KitMaker: 6,760 posts
Auto Modeler: 2,182 posts
Posted: Tuesday, January 29, 2019 - 06:17 PM UTC
Very cool project. I agree, with Damian, this one needs a name.
Joel_W
Staff MemberAssociate Editor
AUTOMODELER
_VISITCOMMUNITY
New York, United States
Joined: December 04, 2010
KitMaker: 11,666 posts
Auto Modeler: 2,974 posts
Posted: Thursday, January 31, 2019 - 06:55 AM UTC
Gavin,
Definitely a unique conversion, You've succeeded with the pan modifications so that the Audi R8 Power plant and tranny fits. Looking forward to your next update.

Joel
The_Snowman
_VISITCOMMUNITY
England - South East, United Kingdom
Joined: August 26, 2015
KitMaker: 92 posts
Auto Modeler: 57 posts
Posted: Thursday, January 31, 2019 - 11:17 AM UTC
Thanks a million for the high praise!

Yeah, I was looking to call the Samba "Sleepah", with the play on sleeper, but that "SambaStein" is kinda catchy. We'll have to see.

Thanks again!

The_Snowman
_VISITCOMMUNITY
England - South East, United Kingdom
Joined: August 26, 2015
KitMaker: 92 posts
Auto Modeler: 57 posts
Posted: Thursday, January 31, 2019 - 11:42 AM UTC
The body was a bit of work as it comprised of about 12 pieces including the rear port of the inner pan that was chopped off.


Onto the engine bay, this needed to be addressed.
I have decided to blend the R8 hatch back layout with the Samba in this area.
Started off with card template to make the engine bay.


This allowed me to construct the interface and firewall.


That is looking snug, but I need to think of how this beast will breathe? I decided to mimic the R8 and create side intakes and ports for exhausts.


Thanks for watching!
Joel_W
Staff MemberAssociate Editor
AUTOMODELER
_VISITCOMMUNITY
New York, United States
Joined: December 04, 2010
KitMaker: 11,666 posts
Auto Modeler: 2,974 posts
Posted: Friday, February 01, 2019 - 03:08 AM UTC
Gavin,
I'm slowly going through your posted pictures studying your build and techniques used, but the process of individually clicking on each thumbnail and then closing it so I can open the next one is rather time consuming.

In your Stratos build Damian posted one way to have your pictures show up without having to use your gallery to view them view size. Here's his post which will benefit to all of us.

"A quick tip for you. In your gallery, instead of copying the "Linked Thumbnail" and pasting here, hit the little brown button to the right of the "Linked Thumbnail" and two more boxes will pop up underneath. Copy the "HTML Code" box contents and paste into the thread here."

The way that I post pictures here is to use a picture hosting site, in my case it's Image Shack. While it costs $2.99/month, there are several that are completely free.

Joel
Stickframe
#362
_VISITCOMMUNITY
California, United States
Joined: December 01, 2013
KitMaker: 1,661 posts
Auto Modeler: 431 posts
Posted: Friday, February 01, 2019 - 07:51 AM UTC
Hi Gavin,

This is a very clever and clean installation. It’s remarkable how nicely all of this is going together.

Just for the heck of it, I wonder how you would build a chassis in real life that would support the weight and torque of a setup like this? Maybe a tube chassis of some sort - to handle the effect of general weight and torque, but I wonder how you would handle anything vertical? Like shear? I’ll bet you could build a cage around the engine, and extend it under the back seat, and forward along the inside edges of the body, and in the center by a space characteristically similar to a transmission tunnel...? With lateral bracing under the front seats, and then within the front wall of the bus....simple as that lol!! Or not....? Is there some clean unibody frame solution? Again....simple as that! Lol -

Keep up the good work! Nice build!

Cheers
Nick
The_Snowman
_VISITCOMMUNITY
England - South East, United Kingdom
Joined: August 26, 2015
KitMaker: 92 posts
Auto Modeler: 57 posts
Posted: Friday, February 01, 2019 - 08:50 AM UTC
Ooooh you are evil!!

You got my imagination up and running again, because you are making sense.

The roll cage / frame makes sense in terms of taking all the loads.

Thanks for your insight!
The_Snowman
_VISITCOMMUNITY
England - South East, United Kingdom
Joined: August 26, 2015
KitMaker: 92 posts
Auto Modeler: 57 posts
Posted: Friday, February 01, 2019 - 08:54 AM UTC
Thanks Joel, I'll look to improve the way I display the photo's in the future.
AussieReg
Staff MemberAssociate Editor
AUTOMODELER
#007
_VISITCOMMUNITY
Victoria, Australia
Joined: June 09, 2009
KitMaker: 8,156 posts
Auto Modeler: 2,953 posts
Posted: Friday, February 01, 2019 - 10:08 AM UTC

Quoted Text

Thanks Joel, I'll look to improve the way I display the photo's in the future.


Gavin, I'm happy to reload the images in this thread as the larger version if that is ok with you? You are doing some super neat work on this conversion kitbash, and like Joel I have had a good look at each image to take in how you are going about it.

Looking forward to the next instalment.

Cheers, D
Stickframe
#362
_VISITCOMMUNITY
California, United States
Joined: December 01, 2013
KitMaker: 1,661 posts
Auto Modeler: 431 posts
Posted: Friday, February 01, 2019 - 10:27 AM UTC
Gavin - ha!

Yes, as you’ve boldly stepped away from the out of box build - why not keep going?! Seems you’ve got the skills to do it! I’ve been on a scratchbuilding and kitbashing roll for a year or so now...leading me to wonder....hmmm, just how would that work in plastic????

As to the photos - my albums are on the kitmaker gallery too. Seems there’s an important step when uploading. Once you’ve loaded your pics (I only do 10 at a time) you’ll be asked to hit a “process” button - do that. It will look like you’re done, but, you’re not (it seems if you stop here, you only get the small pics) - scroll to the bottom of the page and you can hit “process” again - do it. Then, when you’re ready to post, select your pic, and right click on the option to copy the address and you’ll be good to go.

Yep - I looked at your bigger pics in the gallery - leading me to think about the chassis fun!

Model-on man, model on!!

Cheers
Nick
The_Snowman
_VISITCOMMUNITY
England - South East, United Kingdom
Joined: August 26, 2015
KitMaker: 92 posts
Auto Modeler: 57 posts
Posted: Sunday, March 17, 2019 - 06:29 AM UTC
Hi team!

I have not posted for a while, but I have been busy.
I have painted the body, first with a pre-rust treatment.
pre rusting by Gavin Snowdon, on Flickr

This is followed by some work on the dash and plumbing in the go faster dial...
go faster dial by Gavin Snowdon, on Flickr
plumbed in by Gavin Snowdon, on Flickr

Here is the dash completed, with a few subtle and one very obvious embellishment.
dash + decals by Gavin Snowdon, on Flickr

The body has now been painted and I have done my initial chipping as part of the weathering process.
chipping 1 by Gavin Snowdon, on Flickr
chipping by Gavin Snowdon, on Flickr
chipping 2 by Gavin Snowdon, on Flickr
chipping 3 by Gavin Snowdon, on Flickr

Well, that is all for now. Next up is the rusting.

Thanks for looking.
brekinapez
_VISITCOMMUNITY
Georgia, United States
Joined: July 26, 2013
KitMaker: 2,272 posts
Auto Modeler: 49 posts
Posted: Sunday, March 17, 2019 - 08:12 AM UTC
You know you eliminated the space for the fuel tank when you altered the pan, right? Of course, if one was to get technical...
Joel_W
Staff MemberAssociate Editor
AUTOMODELER
_VISITCOMMUNITY
New York, United States
Joined: December 04, 2010
KitMaker: 11,666 posts
Auto Modeler: 2,974 posts
Posted: Sunday, March 17, 2019 - 10:23 AM UTC
Gavin,

Your rust technique really looks the part.

Joel
The_Snowman
_VISITCOMMUNITY
England - South East, United Kingdom
Joined: August 26, 2015
KitMaker: 92 posts
Auto Modeler: 57 posts
Posted: Sunday, March 17, 2019 - 06:26 PM UTC
Very good point!

Thanks for pointing that out, but arguably the fuel cell could be positioned under the rear bench seat.

Not super safe or practical, but hey this is a convoluted custom sleeper build.
Hwa-Rang
_VISITCOMMUNITY
Kobenhavn, Denmark
Joined: June 29, 2004
KitMaker: 6,760 posts
Auto Modeler: 2,182 posts
Posted: Sunday, March 17, 2019 - 09:56 PM UTC
Rust effect looks great Gavin. Just the look I'm contemplating, for my Samba bus.
AussieReg
Staff MemberAssociate Editor
AUTOMODELER
#007
_VISITCOMMUNITY
Victoria, Australia
Joined: June 09, 2009
KitMaker: 8,156 posts
Auto Modeler: 2,953 posts
Posted: Monday, March 18, 2019 - 01:00 AM UTC
Lovely job on the chipping, did you use the AK Heavy Chipping Medium that I can see in one of the earlier images? I like the "Go Faster Dial" as well, a subtle indicator that all might not be as it seems there

Looking forward to more progress here.

Cheers, D
Stickframe
#362
_VISITCOMMUNITY
California, United States
Joined: December 01, 2013
KitMaker: 1,661 posts
Auto Modeler: 431 posts
Posted: Monday, March 18, 2019 - 03:25 AM UTC
Hi Gavin,

That bus has seen better days Looking good! Am now waiting to see what it looks like with the tell tale, wide, low profile tires poking through the fender wells!

Cheers
Nick
The_Snowman
_VISITCOMMUNITY
England - South East, United Kingdom
Joined: August 26, 2015
KitMaker: 92 posts
Auto Modeler: 57 posts
Posted: Monday, March 18, 2019 - 11:11 AM UTC
Spot on and well spotted!
 _GOTOTOP