Finally another update.
Well the adventure of those imperfection lines in the plastic as I posted have been taken care of.
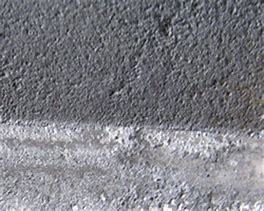
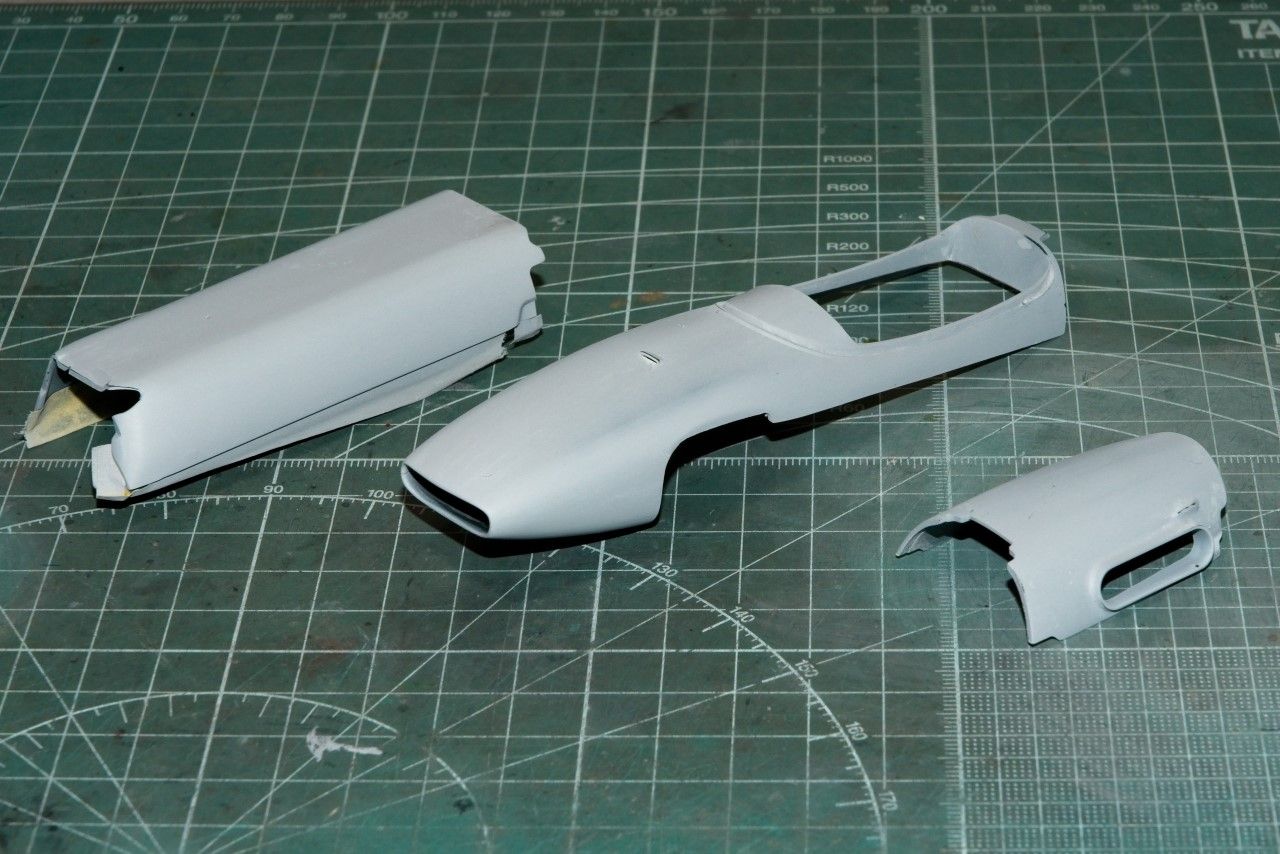
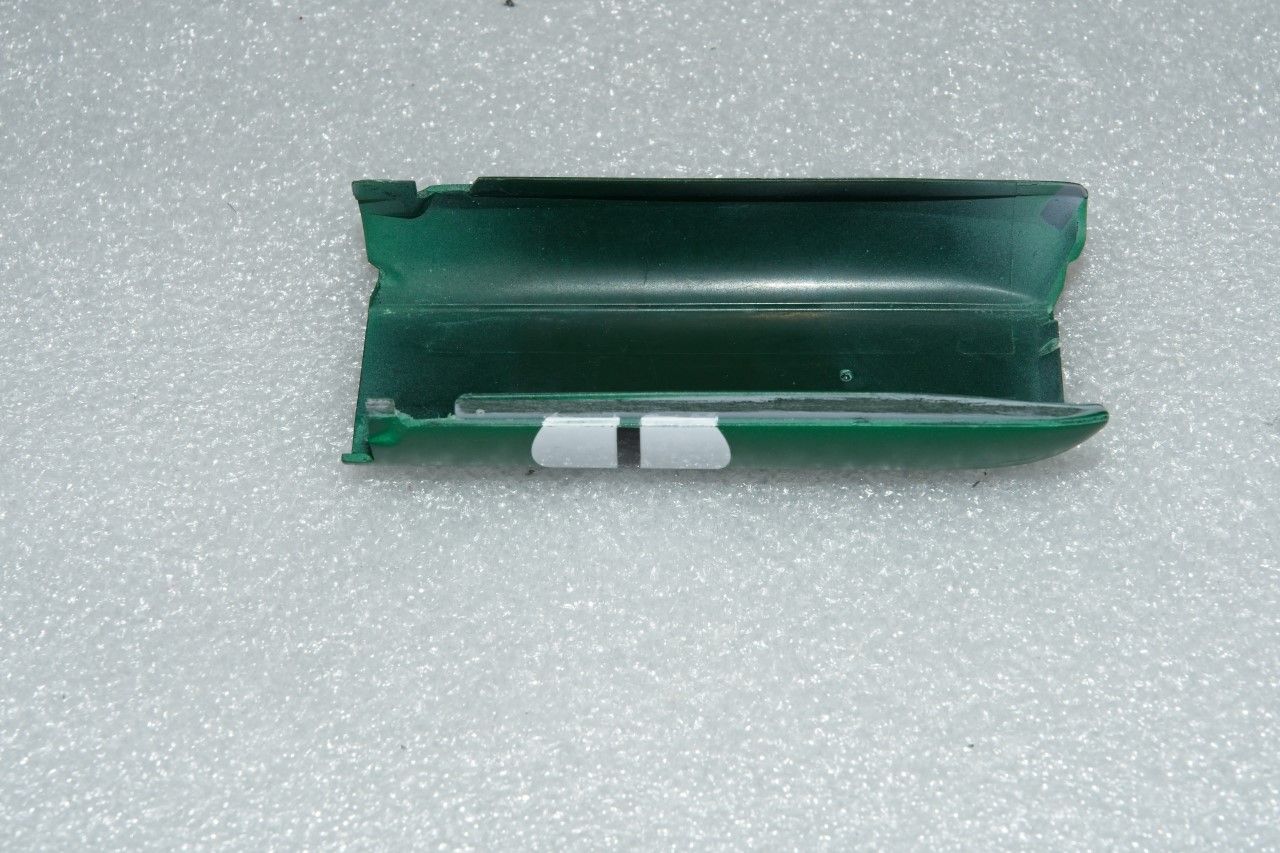
I didn't remember taking any pictures, but I guess I just forgot. Here's the basic imperfection in the top of the shell.
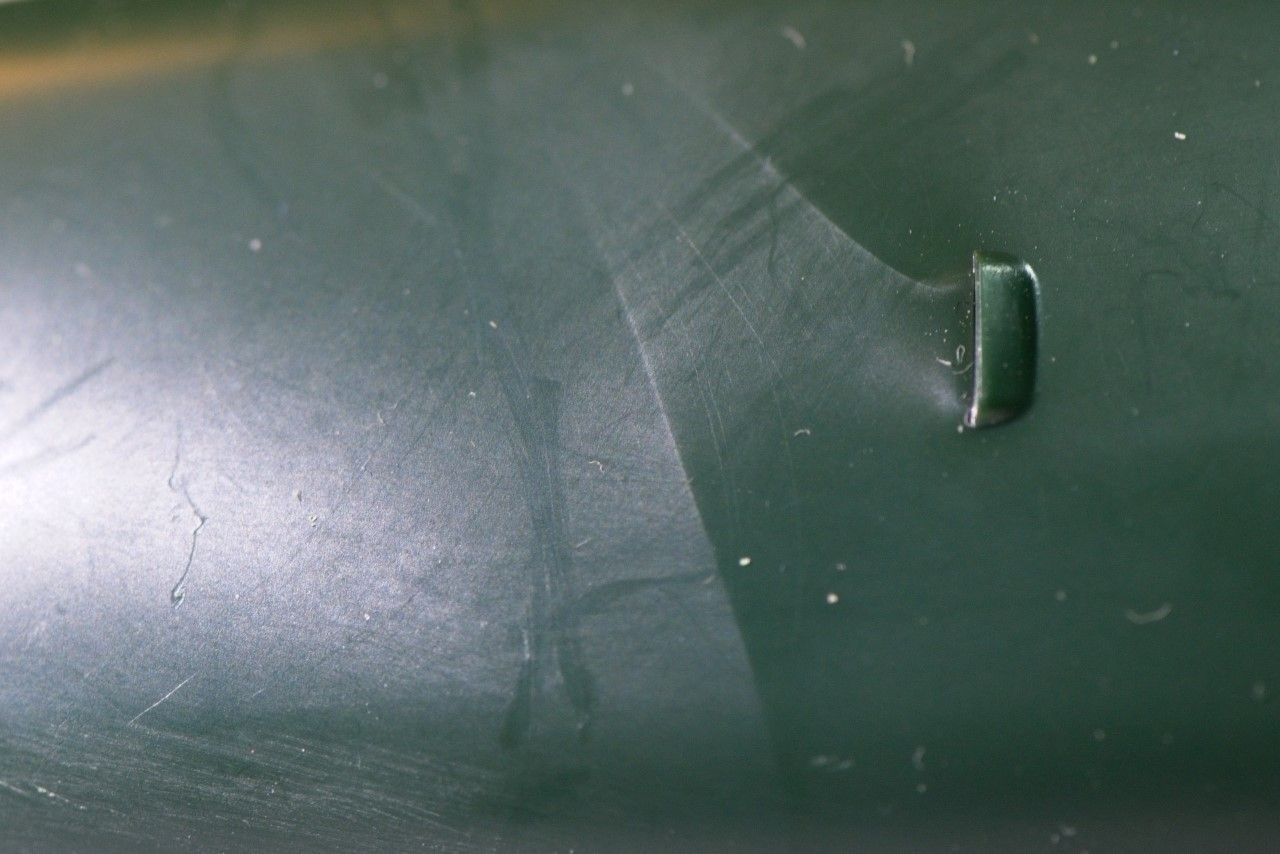
and here's a post sanding but not polished as yet picture without those pesky swirls.
After those swirl marks showed up, I did a few Google searches on reviews of the kit, and found a link to a Eastern European modeling site that was actually in both languages. Now that's a really nice touch. Anyway, they had posted pictures of the sprue trees, so I checked out the one with the shells, and guess what? They also had those same swirl marks in the same places.
Now that threw all of theories we came up with, as there is no way that my kit and theirs are from the same pour. So it has to be something with the melted plastic. Then a few day later I was watching a video on You Tube by Paul of the International ScaleModeler building a Tamiya 1/24 scale Mercedes kit. And when he had a close up of the body there were those swirl marks again. Now Tamiya and Ebbro are basically the same company, so the kits are most likely molded from the same plastic in the same machines. At this point I really have no idea of what the issue is, but light sanding/polishing prior to priming takes care of the problem. so that's my new building procedure.
Ok, enough of the swirls, and back to the BT18.
I once again primed with Mr. Hobby 1,500 primer thinned 1:1 with Mr. Hobby leveling Thinner.
And the swirls were gone for good.
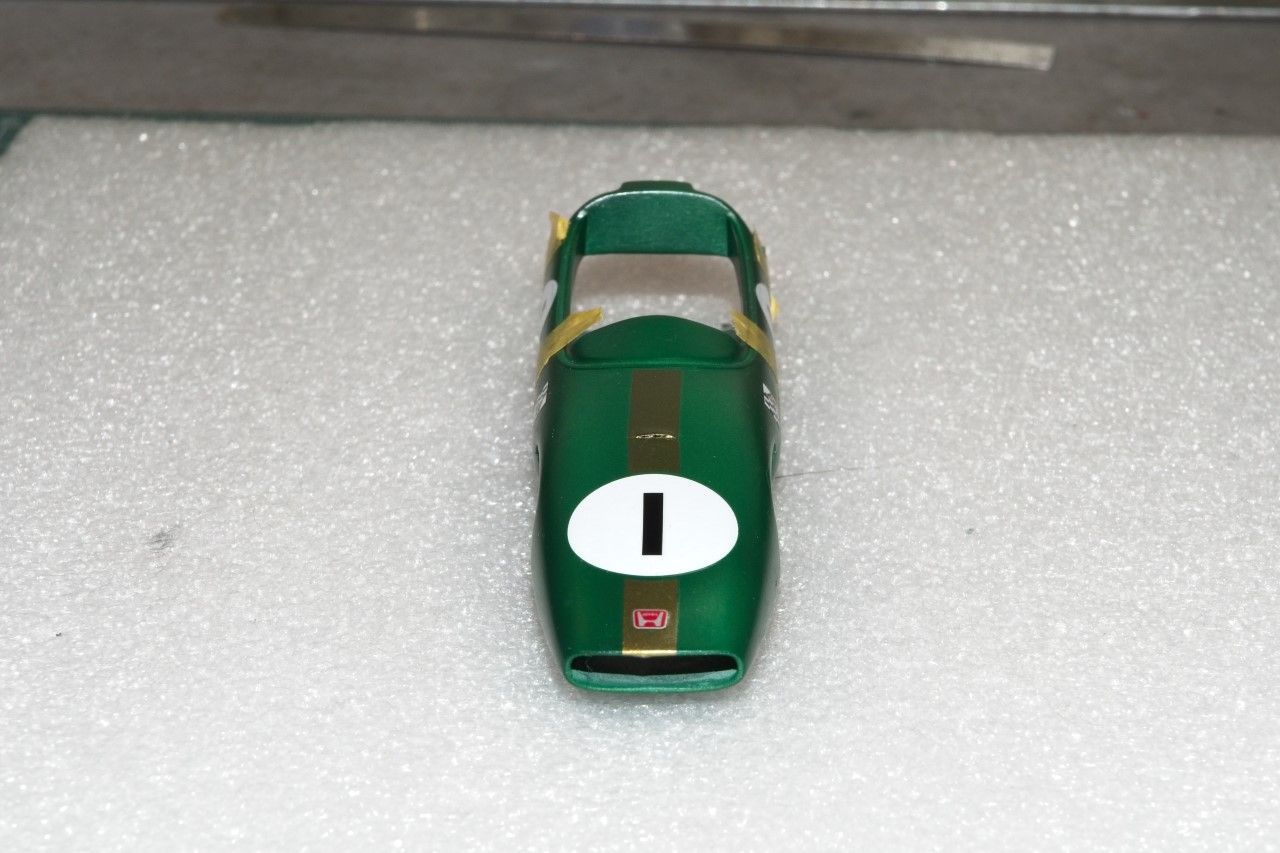
I let the body parts dry overnight, then they were all lightly wet sanded with #3,000 Tamiya Sponge. Now it's time once again to repaint the 3 body shell parts with Gravity's GC 113 BRG. Two tack coats, followed by 2 wet coats. Looks darn good by my standards

I gave the shells a full 24 hours to cure, then I lightly wet sanded them with Tamiya #3,000 sponge. I only wish that they made grits to 12,000. I've yet to find a resource that sells sheets of Emery cloth separately, not in those little expensive packs of 5 sheets each.
I gave the shells a wipe with my tack cloth, then proceeded to apply the kit decals. Now I haven't used kit decals in quite a while, as I prefer AM decals whenever possible. I used my modified Paul Budzik's procedure of Microscale set, sol, and then Walthers Solvaset.
The decals after 15 seconds in warm water came right off the backing paper. But they sure didn't want to stick to the polished plastic without letting each solution setup for a good min or so. Once down, they looked pretty good.
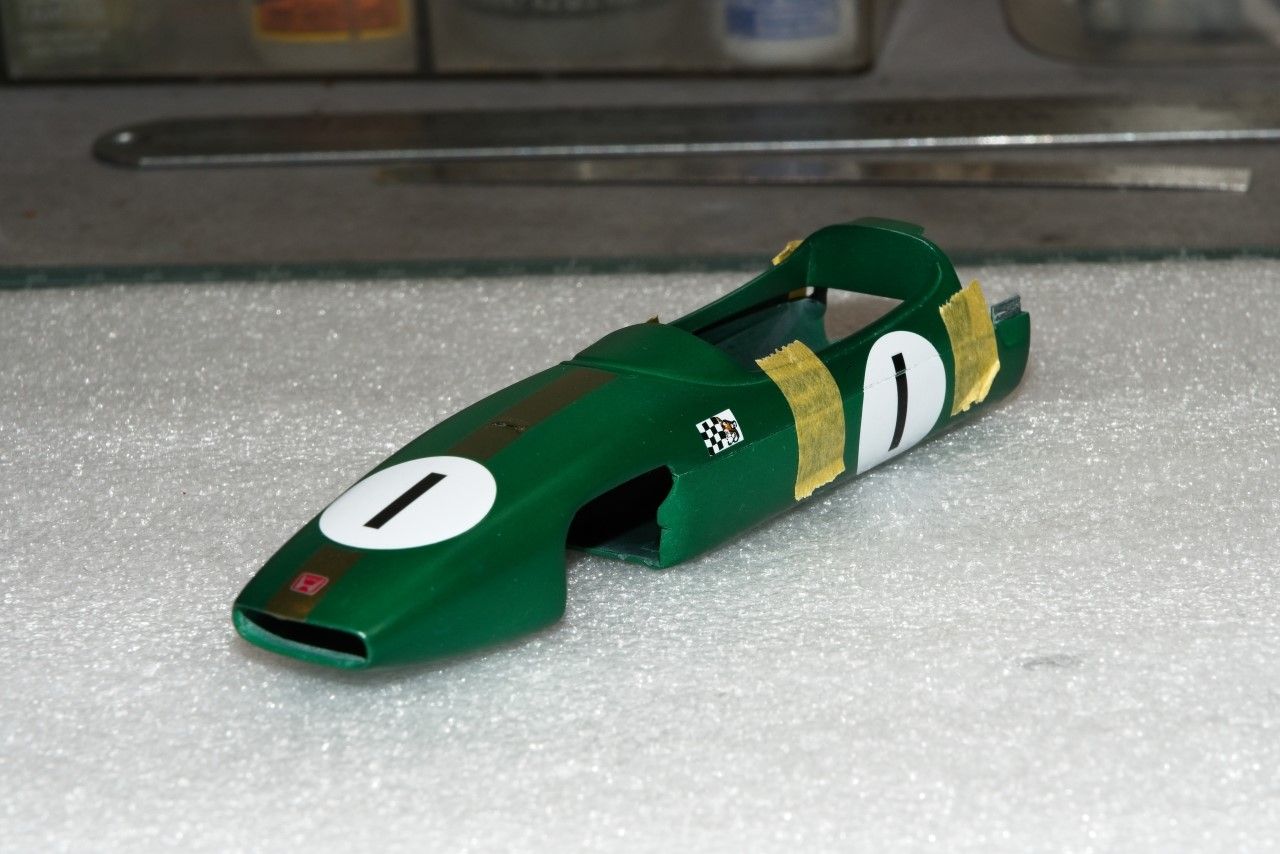
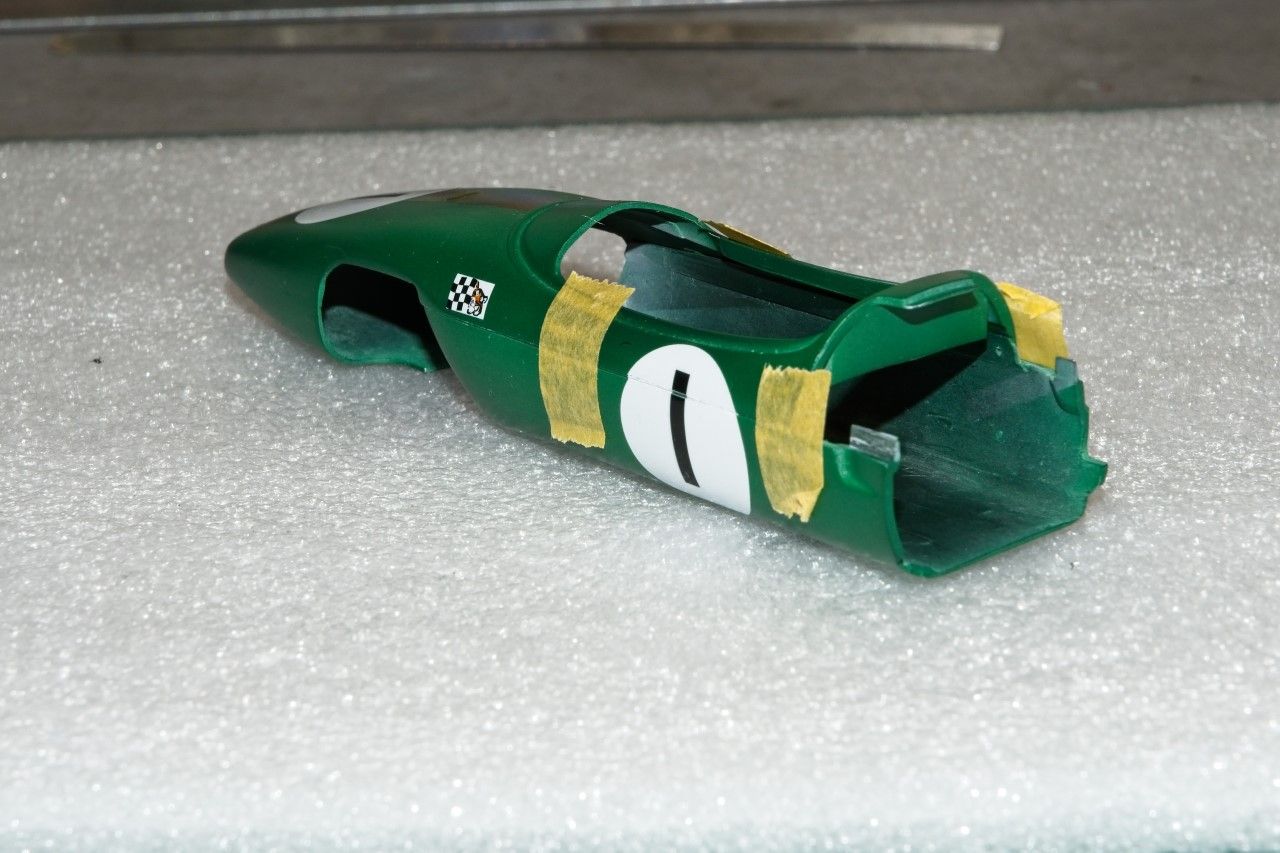
there are no panel lines, so I don't know how well they would settle down into them. But from all the issues I had with getting the stripe to conform to the small top intake, I have my doubts. It took several applications of Solvaset to win that battle.
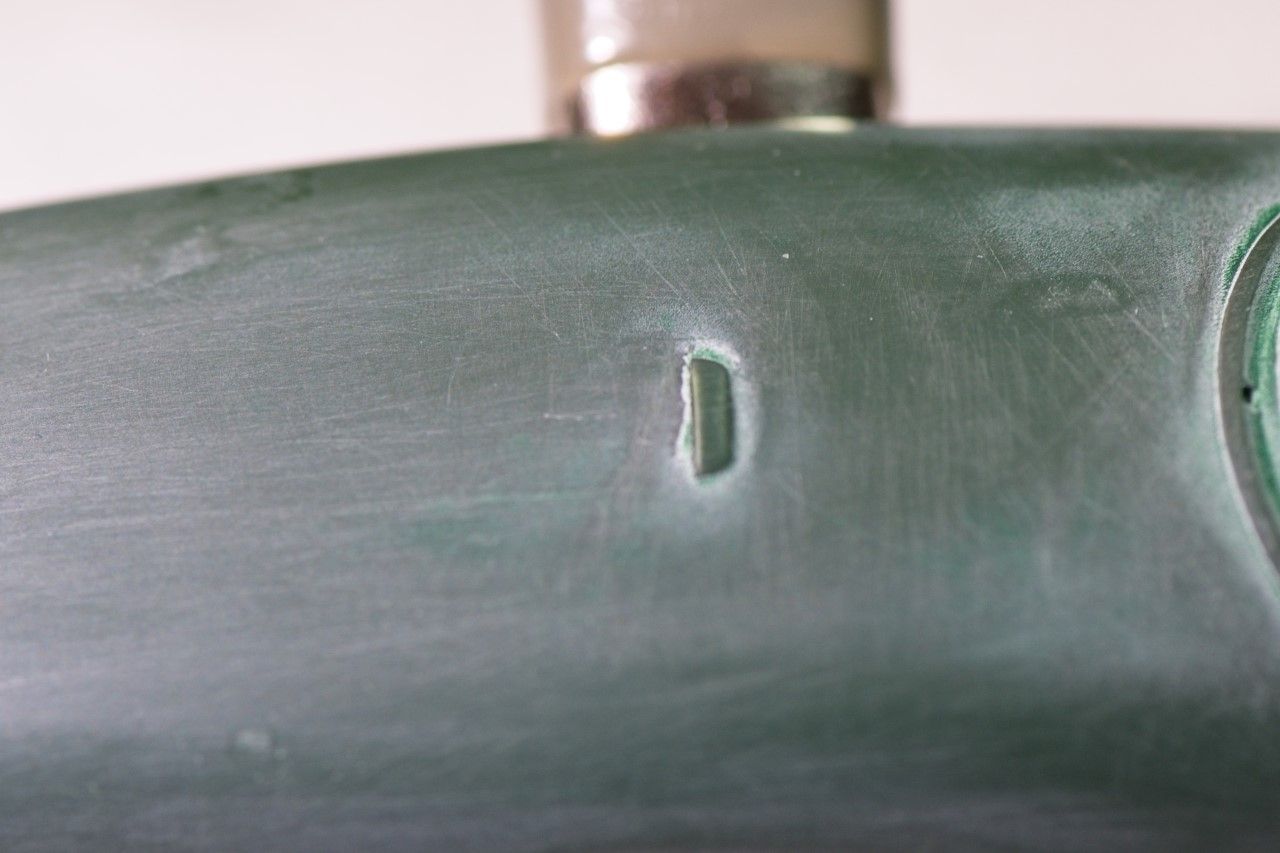
One issue I had is that the side number circles and numbers are each separate so they have to be layered. I let the circles dry off for a full 24 hours before applying the numbers. Also they opted to make both the numbers and the circles in upper and lower pieces. While that makes not having to deal with those rather large gaps, once dry, you see a black separation line between. So I hand painted the white as it would have looked folded over, but not the black. I have a few places to touch up, but it solved the problem, as you can see from looking at the body panel pictures.
Thanks for stopping by and checking out my BT18 to date. As usual, it's always appreciated.
Joel