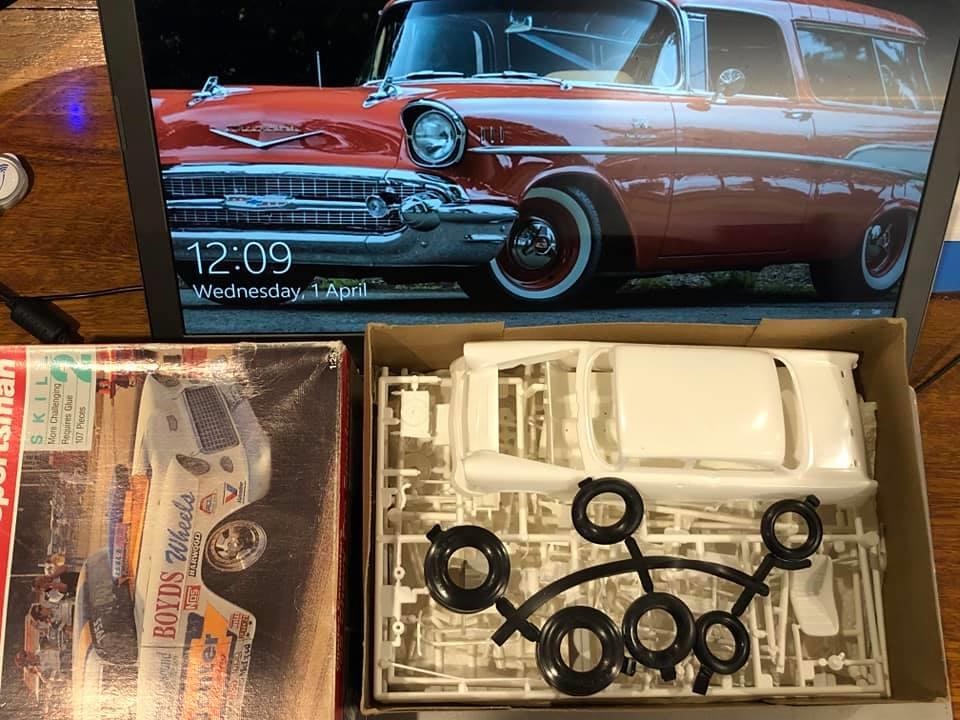
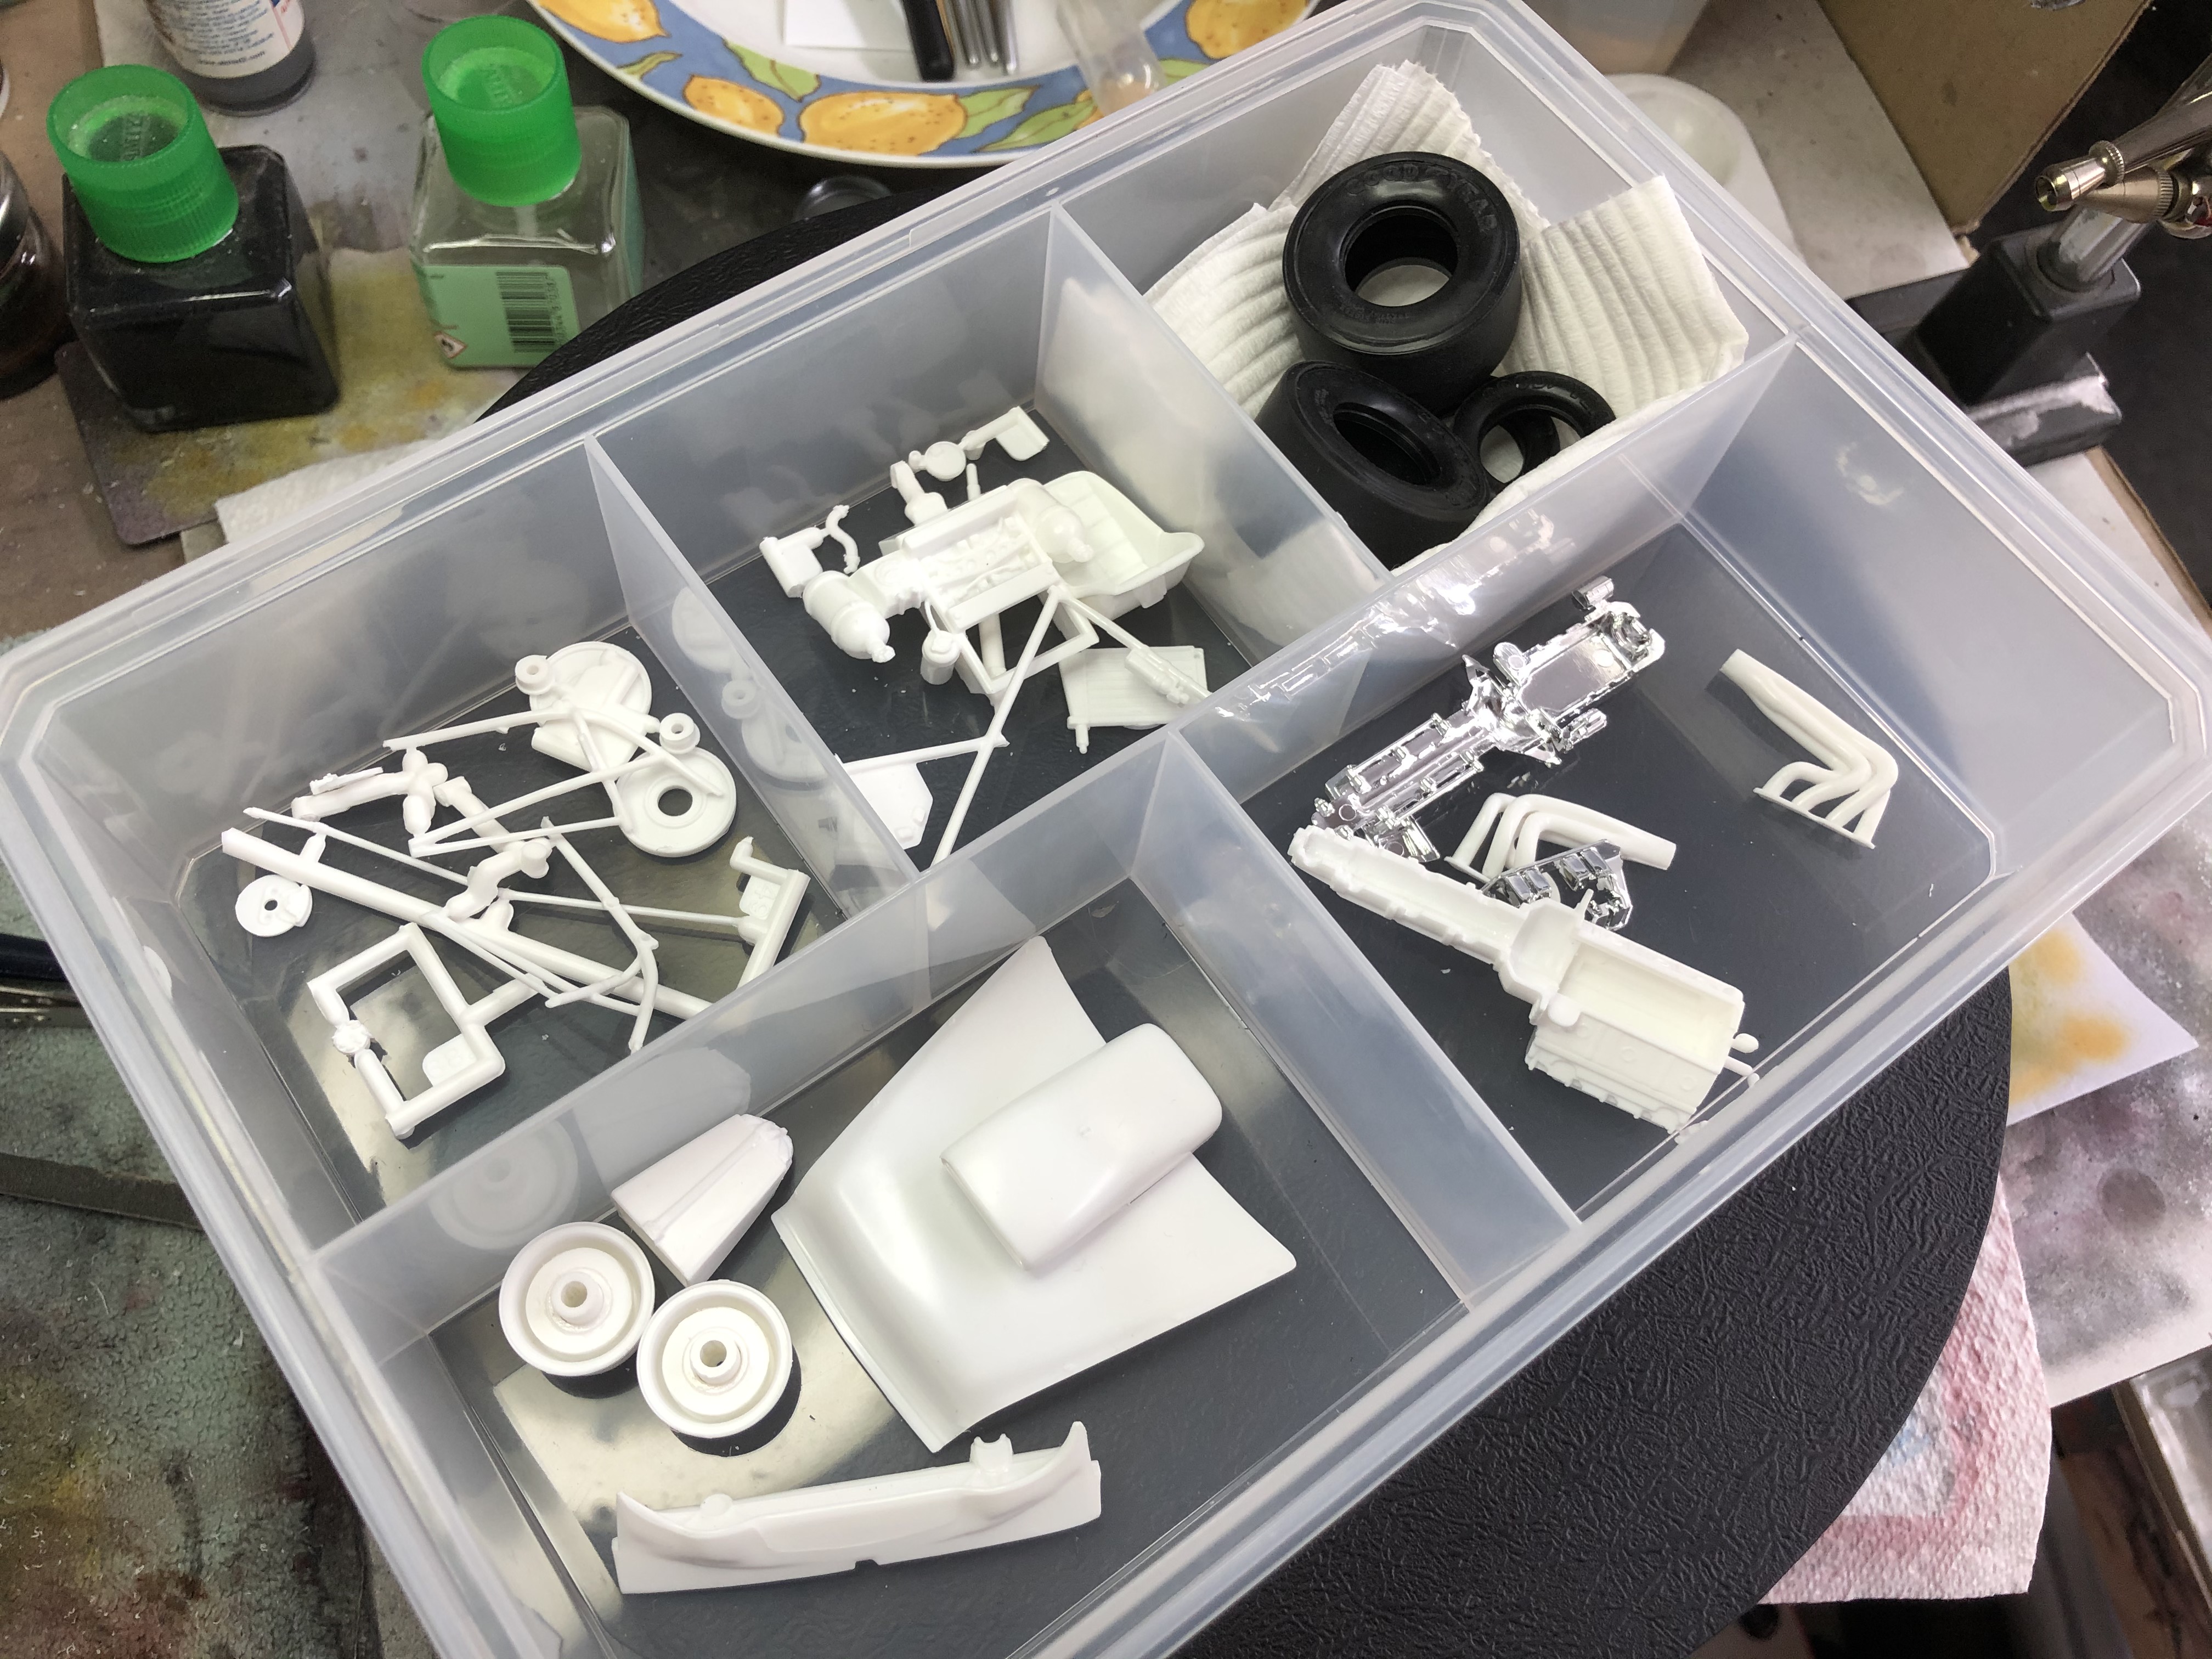
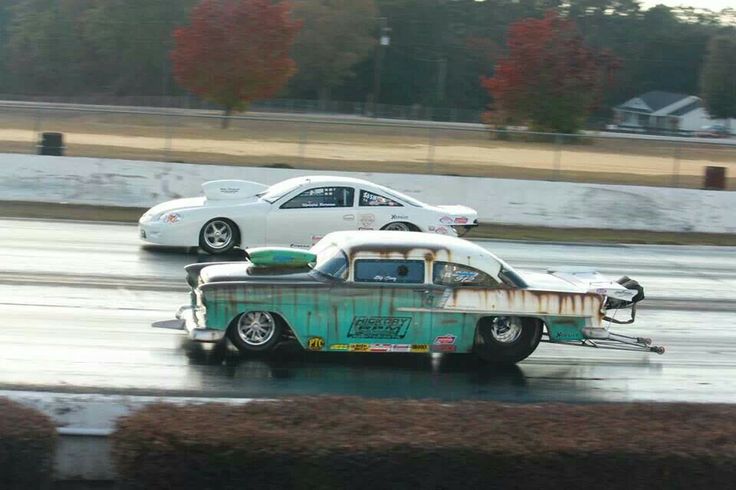
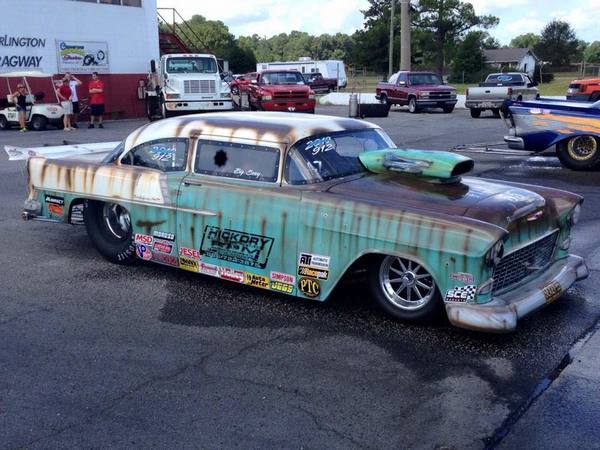
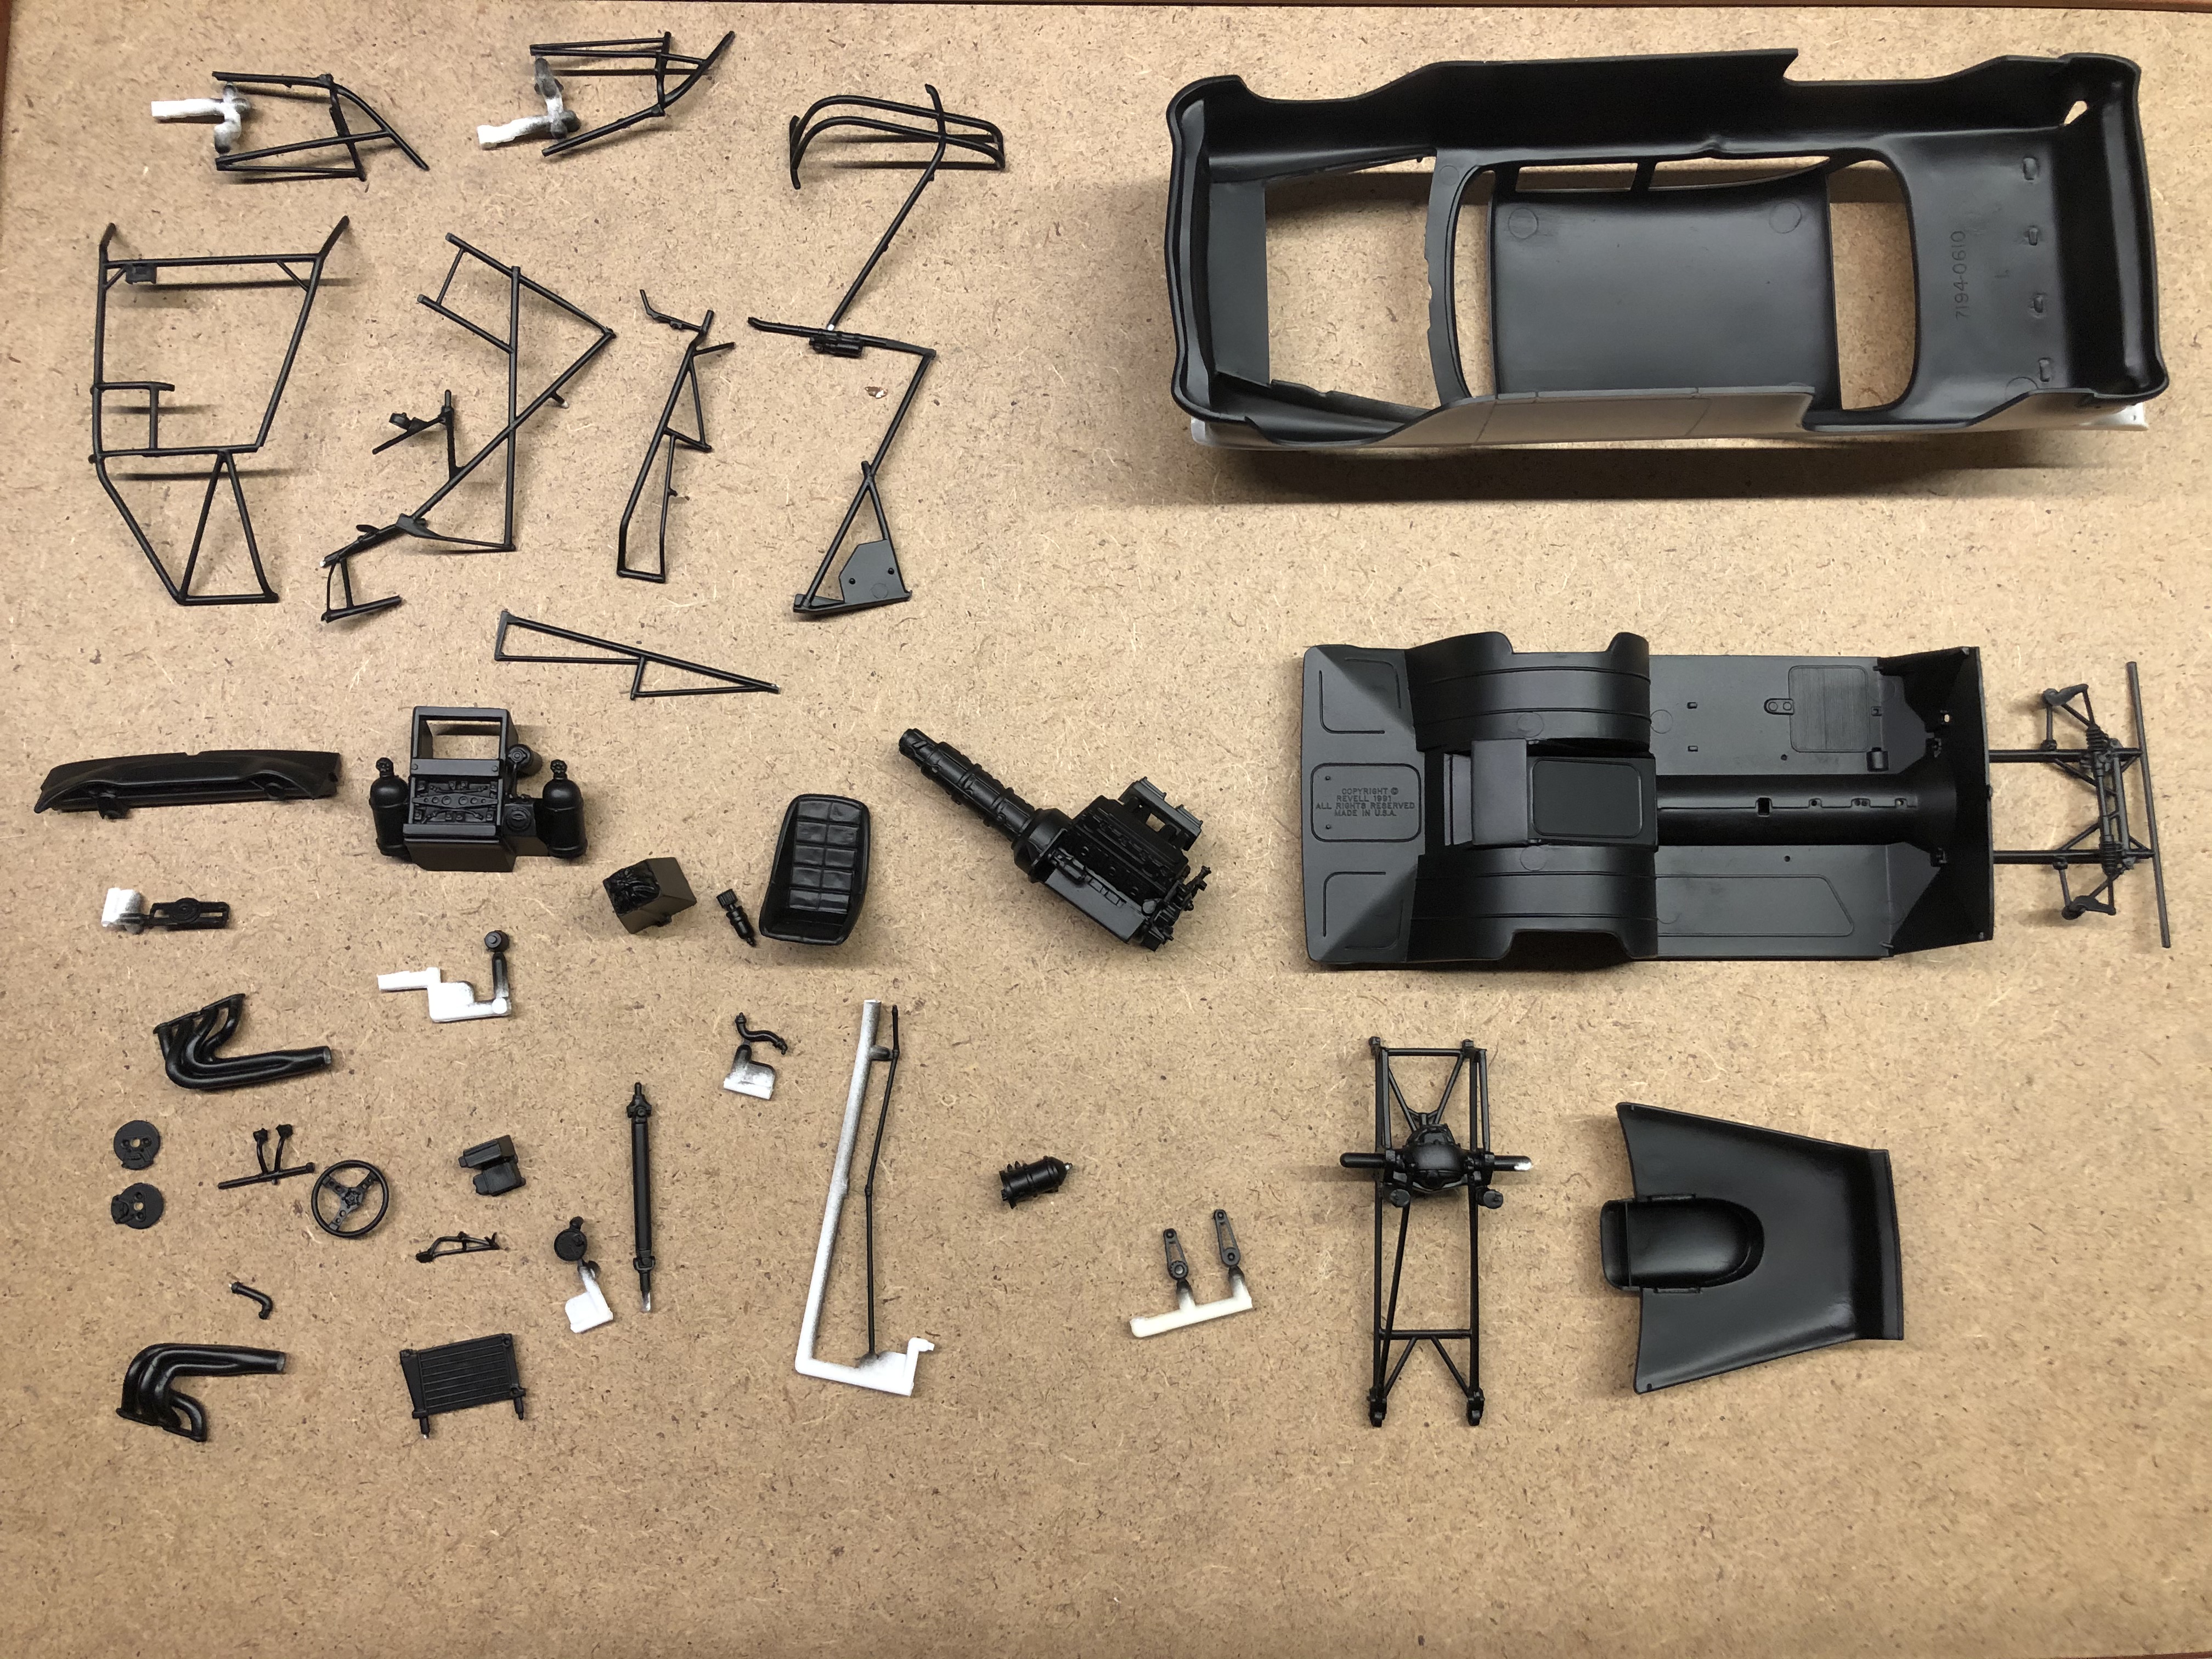
Time to bring the thread up to speed with my '55 build!
May 8th updateIt took an "After Midnight" airbrush session, but I got some bling on!
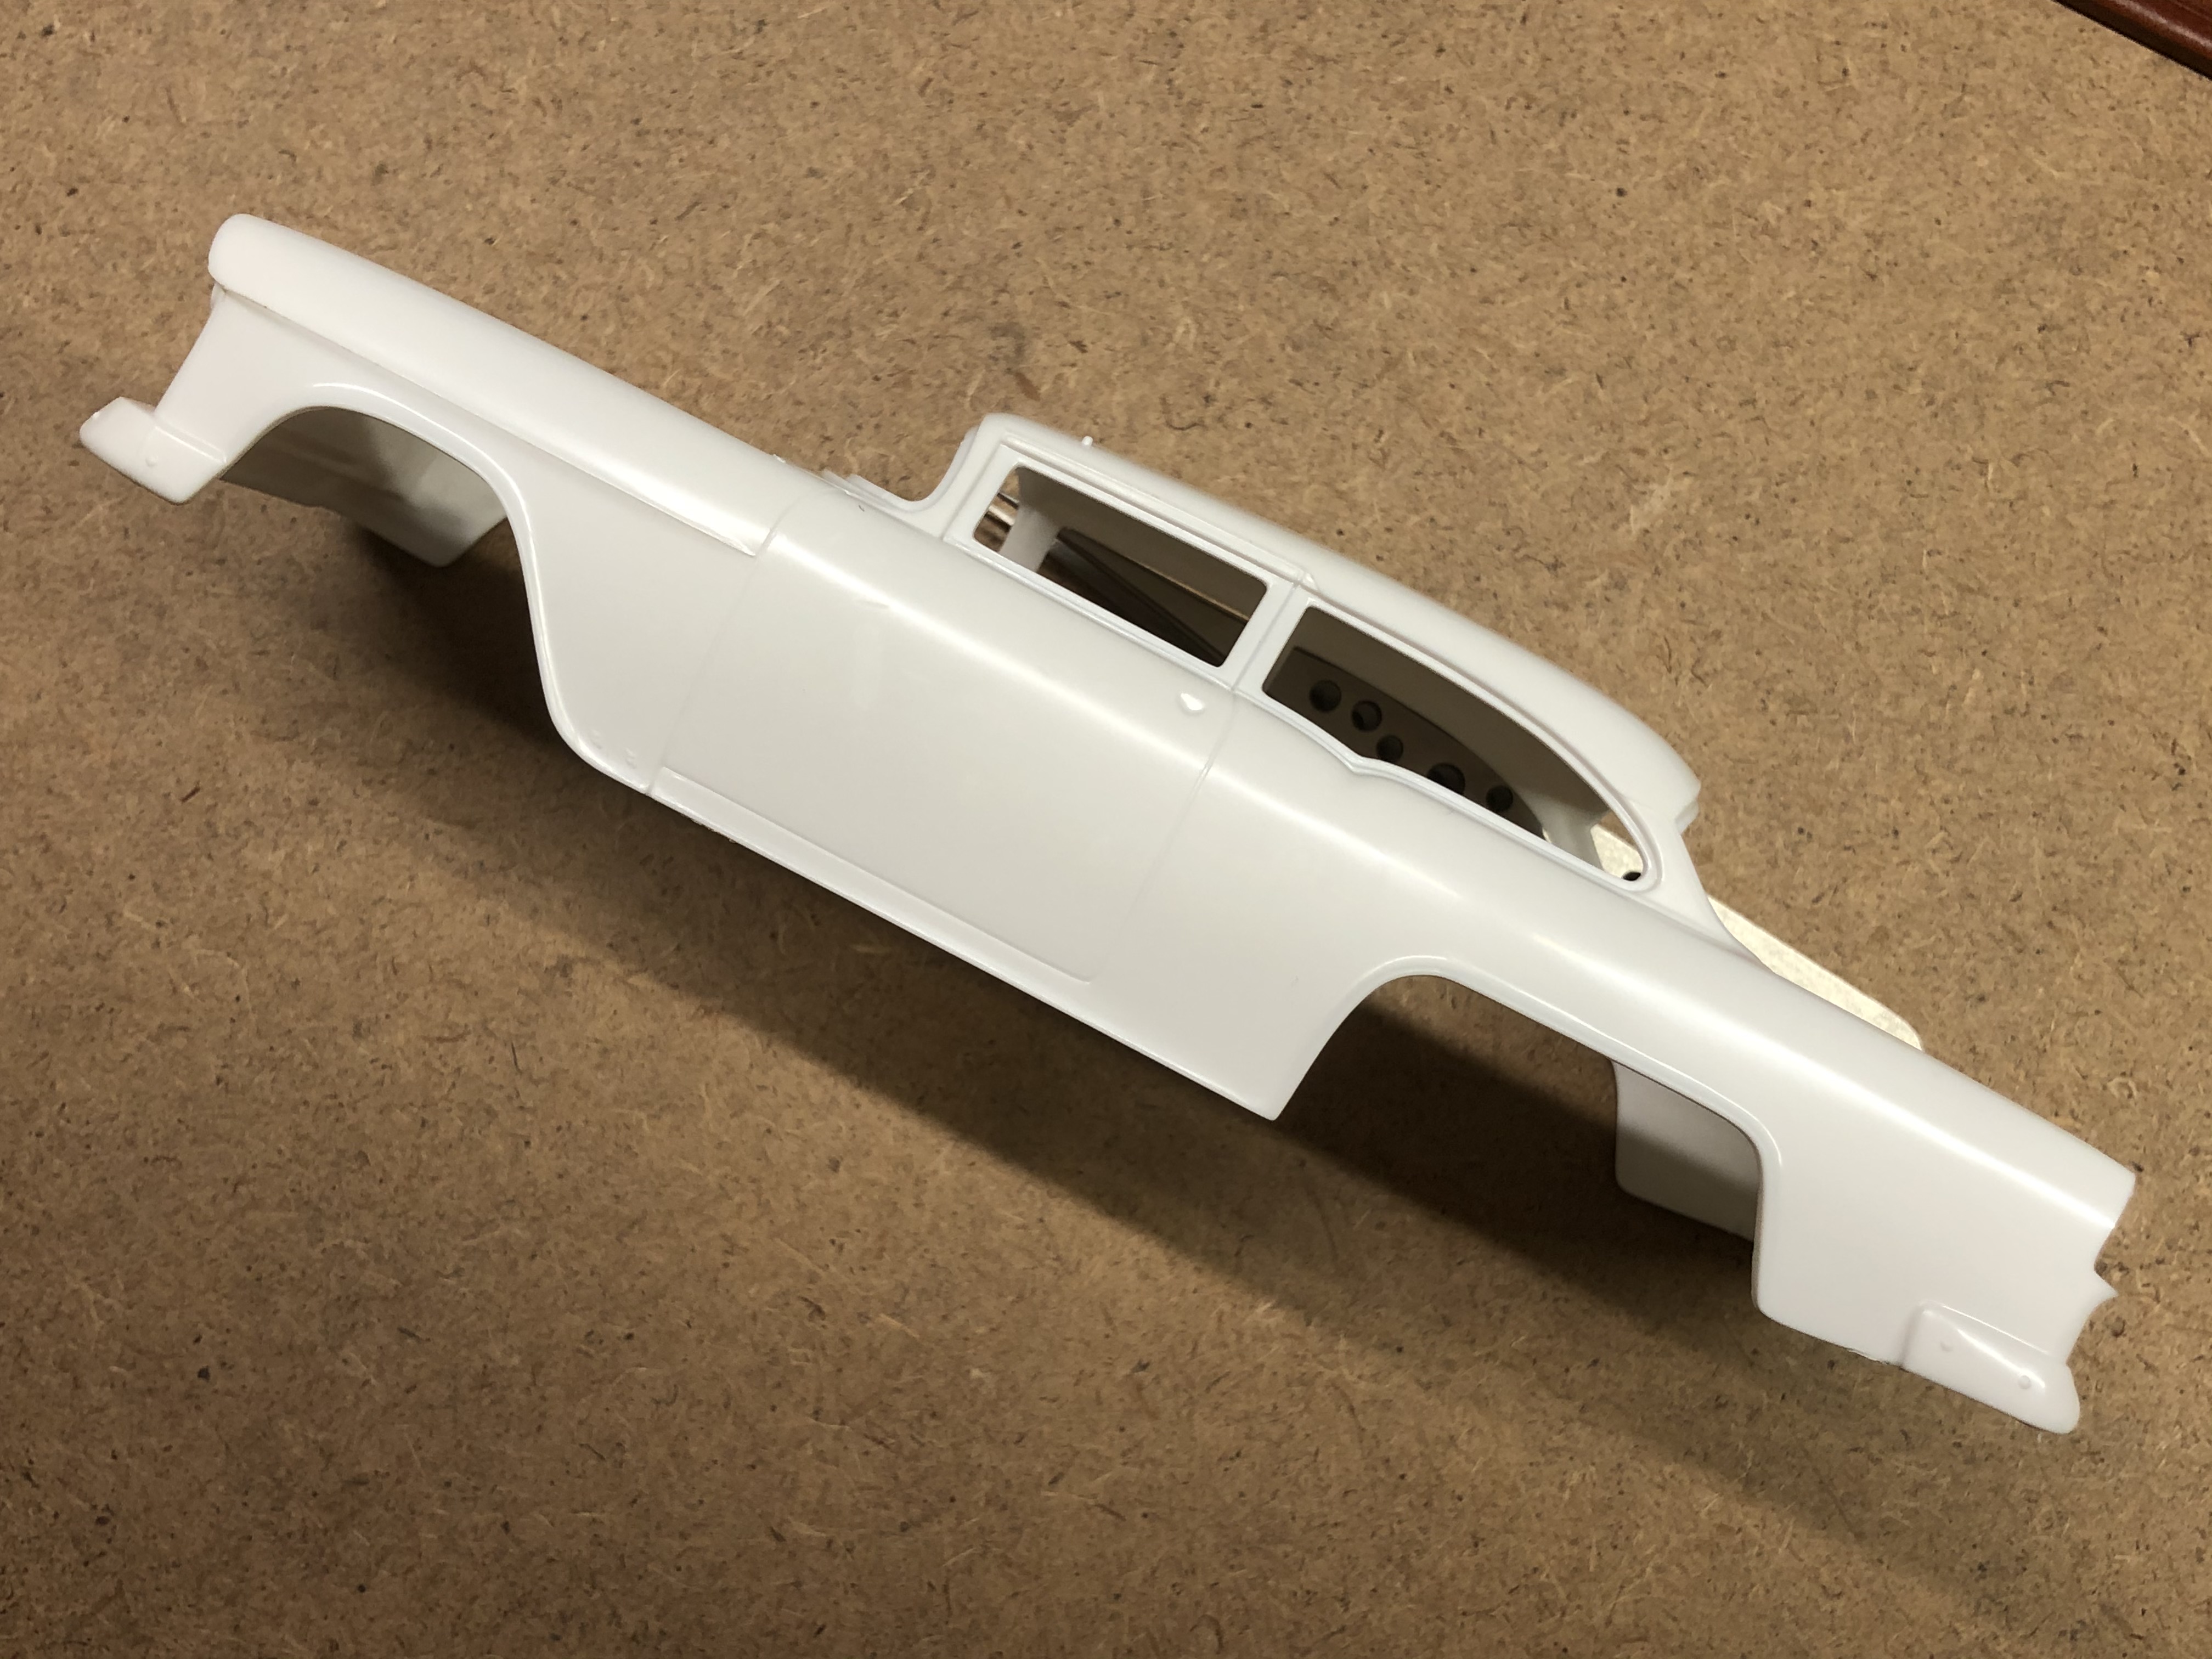
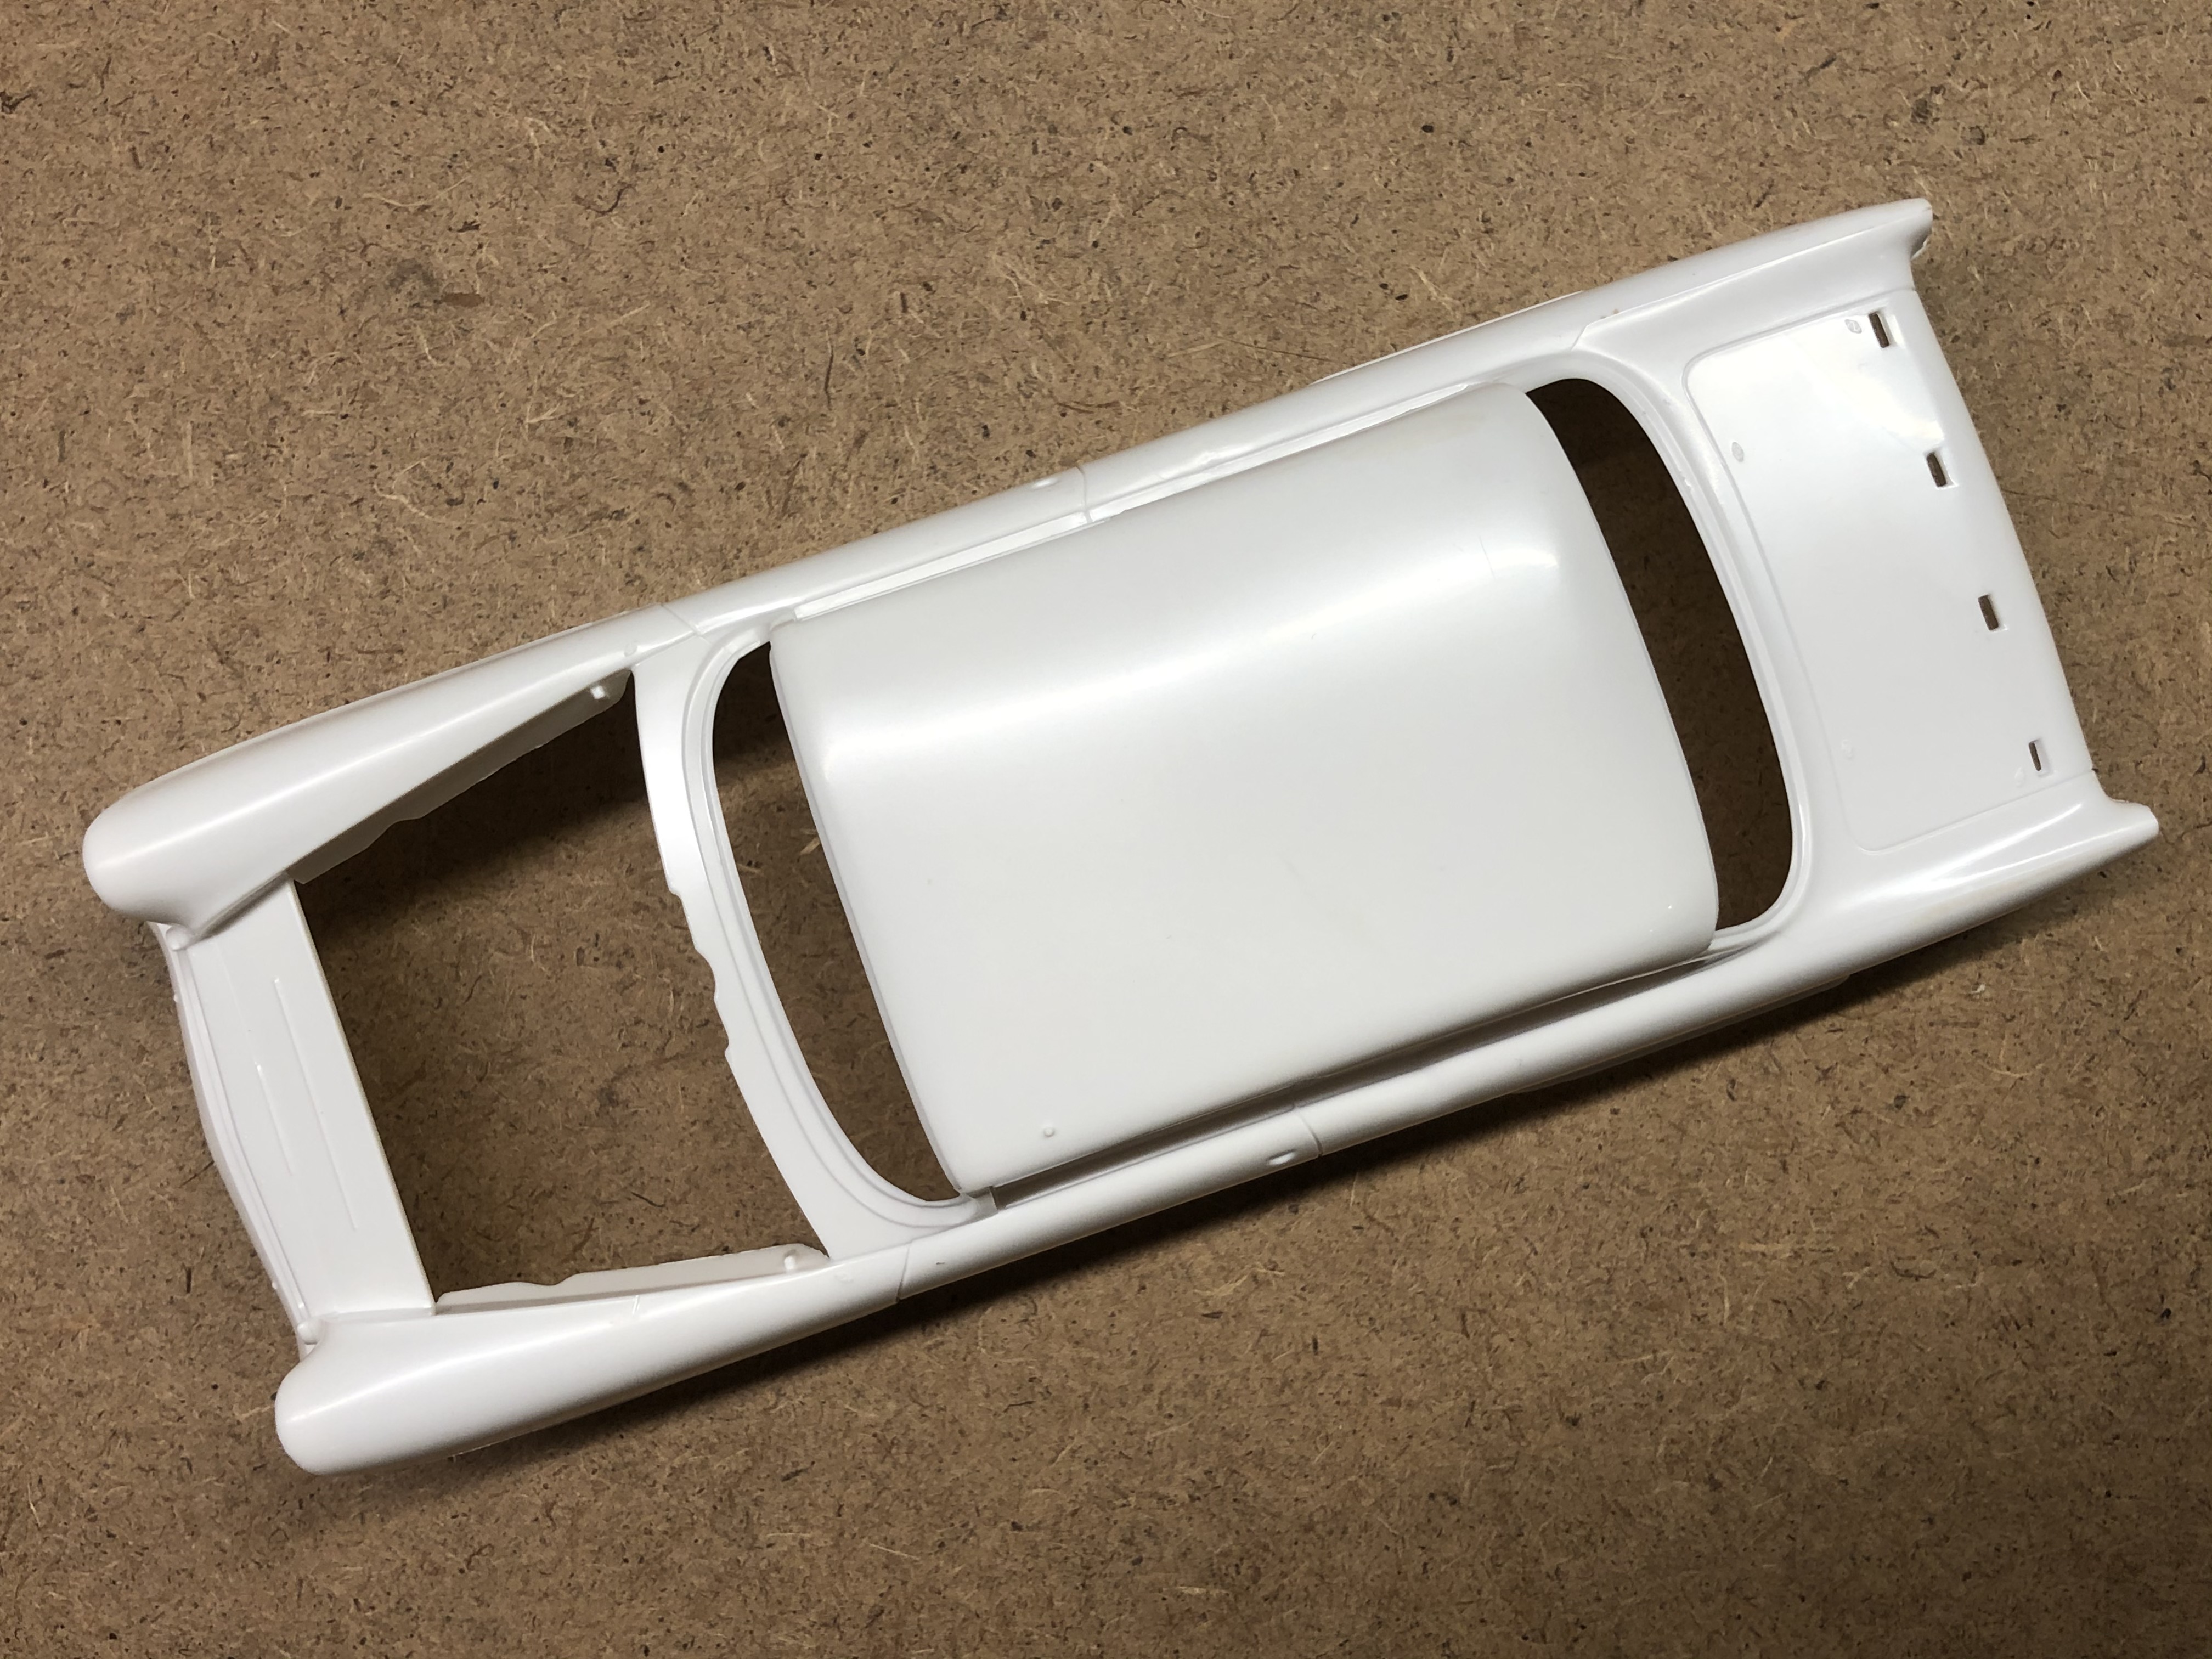
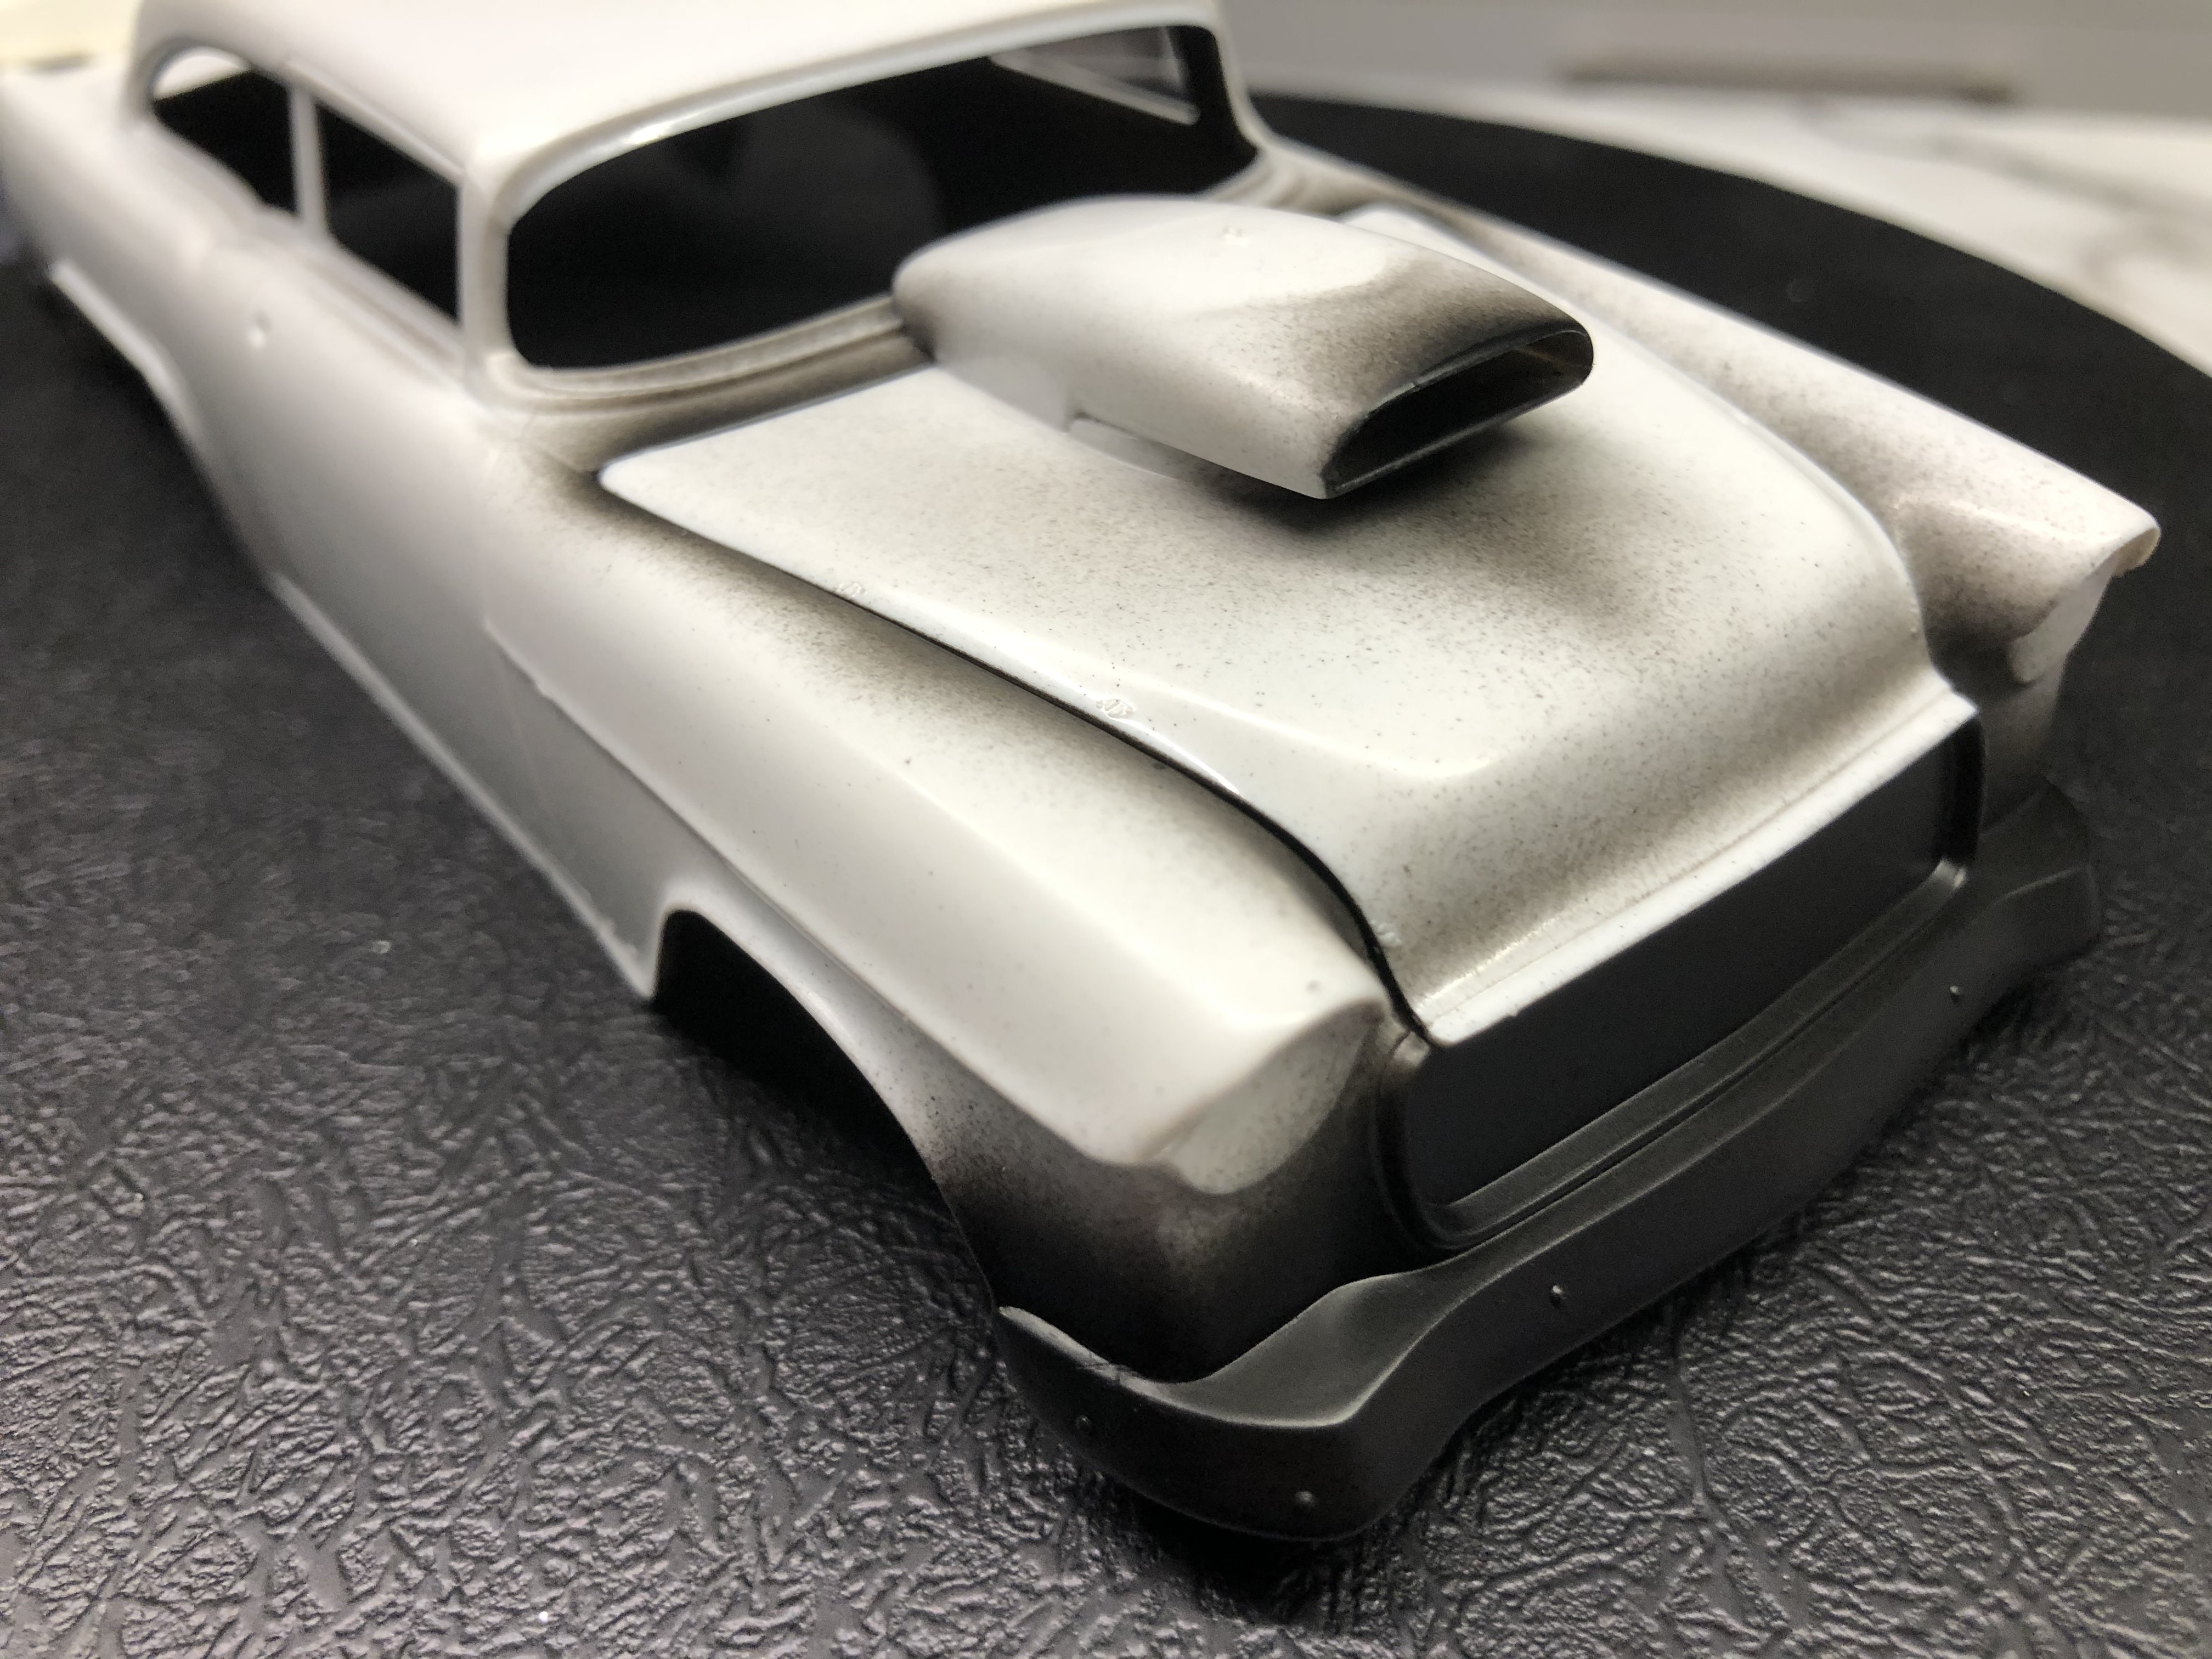
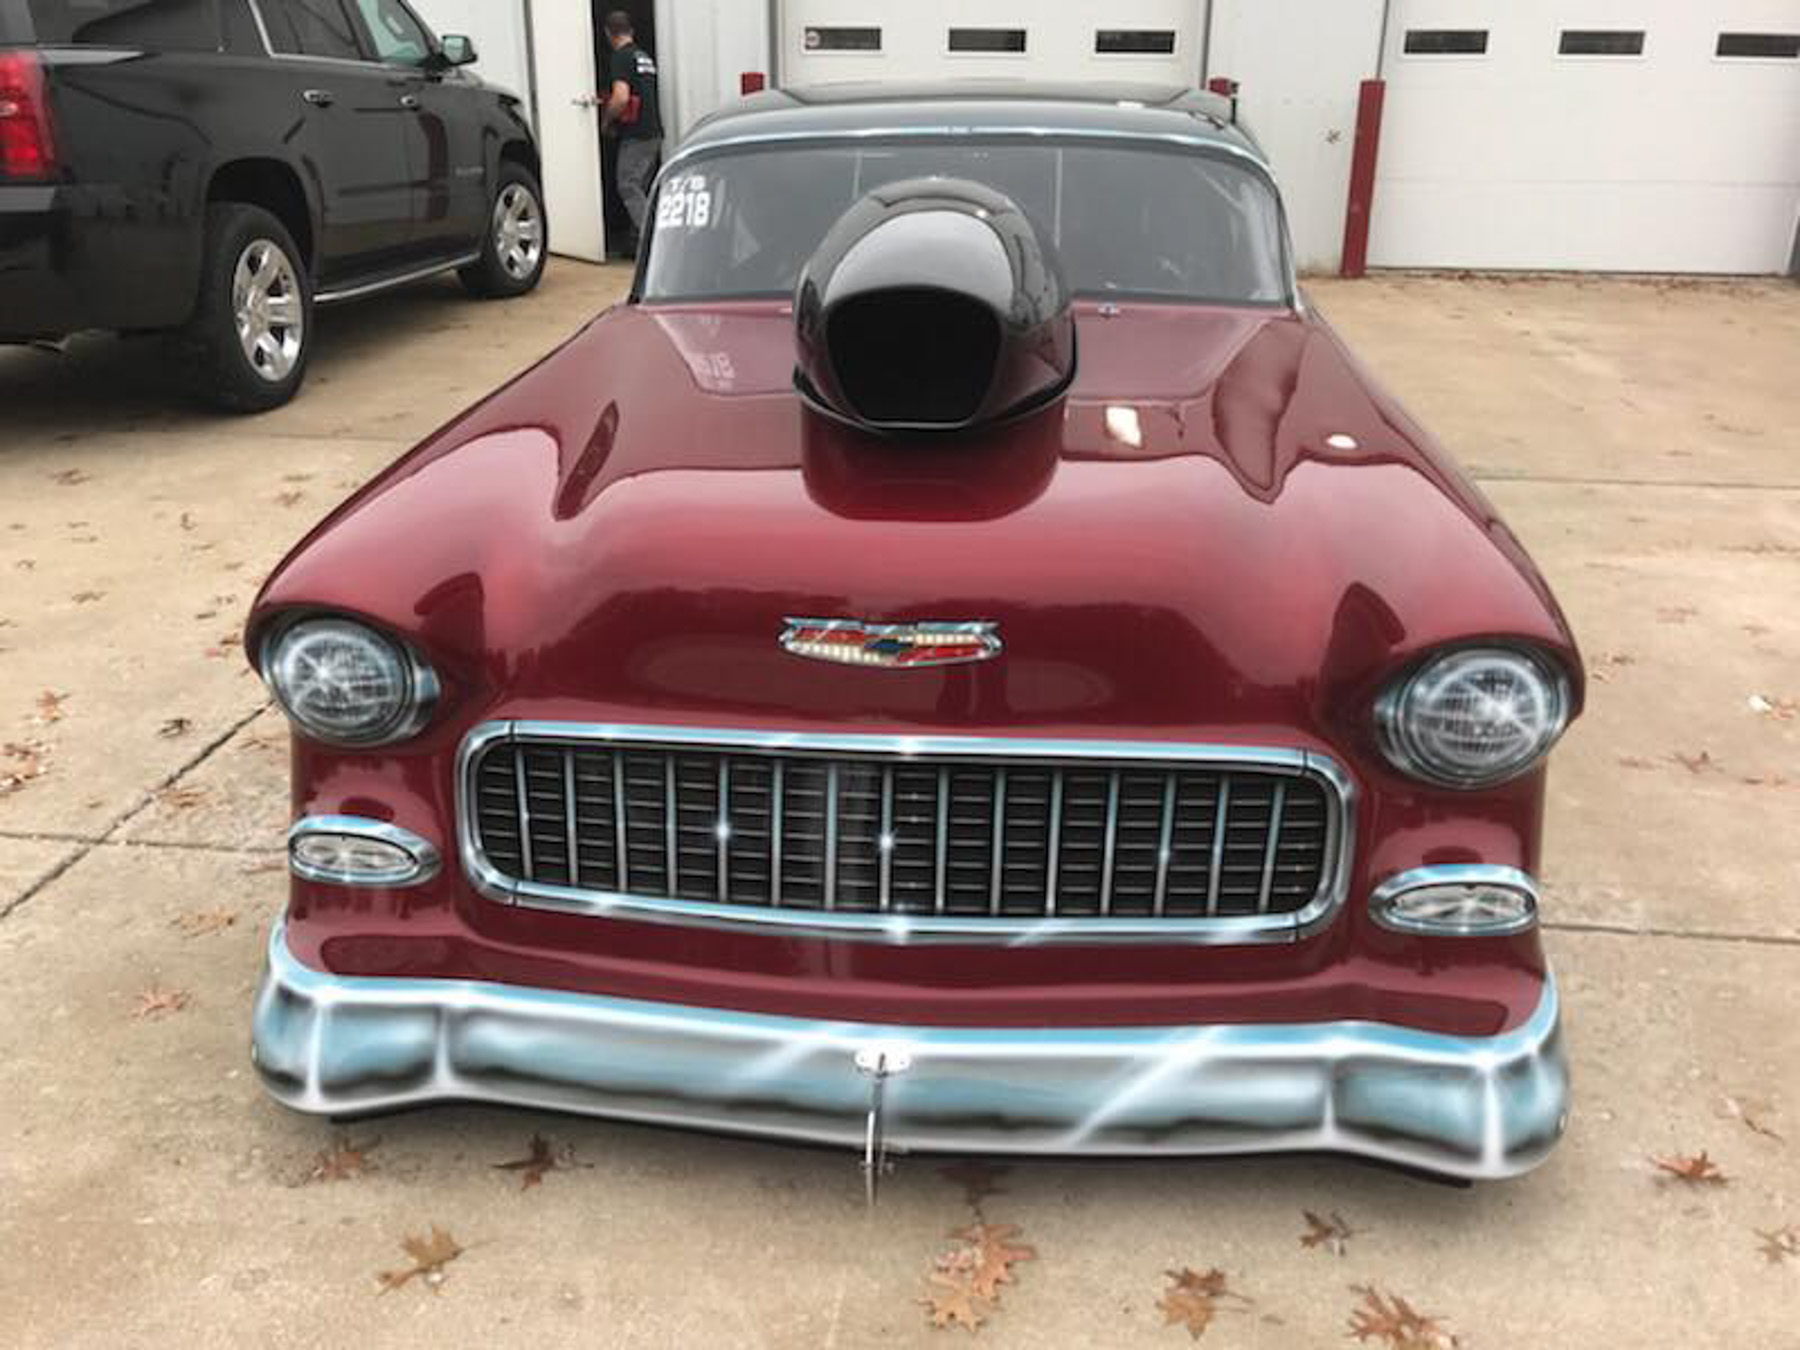
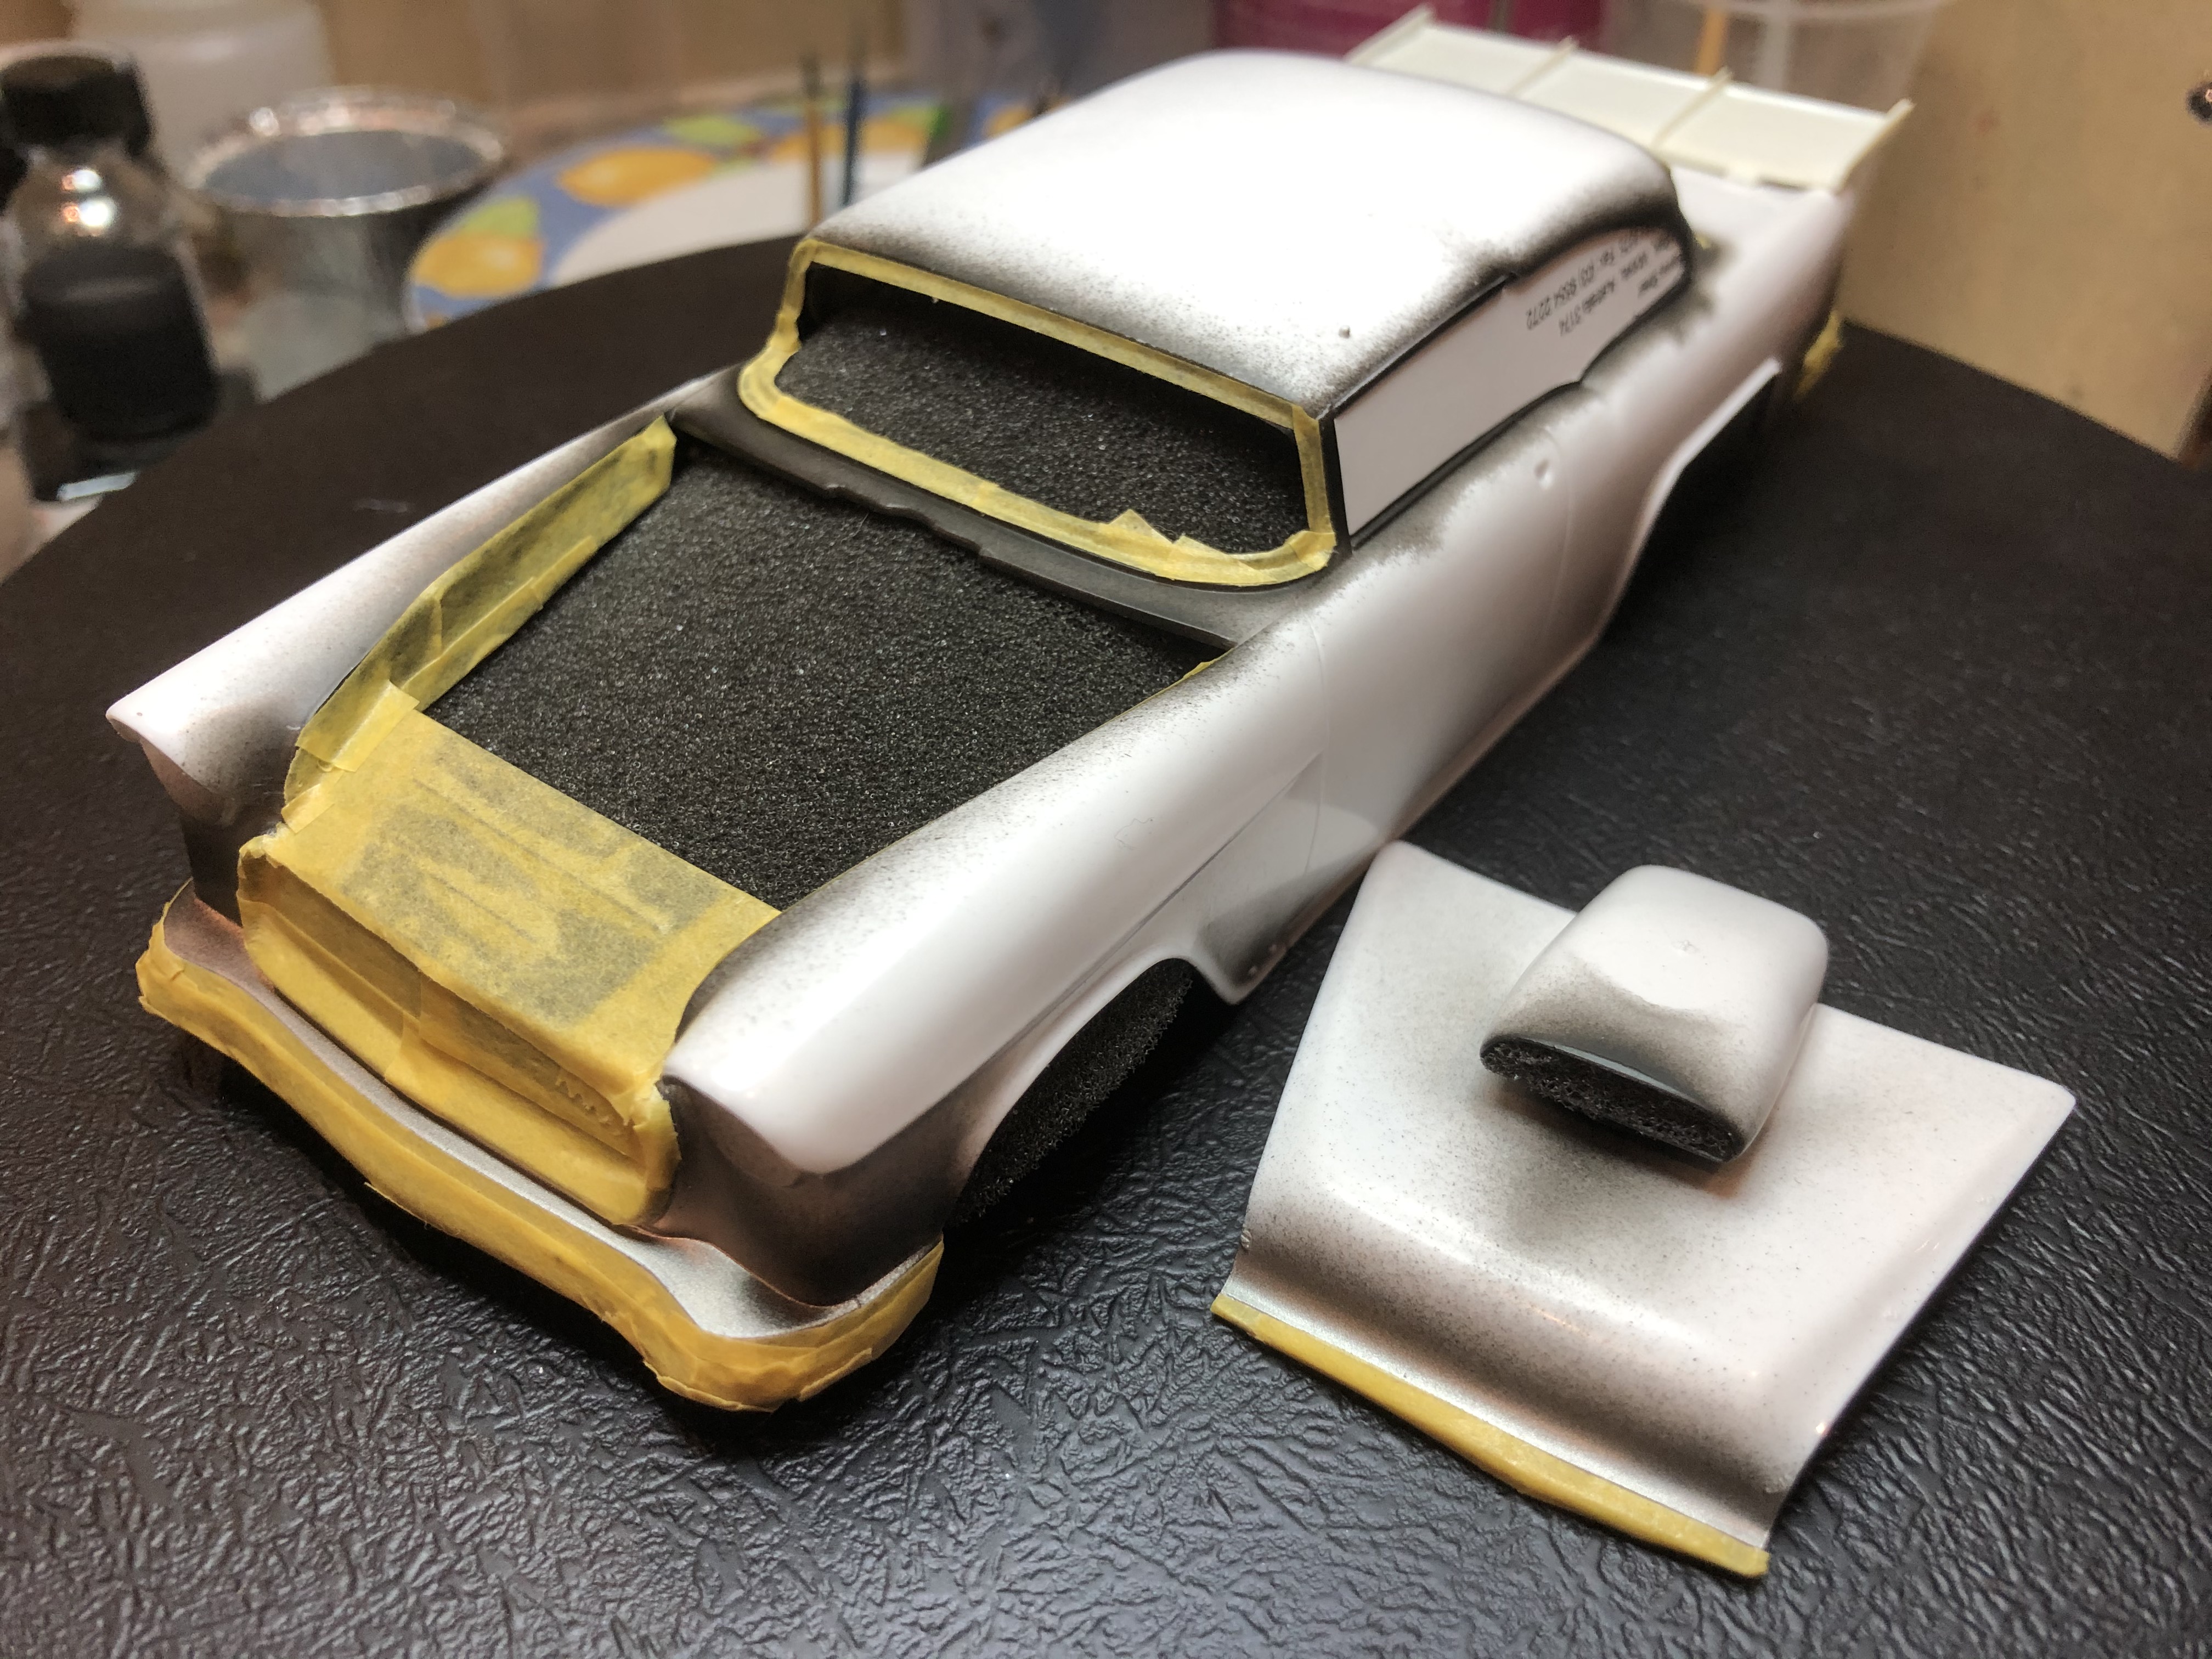
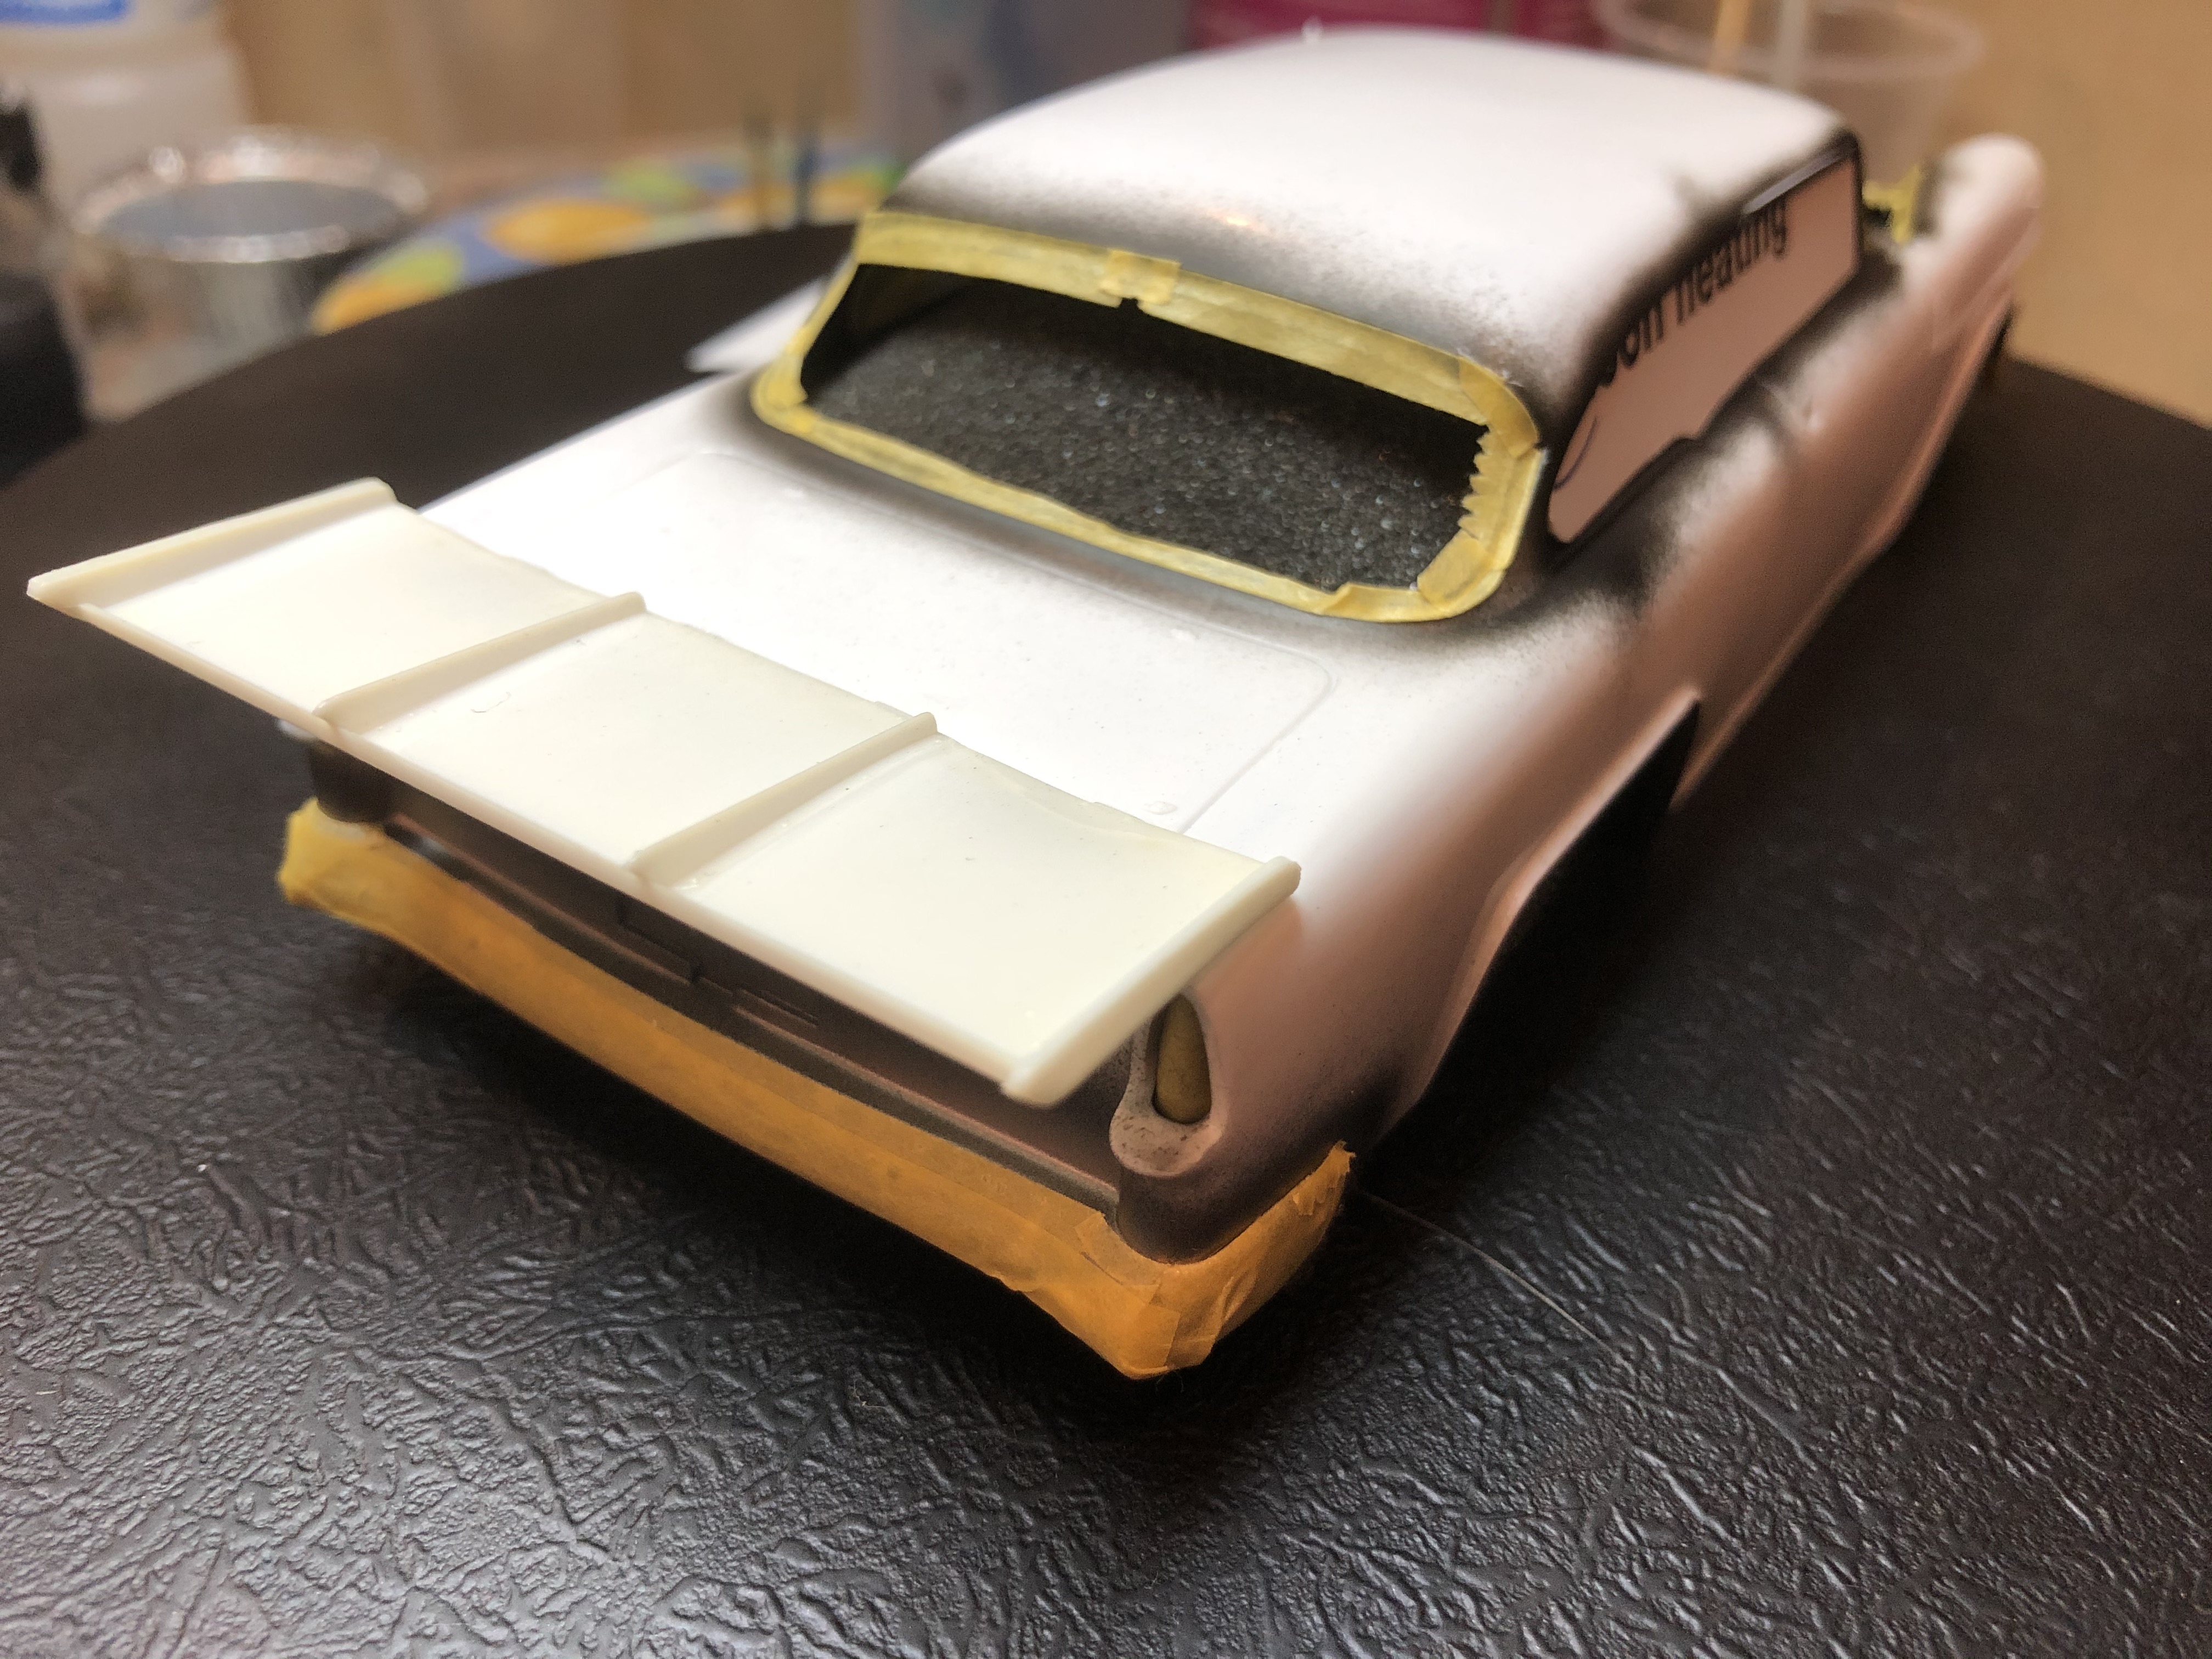
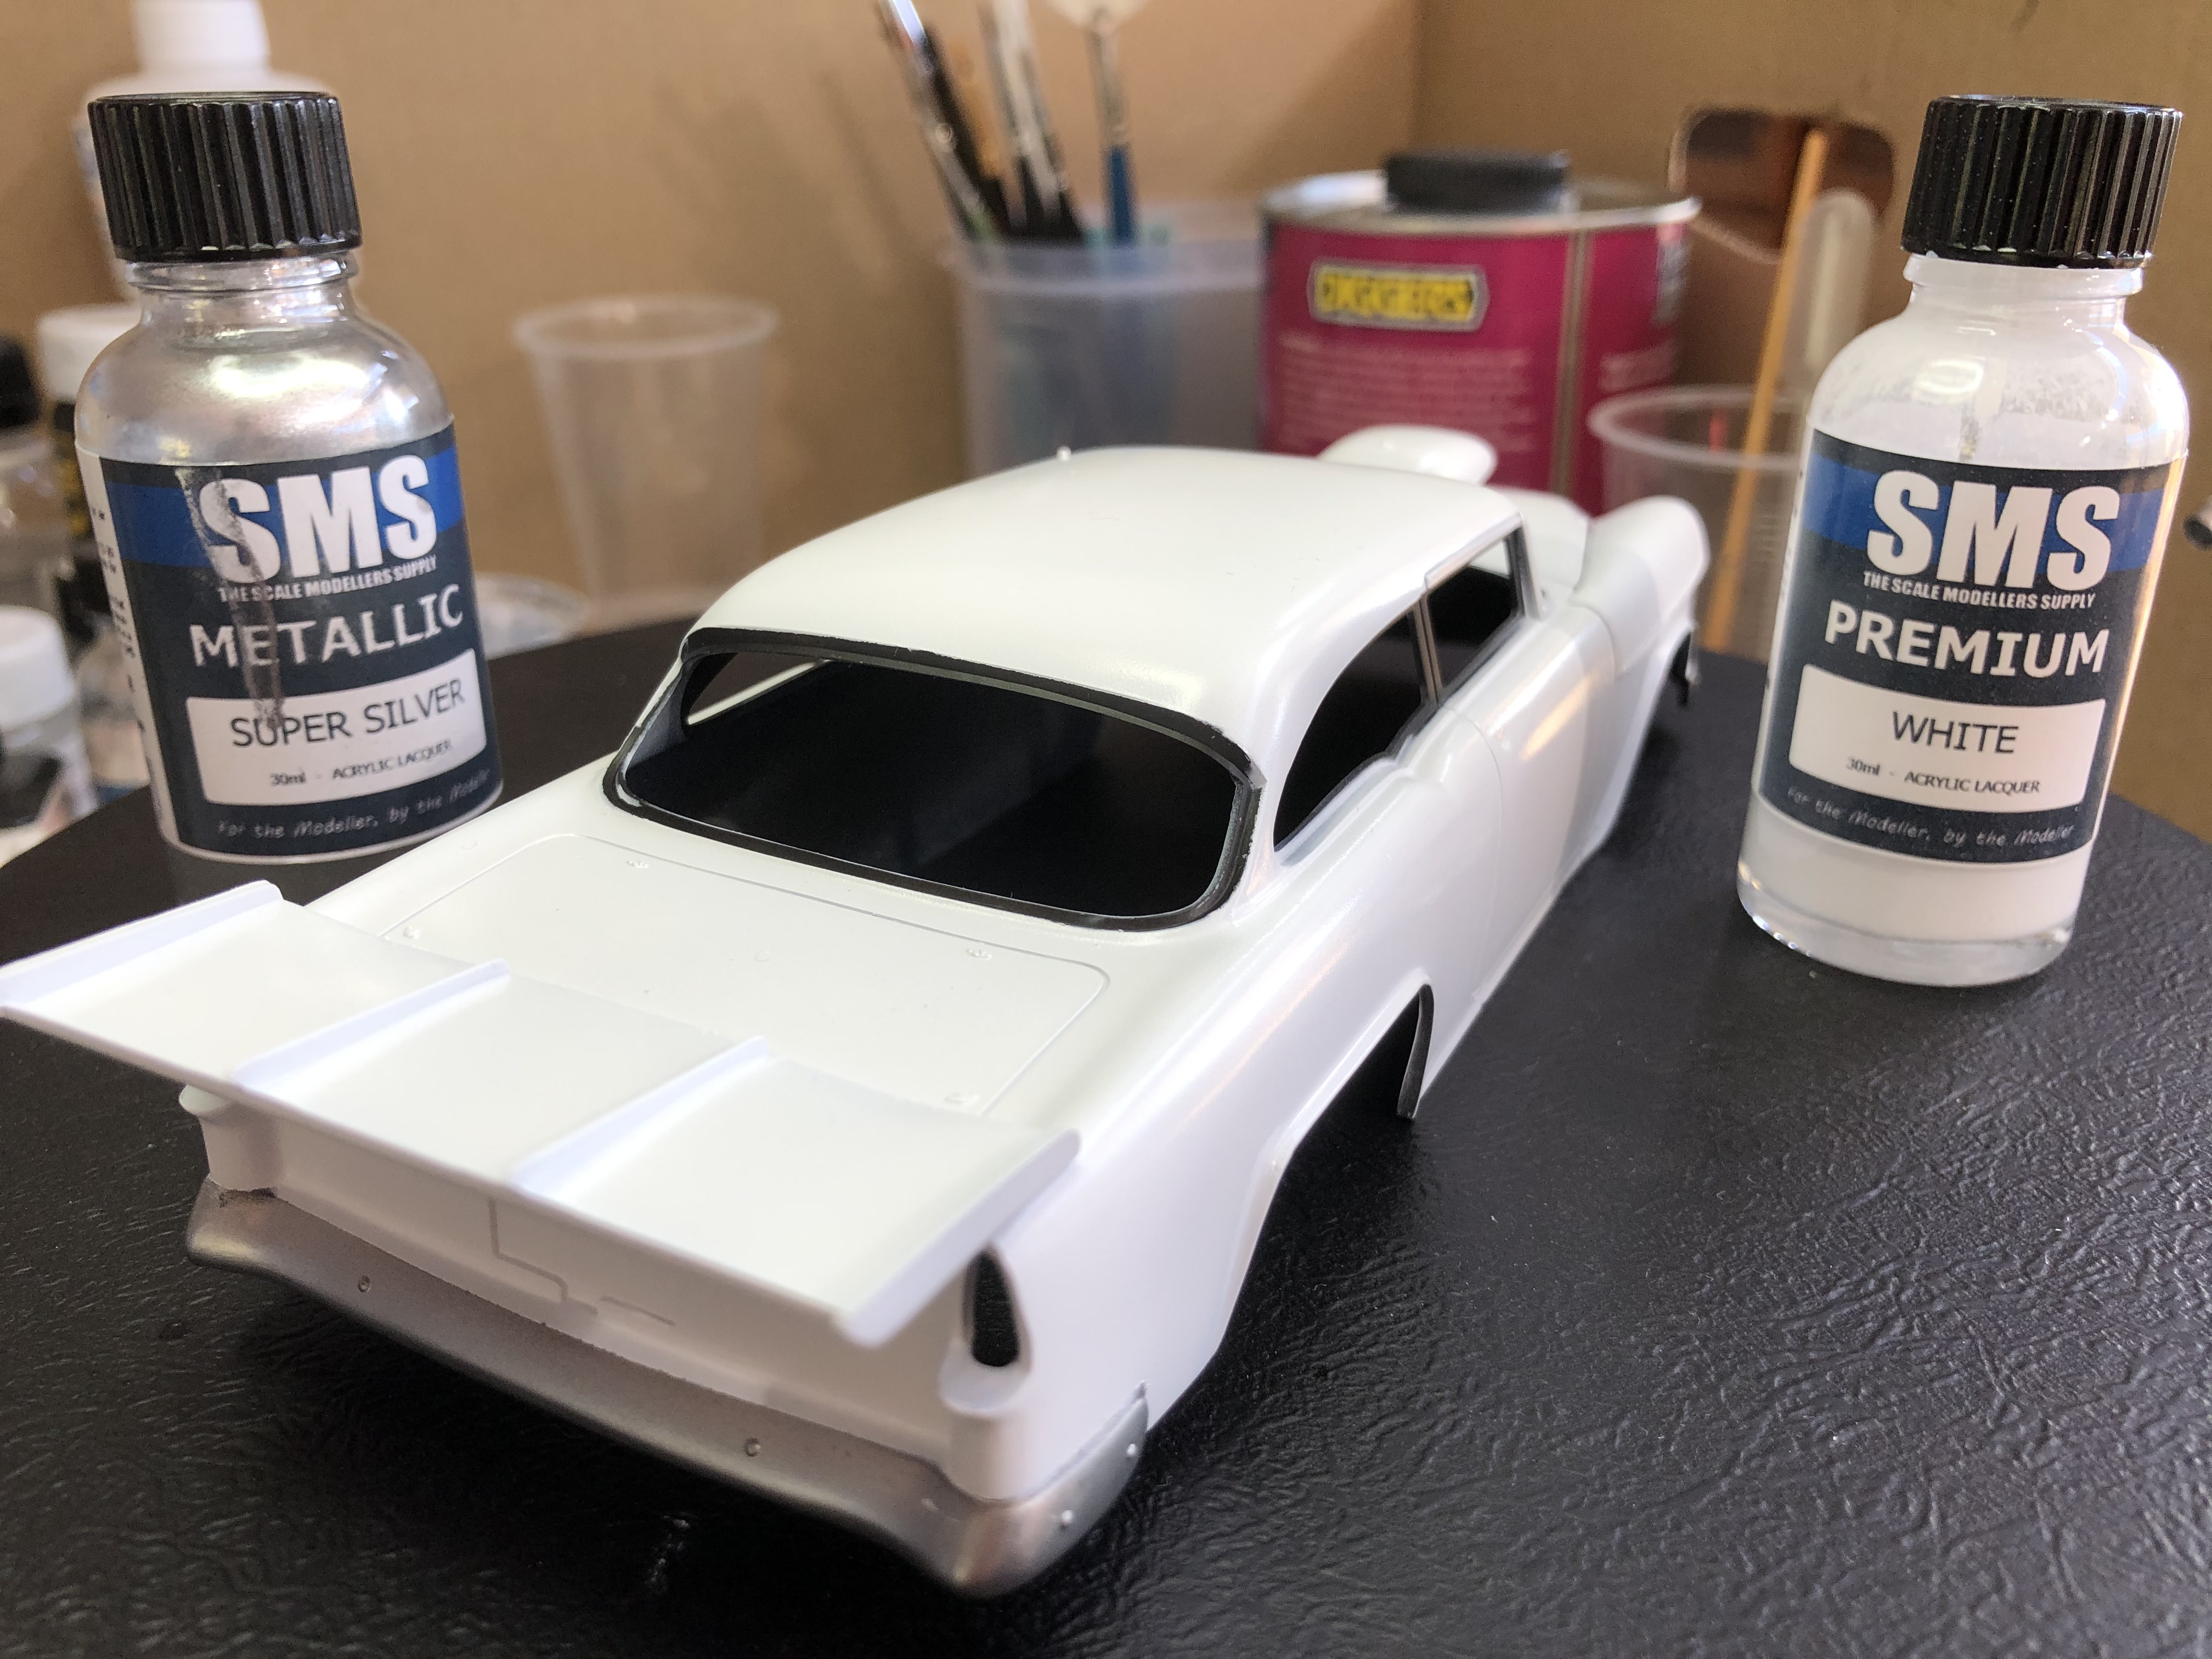
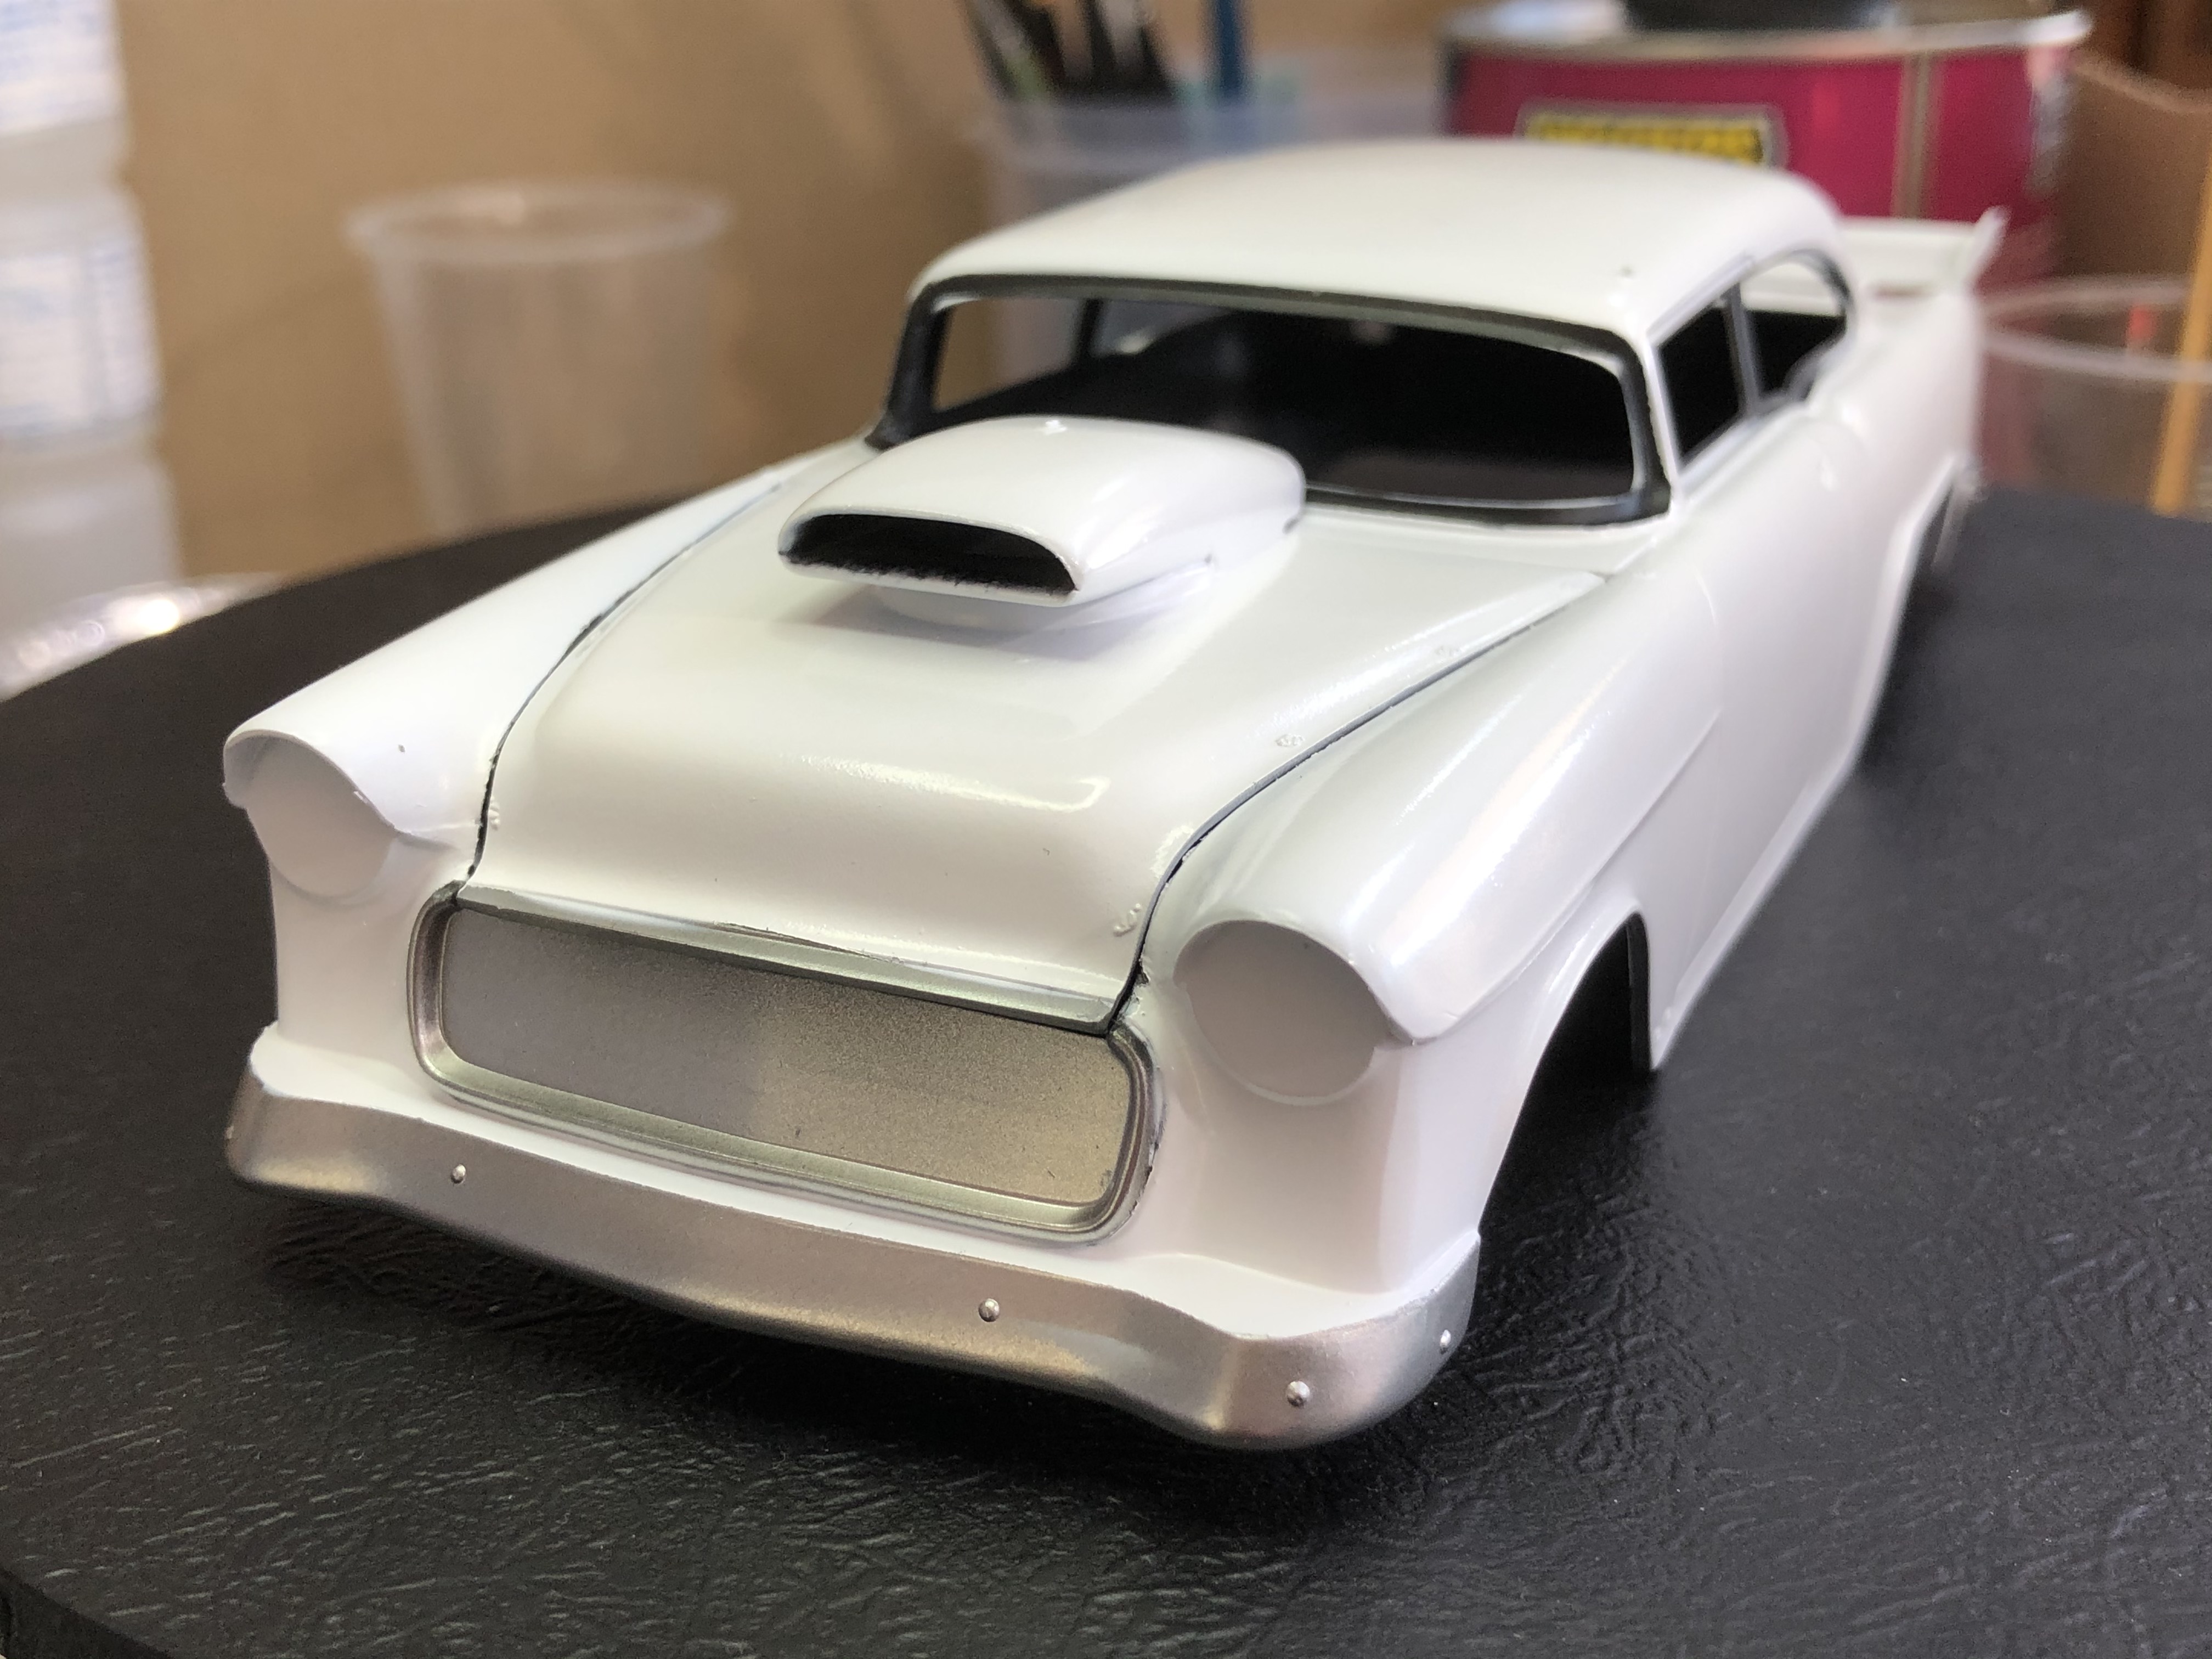
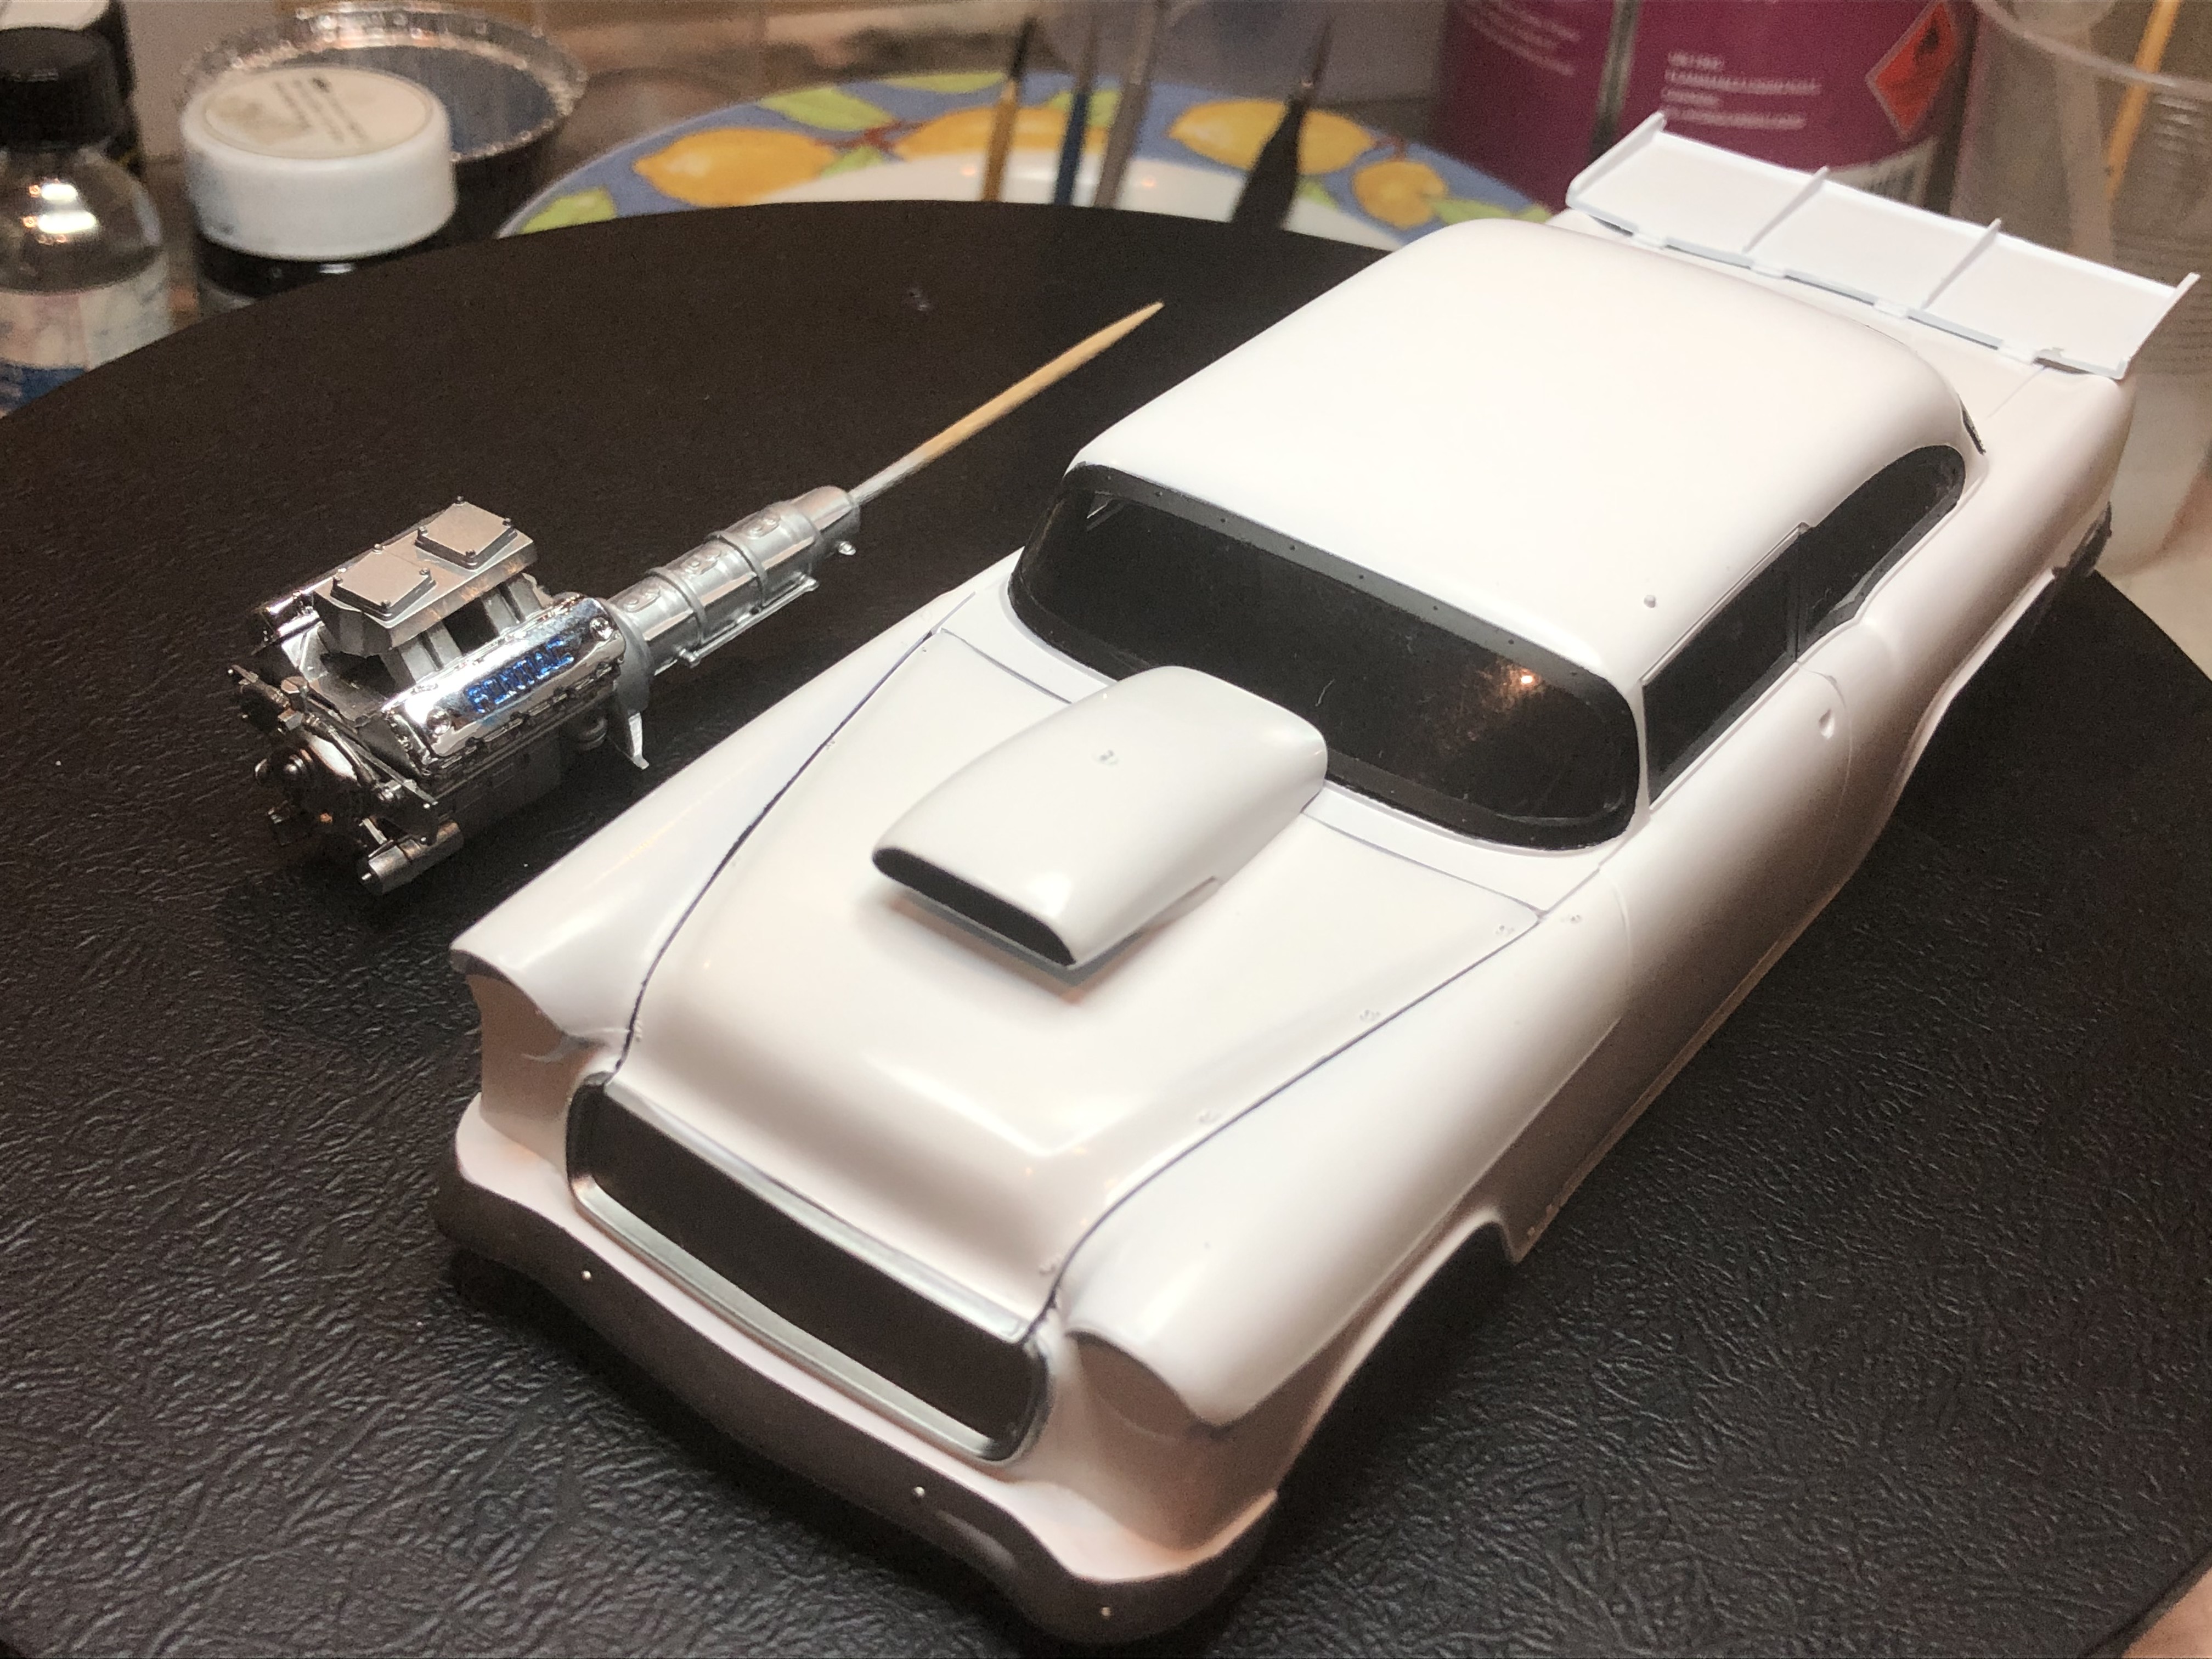
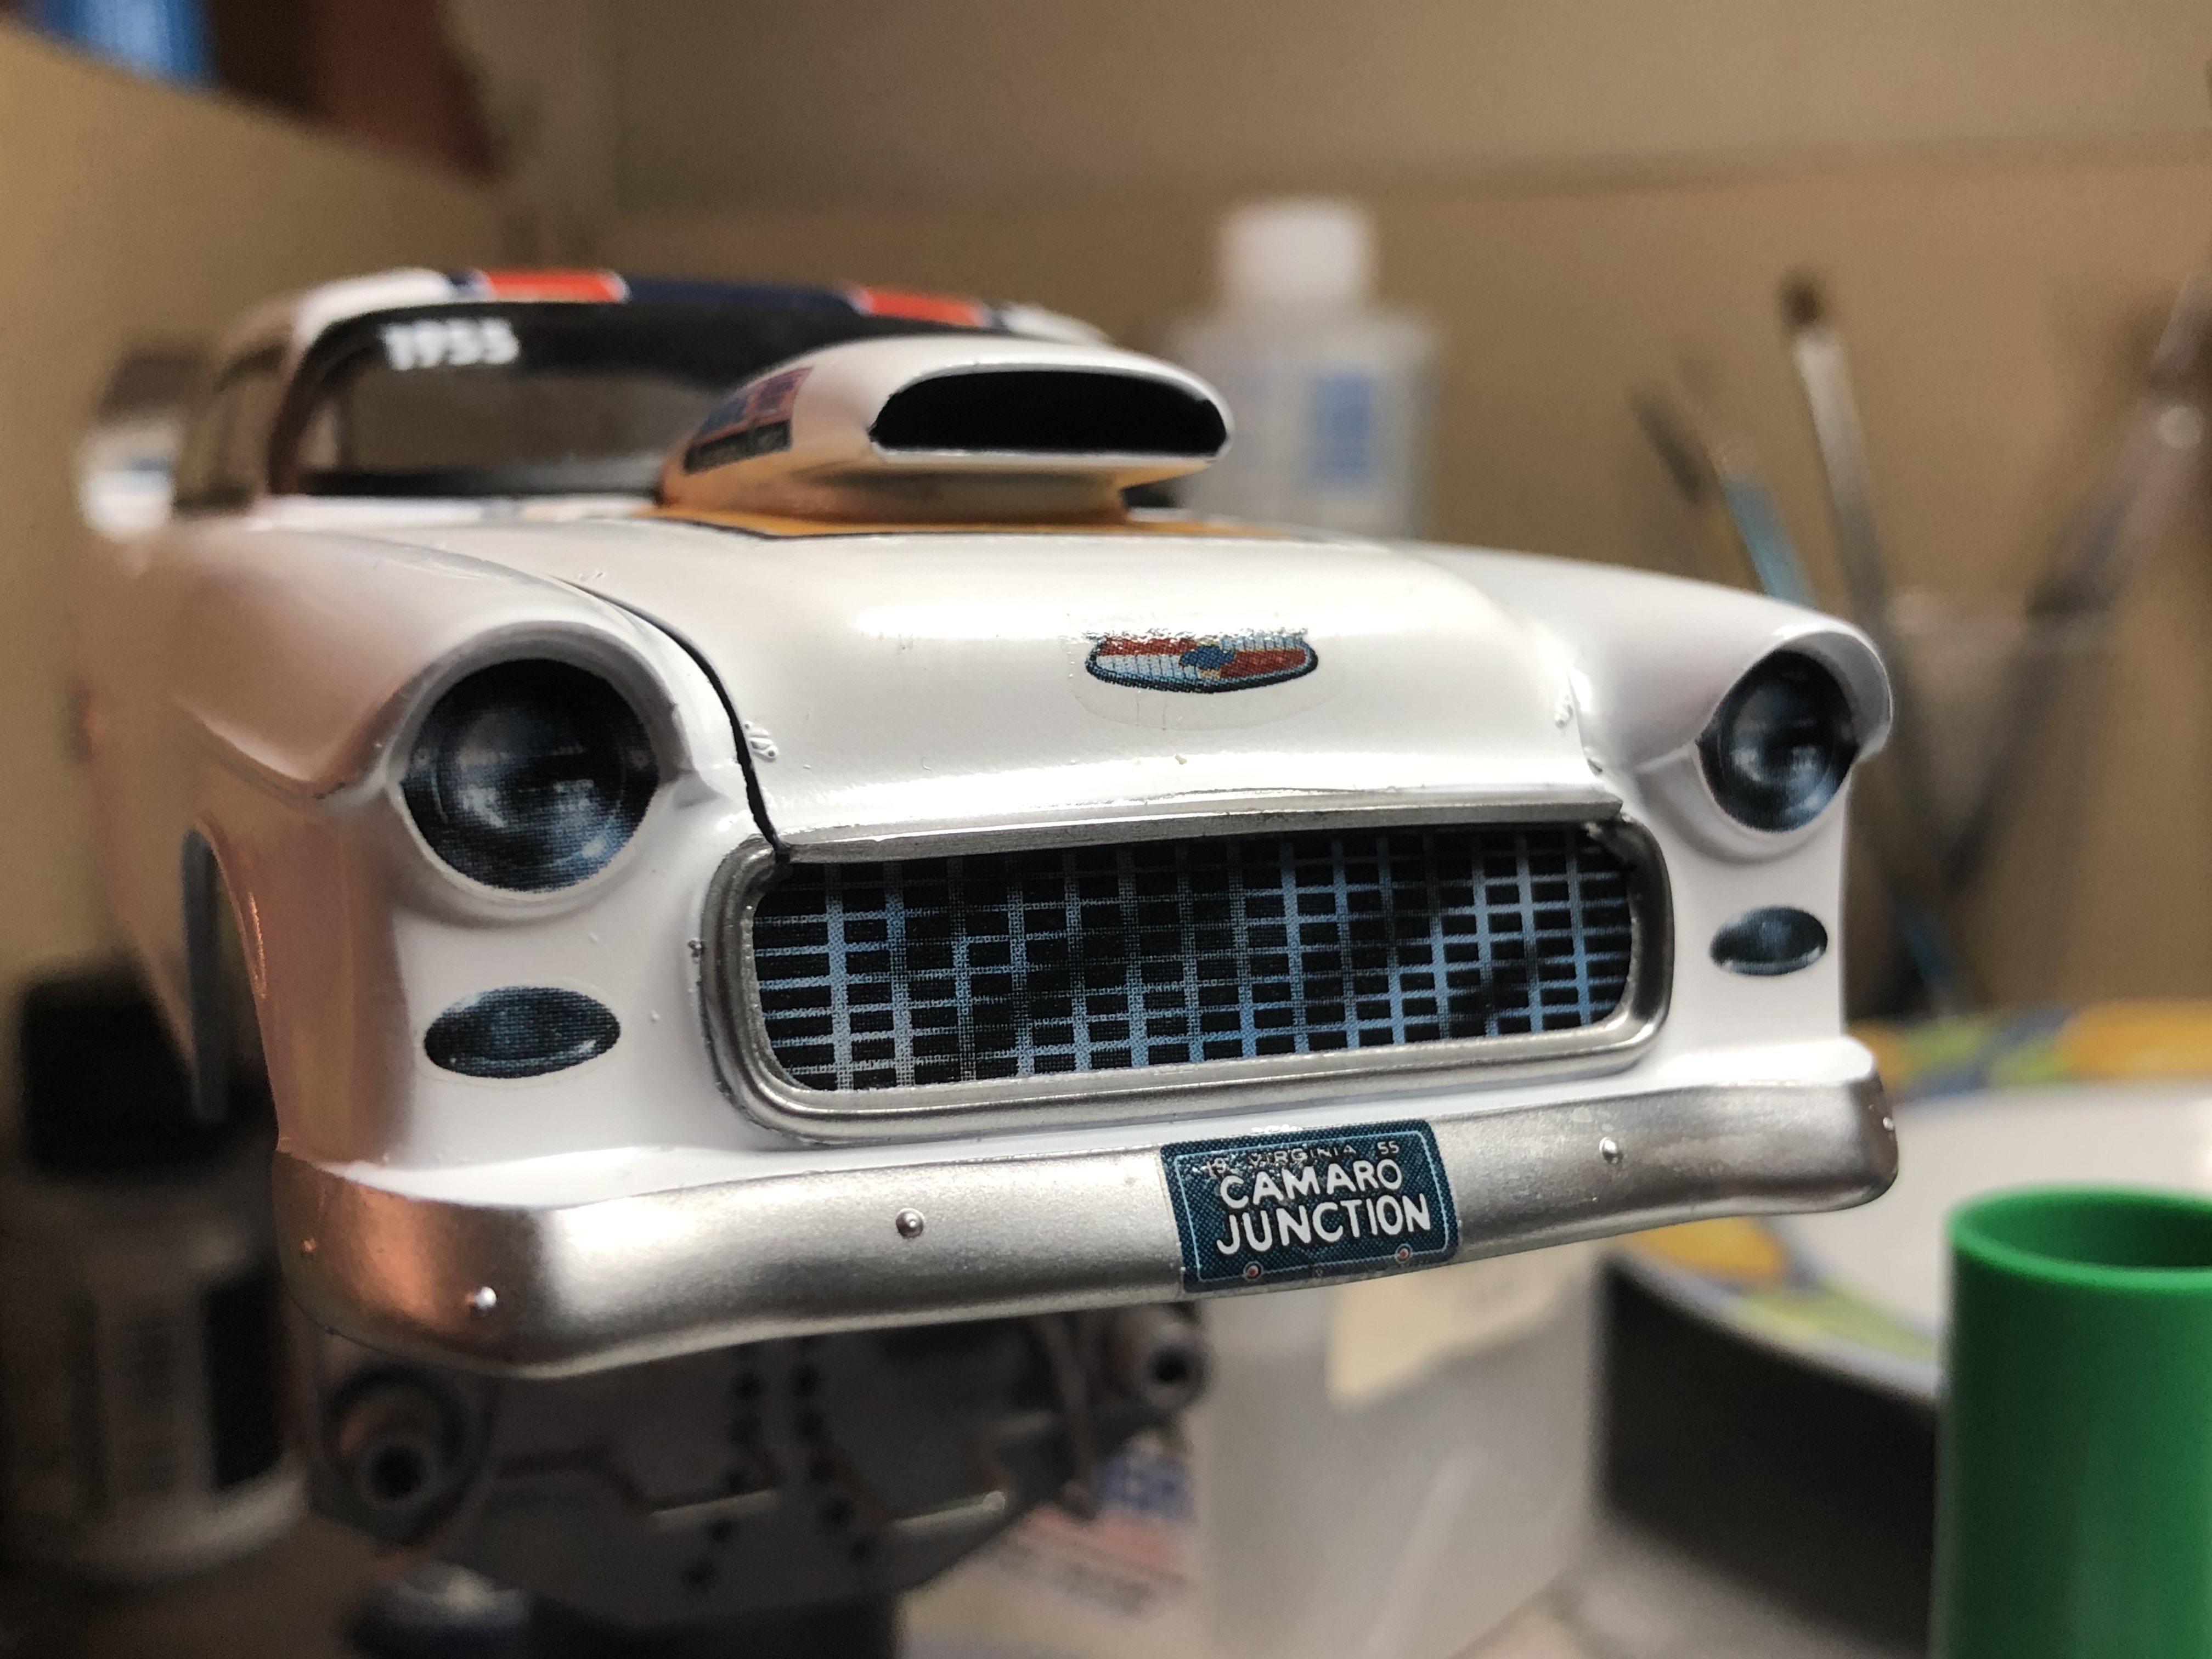
SMS Super Silver on the bumpers and grille area. On this kit, as on the 1:1 Pro Sports there is no grille, just a decal. I will mask these and the black primed areas off now while I get the rest of the body painted.
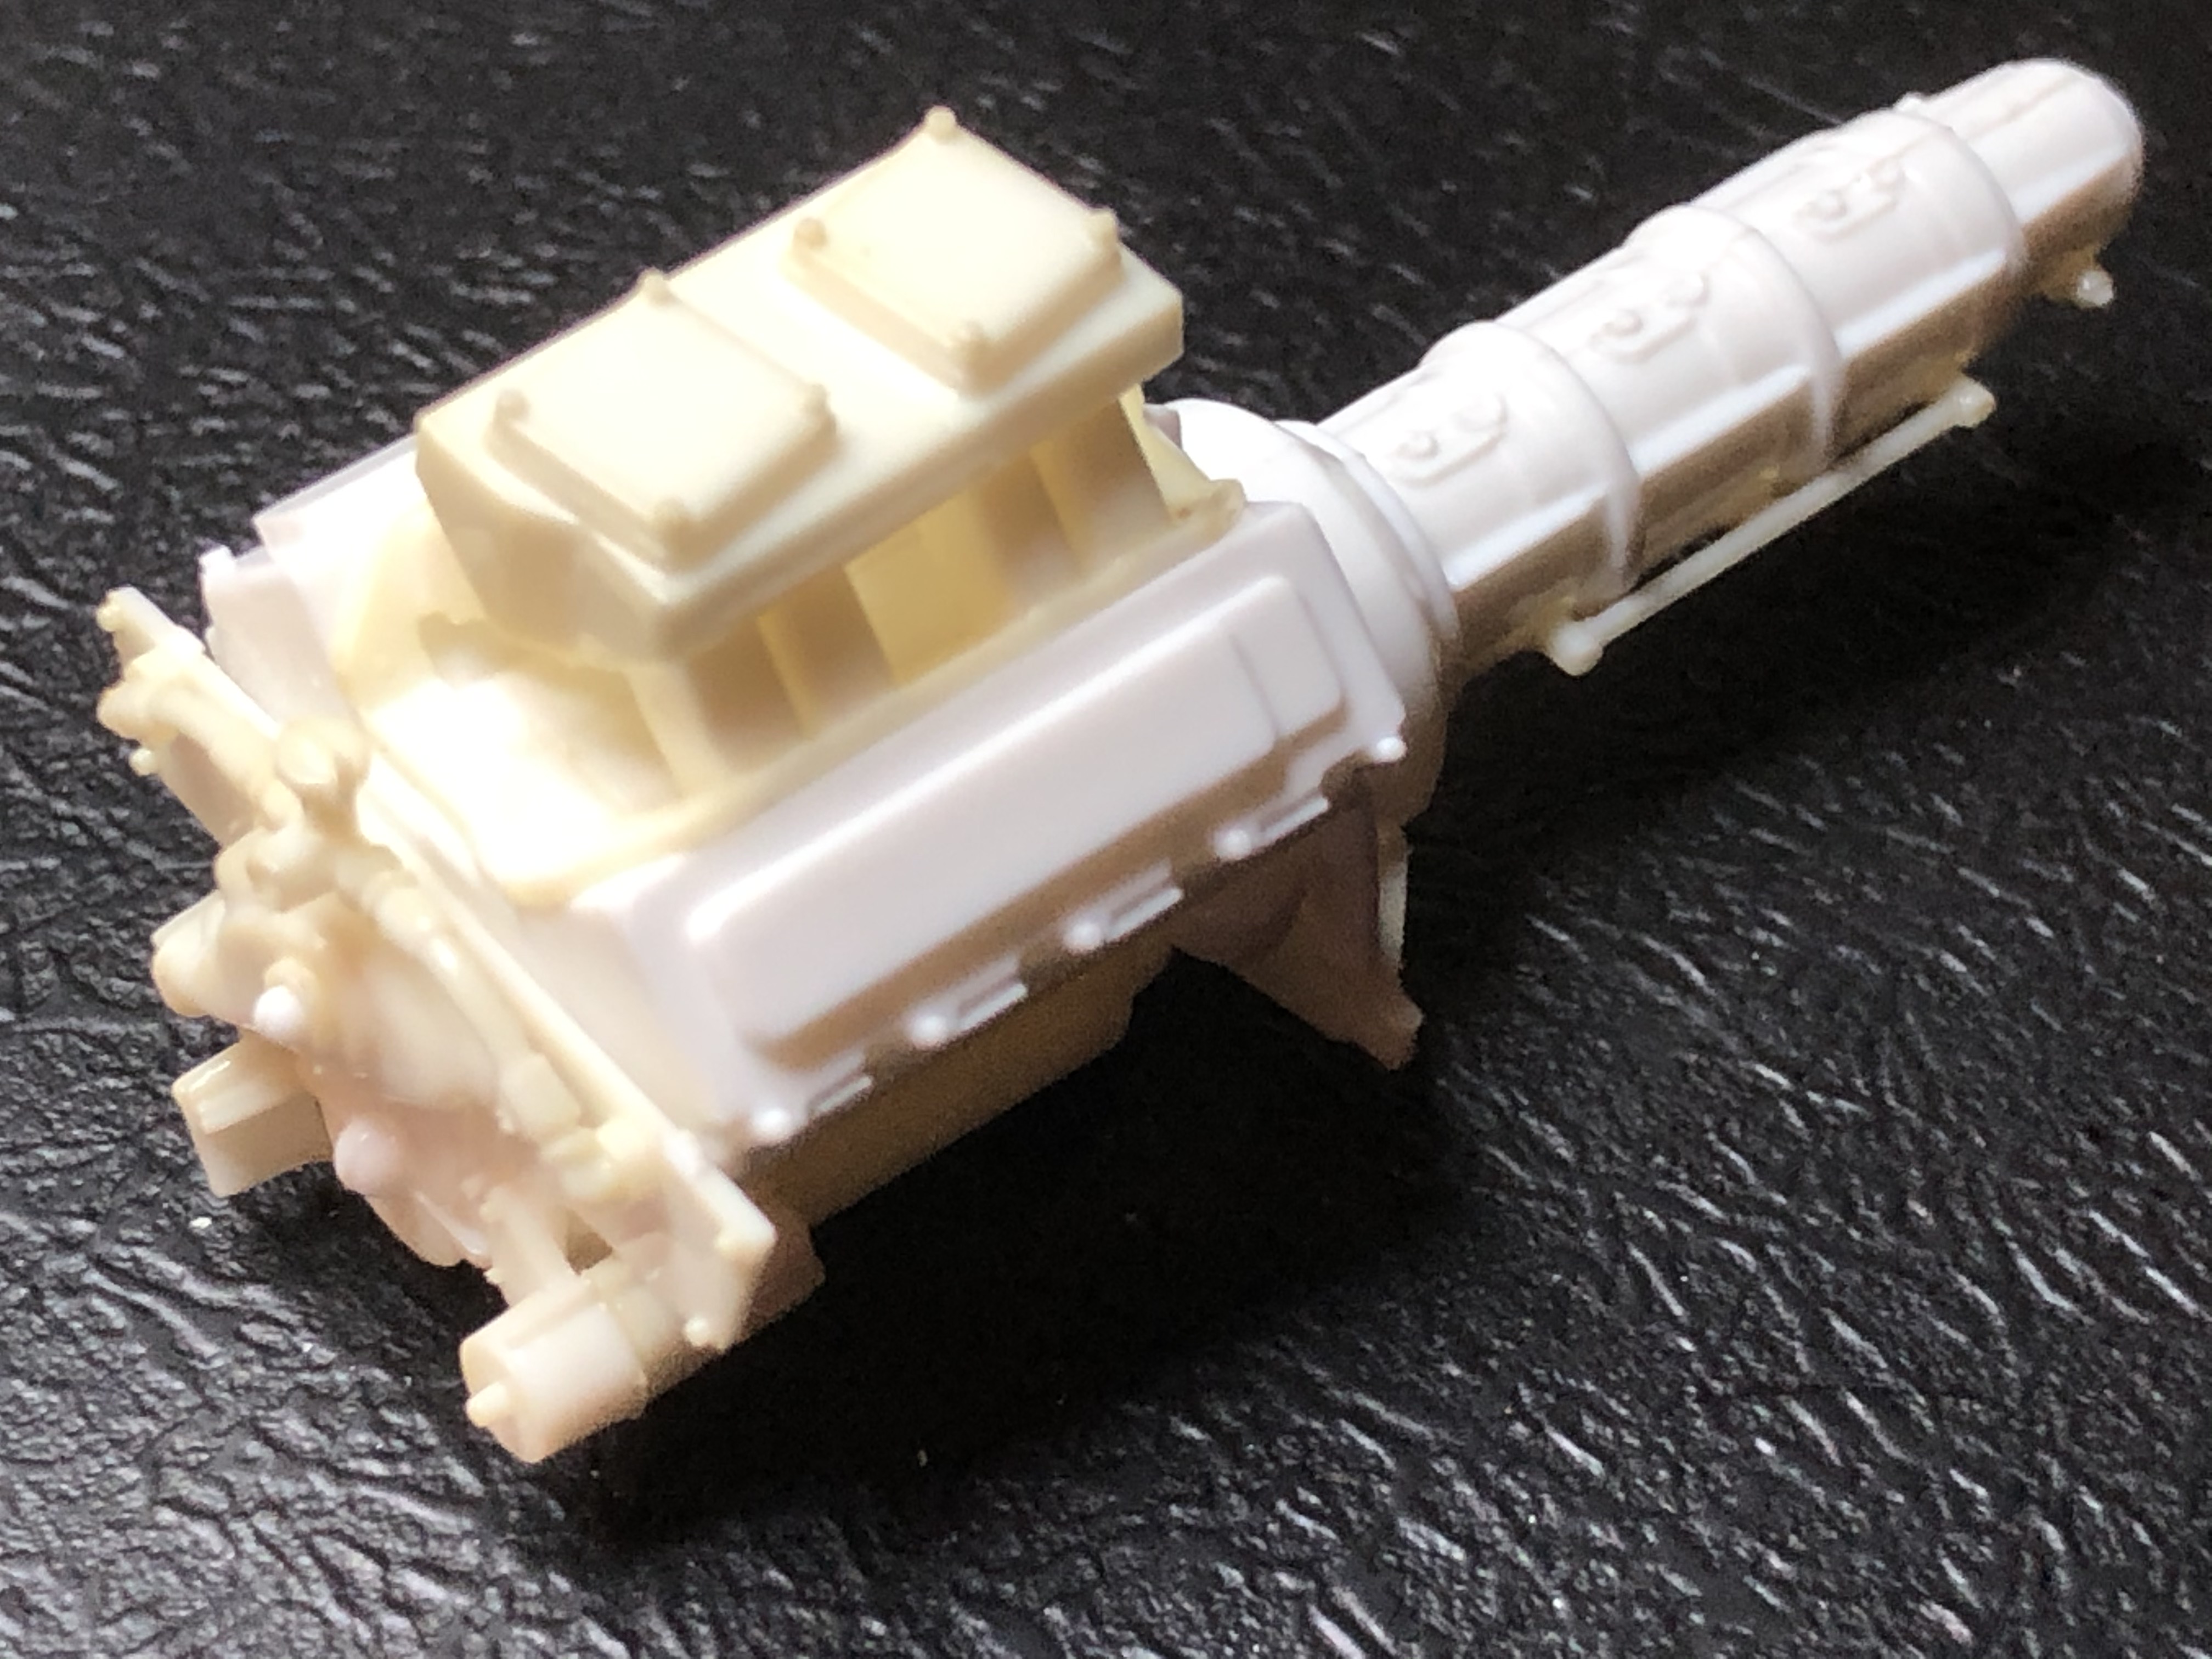
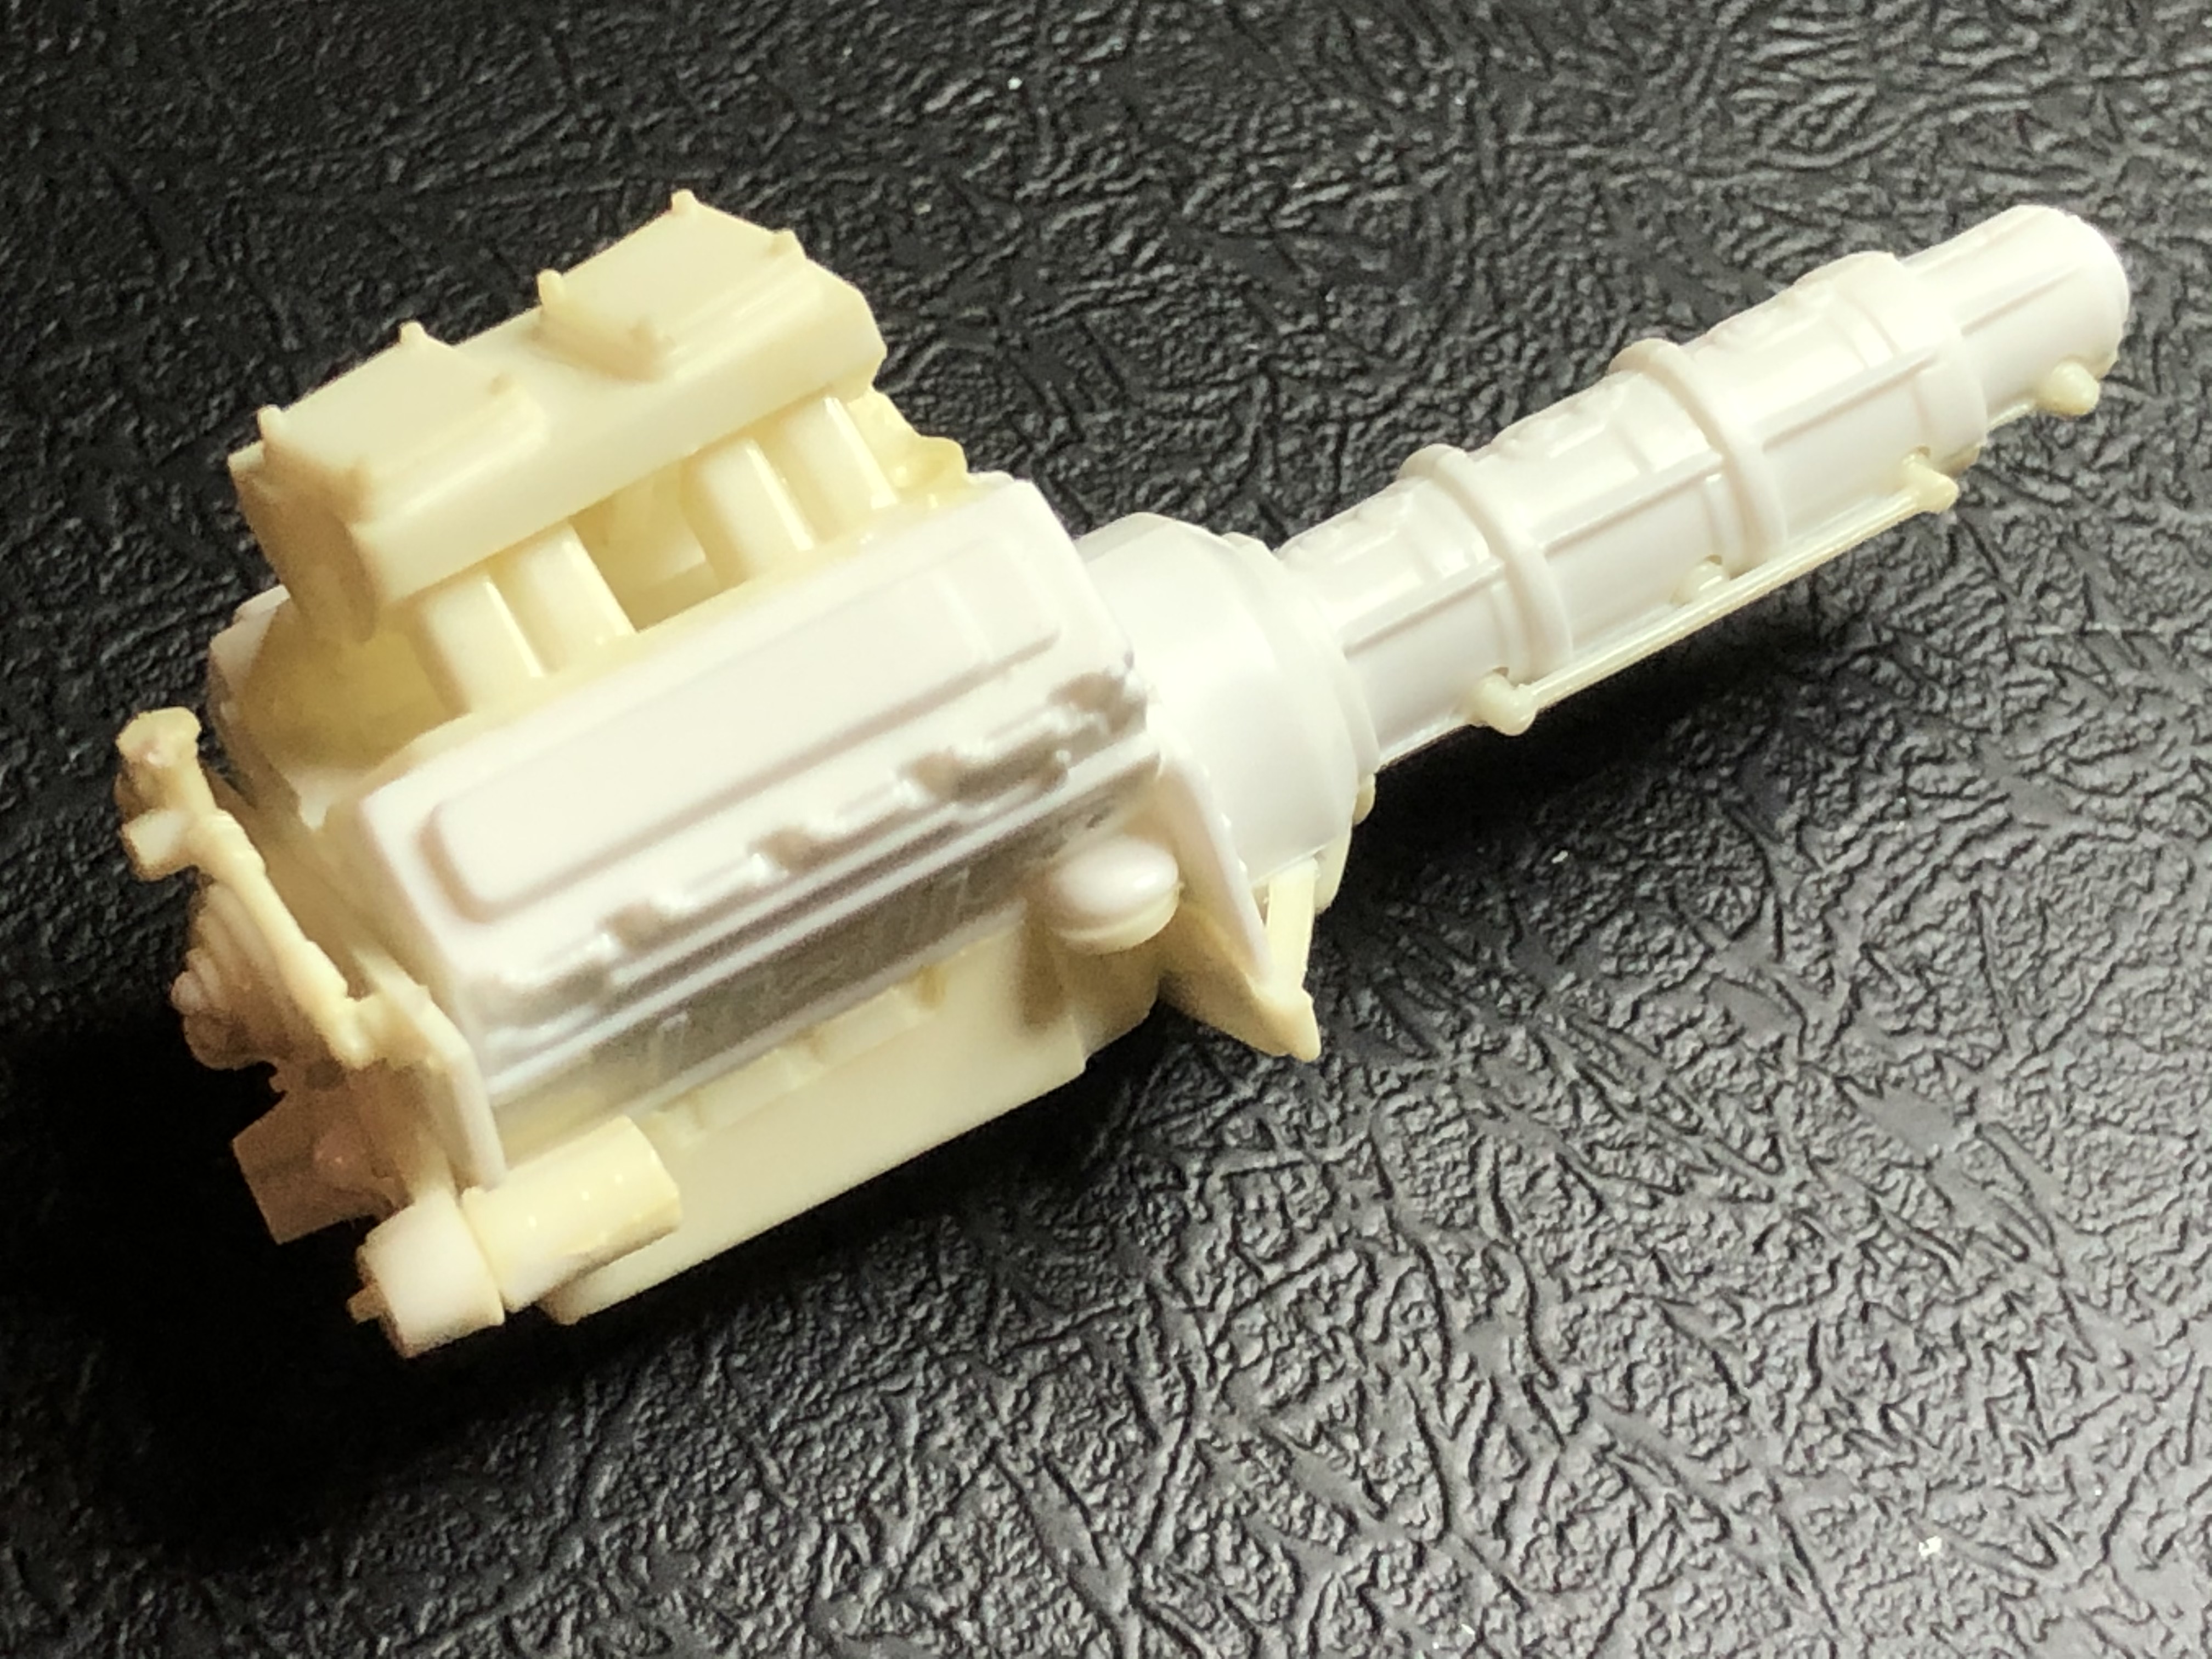
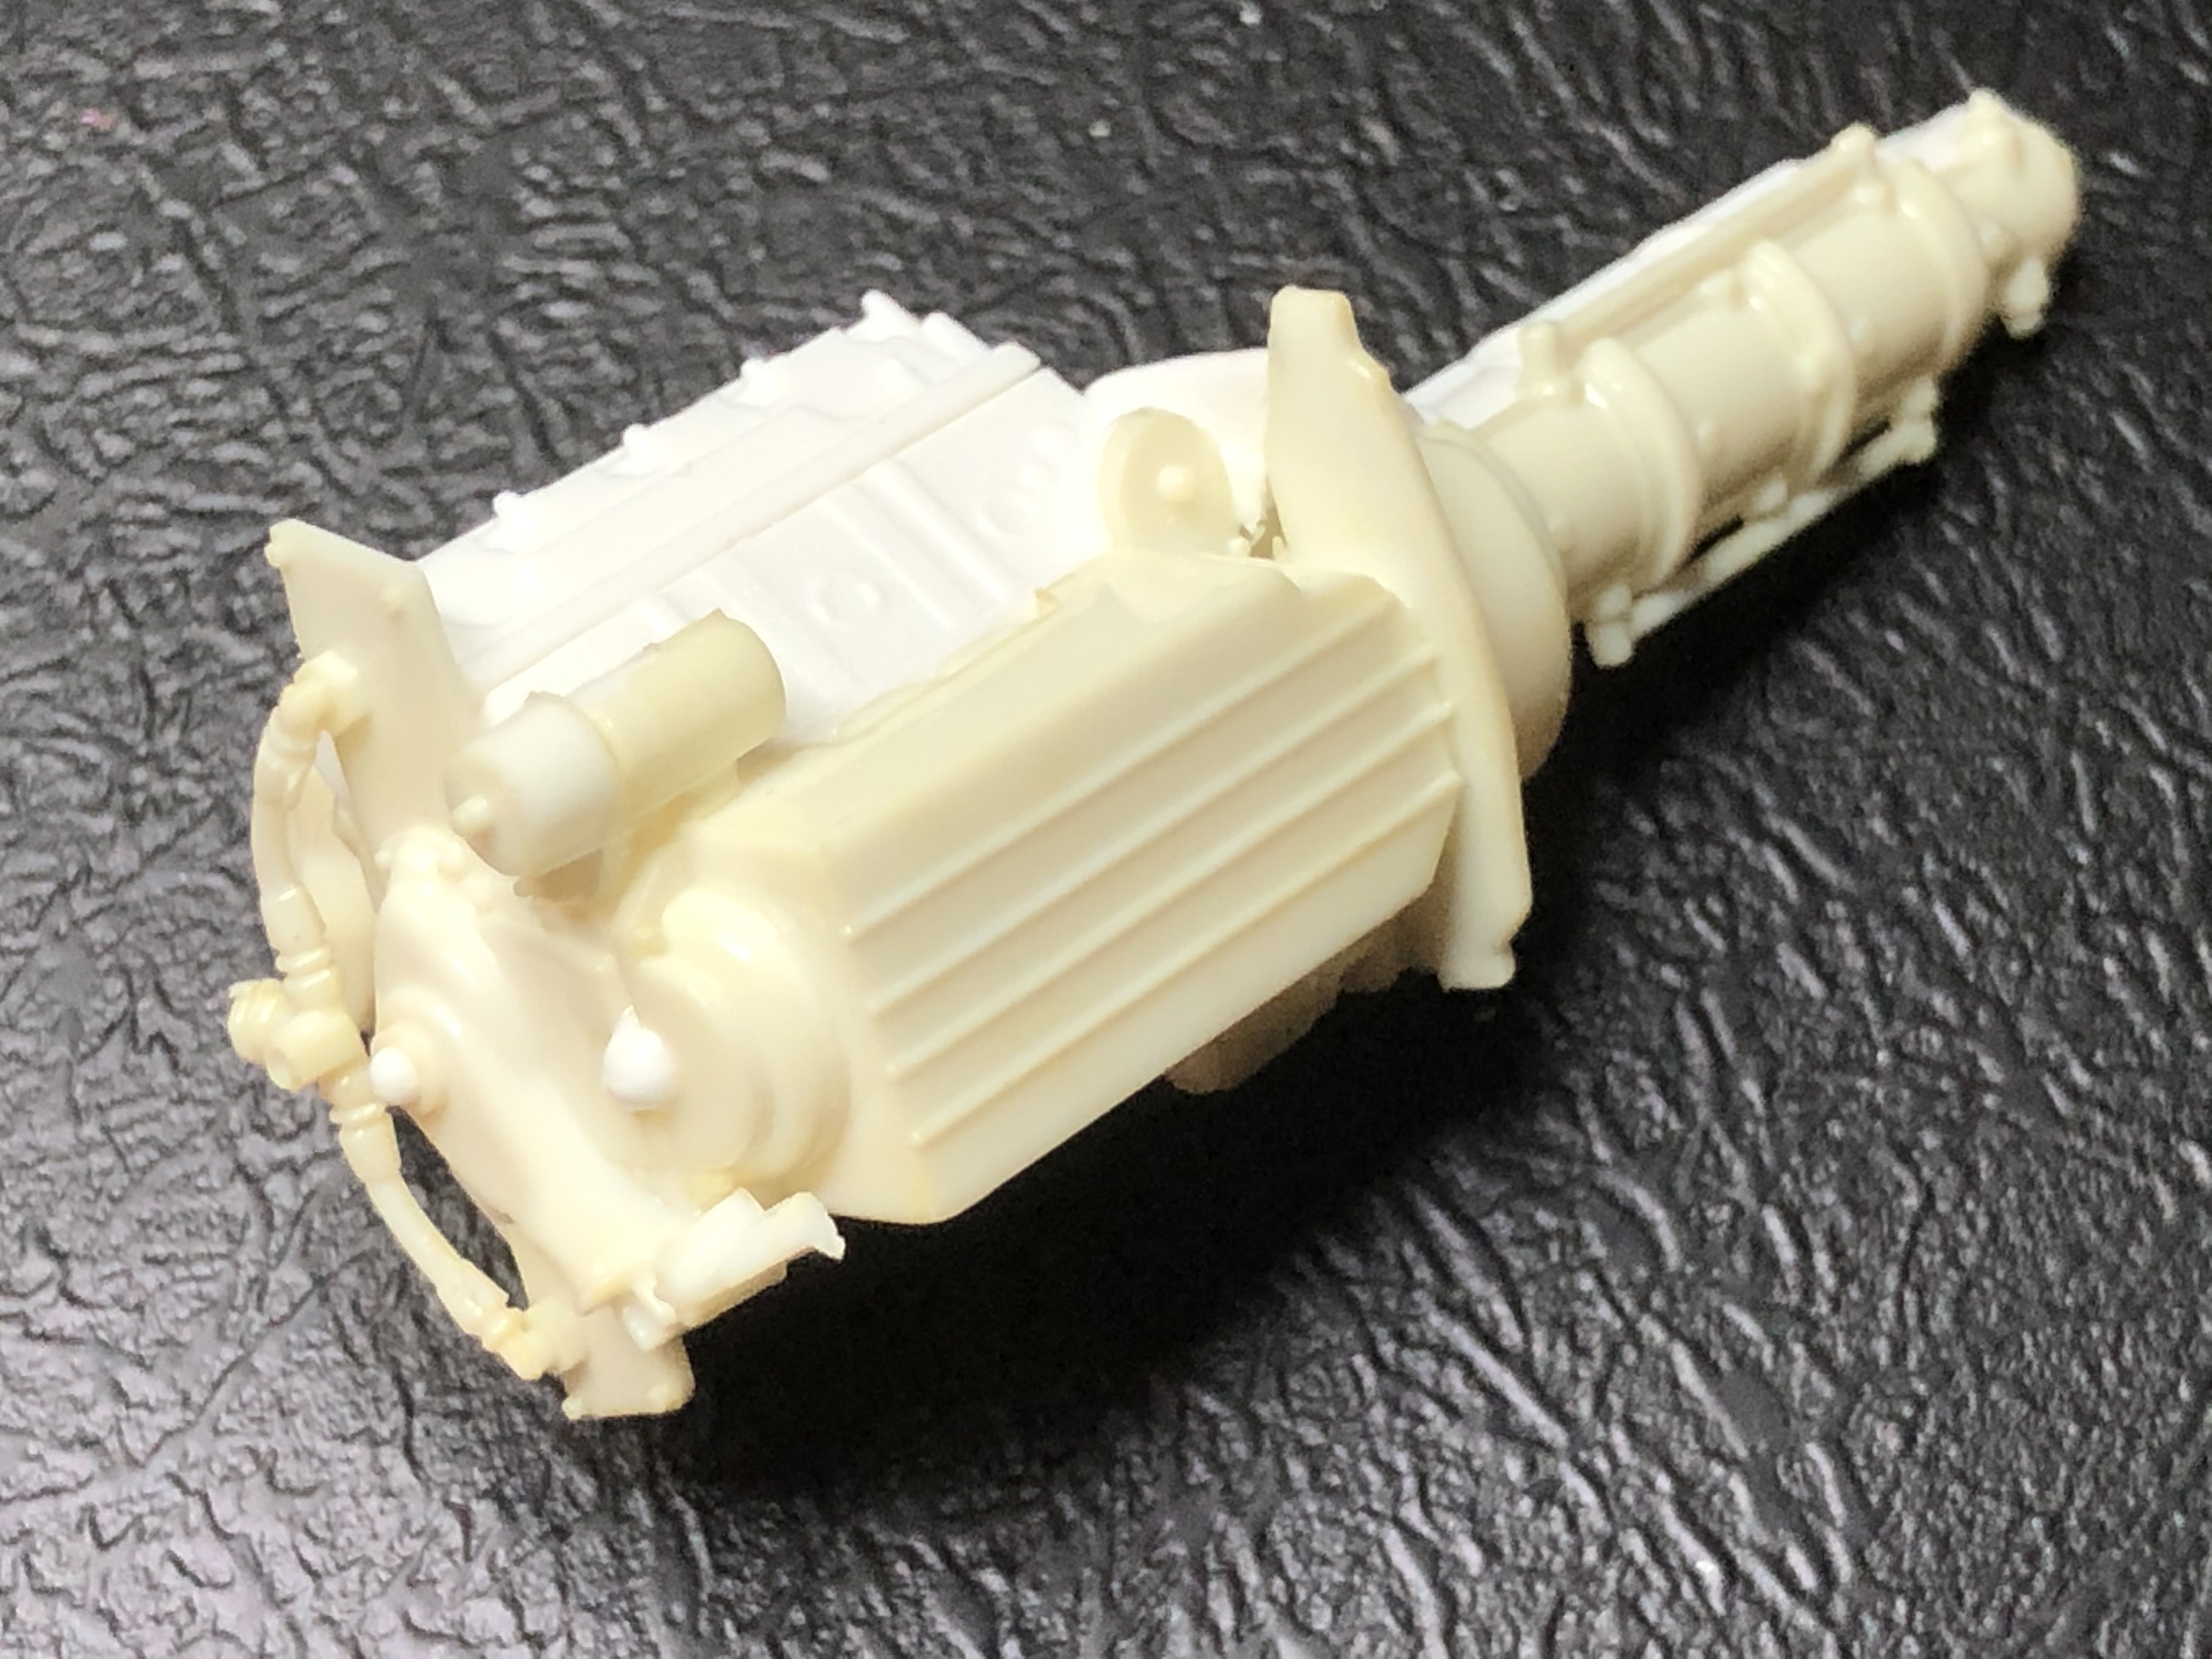
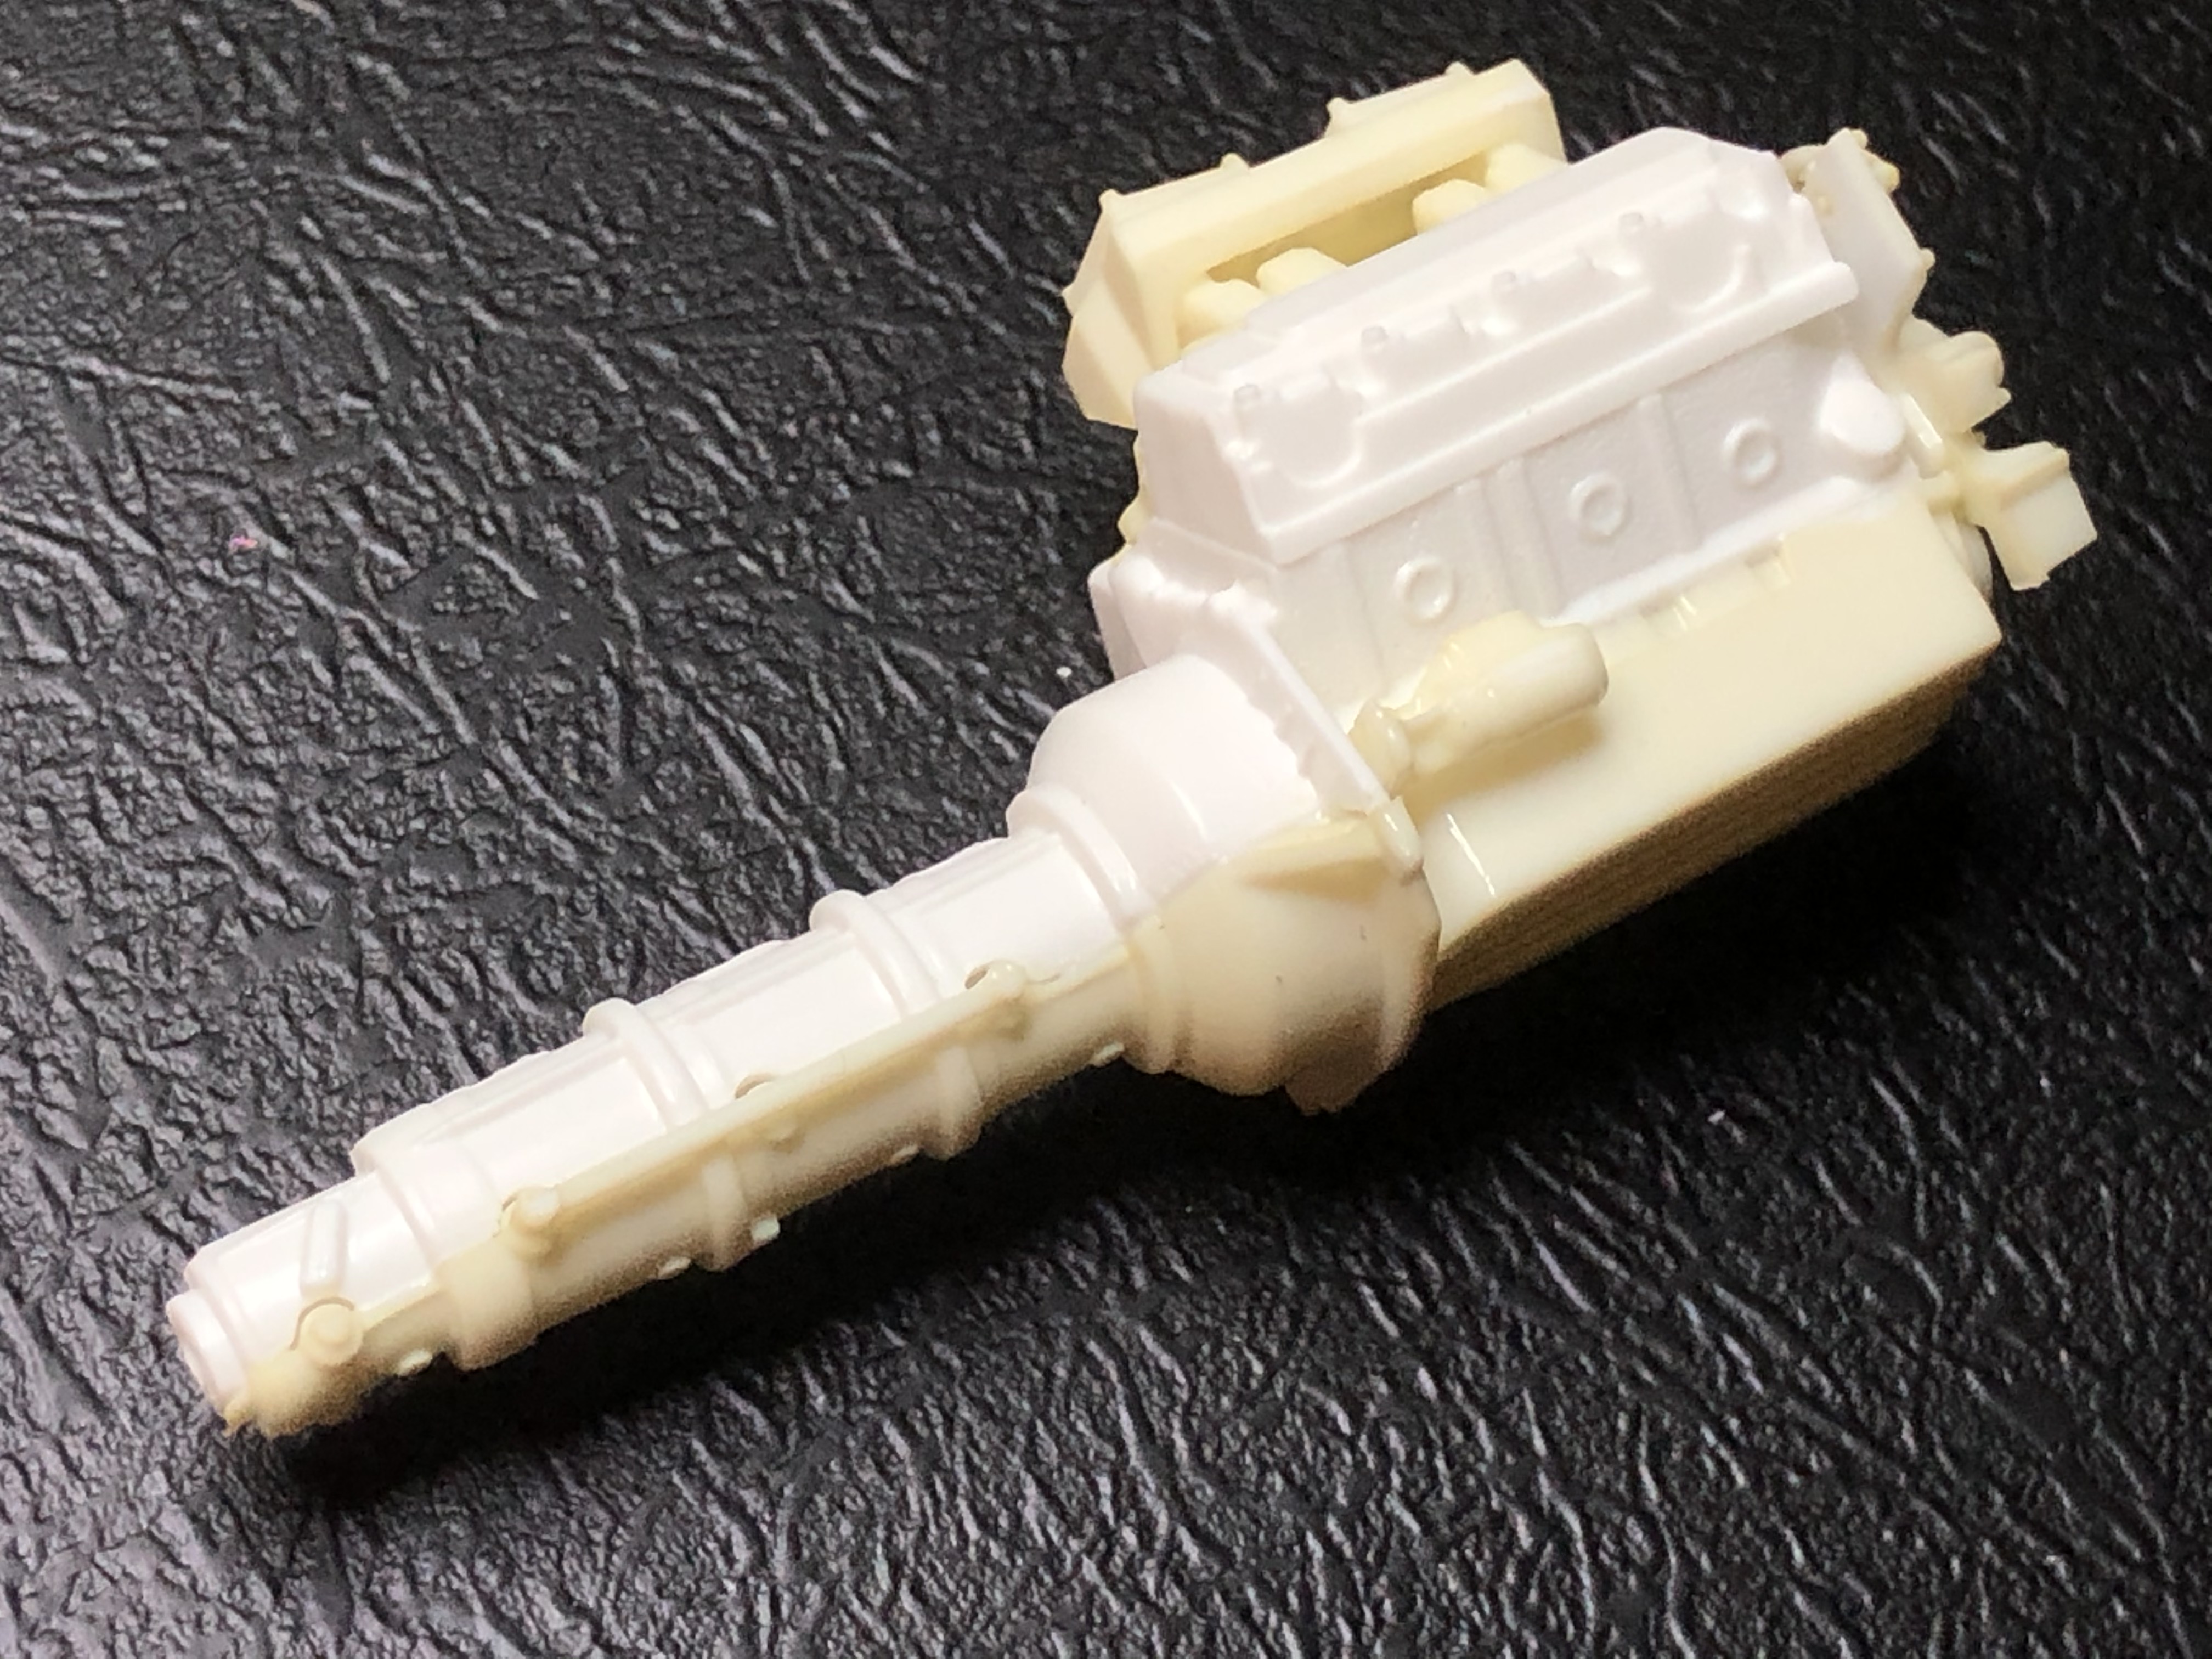
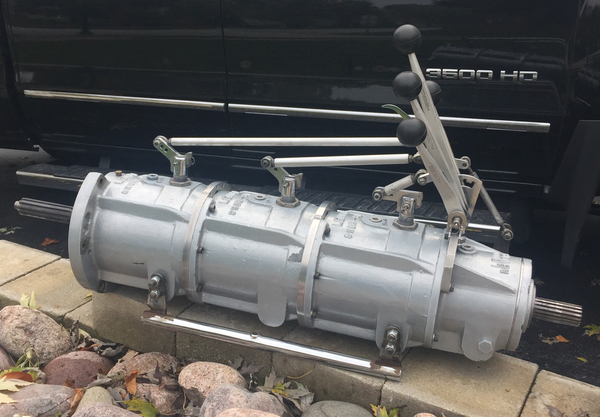
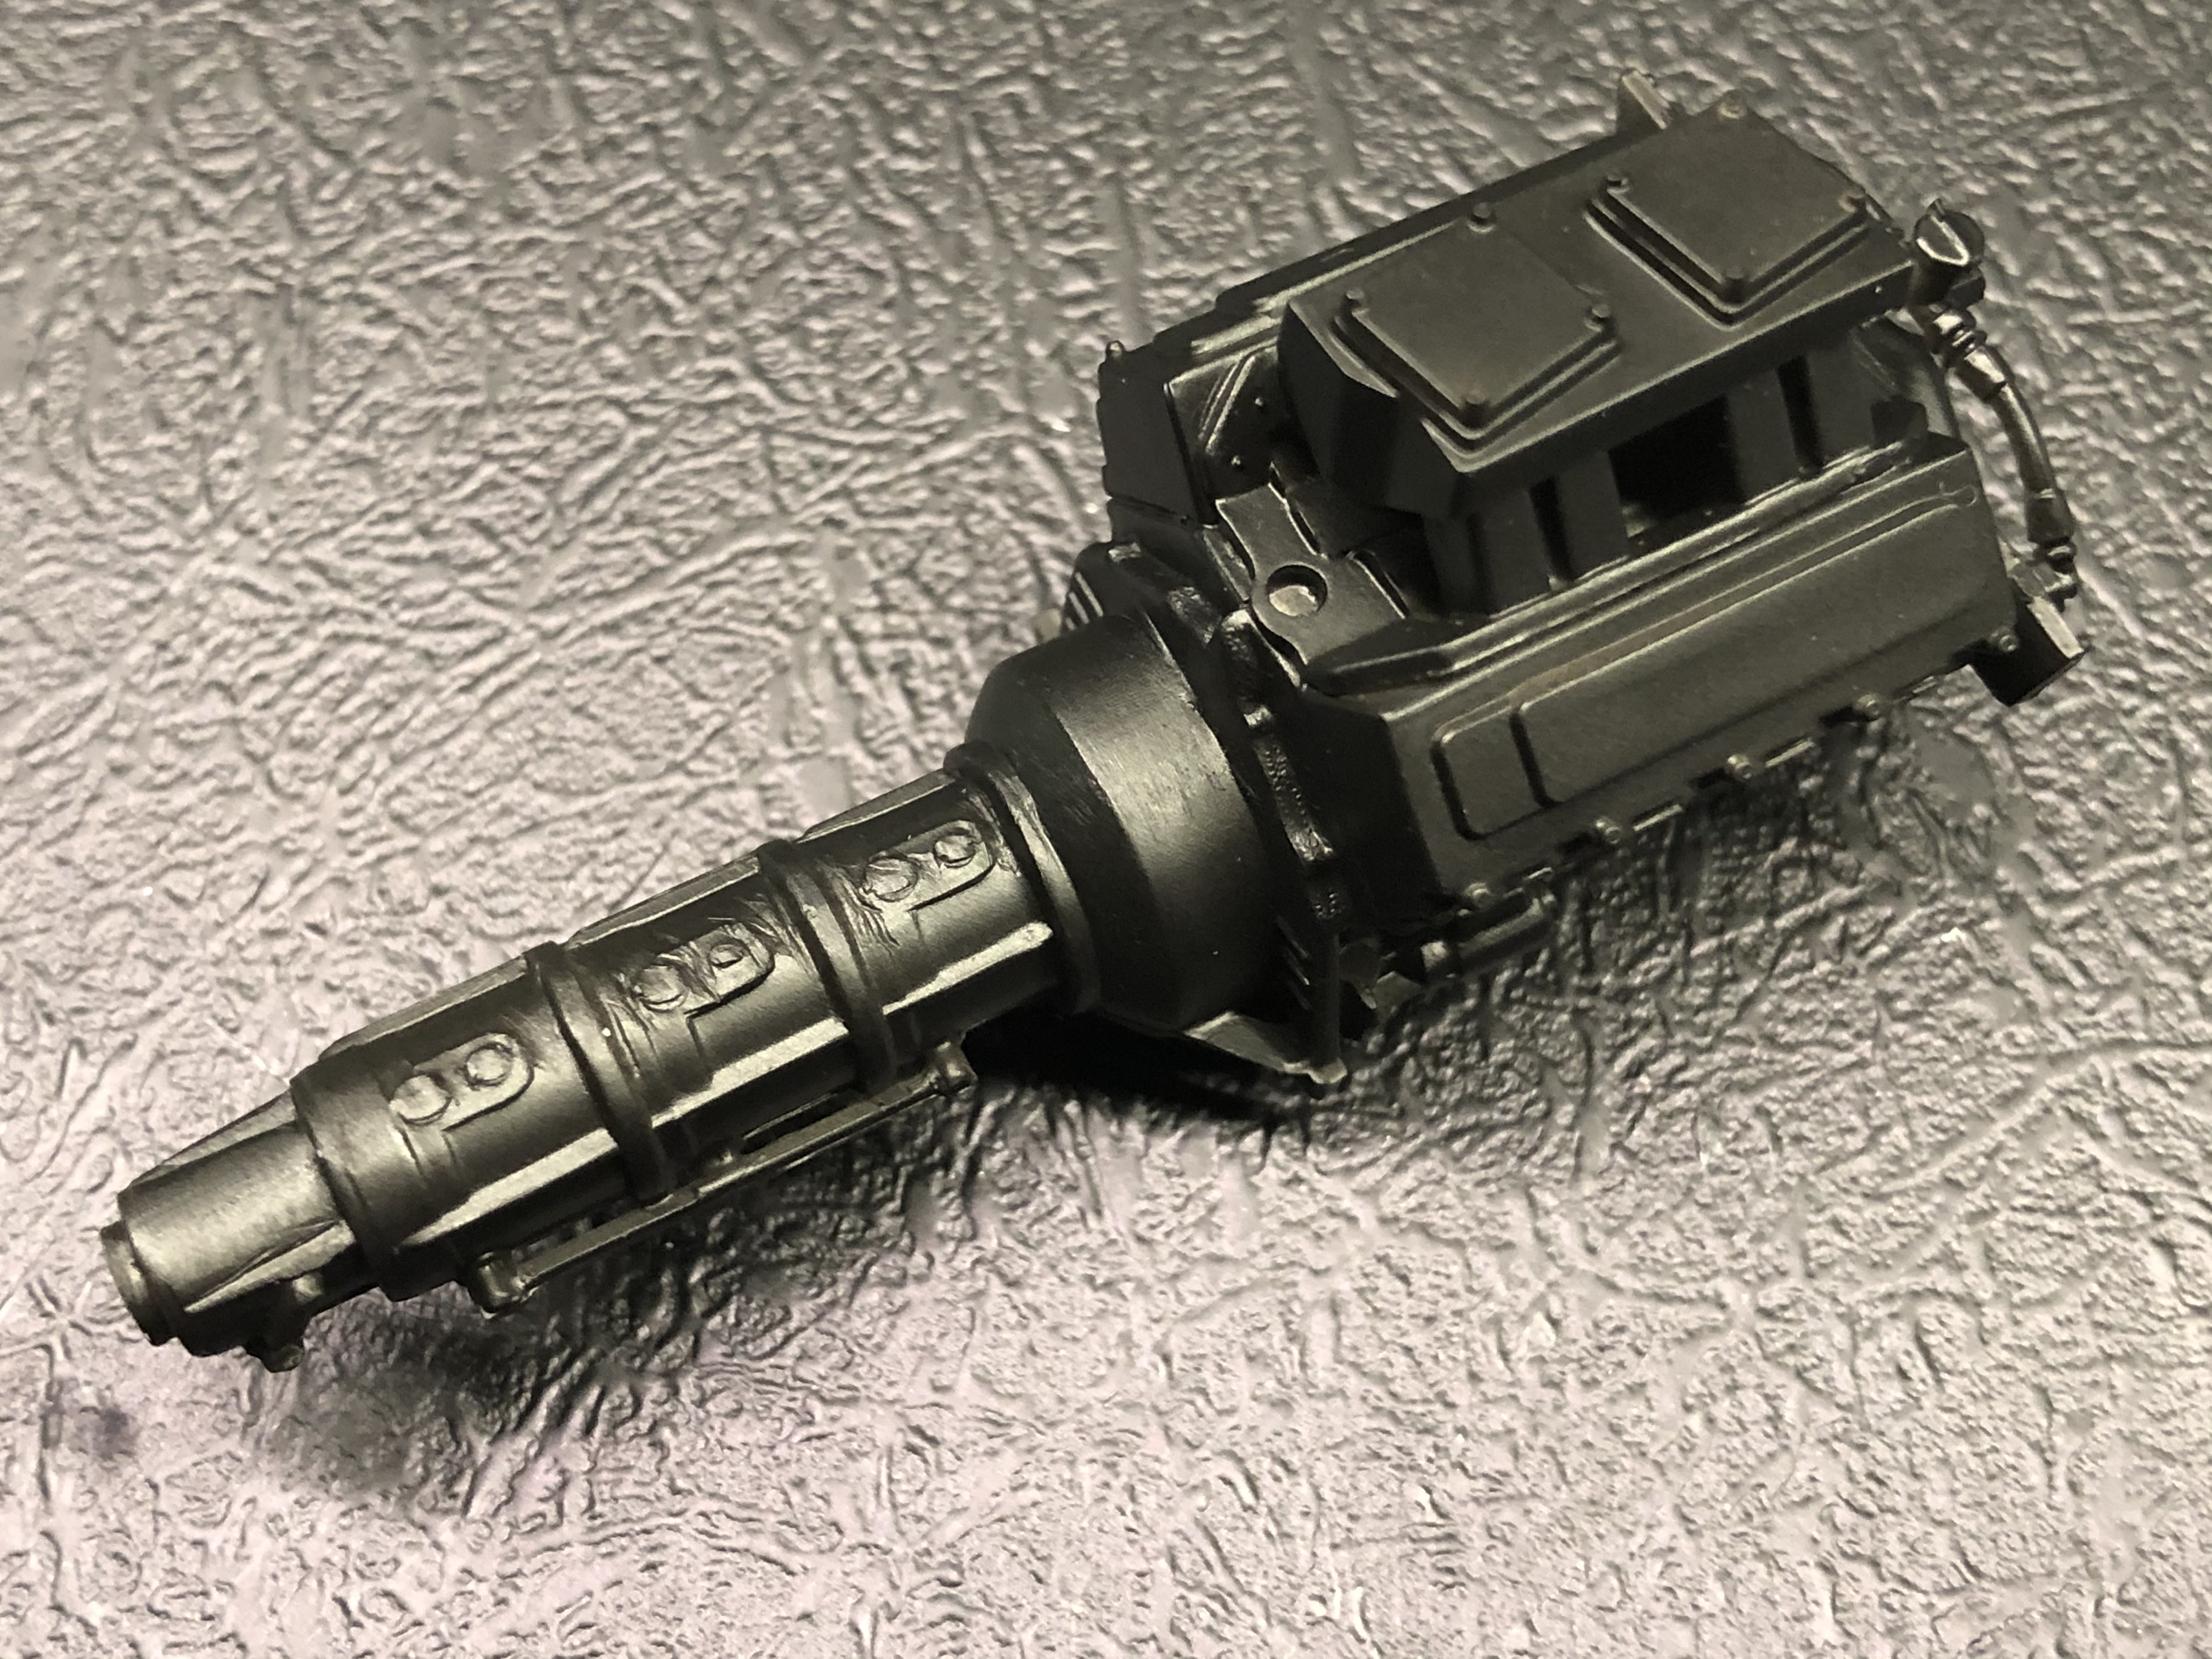
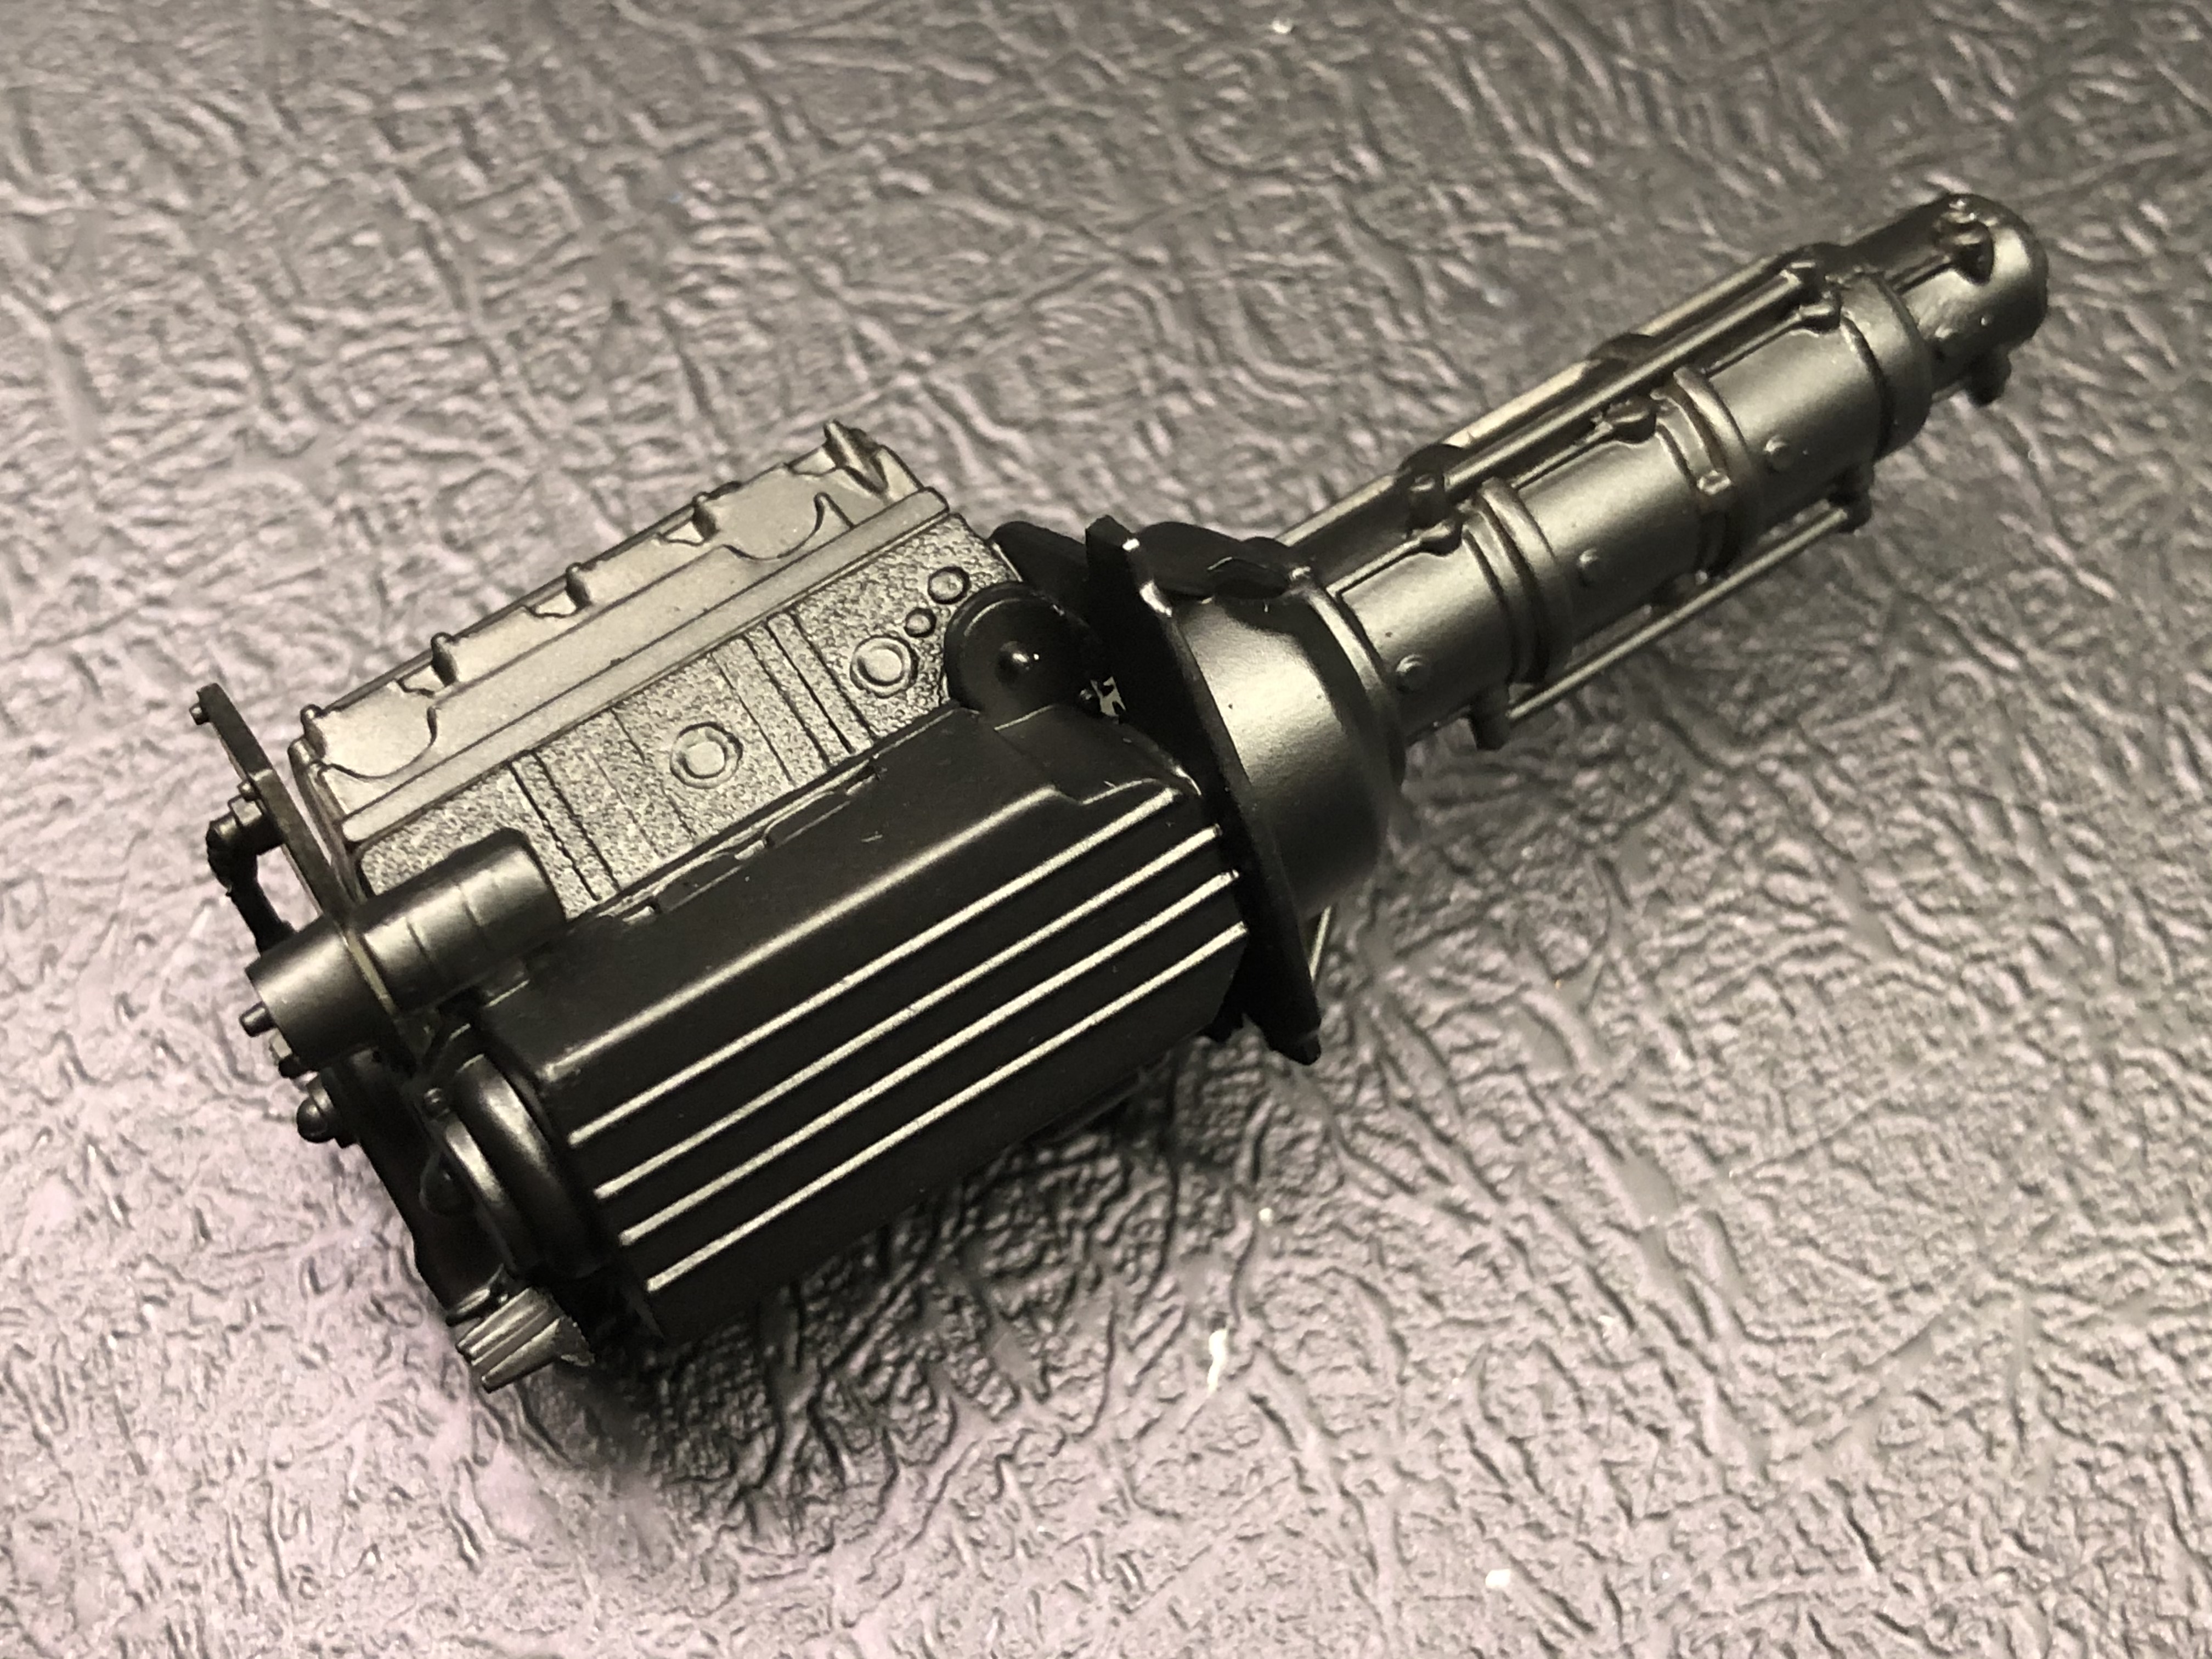
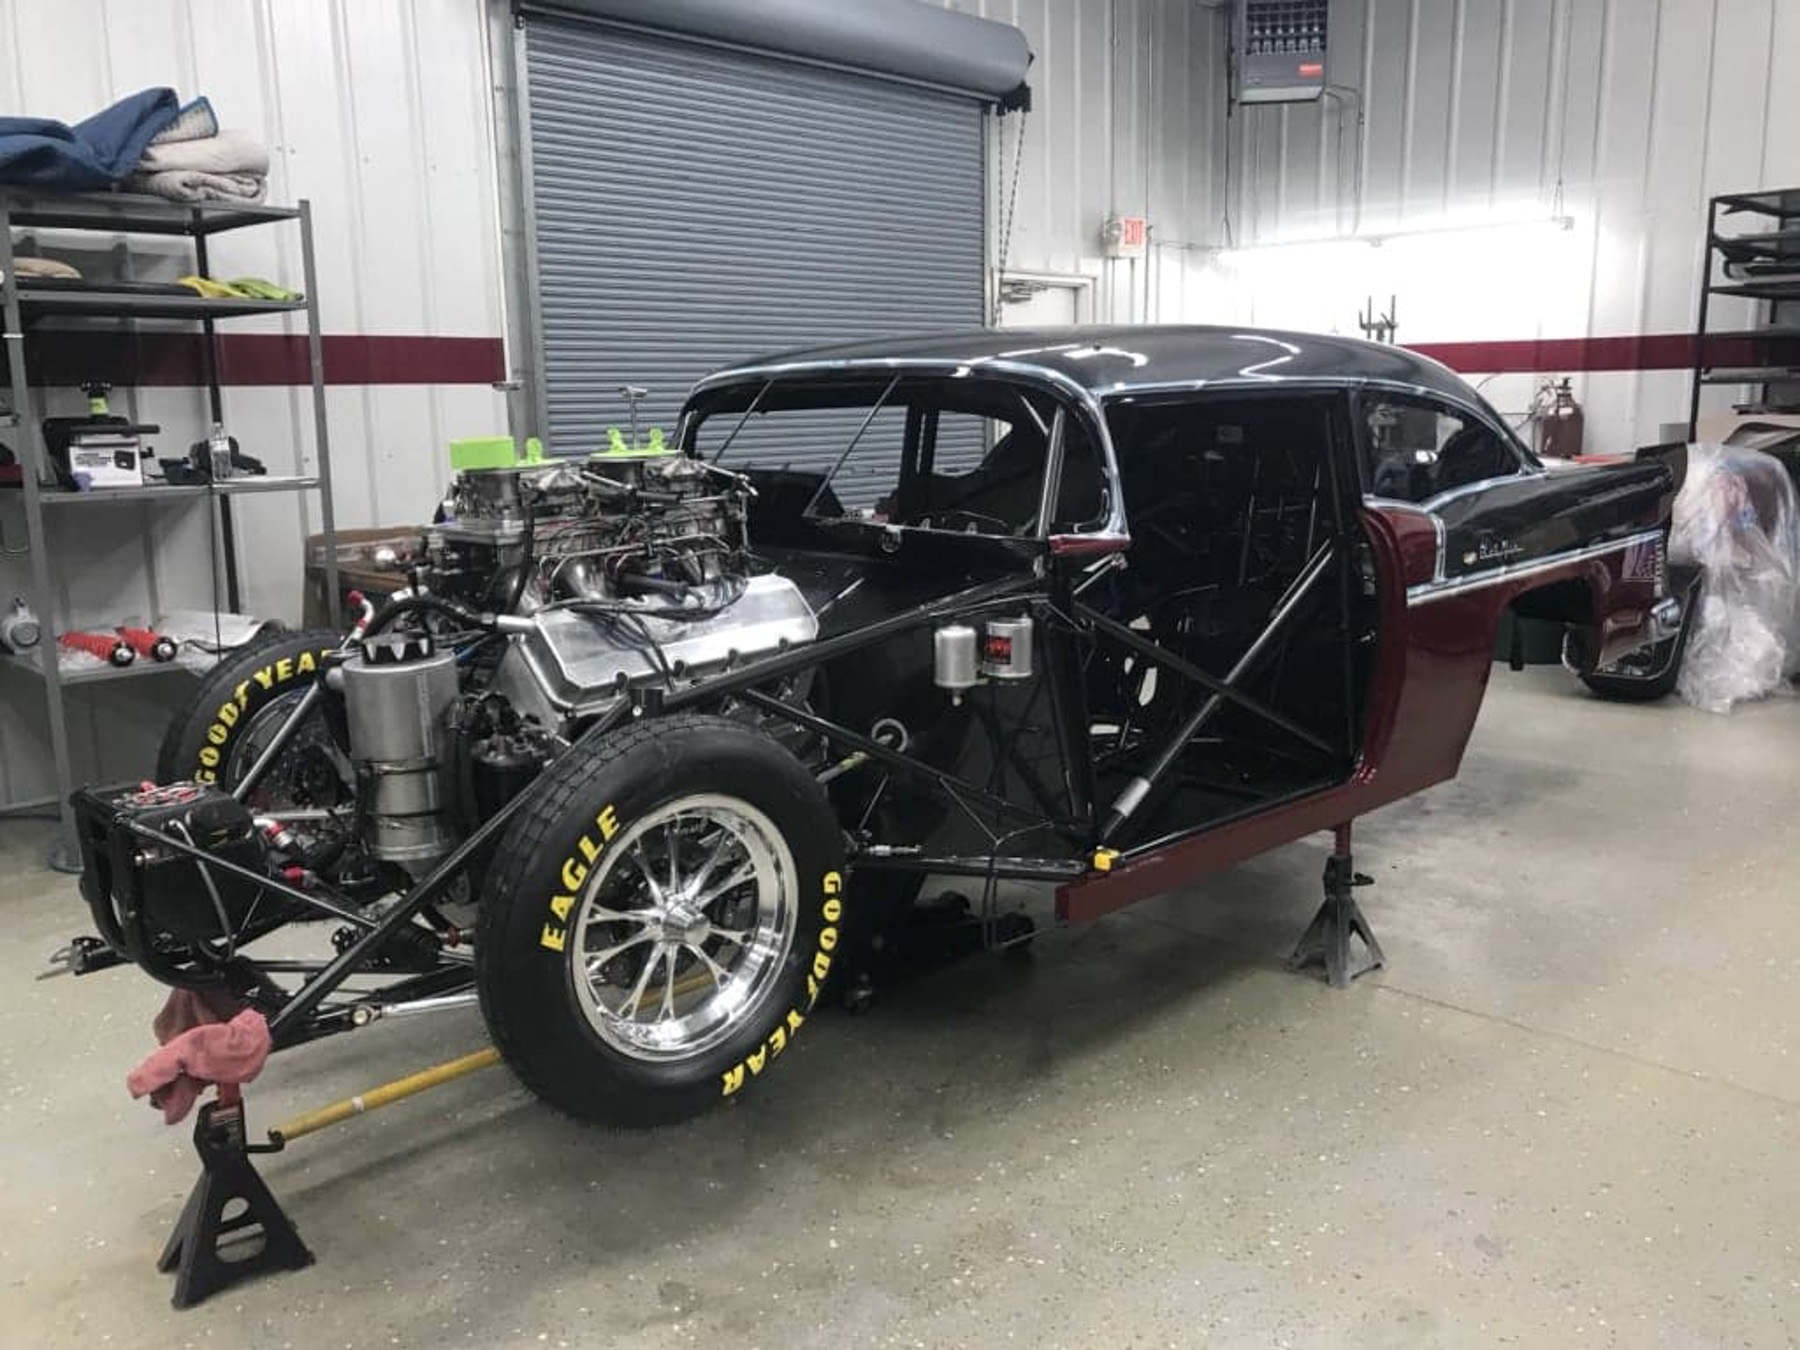
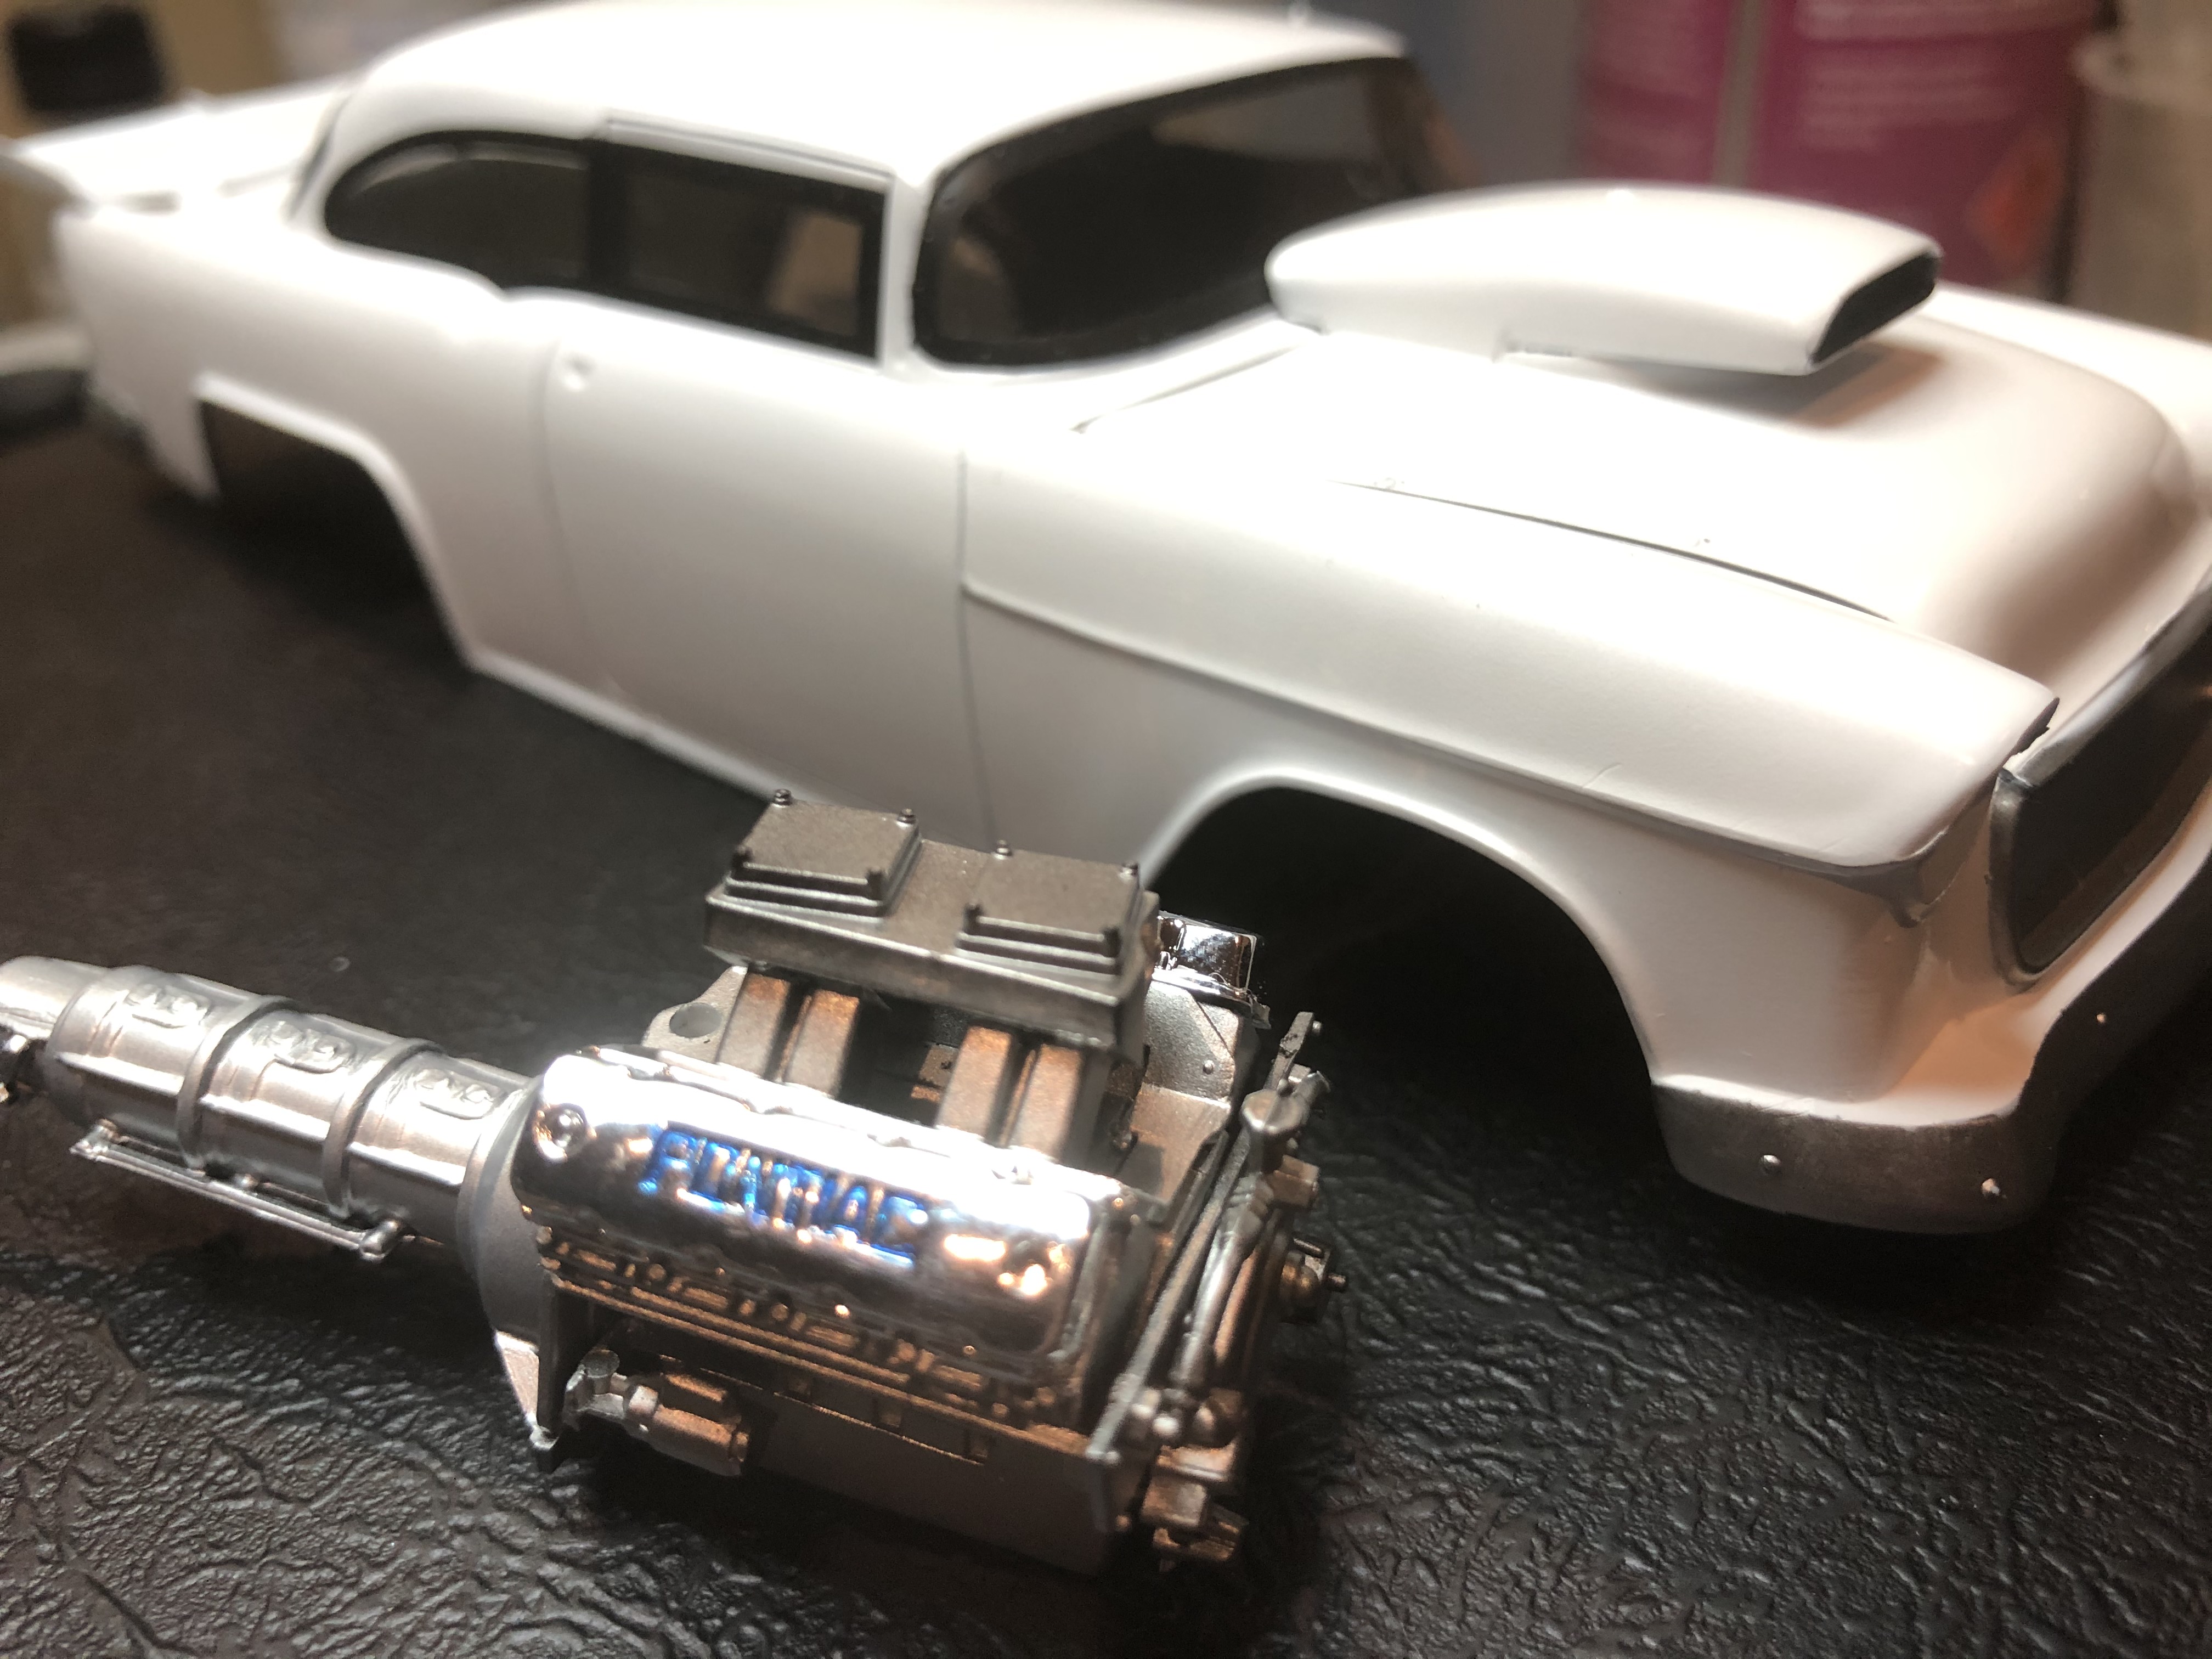
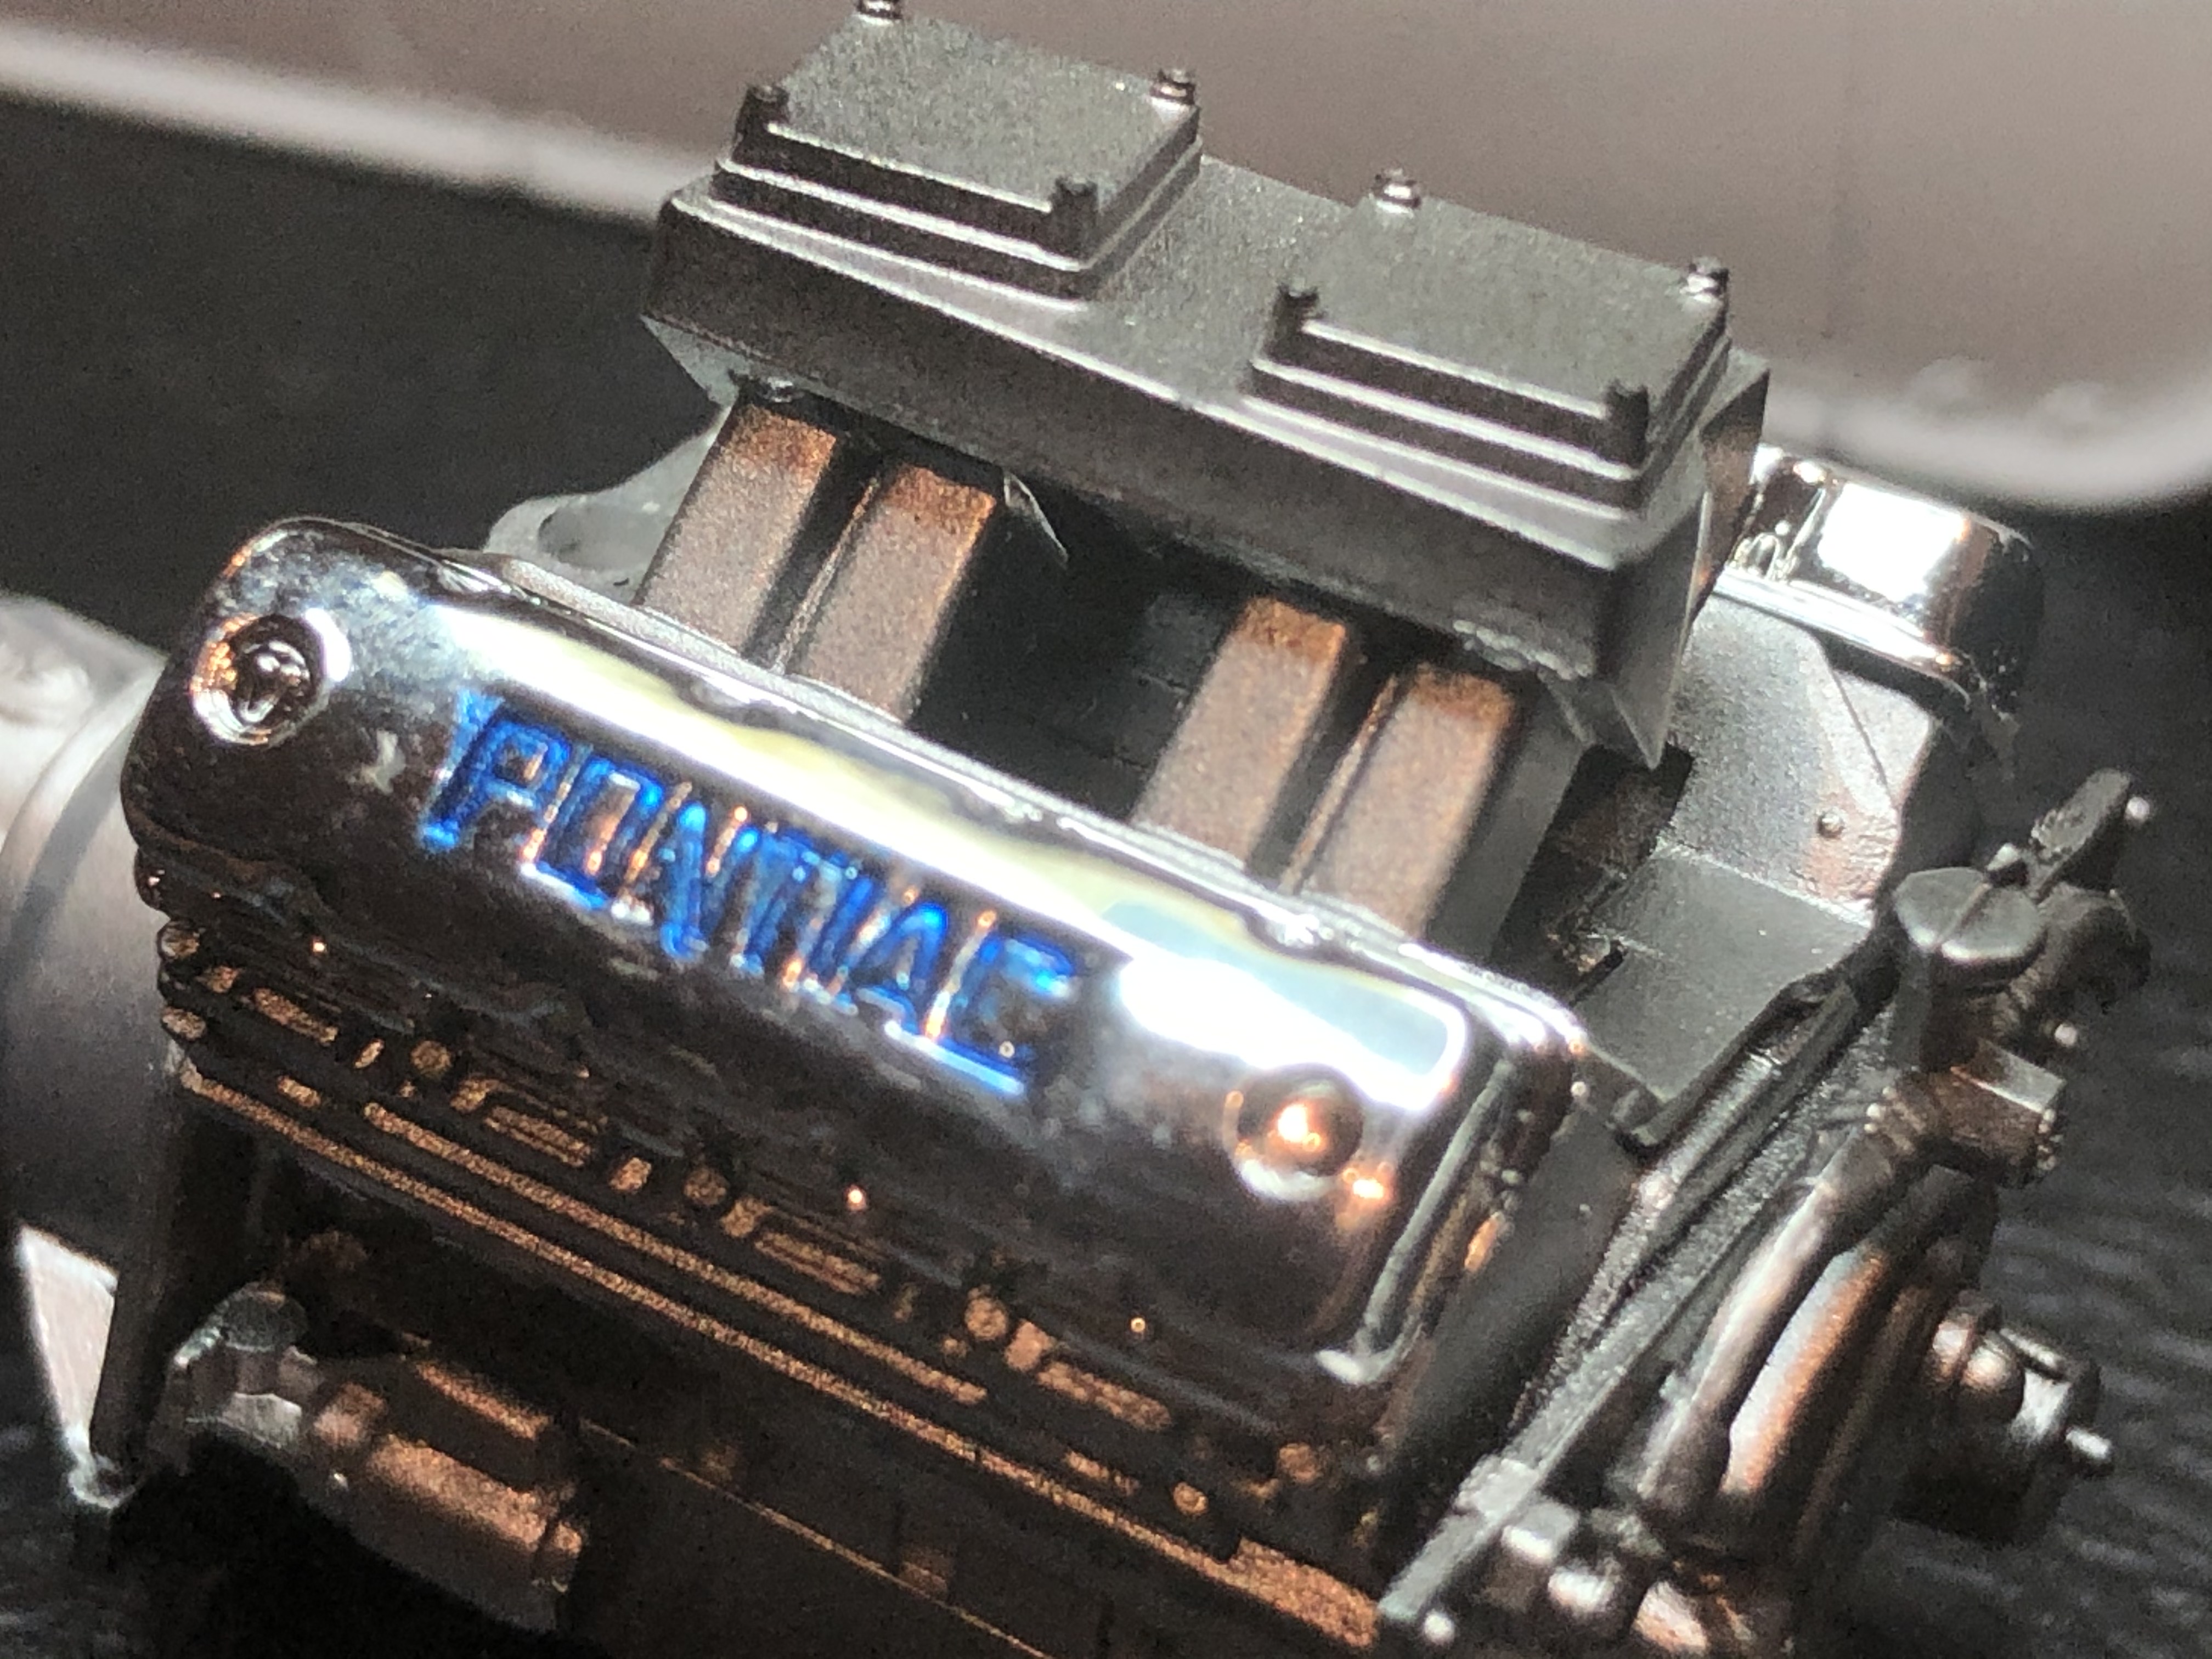
A mixture of SMS Super Silver and Stainless Steel on the engine and diff assemblies and exhaust stacks, and AK Xtreme Metal White Aluminium on the Lenco Tranny.
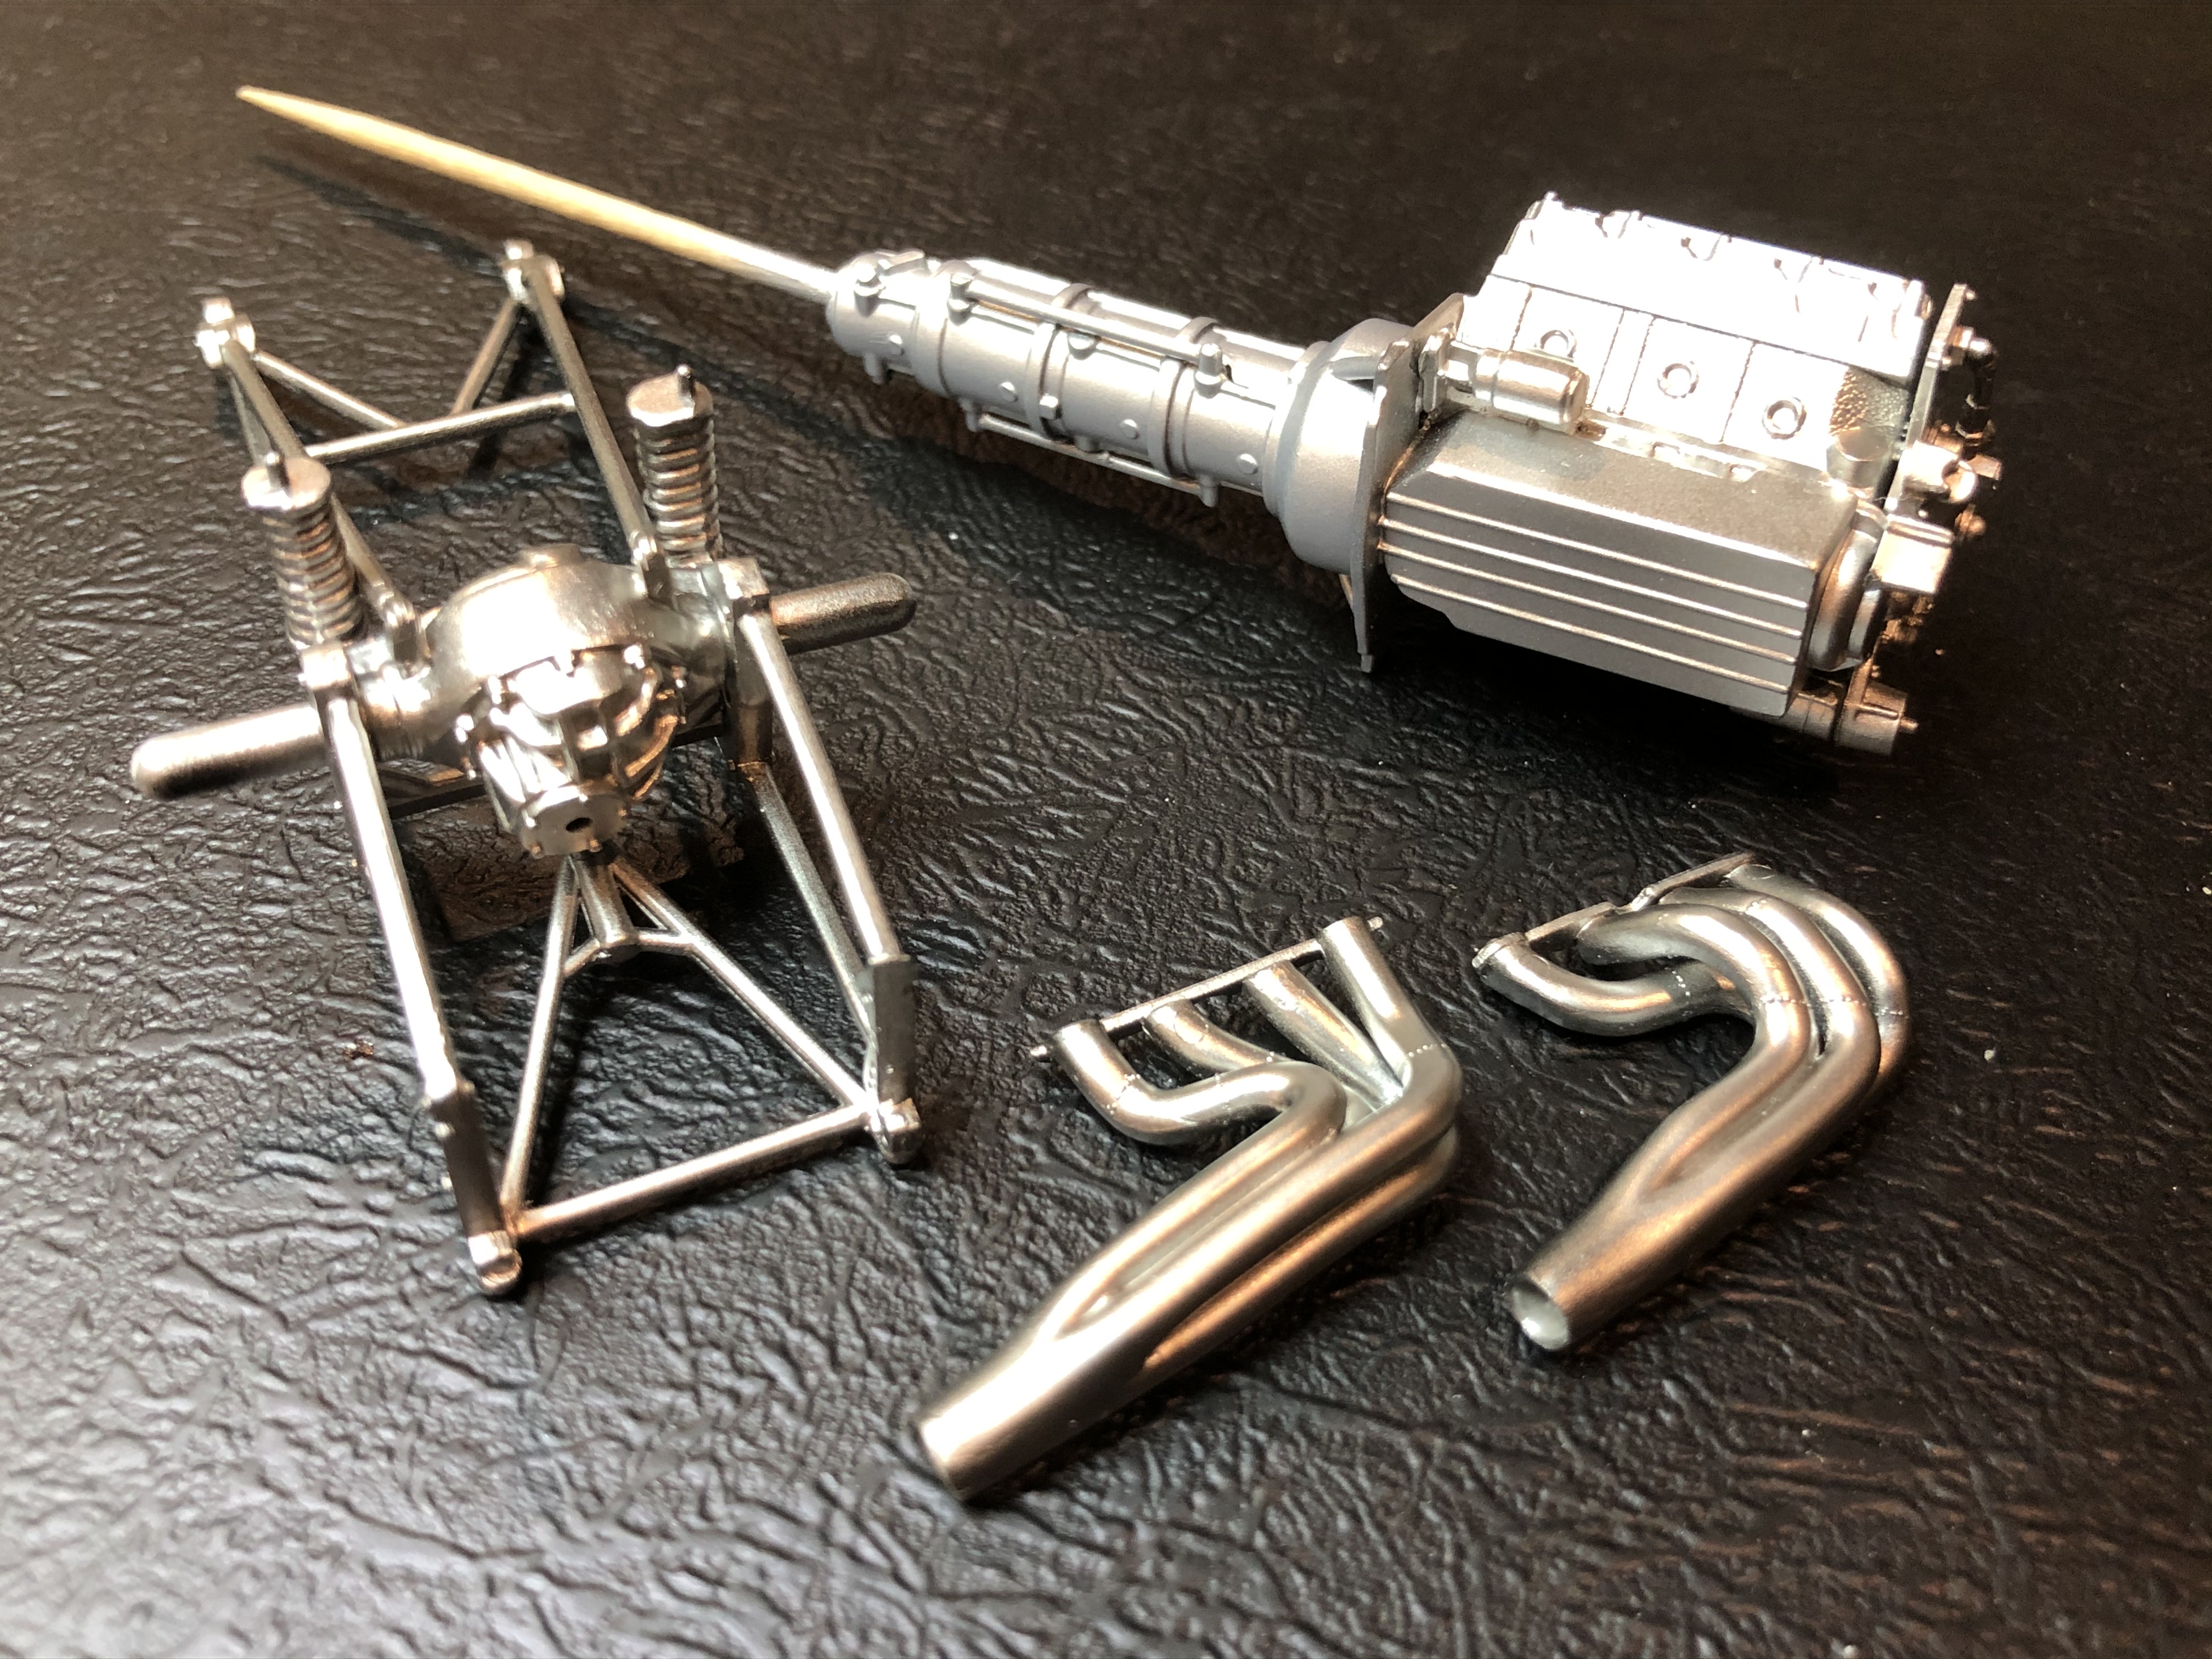
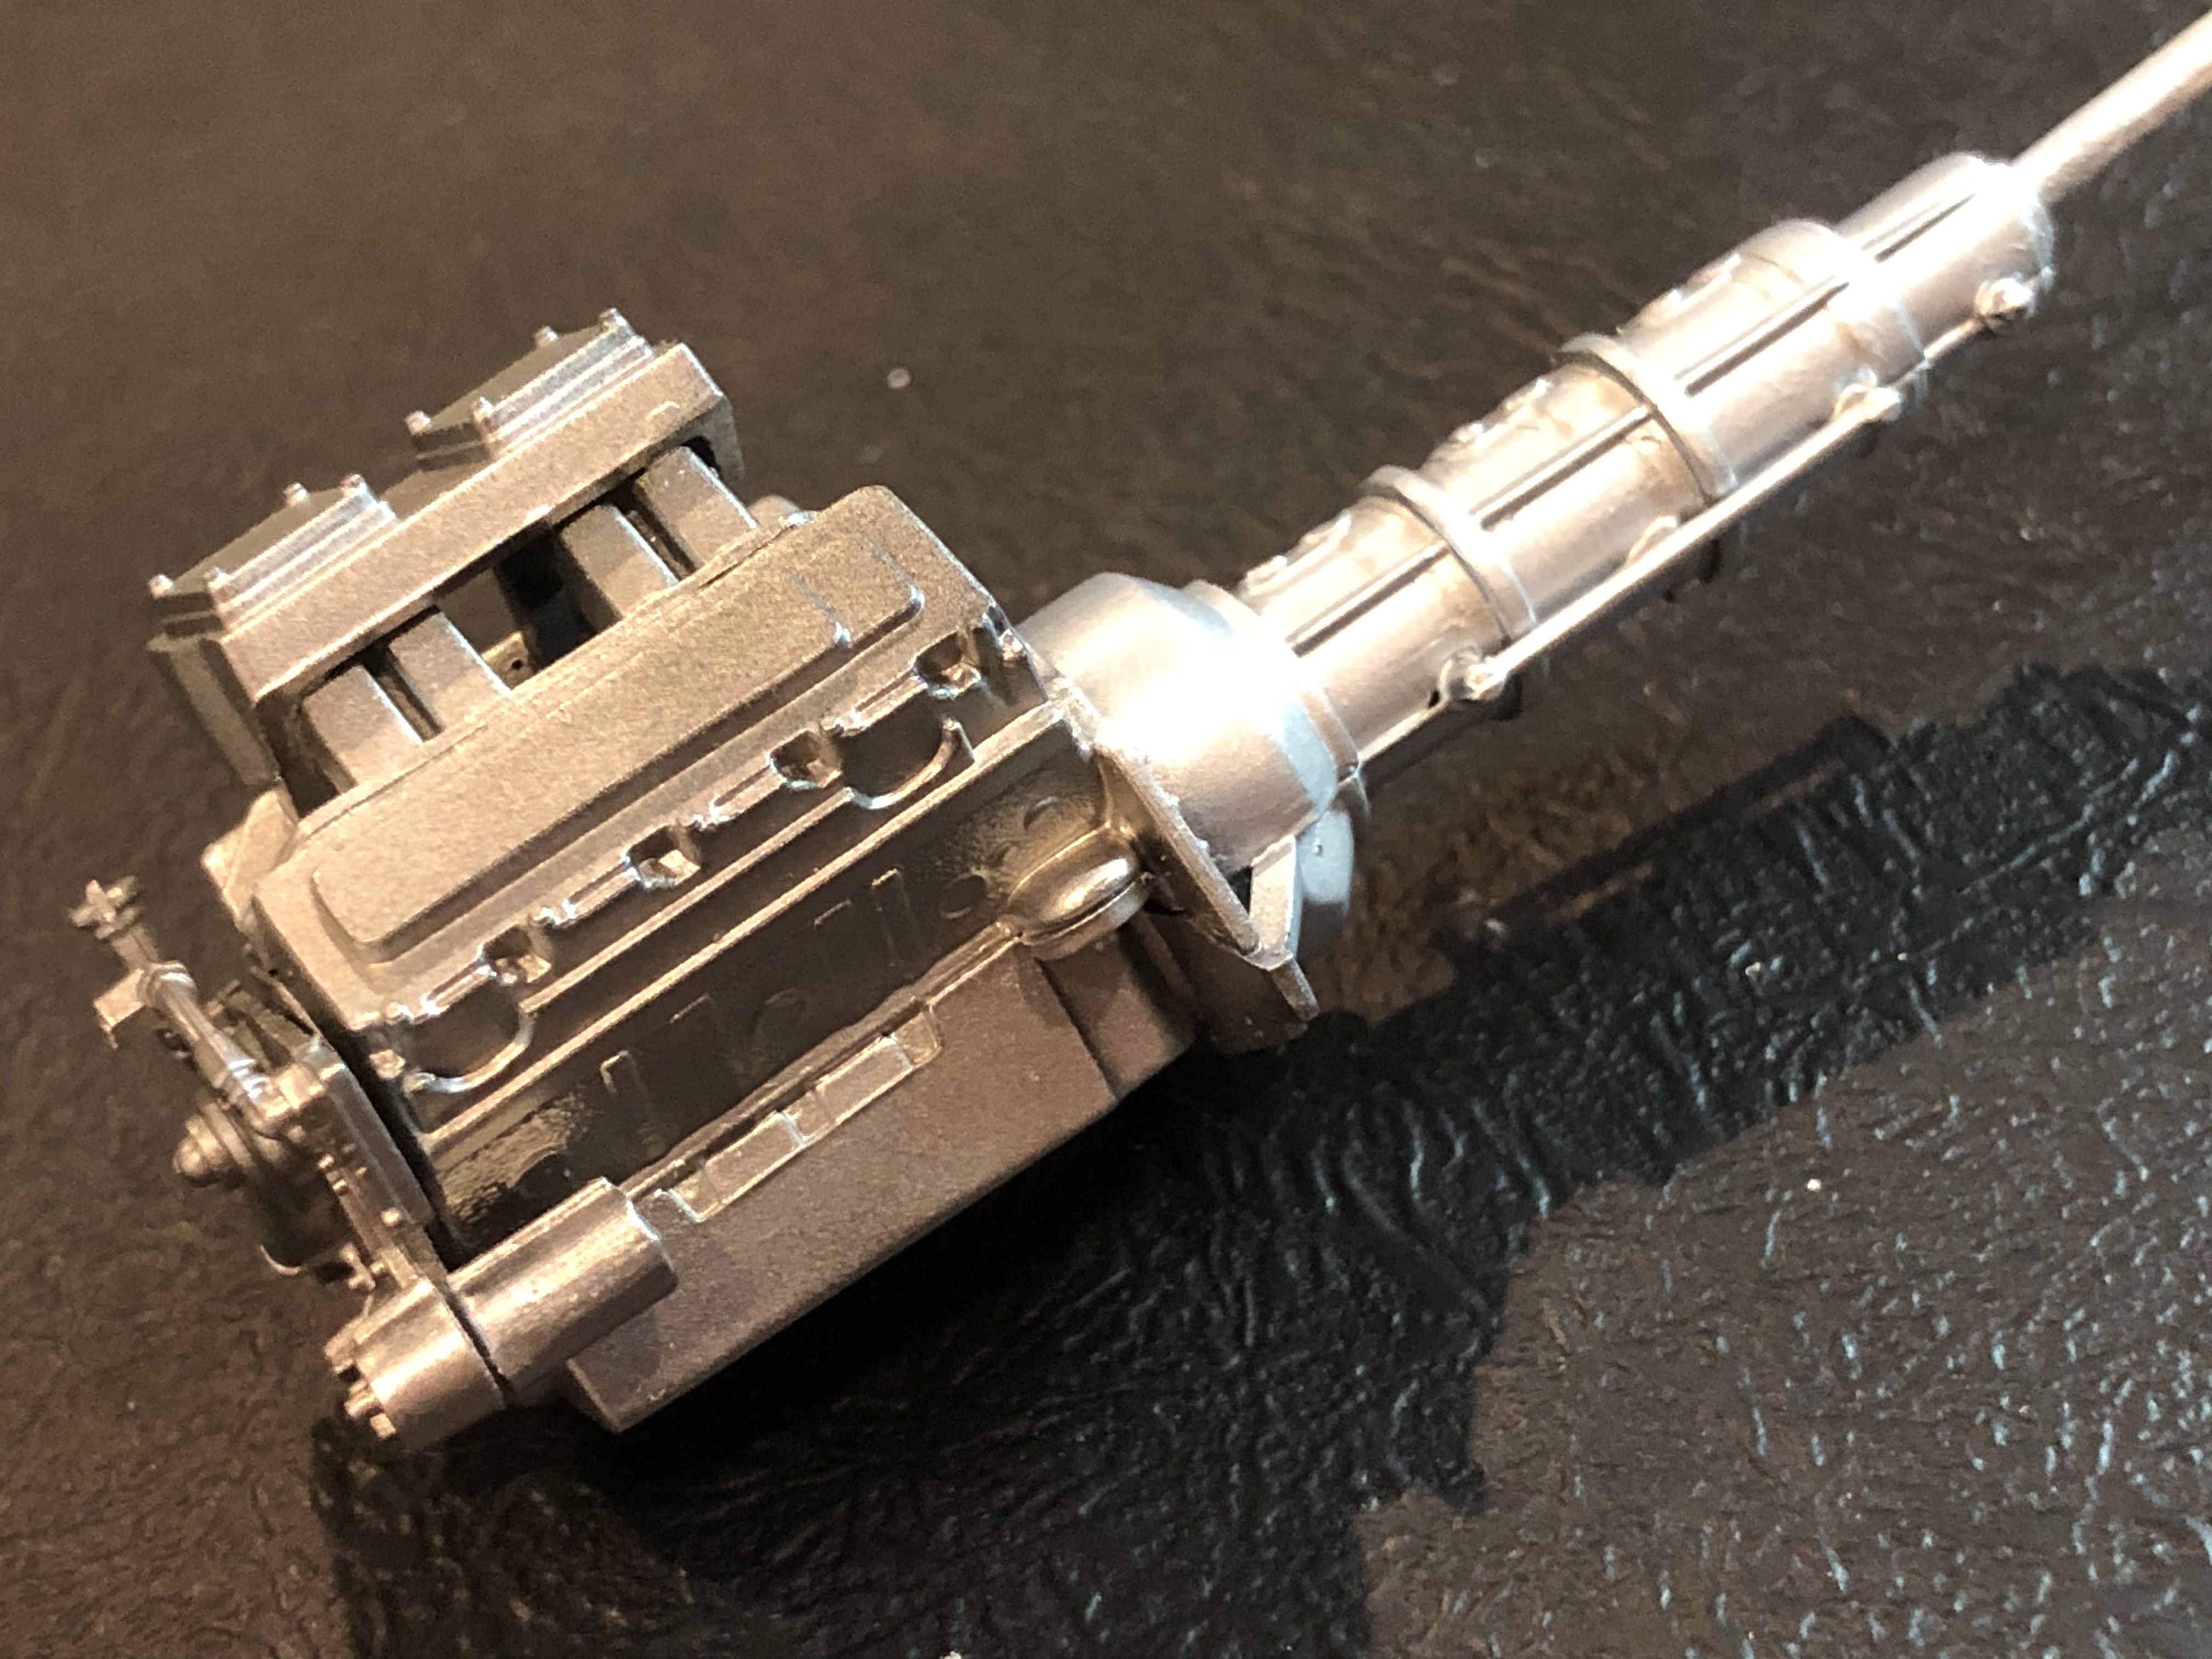
I will get the bits and bobs added to the engine and give it a pin wash, and the exhausts will get some burnt metal next.
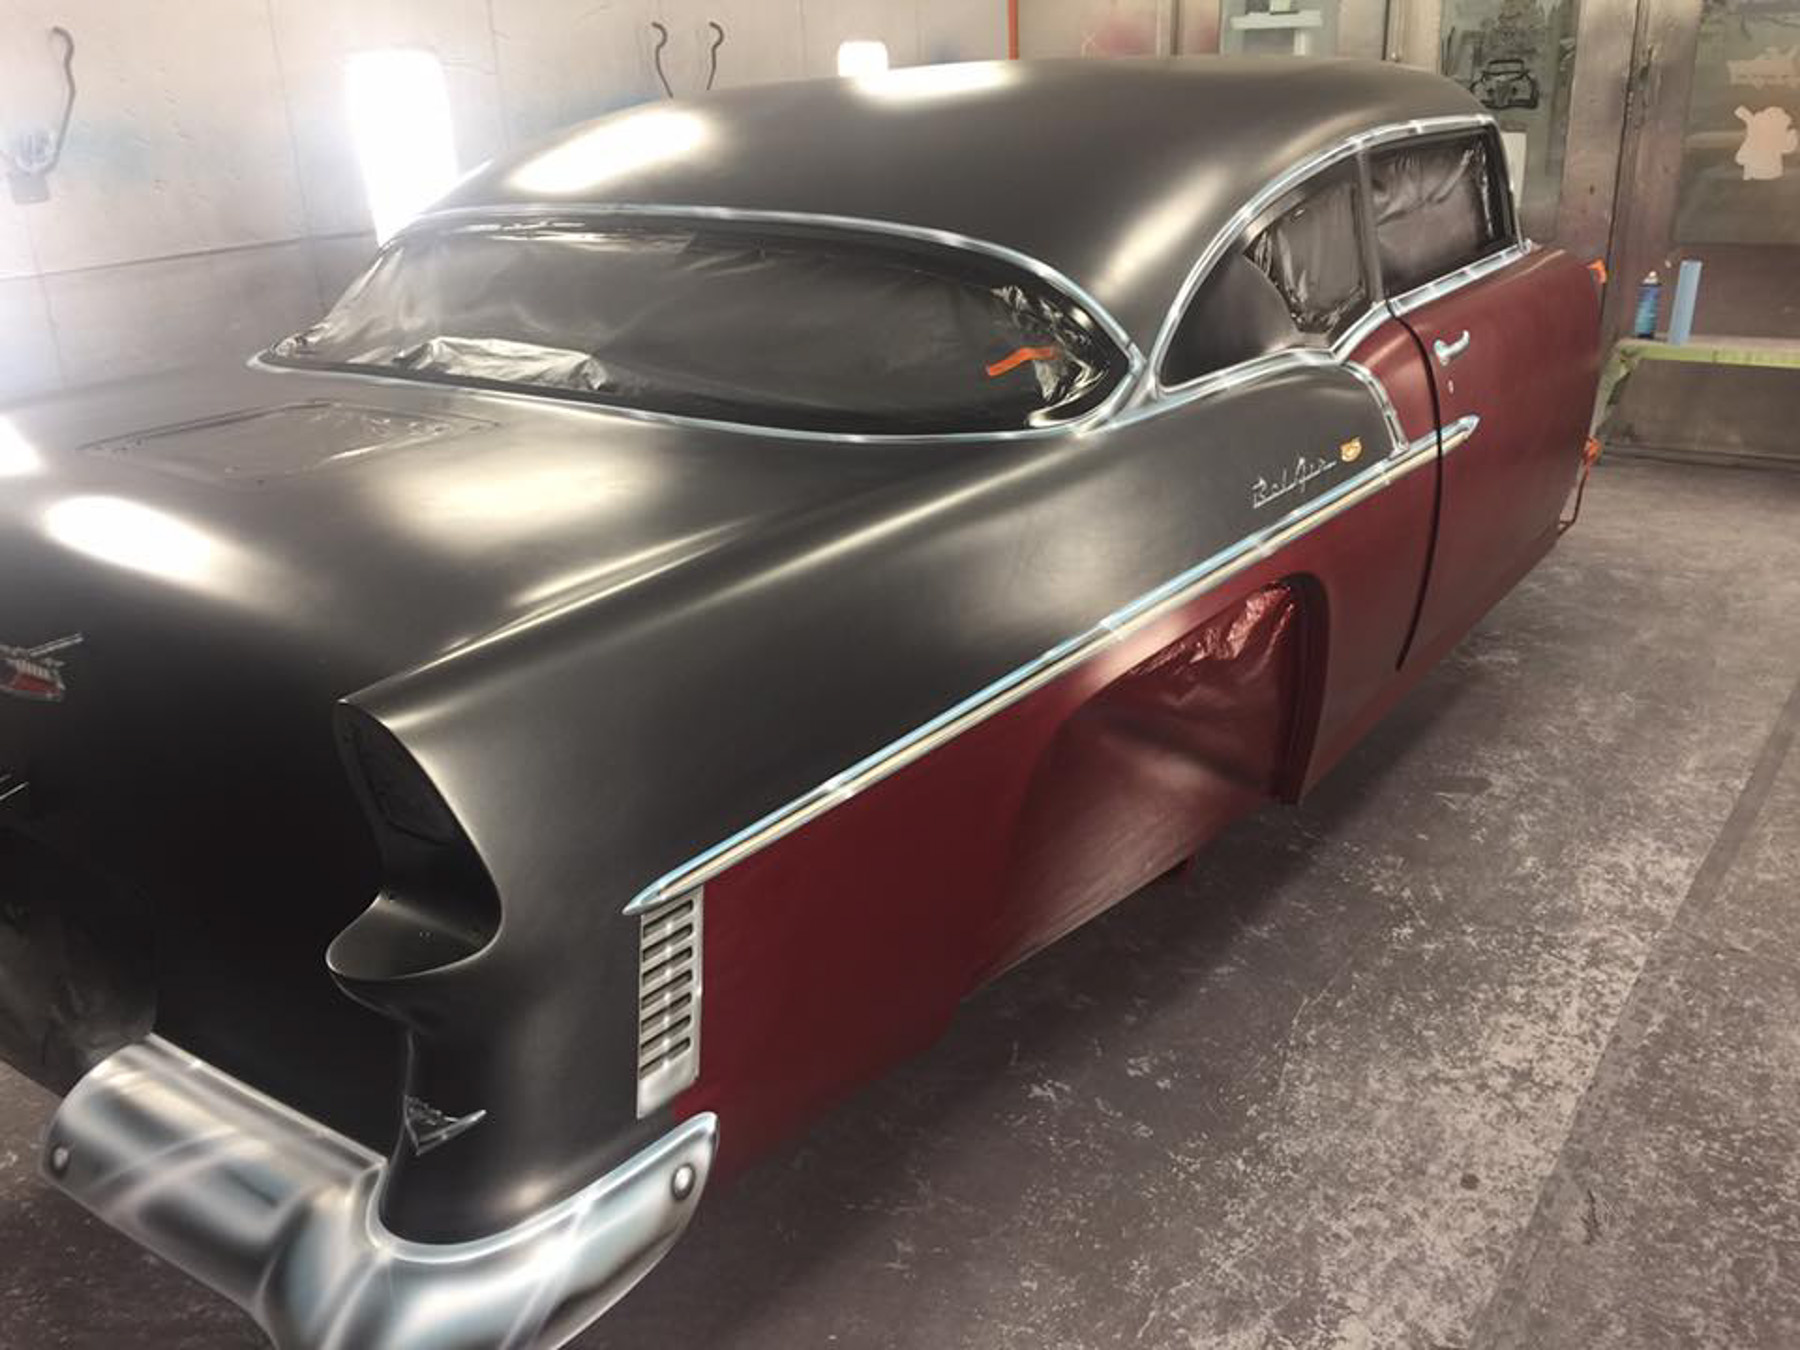
May 10th updateSmall update for me, a couple of hours and a couple of glasses of a nice Shiraz tonight, masked up the bumpers and chrome trims, and window recesses, ready now for grey primer.
 May 12th update
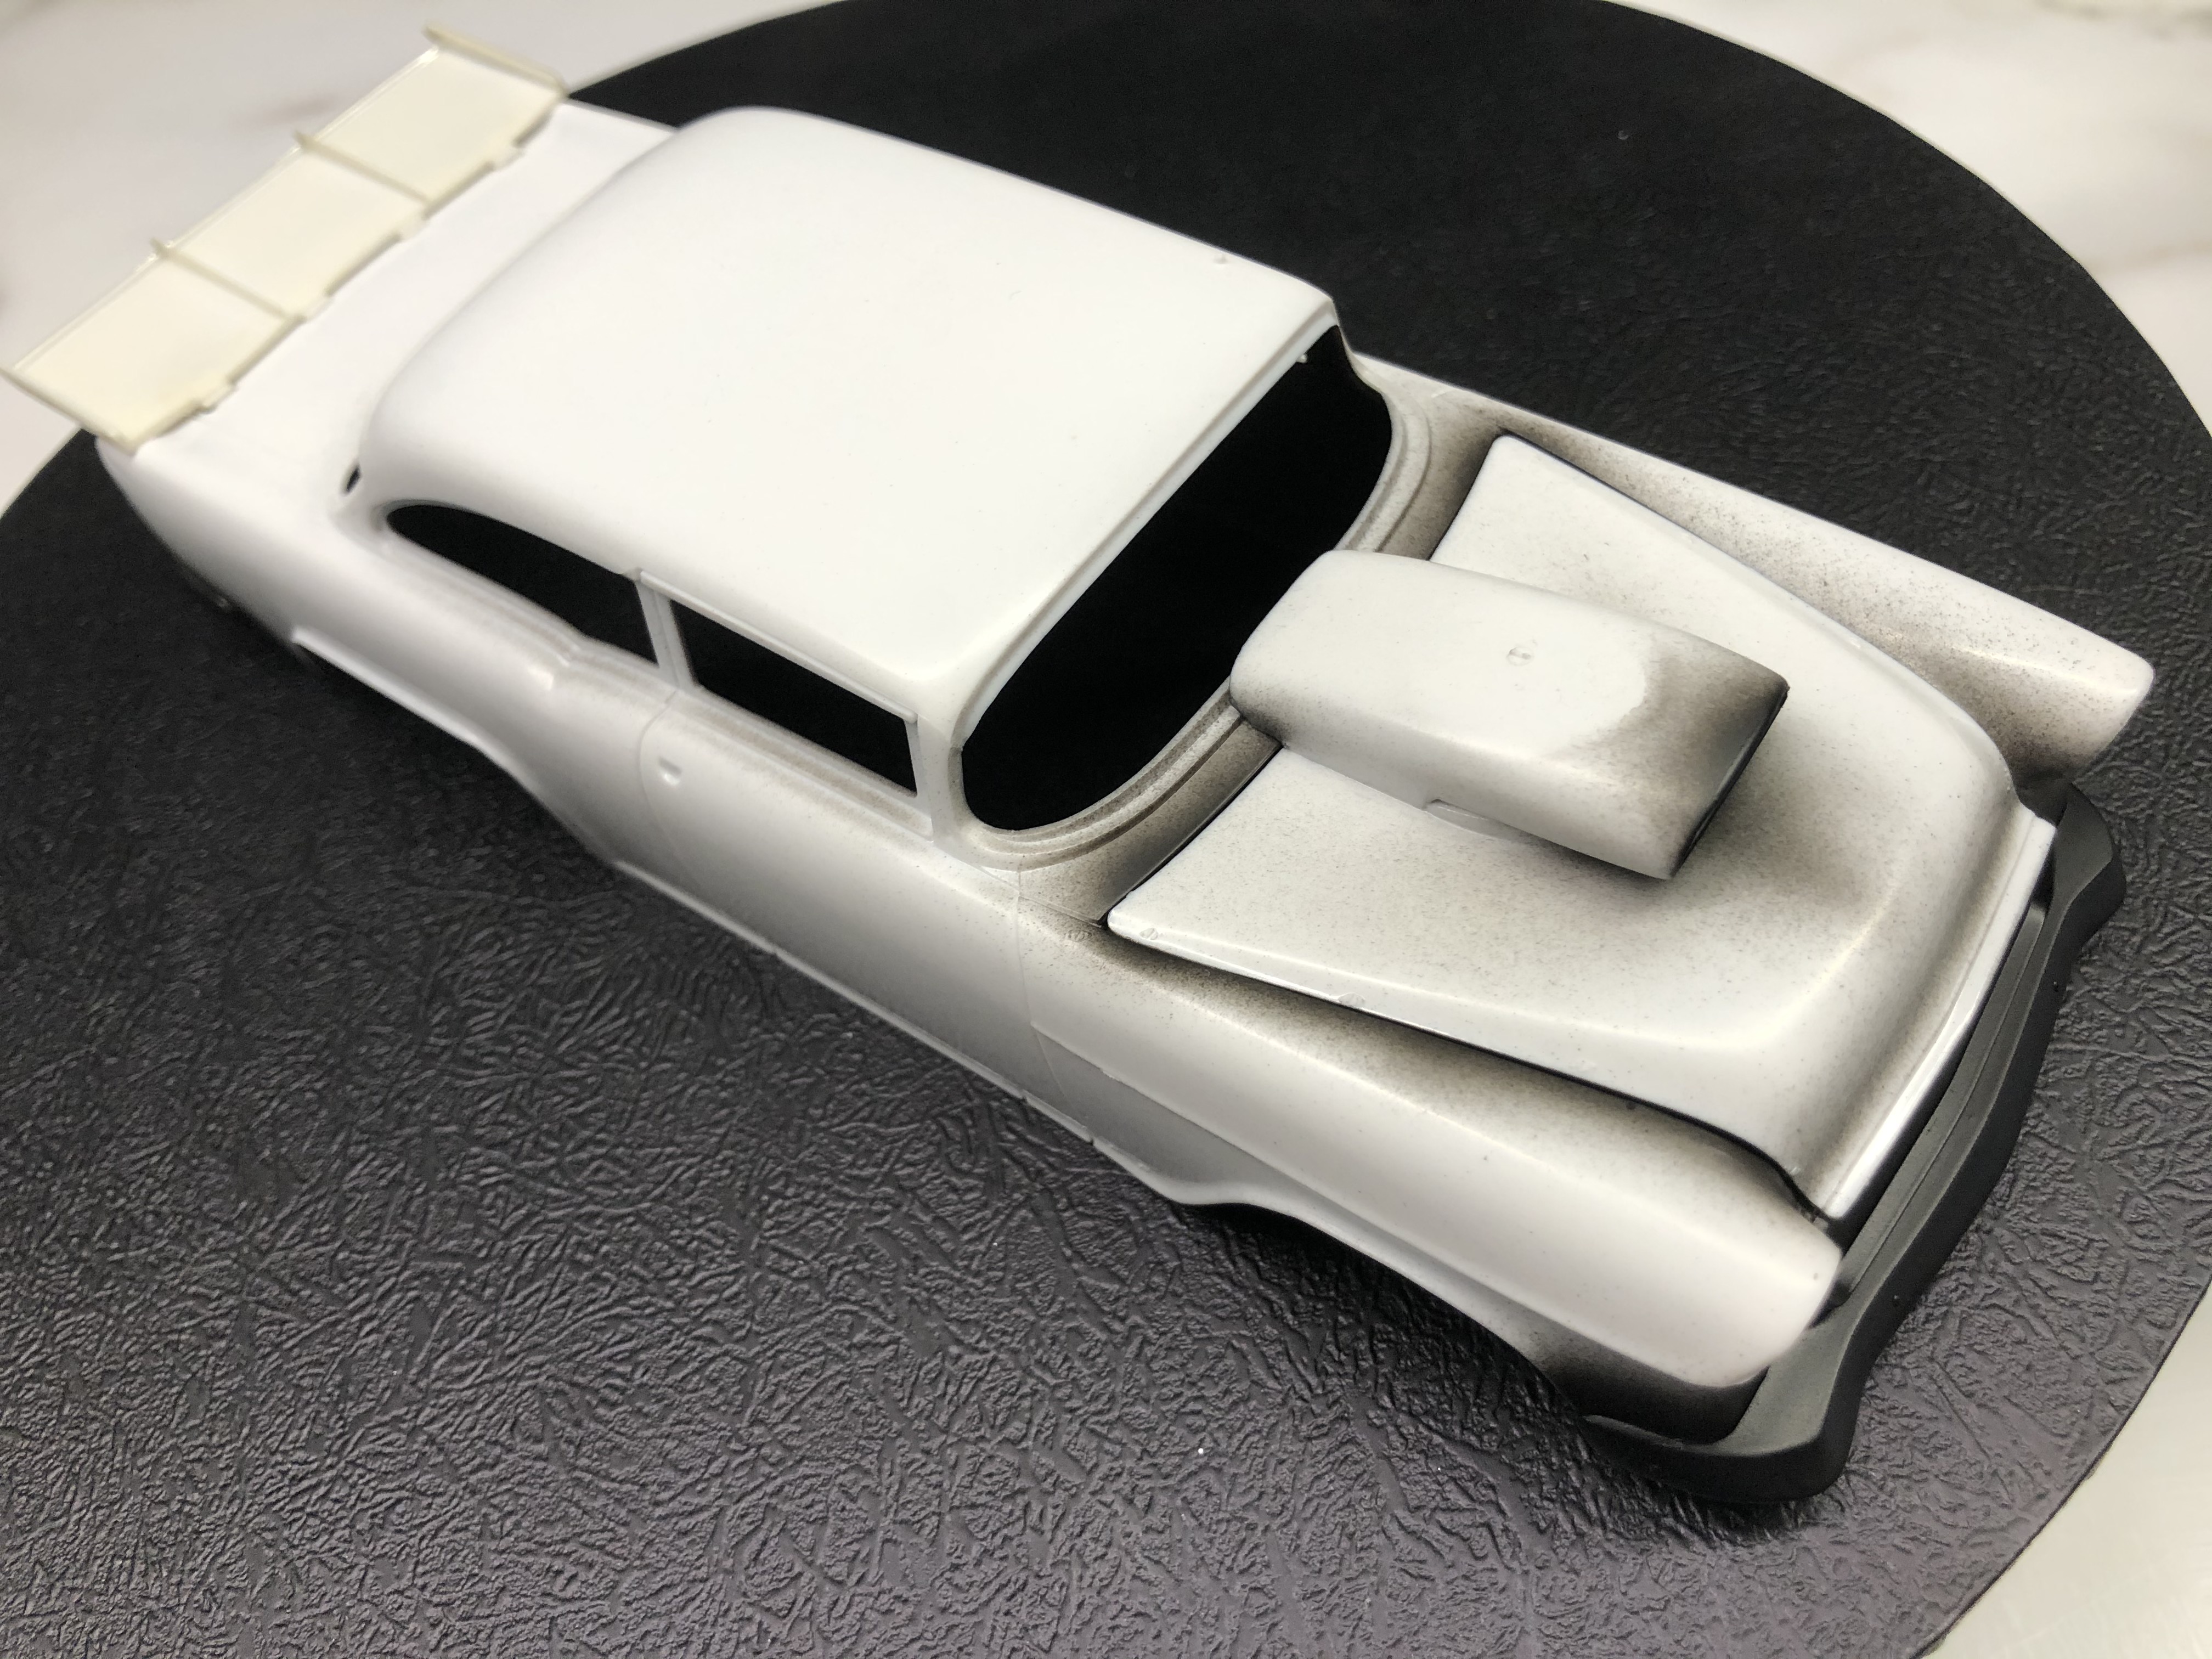
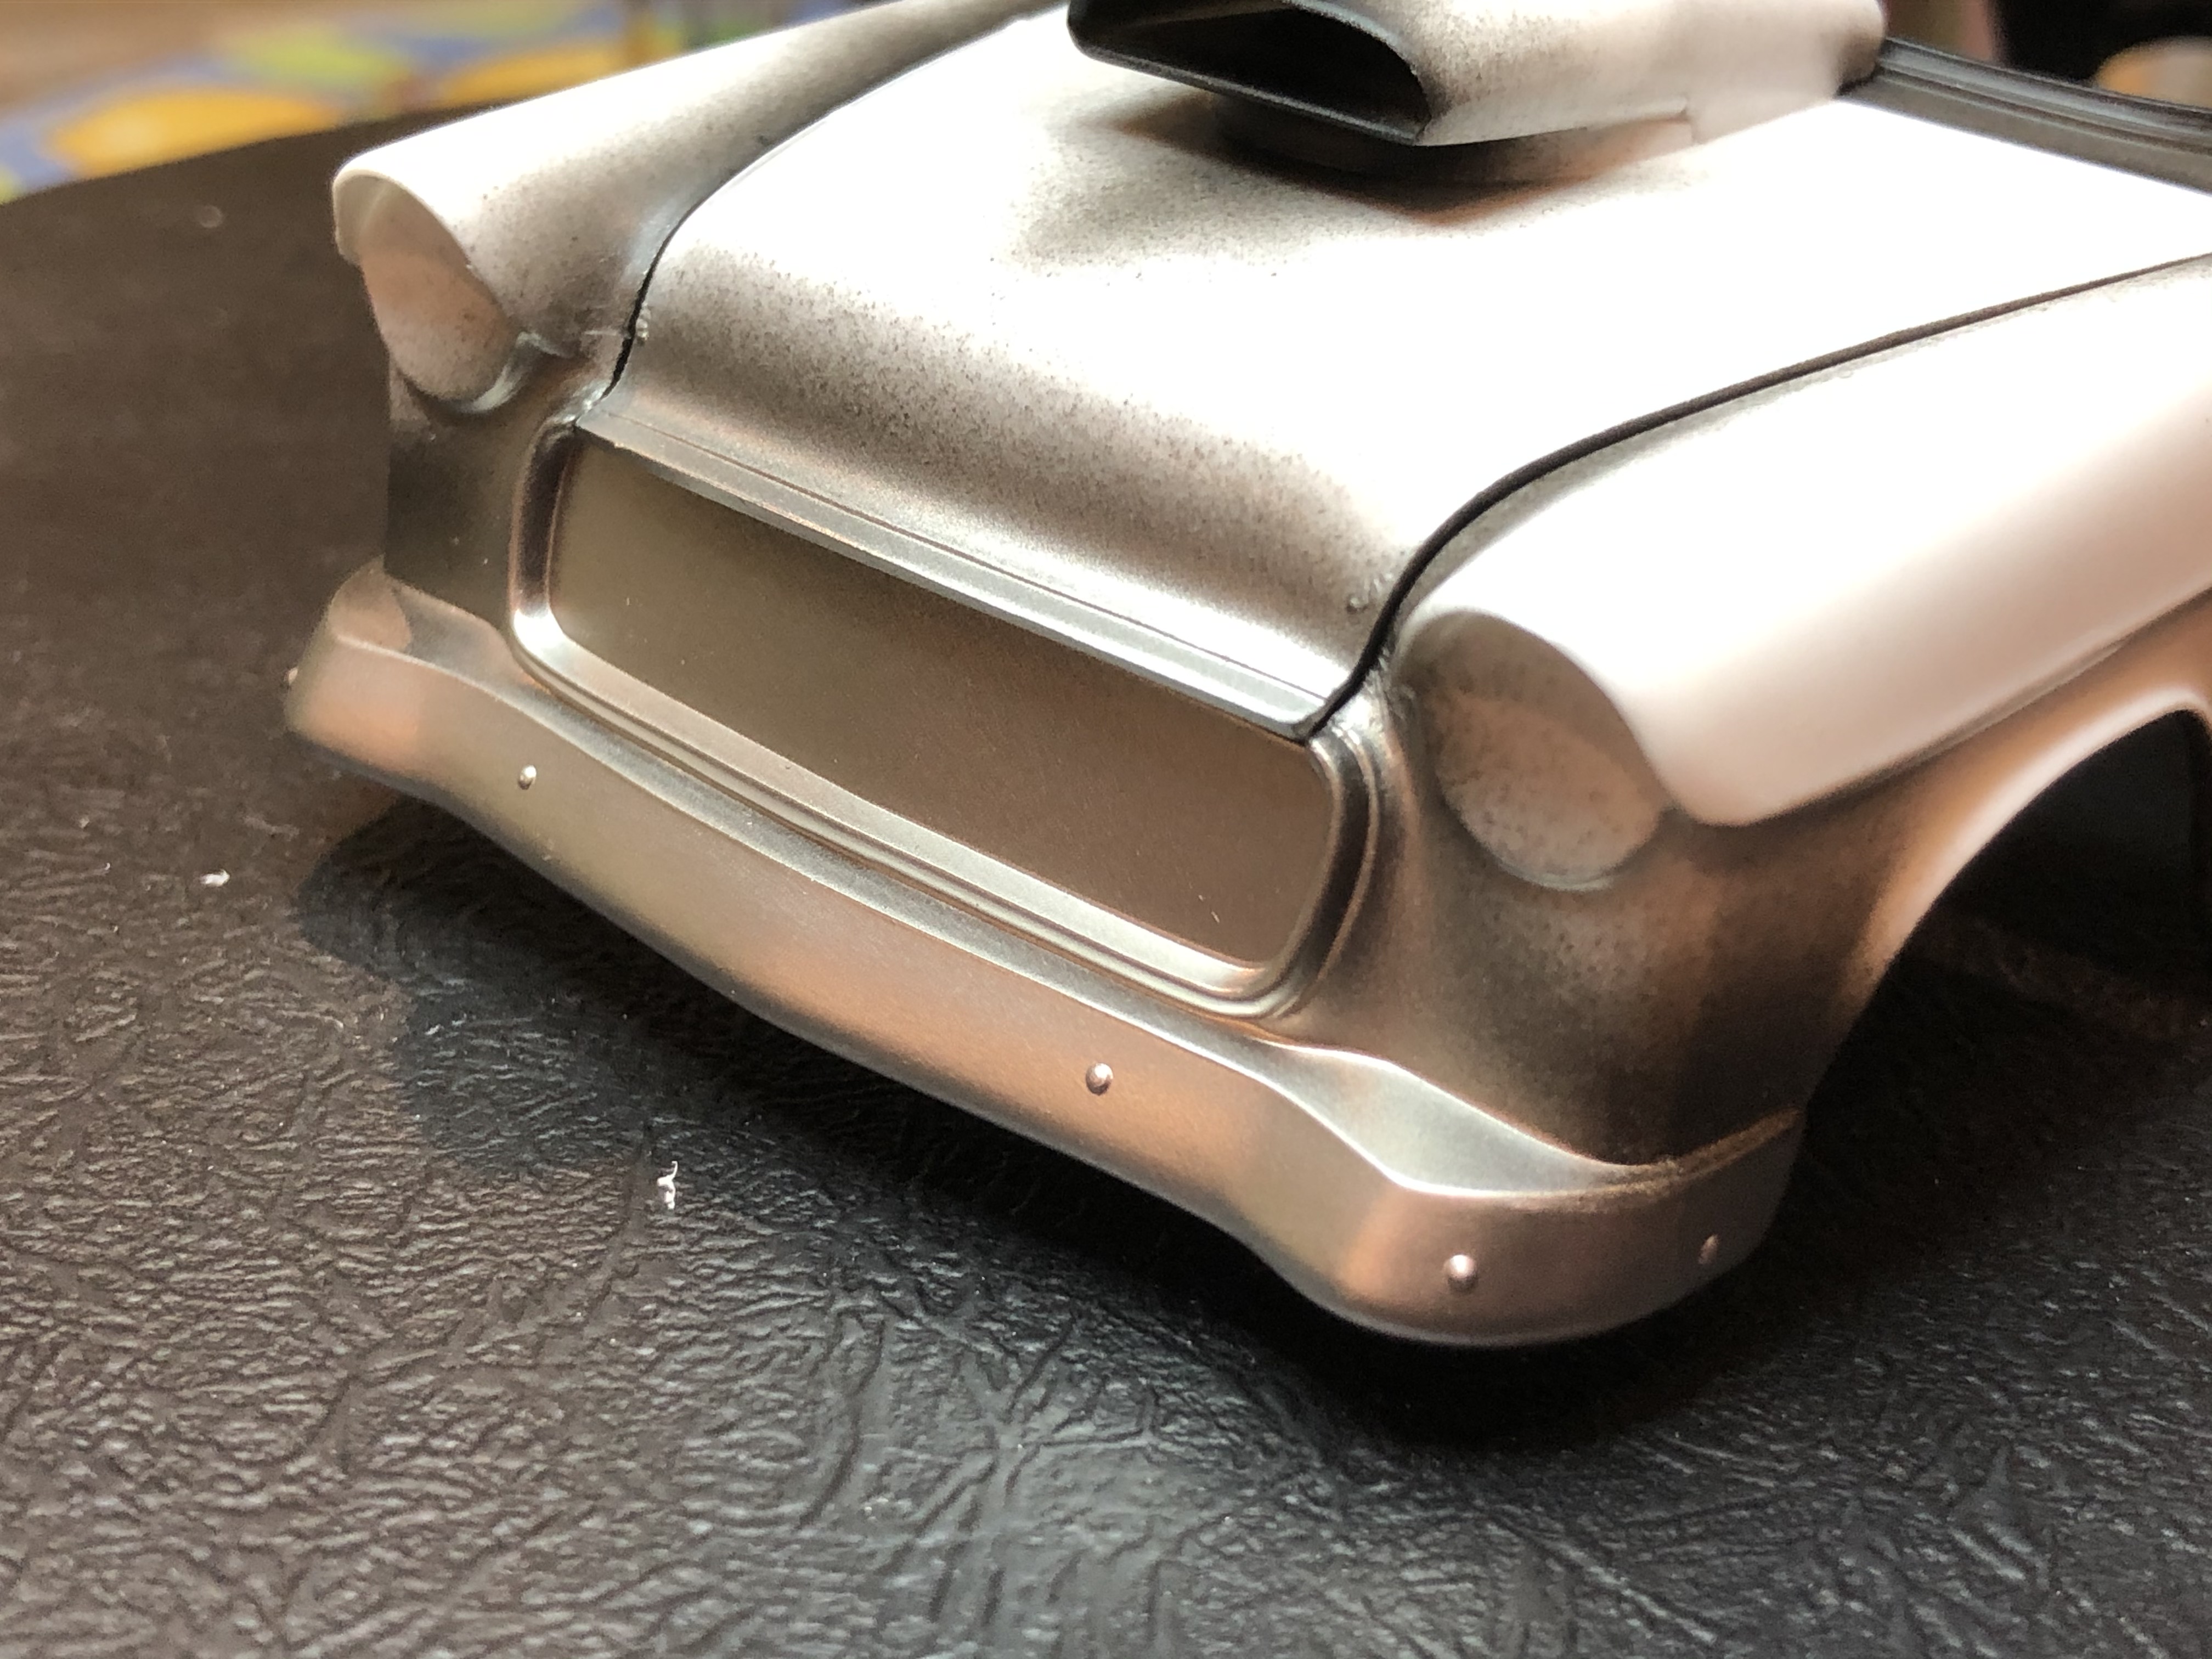
"Prime Time" for the '55 tonight.
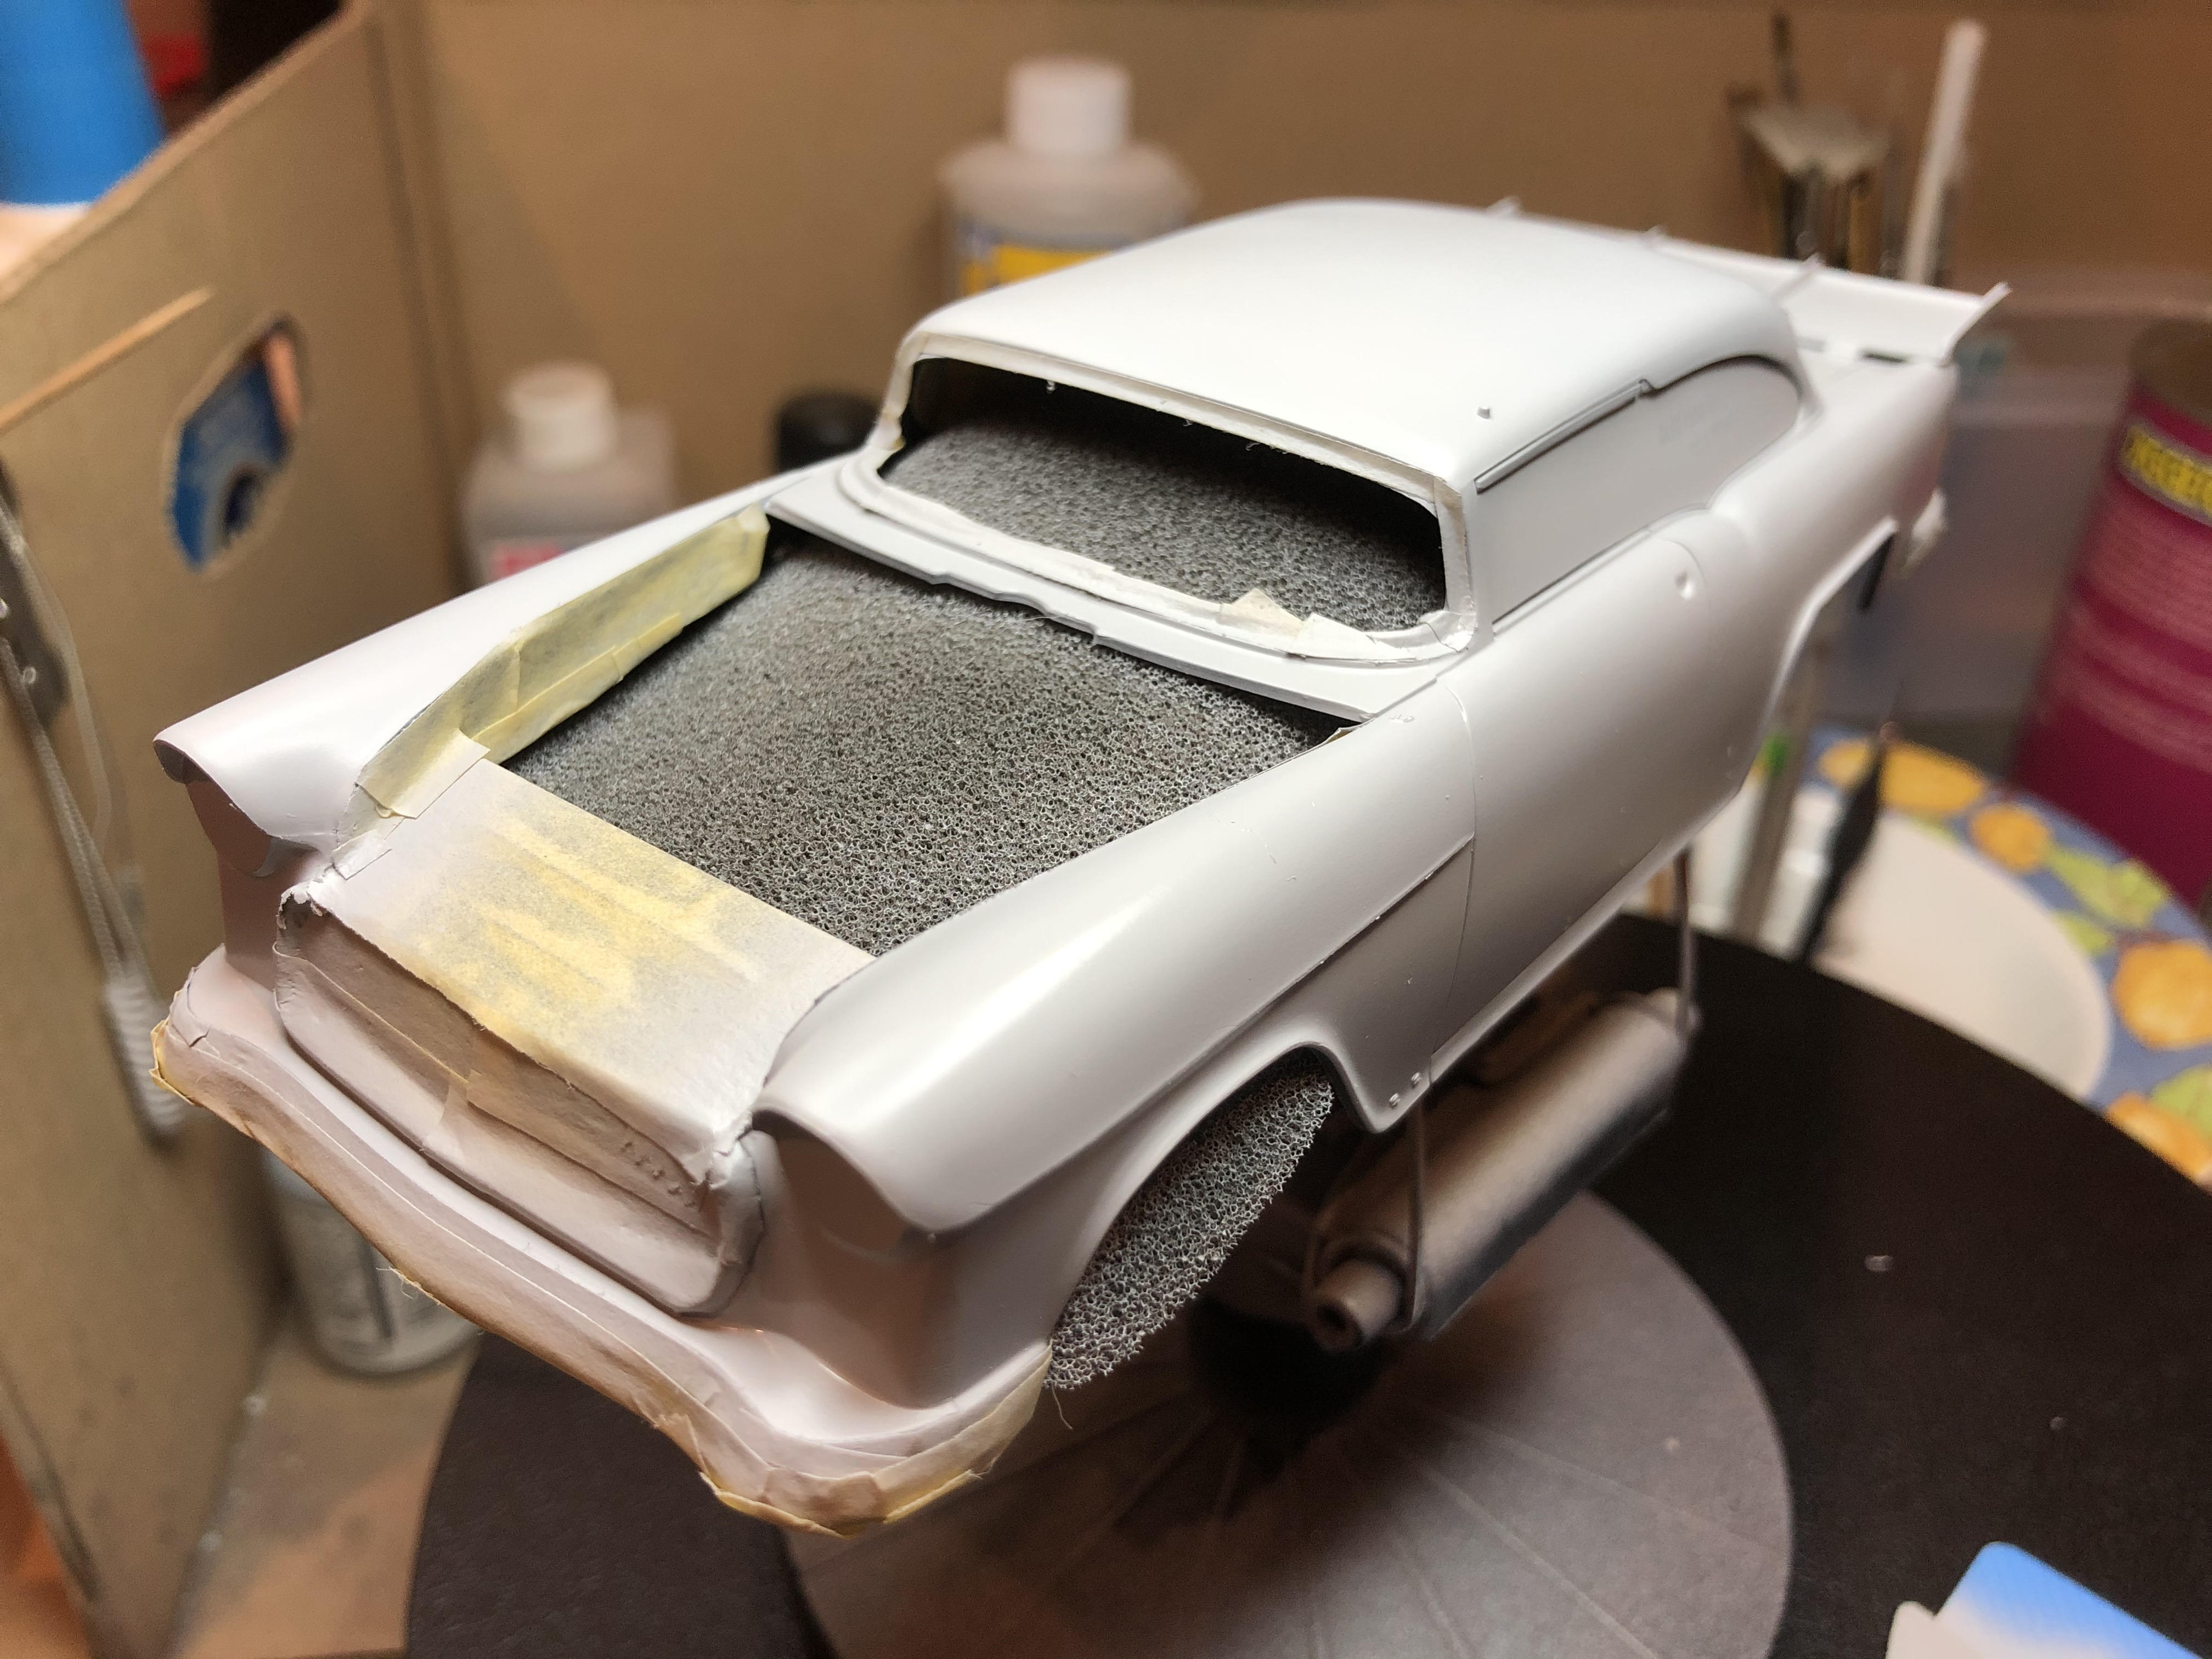
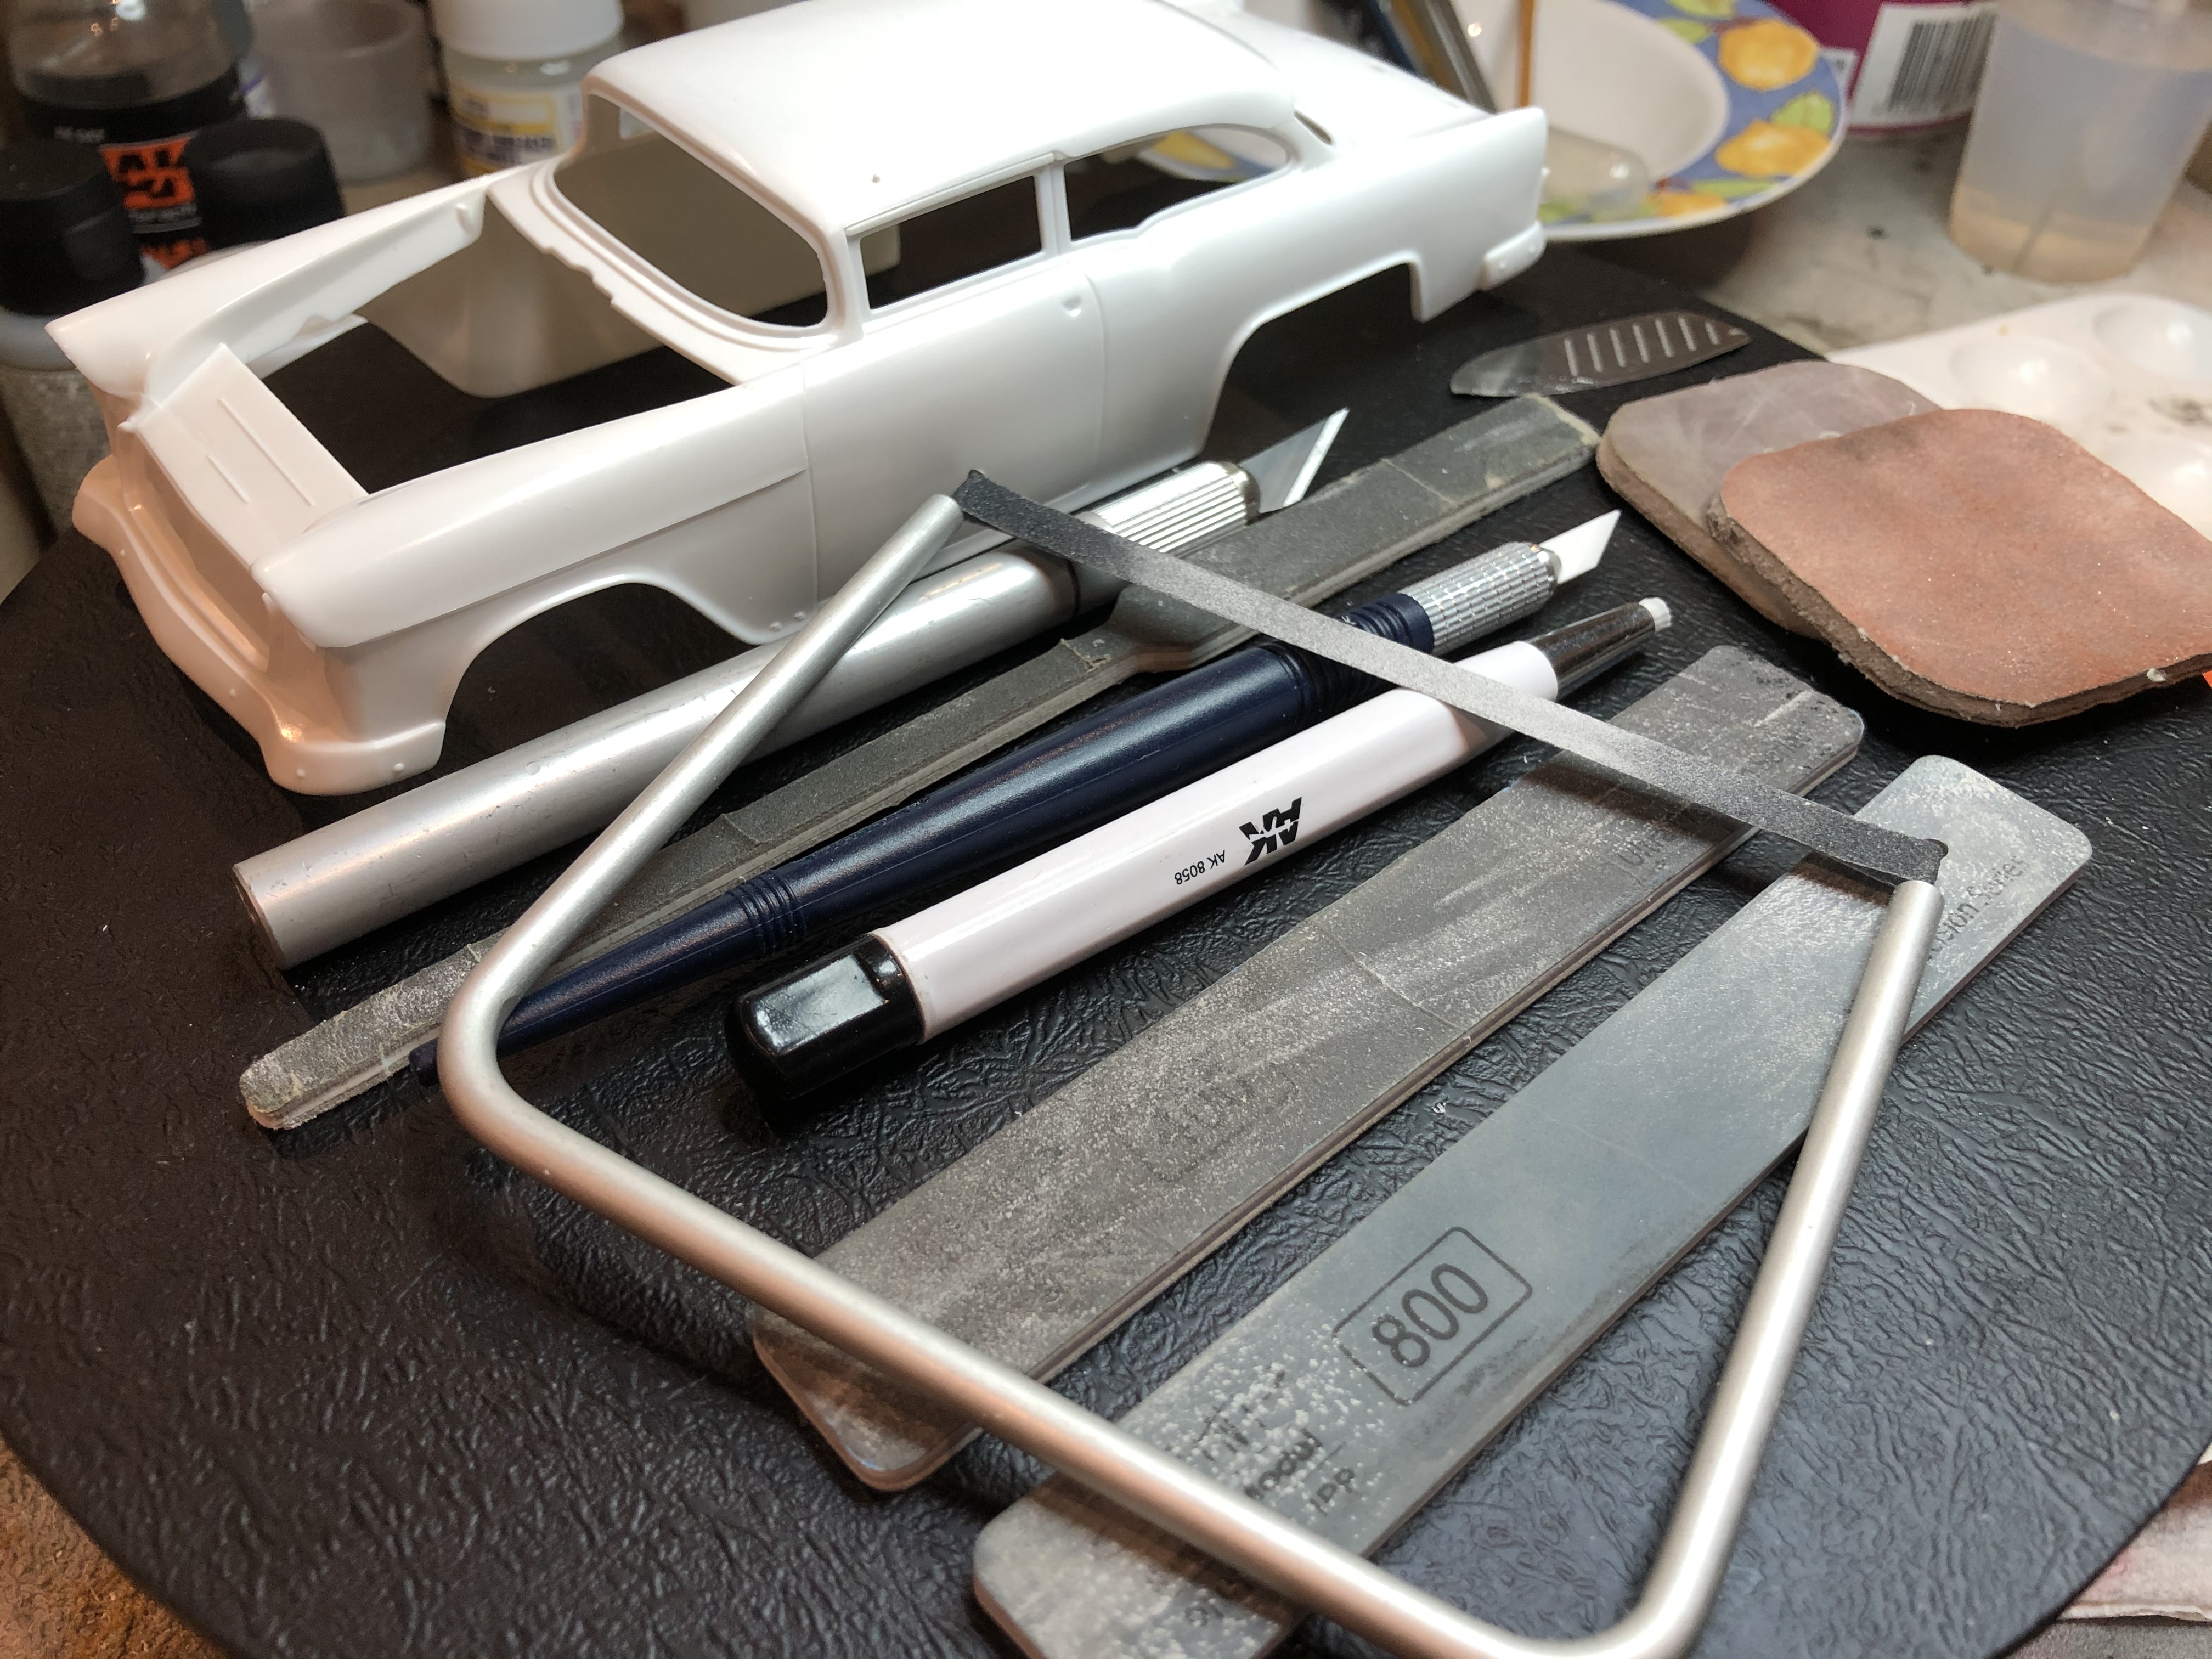
A day or so to set up, then a fine wet sand and ready for the top coat. There are quite a few very fine details on the body of this one, panel fasteners and such, so my wet sanding will need to be prior to the statutory Shiraz!
May 14th update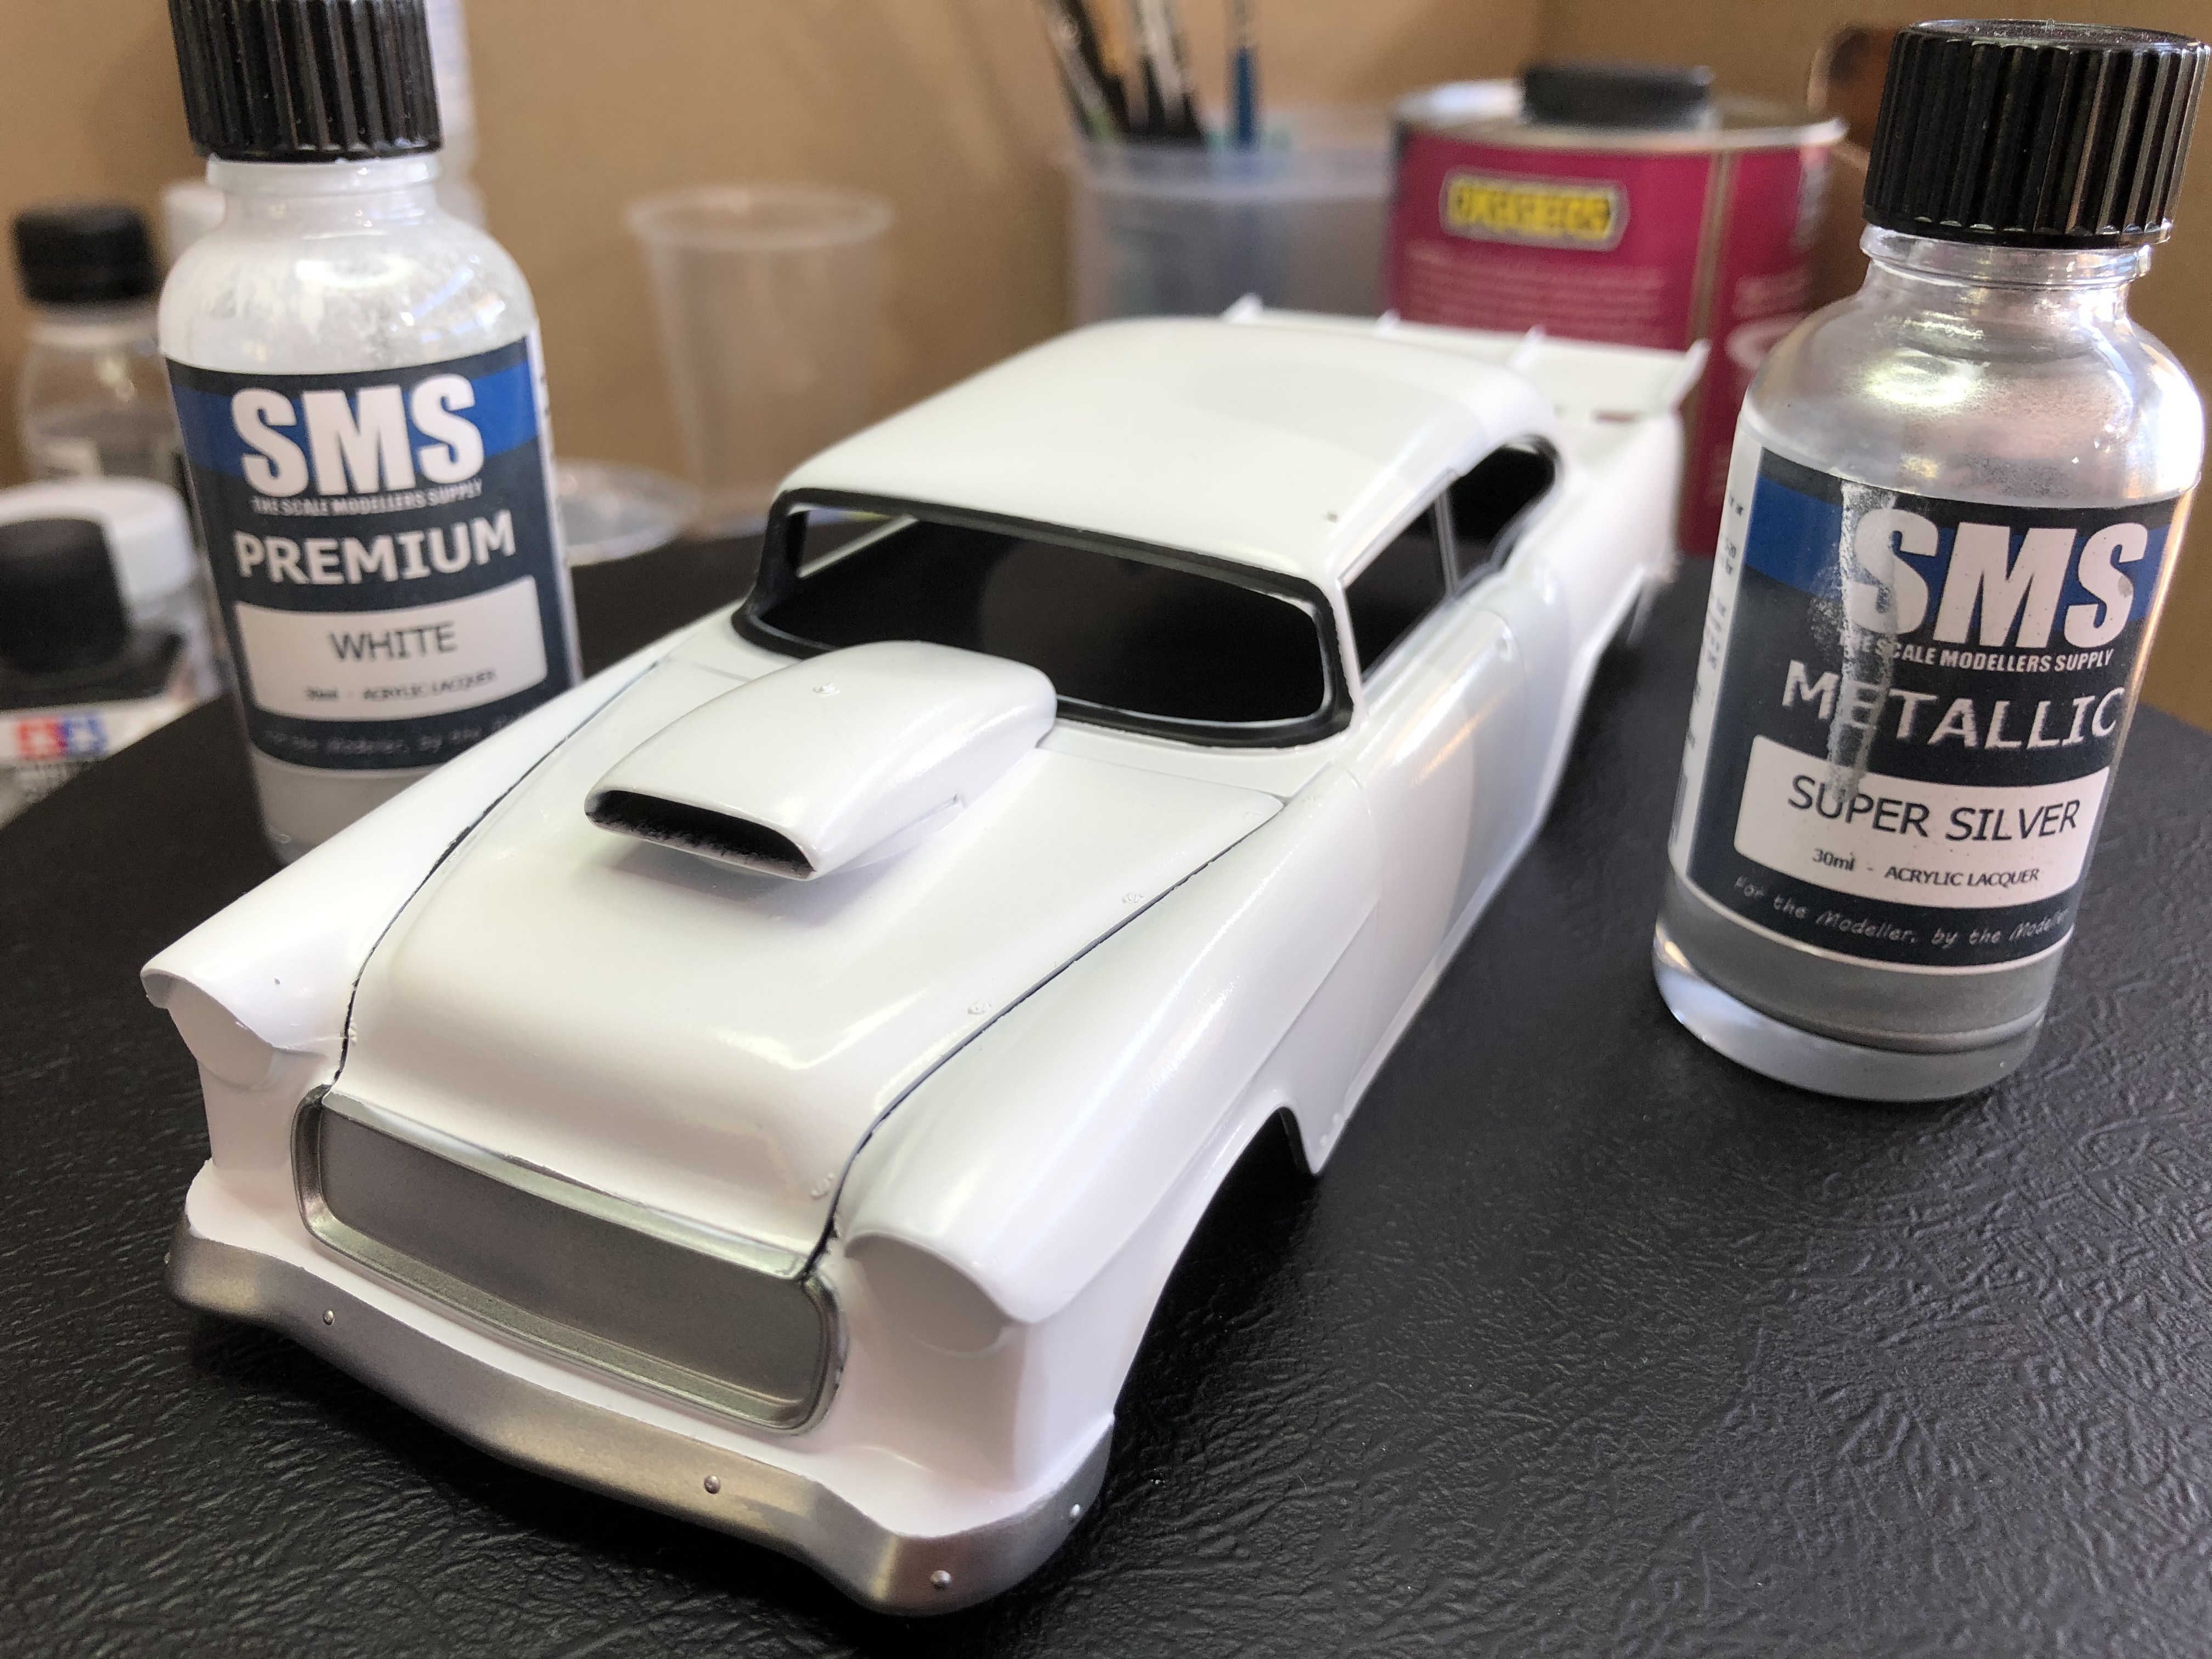

 May 15th update
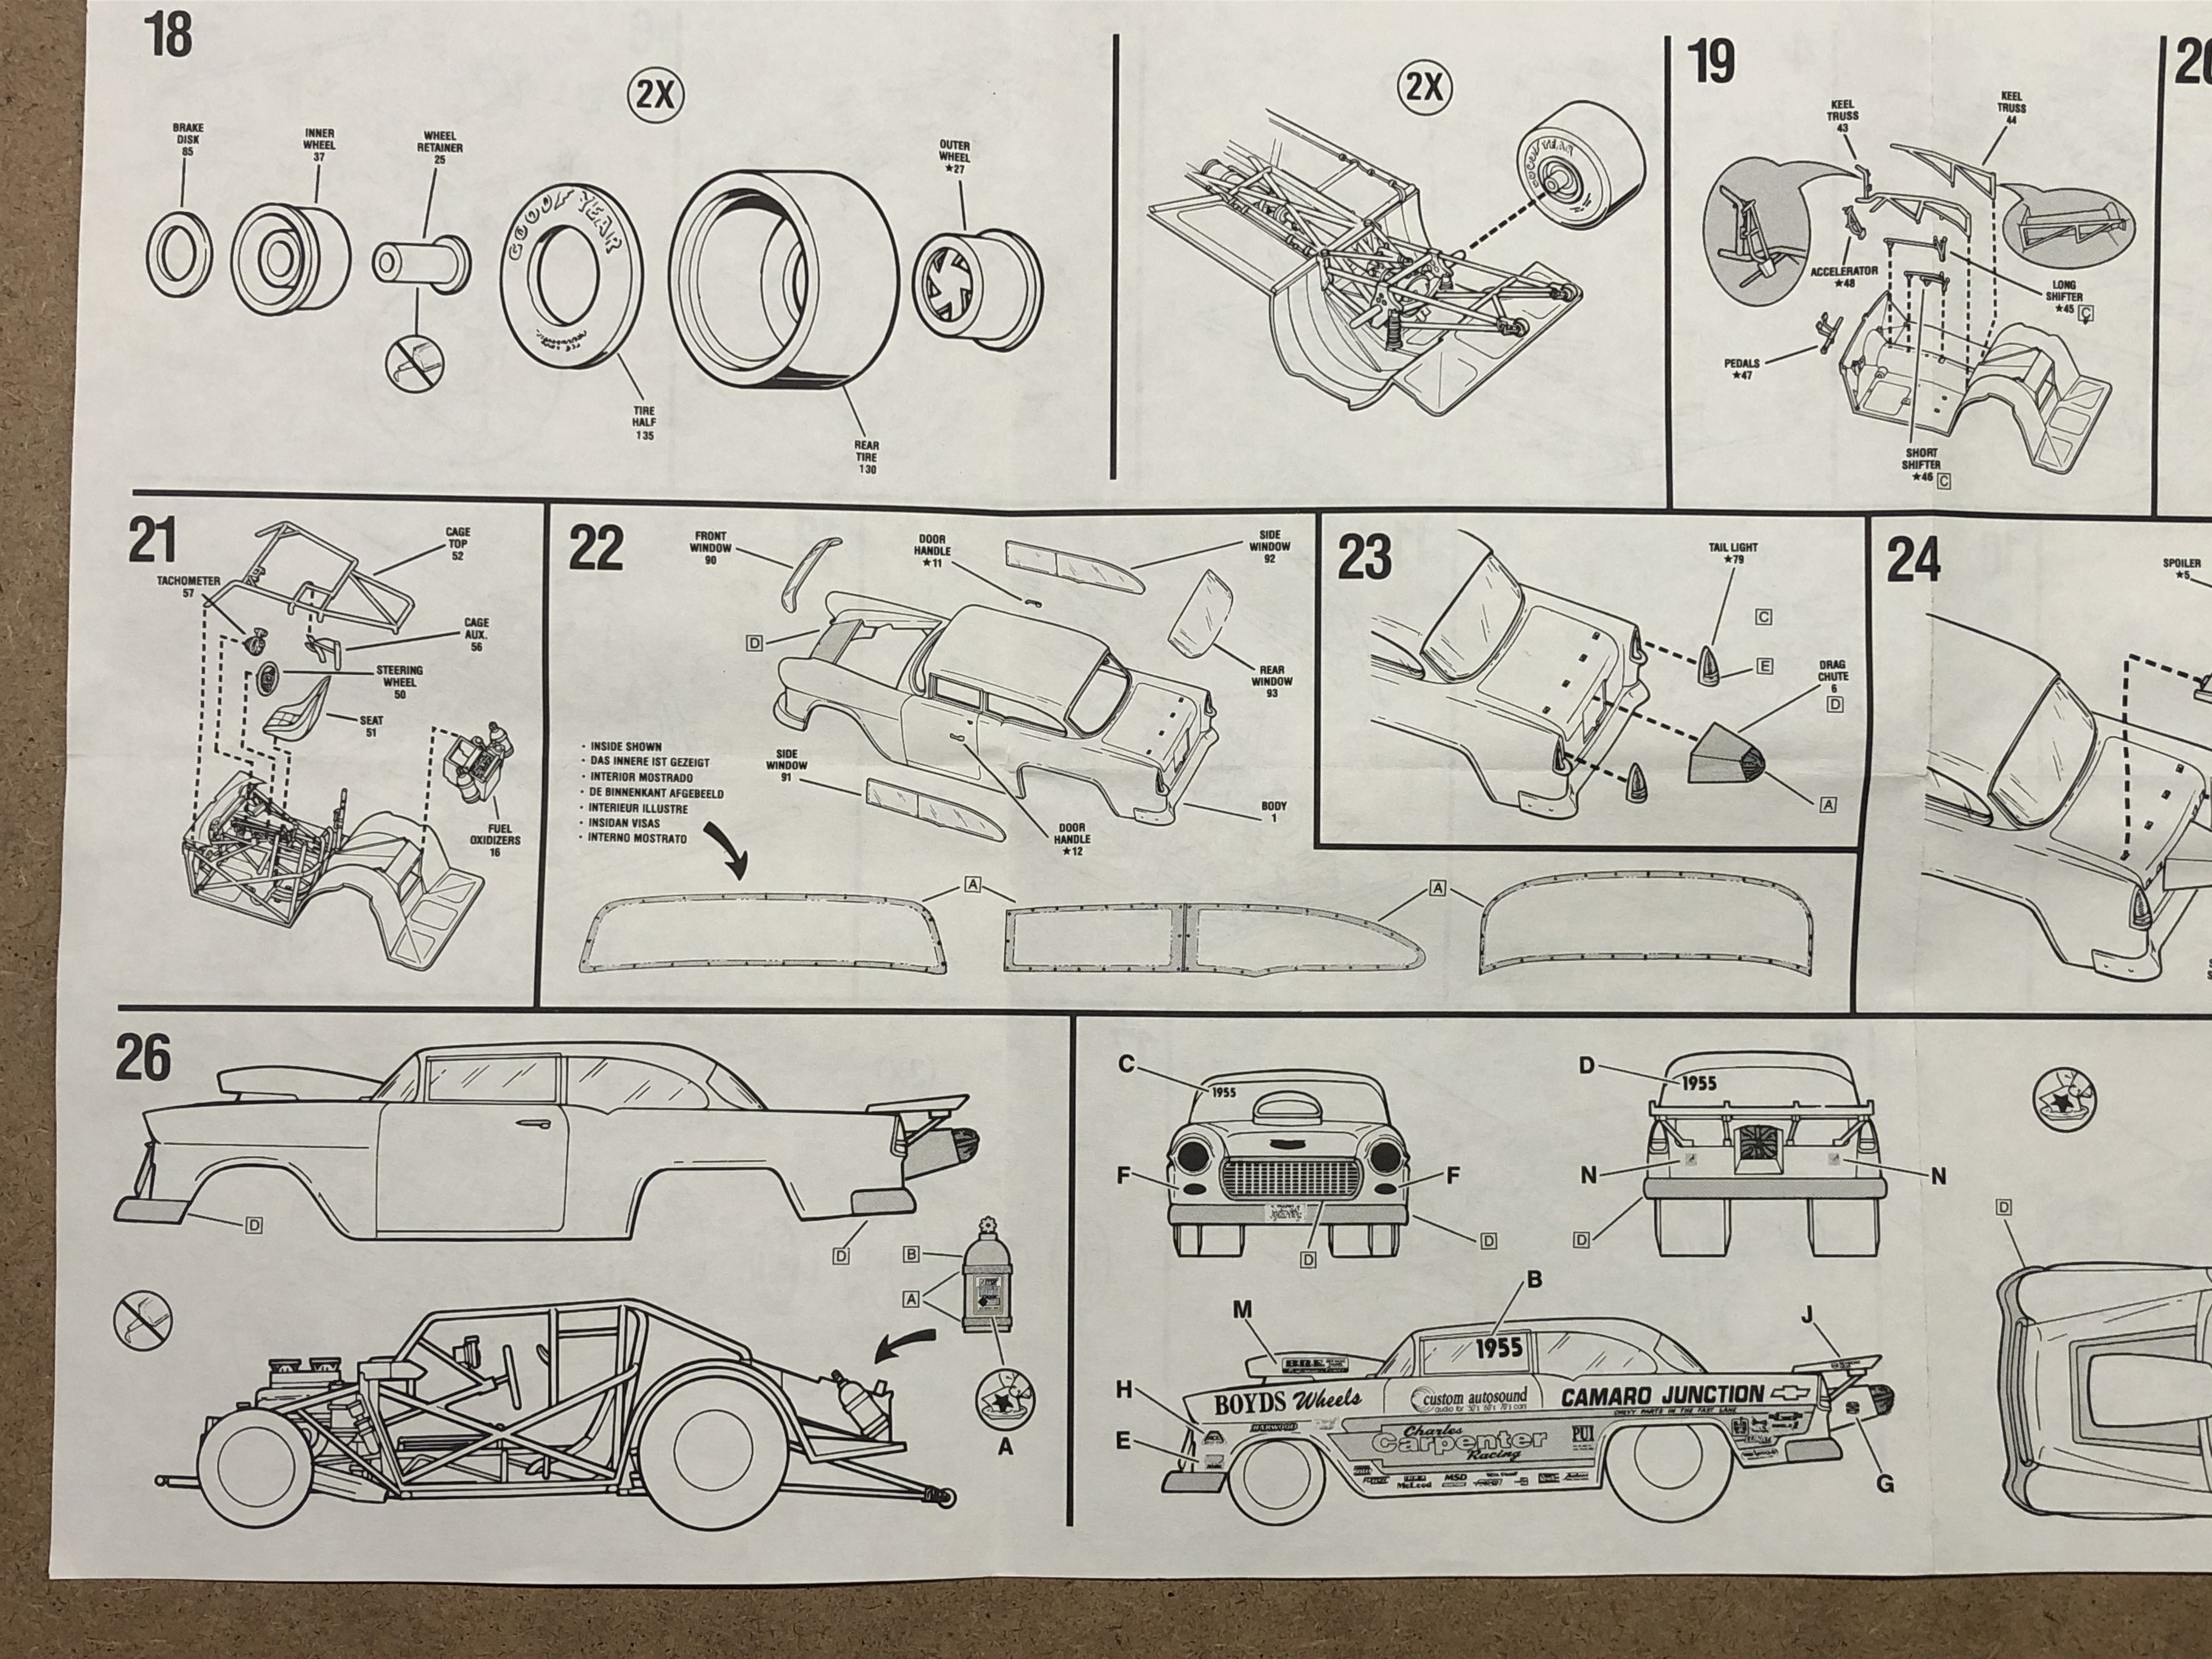
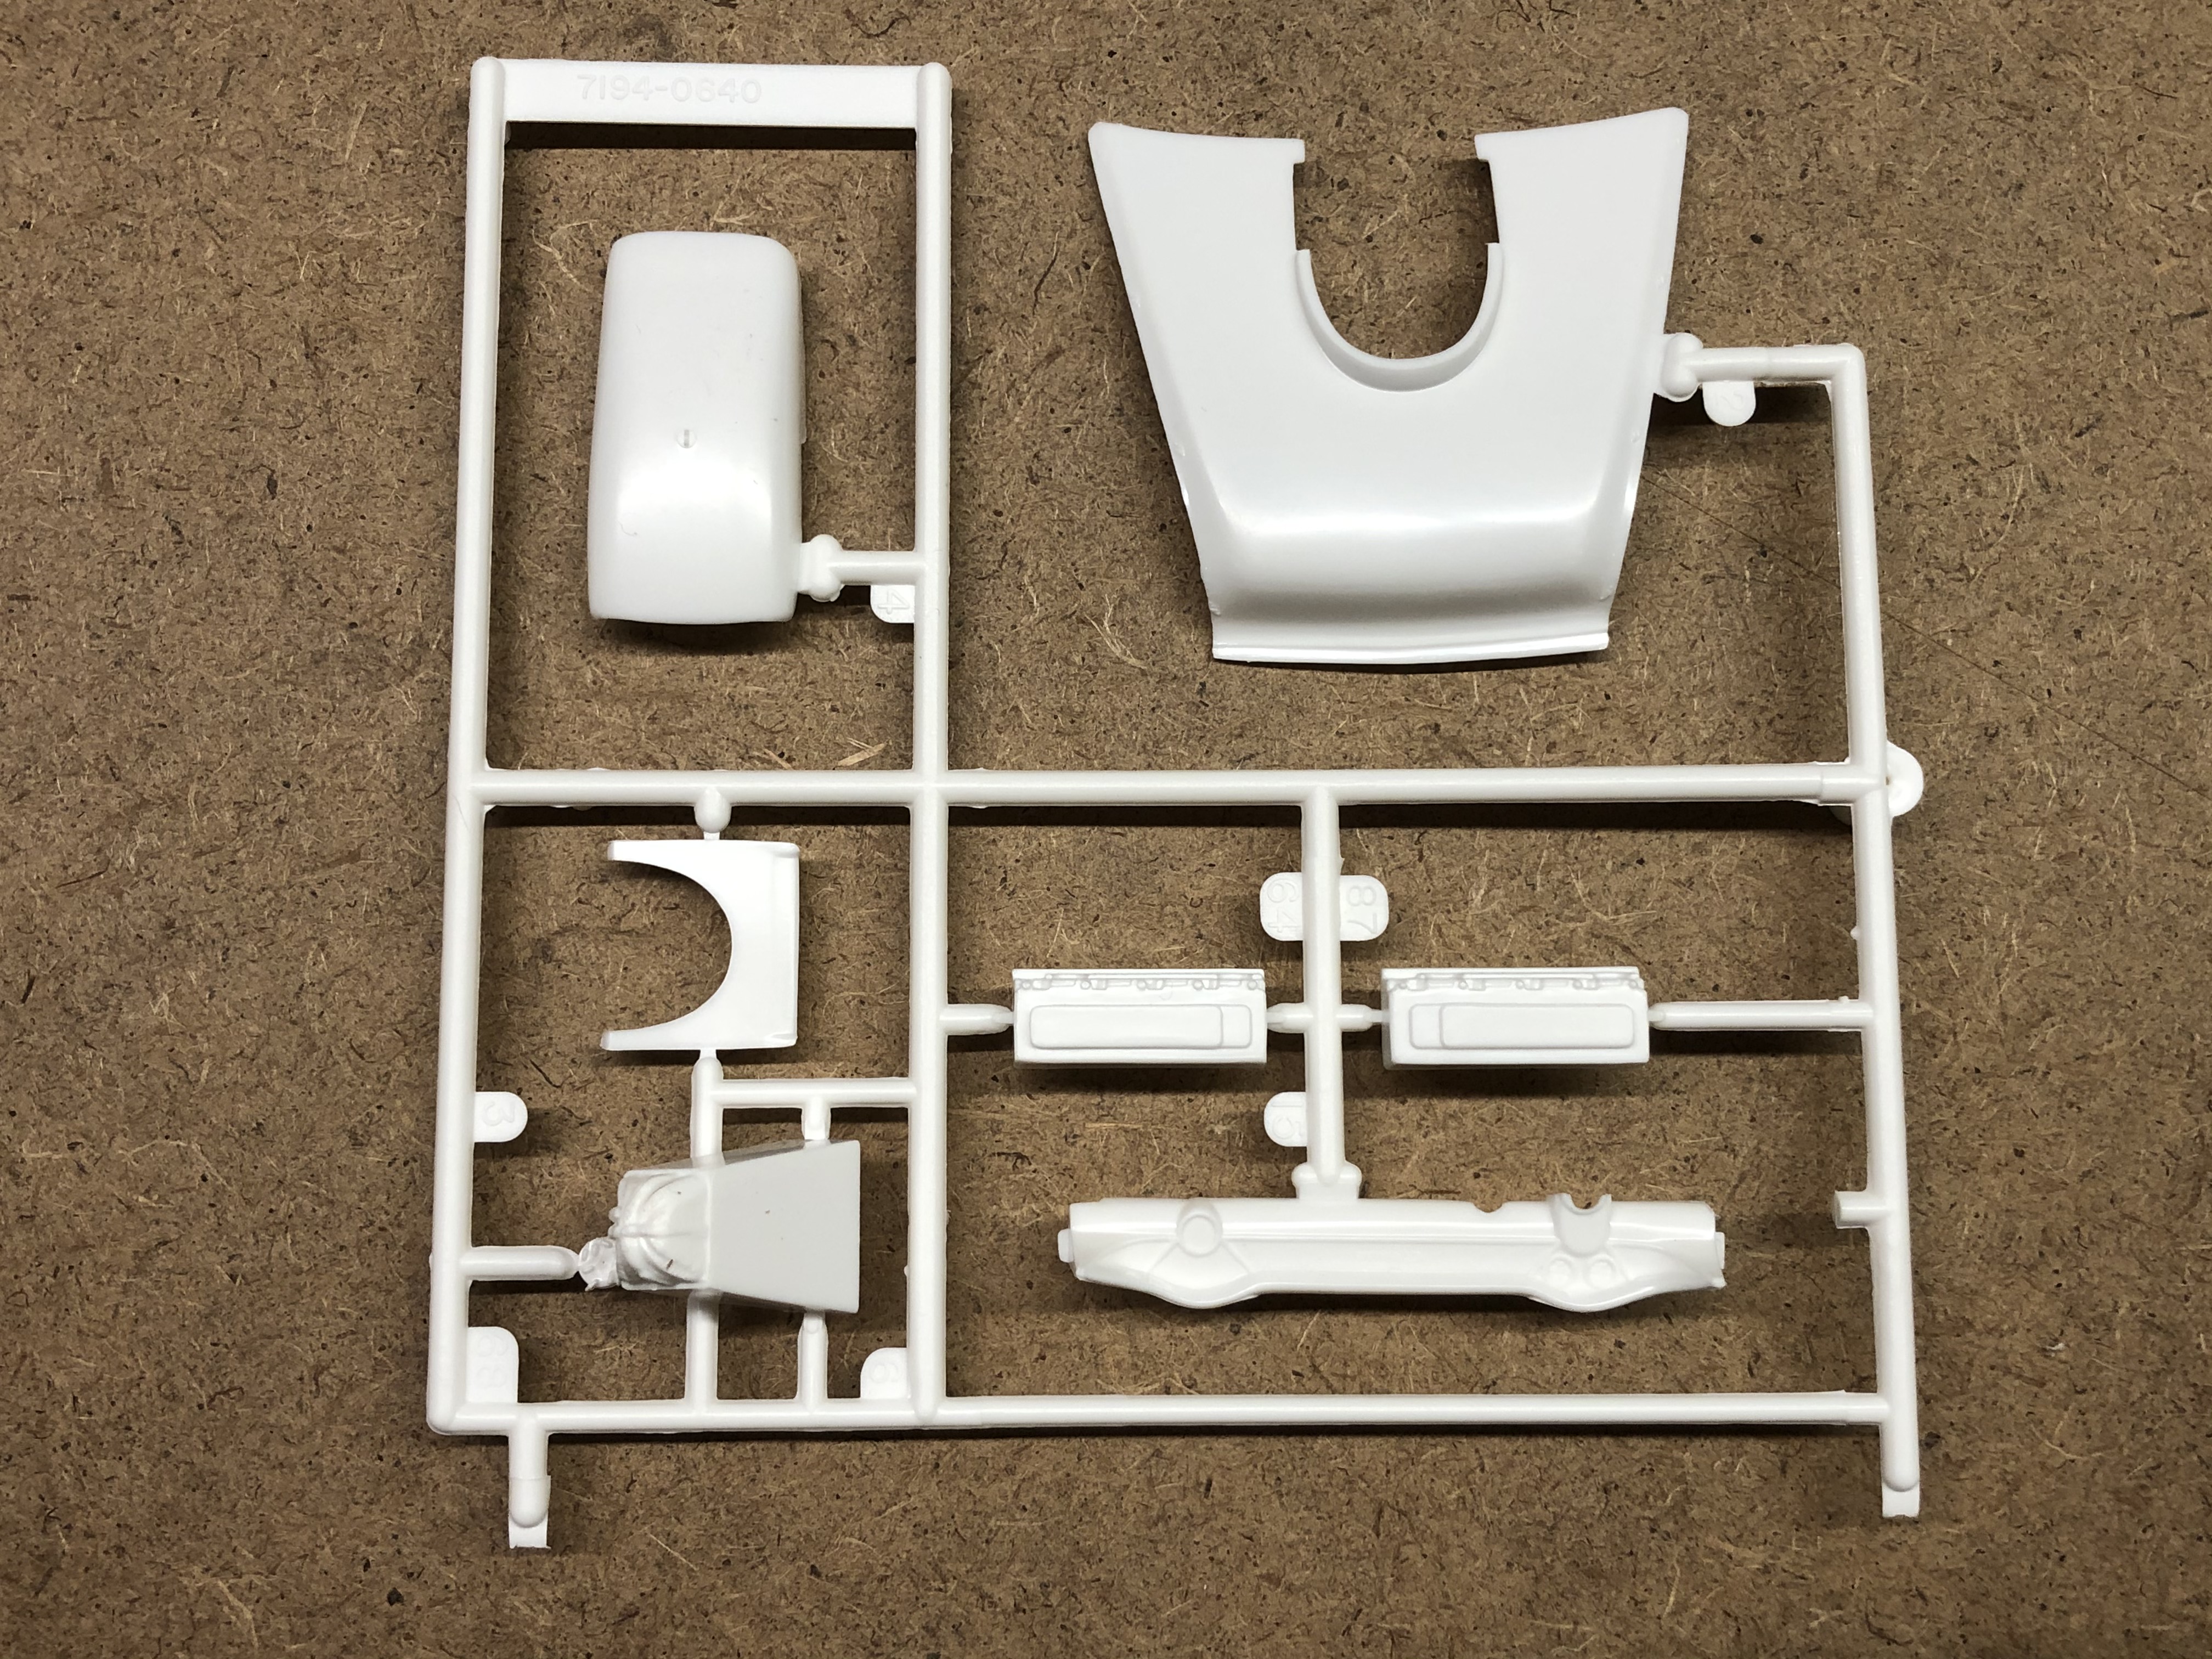
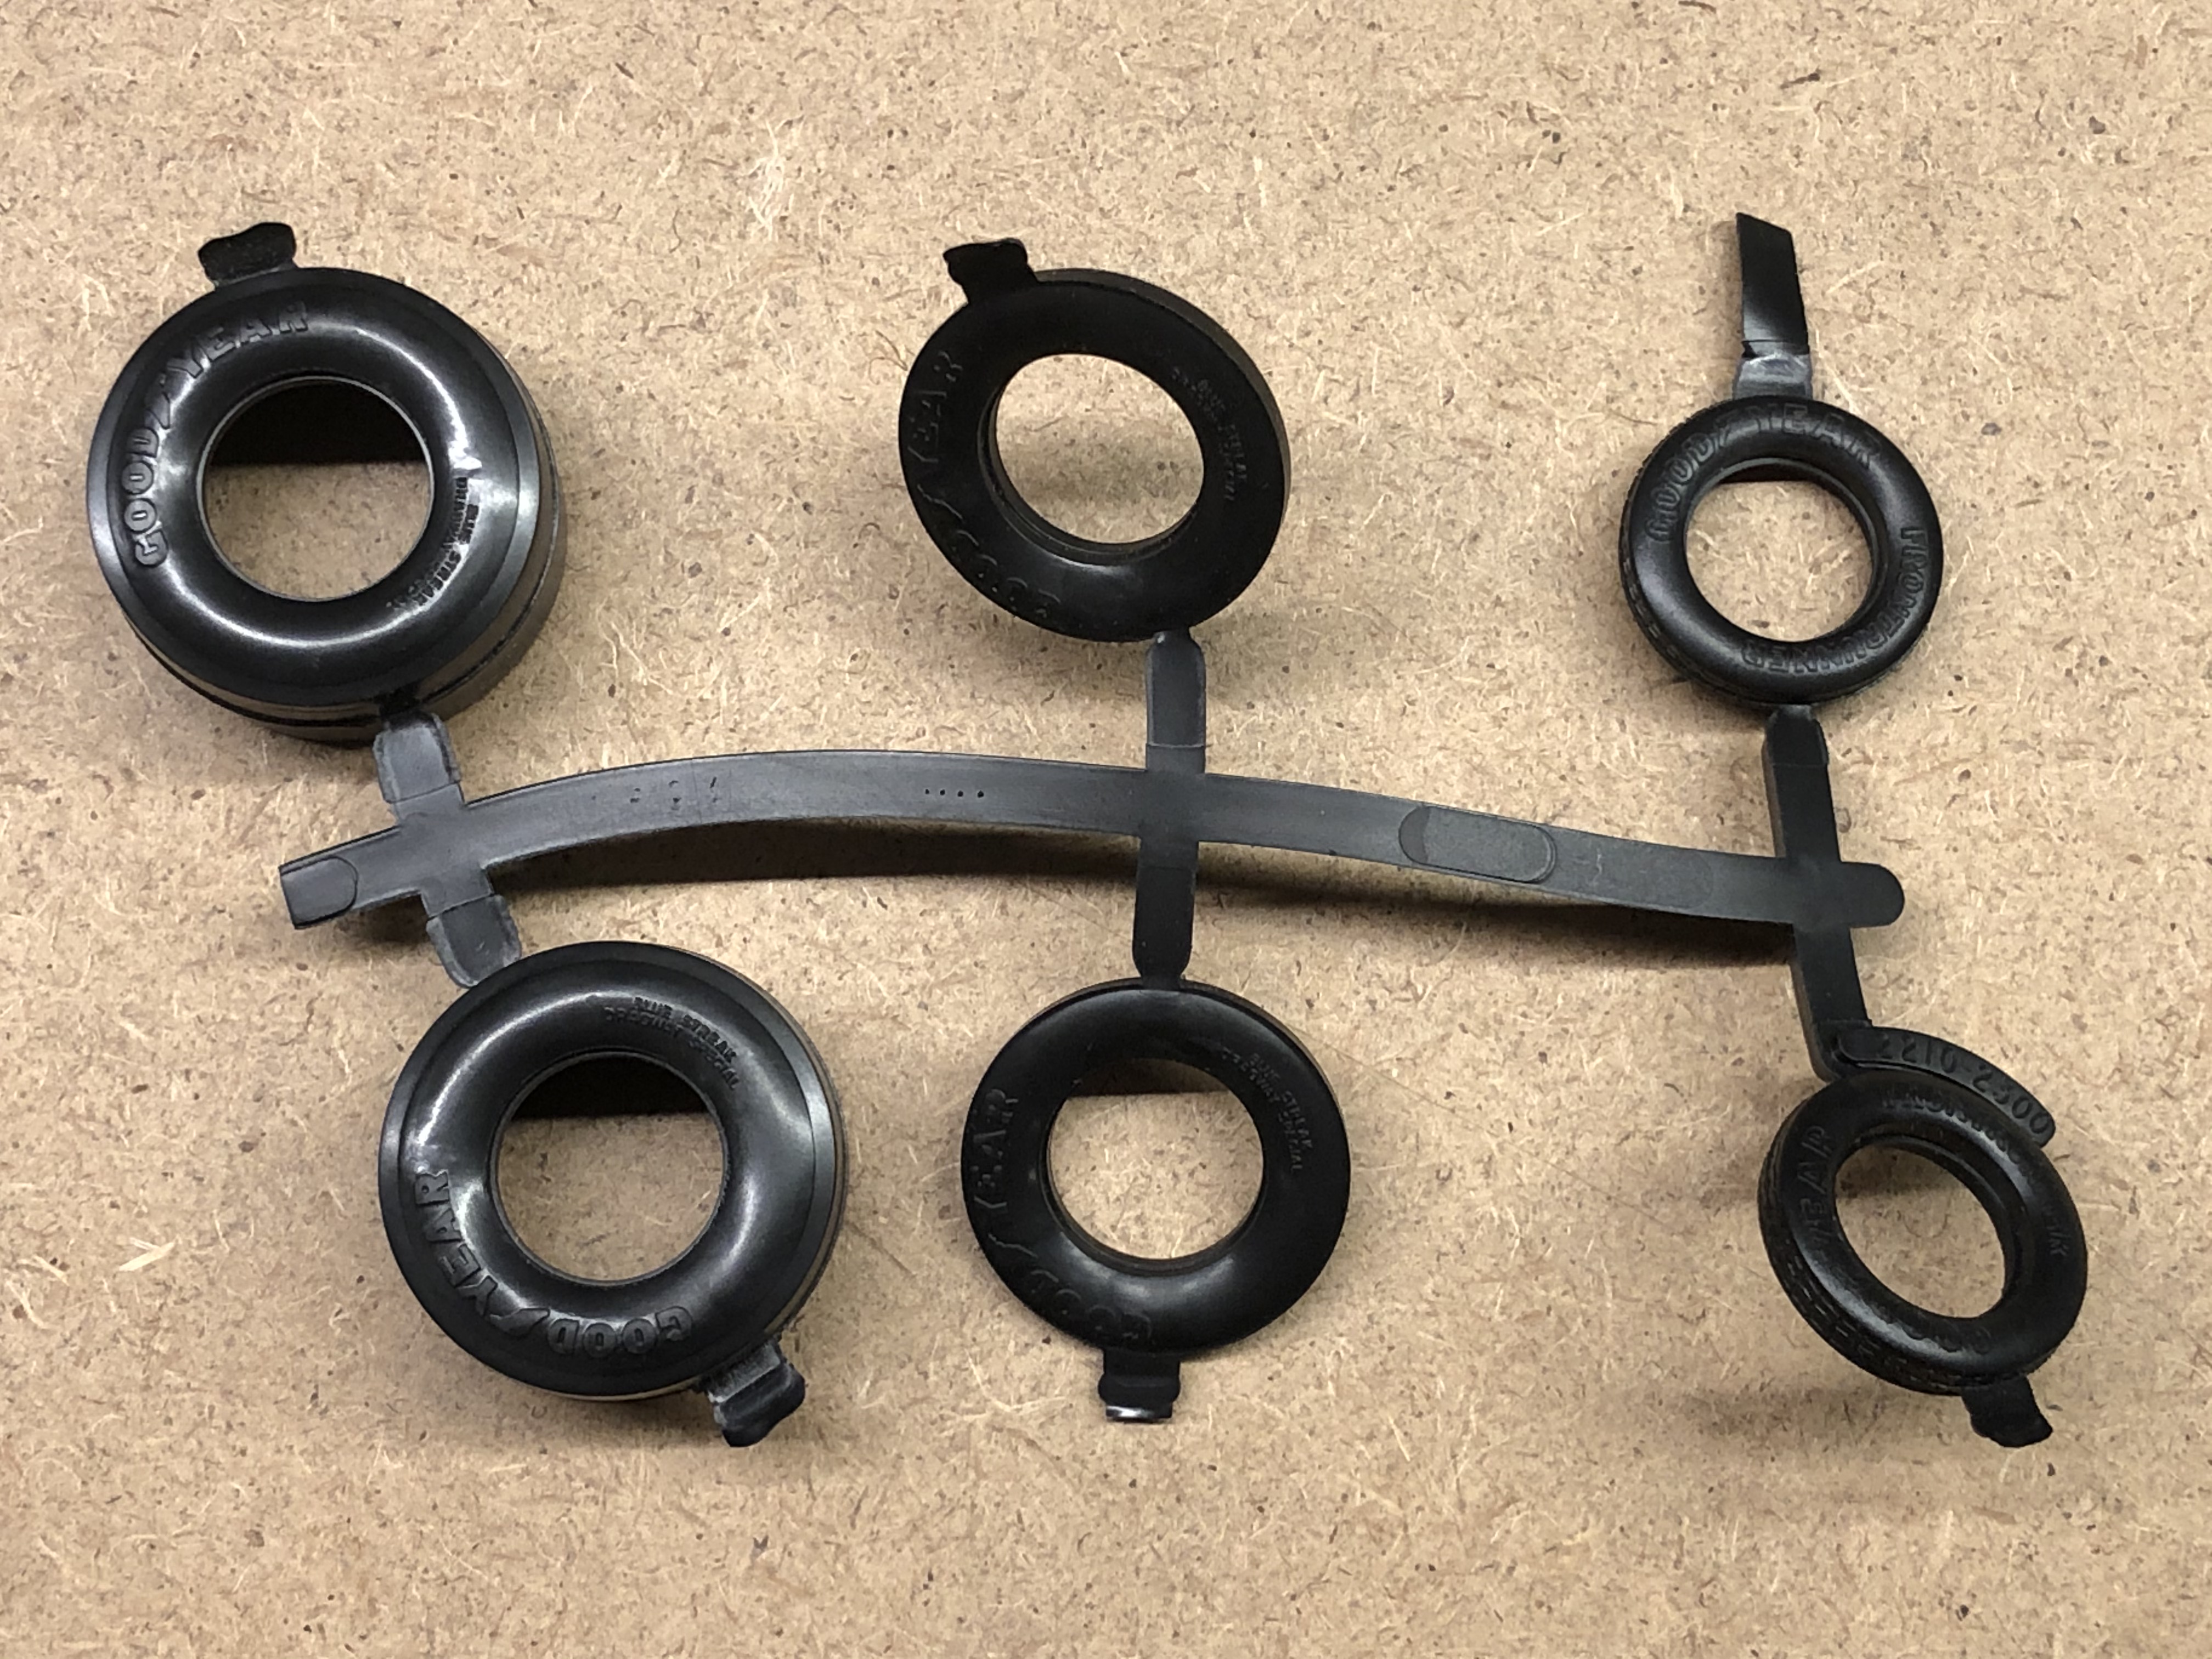
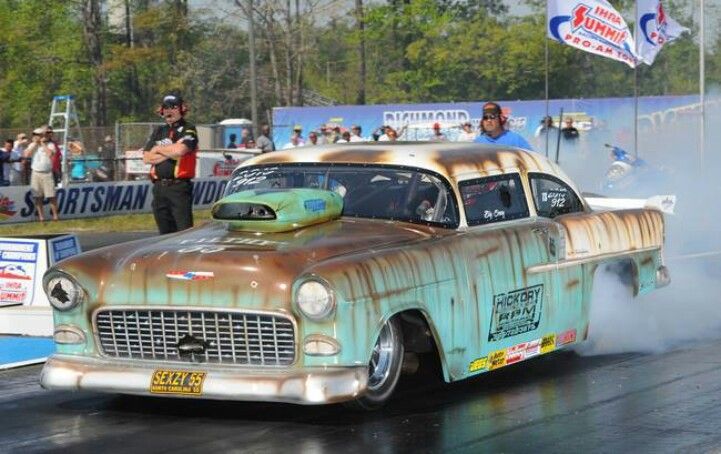
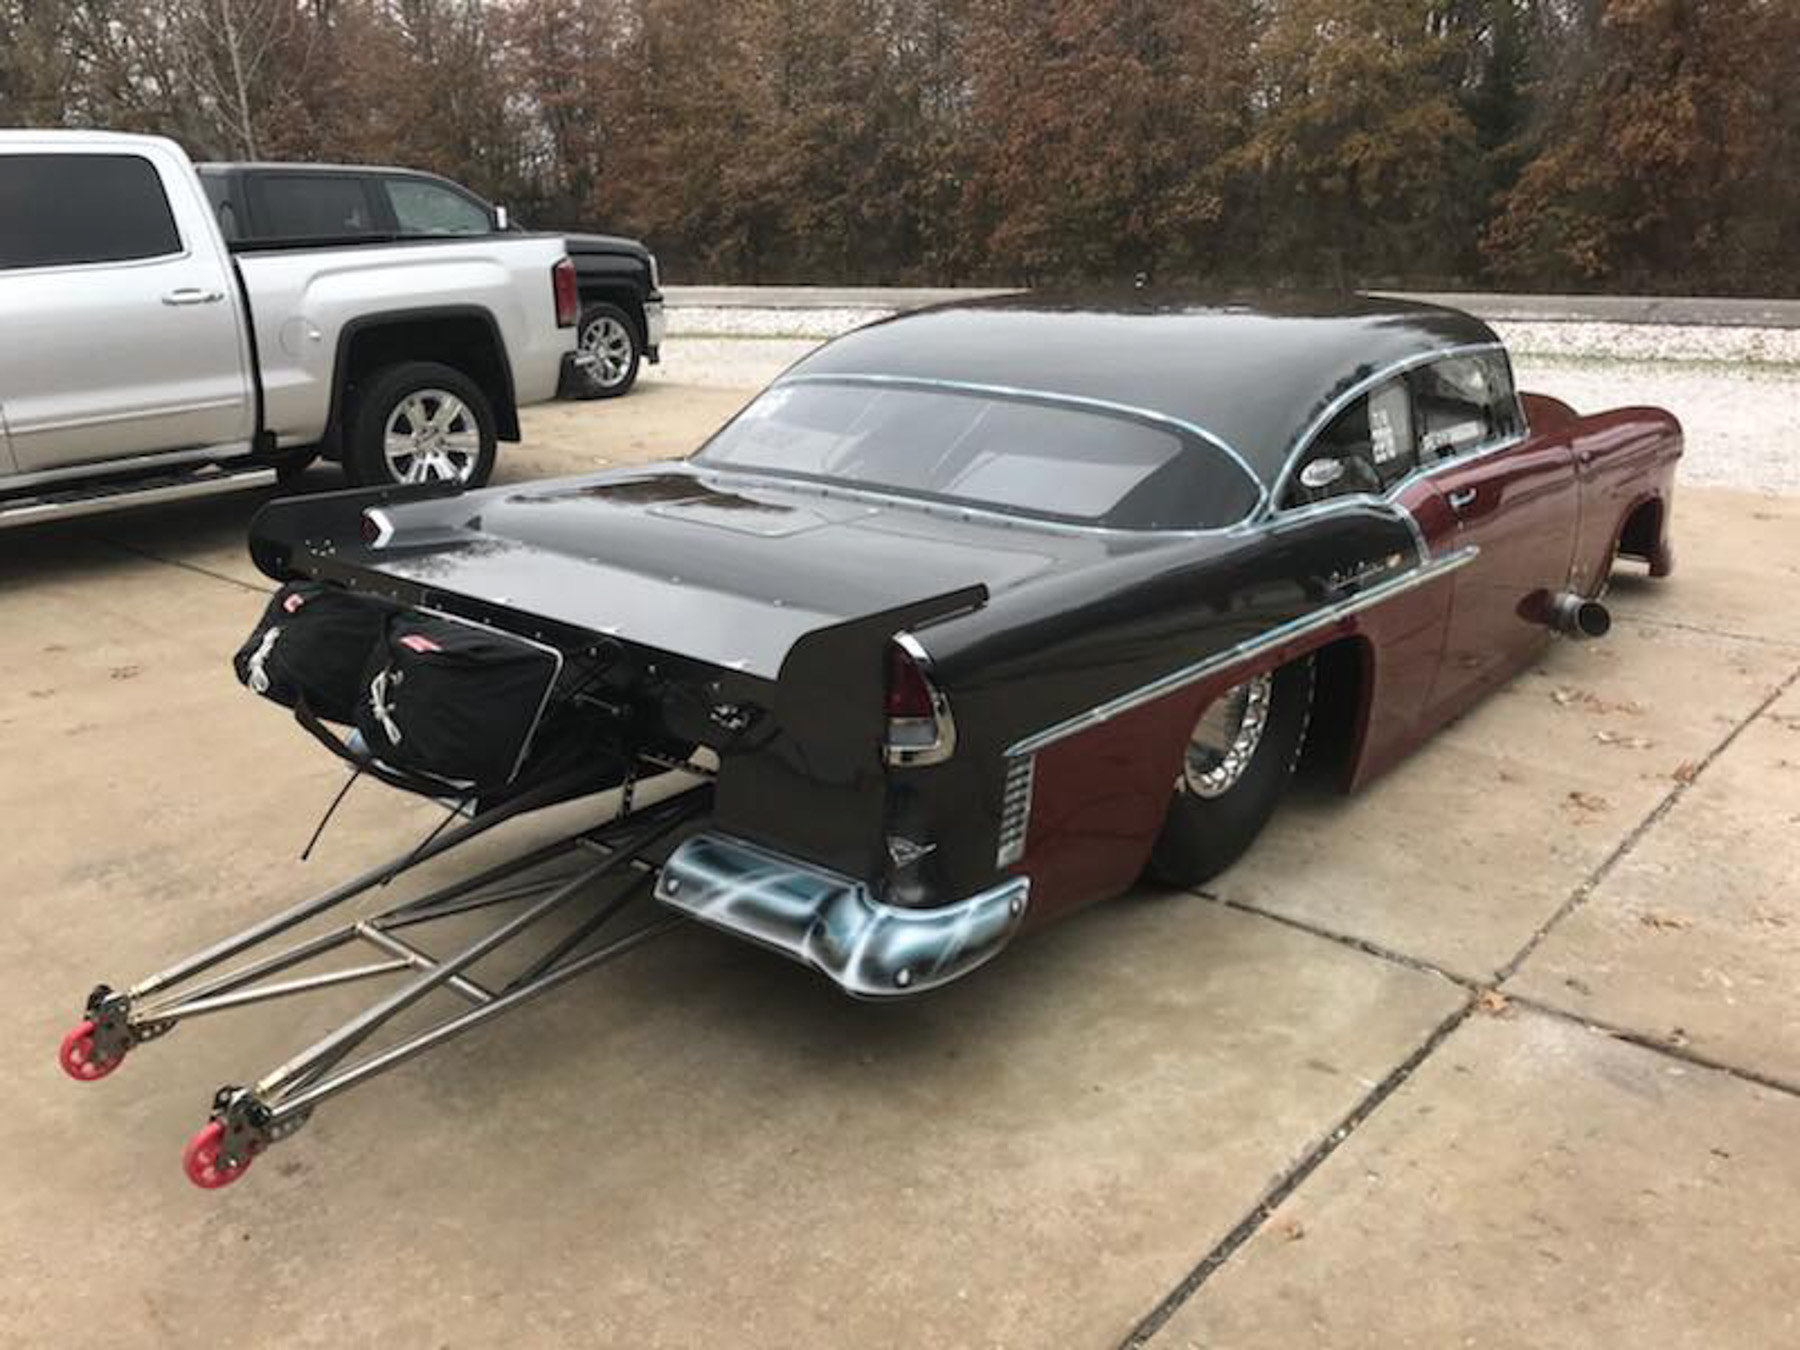
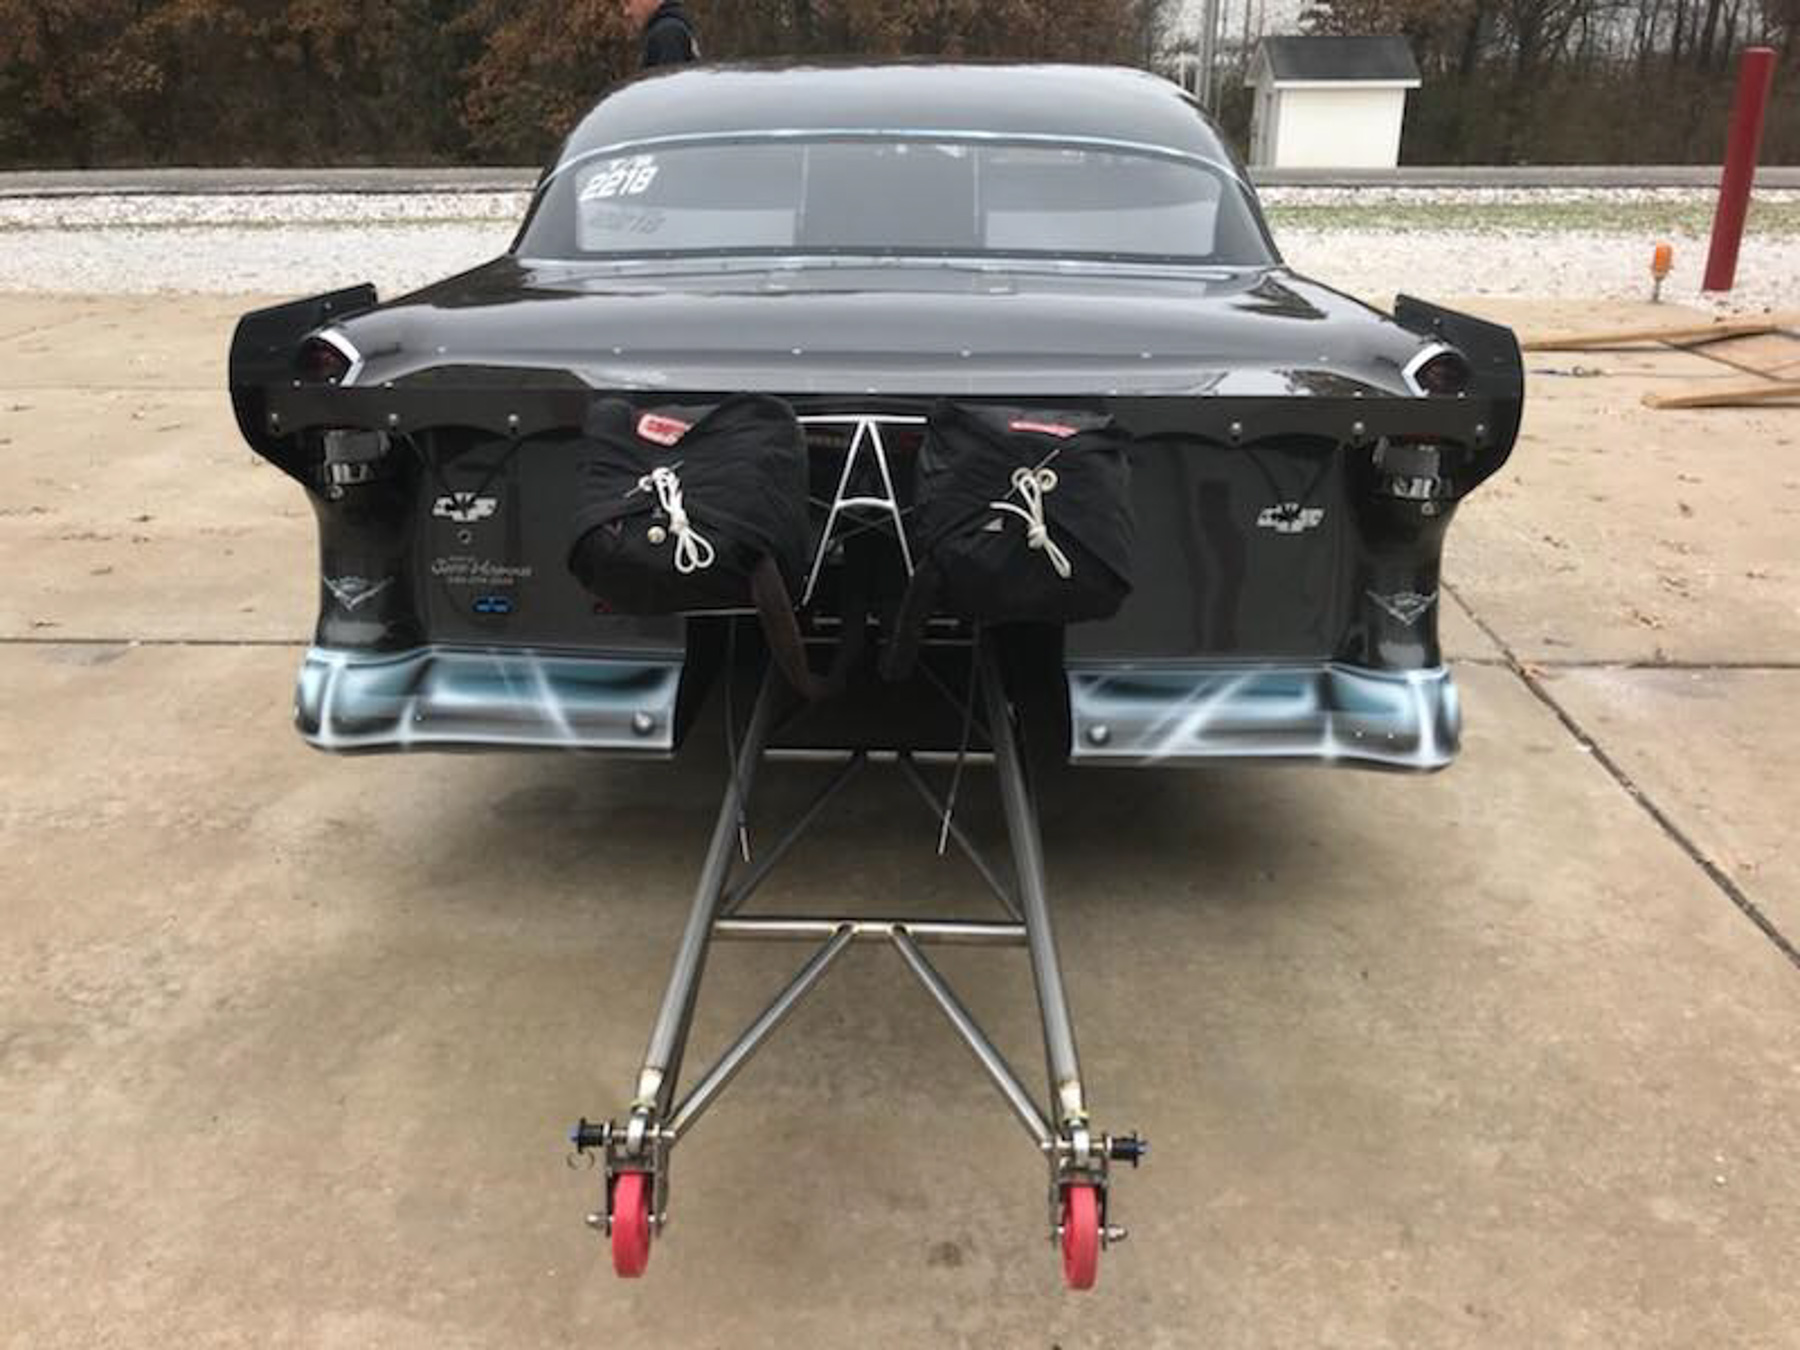
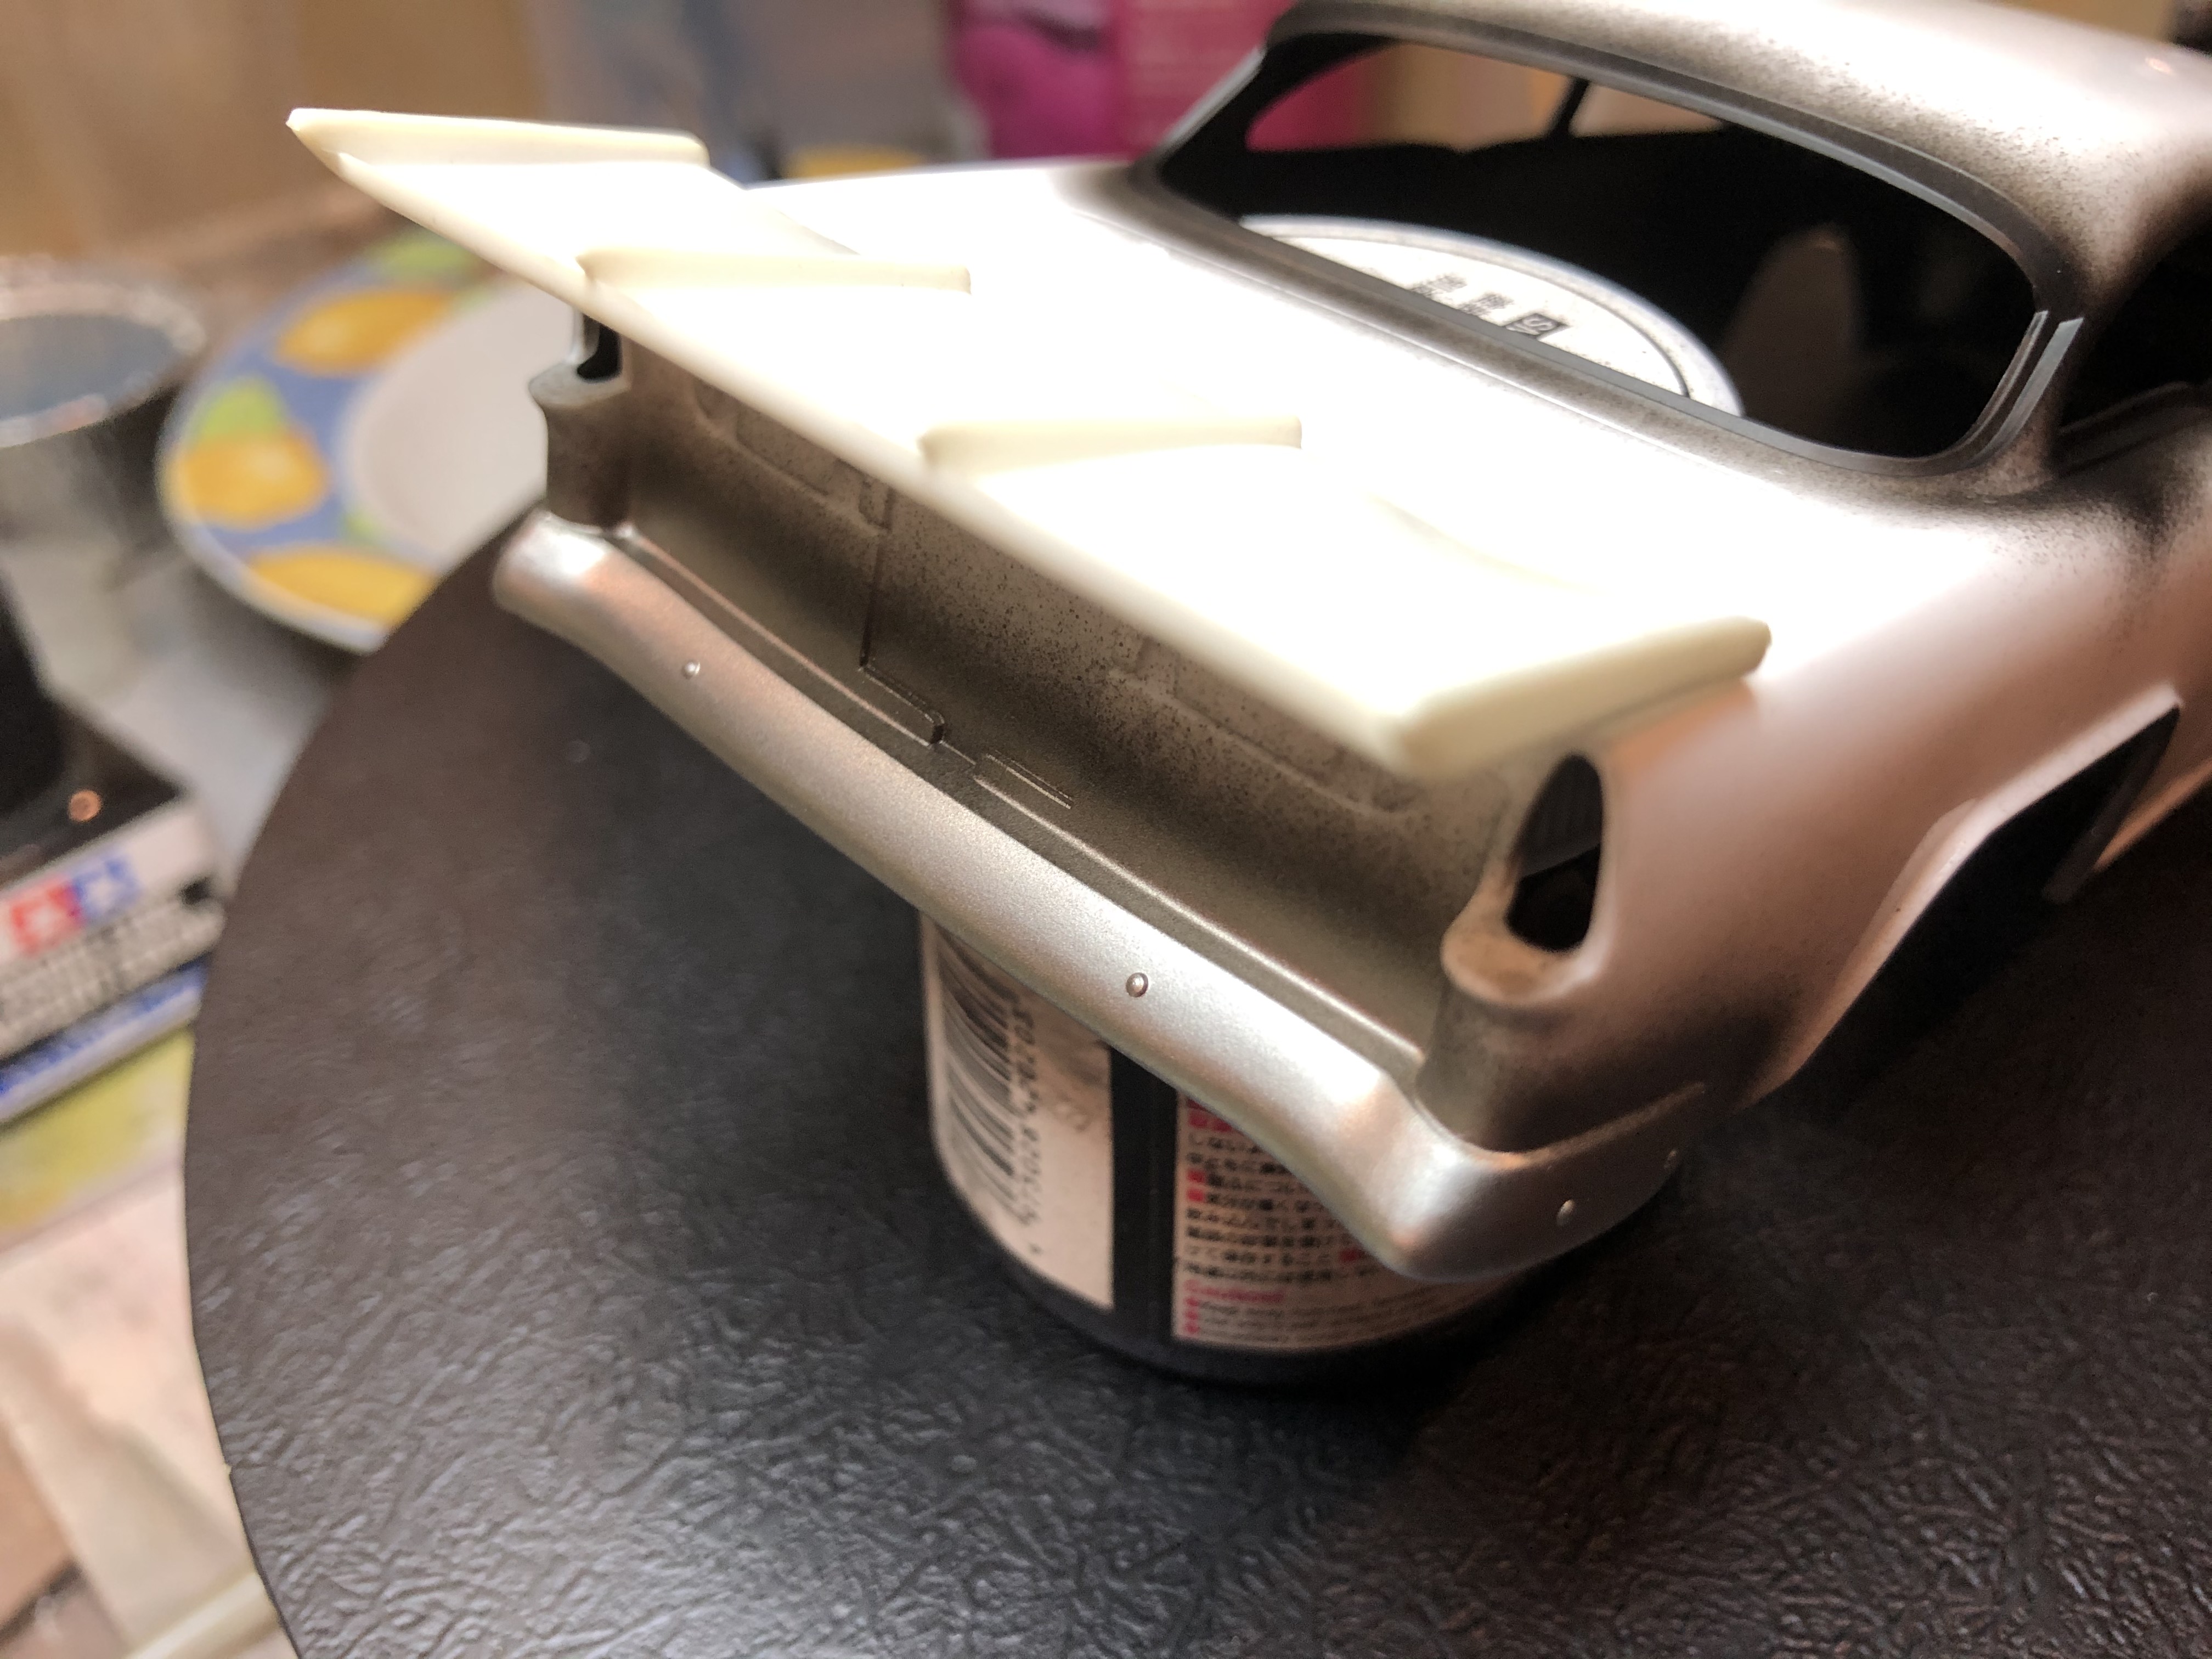
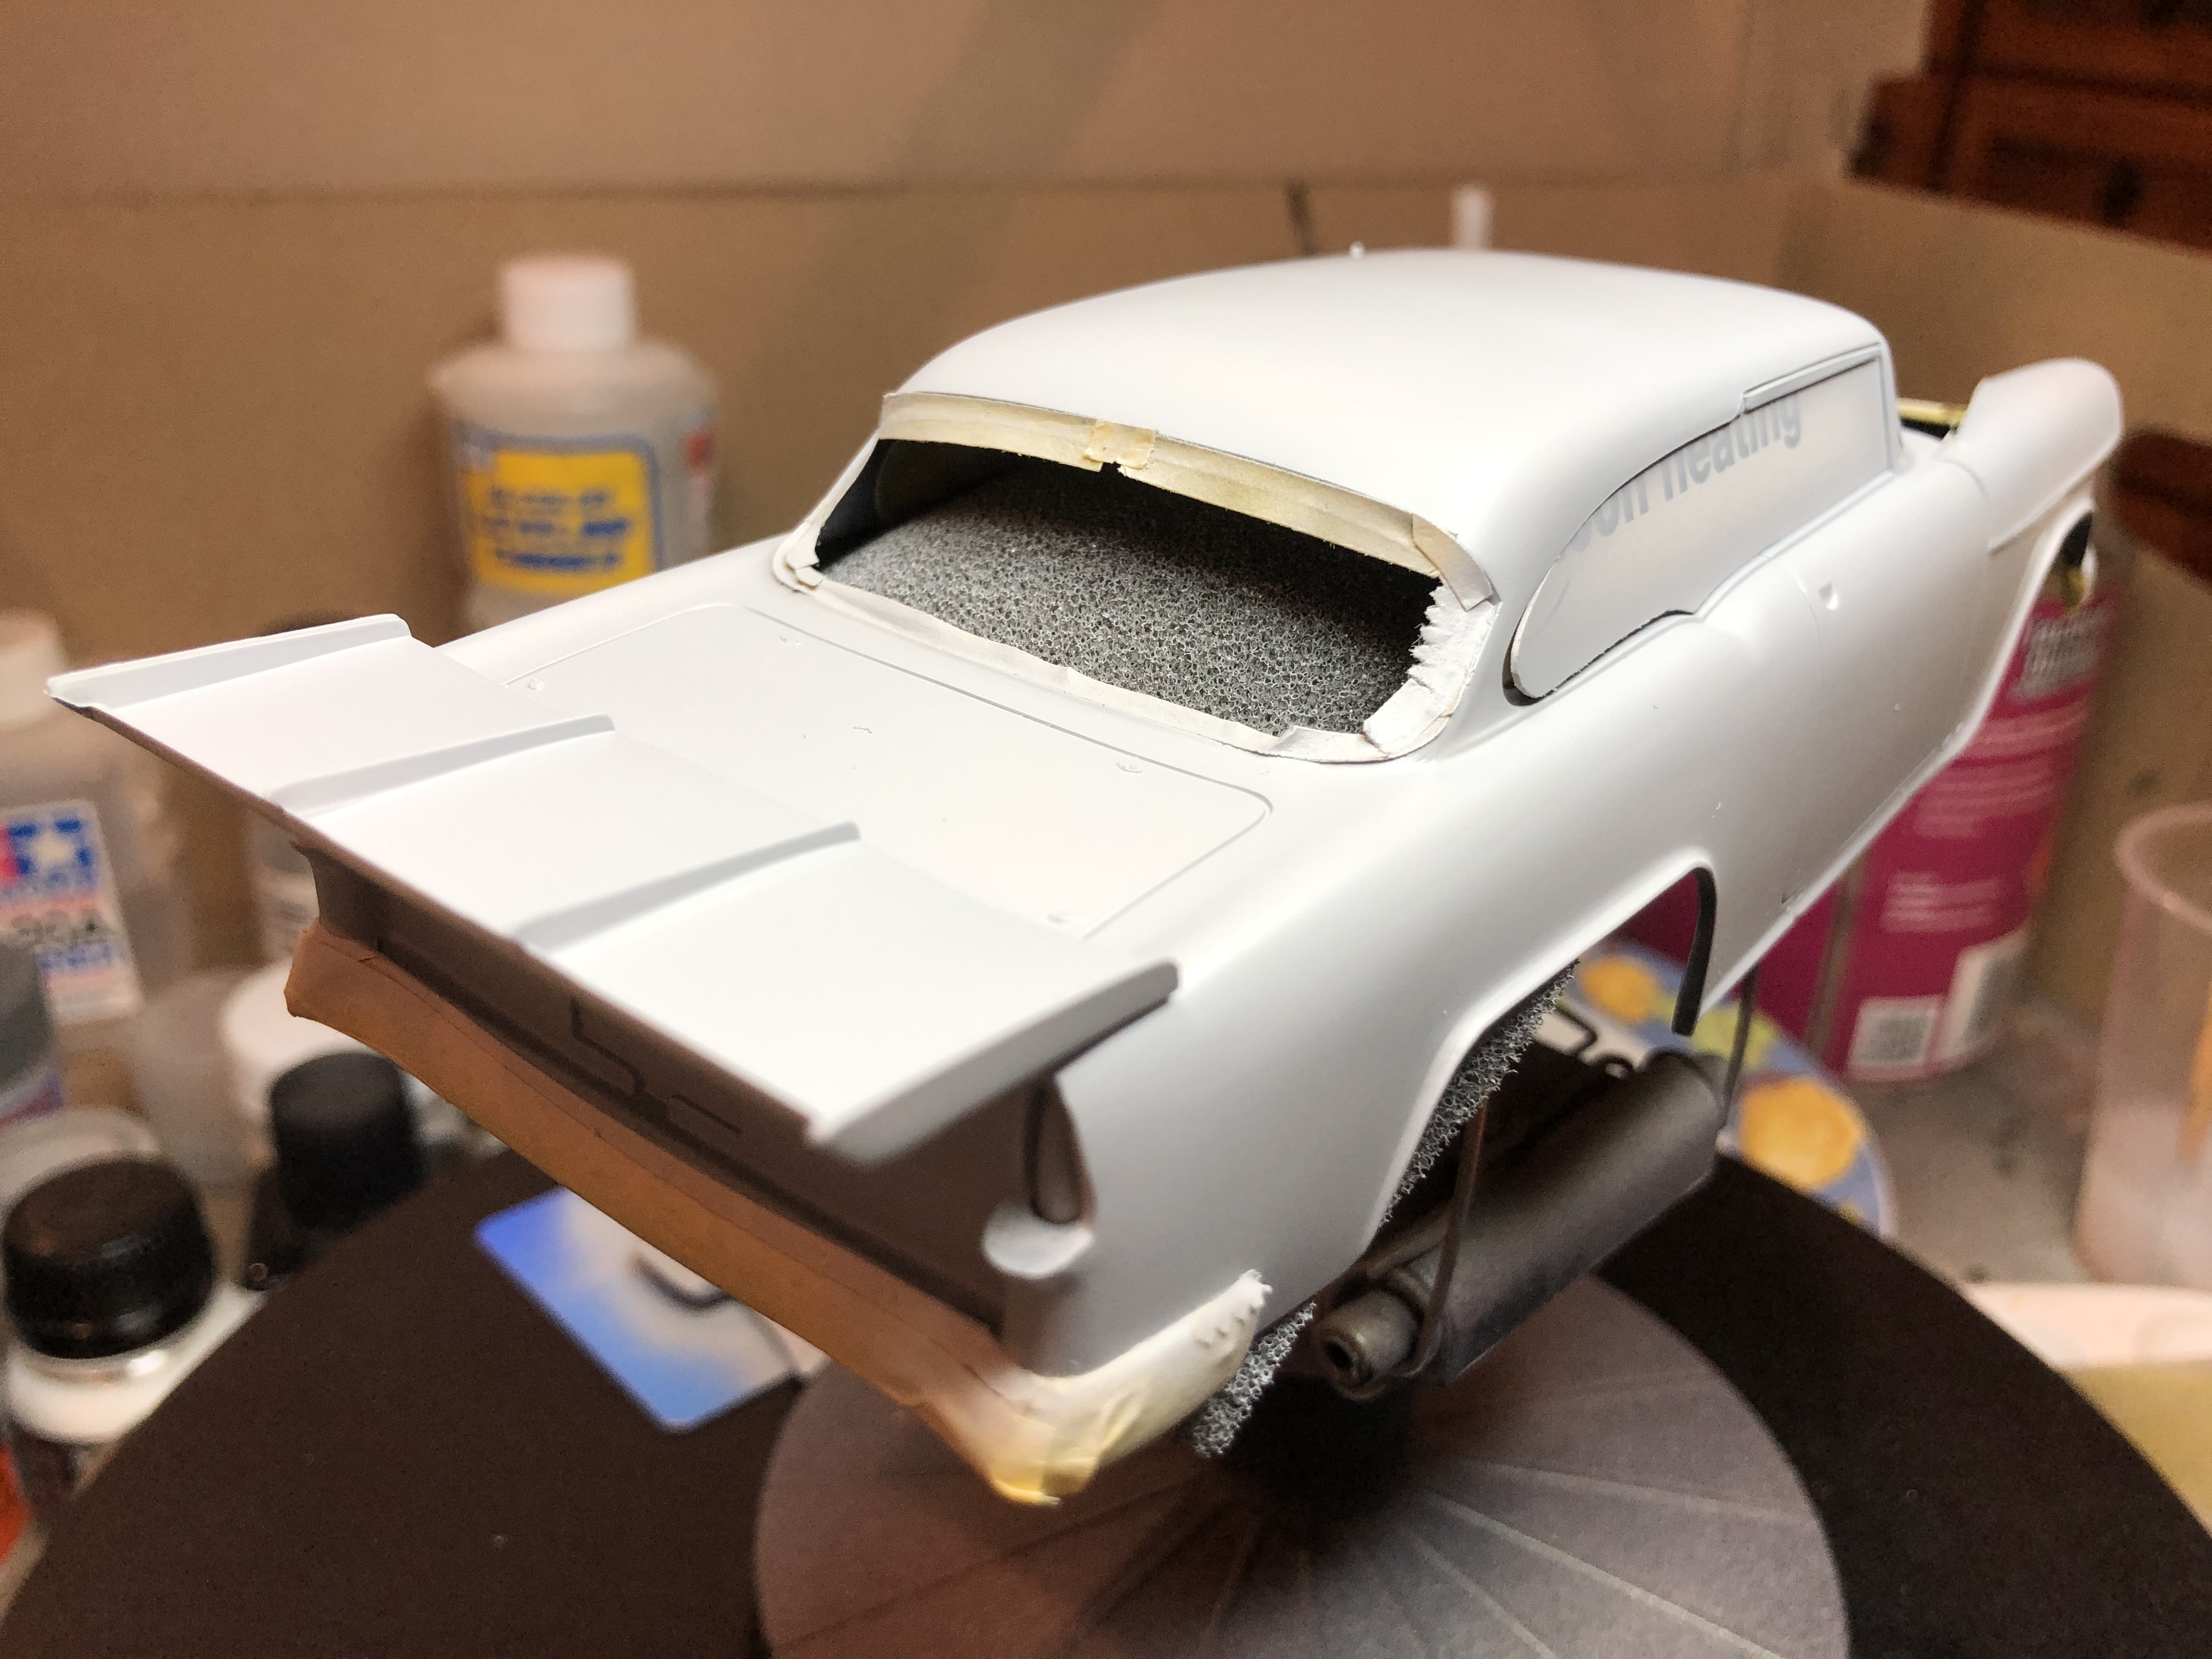
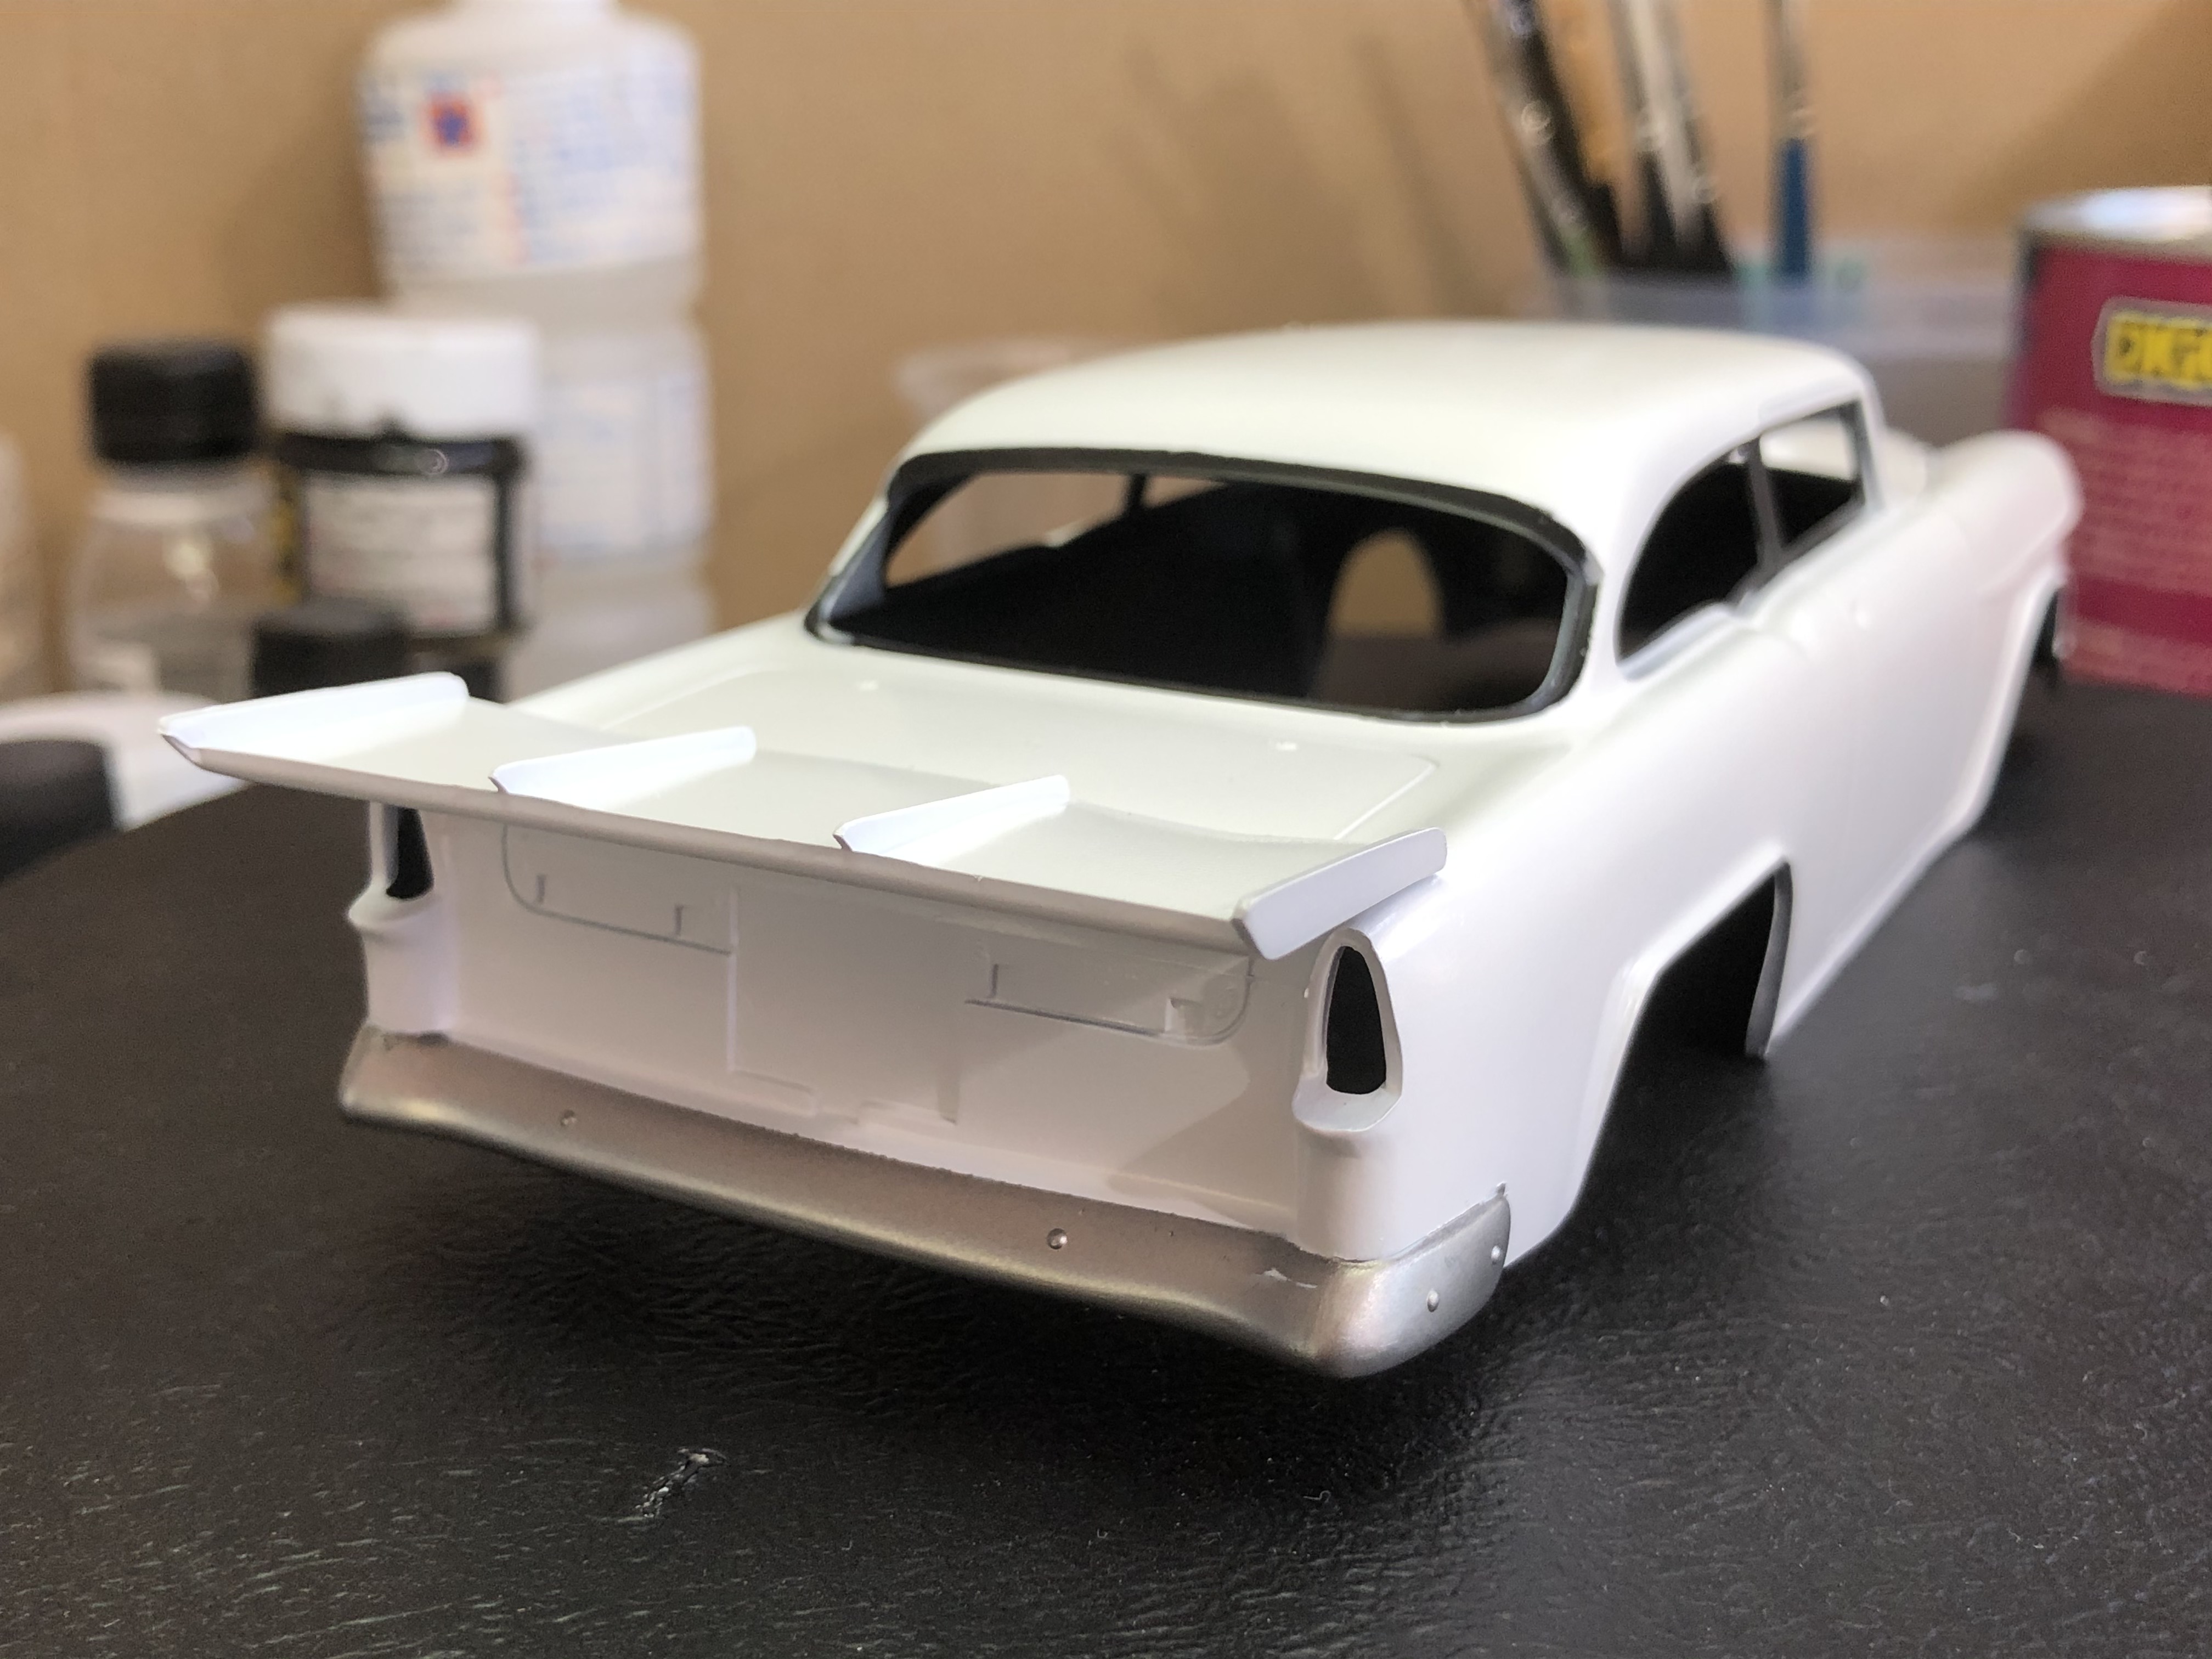
The kit part for the parachute pack at the back end had a small raised profile for the drag chute attachment cables on the underside which was undersized and would be invisible on the finished build.
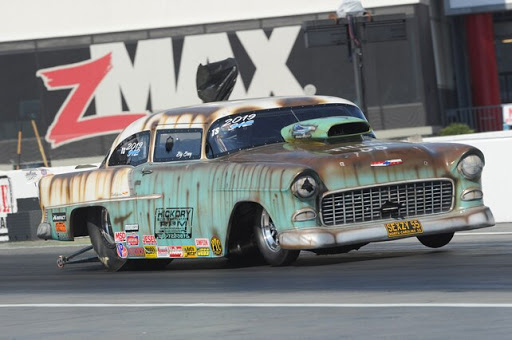
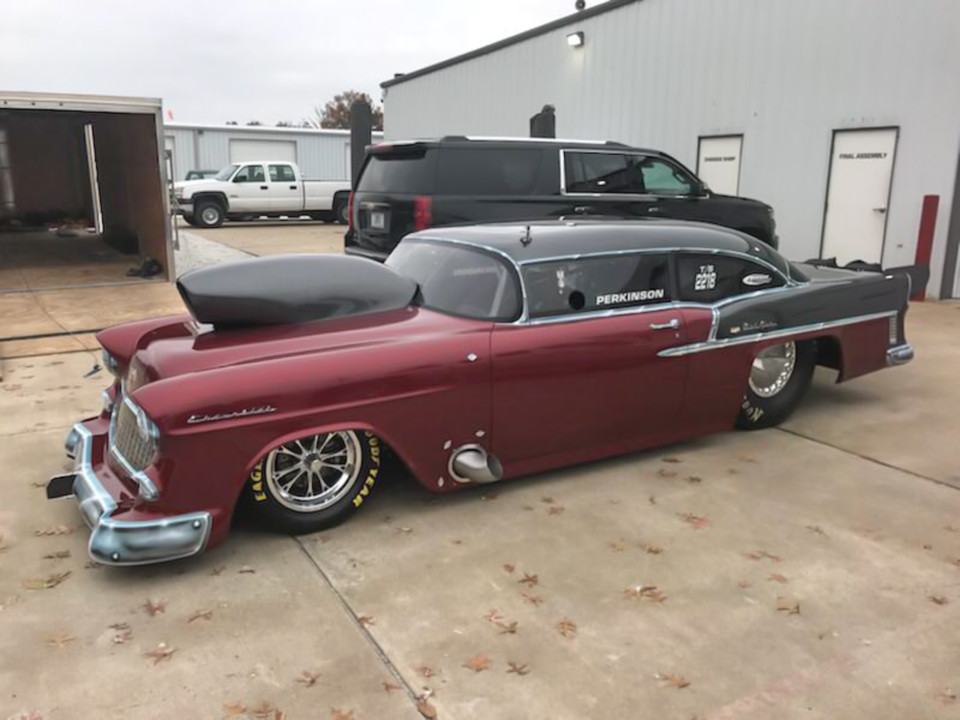
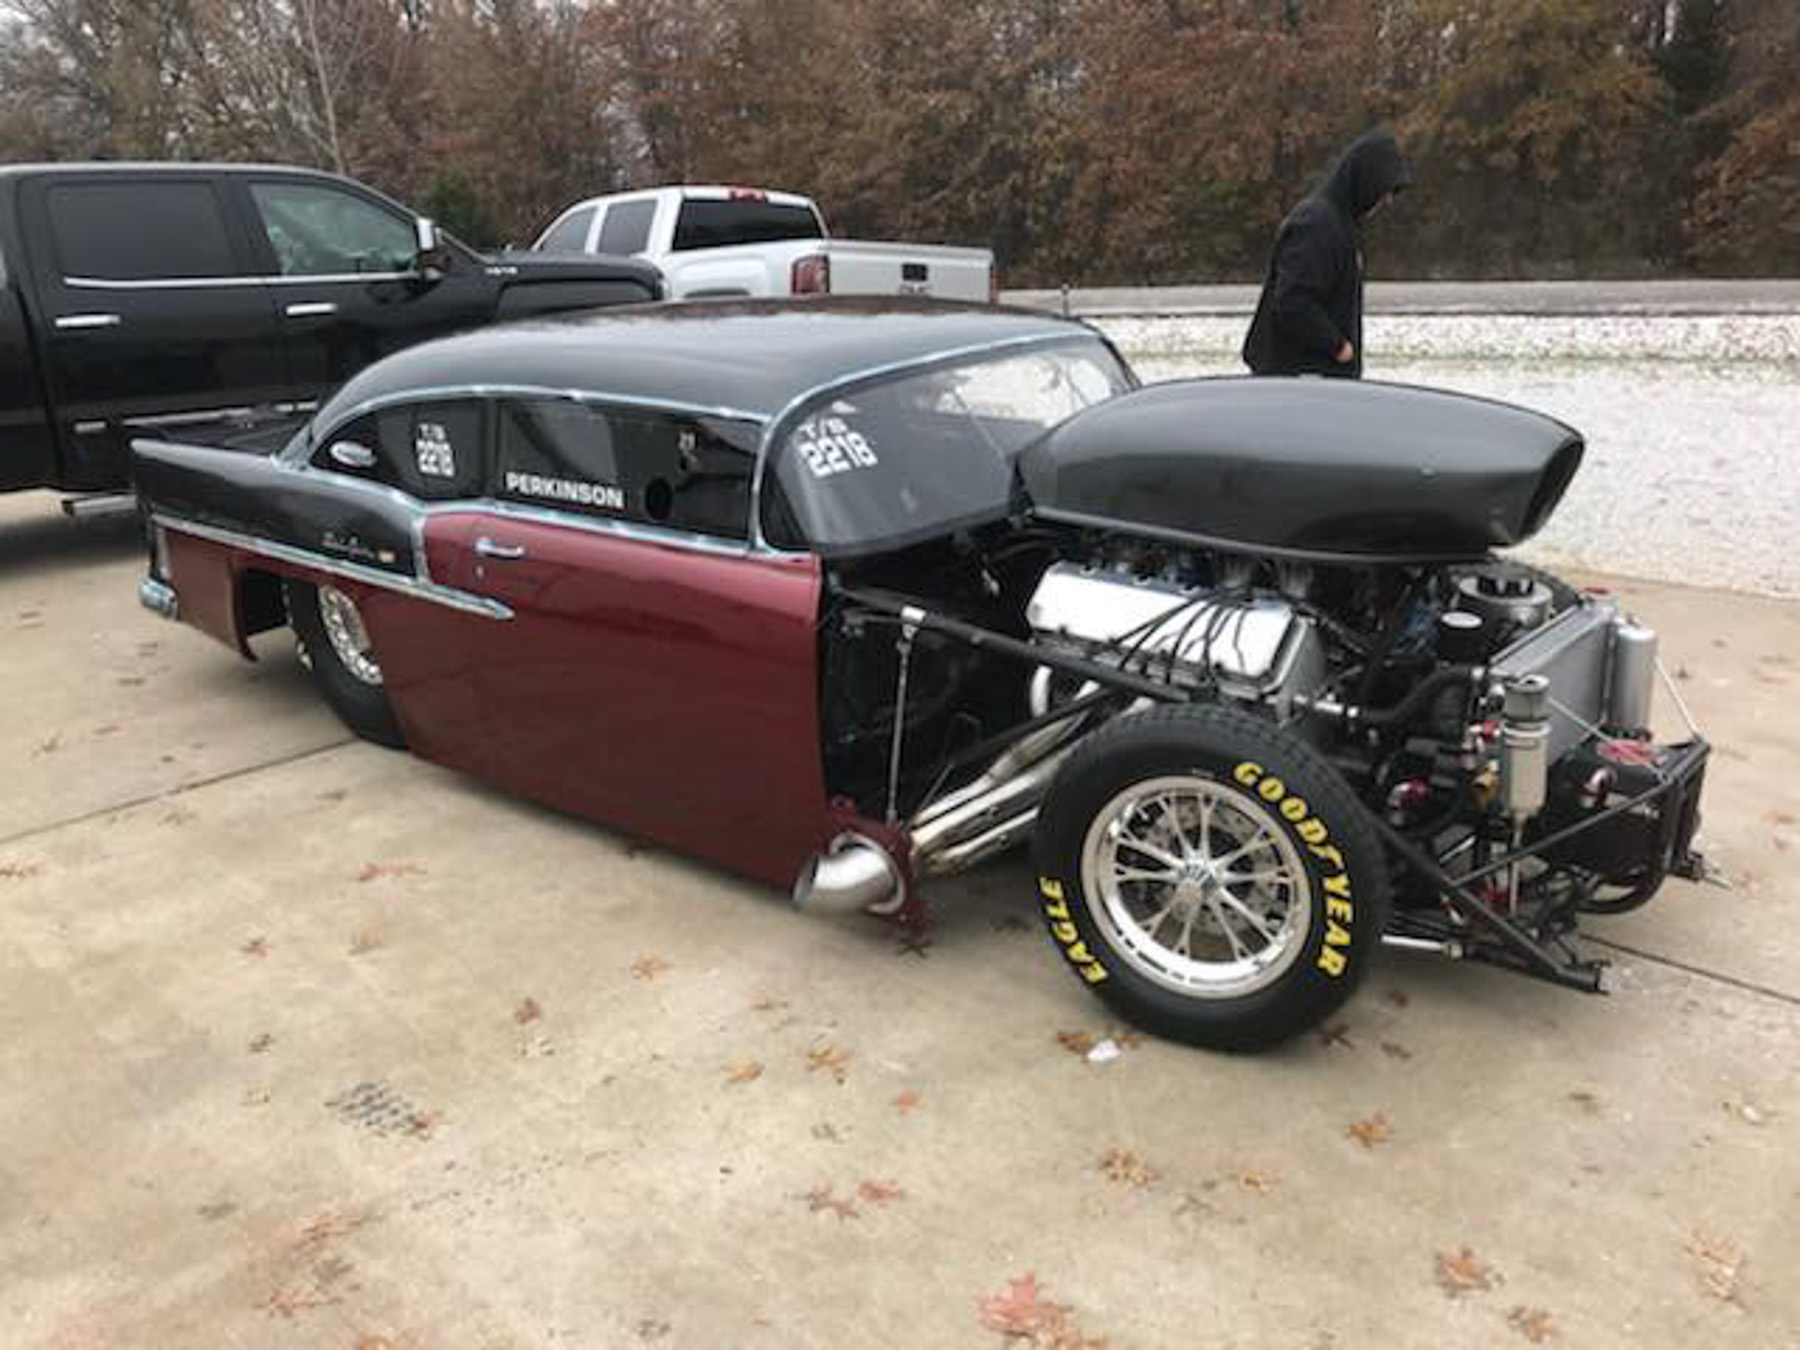
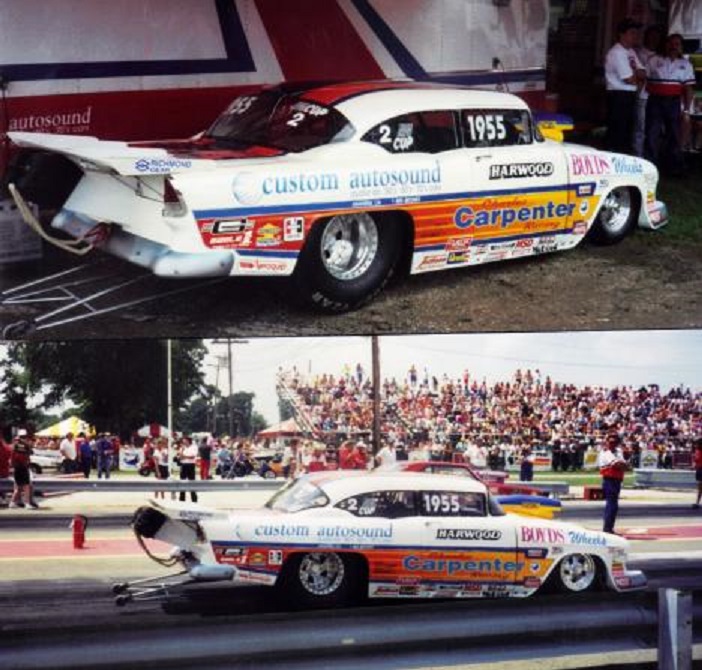
Looking at reference images the cables are quite large and hang down noticeably.
I shaved the cable off the kit part and will add a couple of braided lines for the attachment cables, and fine wire for the release cables, once everything is together.
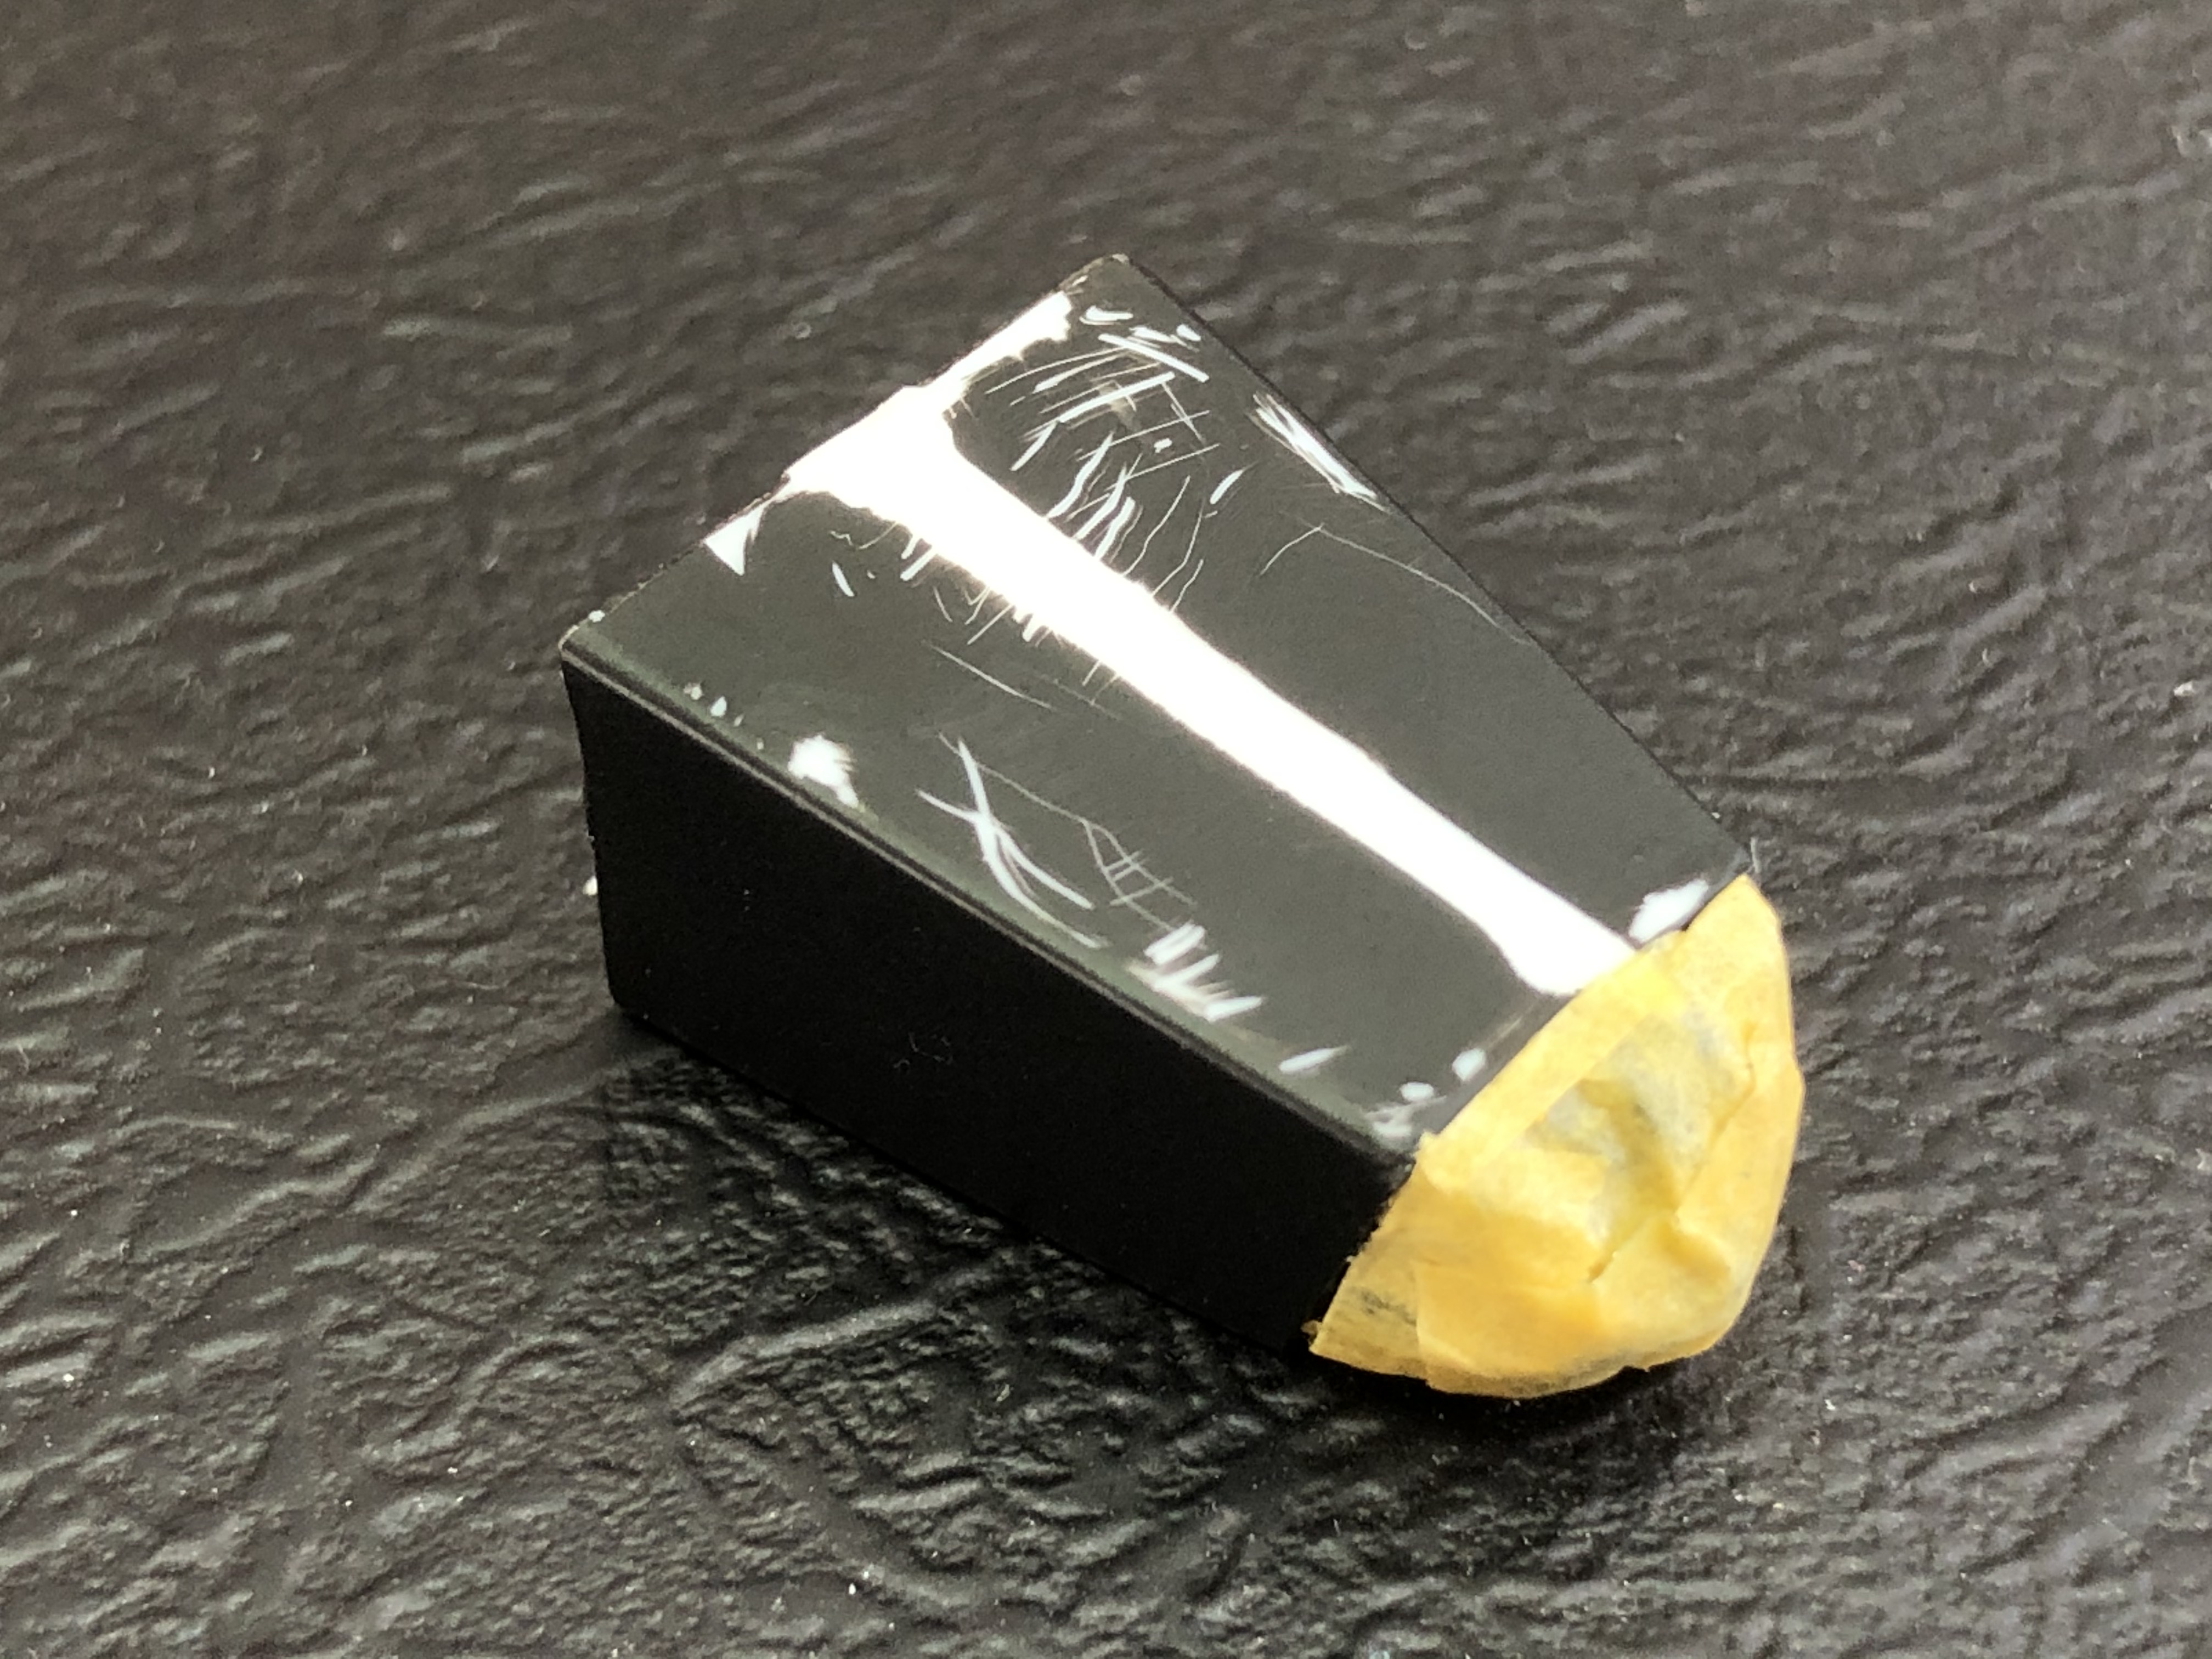
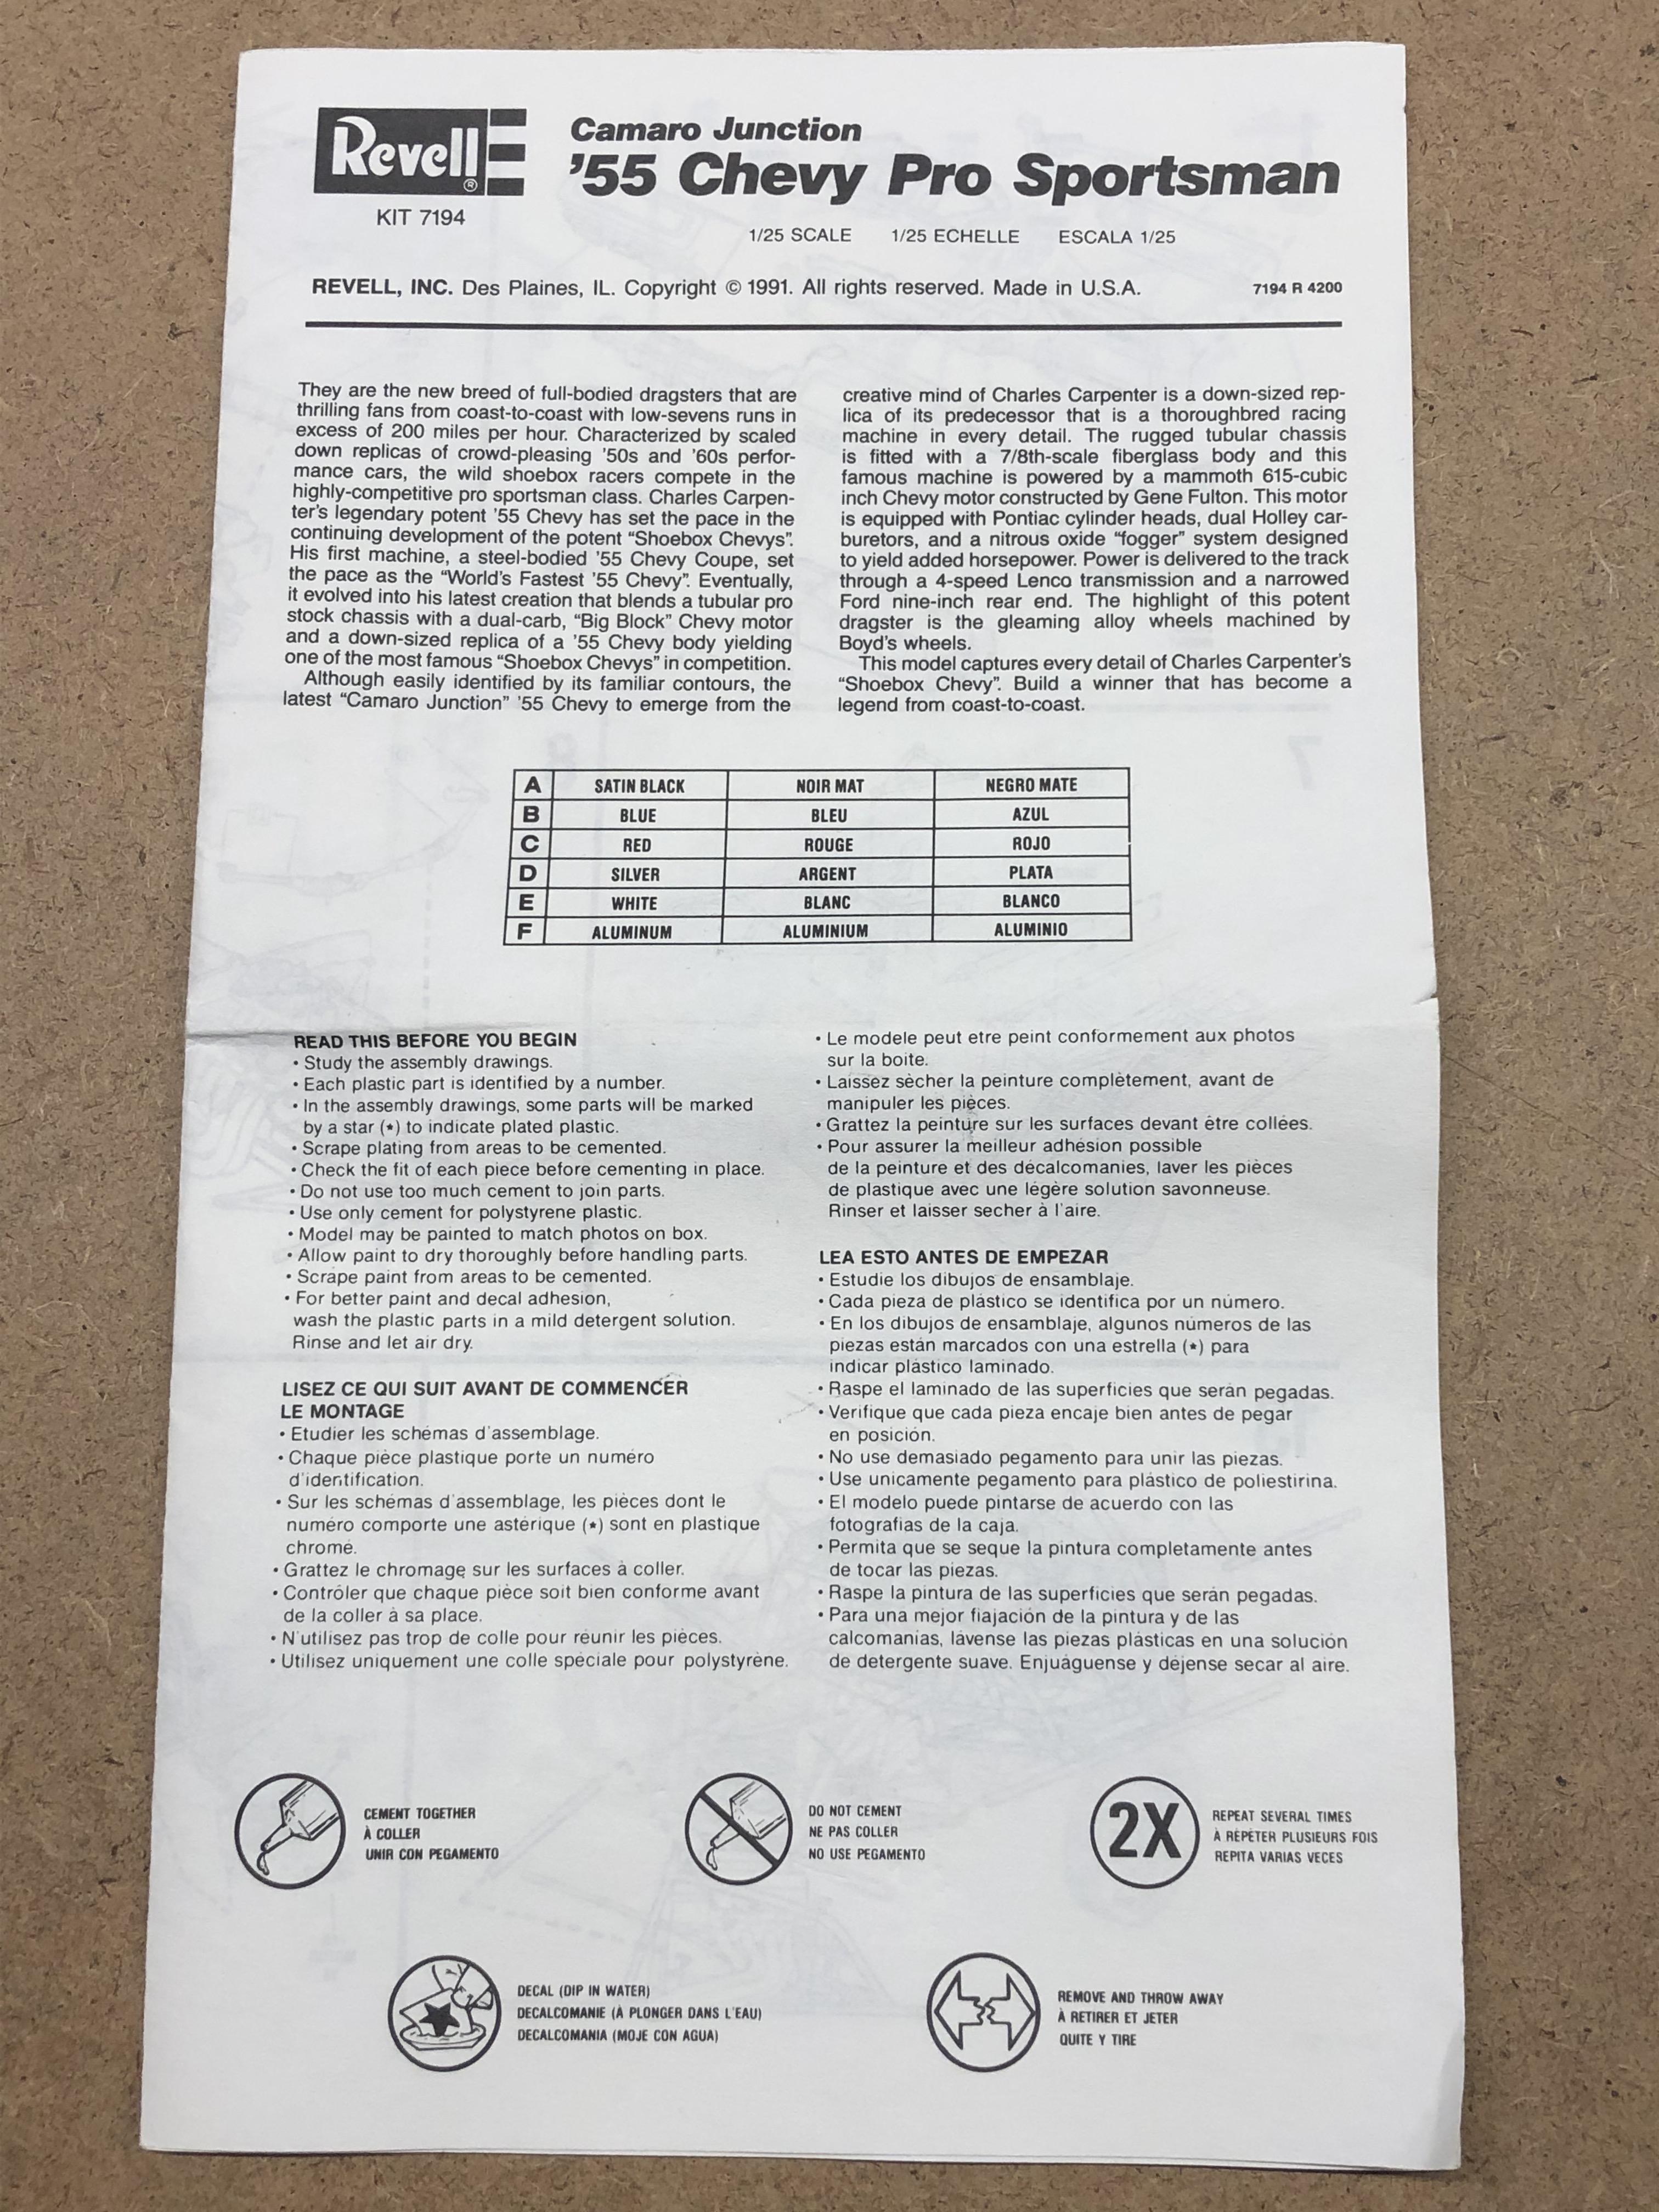
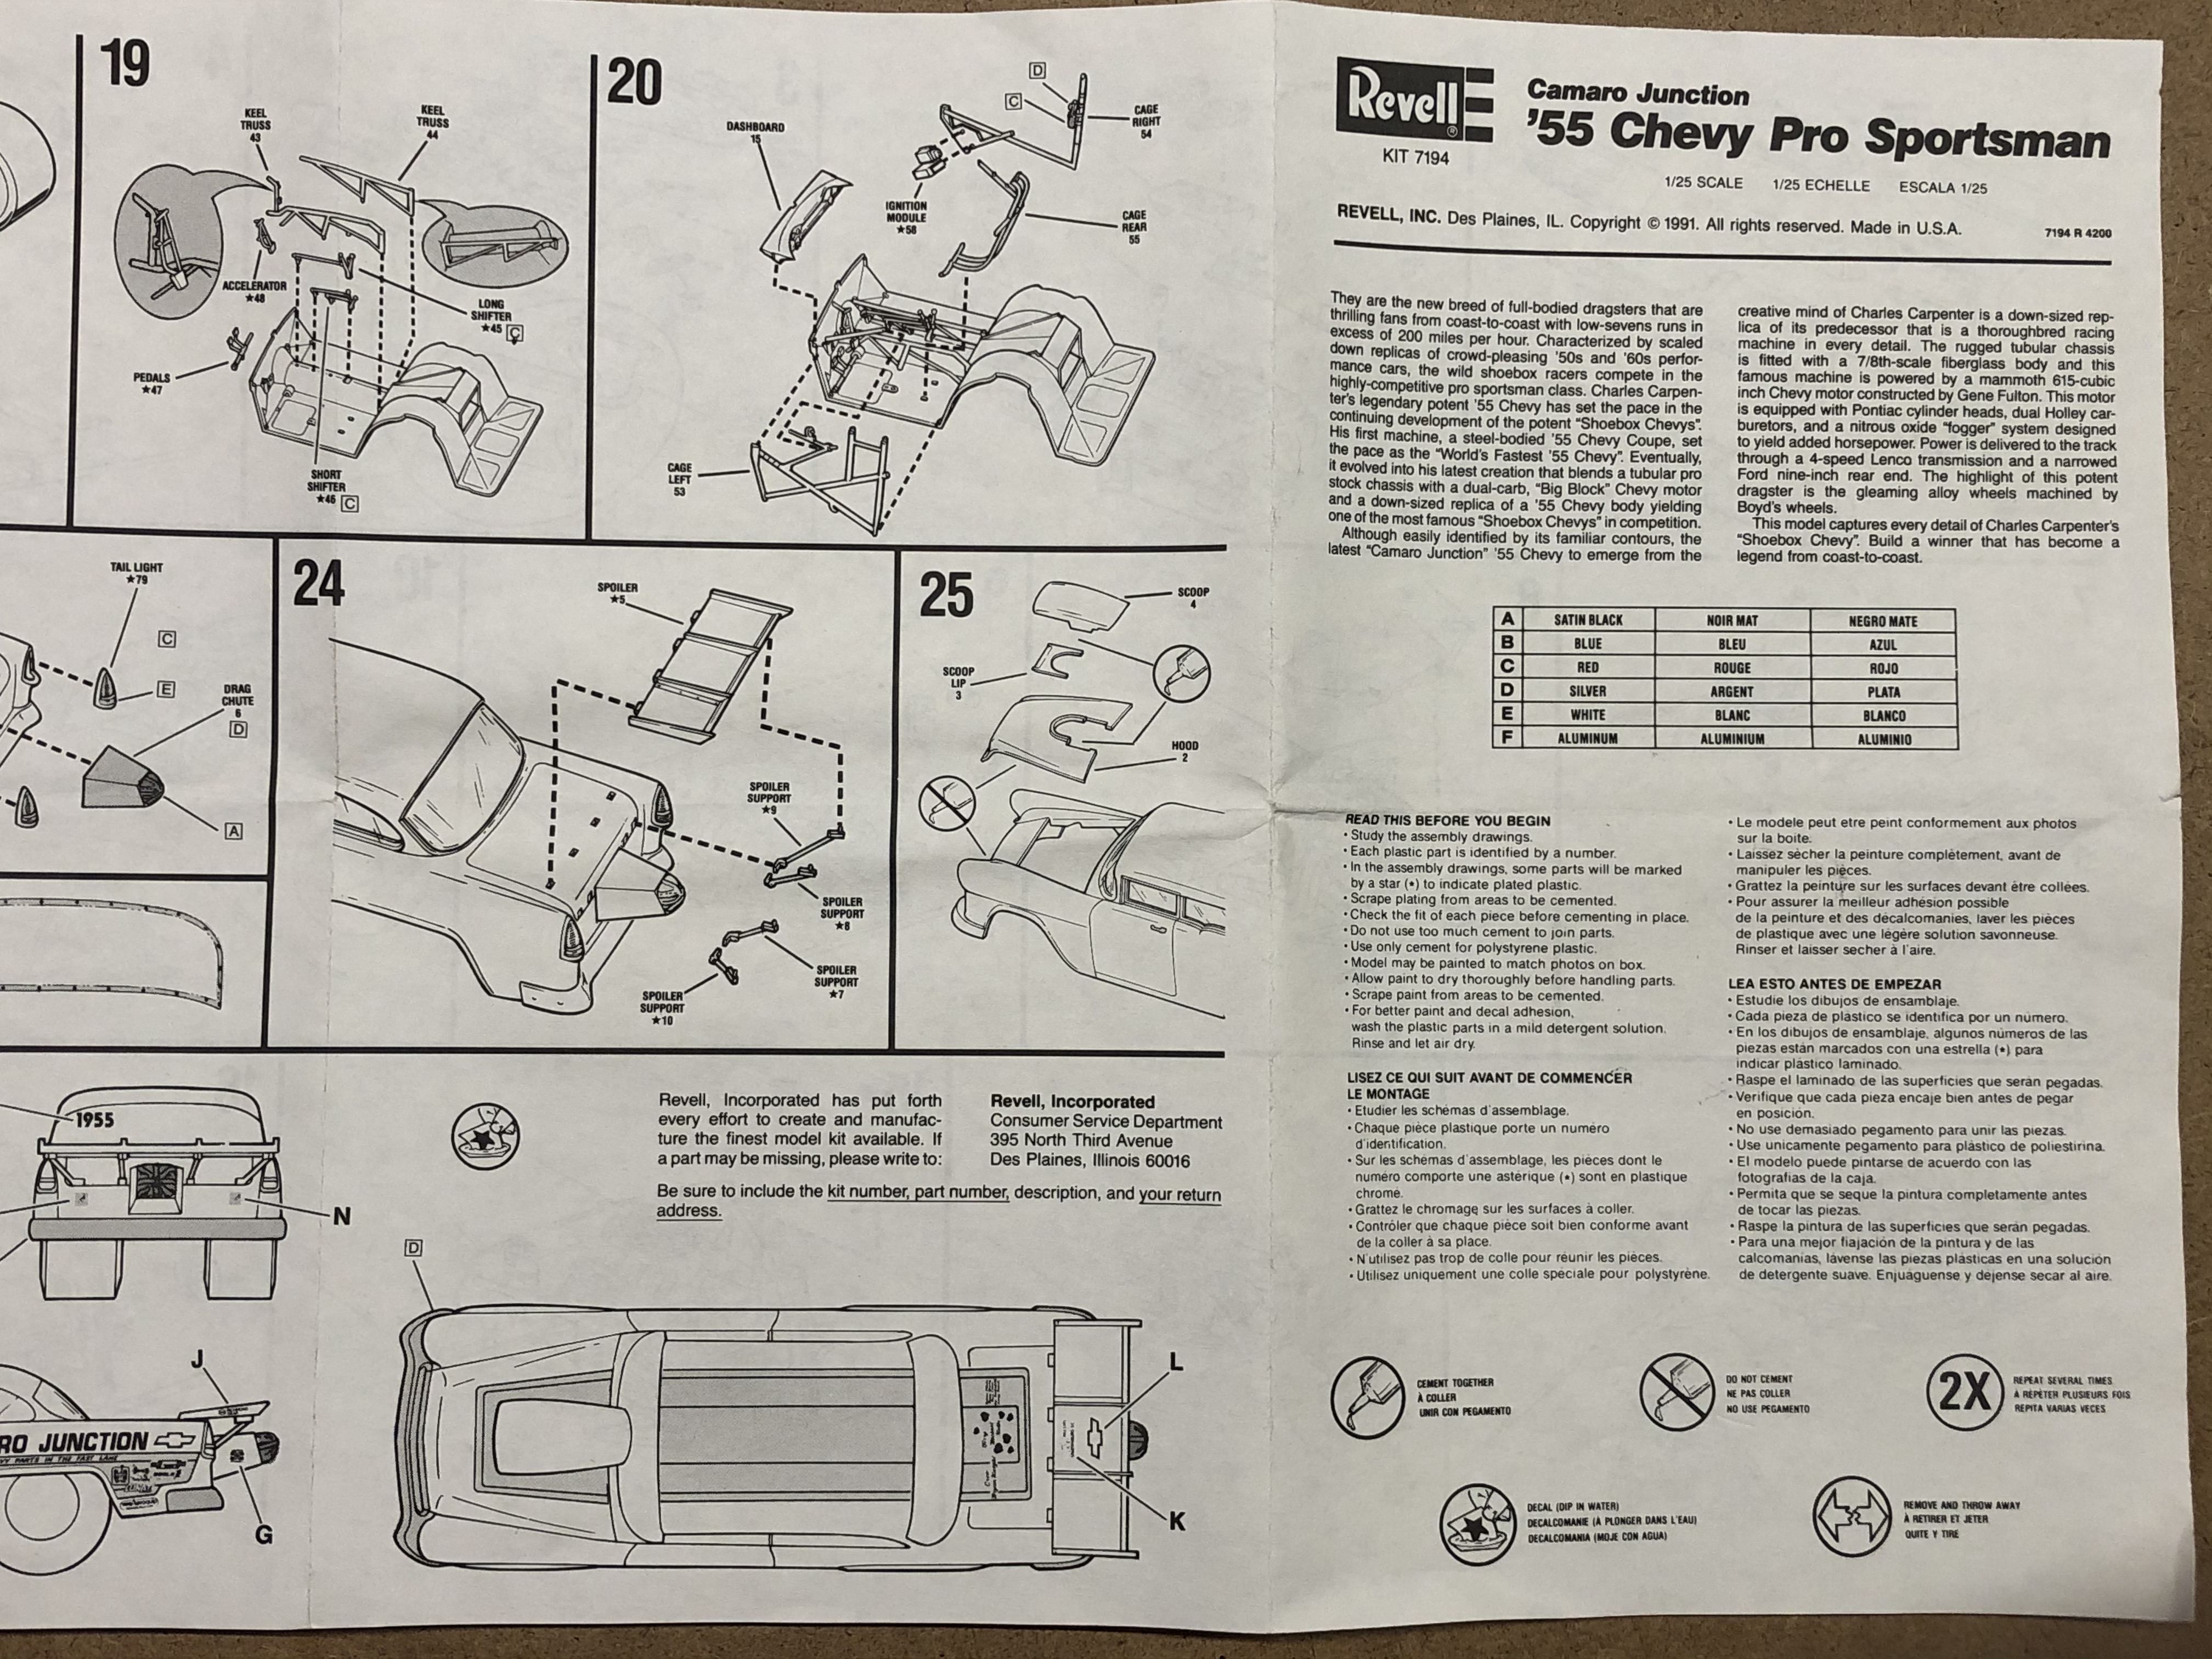
The instructions have you painting the chute box silver, but all of the reference images show it being white. White it shall be!
May 20th updateSlow progress on the '55, but no issues to report which makes a pleasant change!
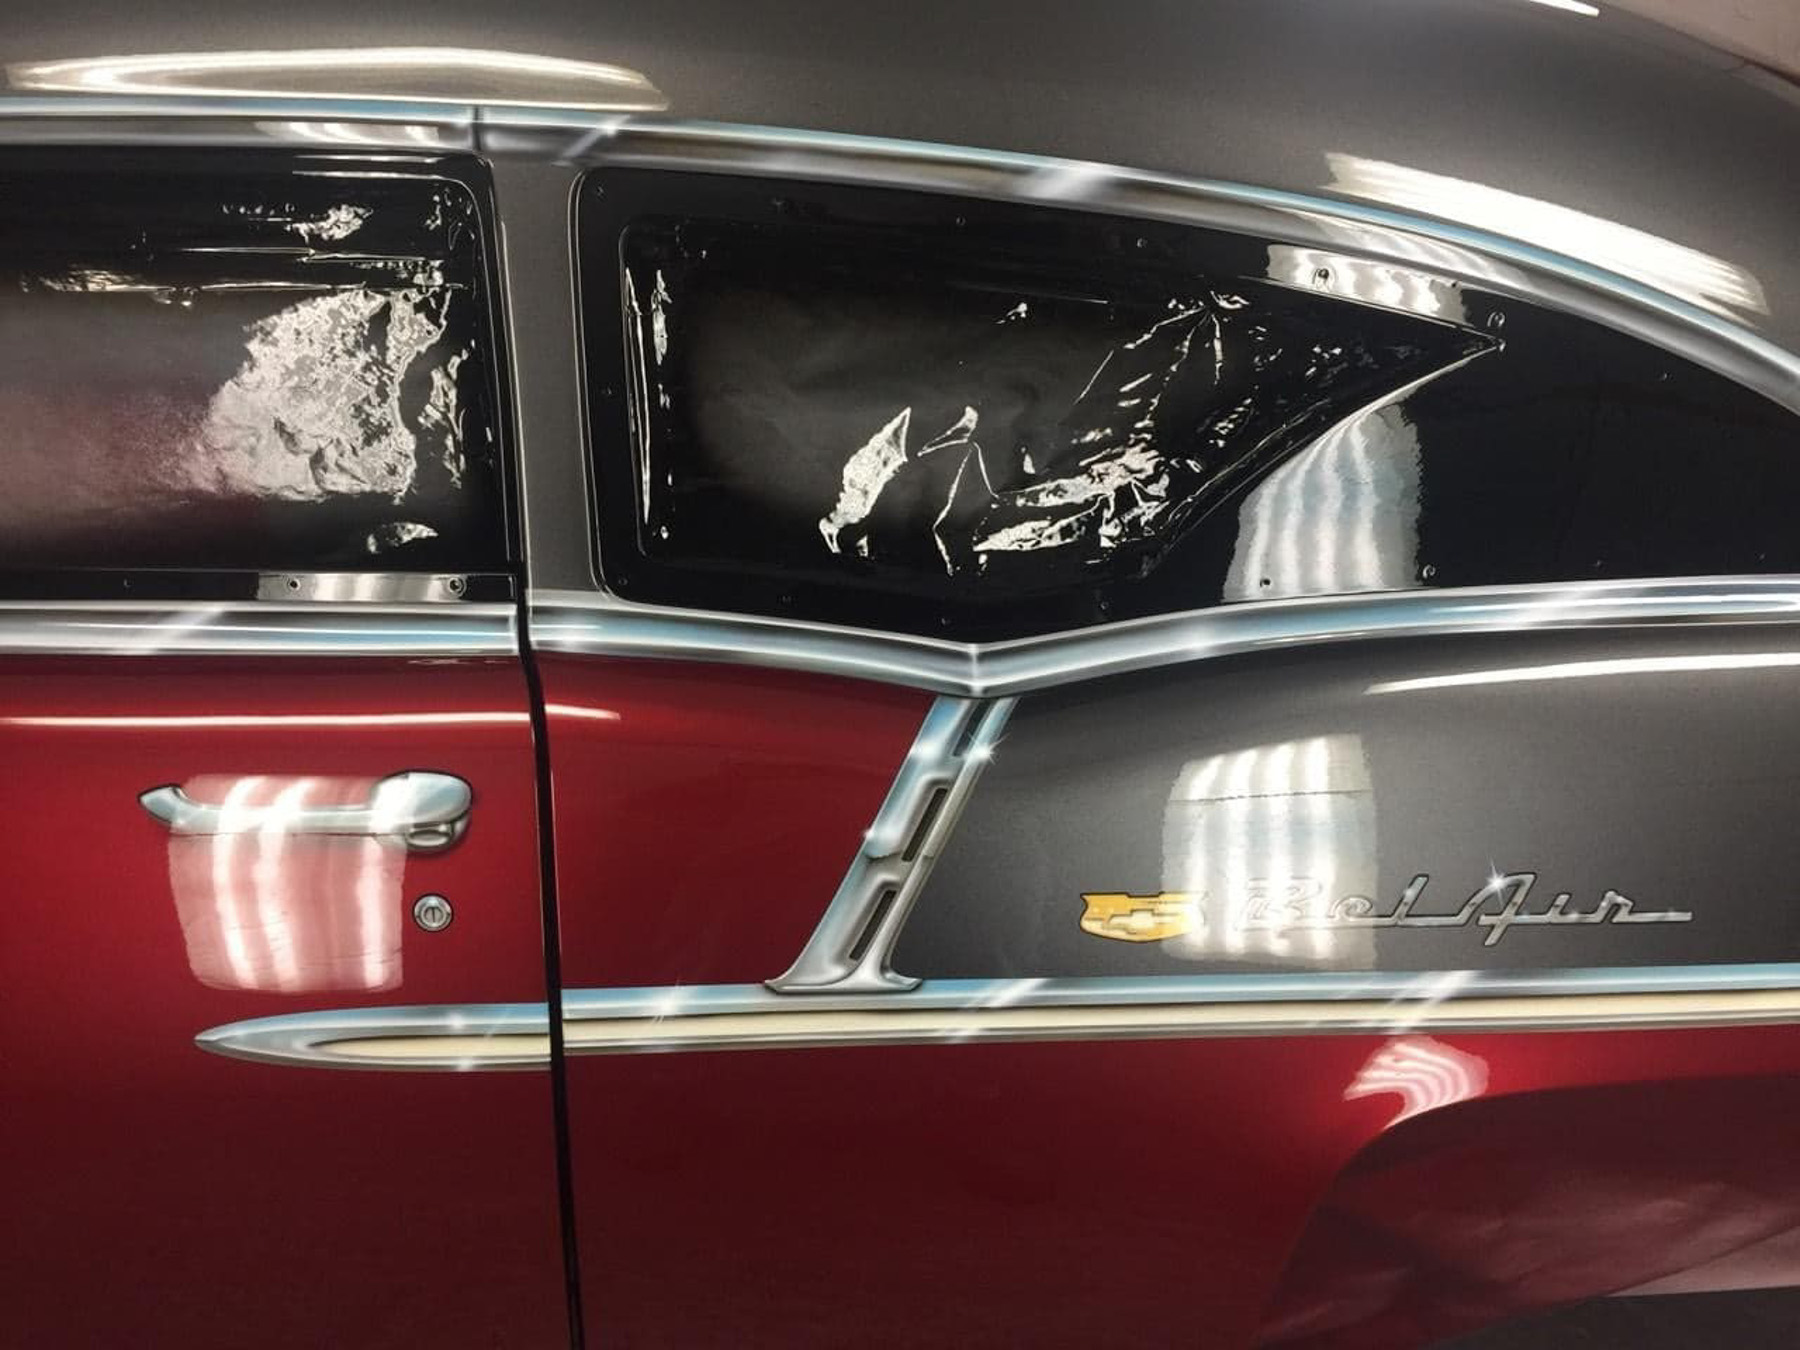
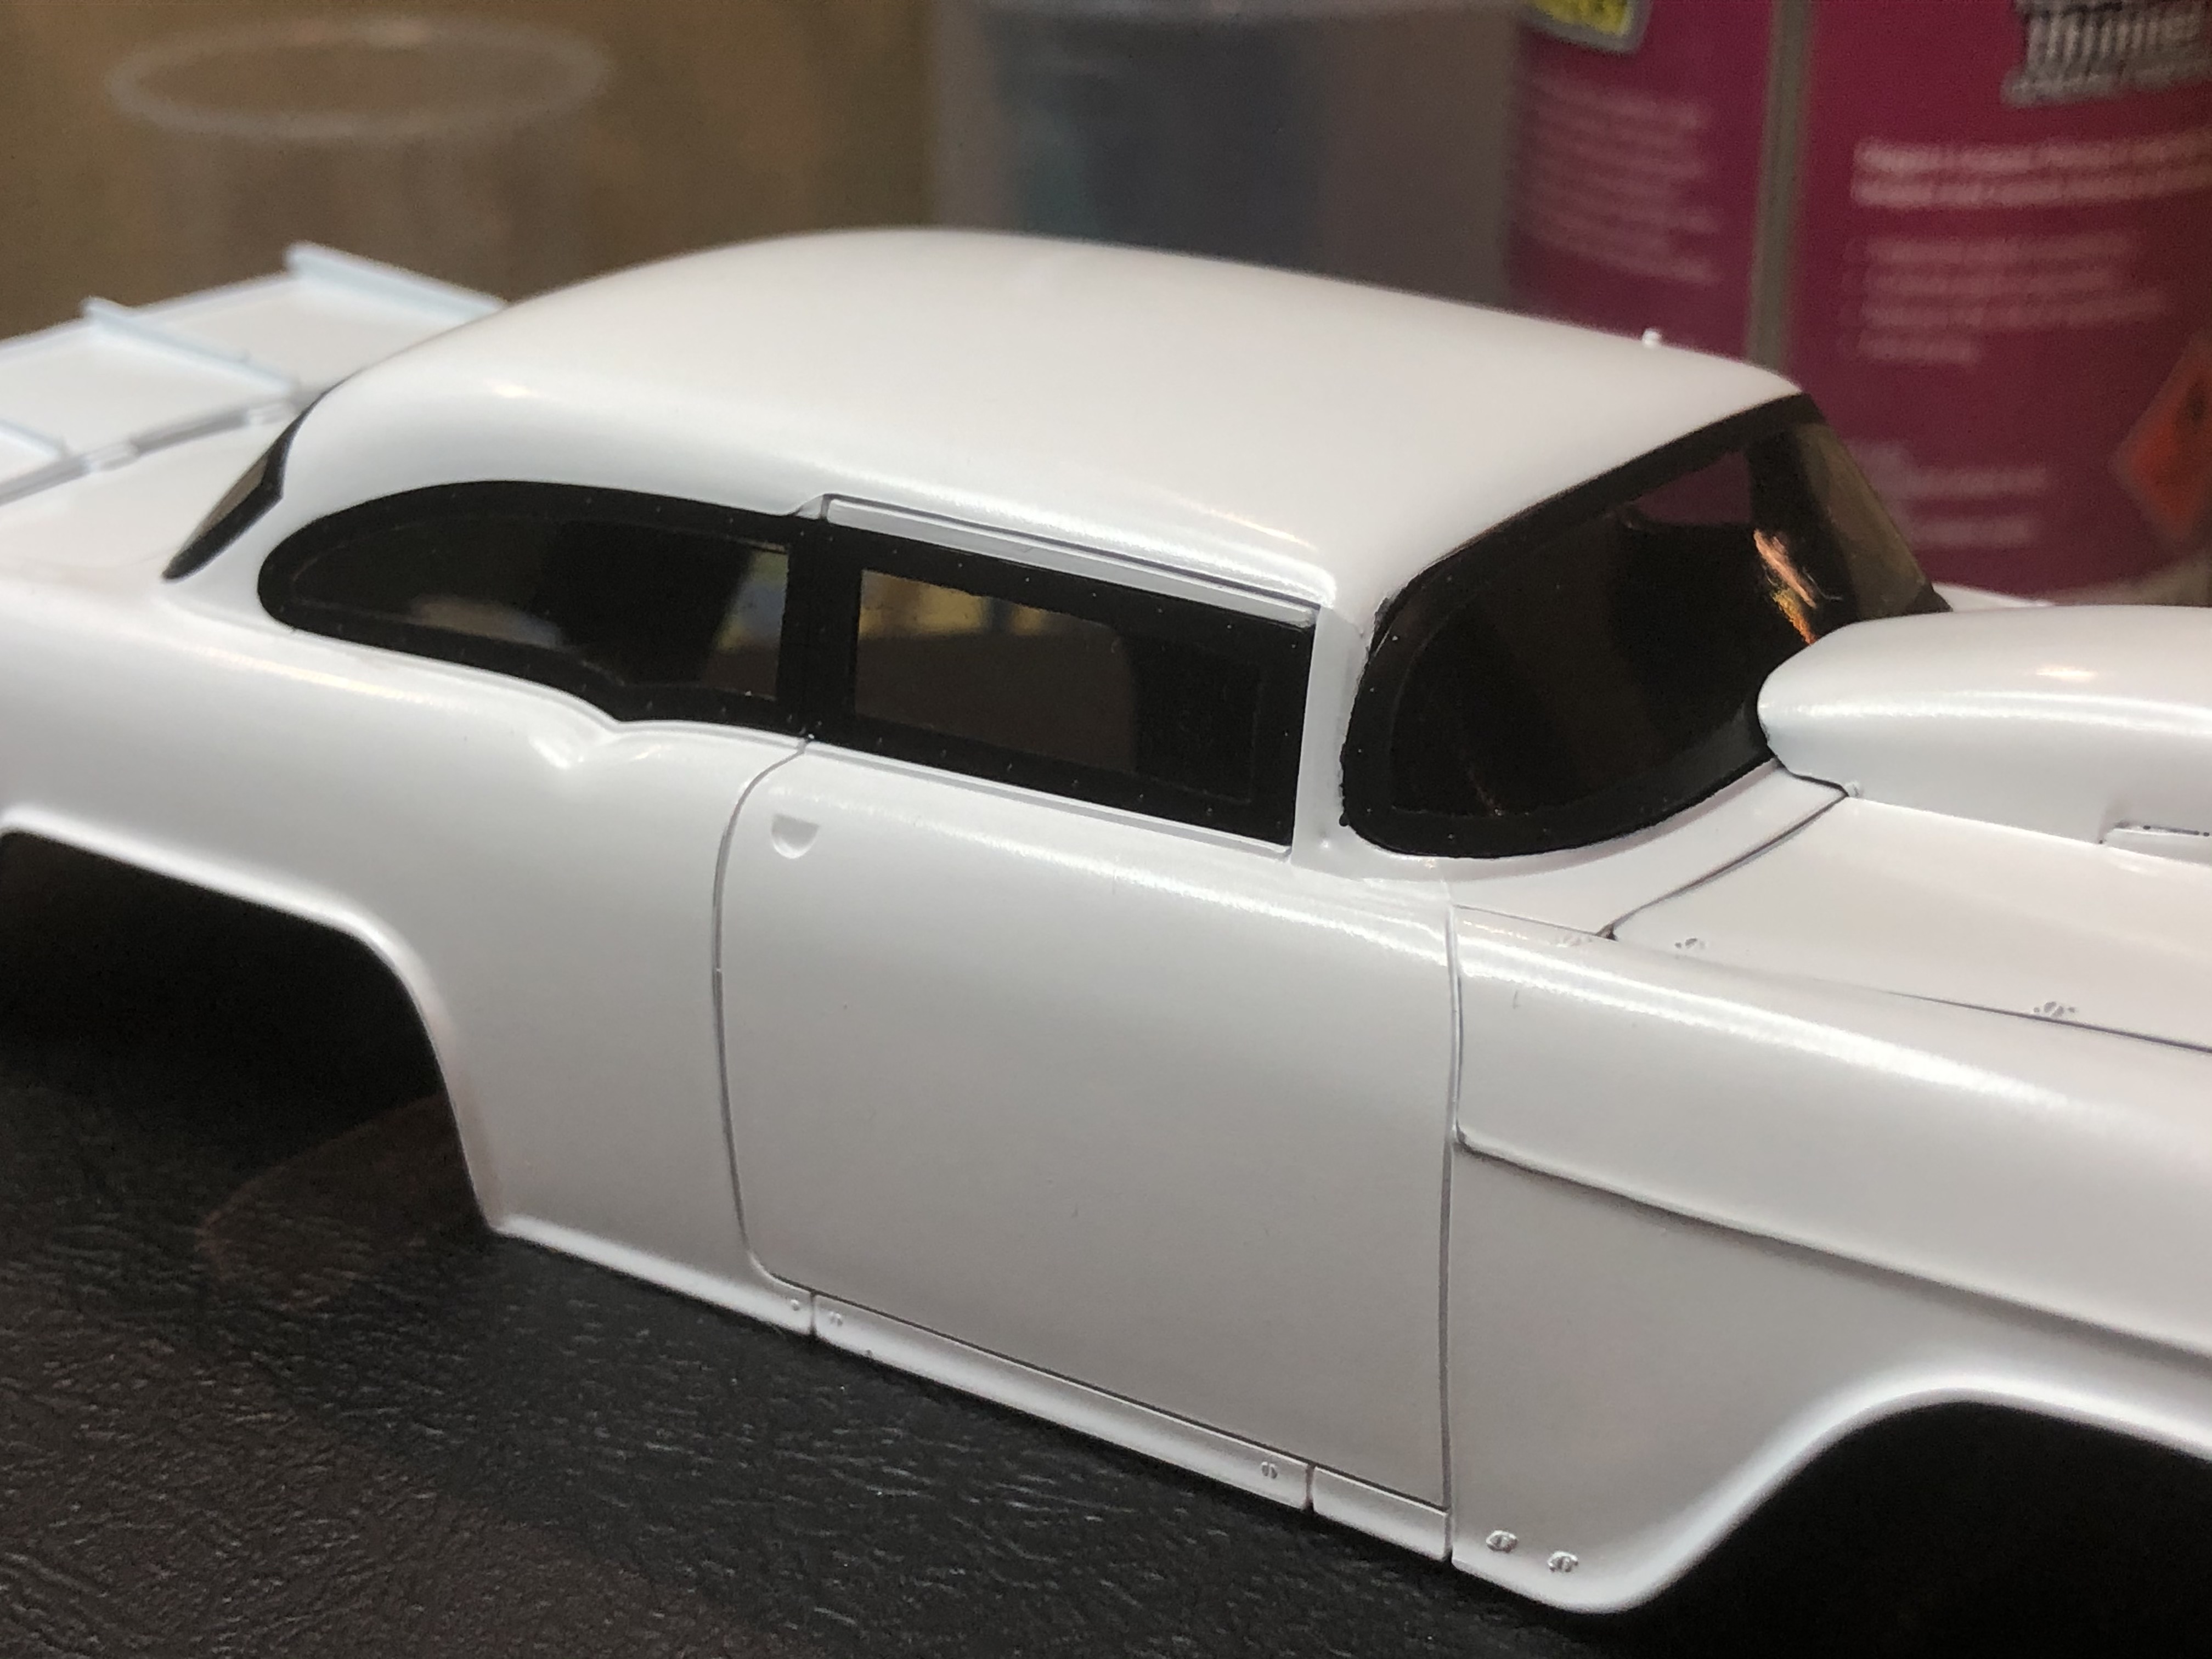
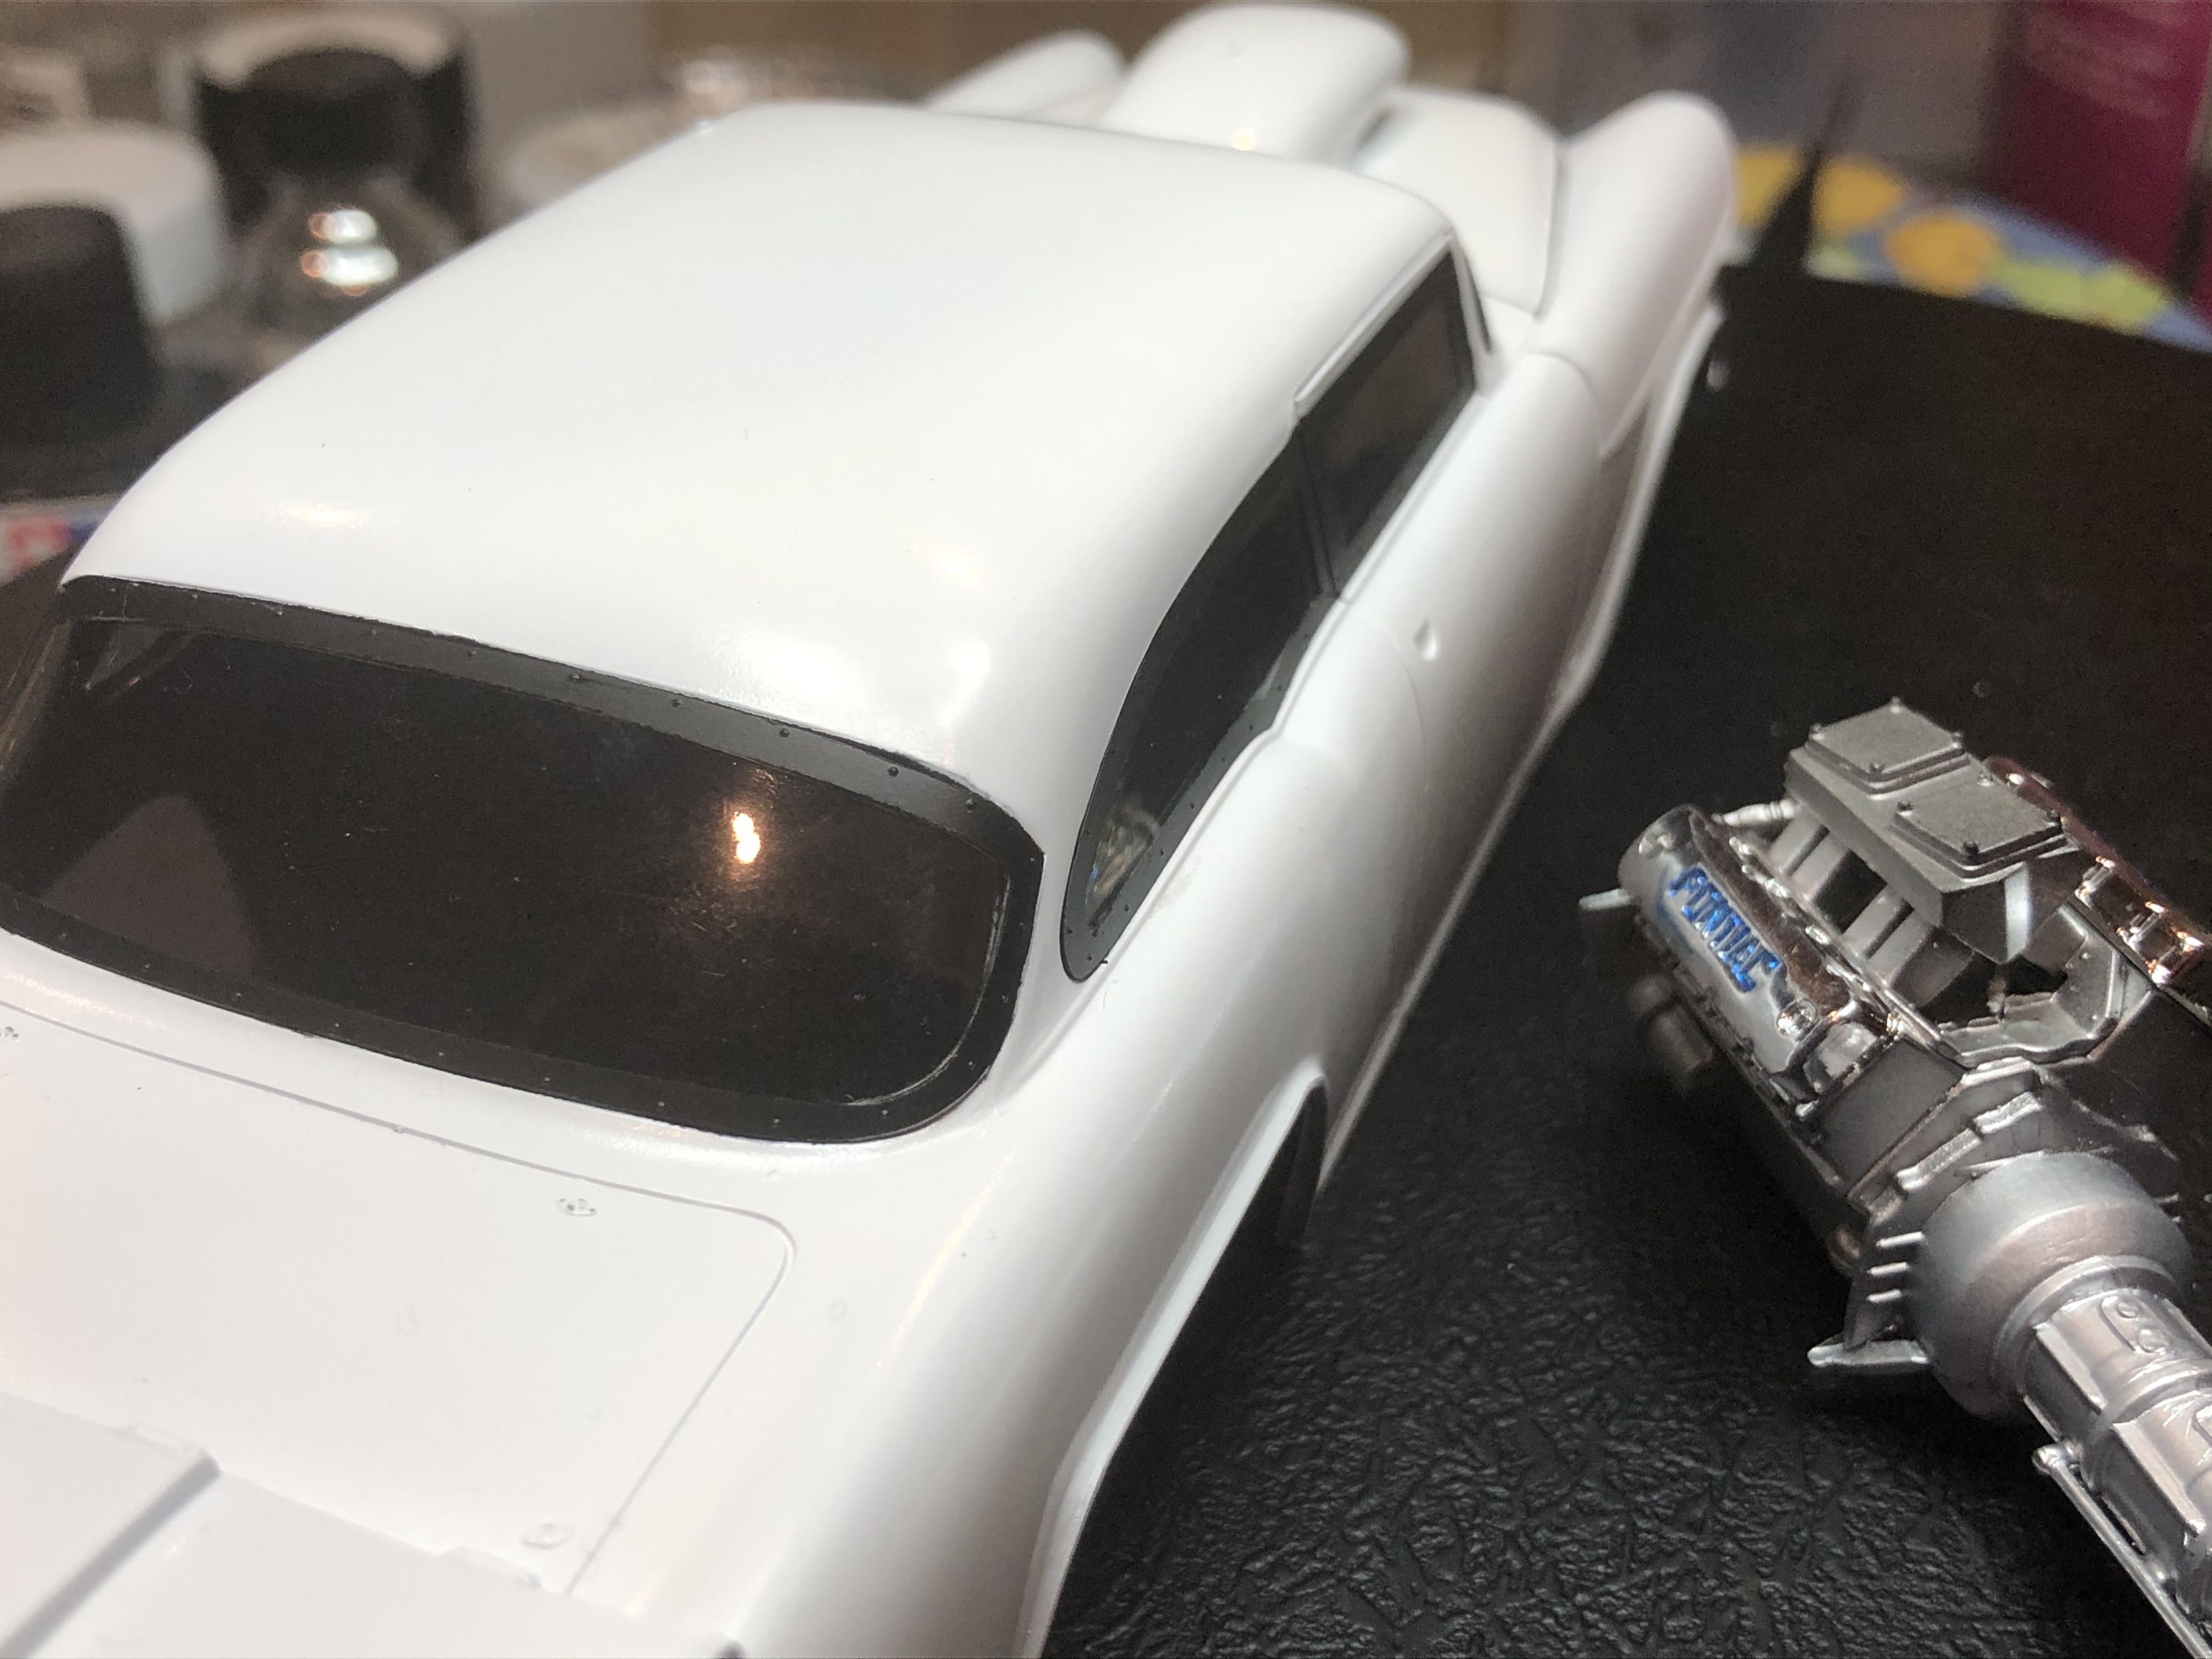
I have fine wet sanded the white body paint and I'm happy that it's ready for decals now. I have masked and painted the black frames on the tinted clear parts and installed them, and detail painted the chrome rocker covers and fitted them as well.
 May 22nd update
Friday night down under, time to take a deep breath after a busy week and enjoy a glass of JD and some bench time.
I've started on the decals on the '55, but will save photos until the first session has settled down.
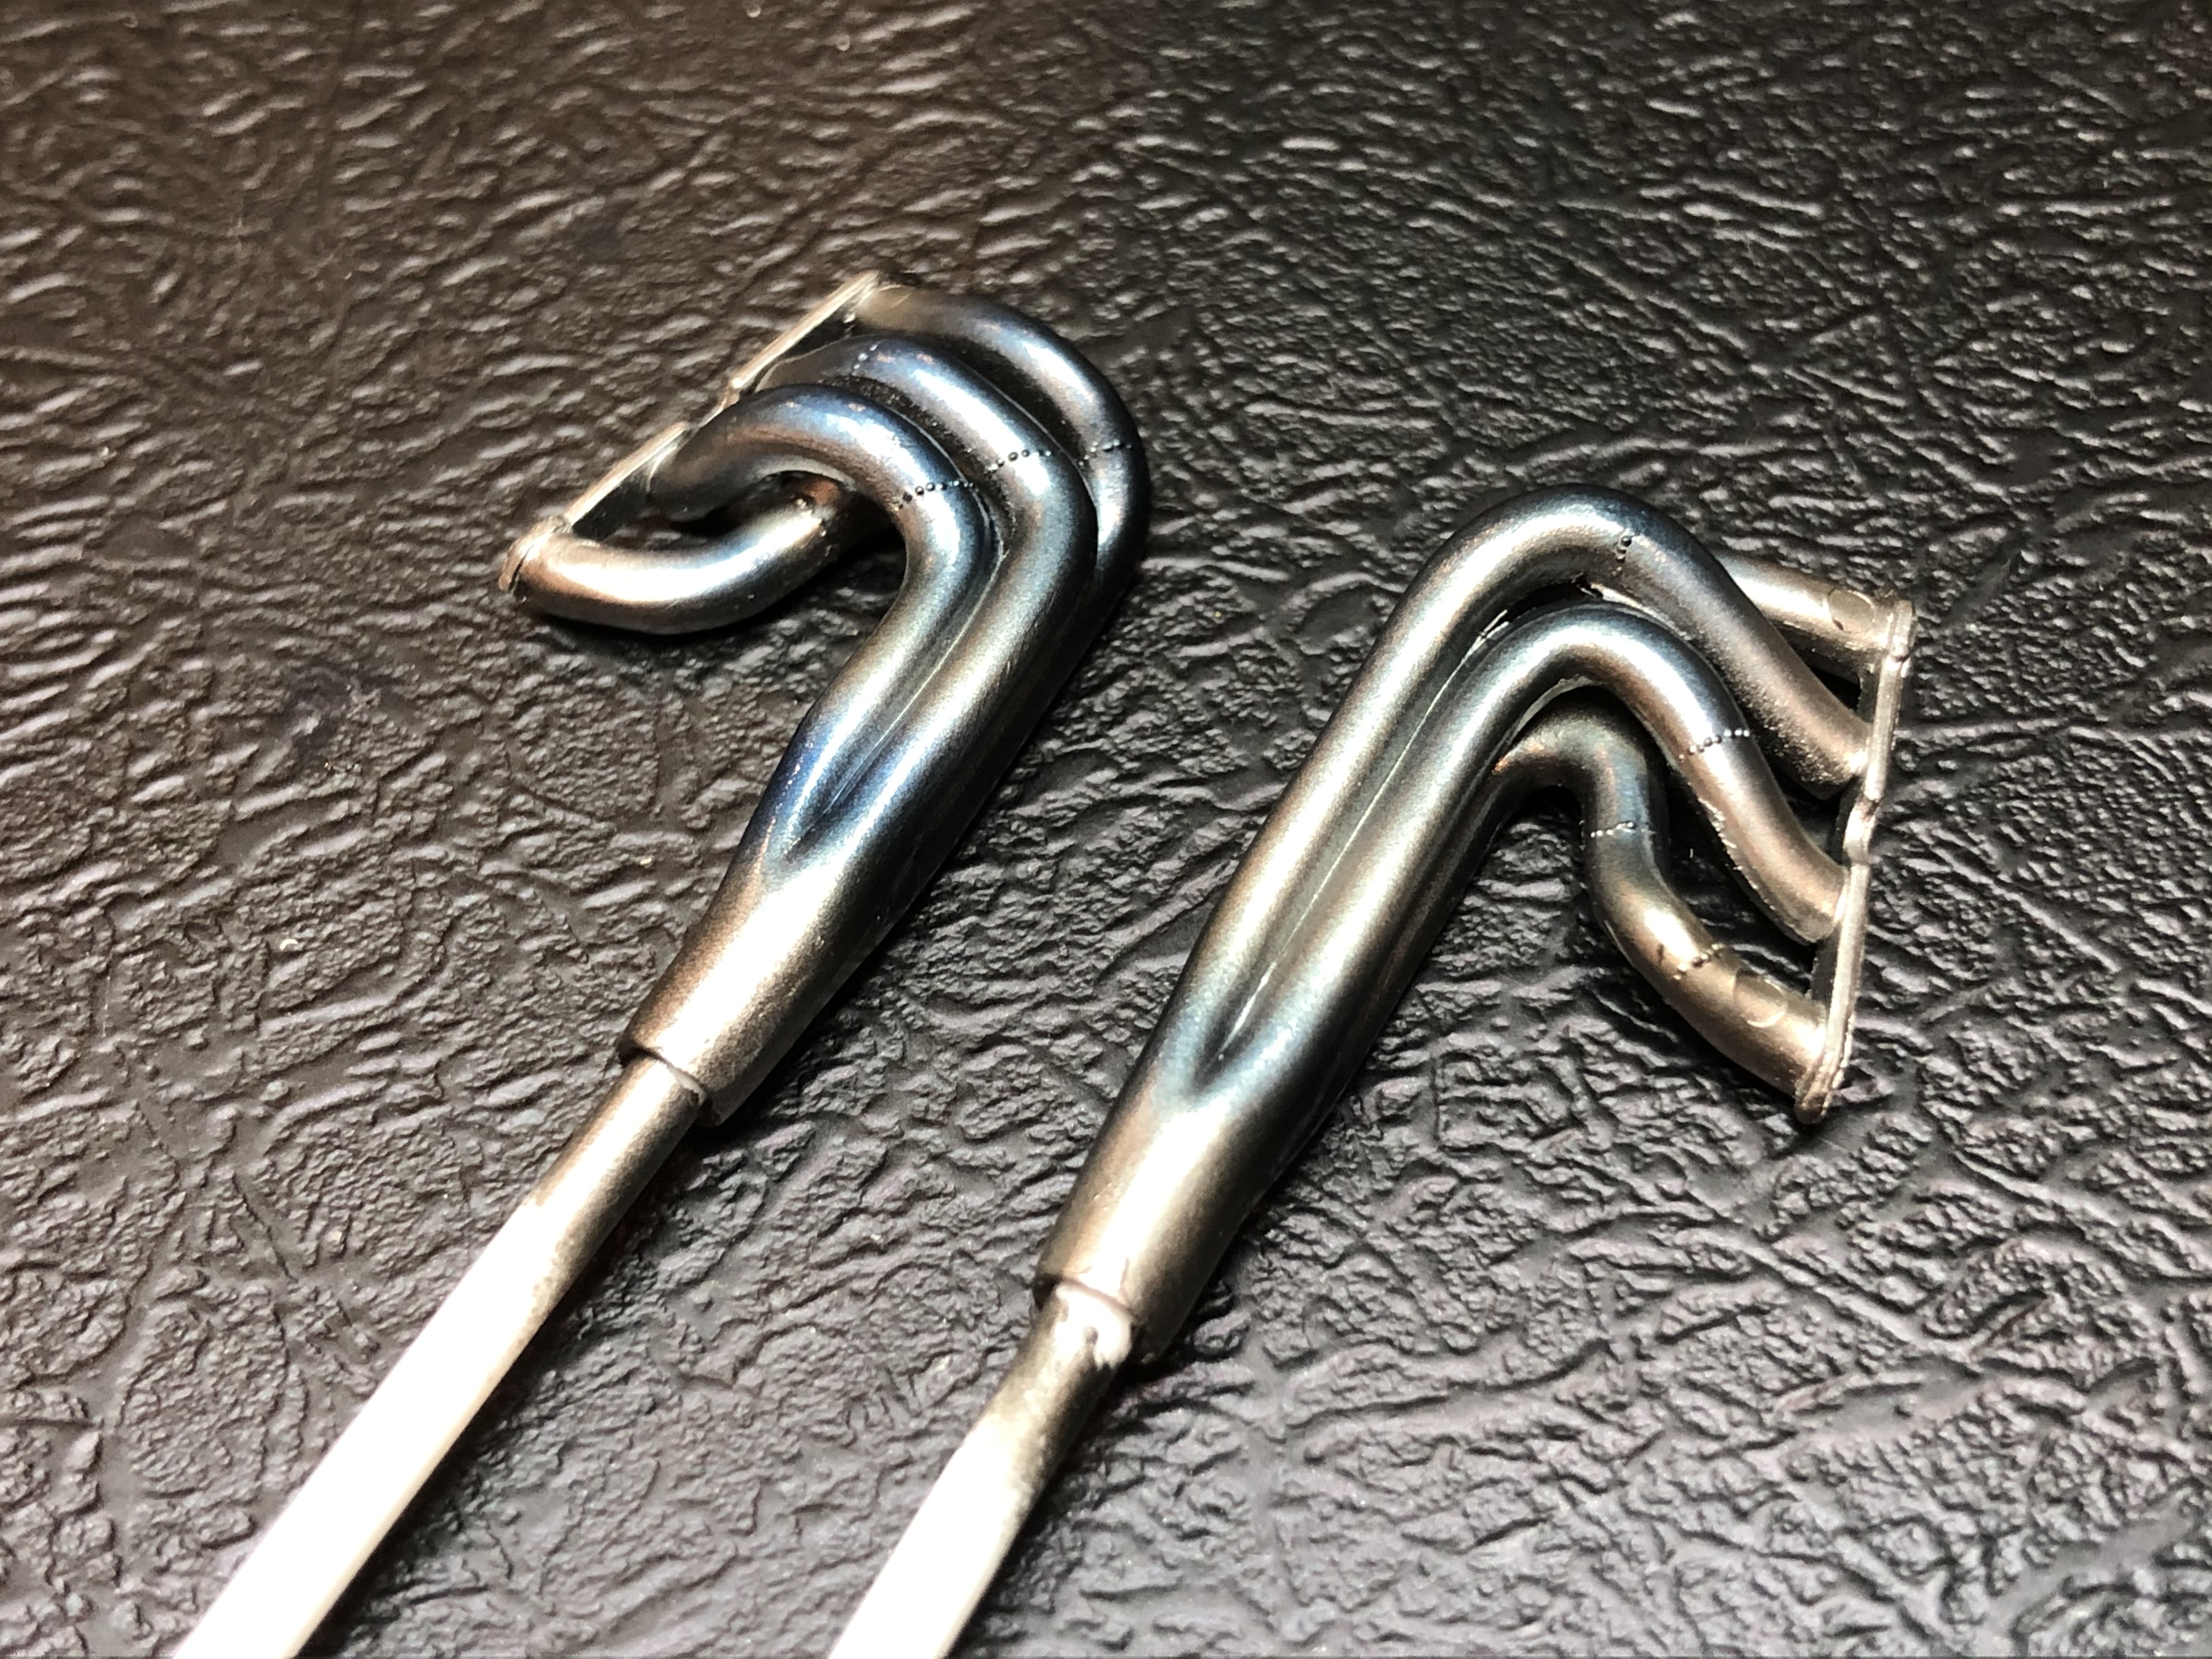
The airbrush was fired up to do some detail painting on the exhausts and accessories, as well as some work on a 1/48 P-47.
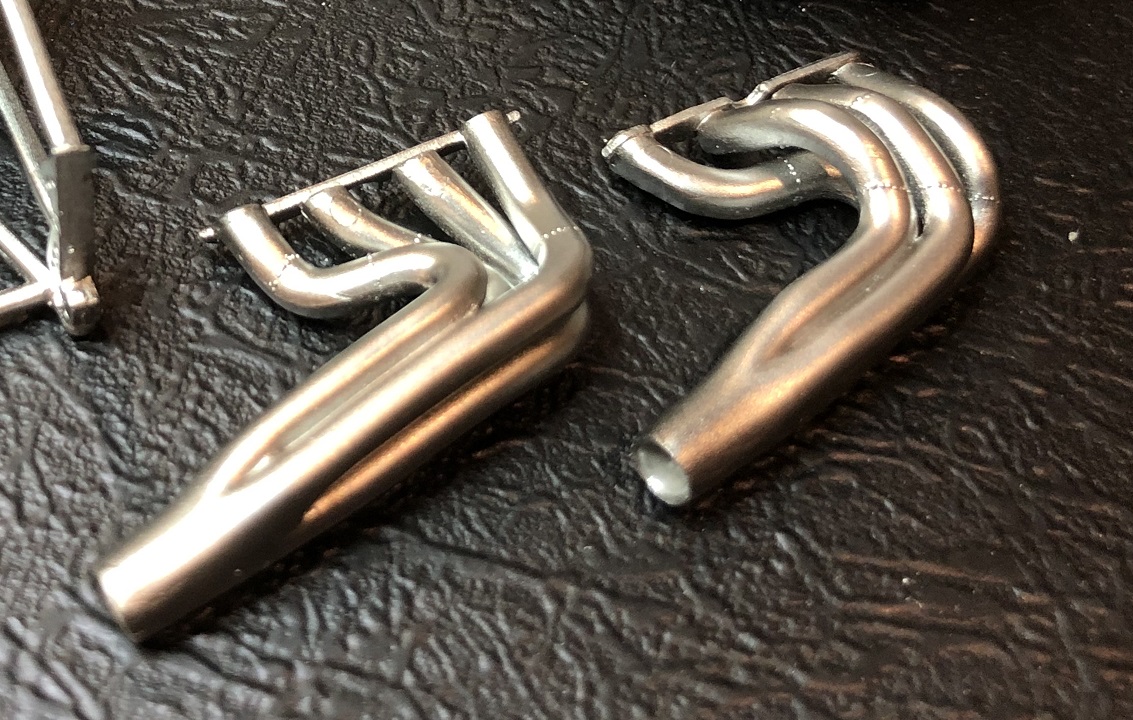
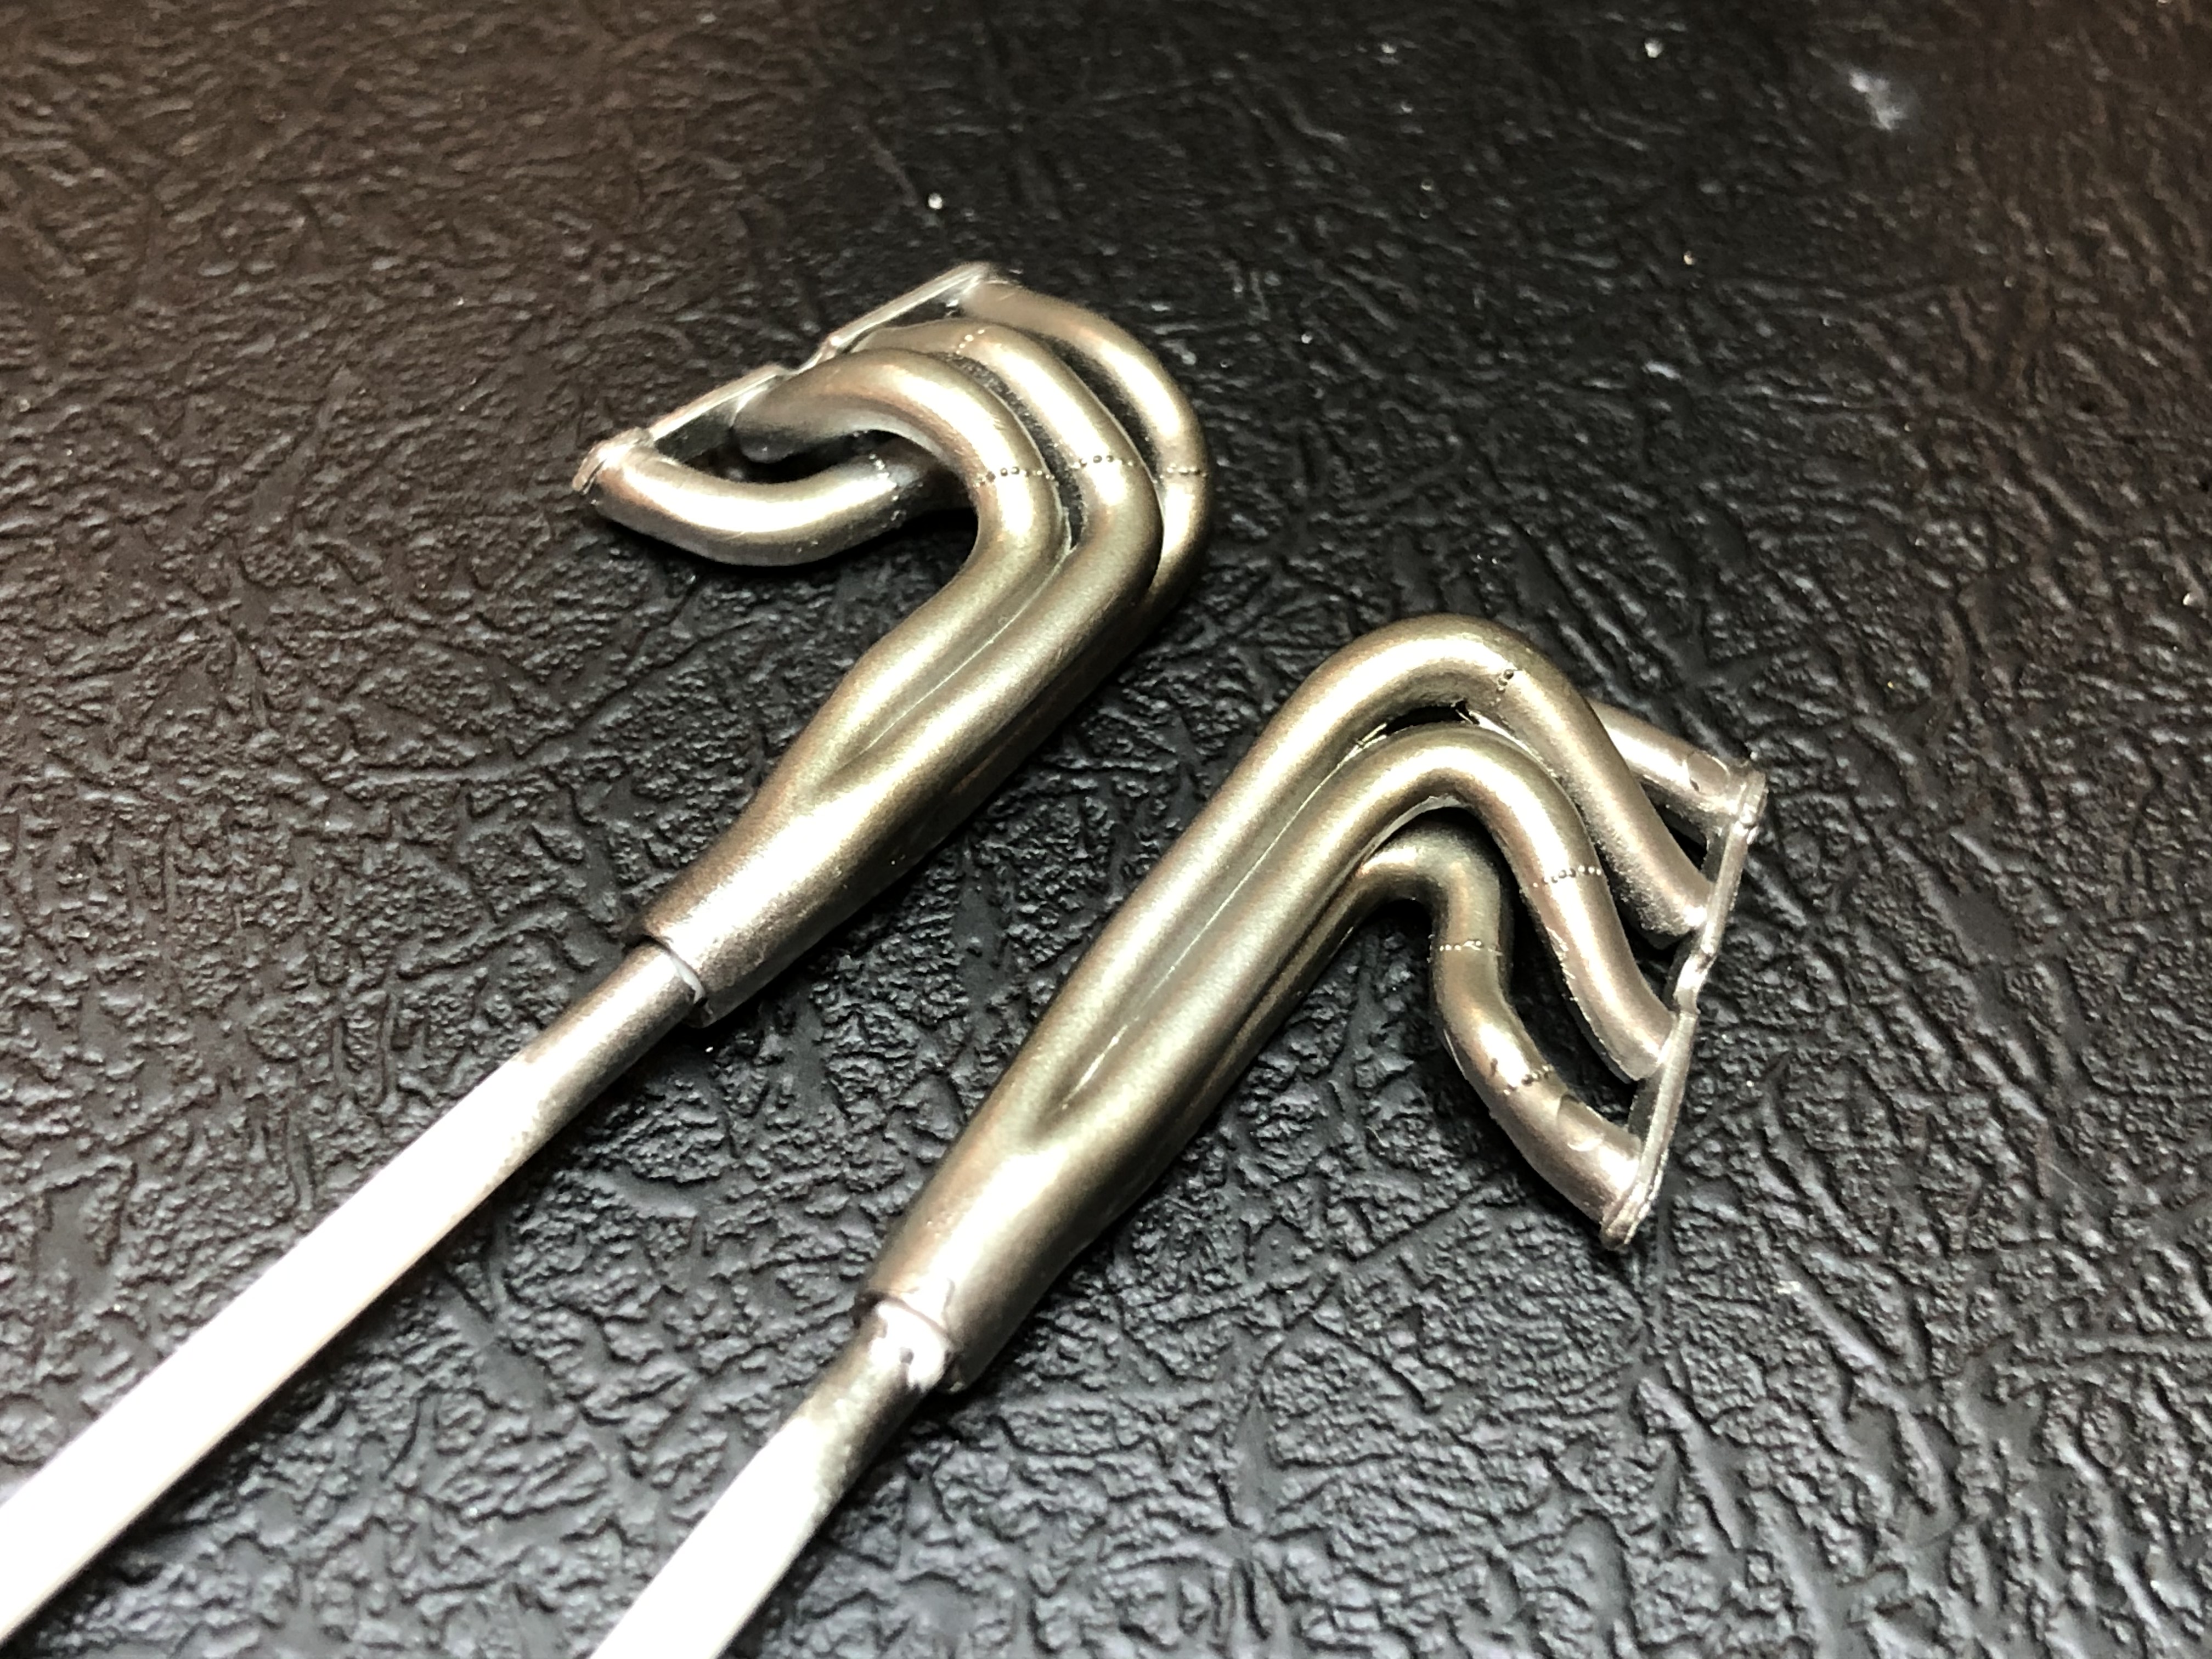
After black primer, the headers got a coat of SMS Stainless Steel, and tonight I shot some AK Xtreme Metal "Burnt Metal" then some SMS Clear Blue.
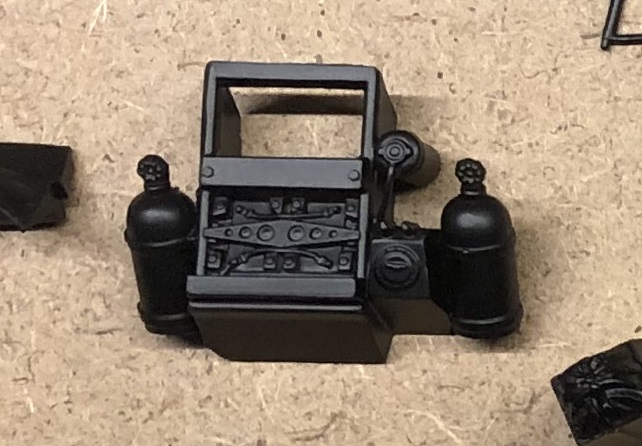
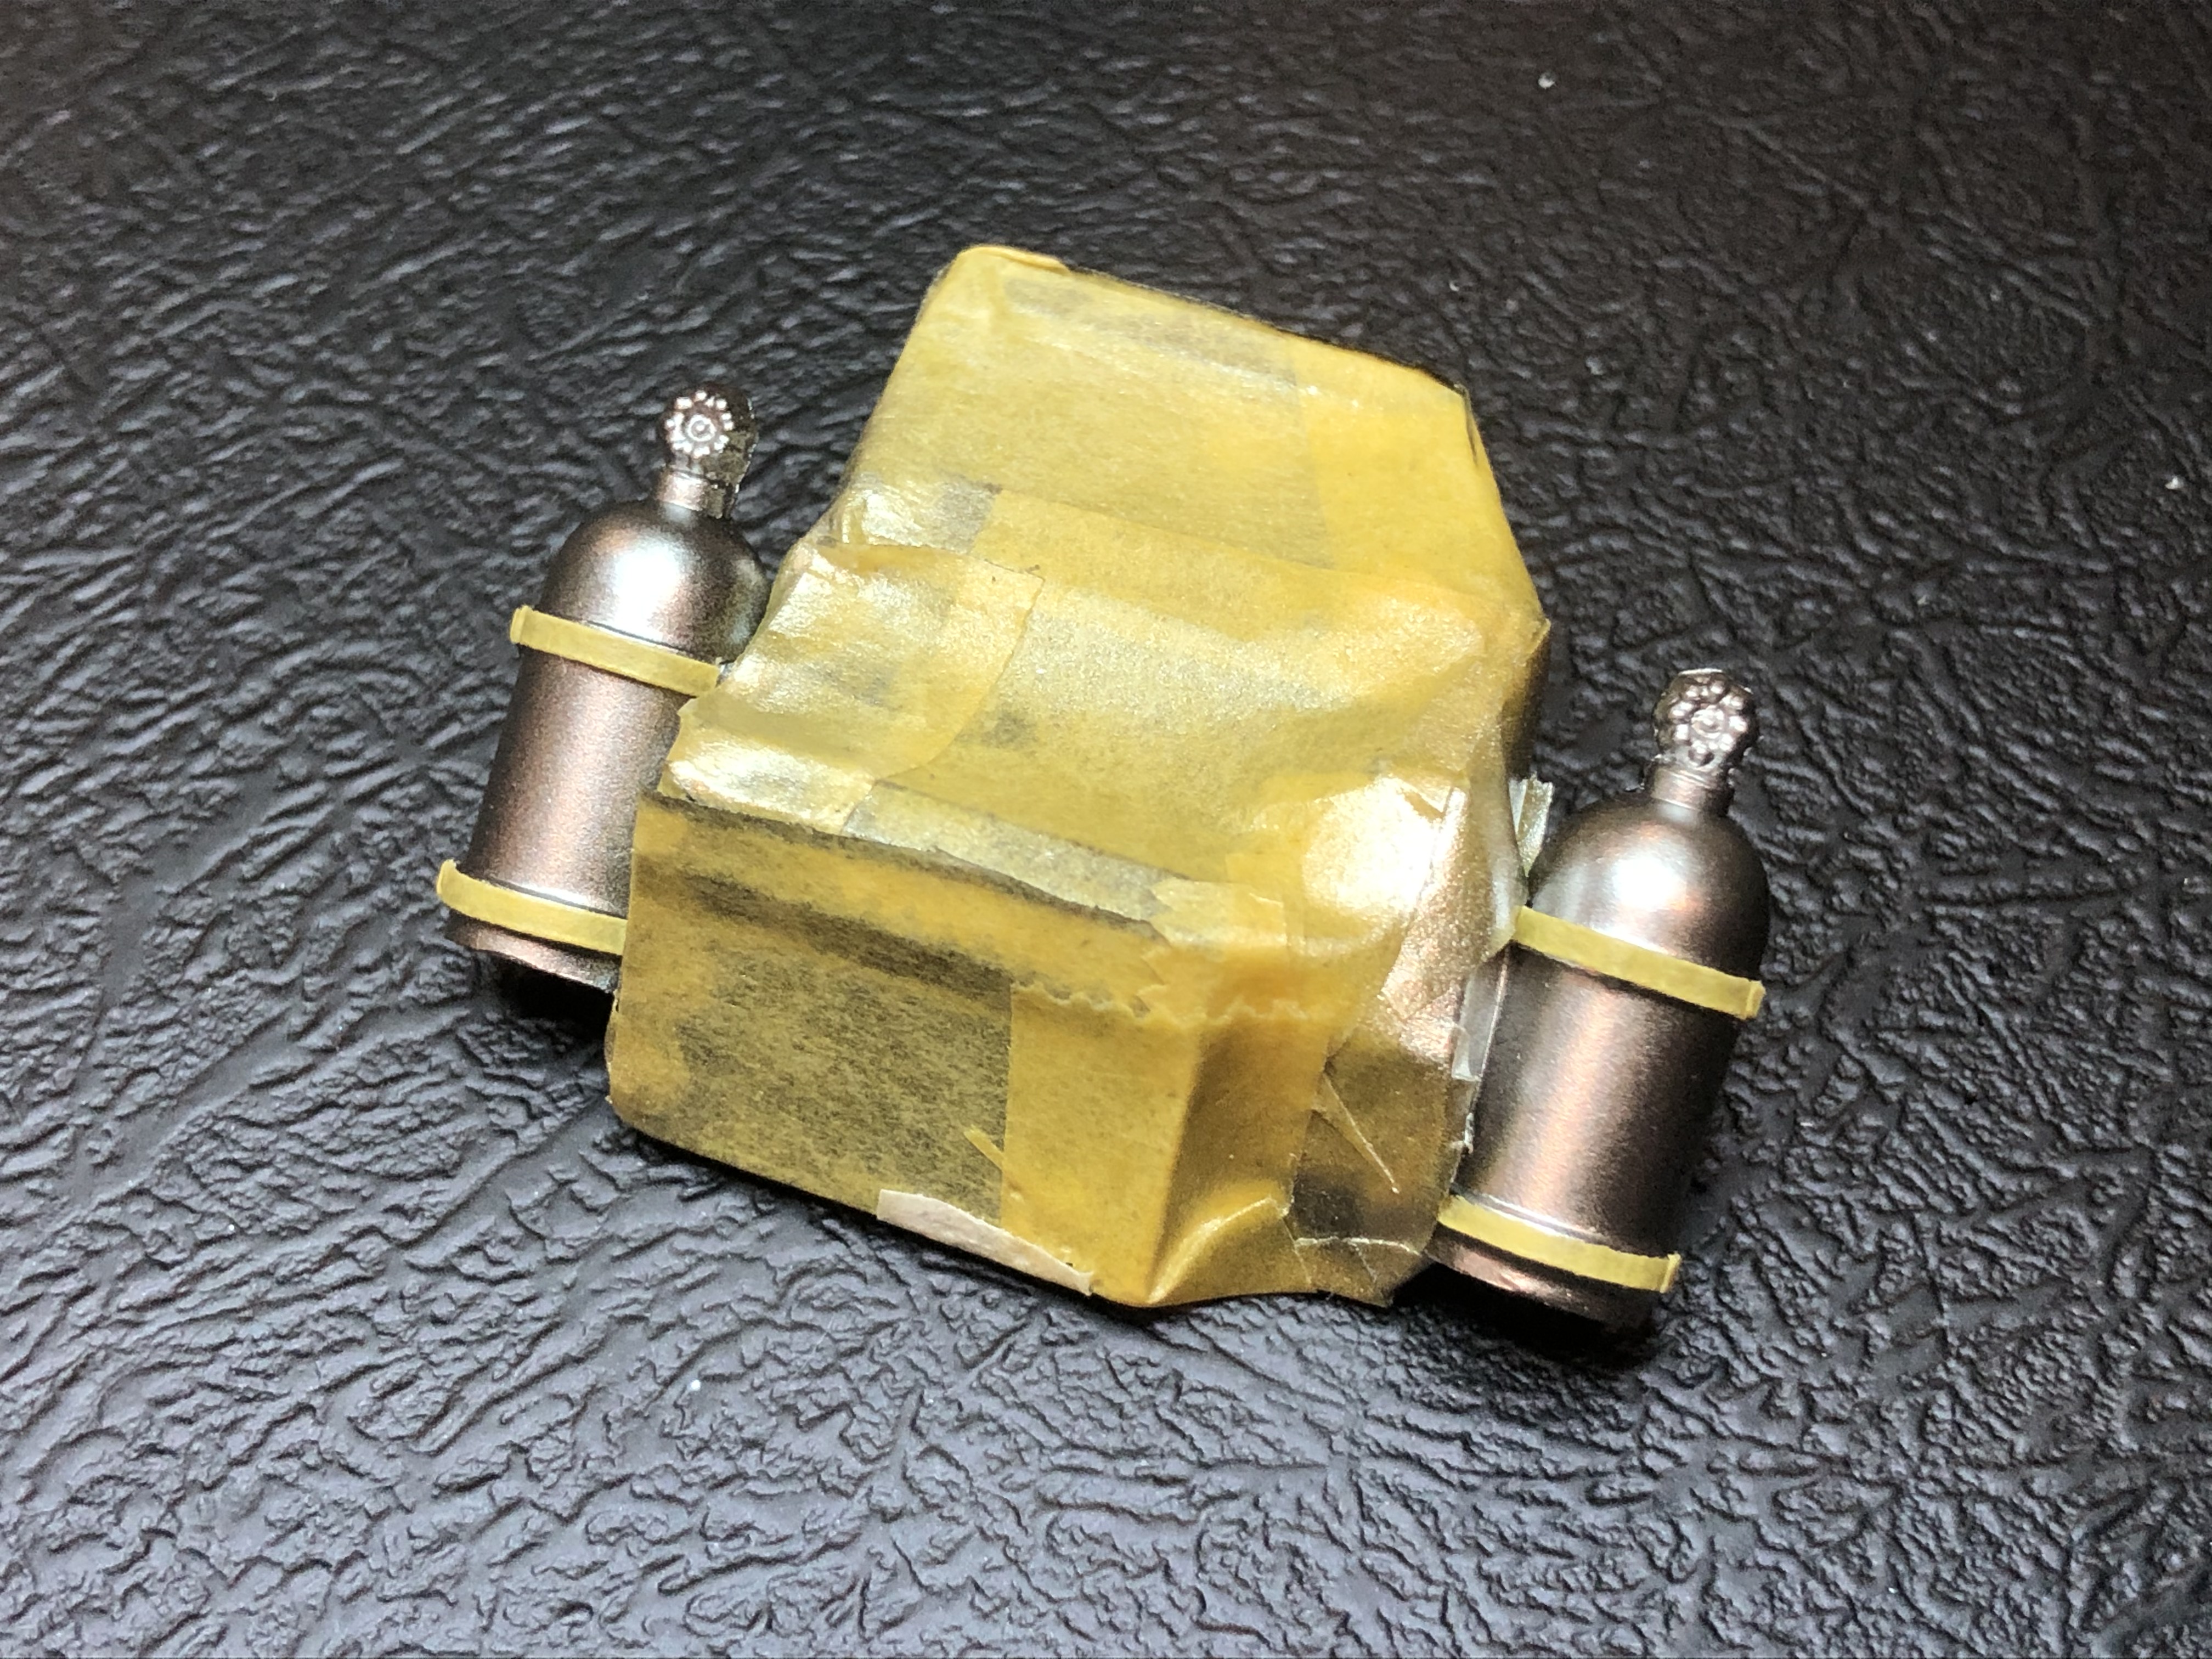
The Nitrous bottles got a shot of SMS Super Silver, then I masked the hold-down straps and shot some SMS Clear Blue.
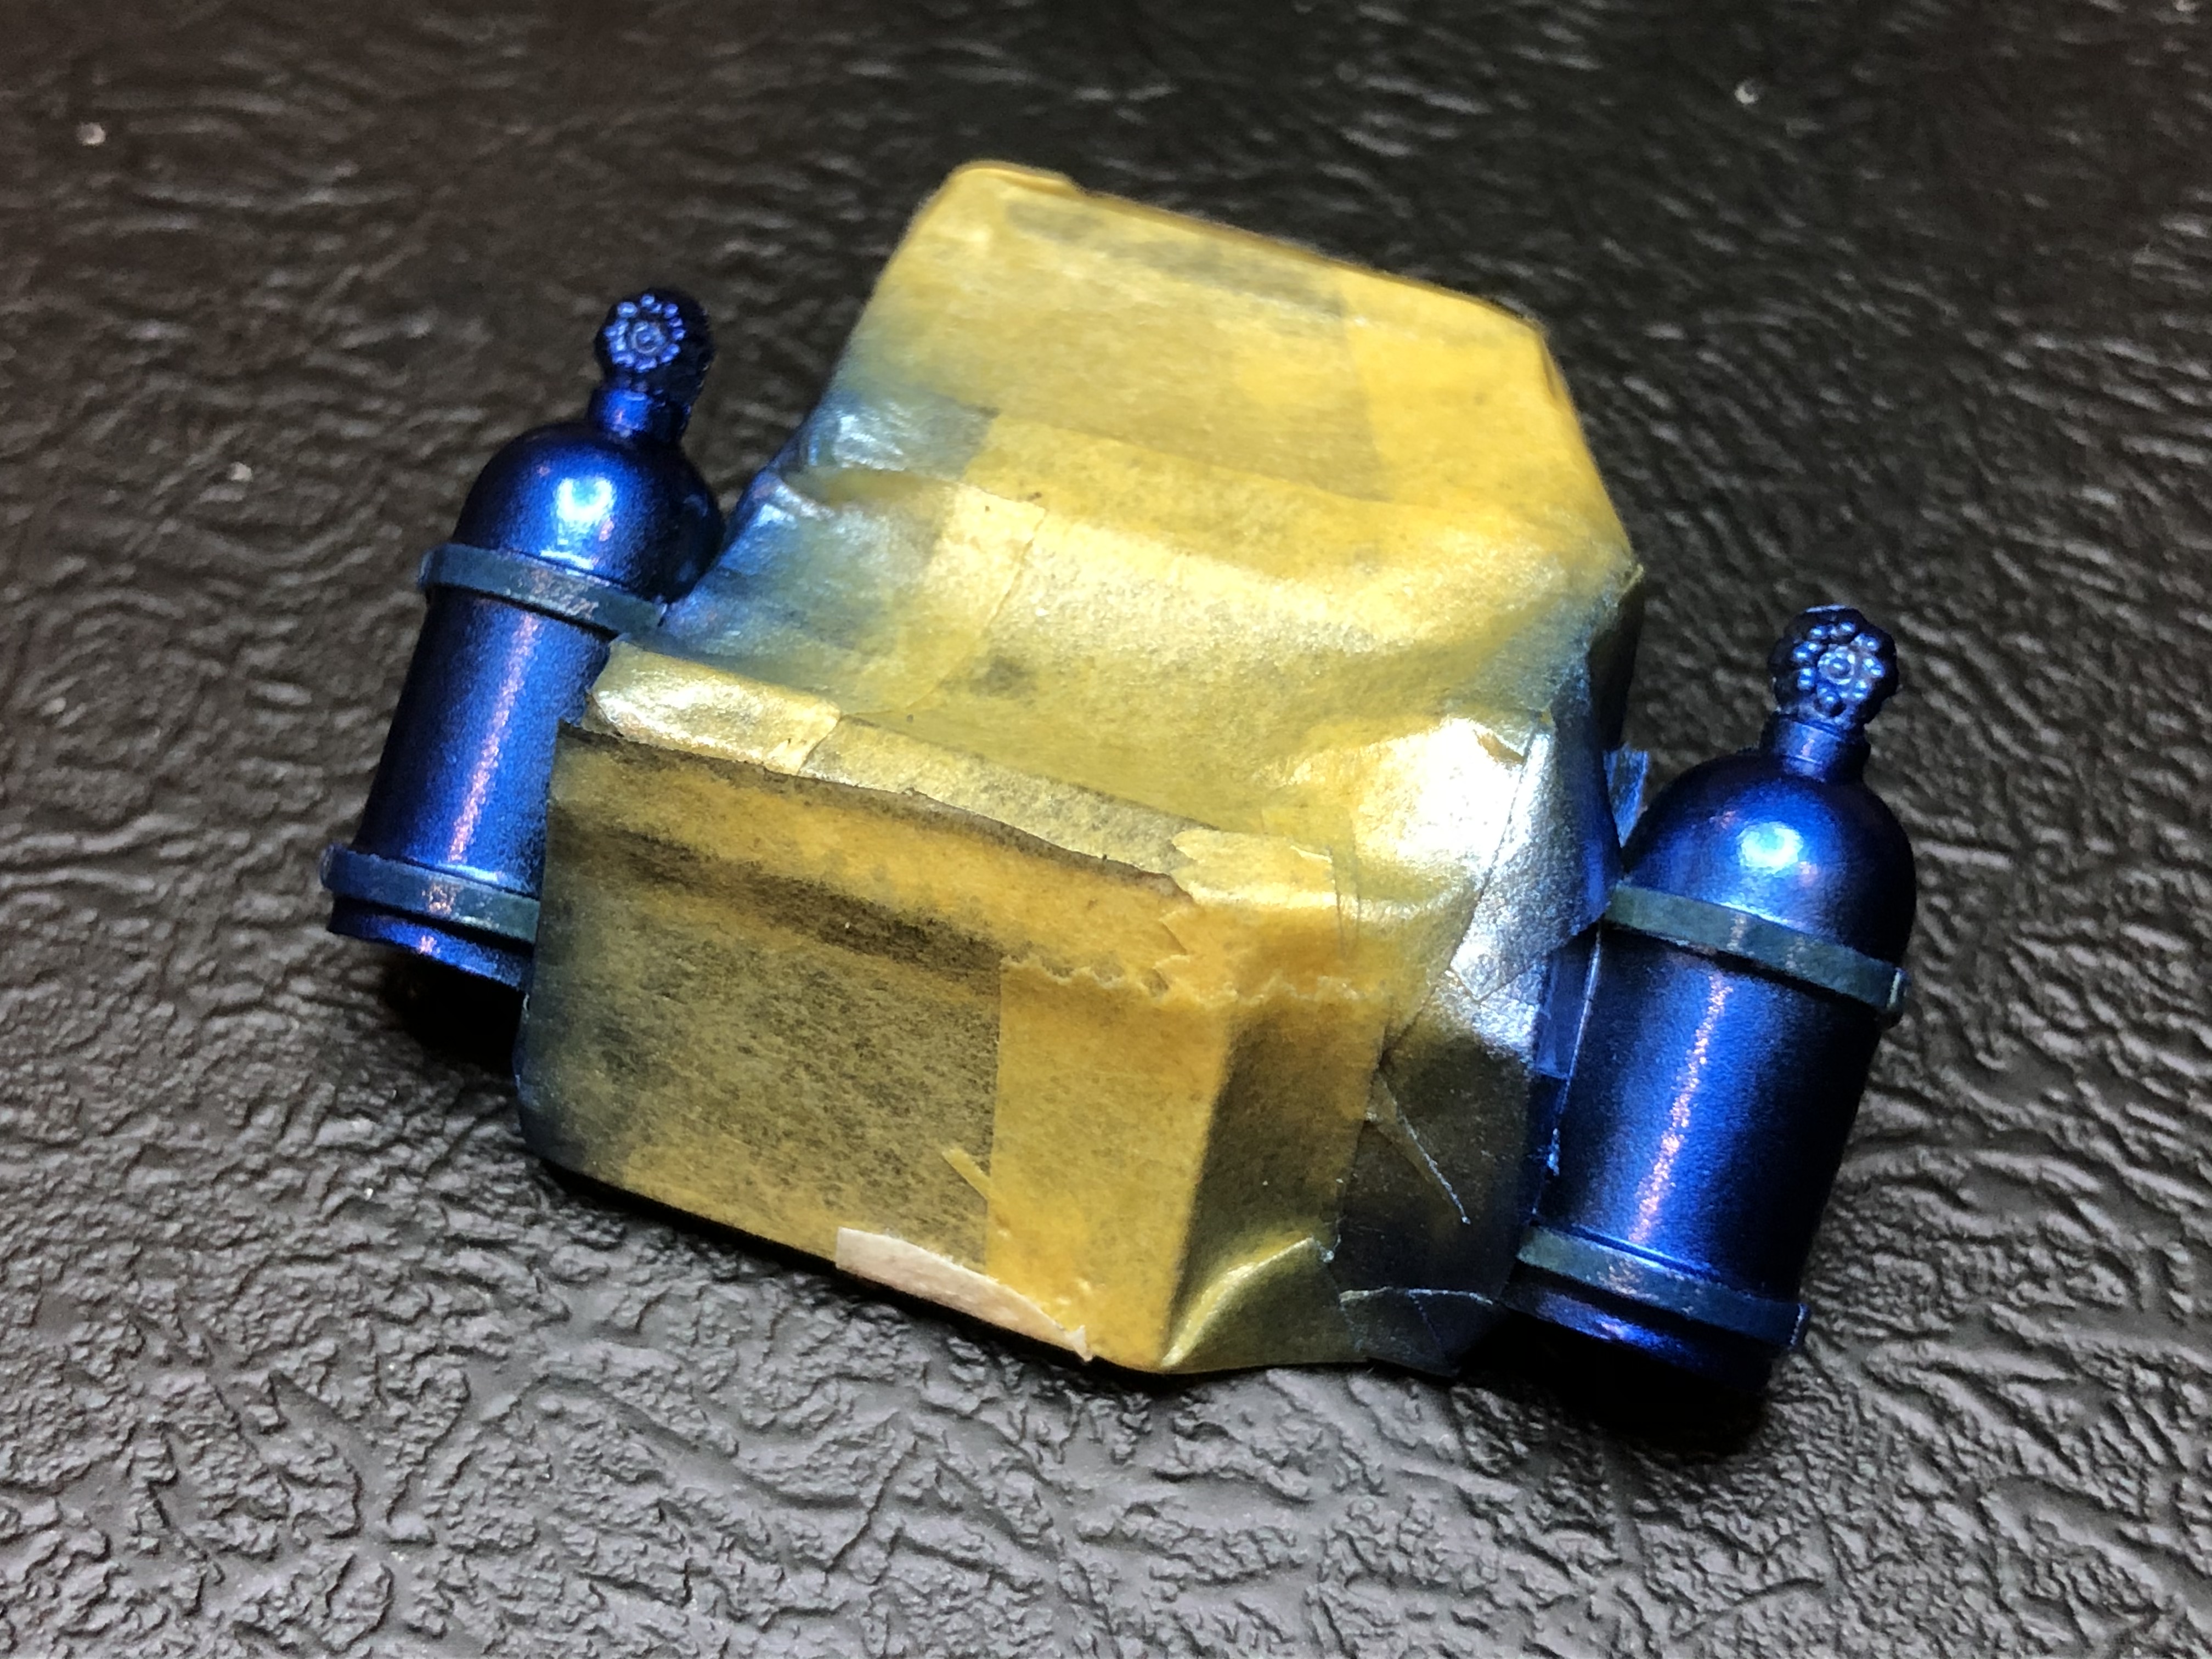
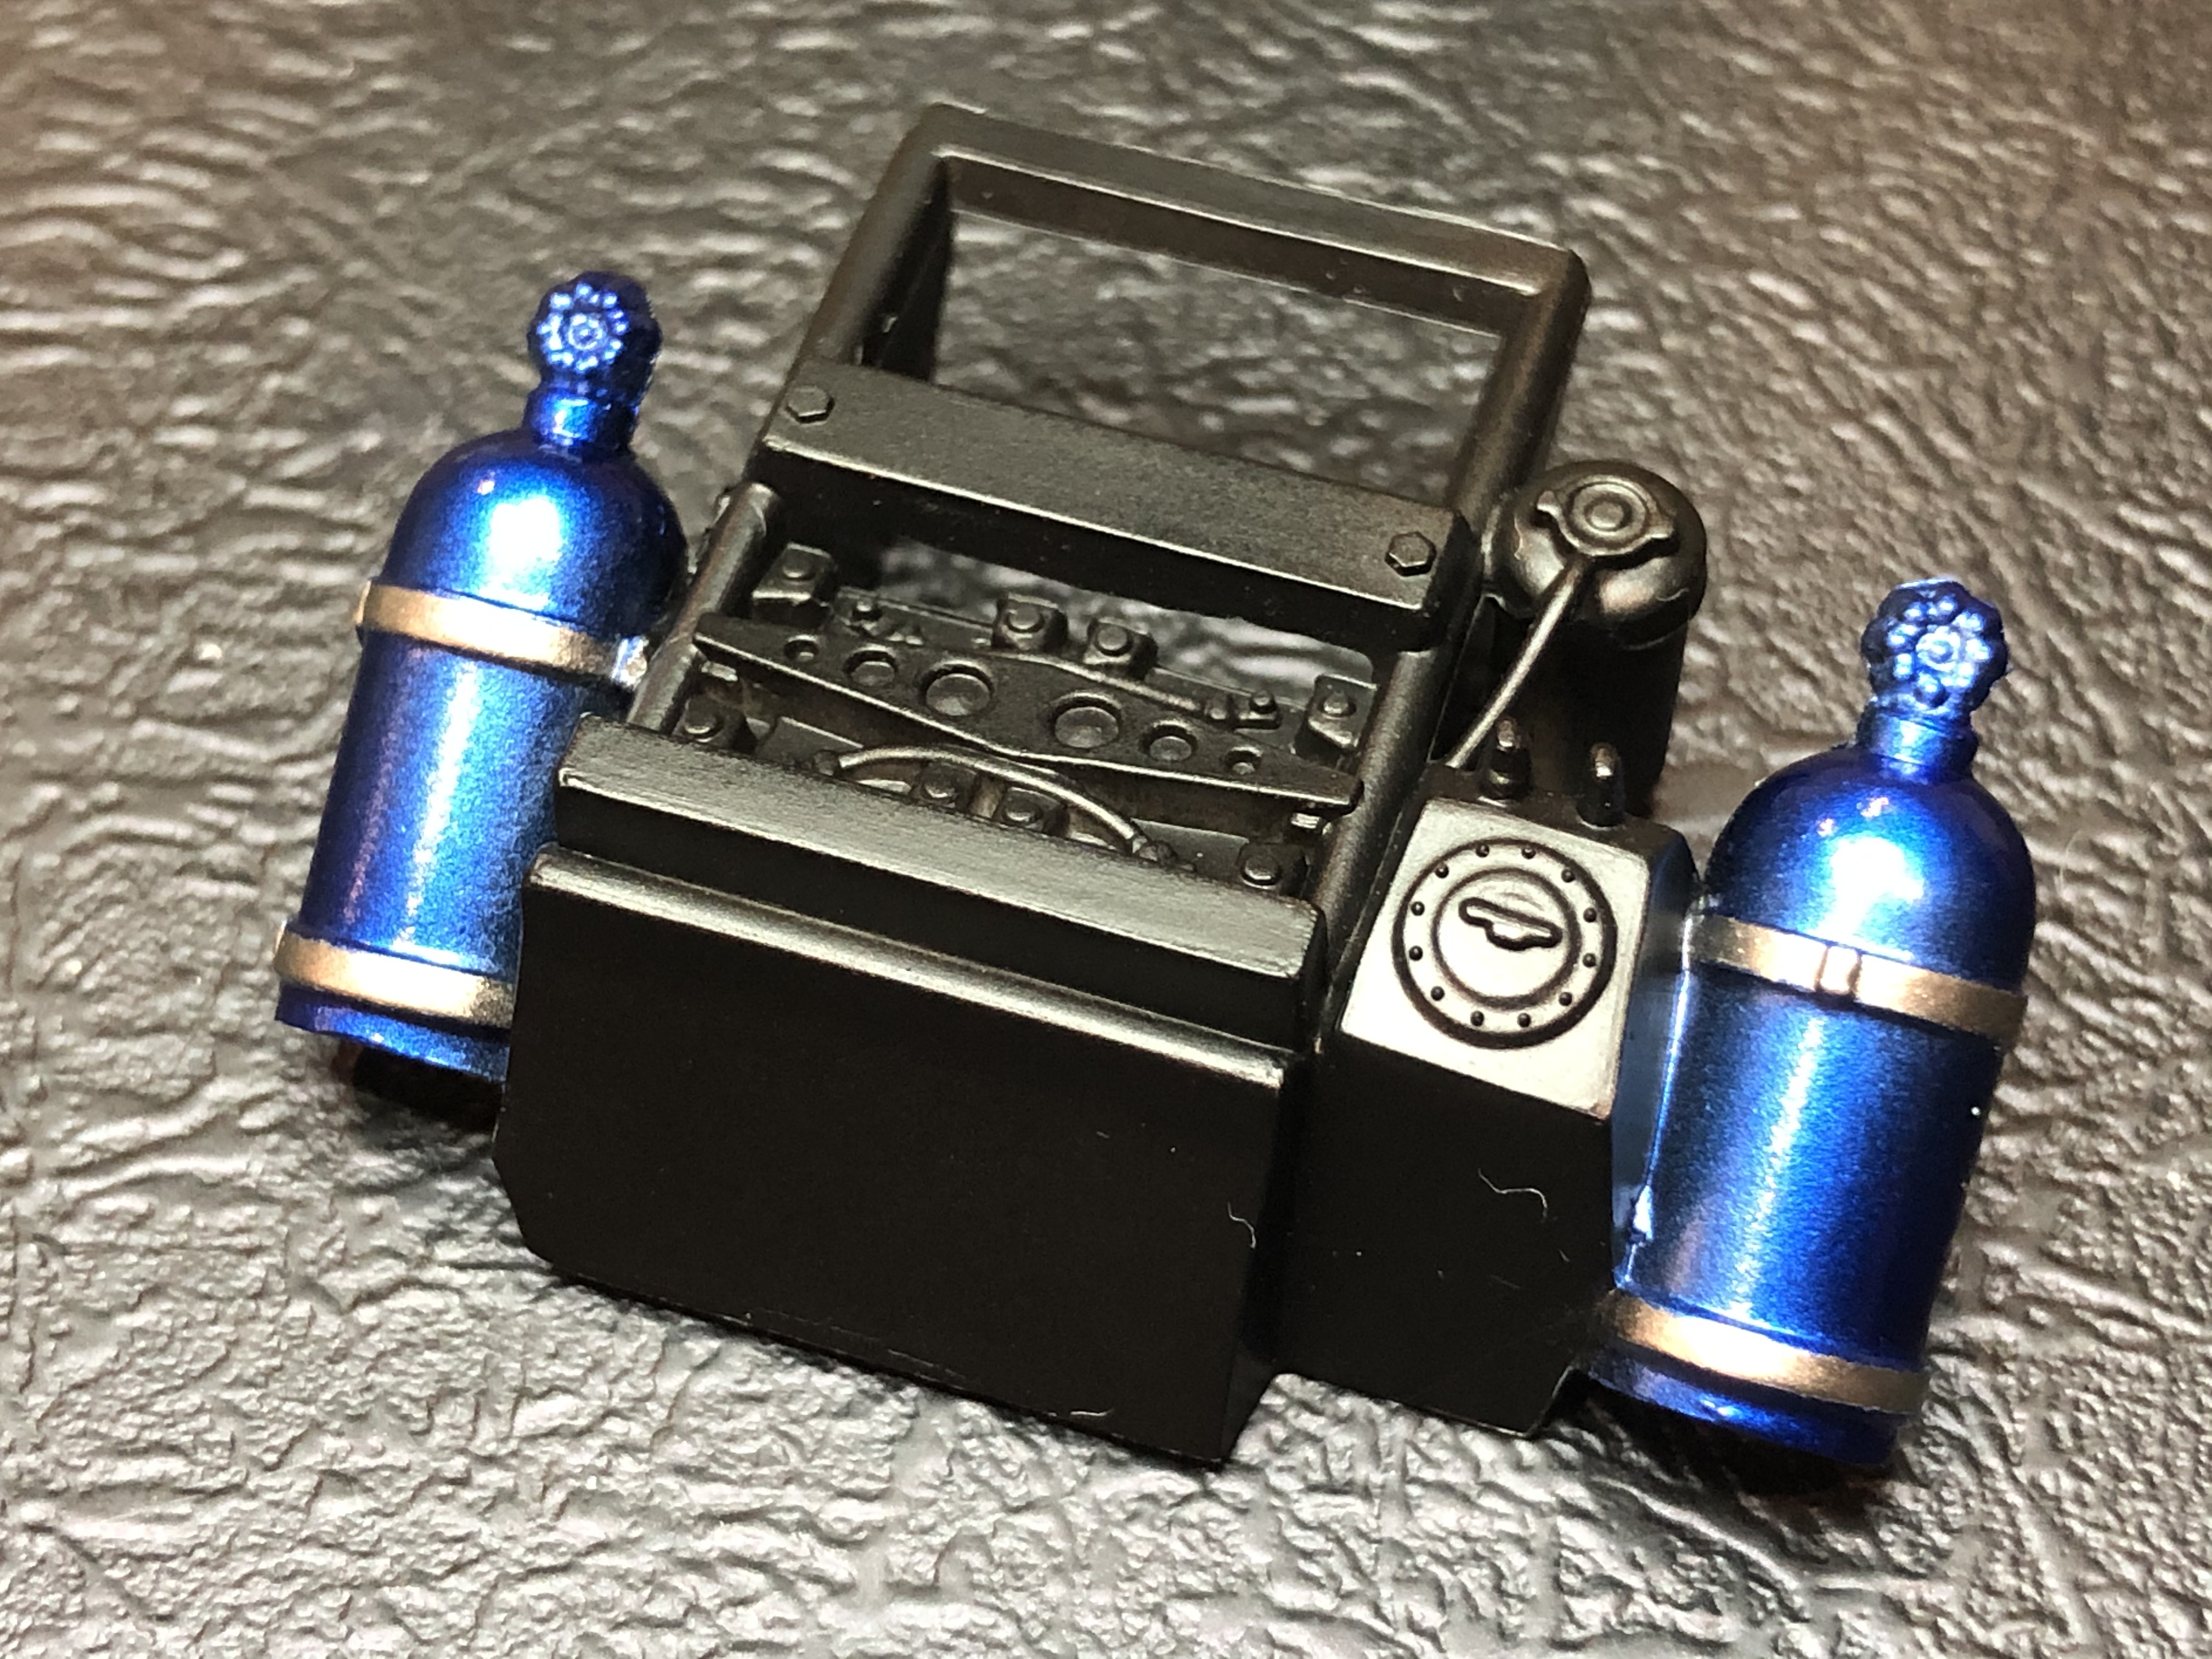
More decals and detail painting to come.
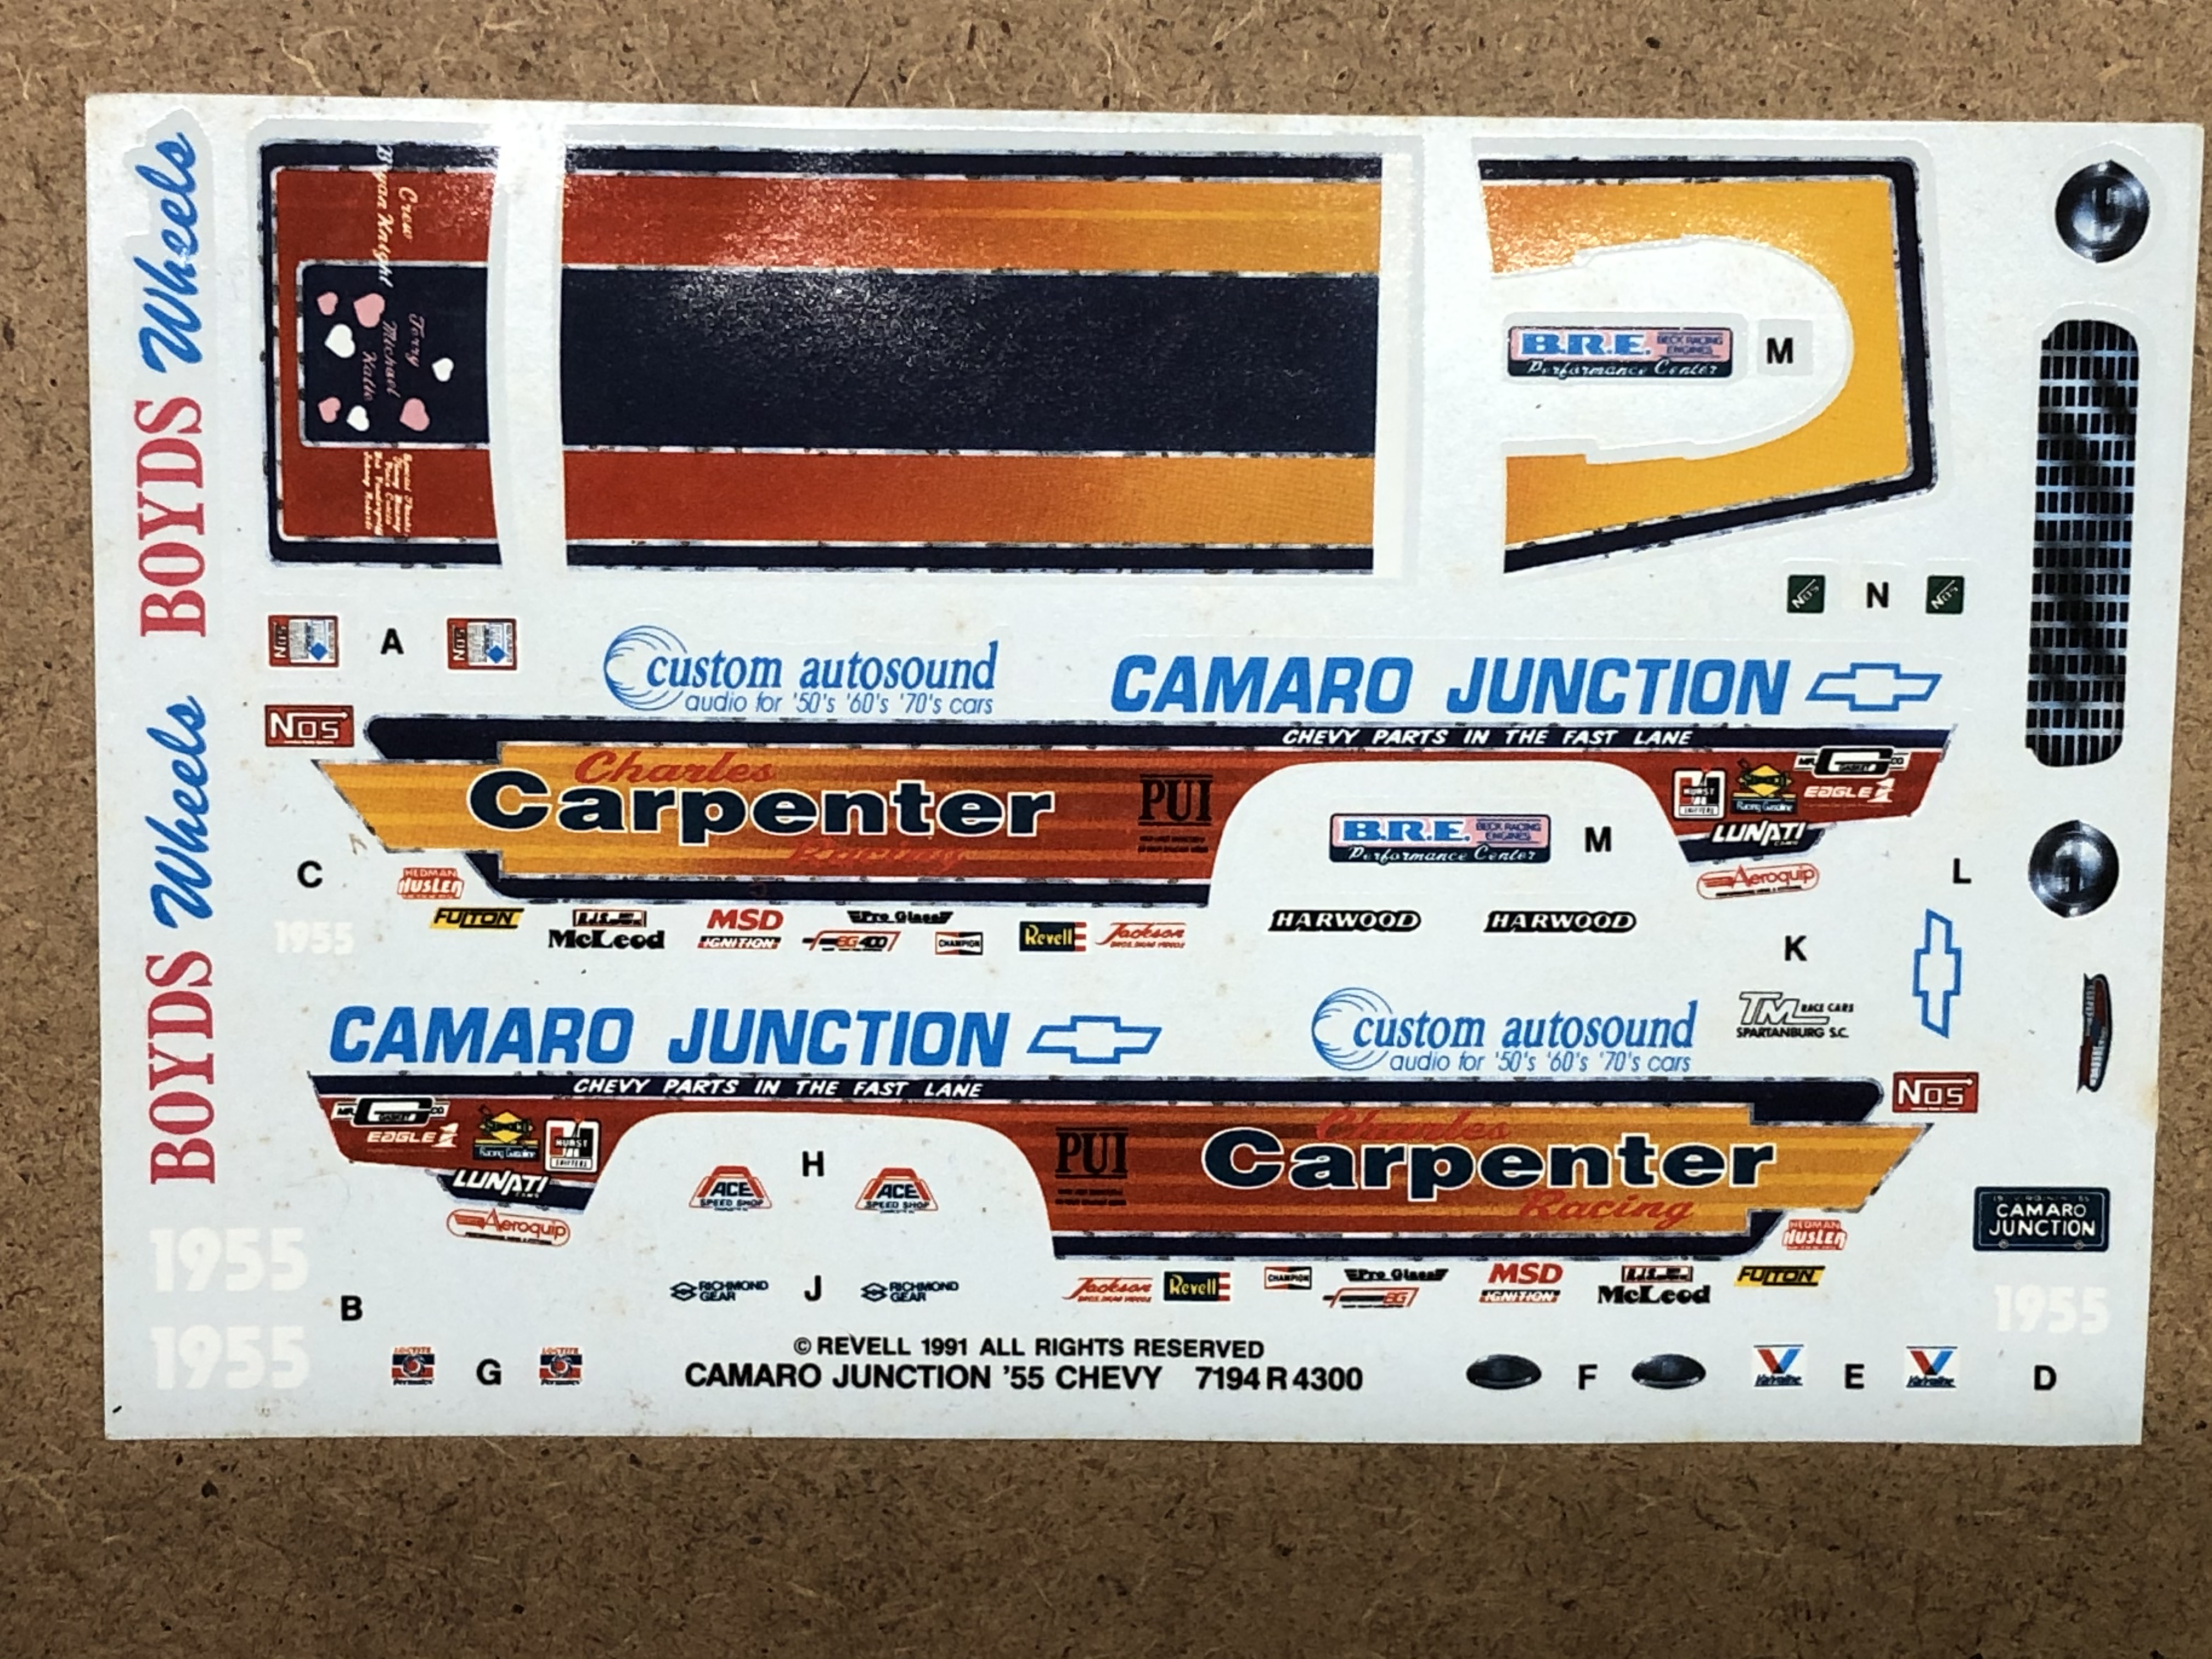
May 24th updateWell the decals are fighting me on this one! They are quite thick and I haven't had any tearing at all, but the carrier film outside of the colour areas is quite wide and wrinkling up, even after a couple of shots of softener. I have performed some delicate surgery with a scalpel blade and cut some of the larger ridges, then reapplied some softener, now I will wait until tomorrow night when I get home from work to see if that makes a difference.
May 25th updateOk, progress report on the decals. Don't look too close, they are a bit ugly, but it is what it is!
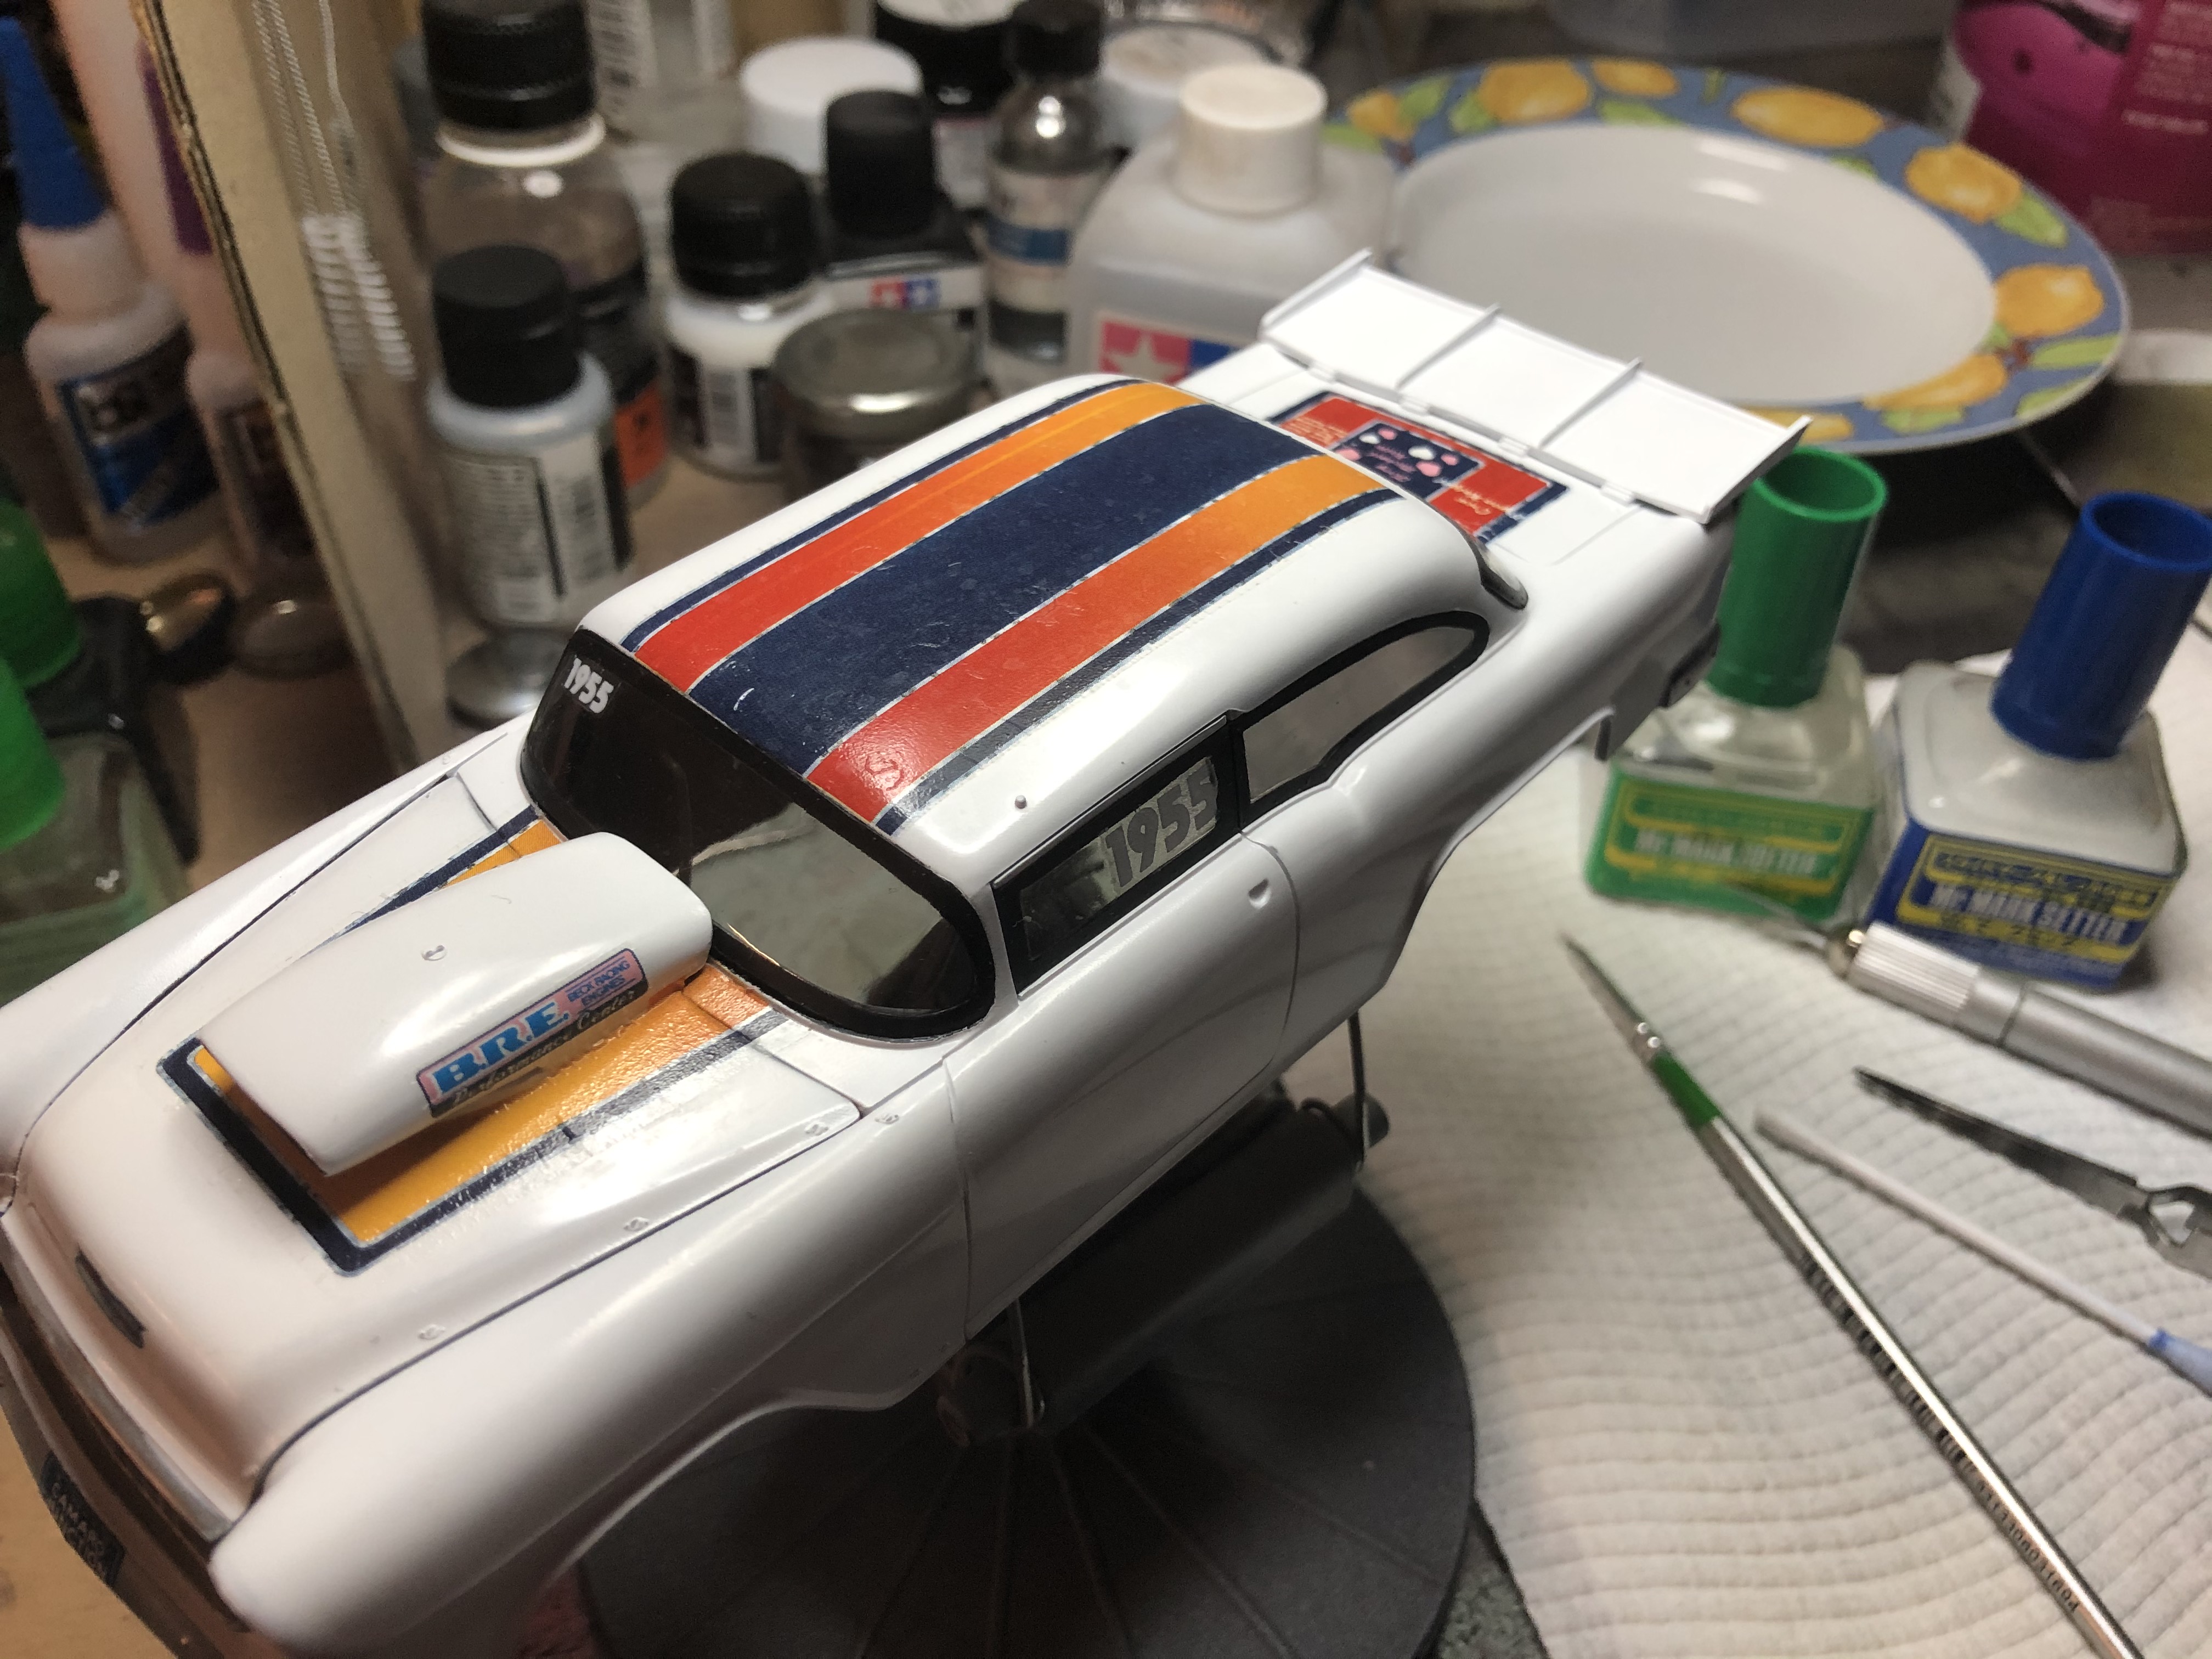
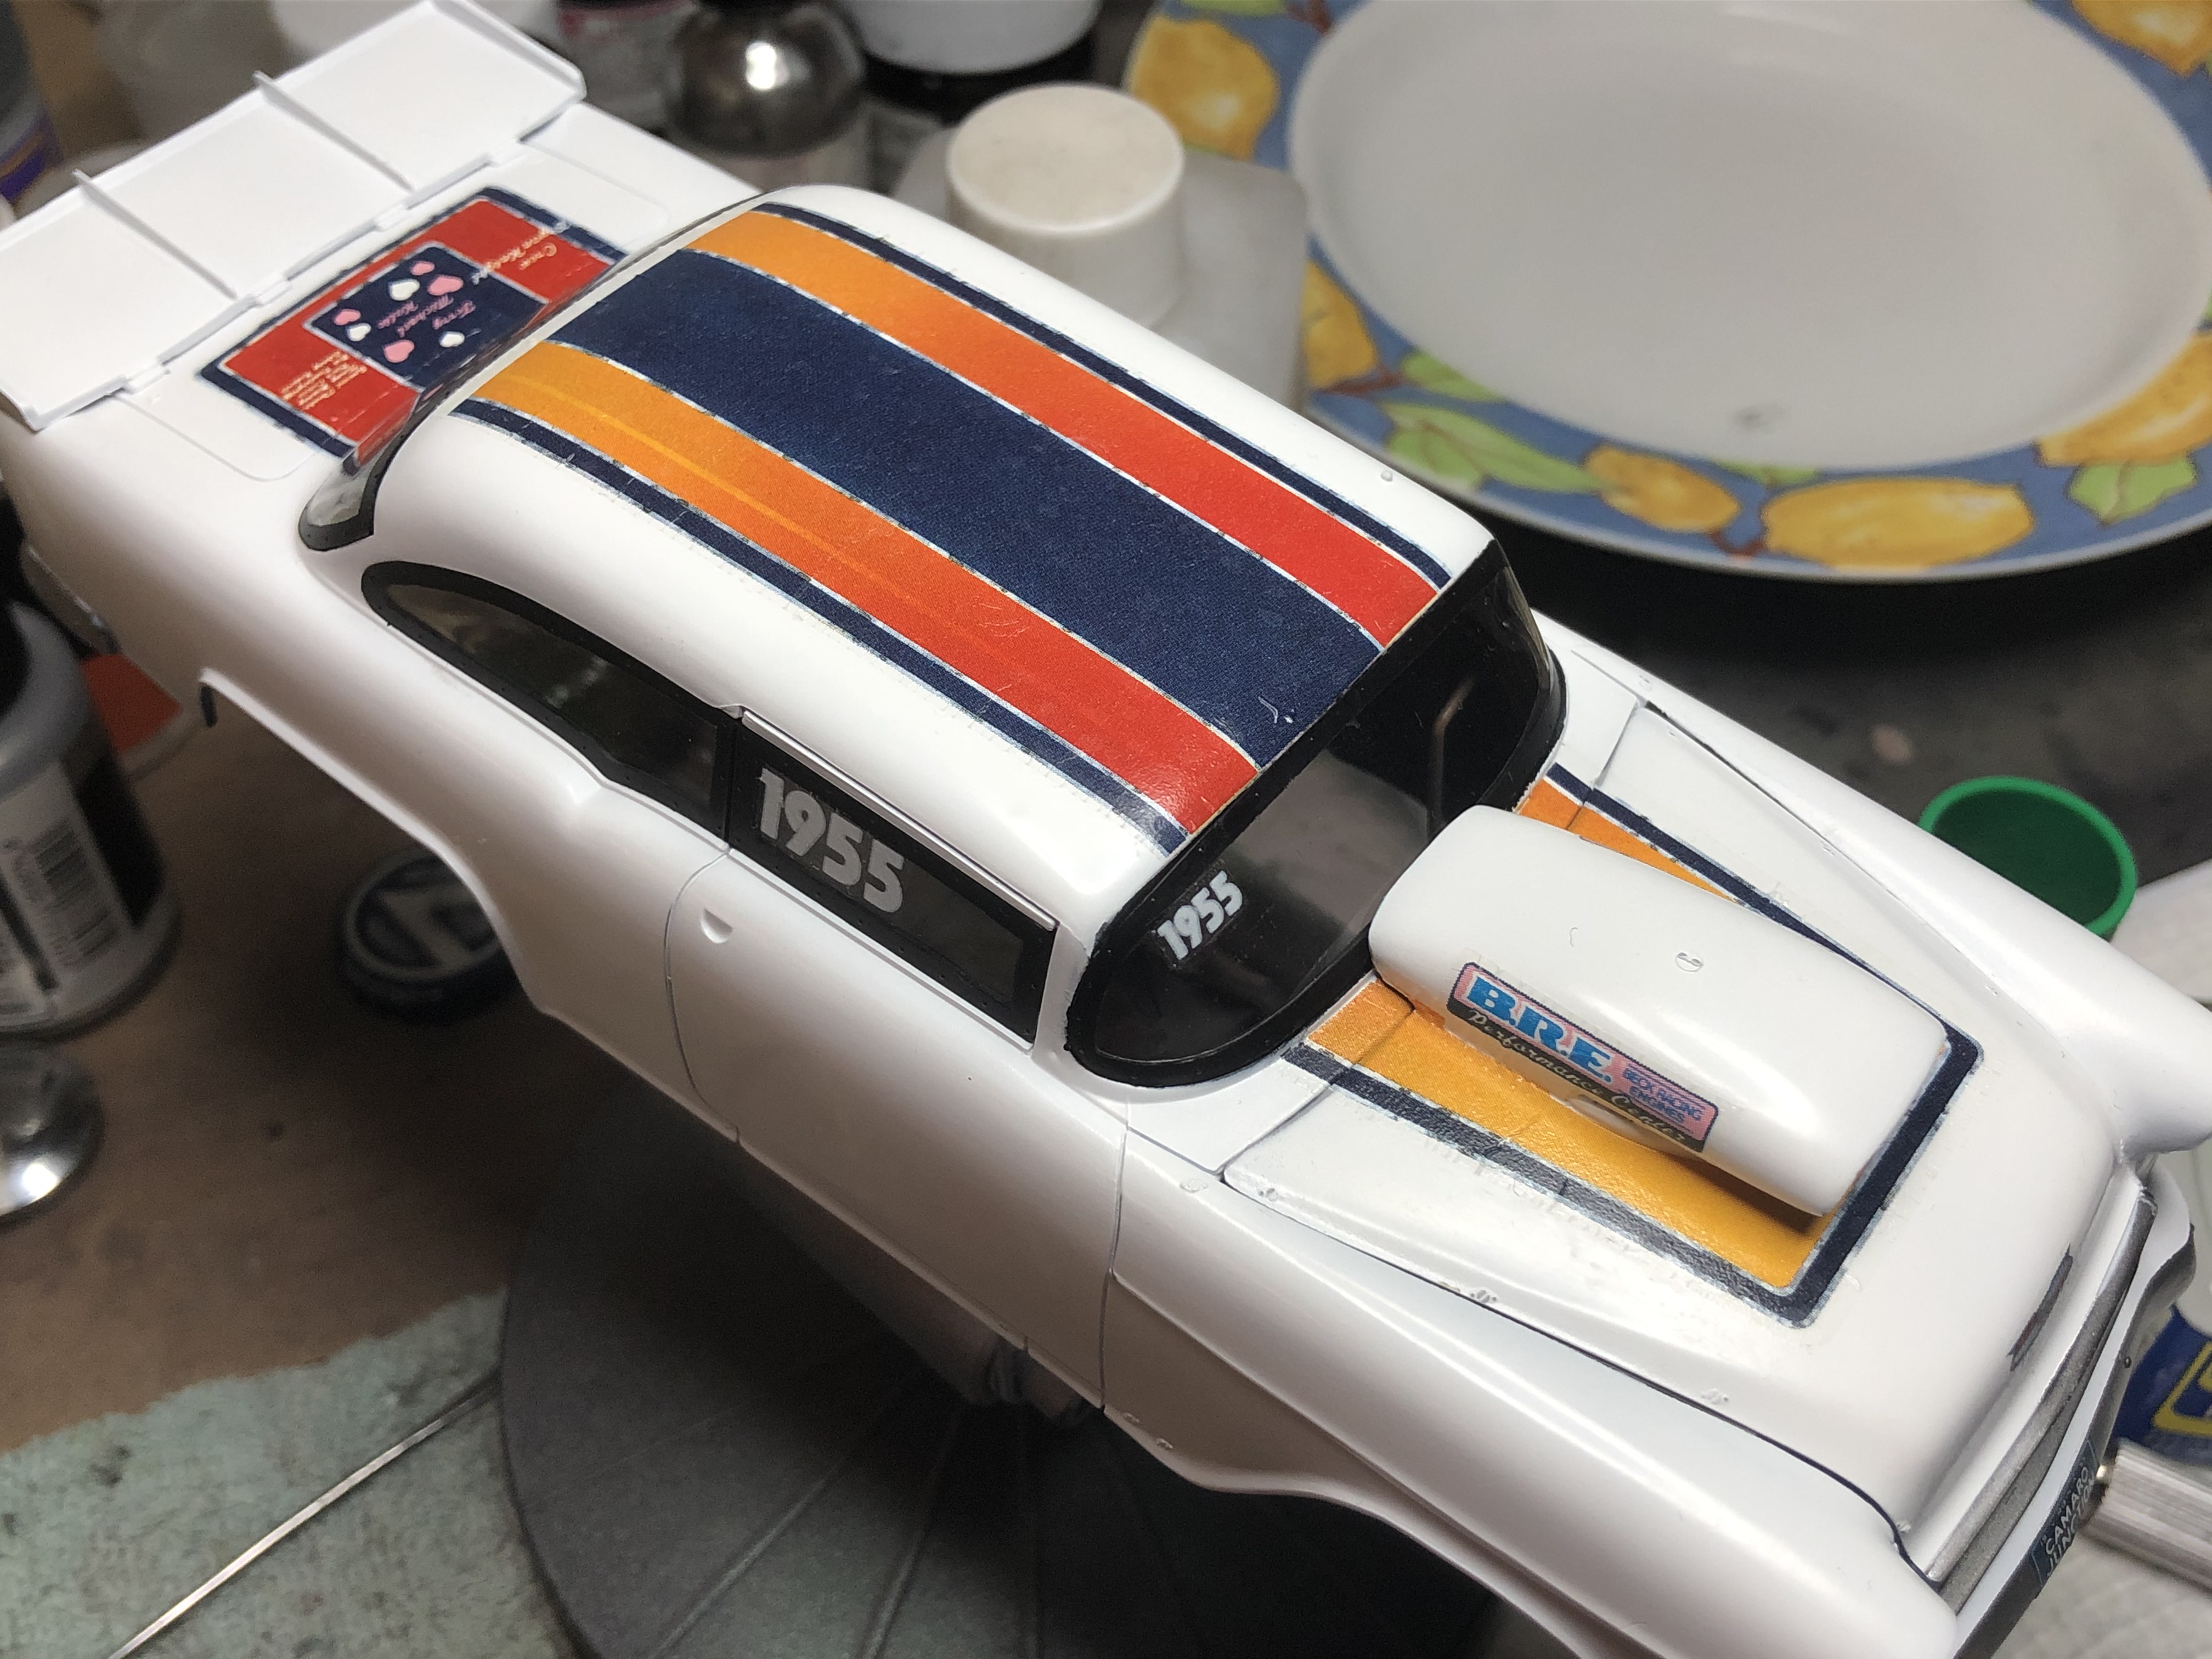
They've just had their third dose of Mr Mark Softer, after that they will just stay as they are!
The decals for the grille, markers and headlights laid down very nicely with the carrier film trimmed very close to the colour.
I decided not to attempt the paint job on the scoop, the orange grades up towards red and the midnight blue/purple I couldn't match.
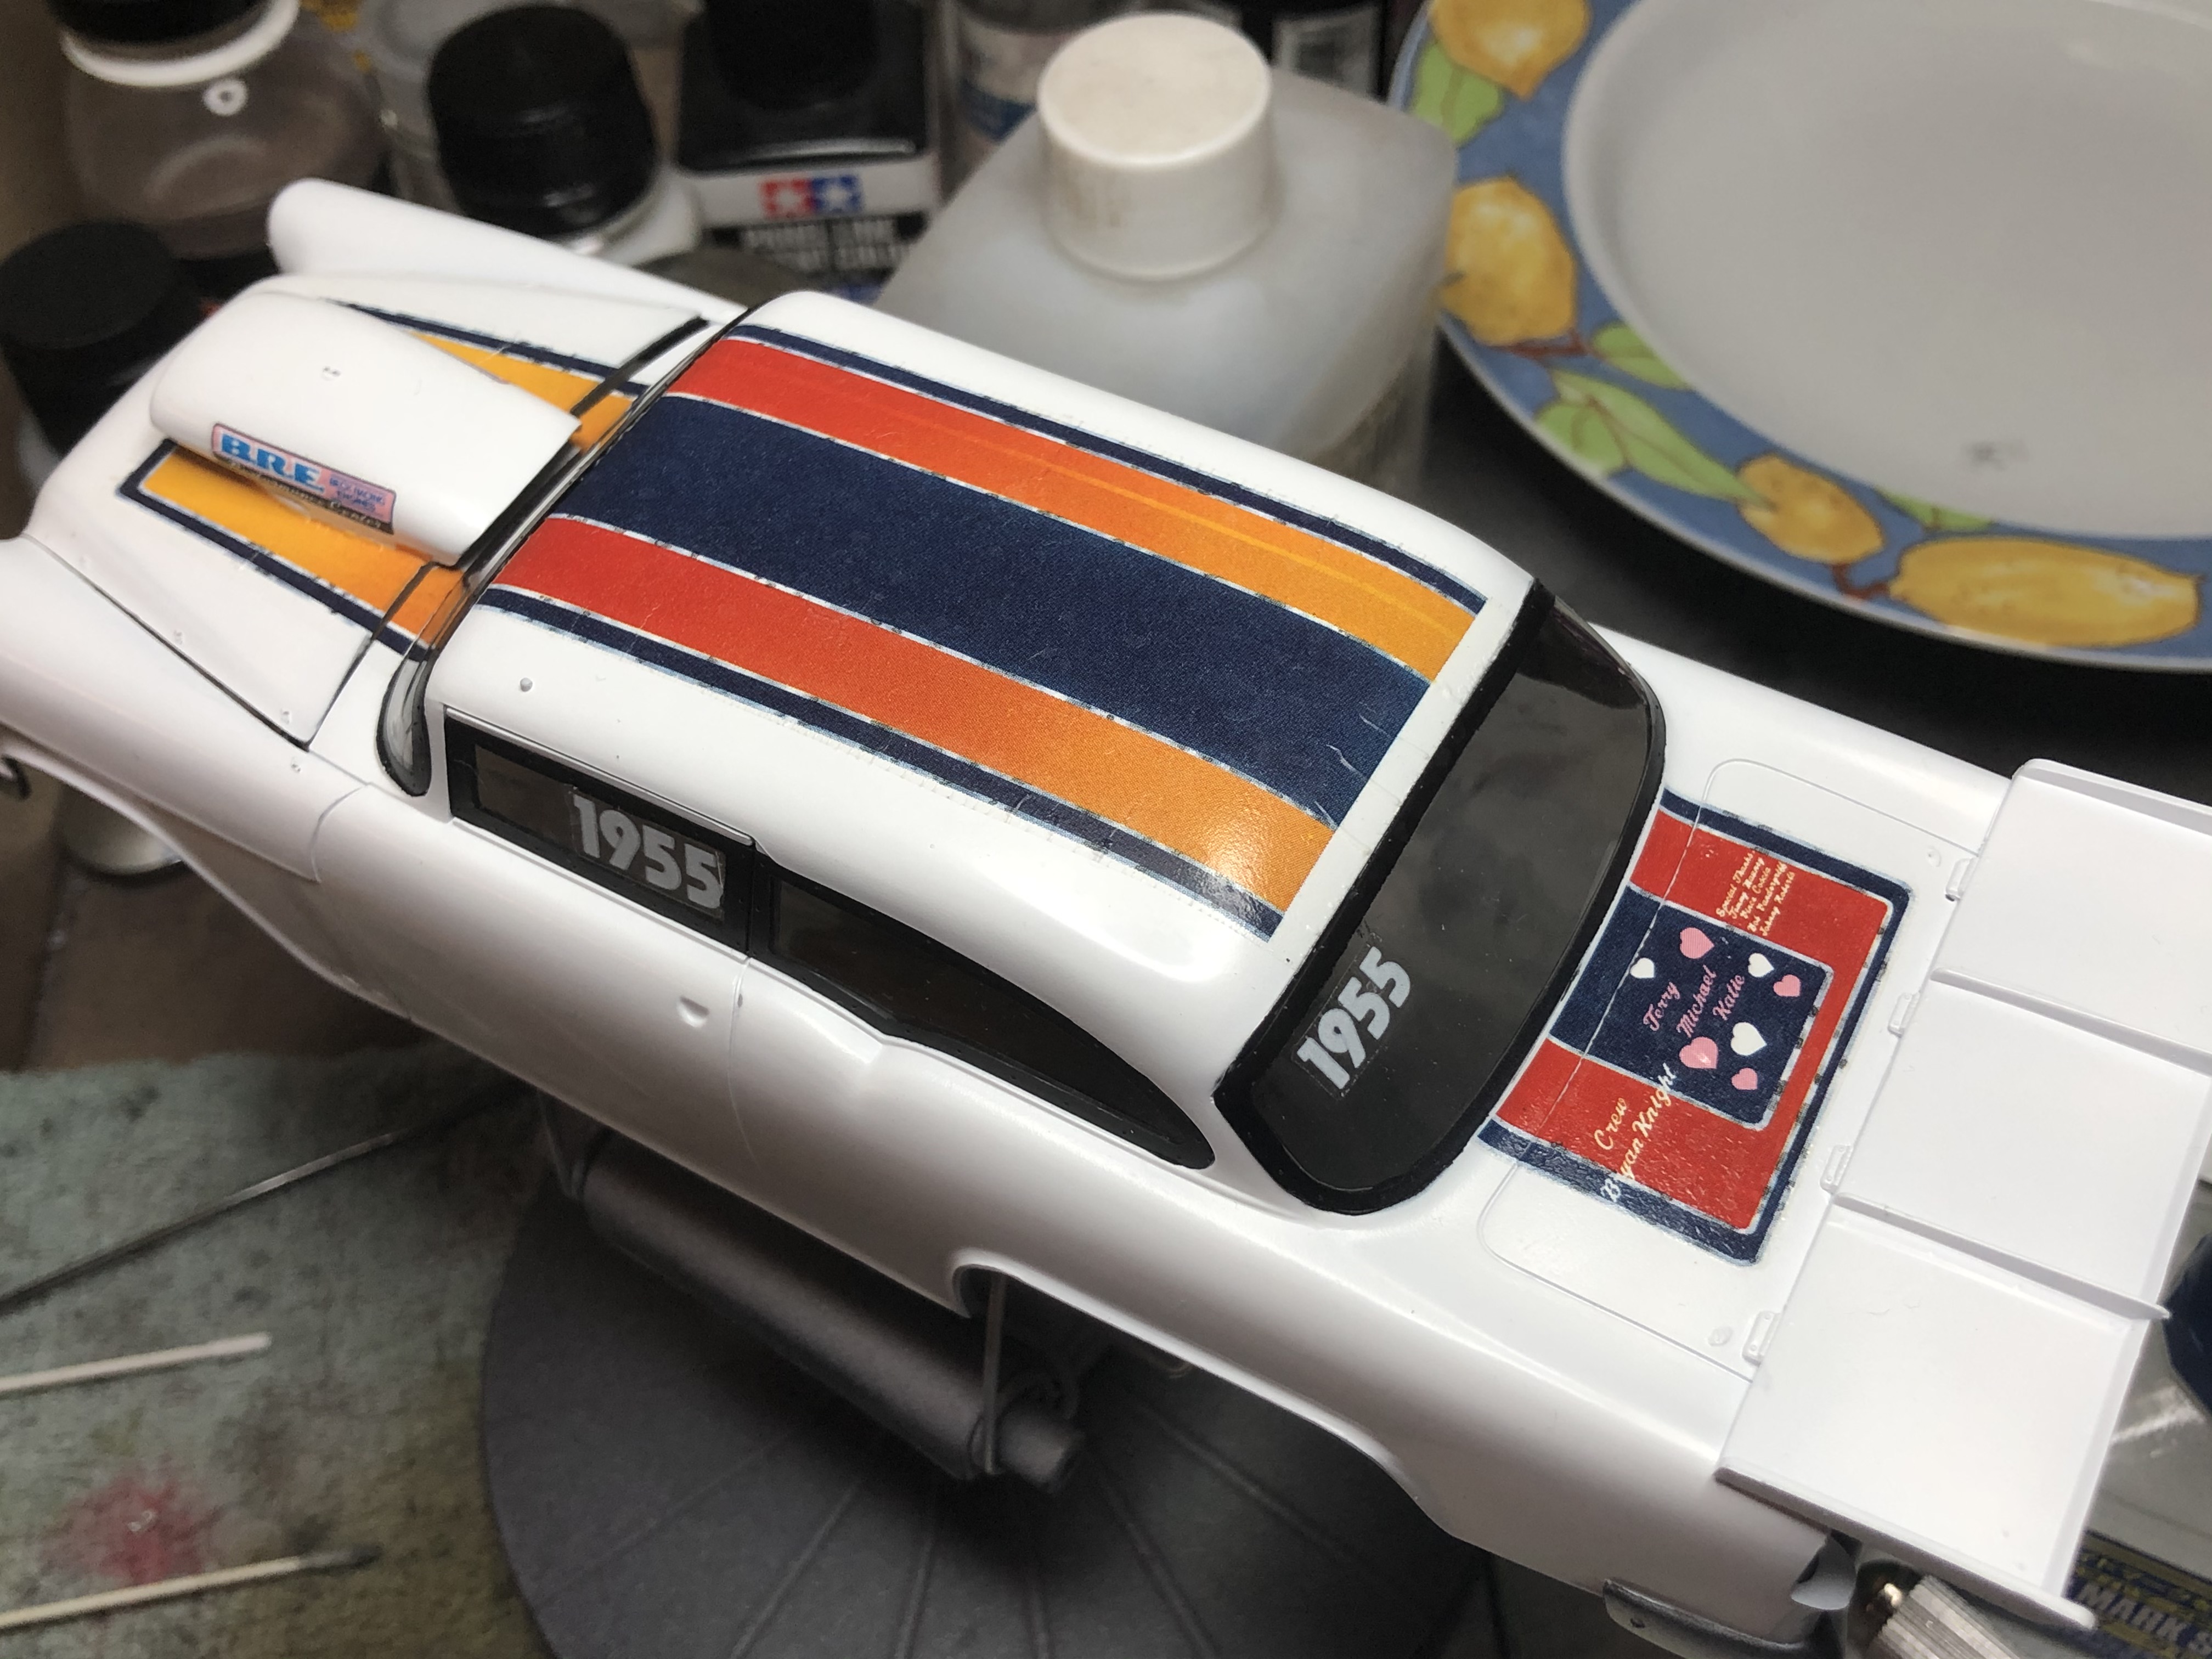
Side decals next.
Thinking about the decal issues, they hit the paint and lock on! I have taken to putting a generous amount of Mr Mark Setter down under the decal first to allow it to move around, but also to have a little time to get it into position.
Thinking about it now, maybe that it what is causing the wrinkling of the edges. I might try the next one just with some water underneath and see how it performs.
Cheers, D