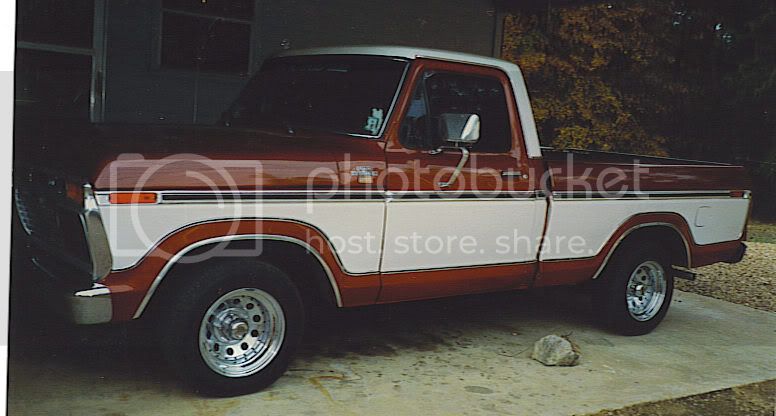
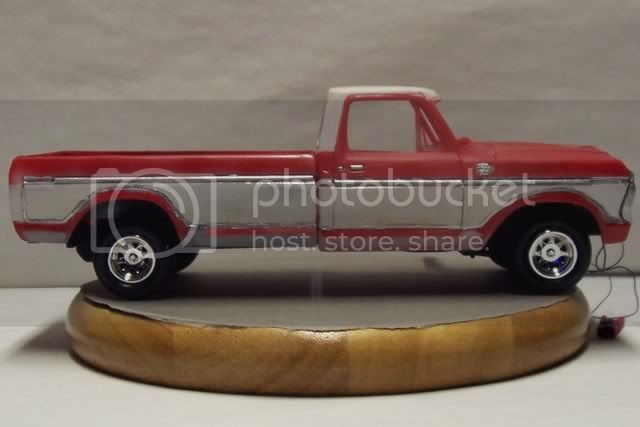
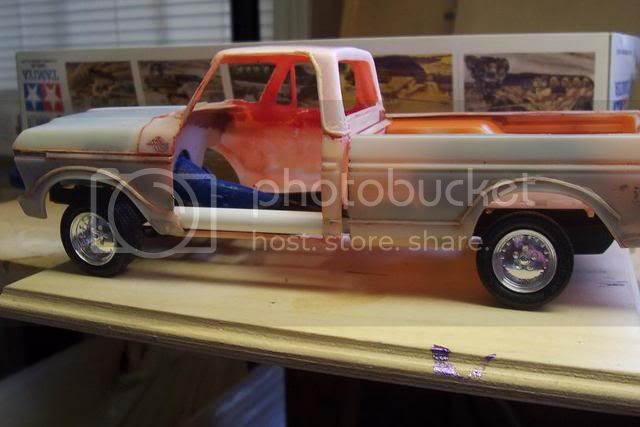
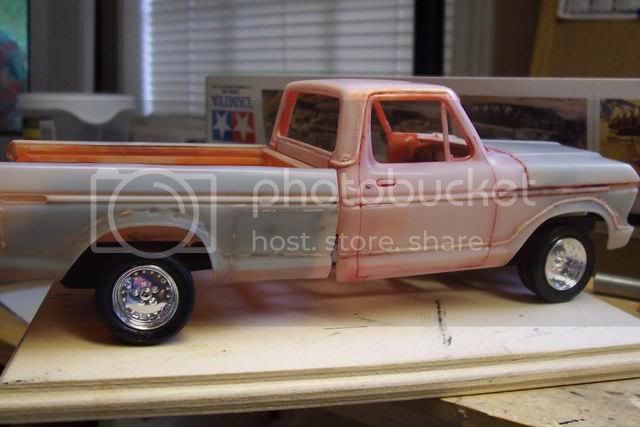
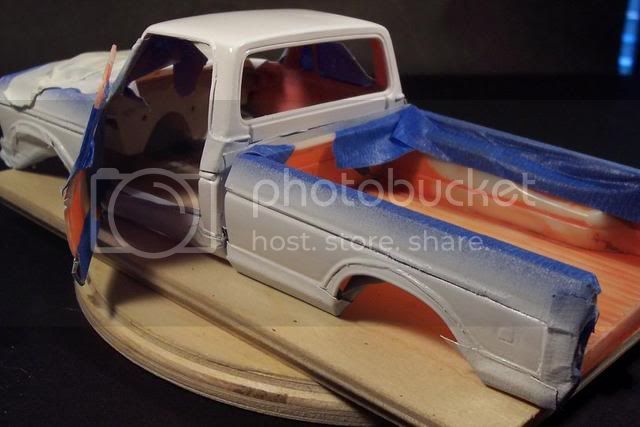
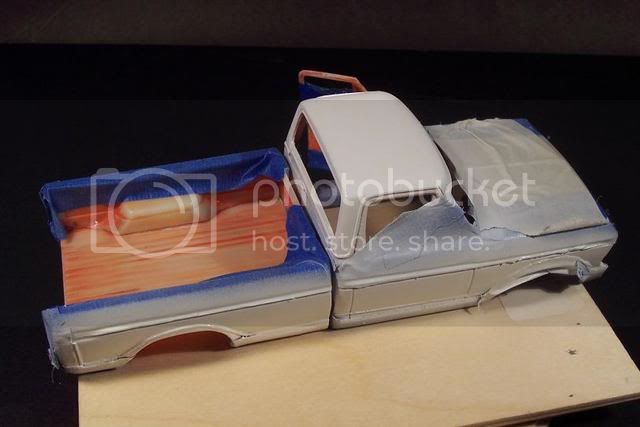
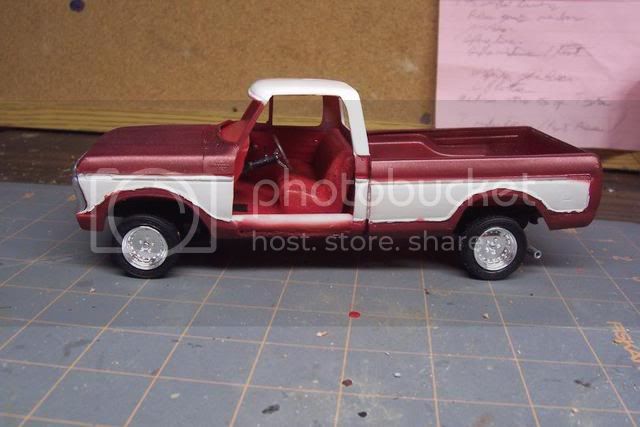
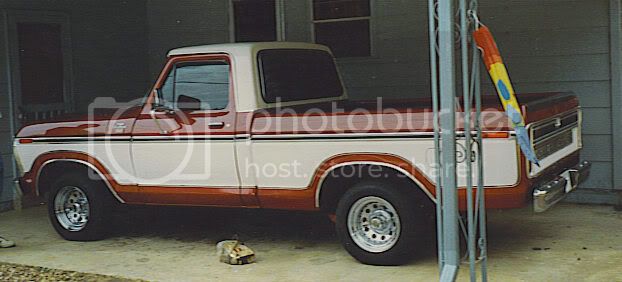
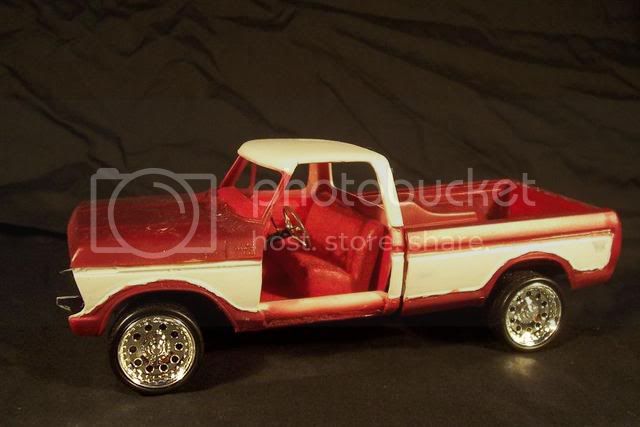
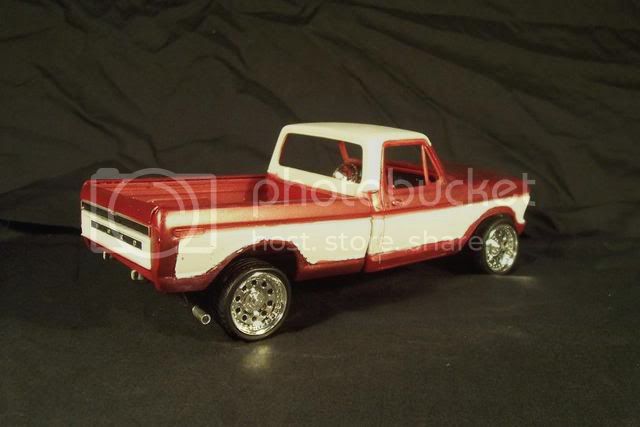
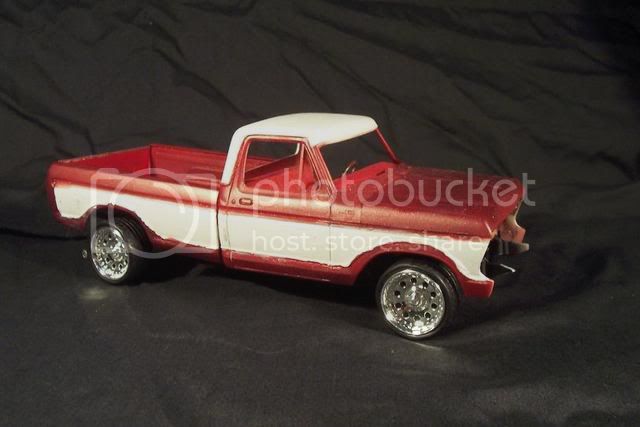
Looks like it is coming along nicely. What technique did you use to make the trim strip along the wheel wells and lower body? I know that the kit doesn't have them, and need to replicate the same moulding on my AMT 1979 Bronco as my 1:1 scale '79 Bronco had the XLT package too.
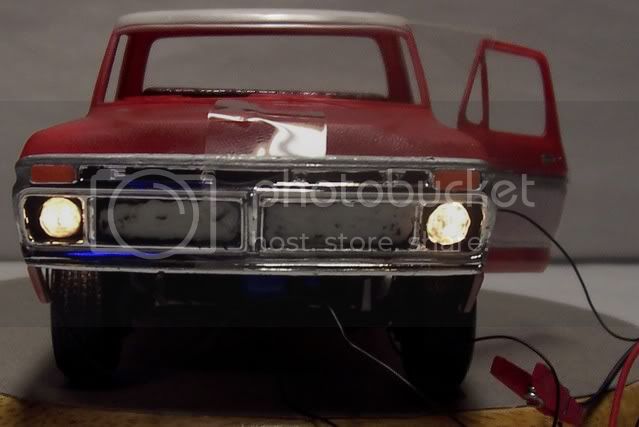
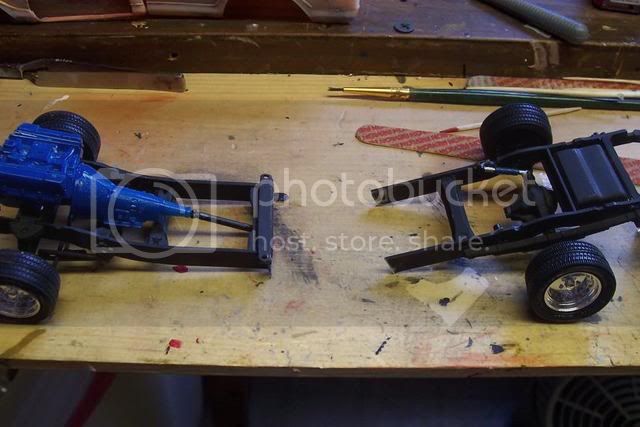
Looking forward to seeing more pics.
Dave (first post in 9 months, it's good to be back!)