In the late 1960s and early 1970s the Australian Army procured a number of Diamond Reo prime-movers and Fruehauff flatbed trailers, primarily for use in Vietnam. They were to replace the existing WWII-vintage truck tractors that were simply beyond economical repair and had atrocious servicability rates.
There is one of these Diamond Reo / Fruehauff combinations at the Army Museum, Bandiana, here in Victoria. It was a visit to the museum and the coincidental re-release of the AMT trailer that provided the spark of inspiration.
Here's what they looked like in SEA service.
The Kits

The kits
The original moulds for these two date back many more years than this modeller would care to remember. They are typical of AMT of the era, being fairly crude compared to modern standards, but quite outstanding in their day. They are also the only game in town if you want to do early American iron.
Modifications
Both kits will need some modification to represent the Australian trucks more-or-less accurately.
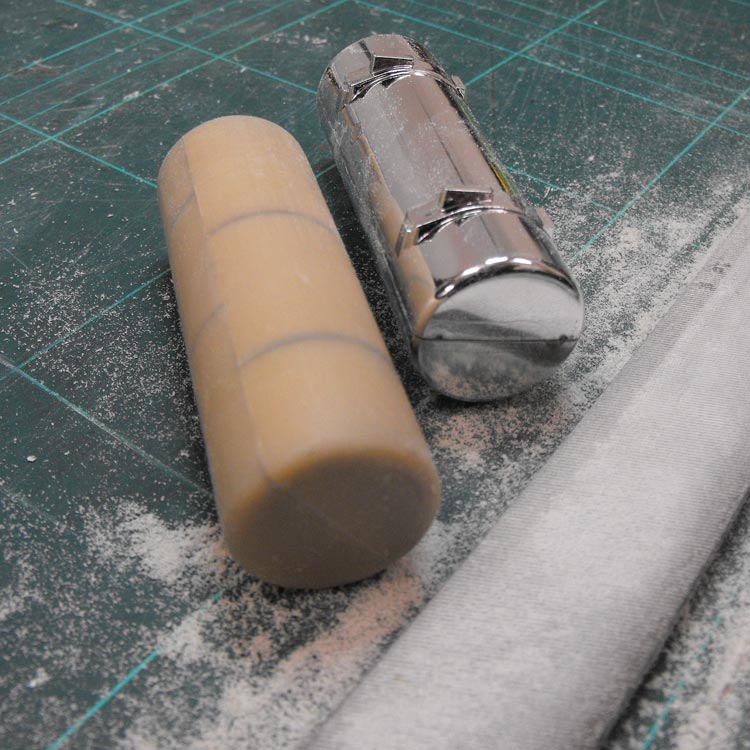
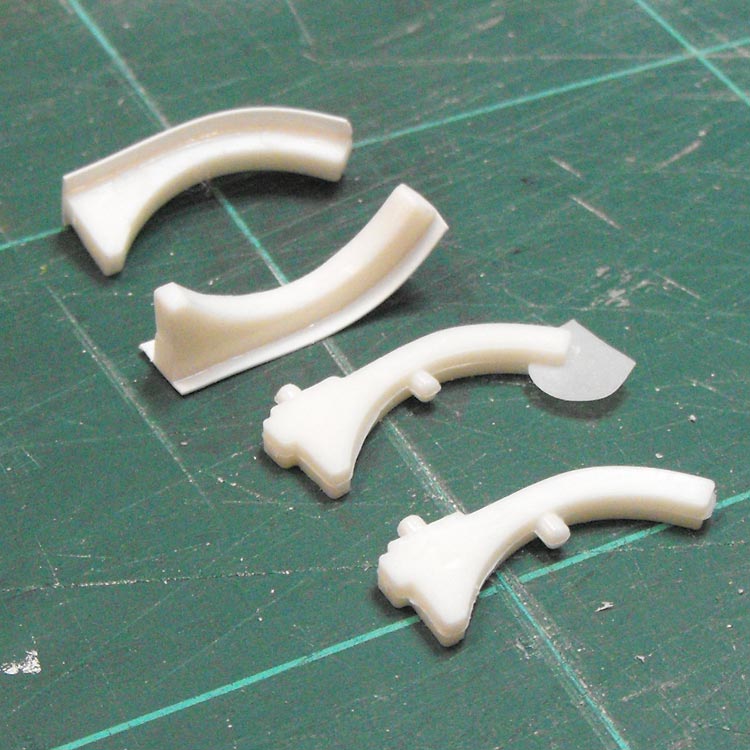
The truck will need a shortened chassis, new scratchbuilt rear guards and the front axle needs to be setback and the front guards and bonnet altered accordingly. The cab also needs to be converted to right-hand drive. I obtained a resin dash to make this easier.
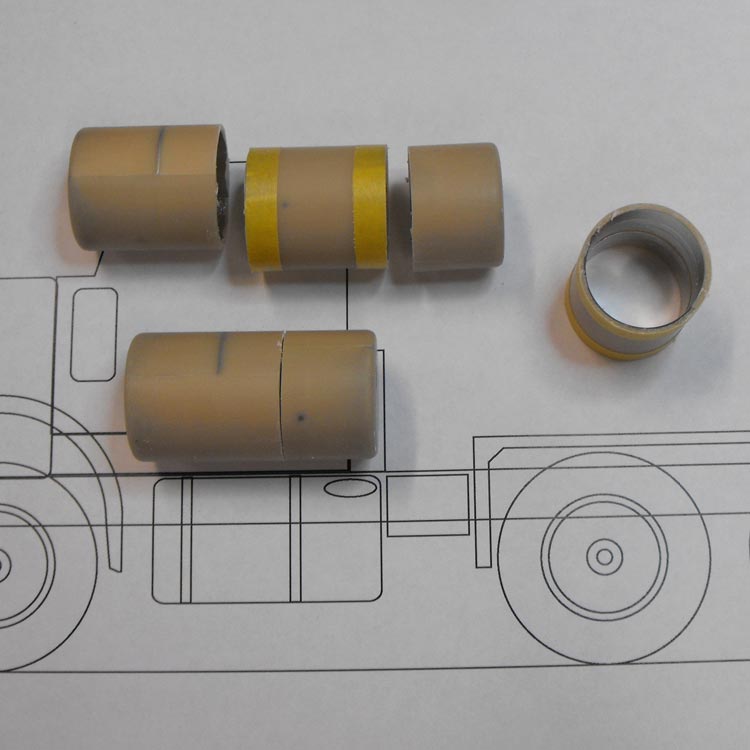
The trailer has a different arrangement of tie-down rails and rear bumper and lights. I also want to include a set of cages to drop in around the perimeter.
The Build Begins
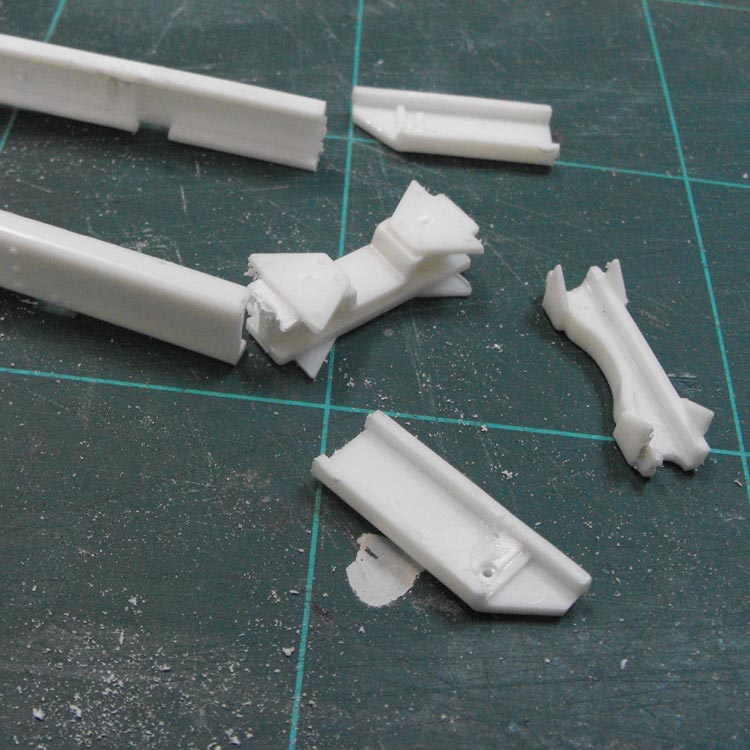
As often happens with these old kits, there was a fair bit of warpage in the parts, particularly the chassis rails.

The warped chassis rails
Fortunately, with the plastic being so soft, they will straighten out in the build.
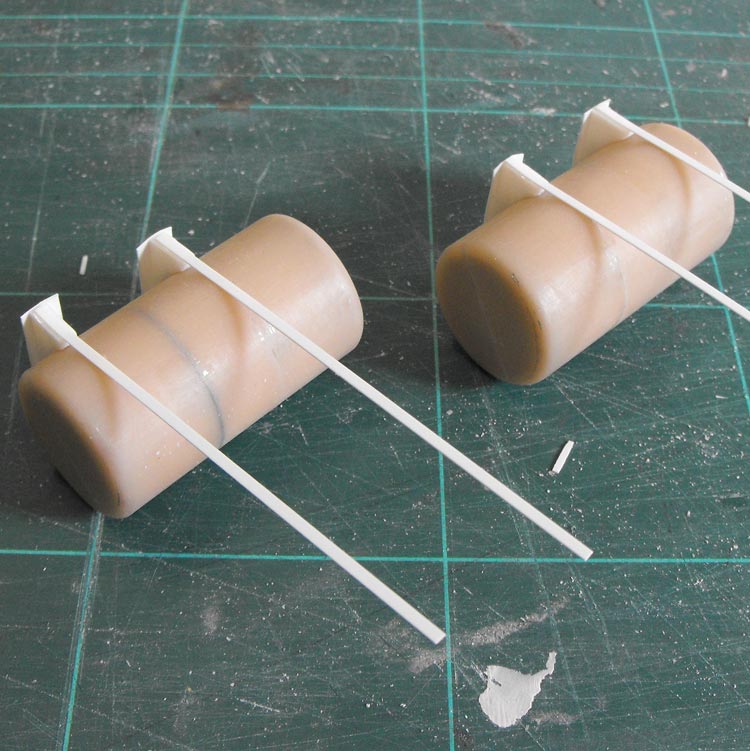
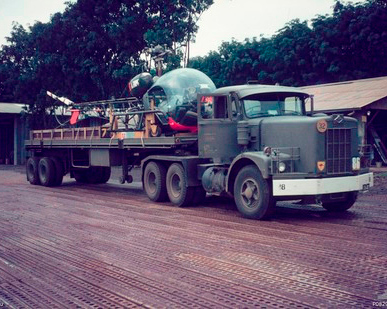
The Engine
The engine in the kit is a Cummins unit. As I have no reference showing the Australian motors, I'm assuming they had the same powerplant. The engine goes together fairly easily, but there is always a lot of cleanup on these AMT jobs.
The basic engine assembly
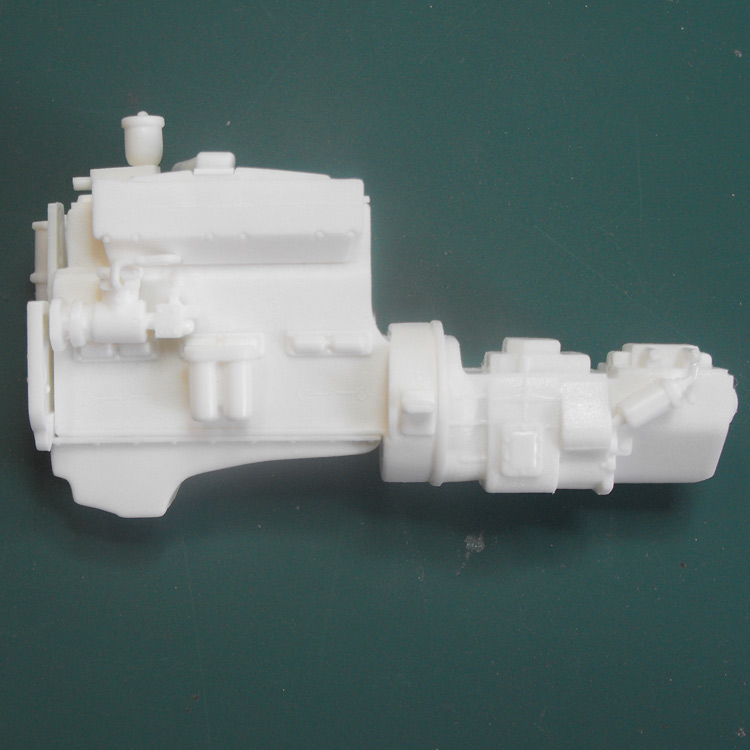
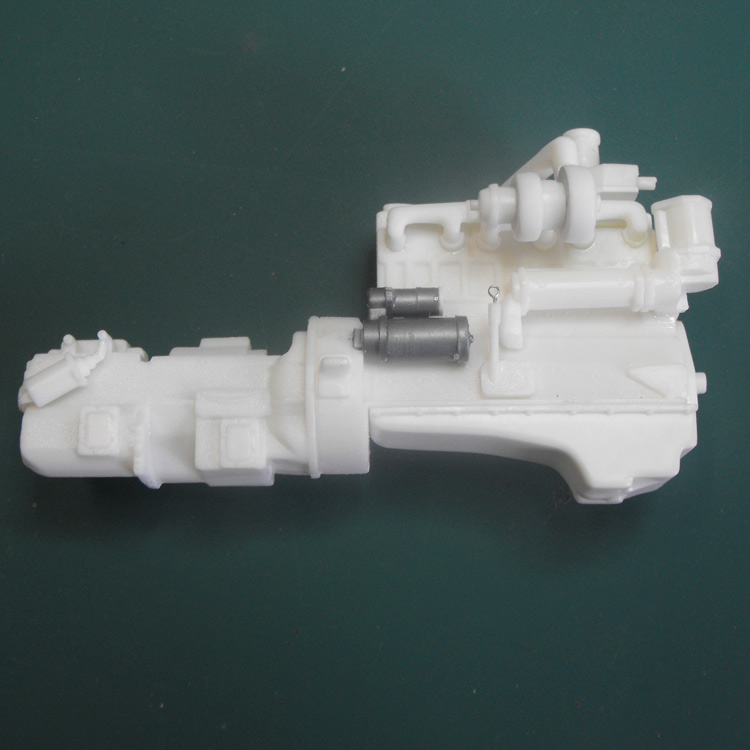
I replaced the starter motor with bits from the spares box and added a bit of plumbing. This is the first truck I have made in 25 years, so I have a fairly steep learning curve as far as plumbing and detailing goes. I added a bit of wiring and piping with fuse and electrical wire. It is largely representative as, again, I'm a bit short of reference despite hours of websearching.

A bit of plumbing
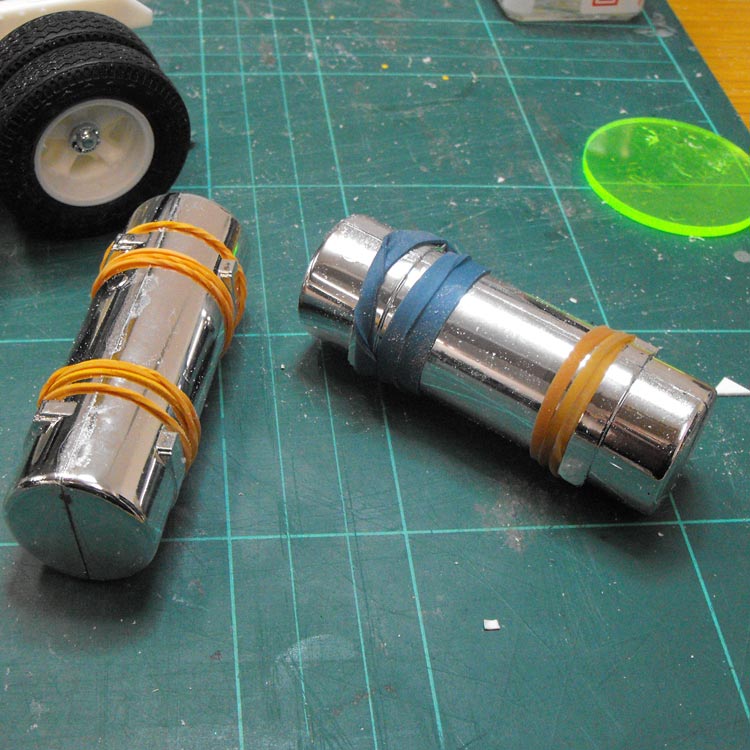
I wanted to have the front wheels steerable, or at least posed at an angle. The kit parts made this quite hard and I nearly destroyed the front beam in my attempt. I went with option two and simply sanded the ends down on my disc sander at 15°. This provides a simple and robust solution with minimal loss of hair.

The original front axle ...
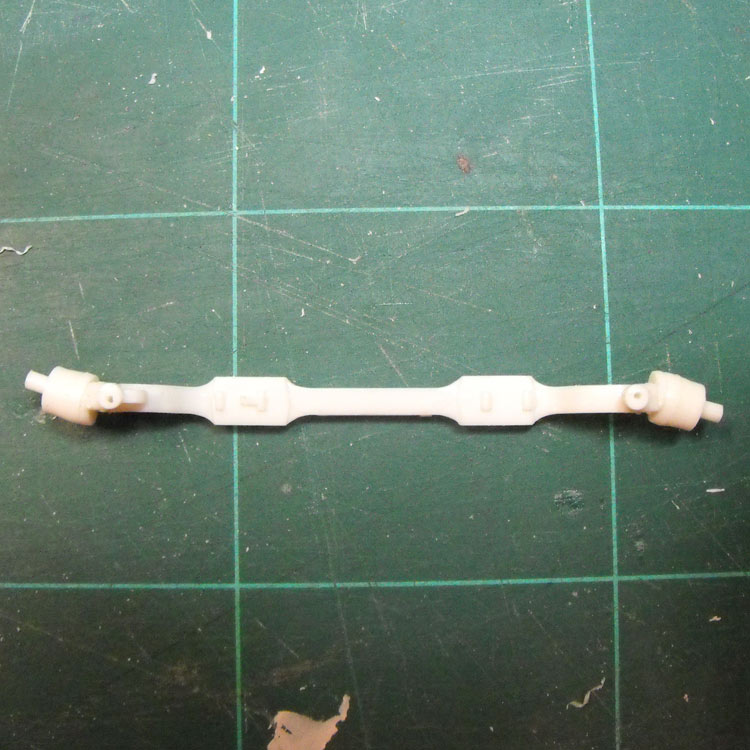
... and with the ends sanded at 15°
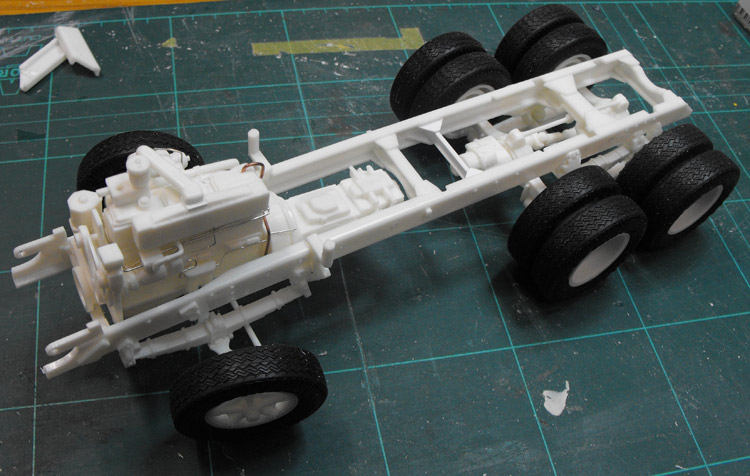
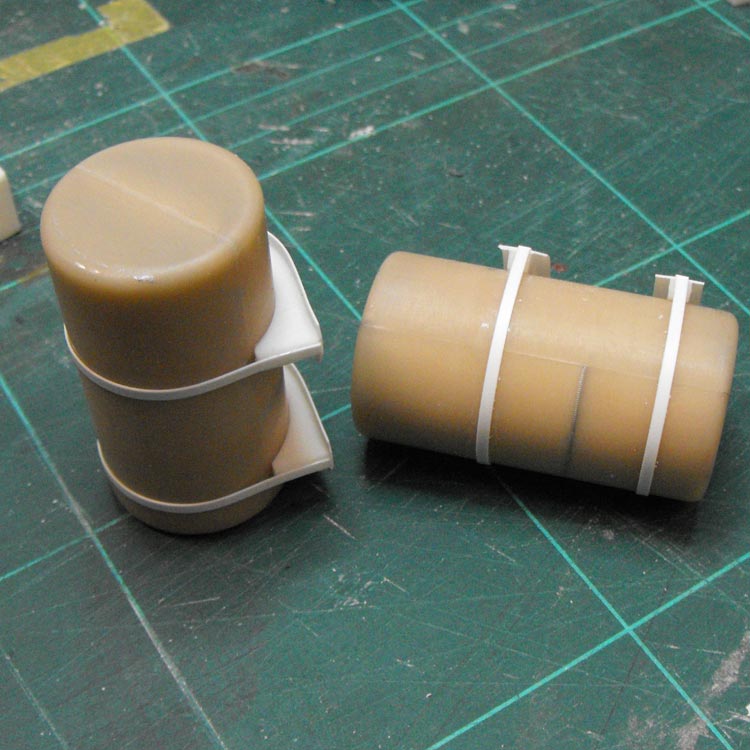
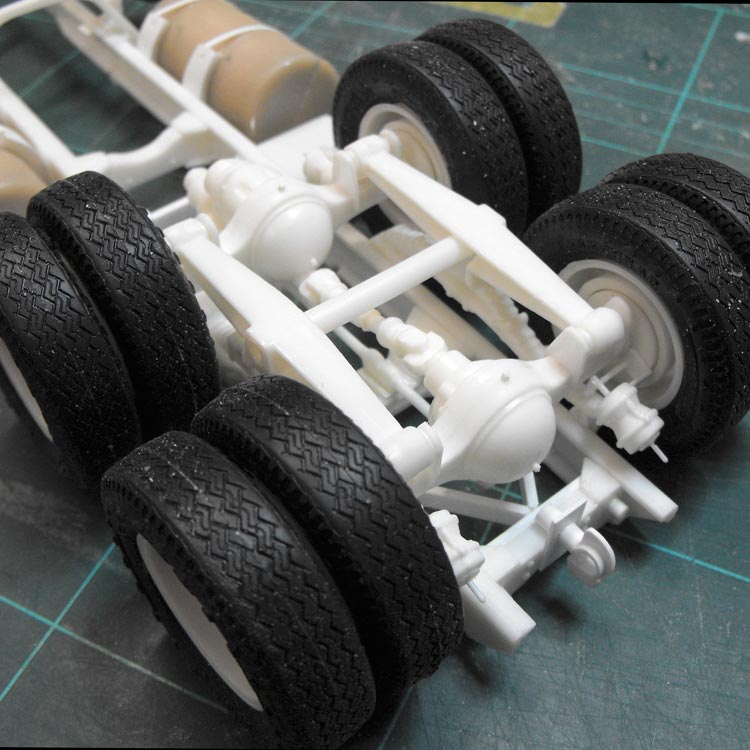
I started glueing ancillaries, diffs, tanks, batteries, suspension and frame together. It was at this stage I realised I should have shortened the chassis! The kit has a sleeper while my subject doesn't. Okay. Back to the references to have a think about the best way to handle this. Fortunately I discovered the problem in a dry run before I had got much further than glueing the frame together. Watch this space for the fix.
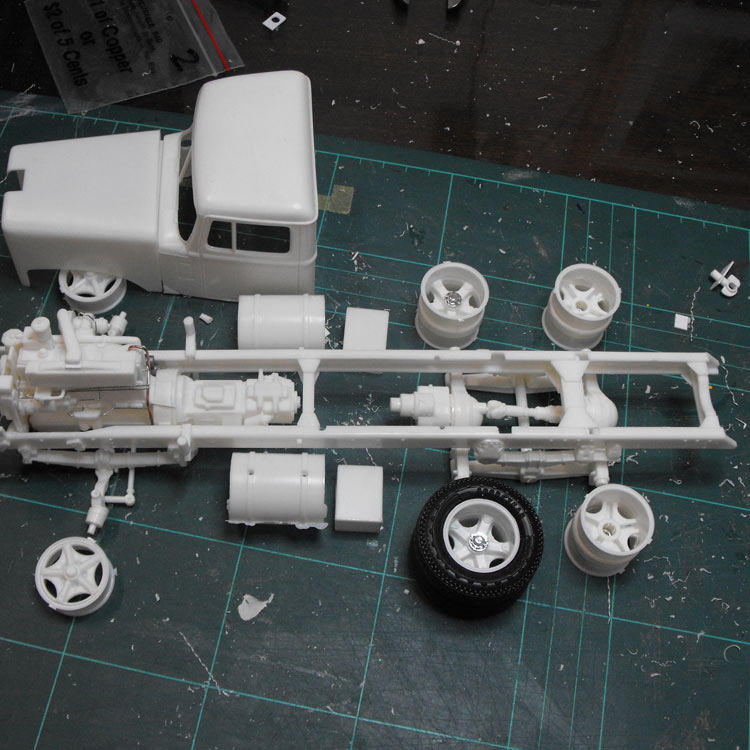
A dry run of subassemblies shows the too-long chassis.