I have done a rusty wreck before and wanted to do another. I bought a Revell 37 Panel van on ebay and thought that just might look the part.
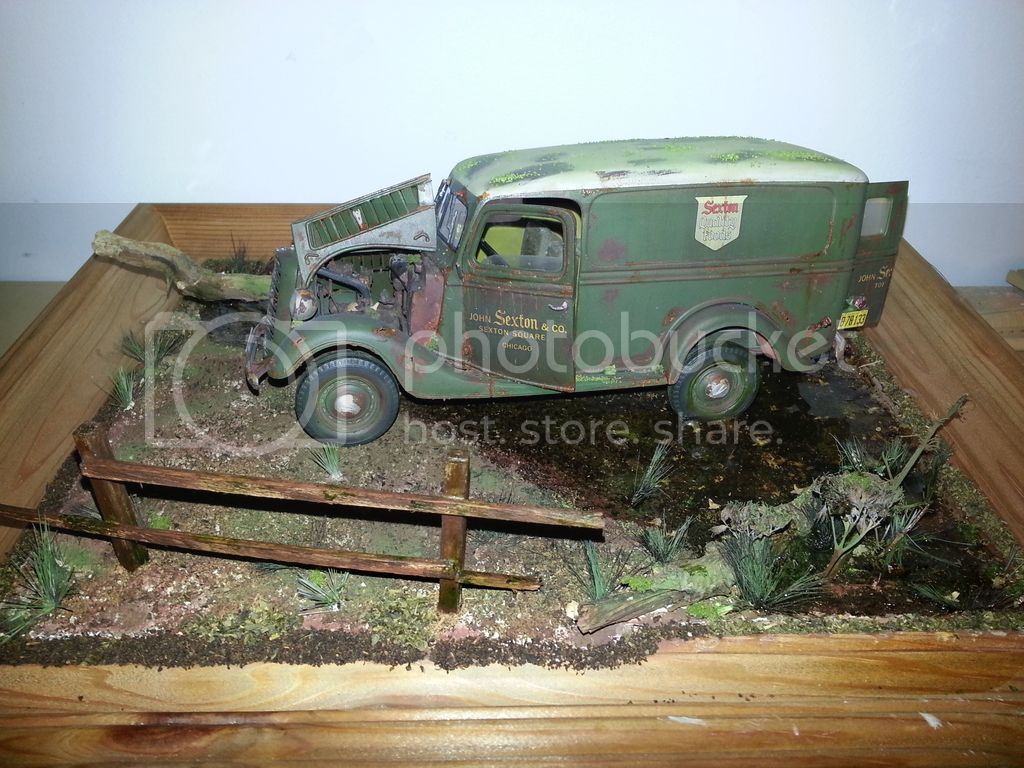
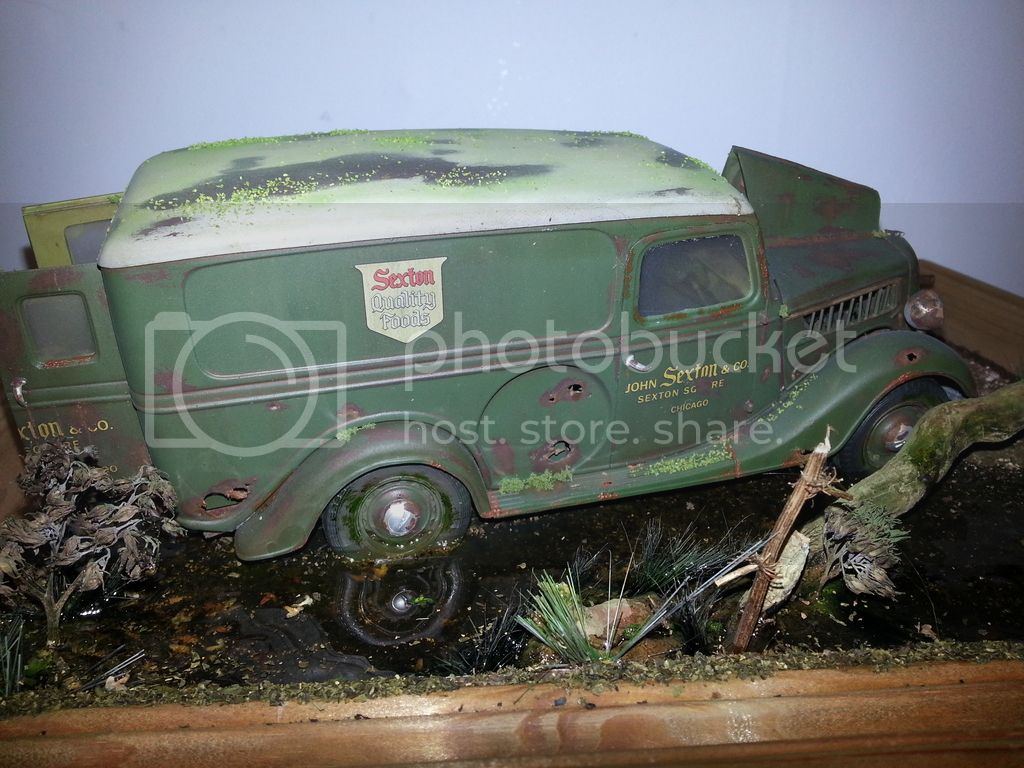
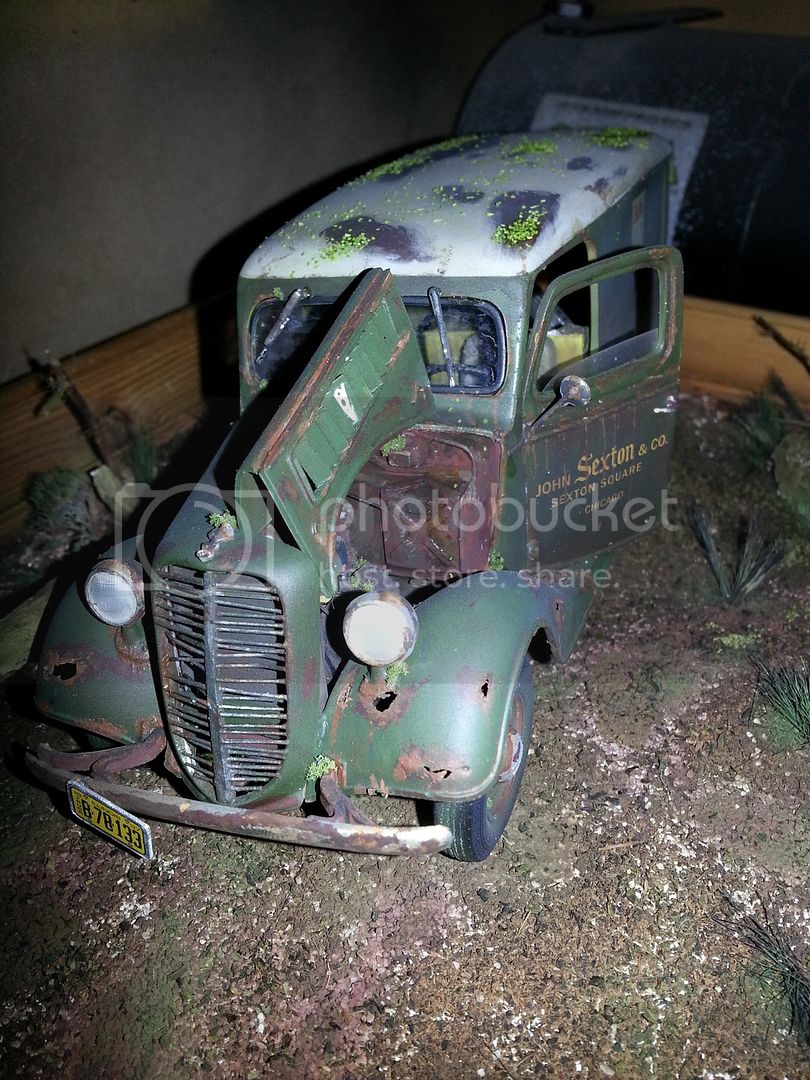
I wanted something sitting abandoned, but with a water theme too, so I trawled the net for suitable pictures to inspire me. I think I found what I wanted, and I think it looks good in the scene but you can all decide.
So let me take you back to the start. About 8 weeks ago........
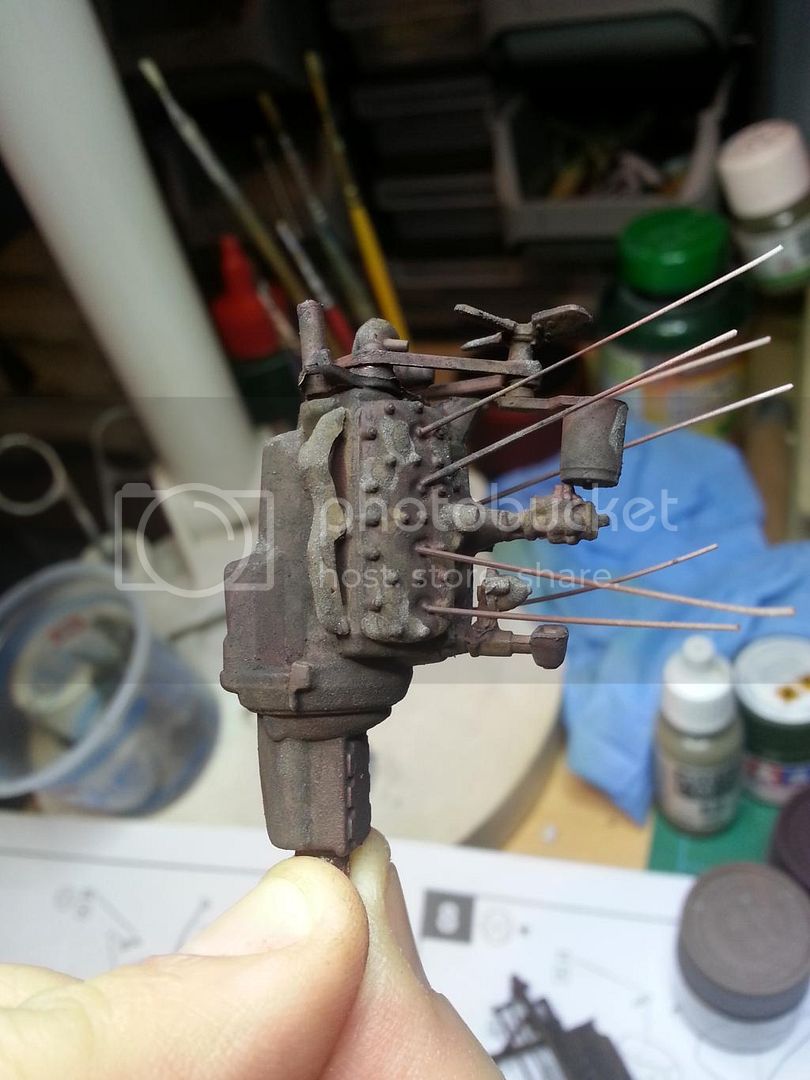
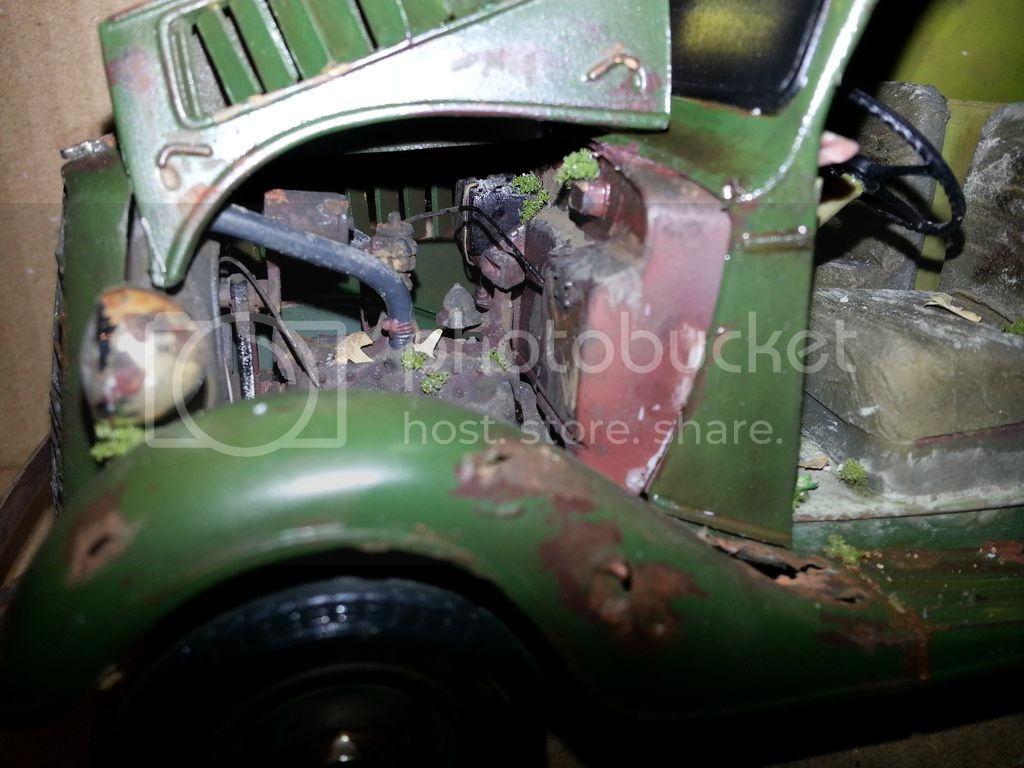
1st up the engine
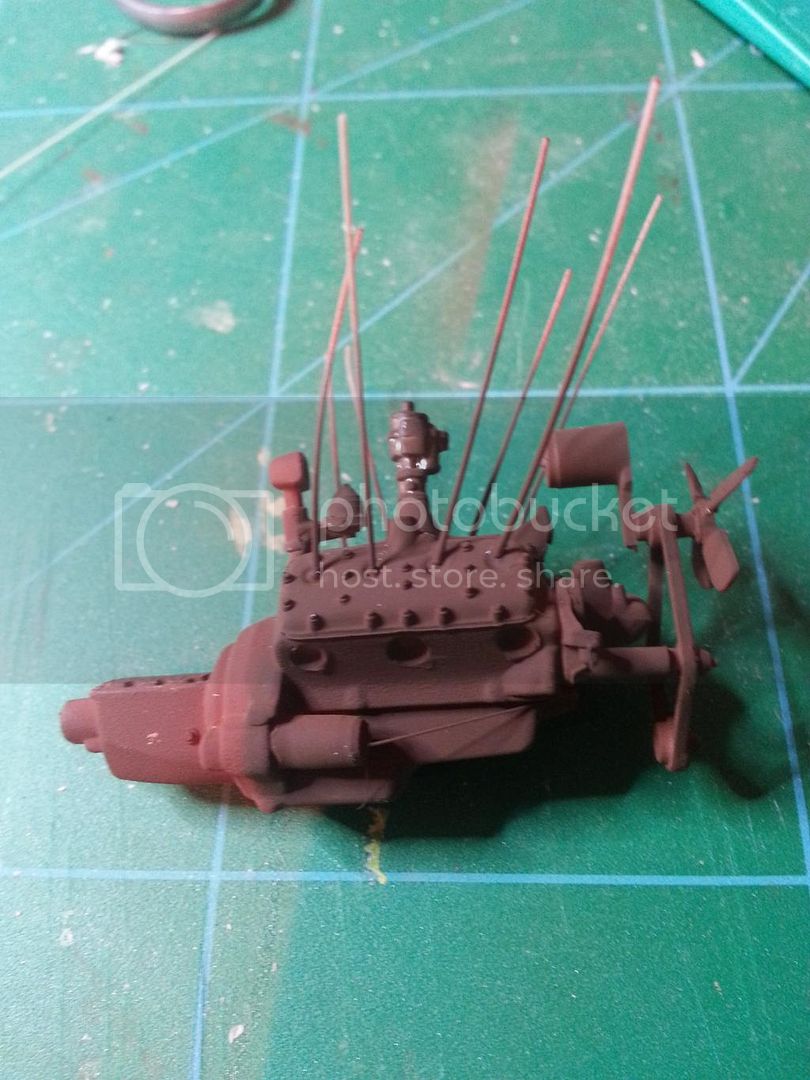
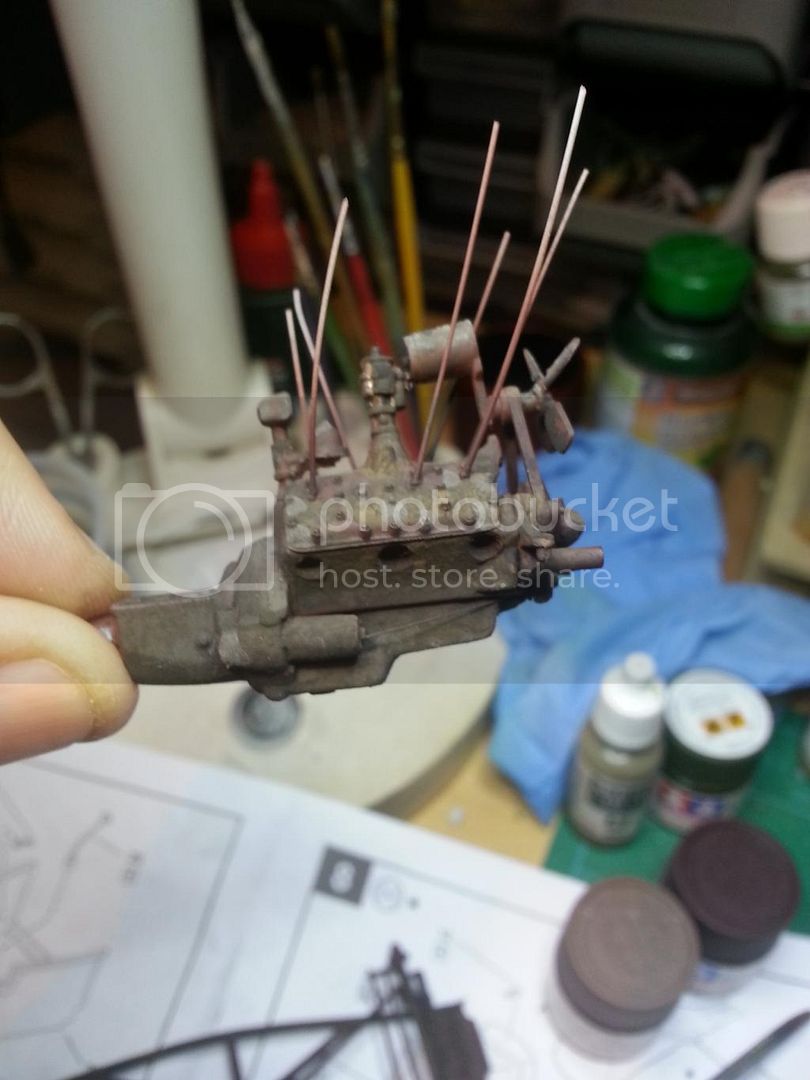
I painted it hull red and added the ignition cables from stretched sprue, most fell off leaving 3 in the end but that was fine as it look better with less. Nothing else was really done to it, except some weathering. I used a mixture of Mig and Humbrol dark earth,oxide and rust.
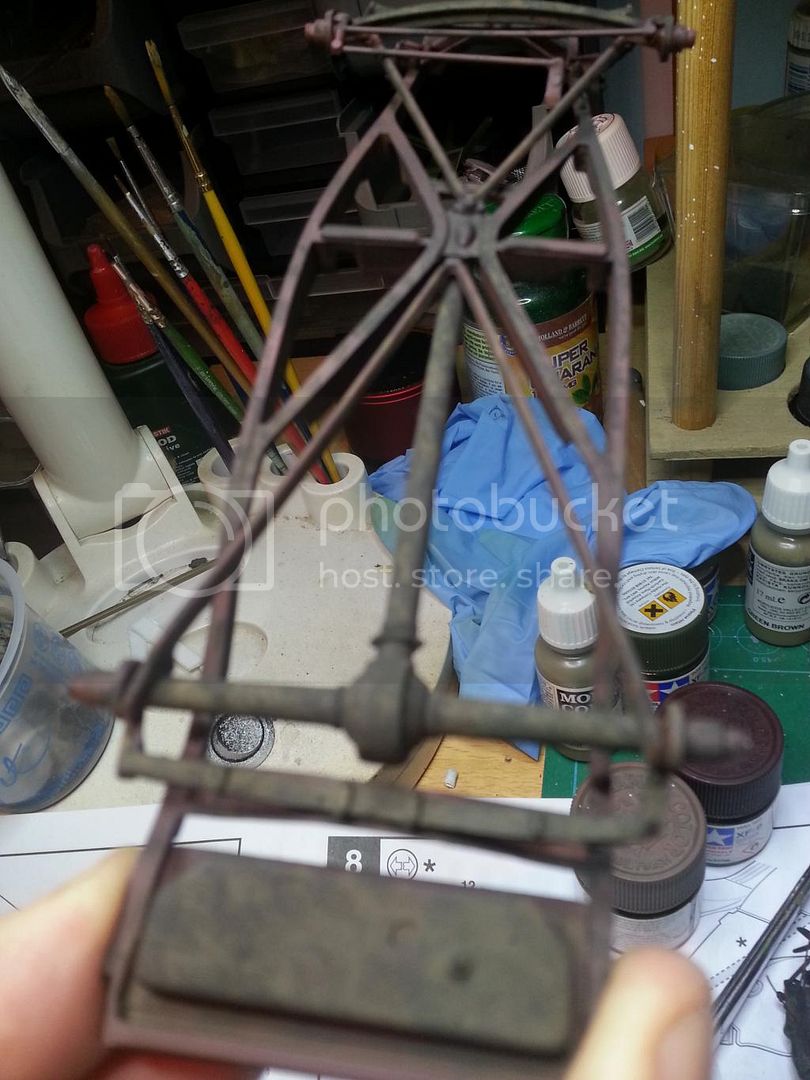
Left it to dry and started on the chasis.
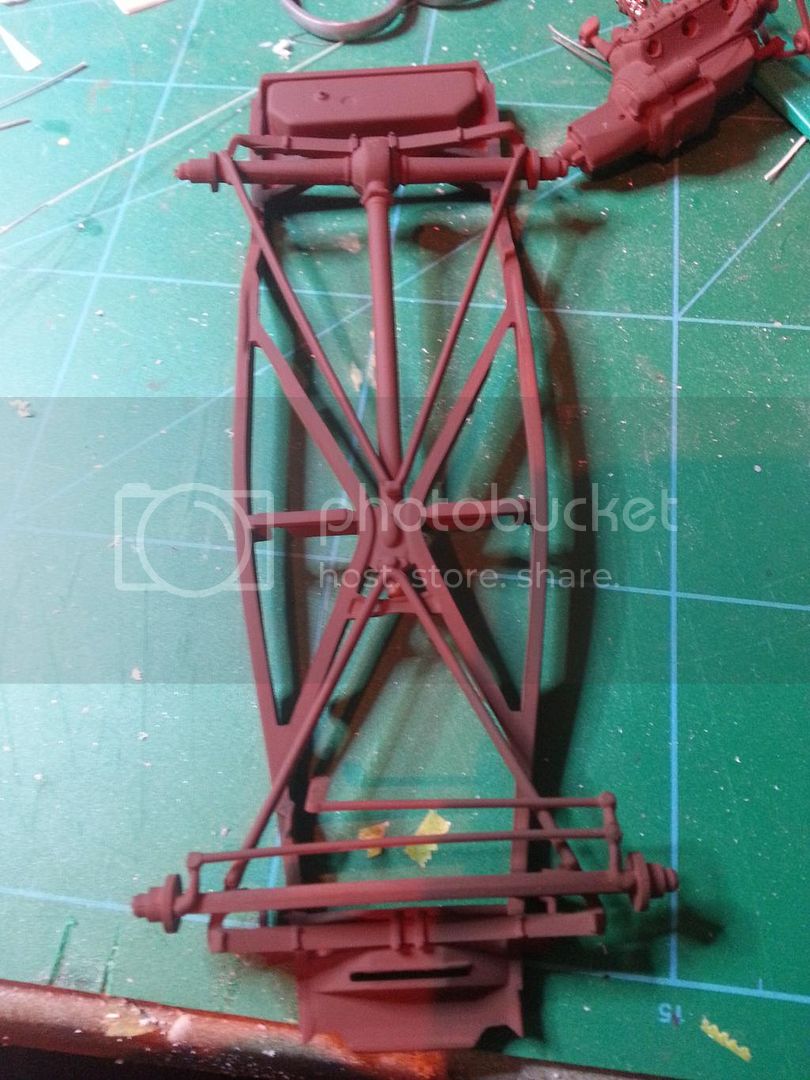
Again from the box, and the same treatment as the engine. As the chasis would not be seen too much as it would be partly submerged I didn't go over the top.
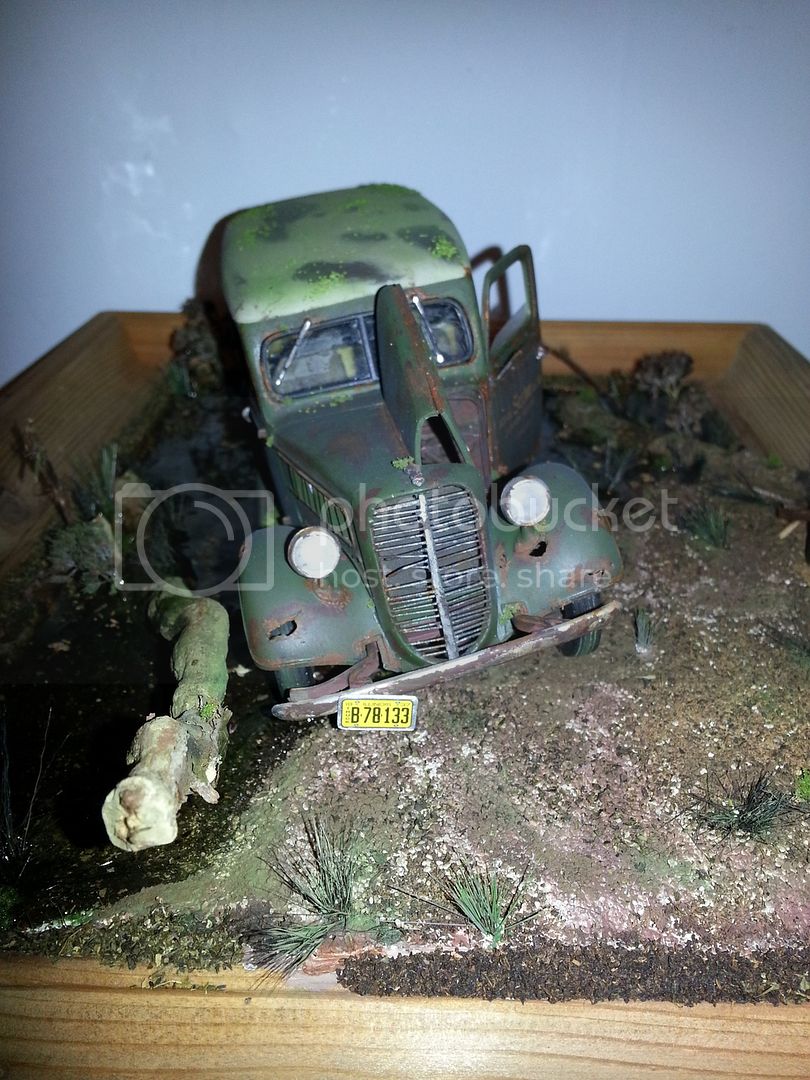
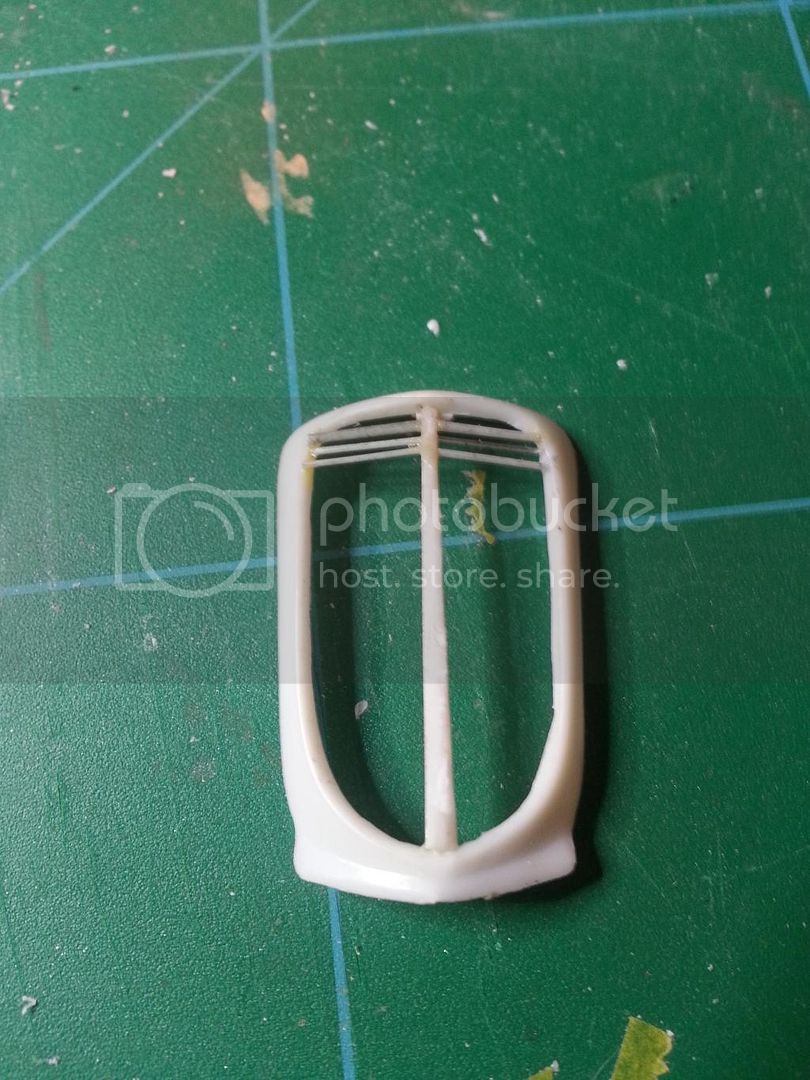
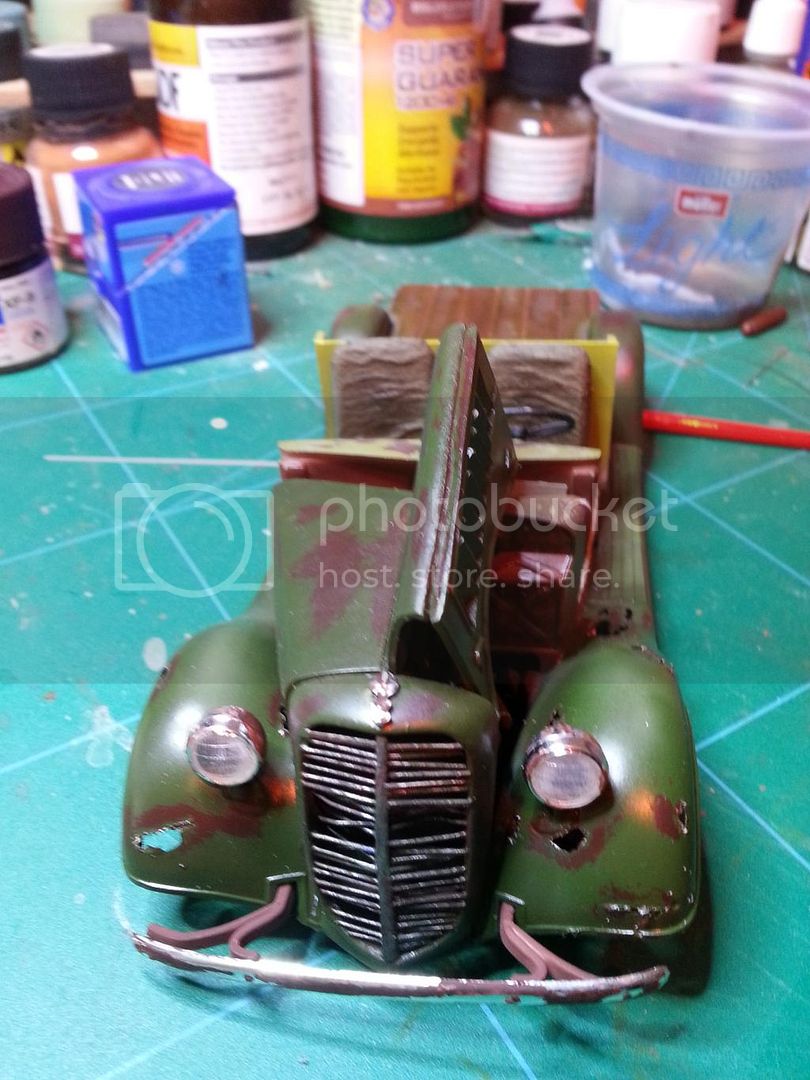
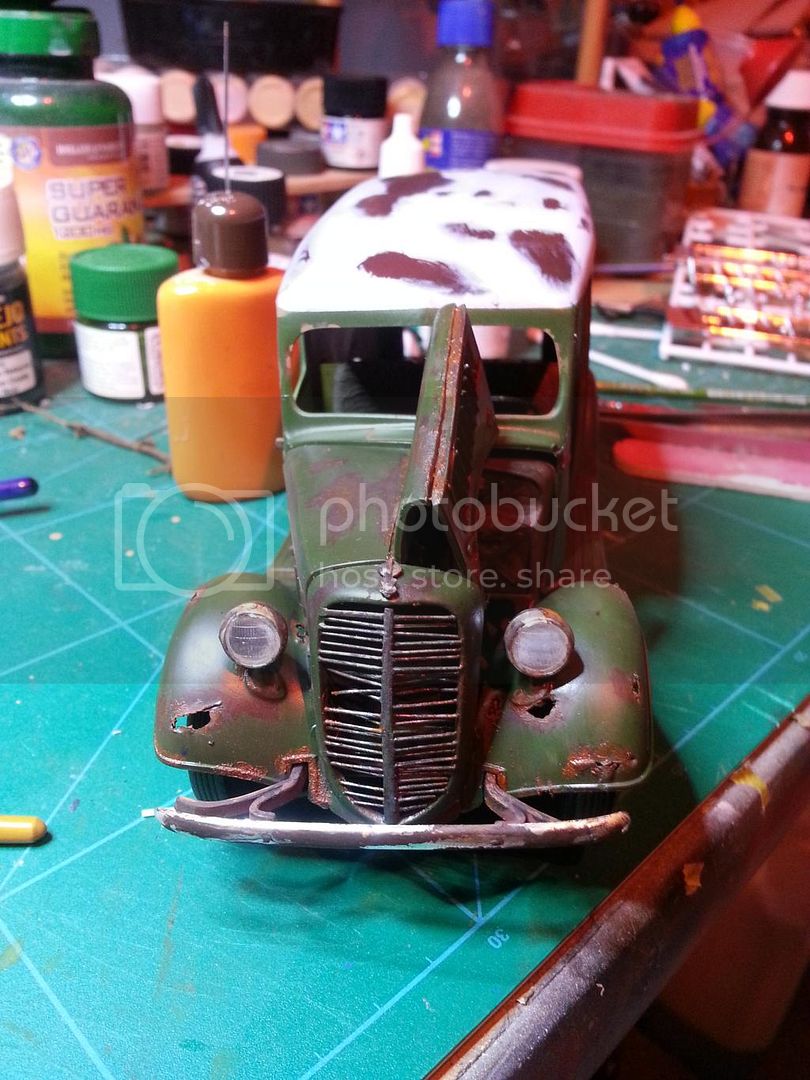
Whilst I waited for these items to dry I had a look at the rad grille. Not very impressed. It was solid and chrome. So I cut out the grille middle leaving the surrounding edge, and started to painstakingly build the grille up from stretched sprue.
That was me finished for the day.
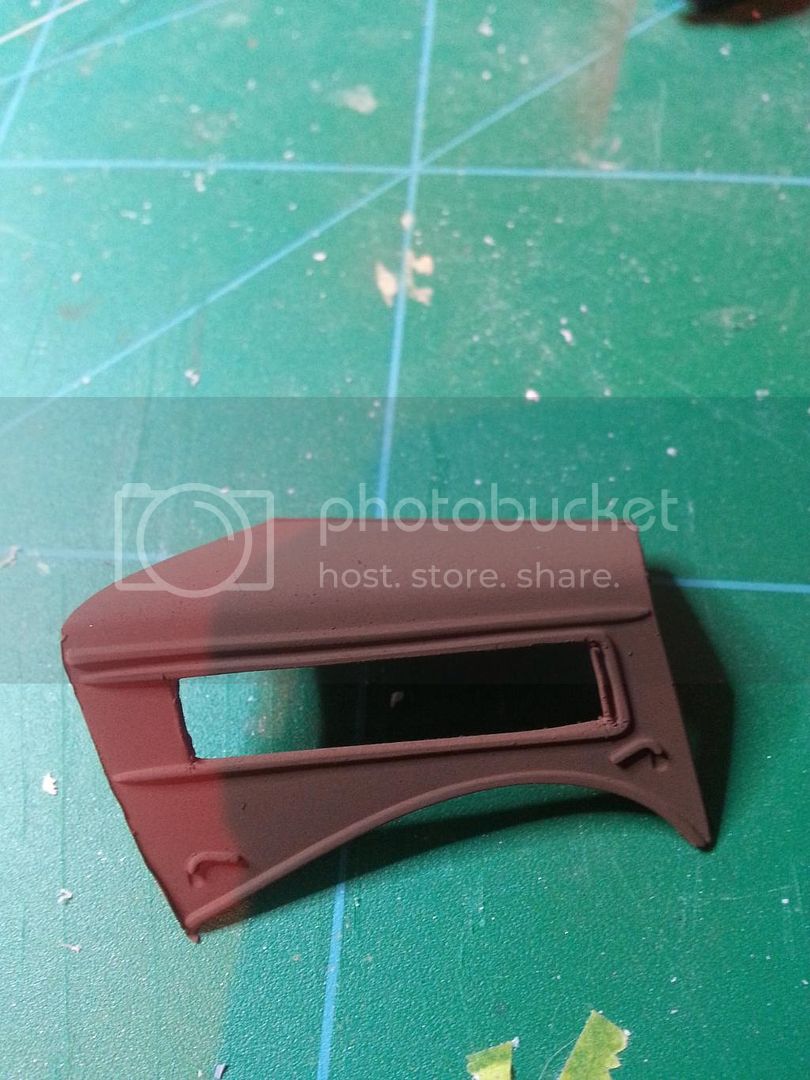
The next task was the bonnet. I wanted part open to show the engine off, but I didn't like the grille in the bonnet sections either. So they had to come out. I cut the grille out on both sections and used plasticard to fill them in individually.
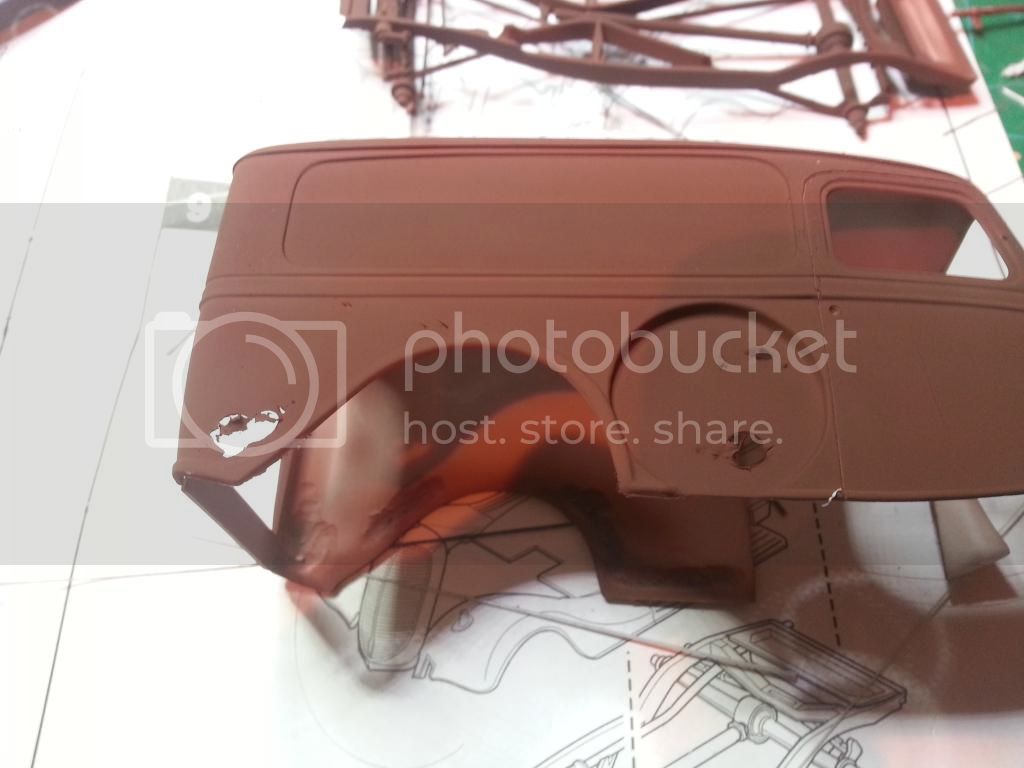
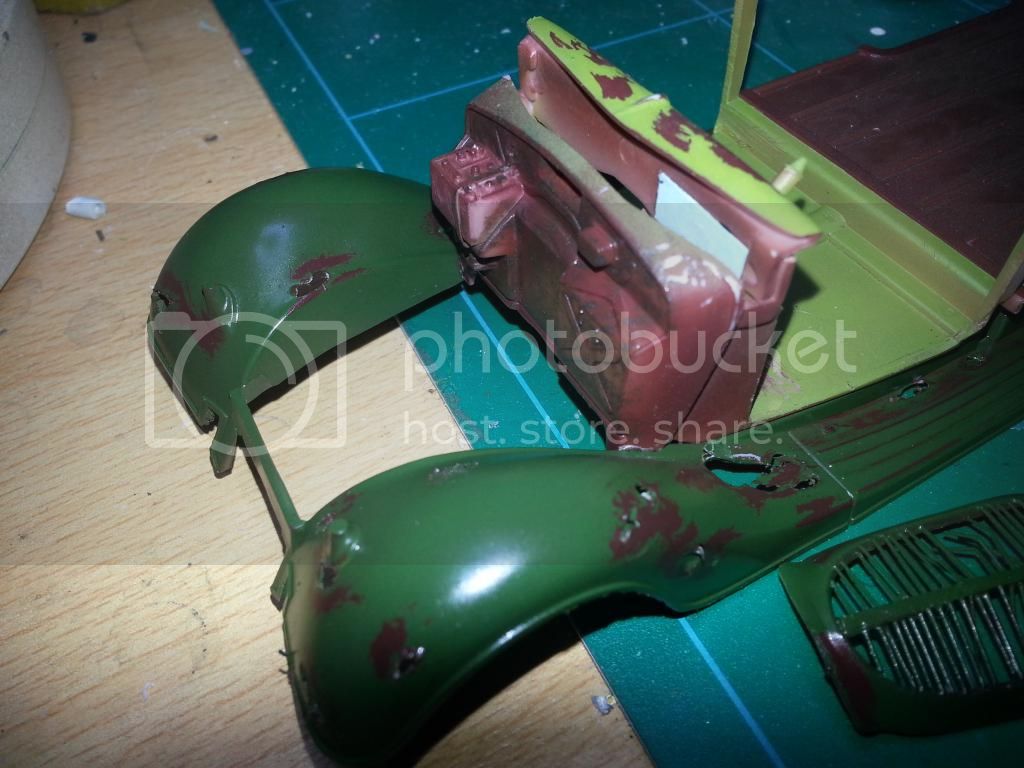
Next I tackled the body work. It comes as a main shell and lower section which attaches to the chasis. I wanted rust holes in them both. Out with the dremel. A carving bit works great for this. As with most older revell kits they are pretty thick plastic so much mess was made. You need to carve away from the inside until you are nearly through the other side. Be careful the plastic will get hot and melt, what I do is keep switching to different parts so it doesn't melt. Once you are nearly through stop and then you need to use a sharp instrument, a scalpel will do, or anything pointed. Pick away at the wafer thin plastic from the outside , you are aiming to make holes but not too big. The plastic should leave jagged edges which you can manipulate a little to look like real rusty edges
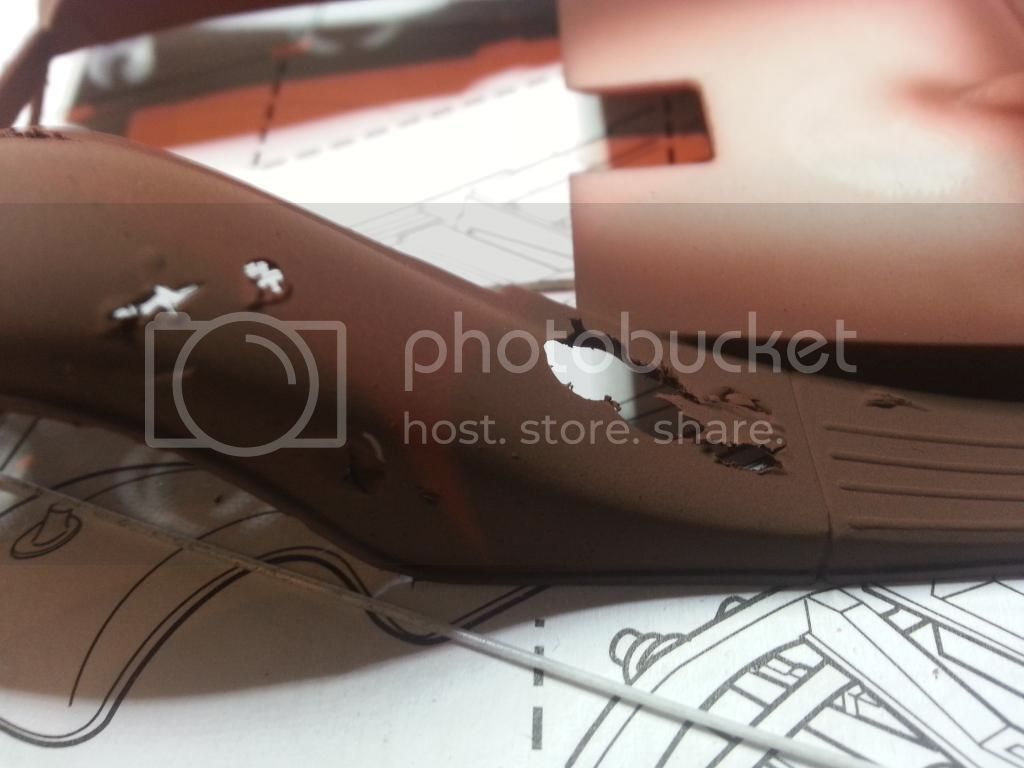
This is the base section afer hull red, notice the rust holes. It doesn't matter too much about the underneath as no one will be looking at it from unside down.
You can make as many holes as you like, but too many and it will be a major rotter.
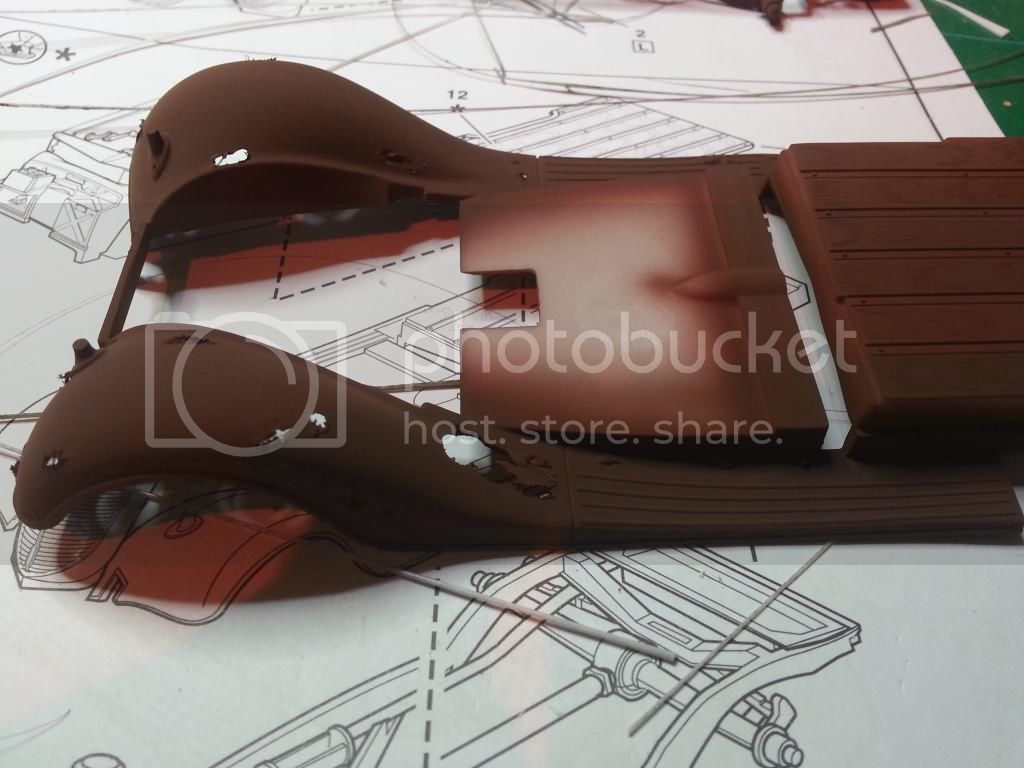
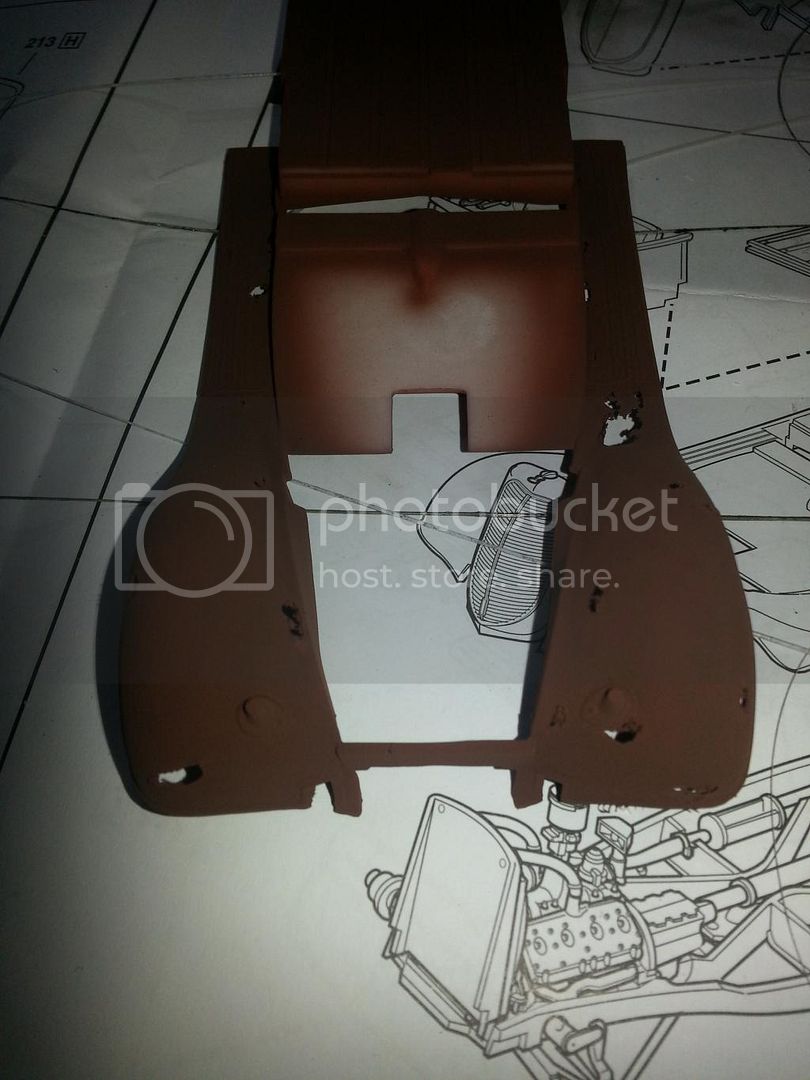
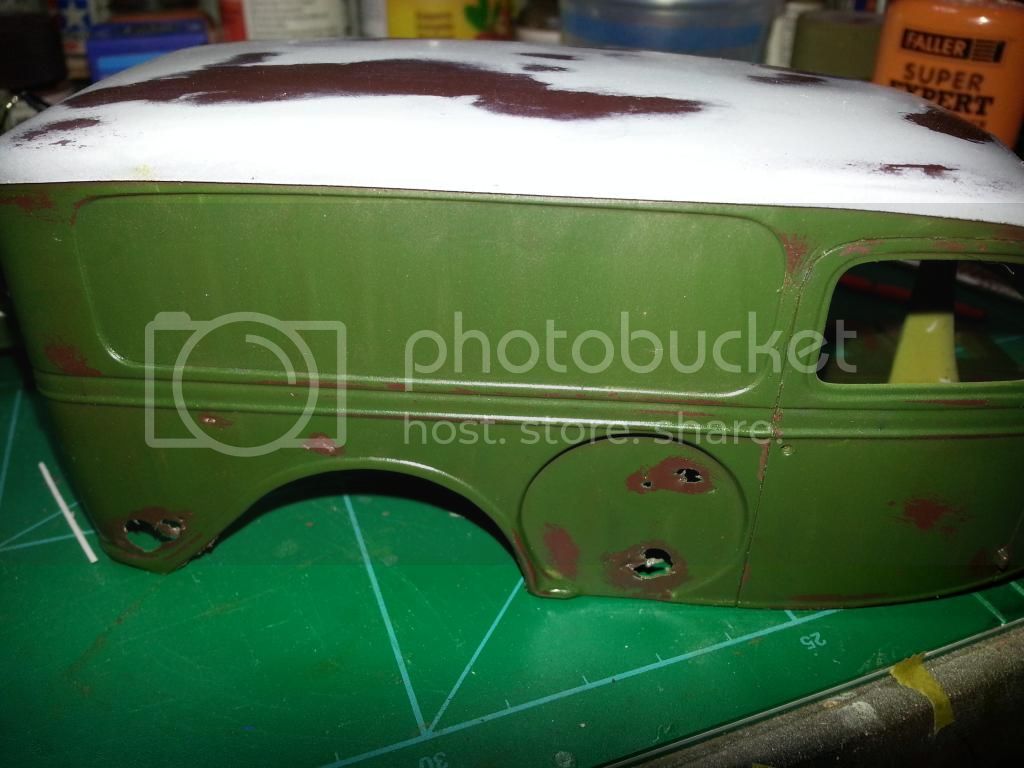
Same happens with the shell
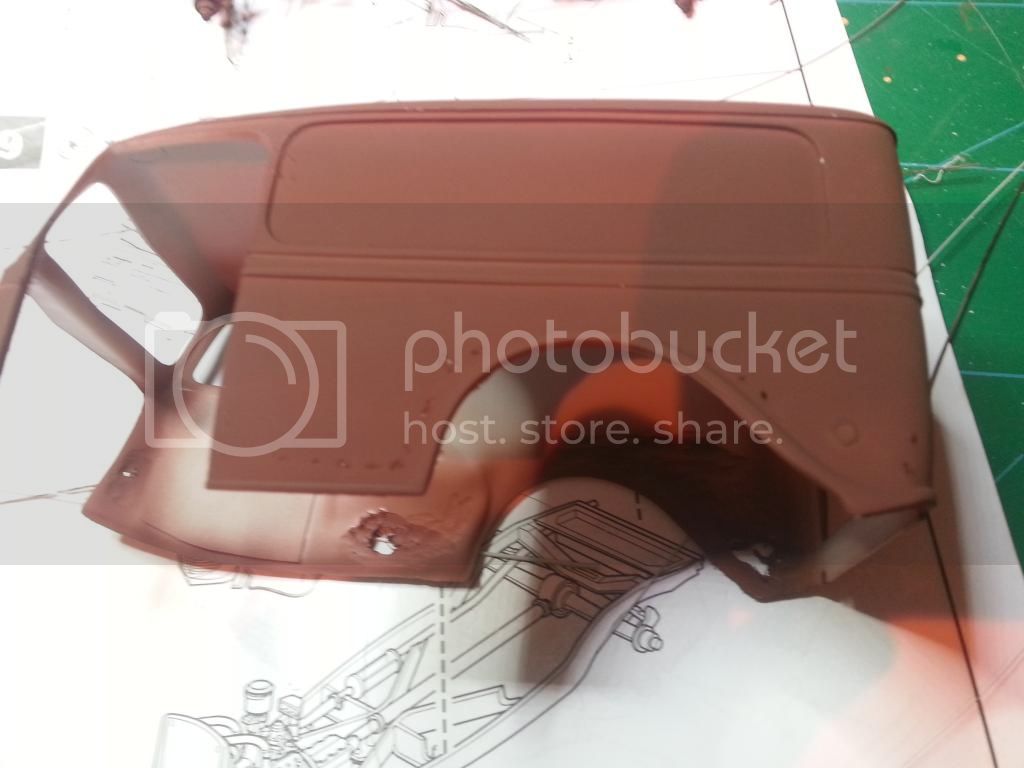
Again hull red as a base coat.
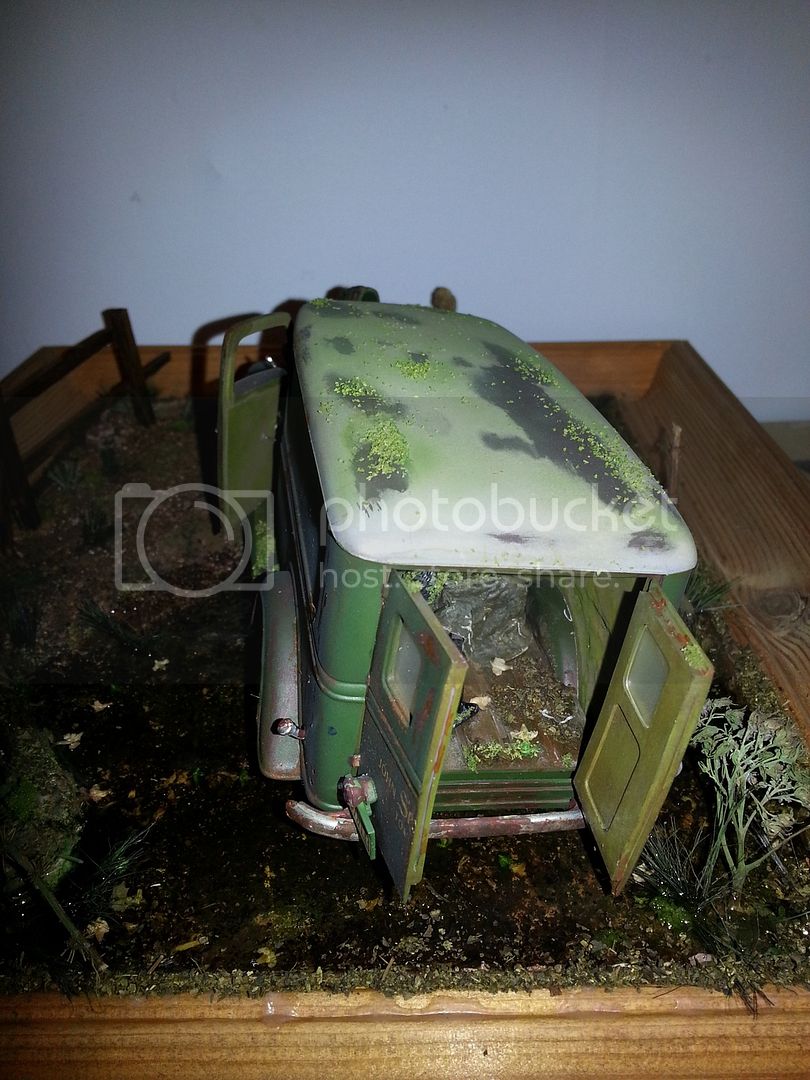
I decided I wanted at least one door open. Unfortunately the kit comes with sealed doors.....butcher time again. I cut through the door panel with a scalpel.....careful with the fingers, luckily mine are all still attached. Once it was off I sanded the door smooth, and painted it......hull red.
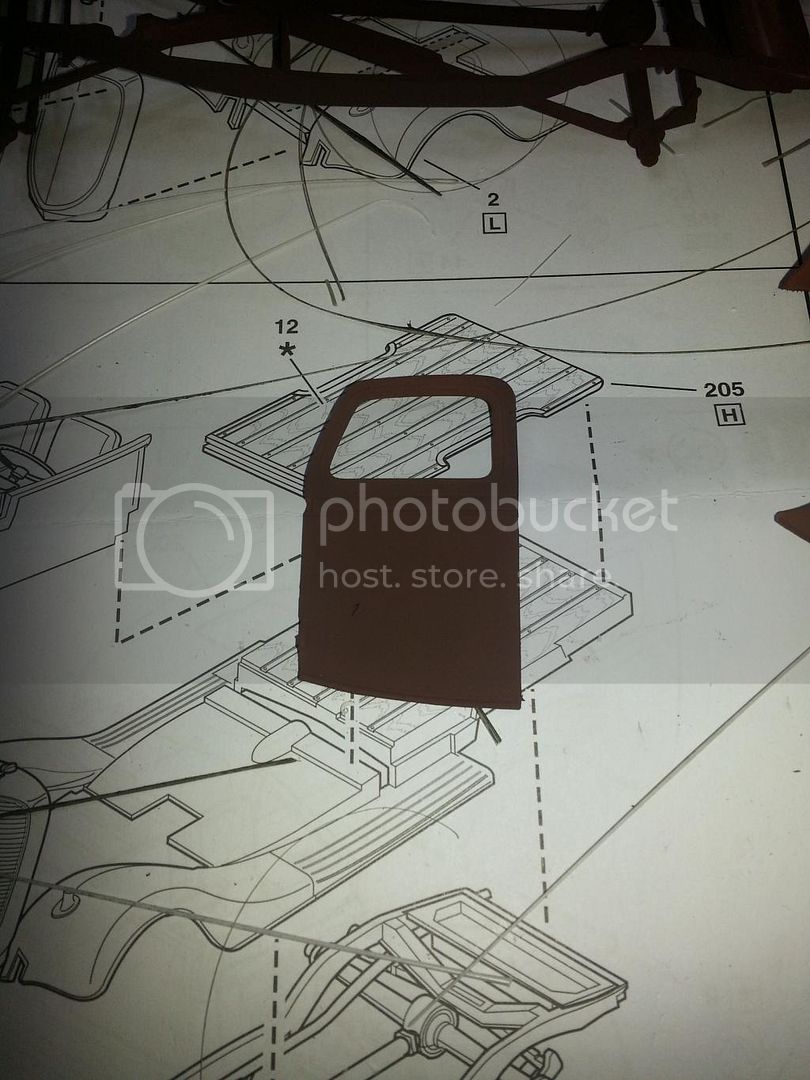
I had to build a door card for it from plasticard as the kit has an inner shell for the cab which the seats sit in and the door cards are part of it.....butcher time again. Must remember to check out all the parts before doing another project.
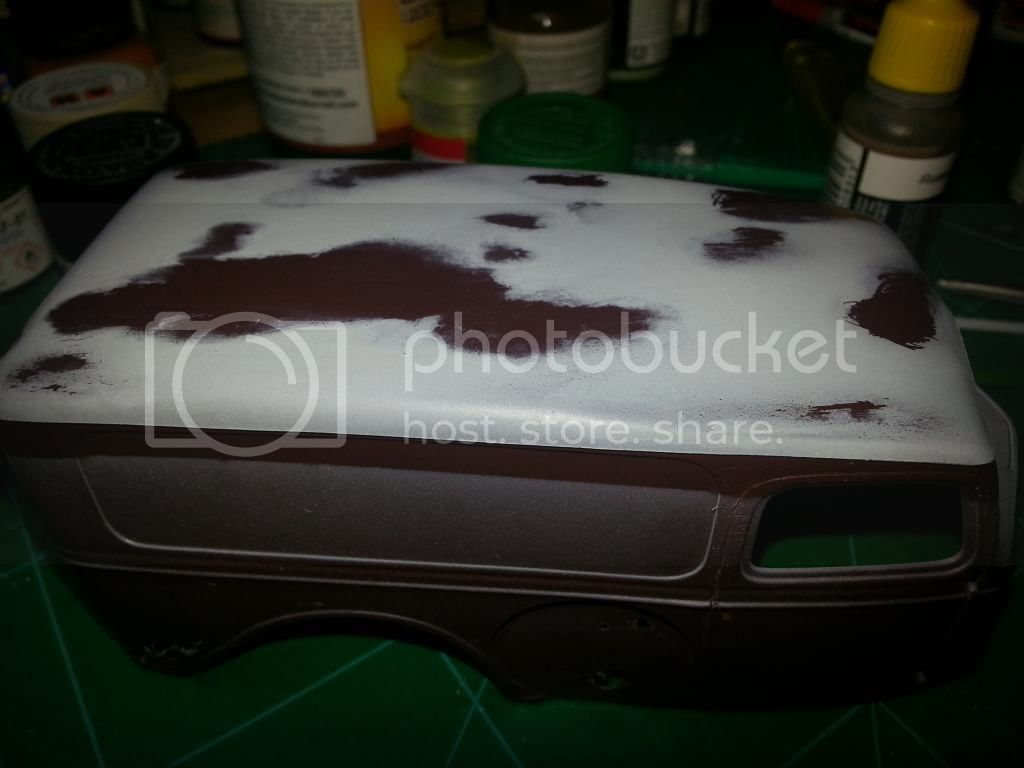
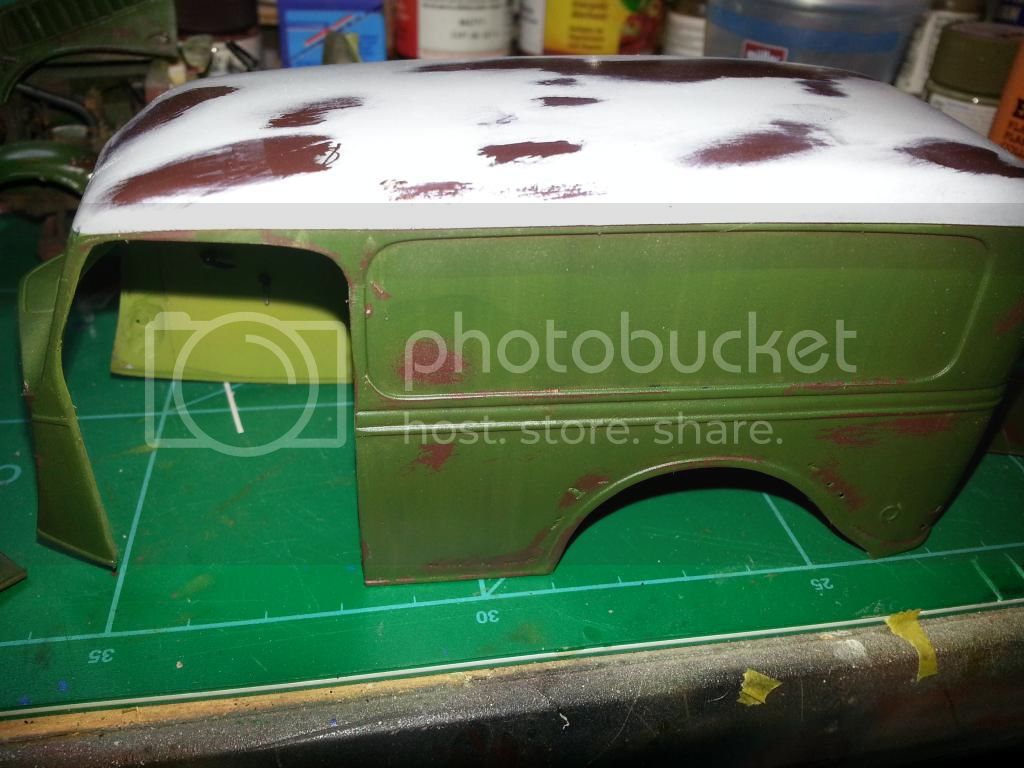
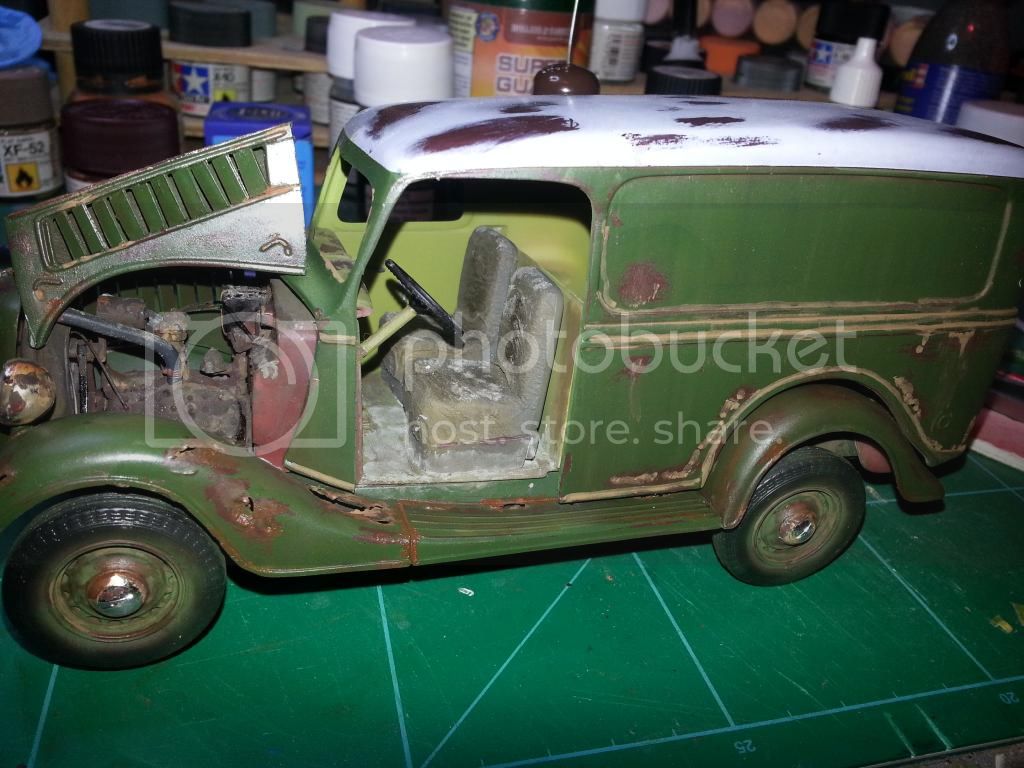
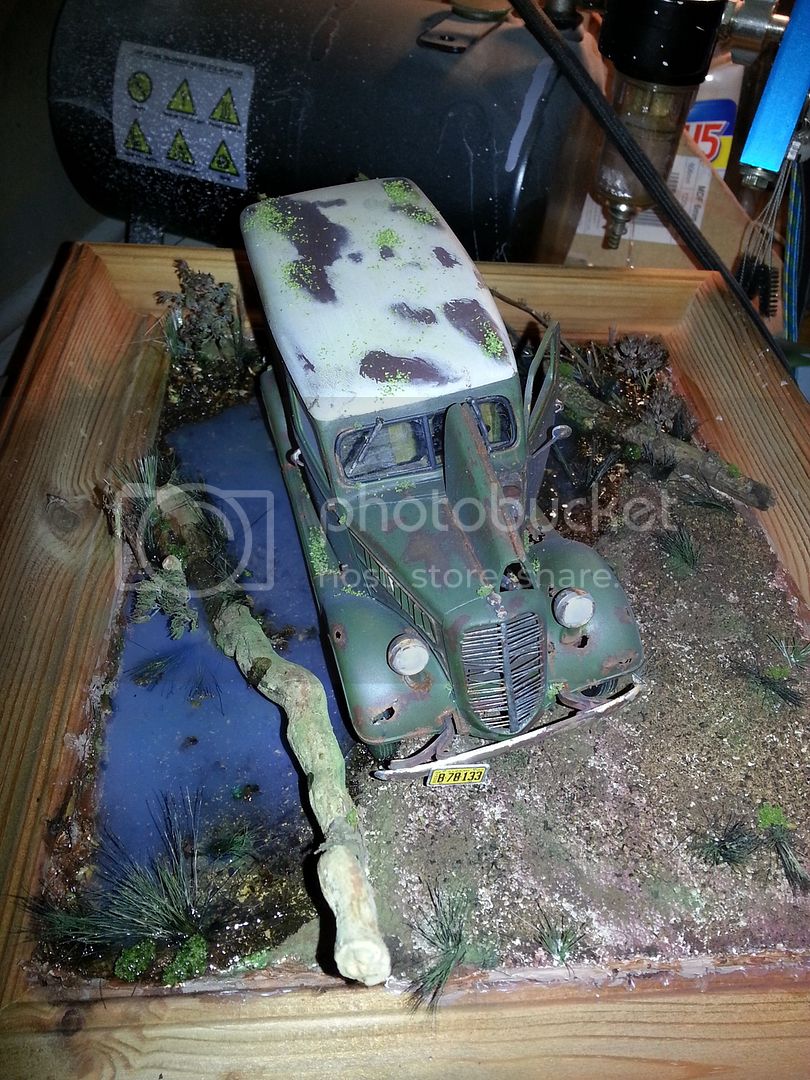
Next up the roof. I wanted it white so I masked the lower area, and sprayed Johnson Klear waited for it to dry over night. A coat of hairspray next, and leave for 5-10 mins and then the white. Give it 2-3 mins then start picking and rubbing off the paint in different areas. Leaving you with this.
The same treatment for the base of the vehicle whilst the roof dried
And also the doors and bonnet and the nice little modified grille.
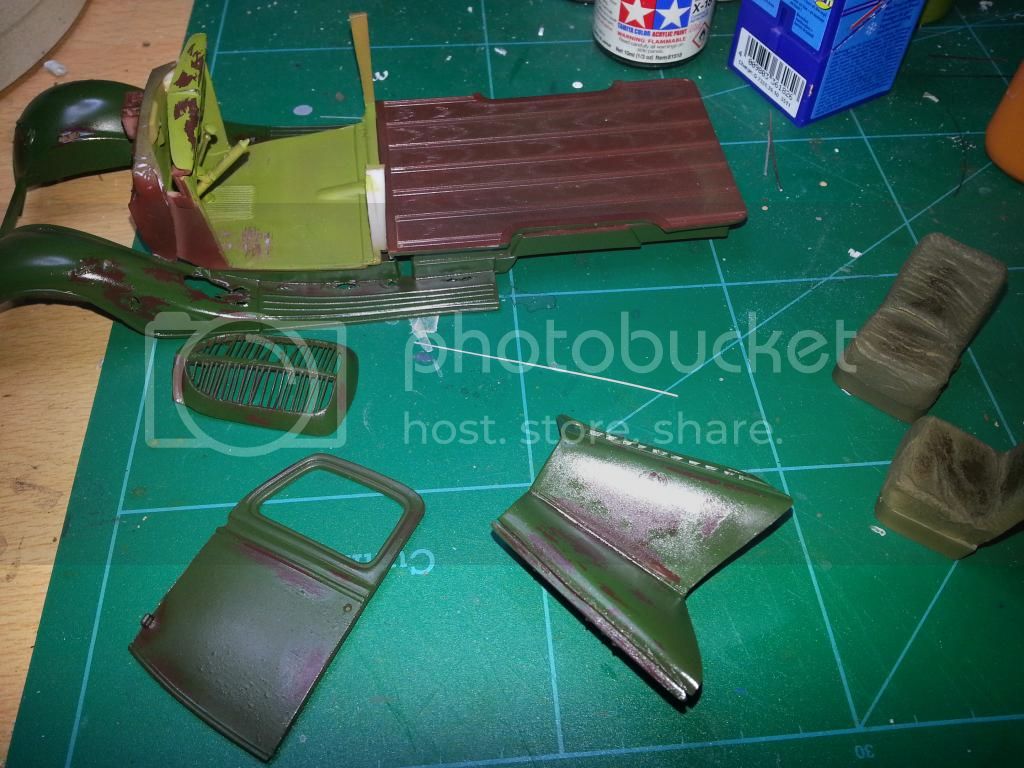
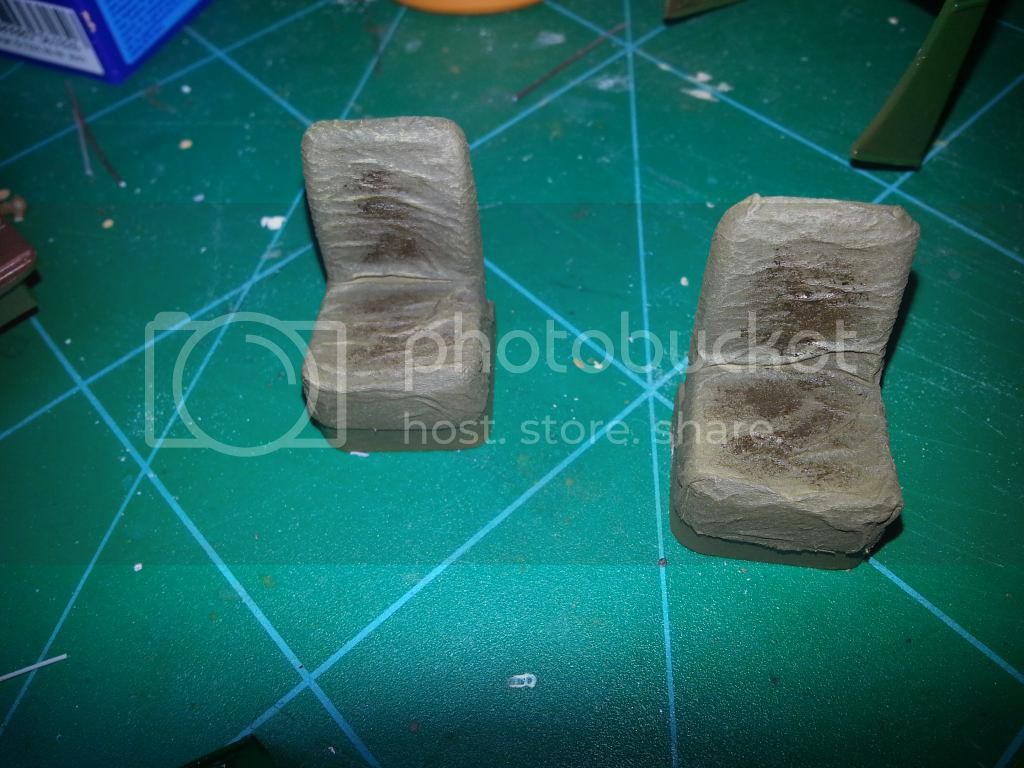
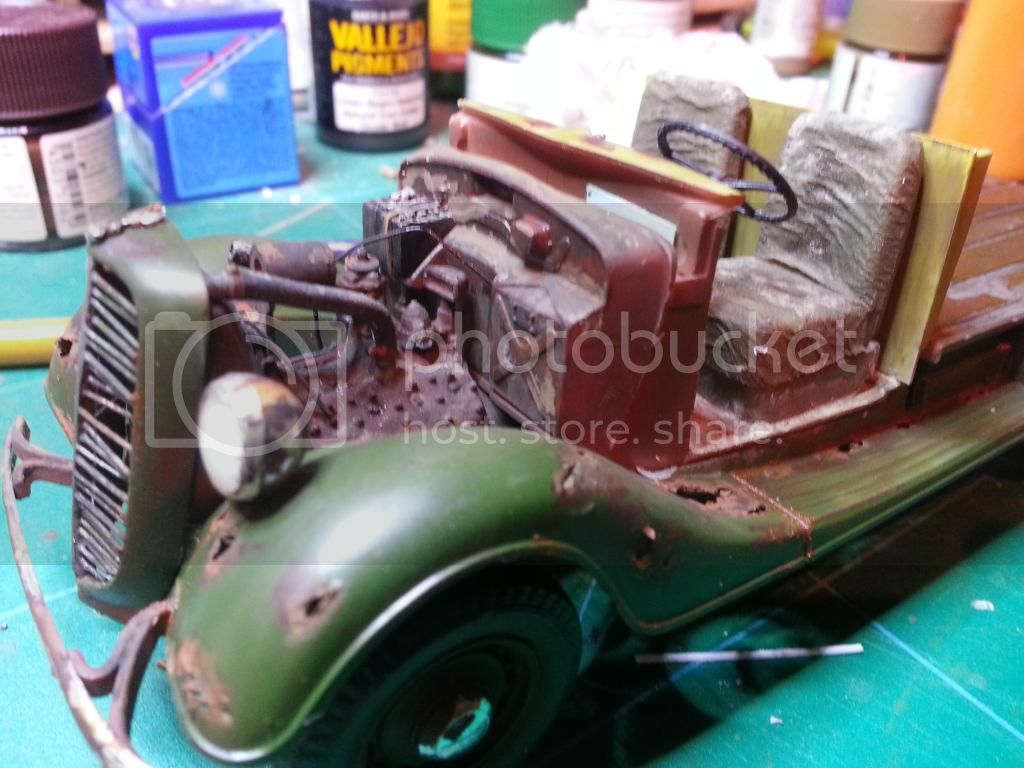
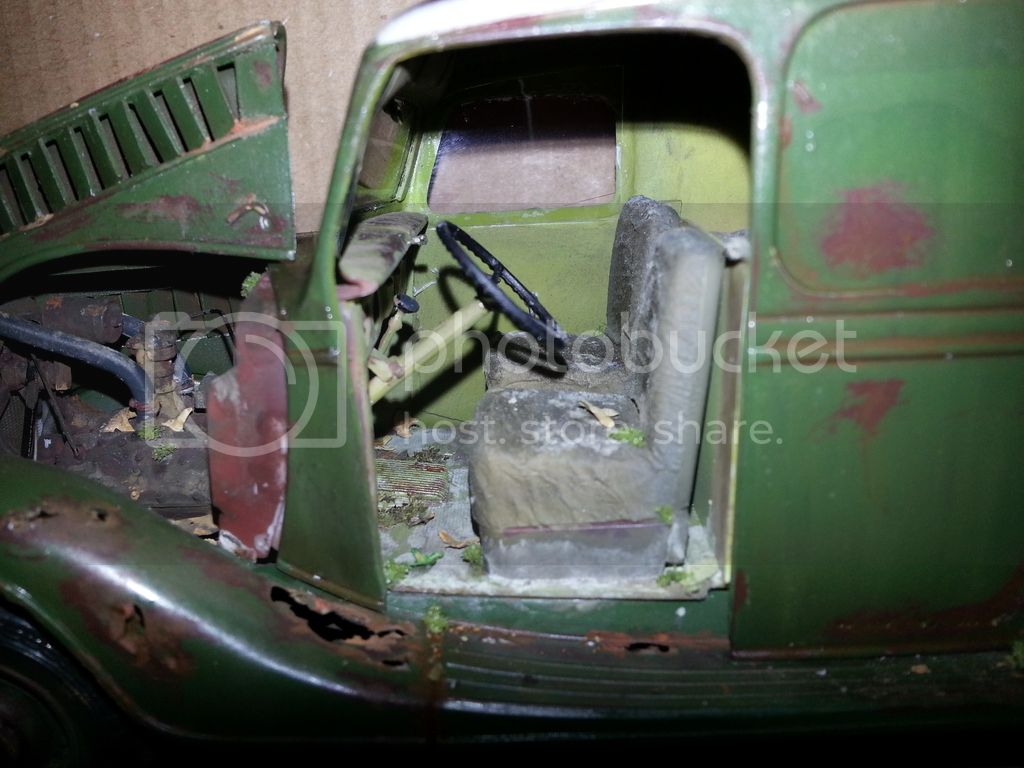
The interior was very basic, as the real thing surely was too, but it looked plastic and toy like. The seats needed something. Tissue paper is great for creating tarps etc. but is equally good for seat coverings. Here the seats after having had the tissue treatment. Wood glue is my choice of adhesive.
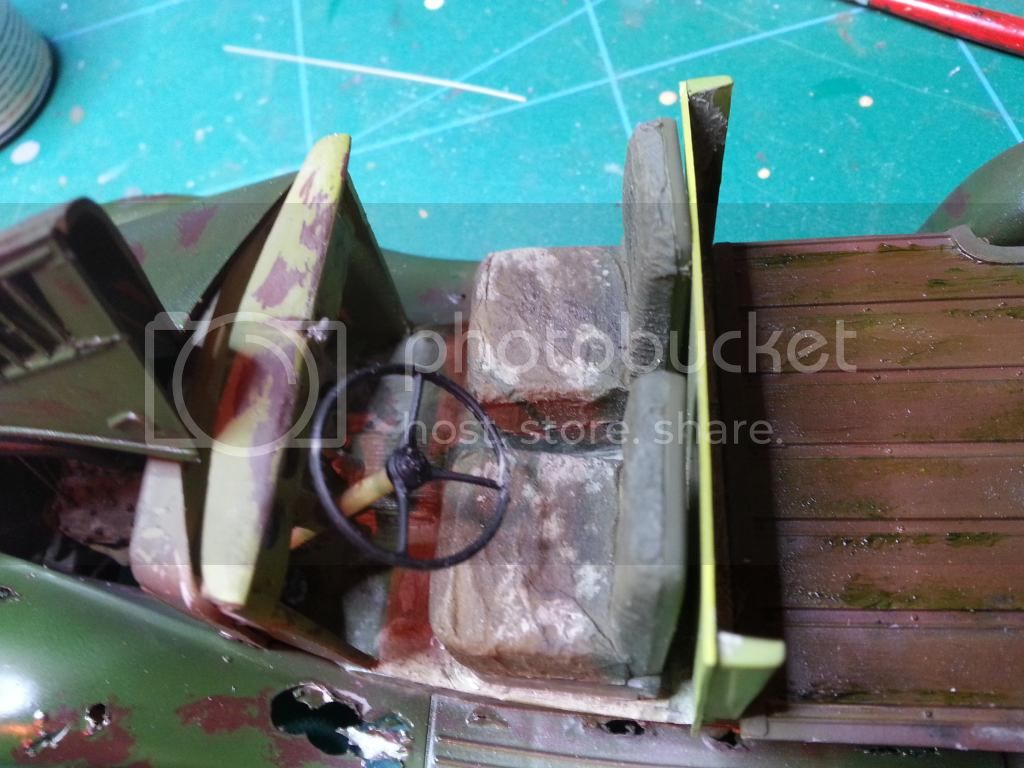
The rest of the interior consisted of a steering wheel and 2 foot pedals. I sprayed the interior a lighter green colour than what the outside would be. weathered using the hairspray method again.
The cab with the side panels removed, painted and the seats and wheel in place.
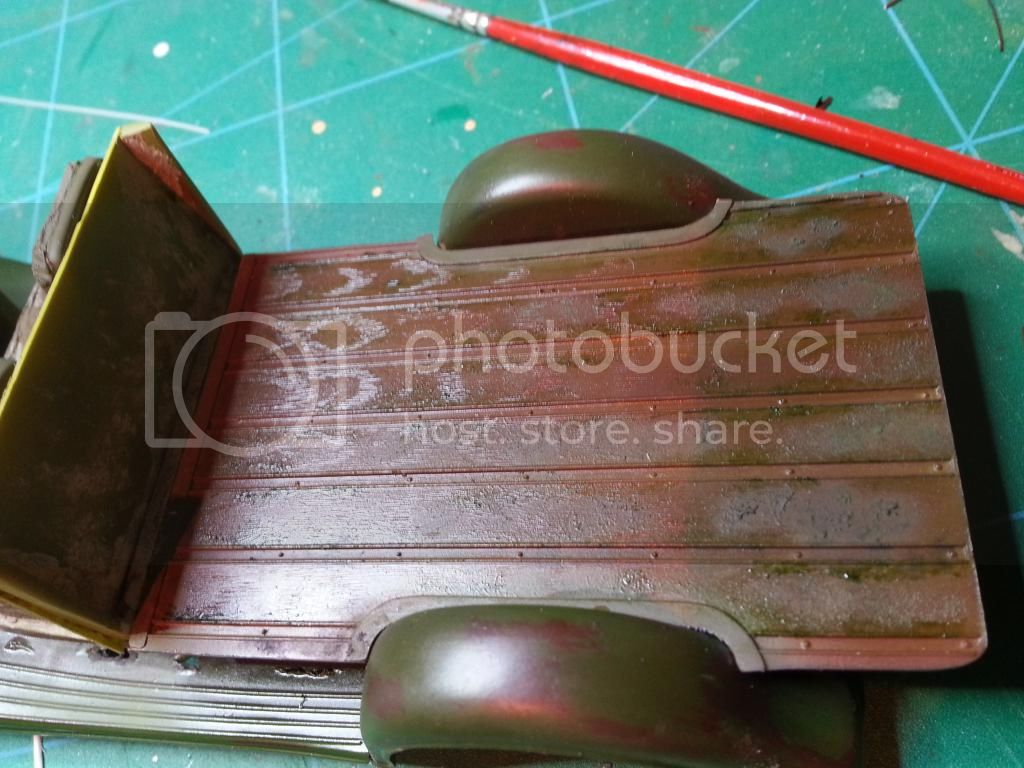
The flatbed in the back was hull red with some sap green oil paint applied after it had dried. The wood would atract moss and slime being close to water.
Next up was the paint for the main shell. Tamiya Med. green the same as the base. Same treatment as before with the hairspray, and base and shell received a coat of Klear again. Now for the weathering.
I used the oil paint dot method (1st time and impressed), wiping the paint in a downward motion causing streaks.
Once all dry, a little dry fitting of parts
Then start glueing it together.
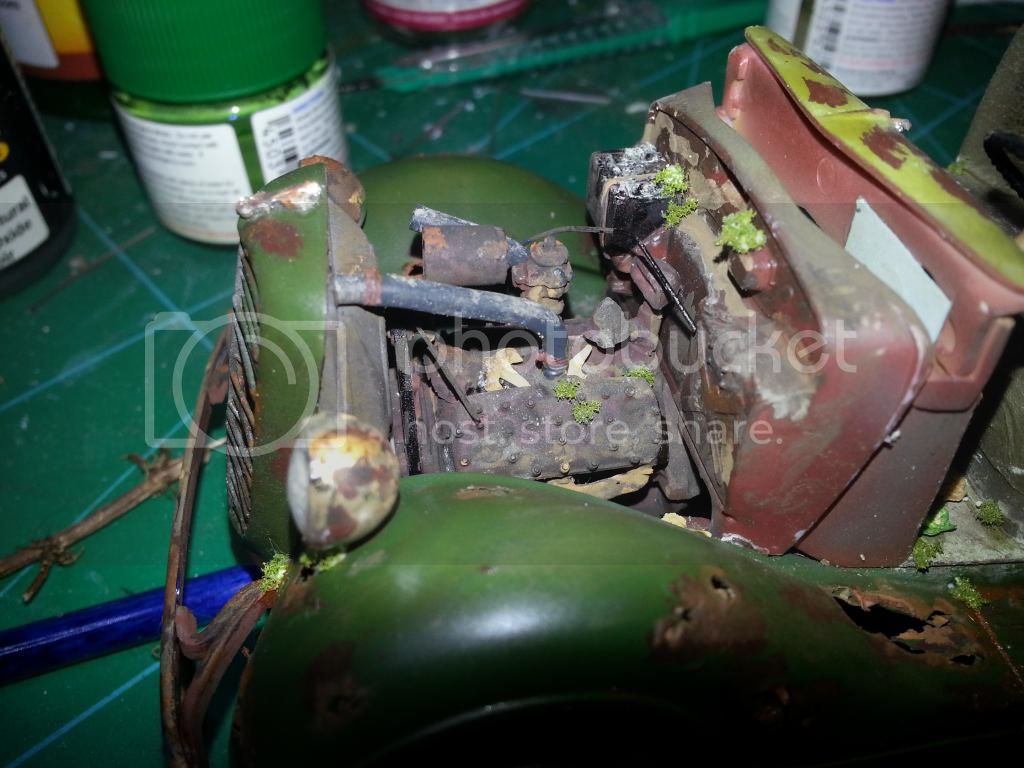
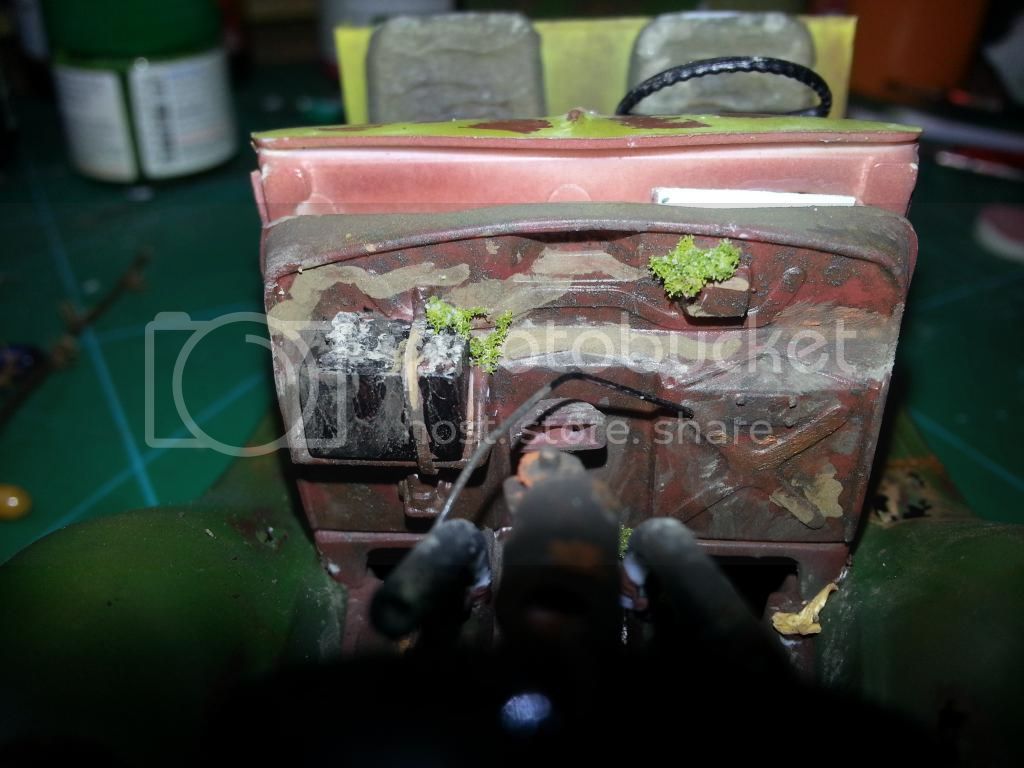
Once the engine was in the chasis I cut one hose and drilled it out and added a little oil streaks and a little more humbrol pigments. Then the base could be attached to the chasis.
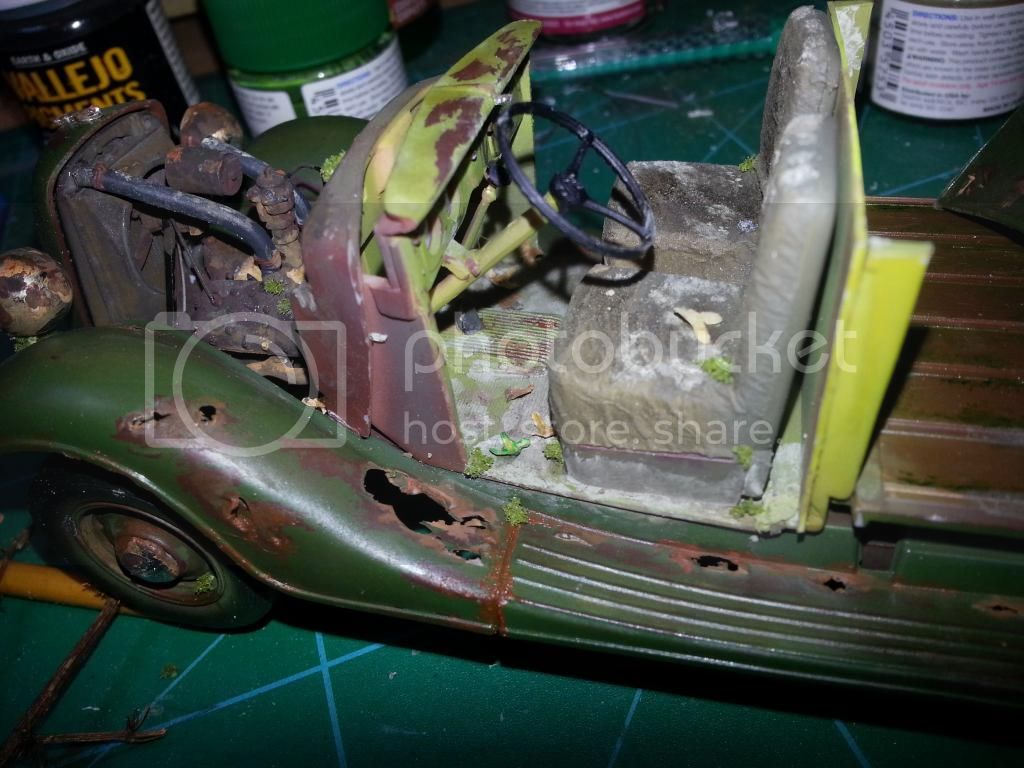
Wanted the engine look like nature was taking over a little, so some moss.
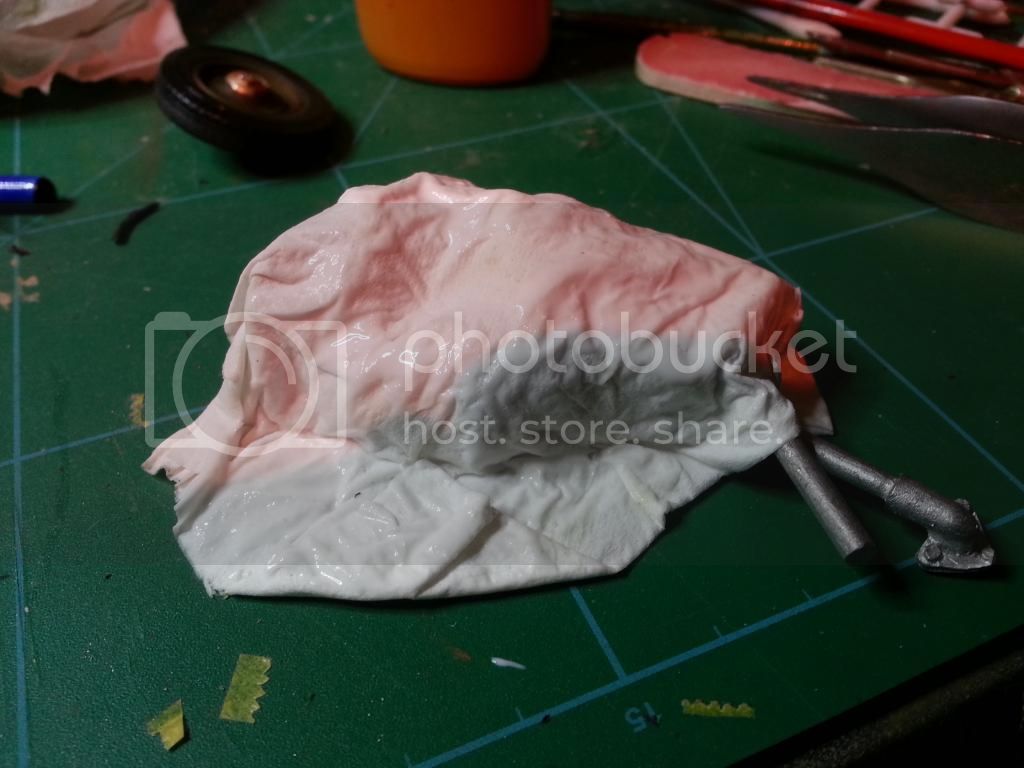
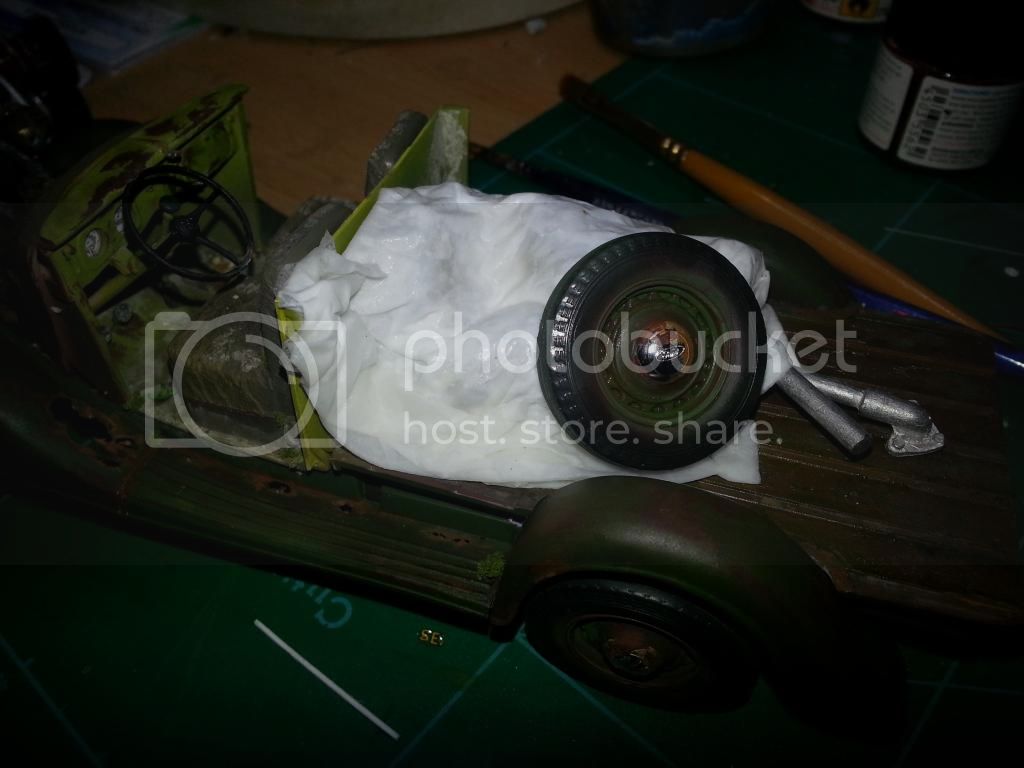
Meanwhile I worked on something to go in the back of the van. A few bits of metal and the spare wheel and a tarp cover.....where did I put that tissue paper?
And in place
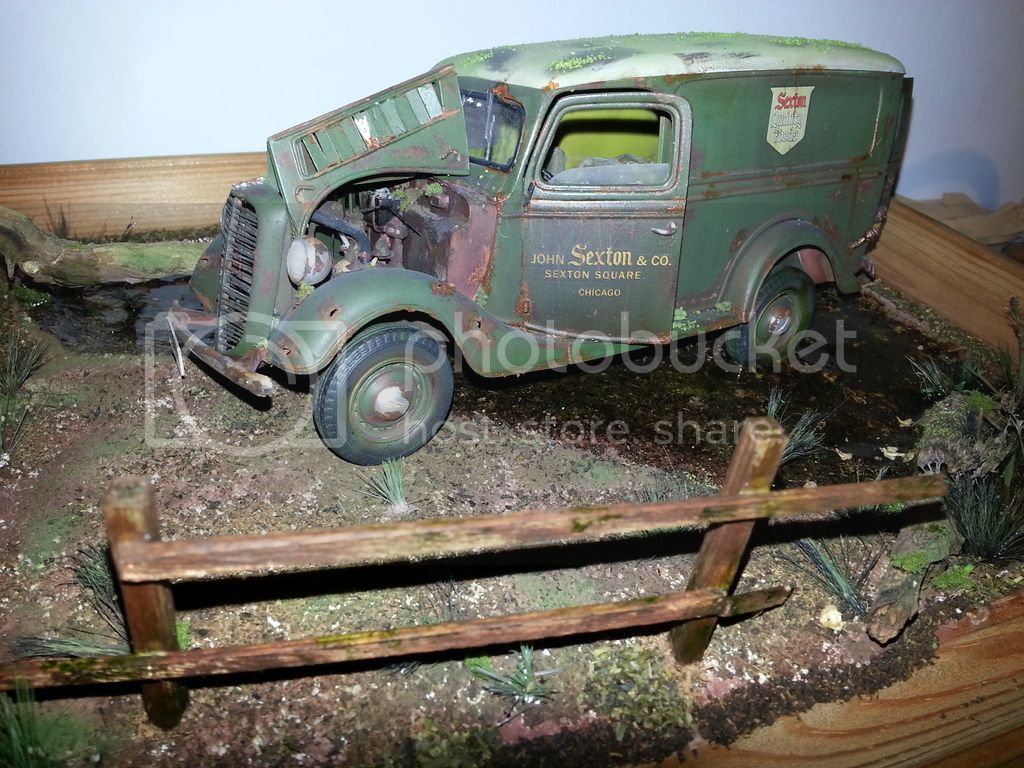
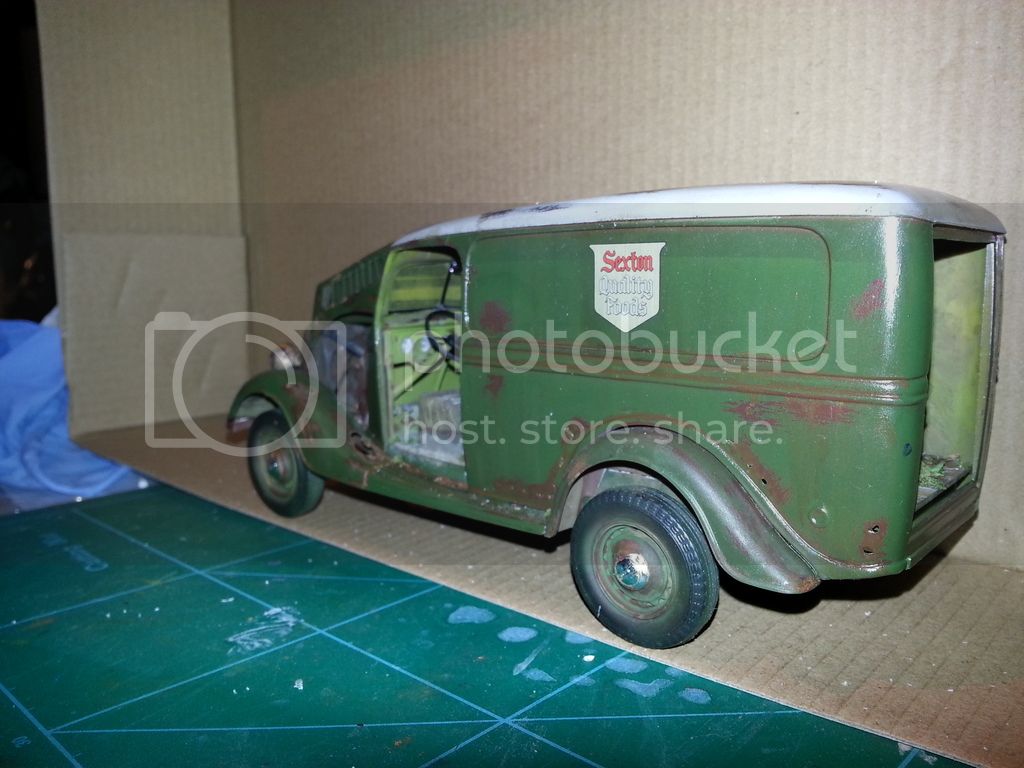
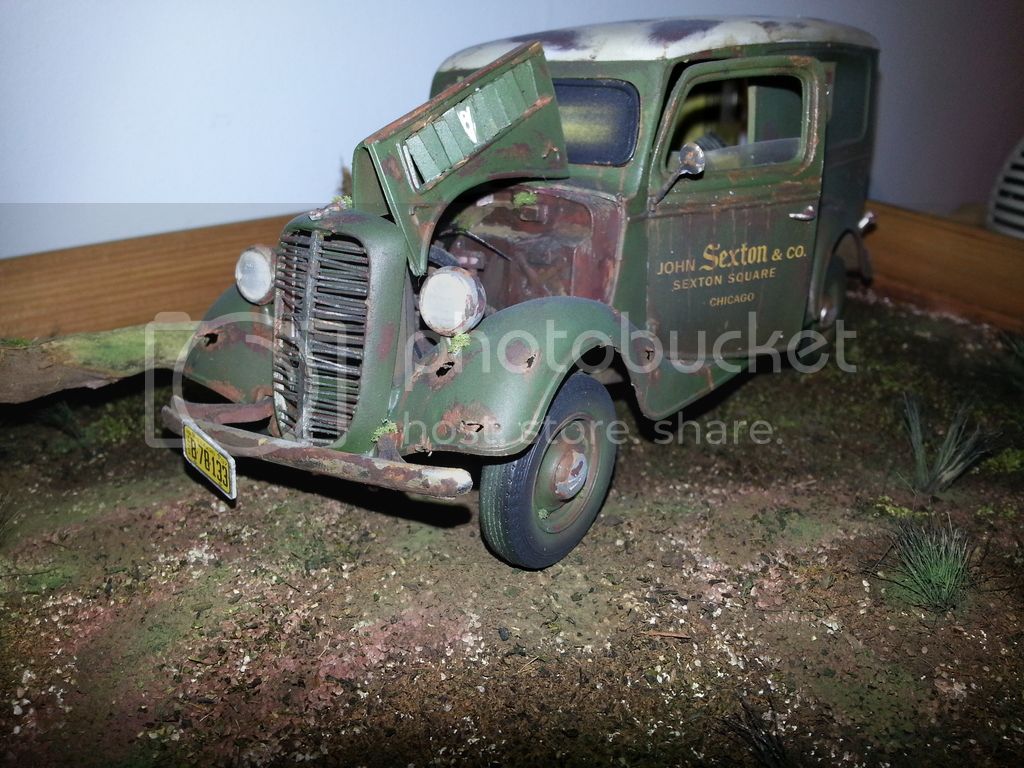
Decals..... the kit has 3 options. Ambulance, Police or delivery van. I went for the latter. I used Micro set and sol and the decals went on well, and looked nice and clean with a coat of Klear on......too clean
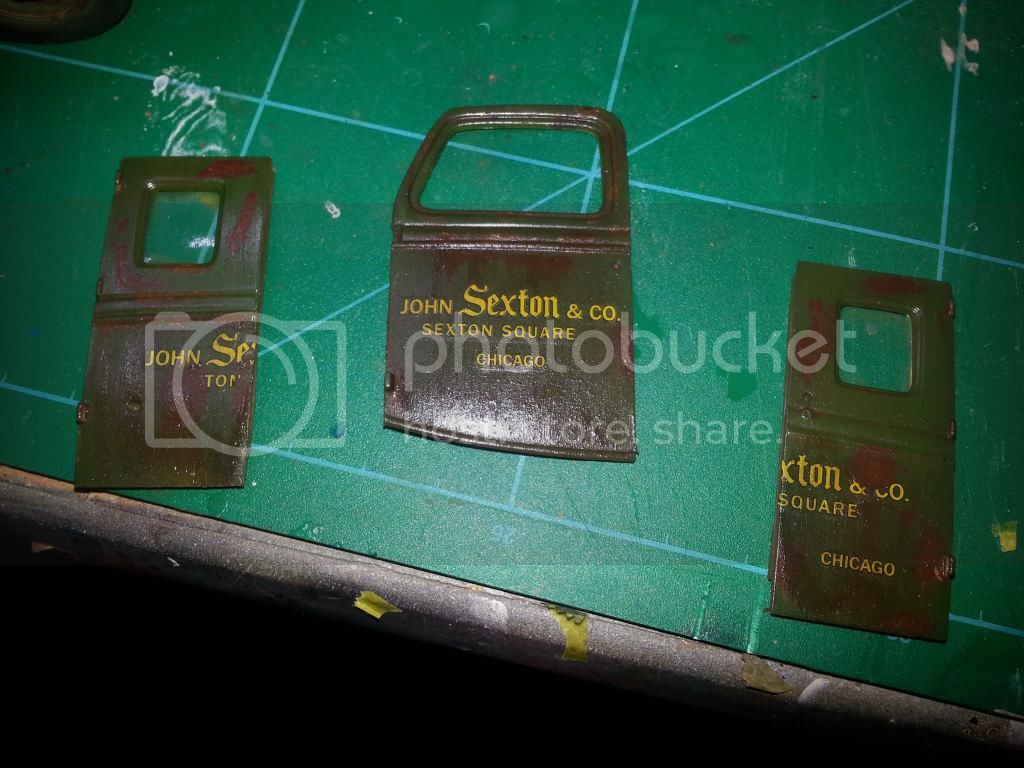
As you can see they have been dirtied up, using the dot method again
I dry fitted the door numerous times looking for the angle I wanted it
no doubt it will change again before the end.
I started on the base before I went any further. I wanted the van to be abandoned in a marshy area. I used a picture frame which was deep, placed a corner shelf into one corner, leaving a depression throughout the rest of the base.
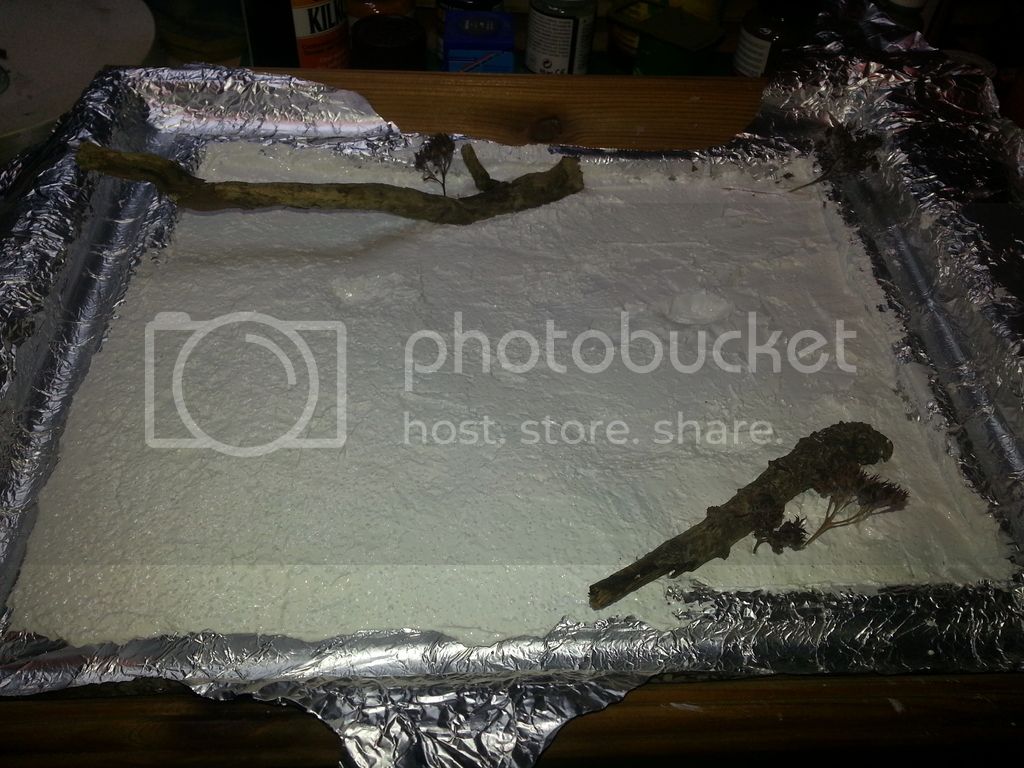
Some filla and a few twigs as trees.
Still not sure where the door will be positioned.
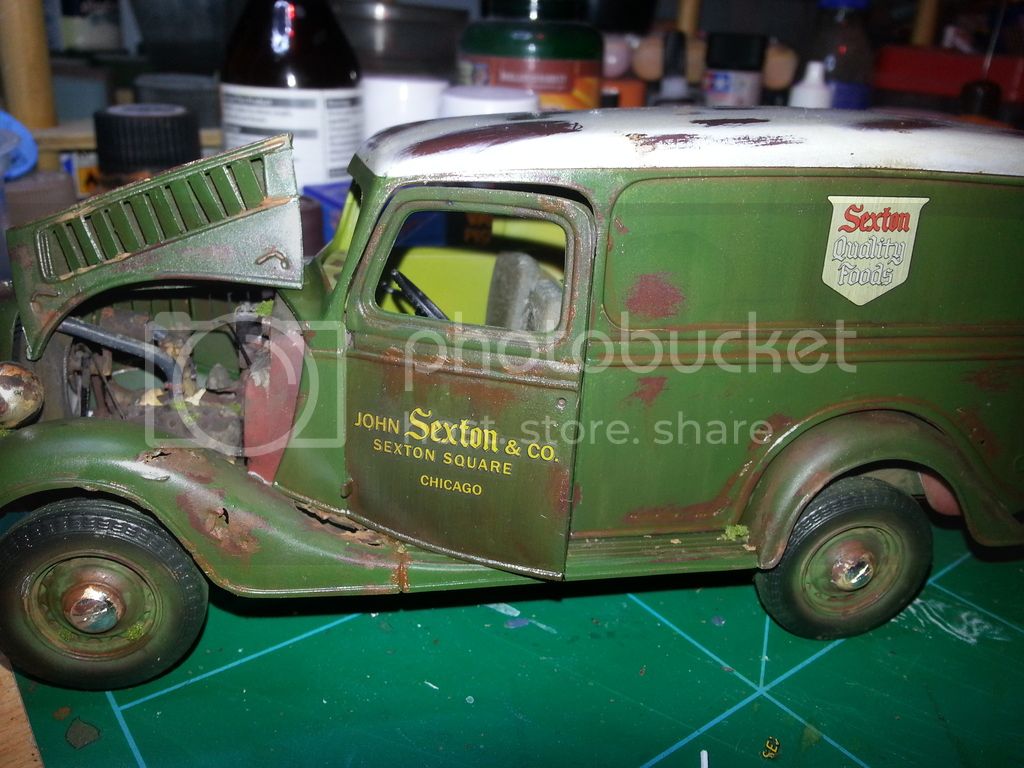
The van was taking shape now (still no door though) and weathering was almost complete.
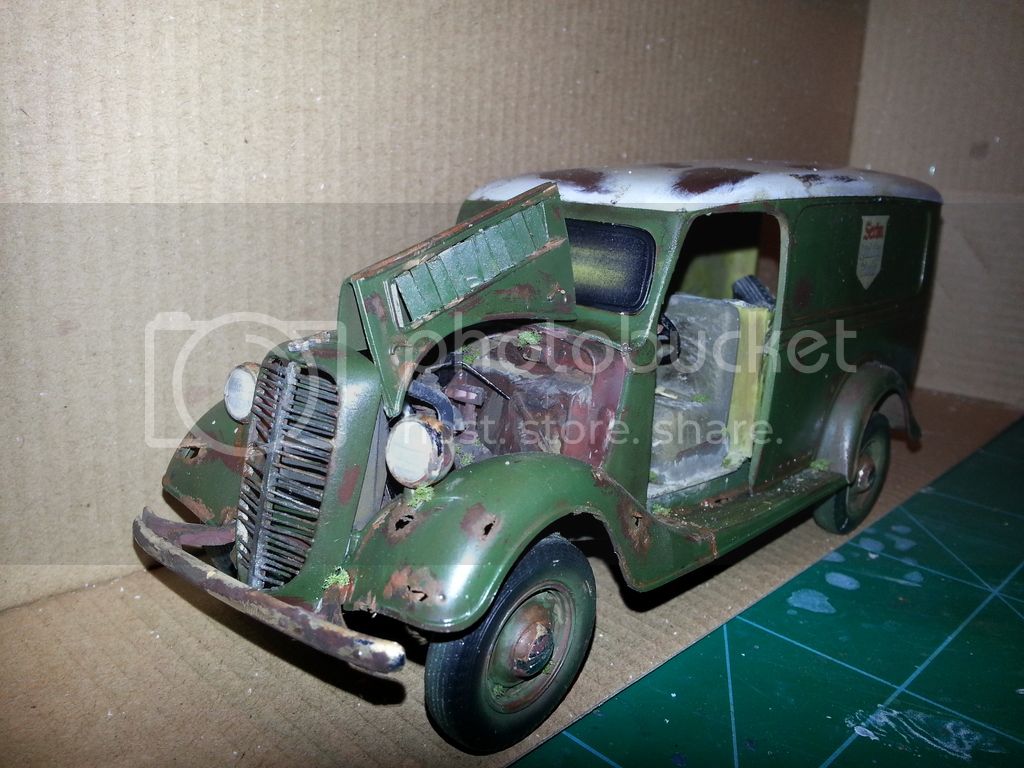
The bumpers.....I sanded some of the bright chrome they coat them with but left a little on.
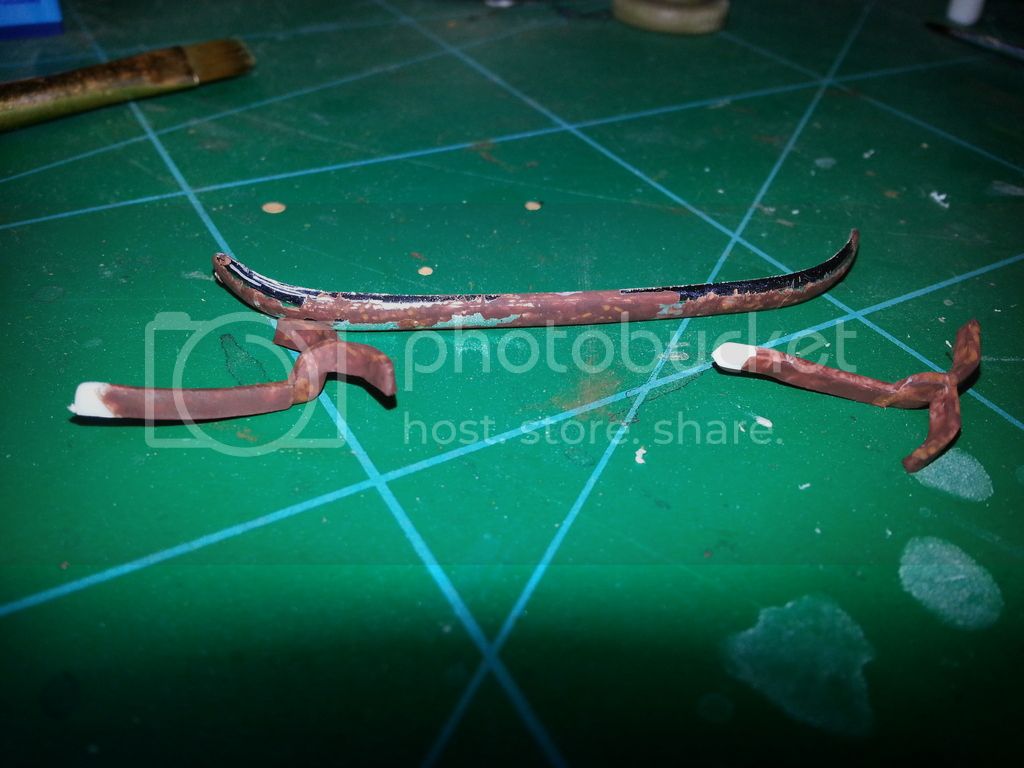
I painted hull red on the bare part and weathered with the mixture I used on the chasis but a little black in there.
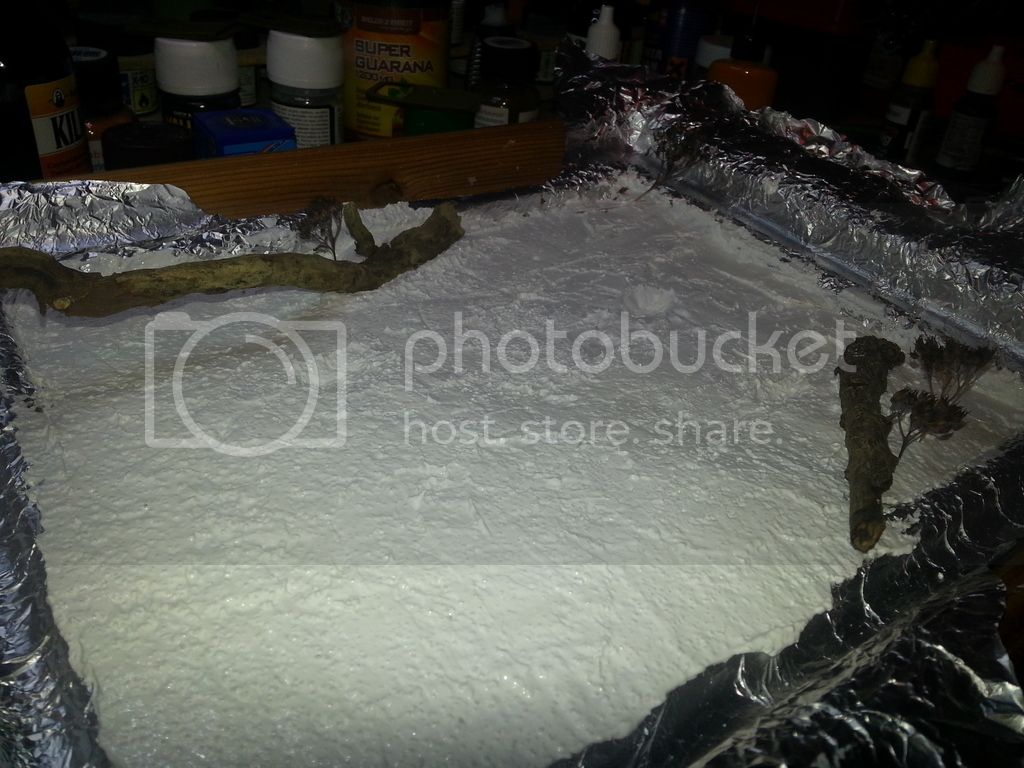
Back to the base
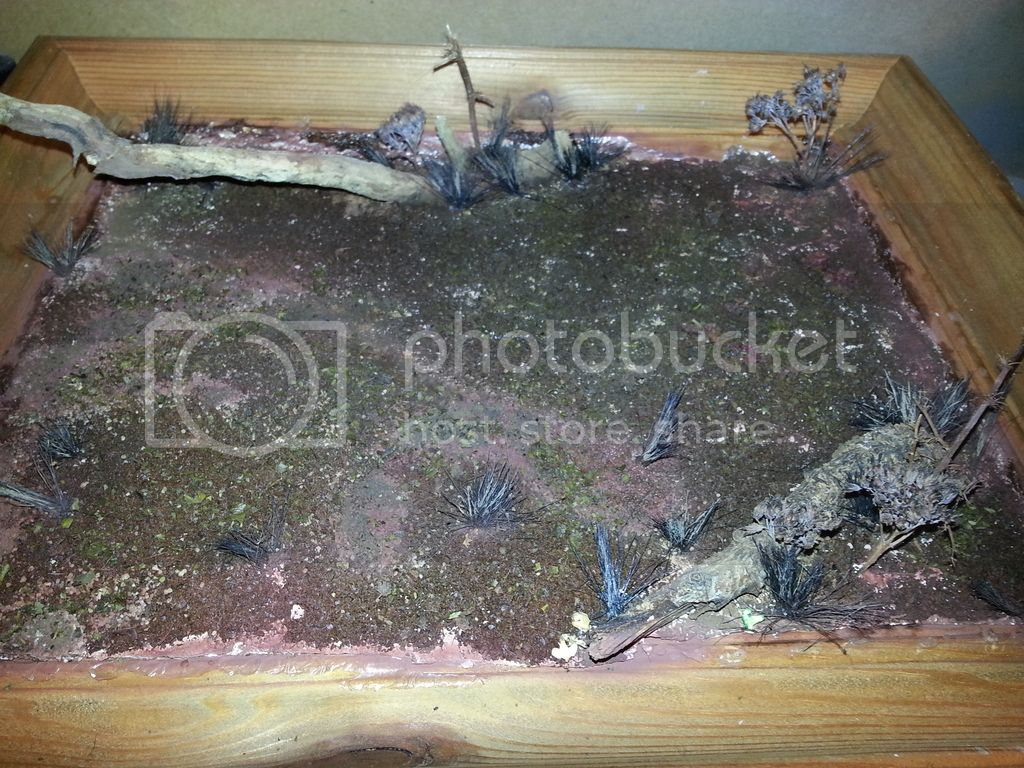
I used dried tea leaves for the base, mixed with some fresh ones. The dried ones are a browny colour the fresh are more dark. Some bristles from a new paint brush for reeds and grass.
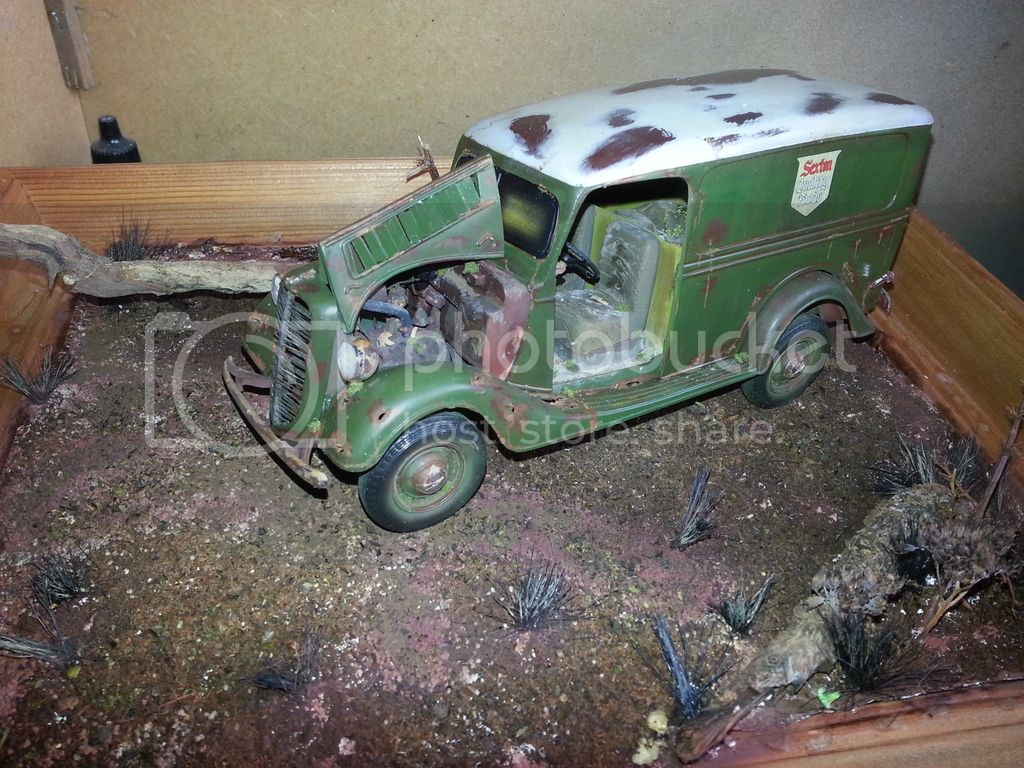
And a look with the van in situ. Still no door?
The van received the windshield which I painted black and here is still masked, again dry fitted to the base.....oh look the door is there

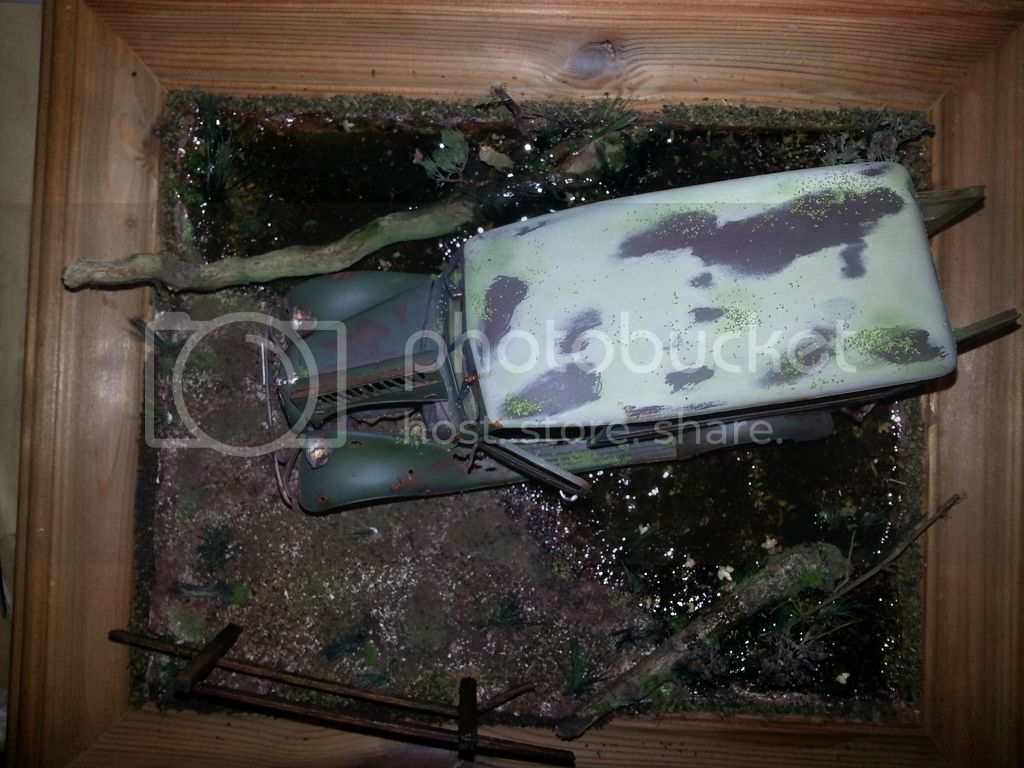
The van is done and ready to be applied to the base. I decided as it would be in water, I would use realistic water, and this would hold it in situ, so no glue required.

The realistic water was just poured in nice and slowly until it filled the base about a centimetre
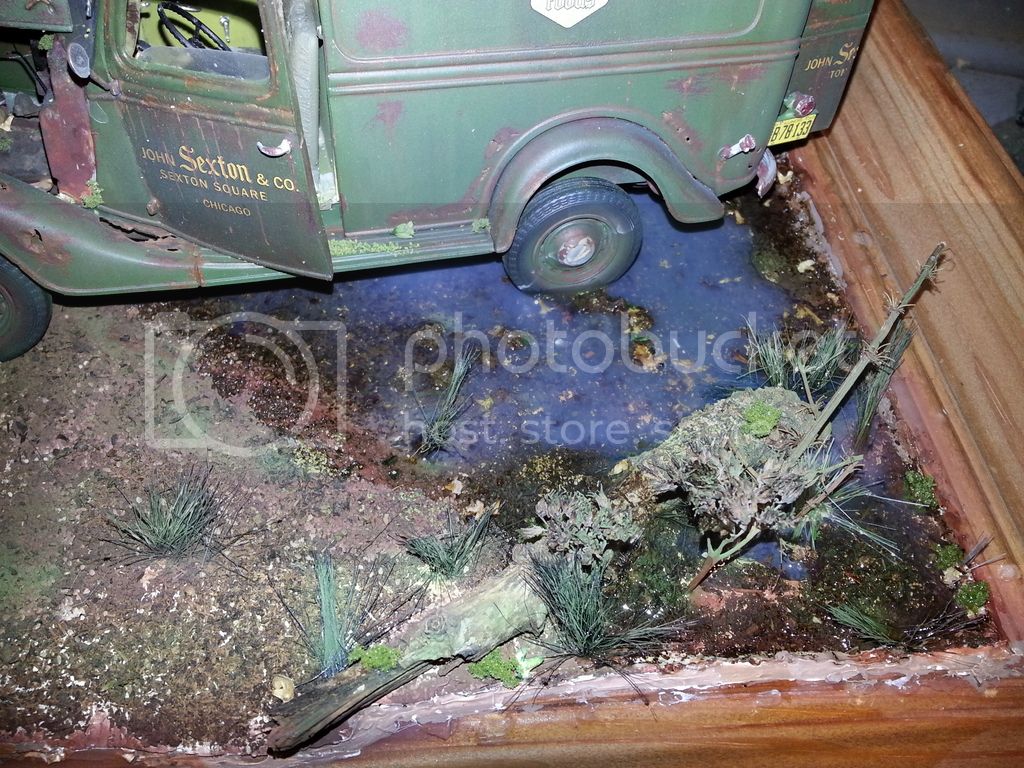
Realistic water is milky when poured, but dries clear.
I gave it 3 more applications to get the depth I wanted.
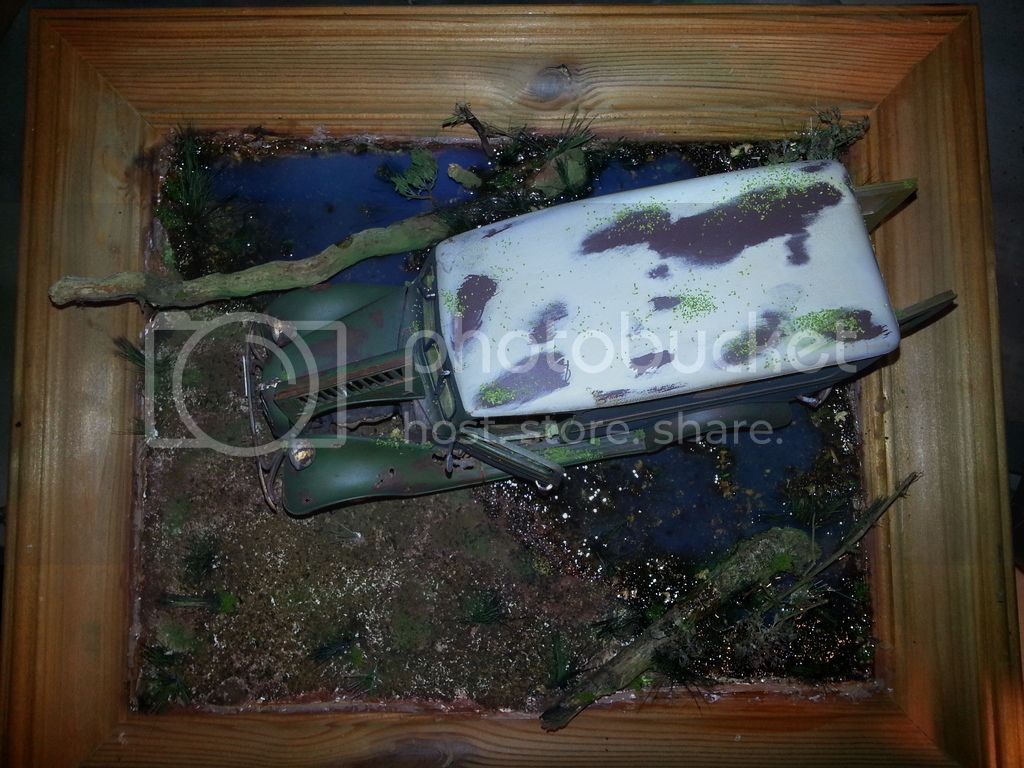
To finish it off I added a wooden fence made from lime strips, and painted with oil paints burnt umber.
I had great fun build this dio, and I hope you had fun looking in and reading how it came to fruition.
Thanks for looking comments welcome.
Pete