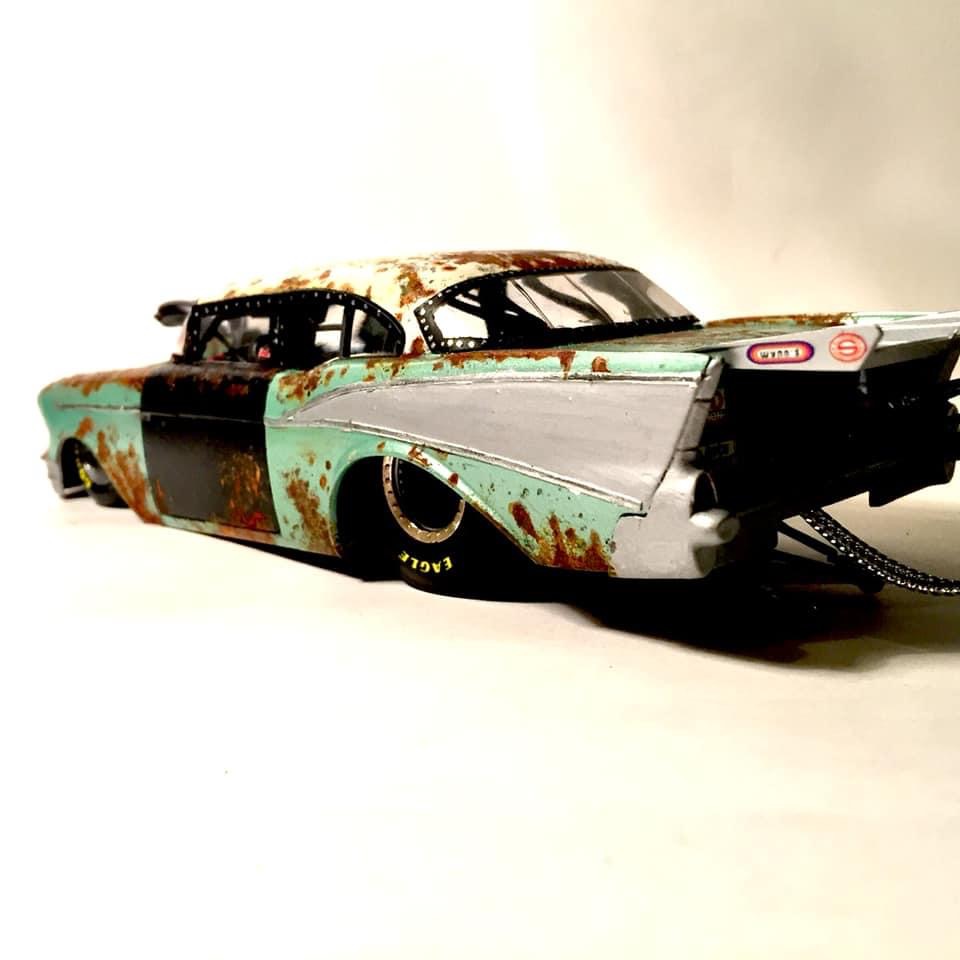
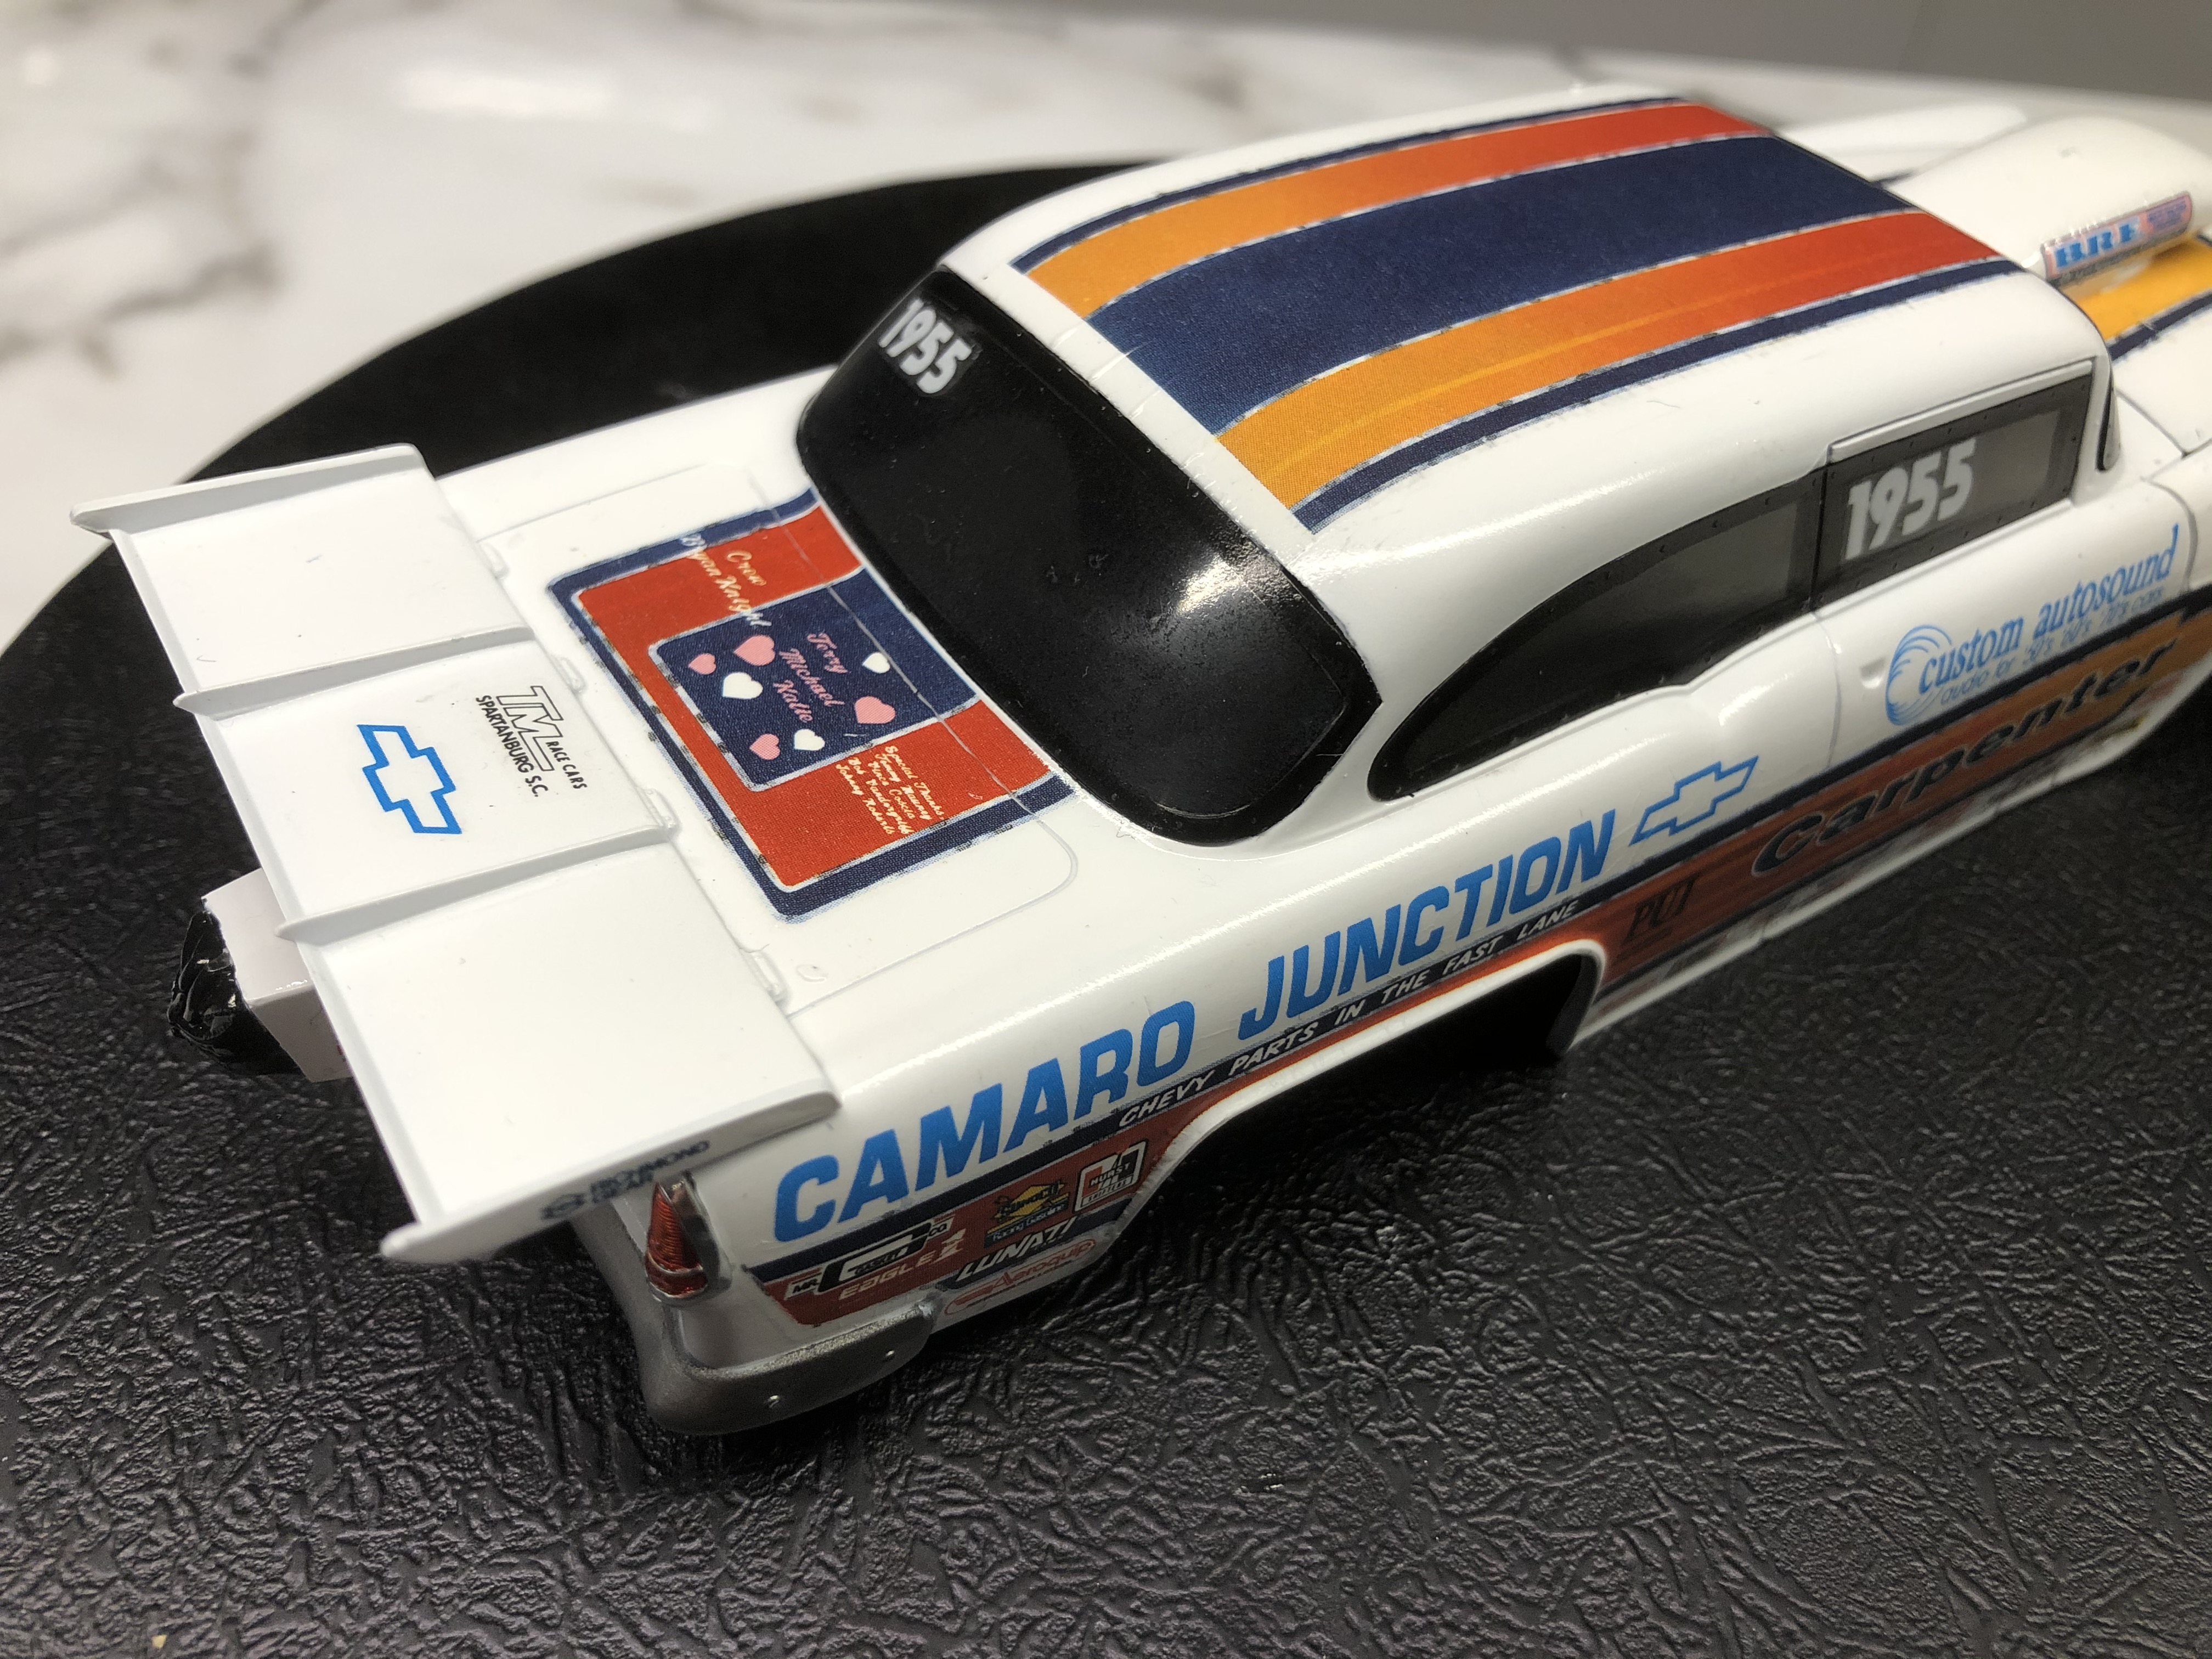
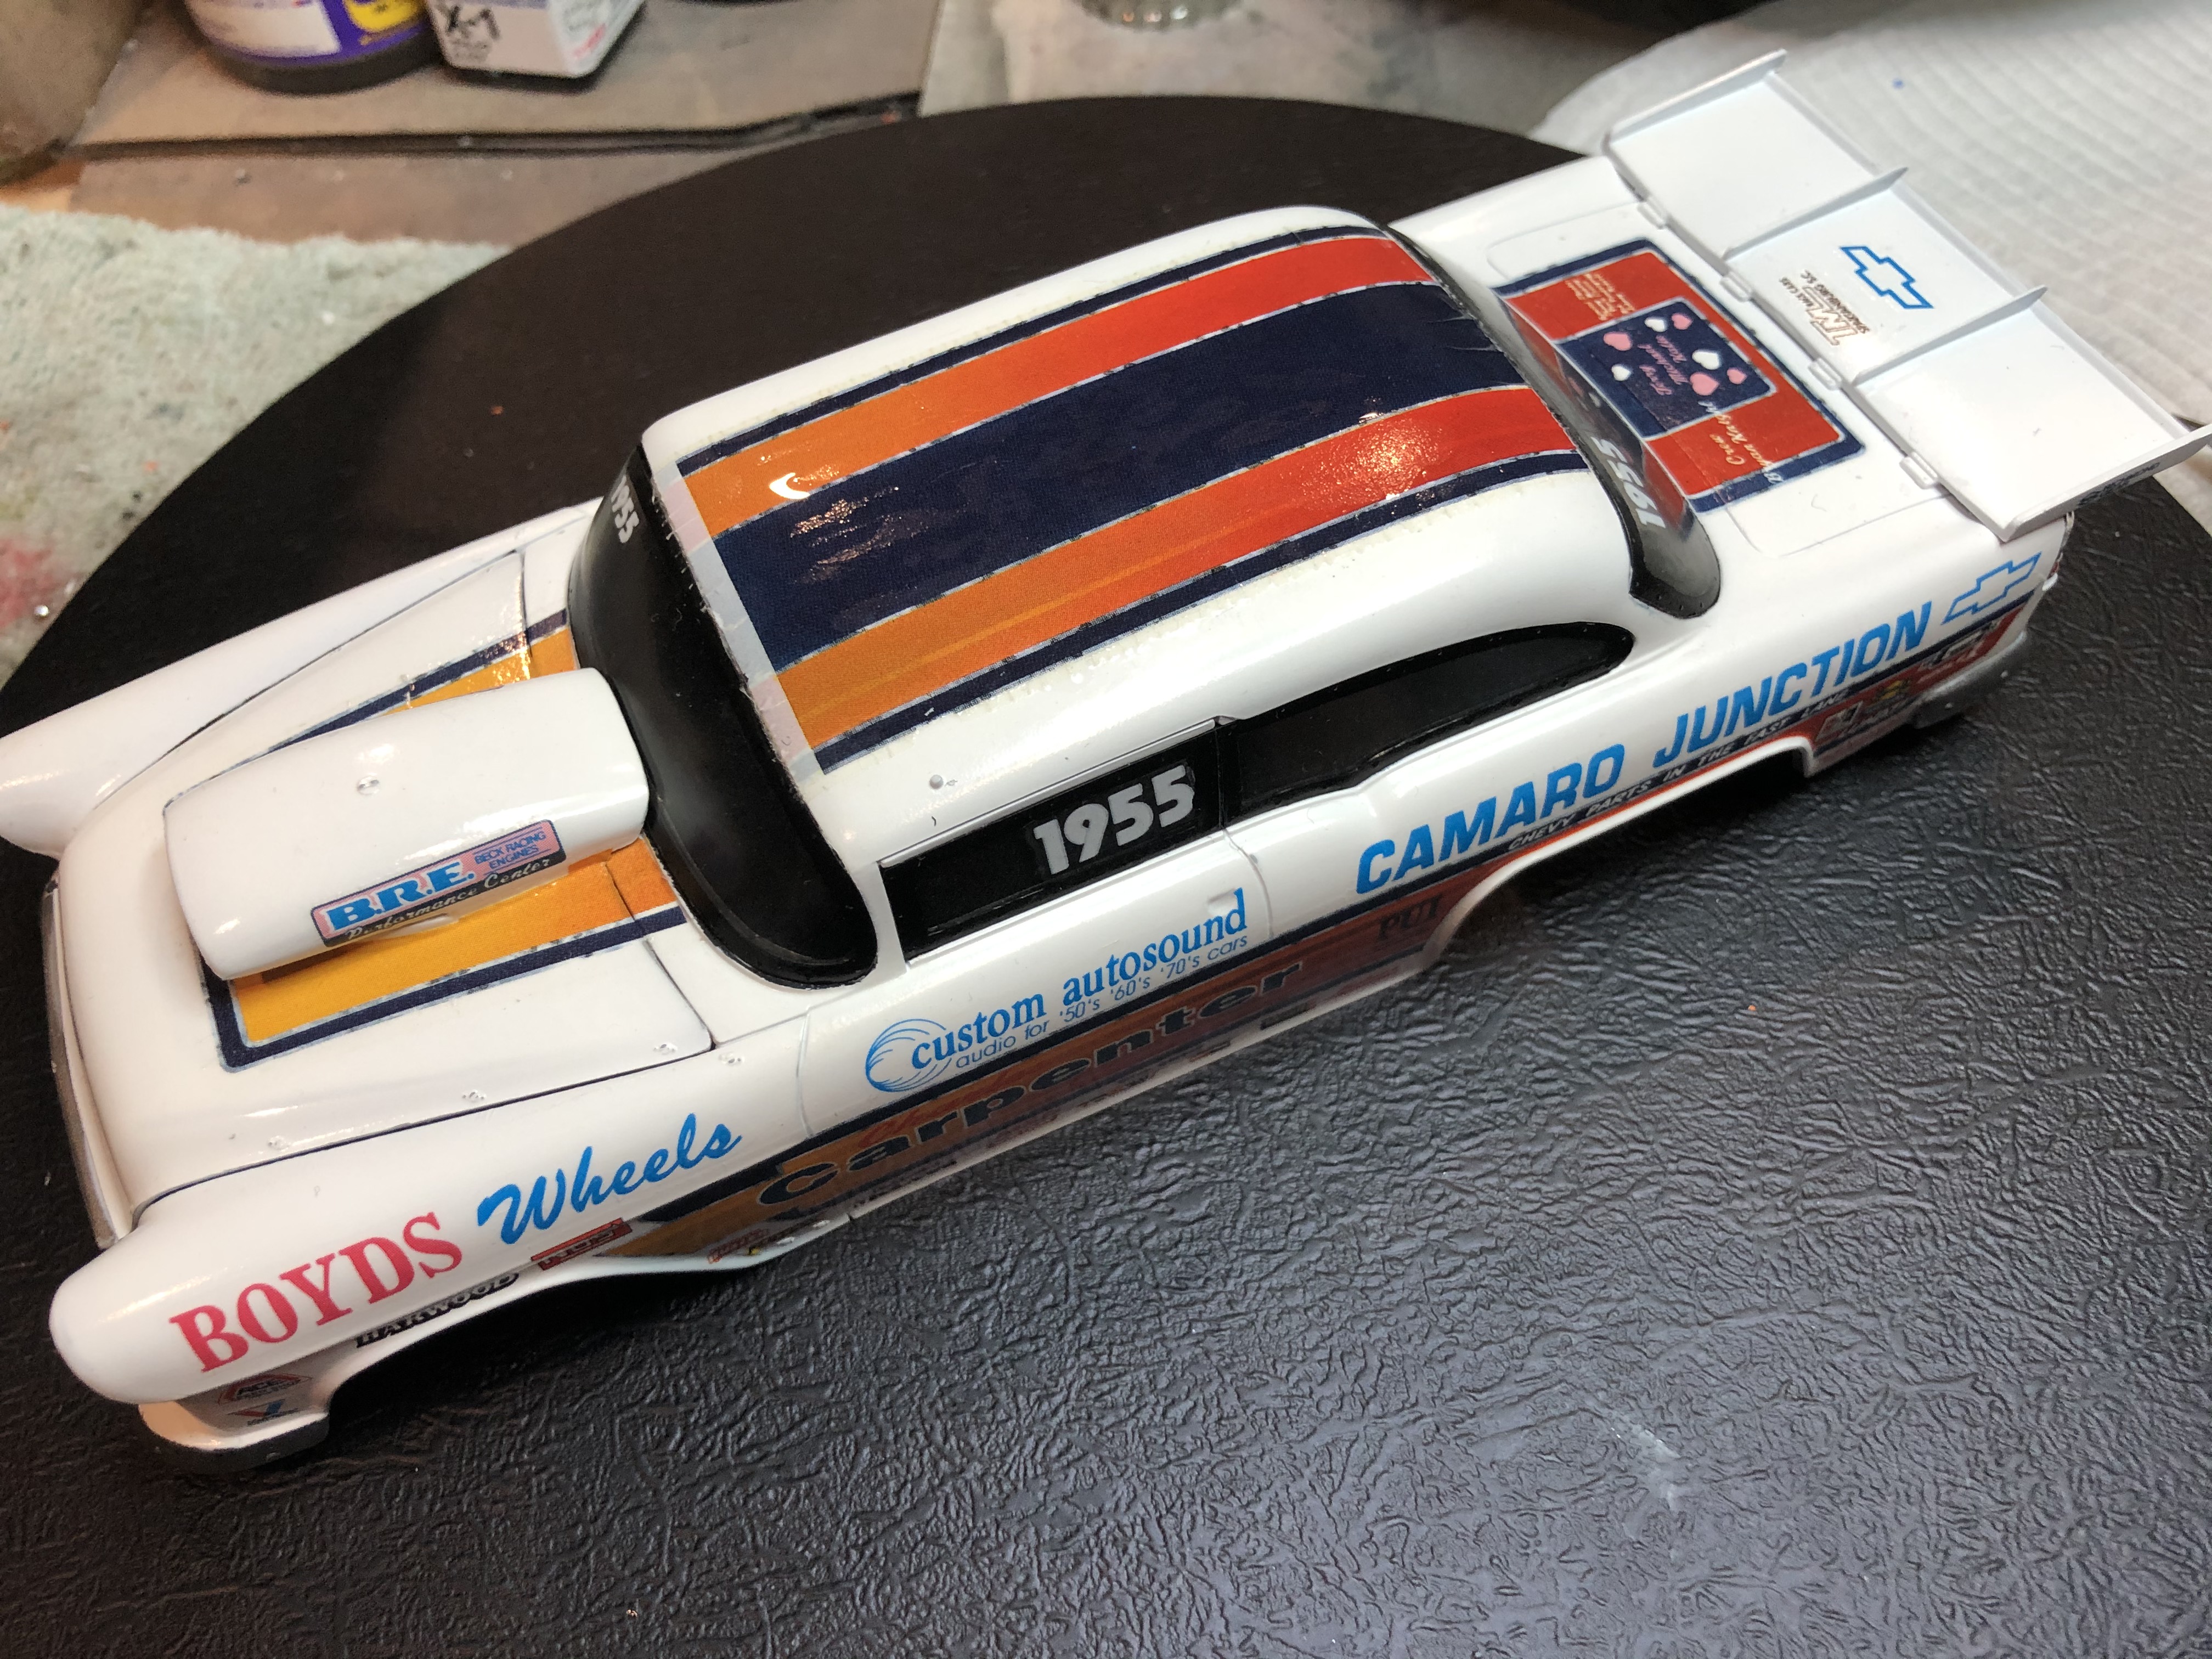
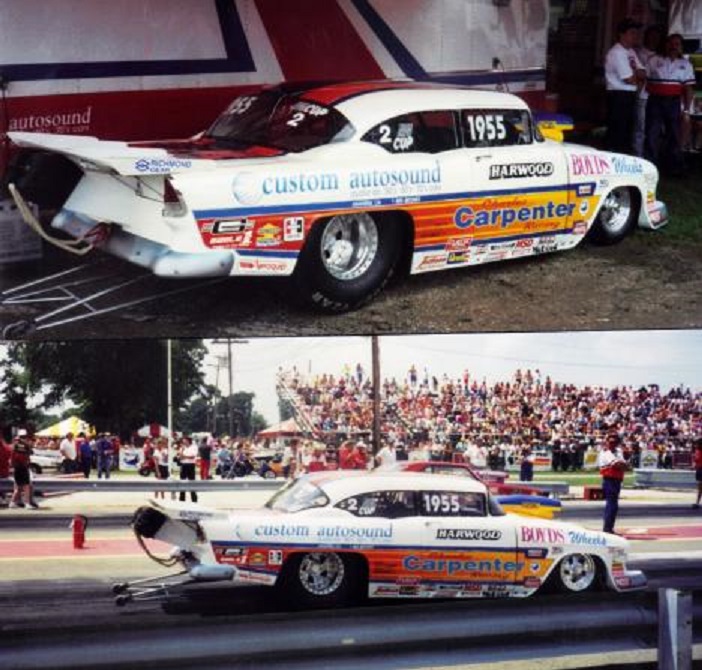
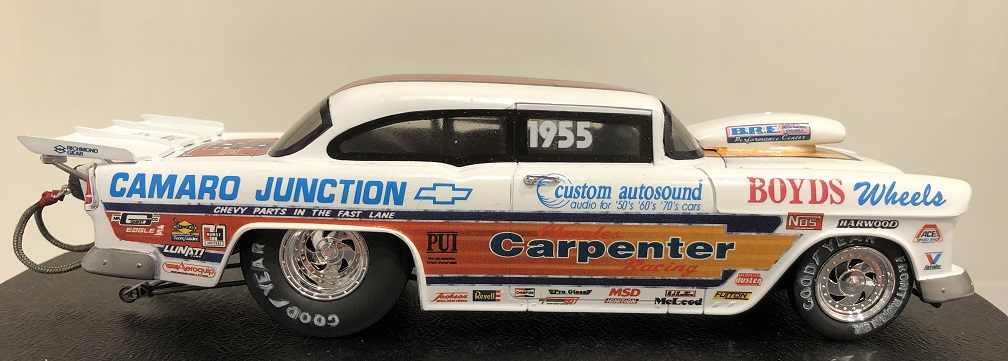
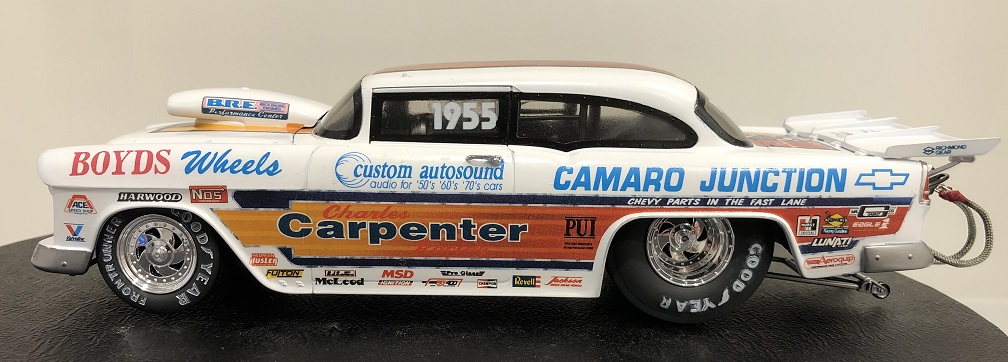
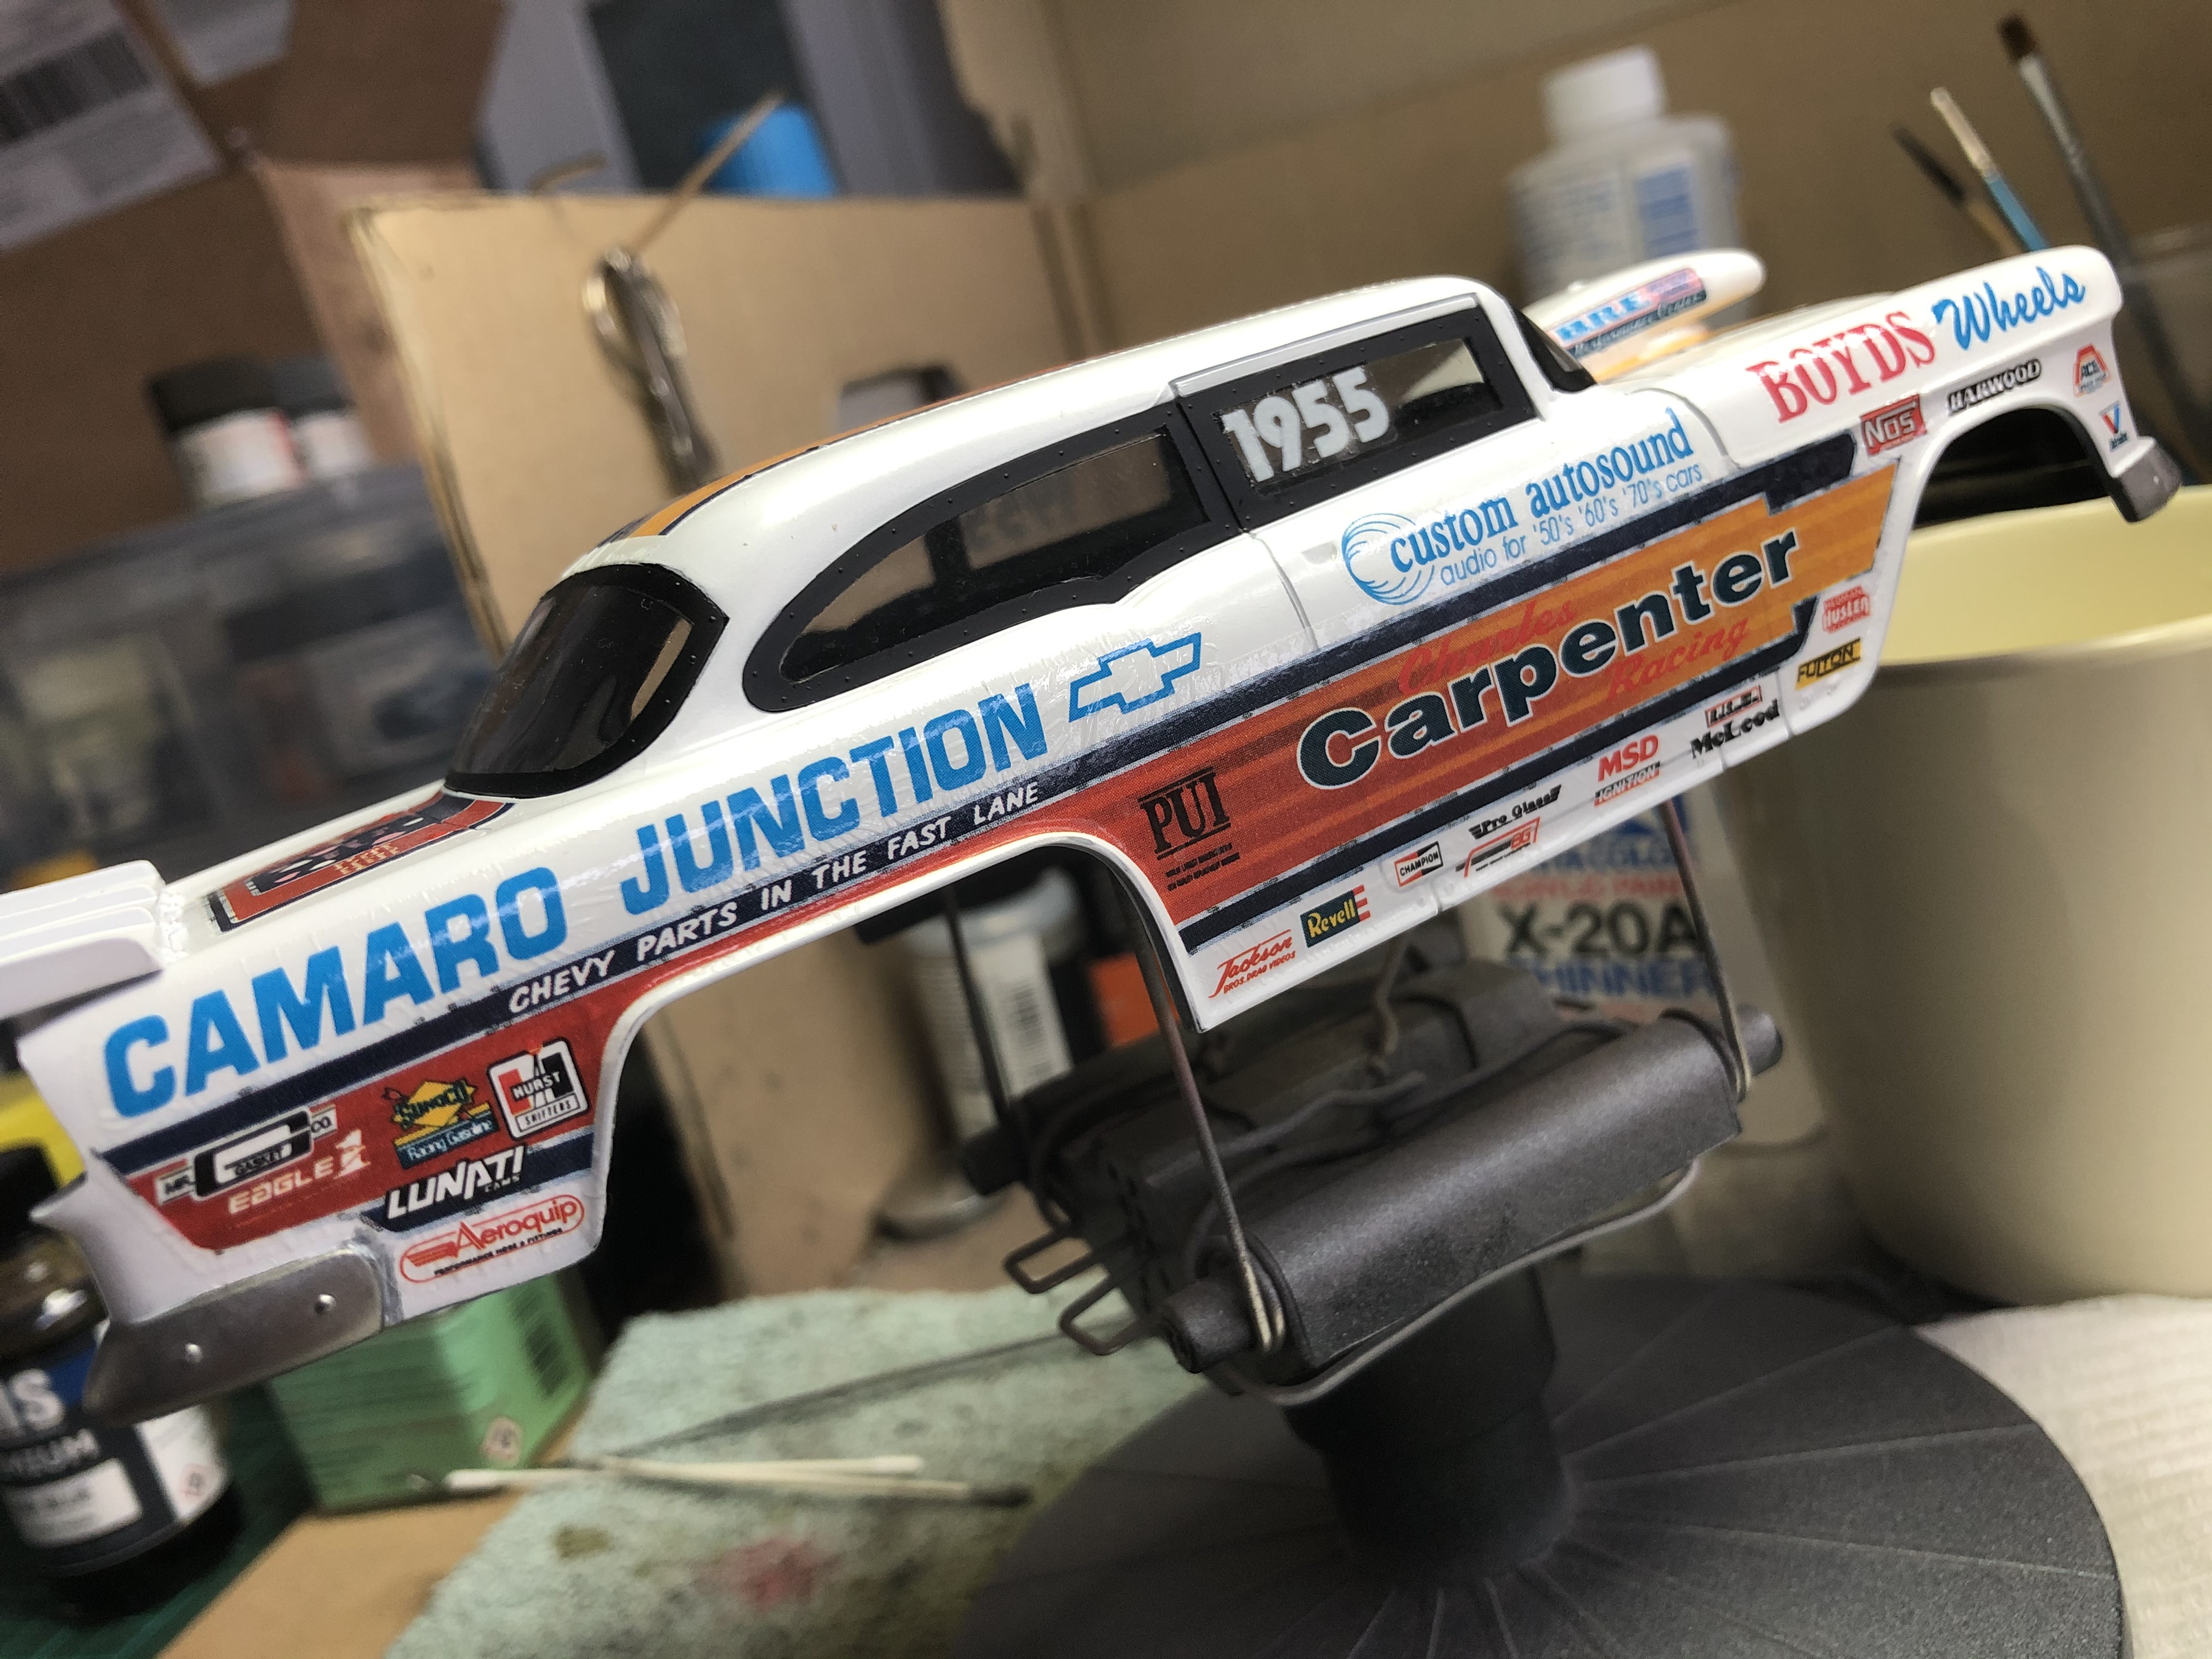
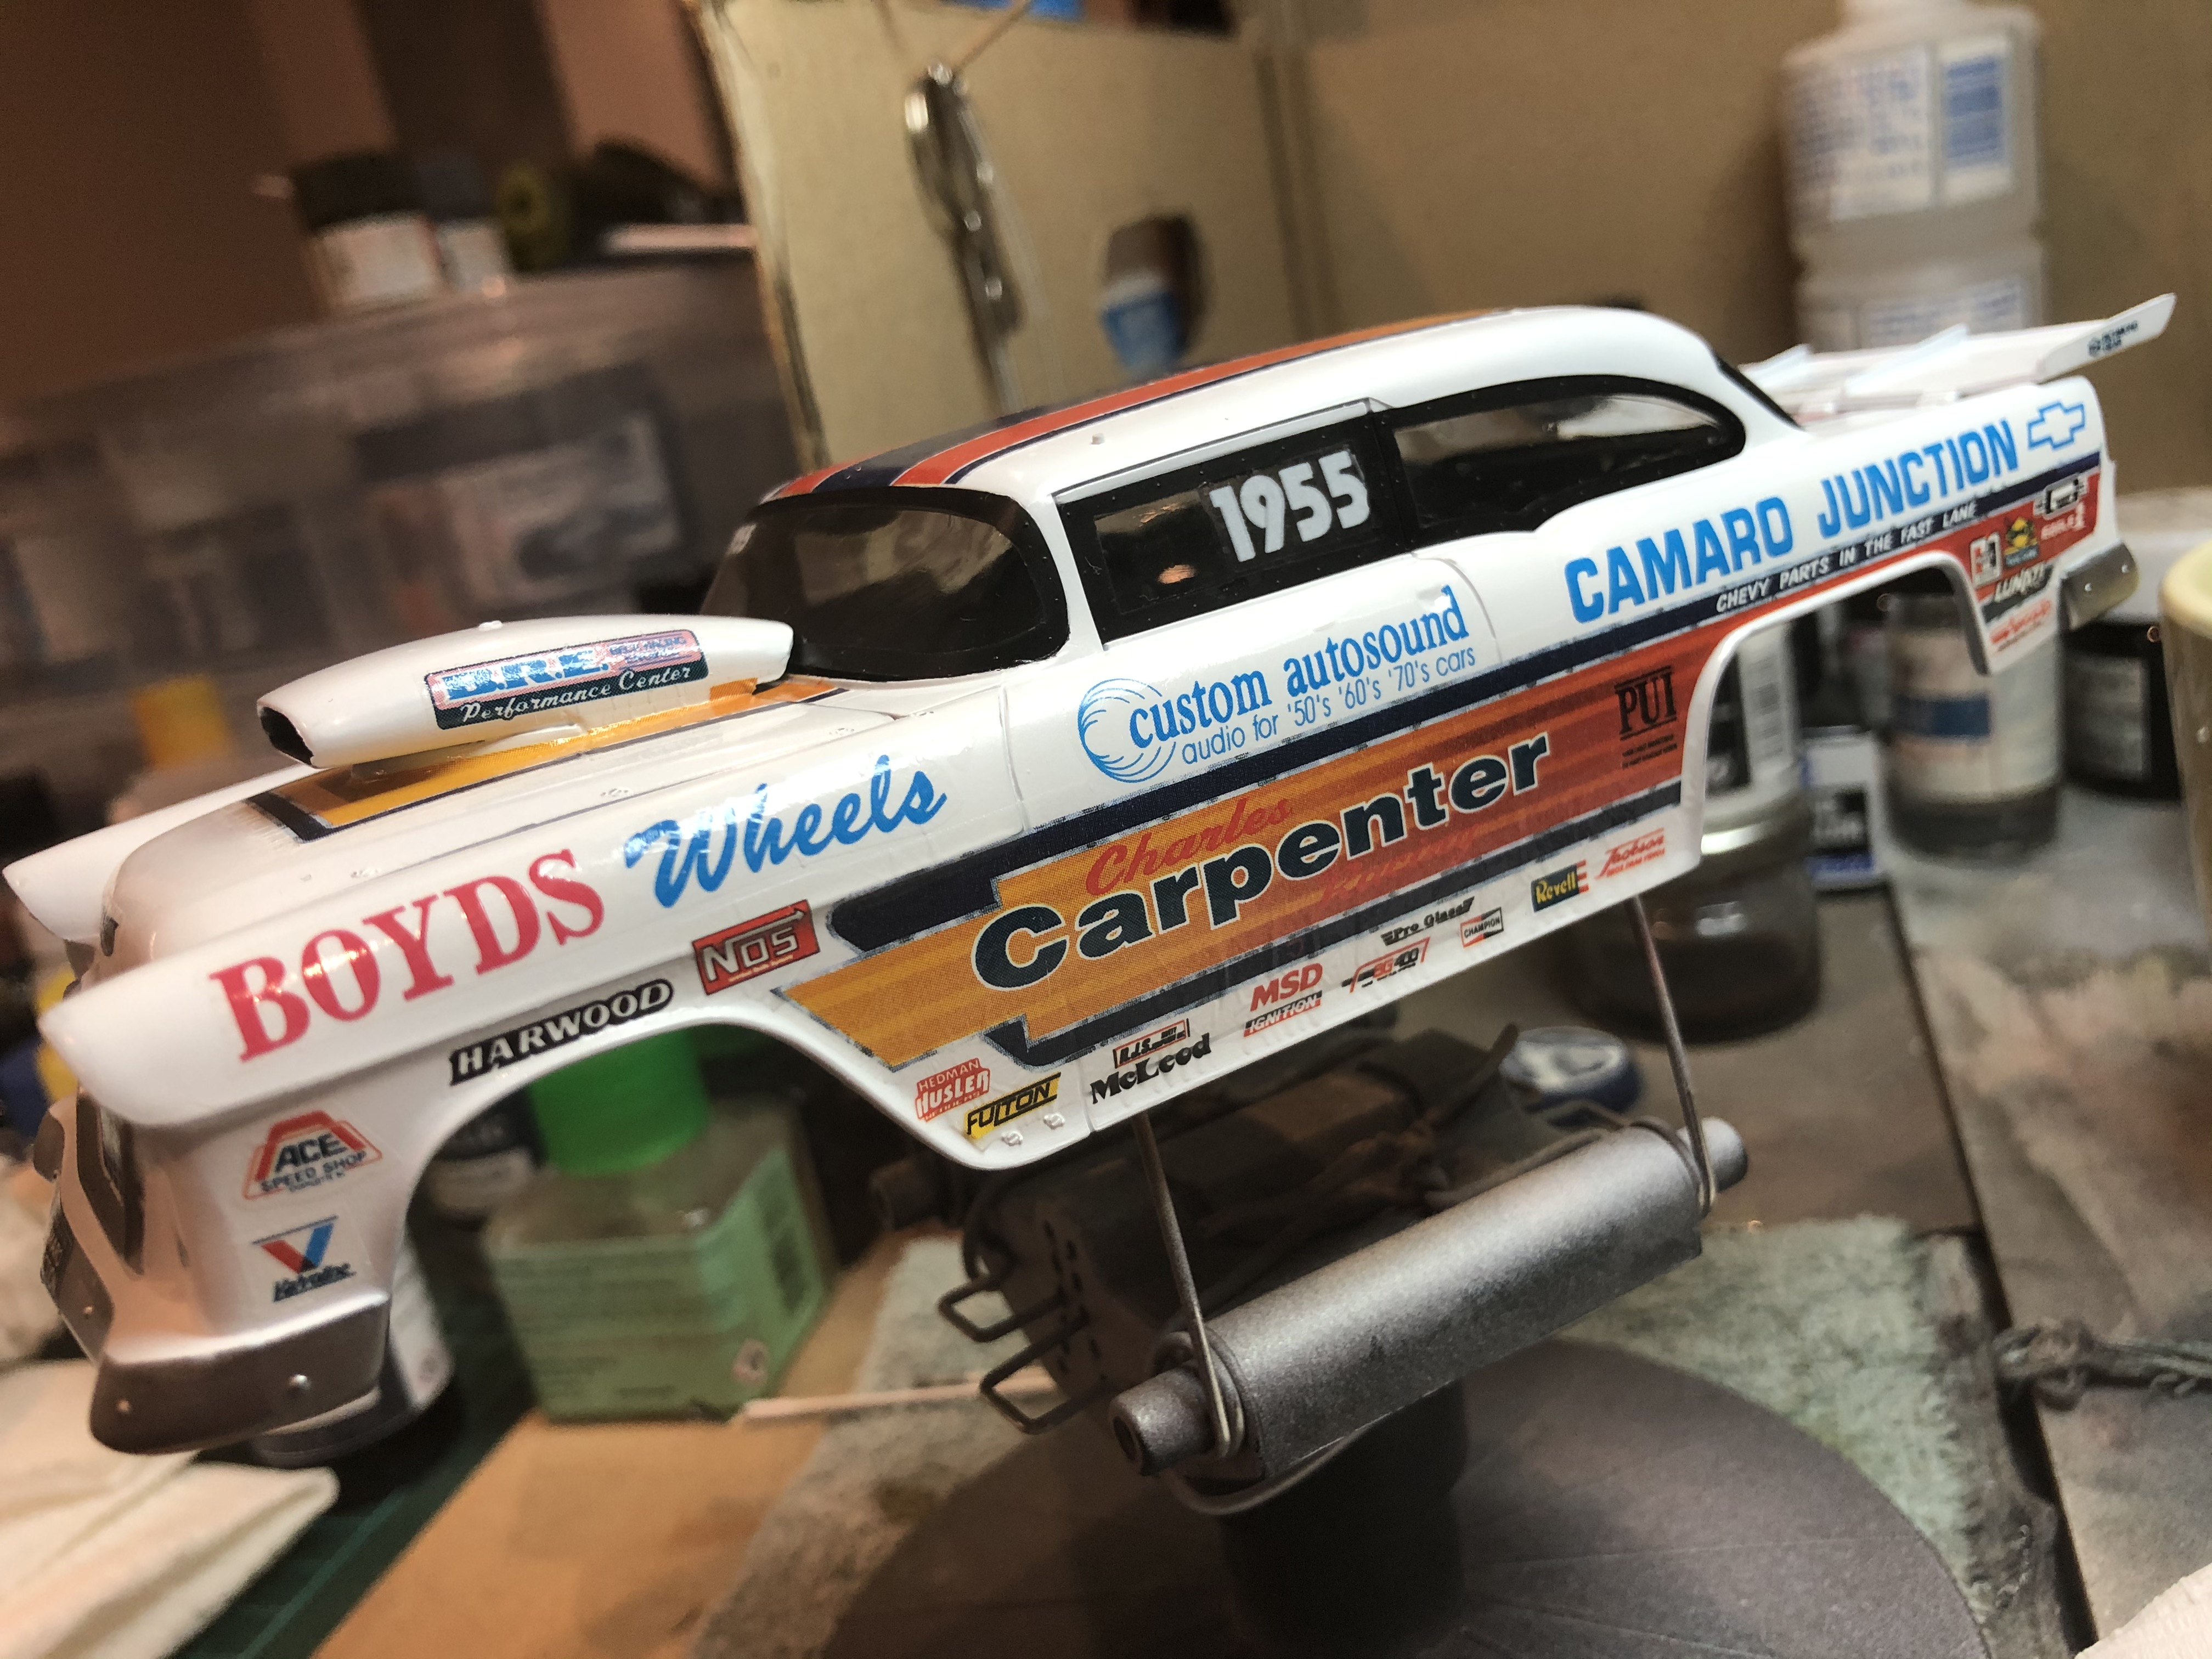
Ok, let's see how the side decal set behaves! This is just applied and still wet with Mr Mark Softer!
May 27th update
I think I've found the trick here. I have a mug of hot water and dip a Q-tip in it, and use this to roll out the decal once it's down. This seems to stretch out the carrier film and the Mr Mark Softer settles it into the surface contours.
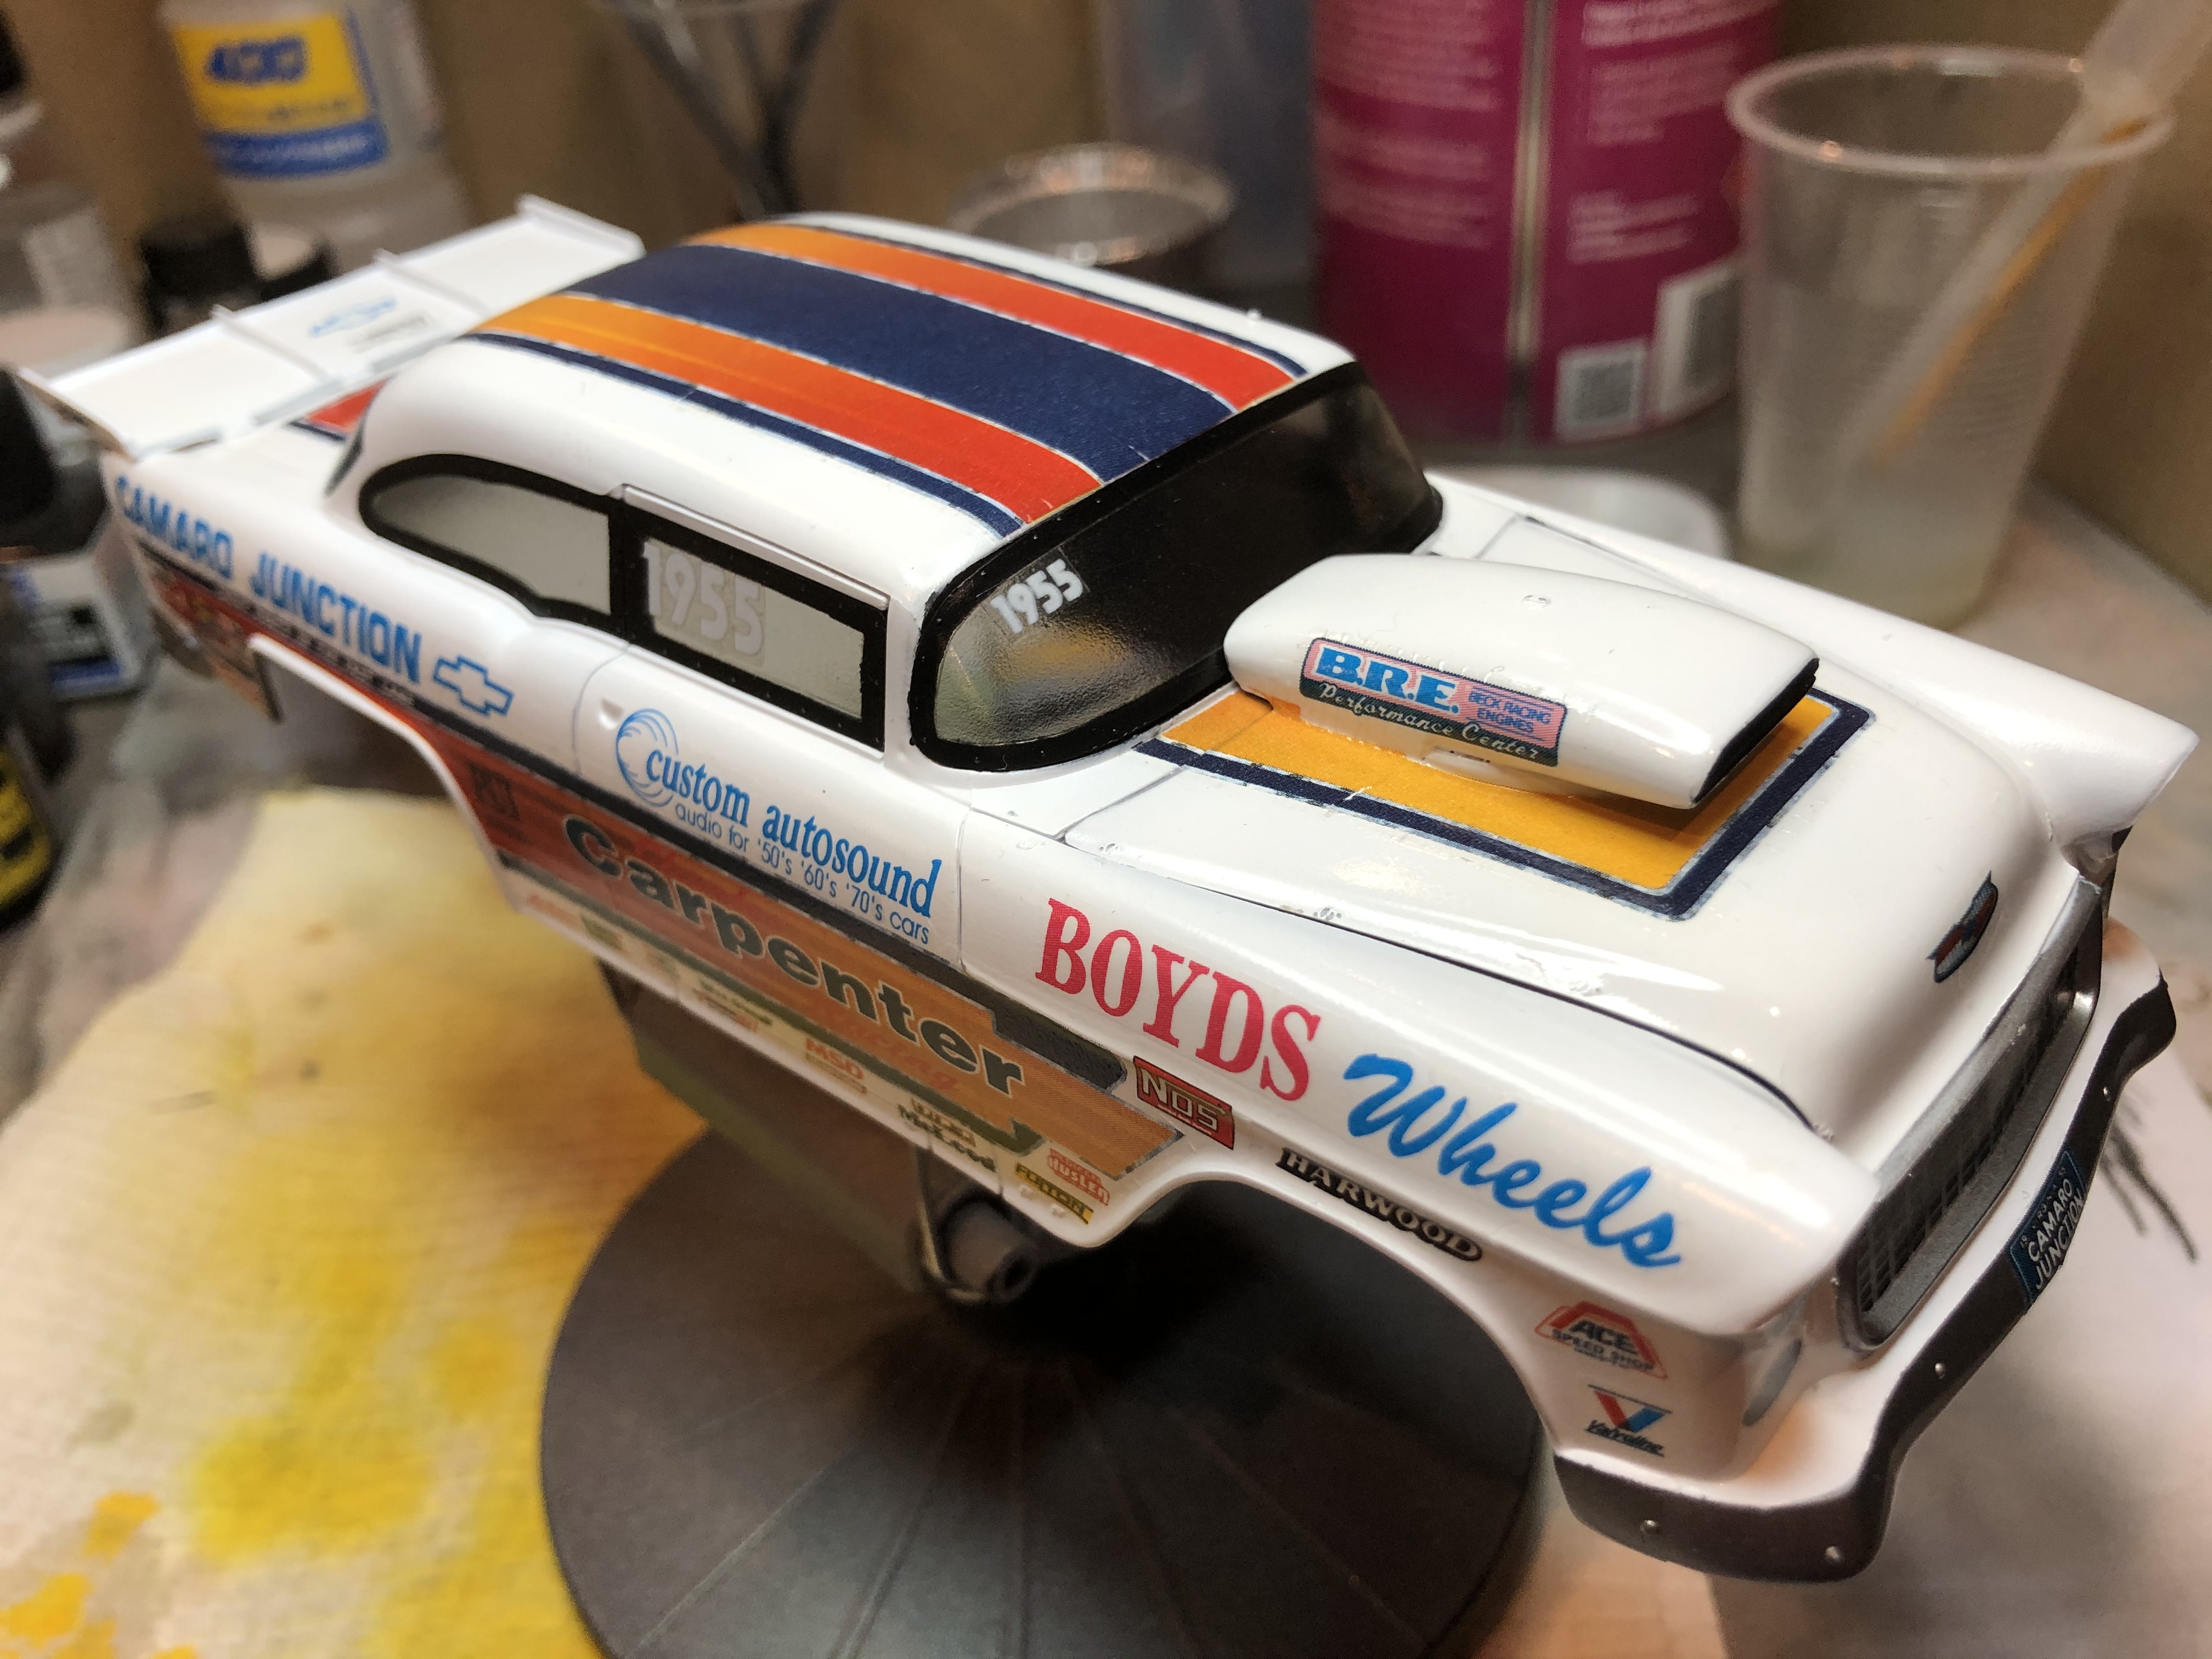
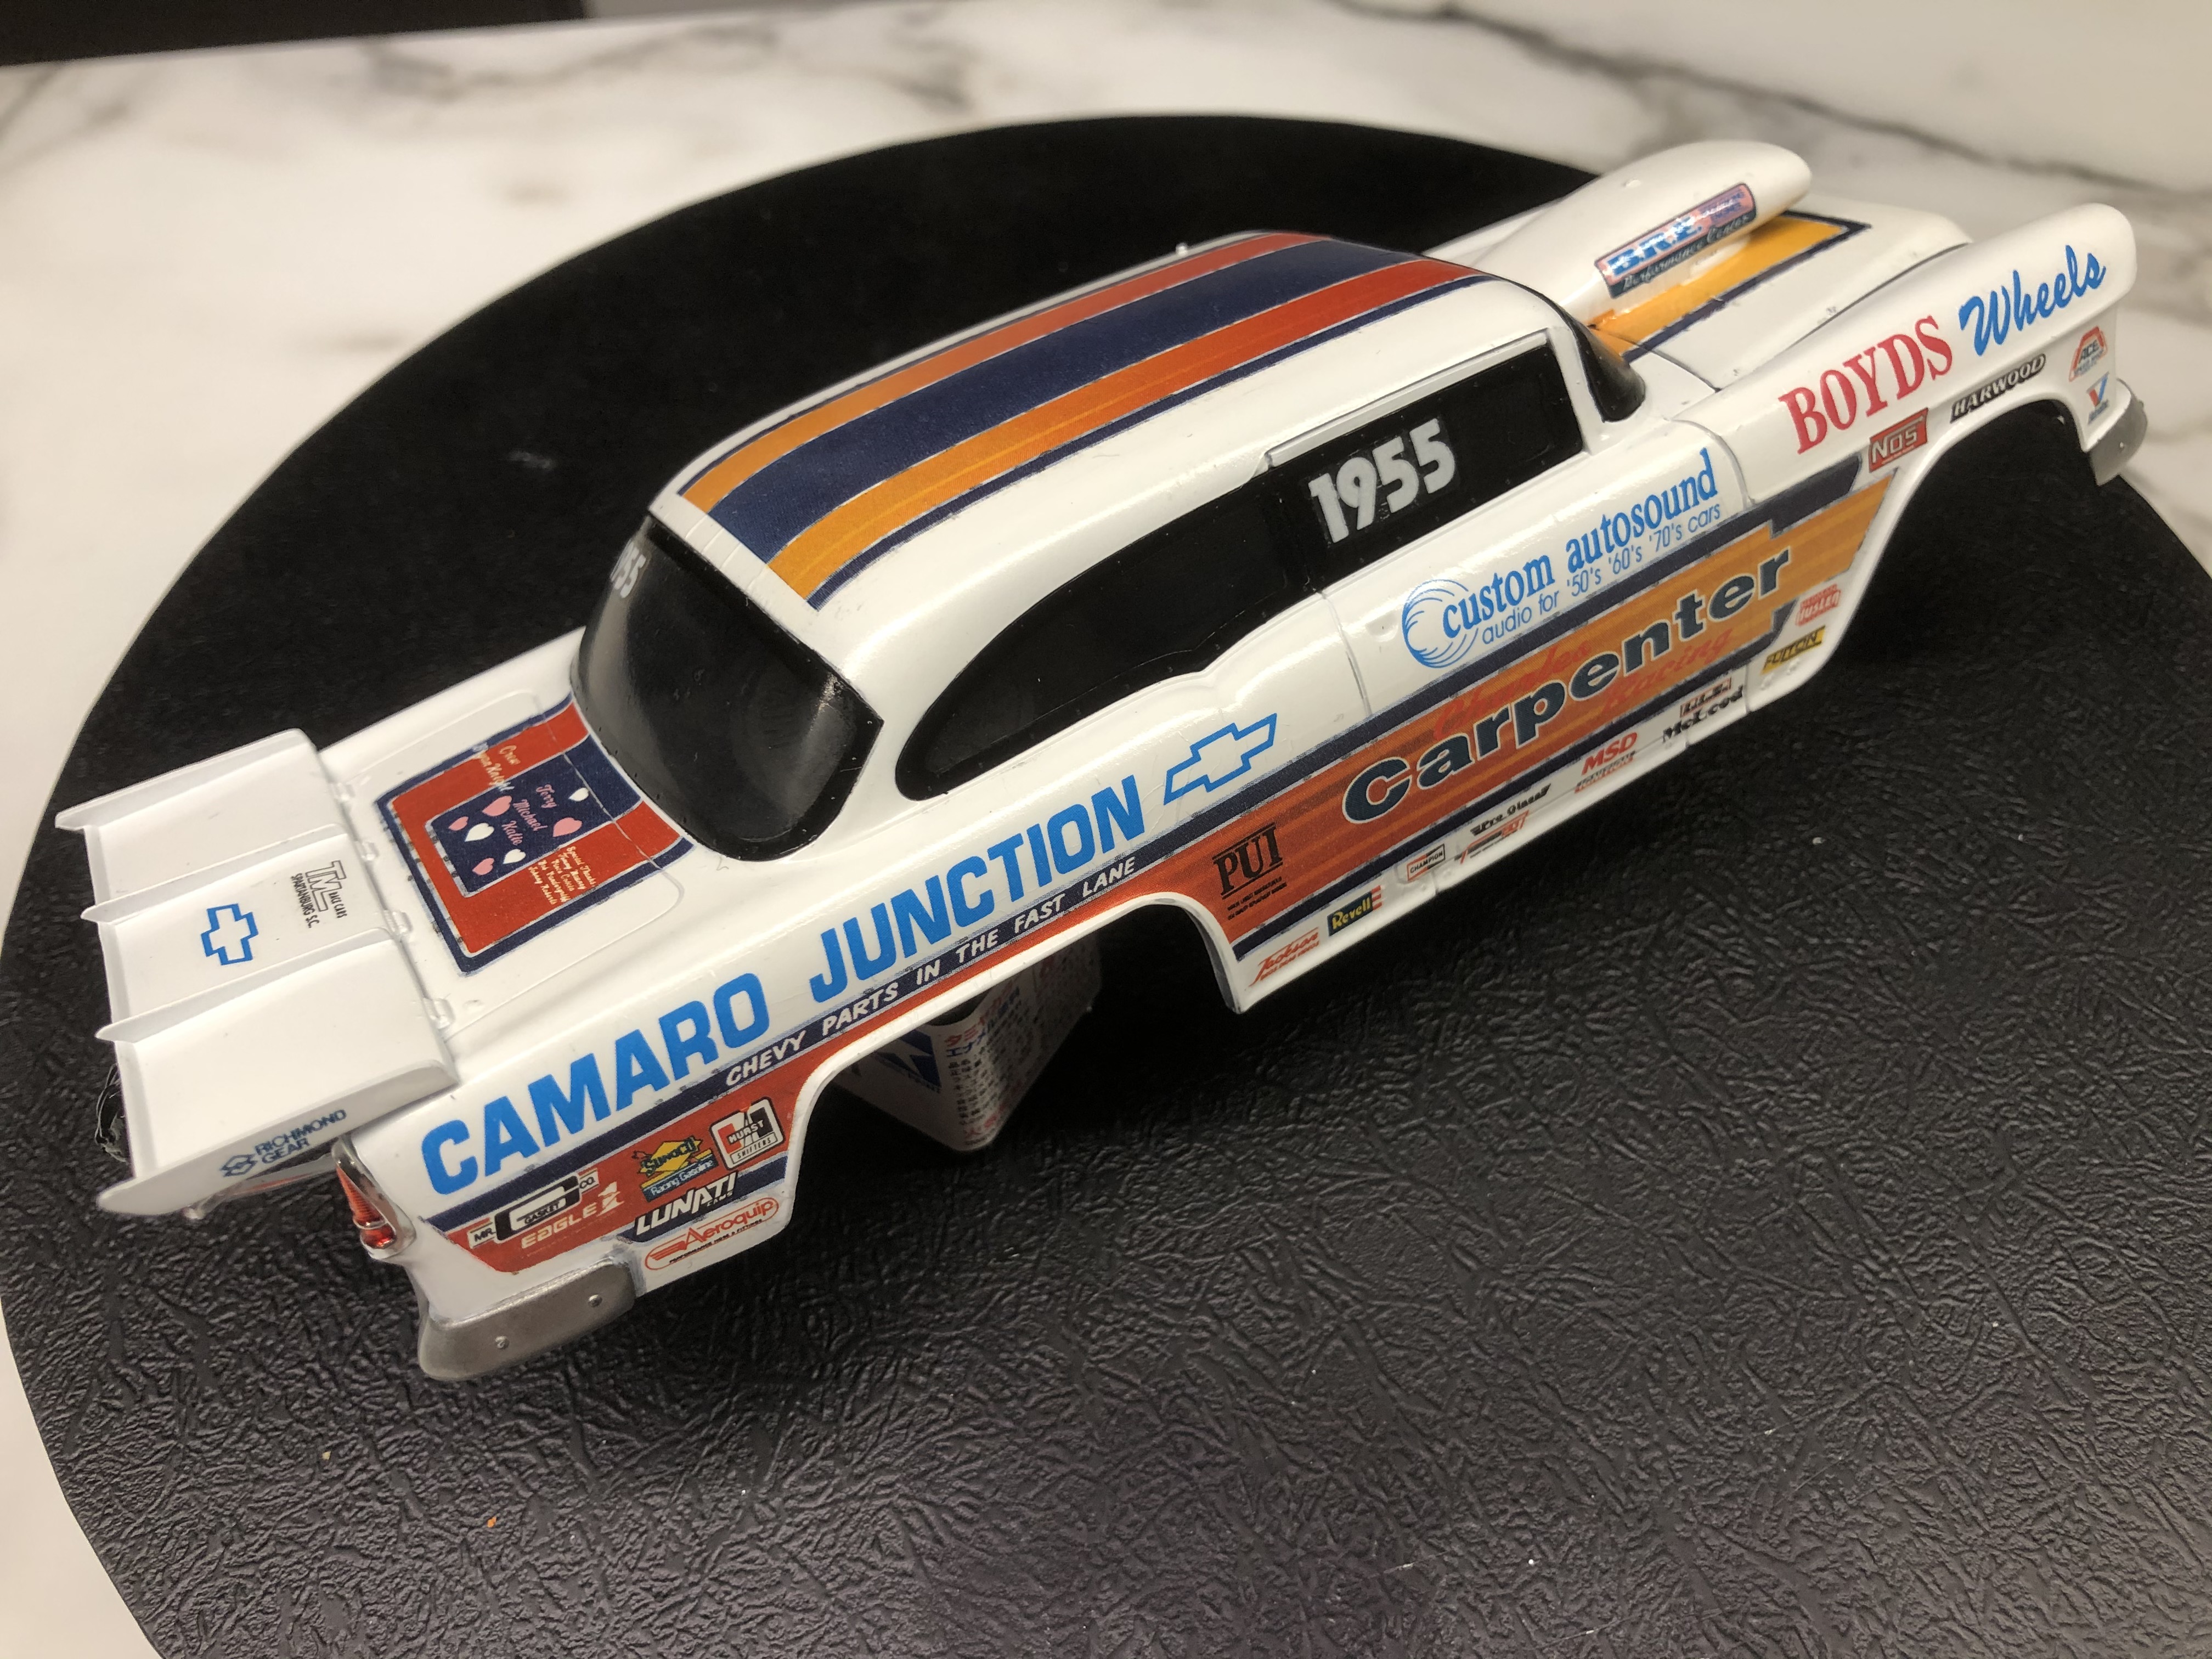
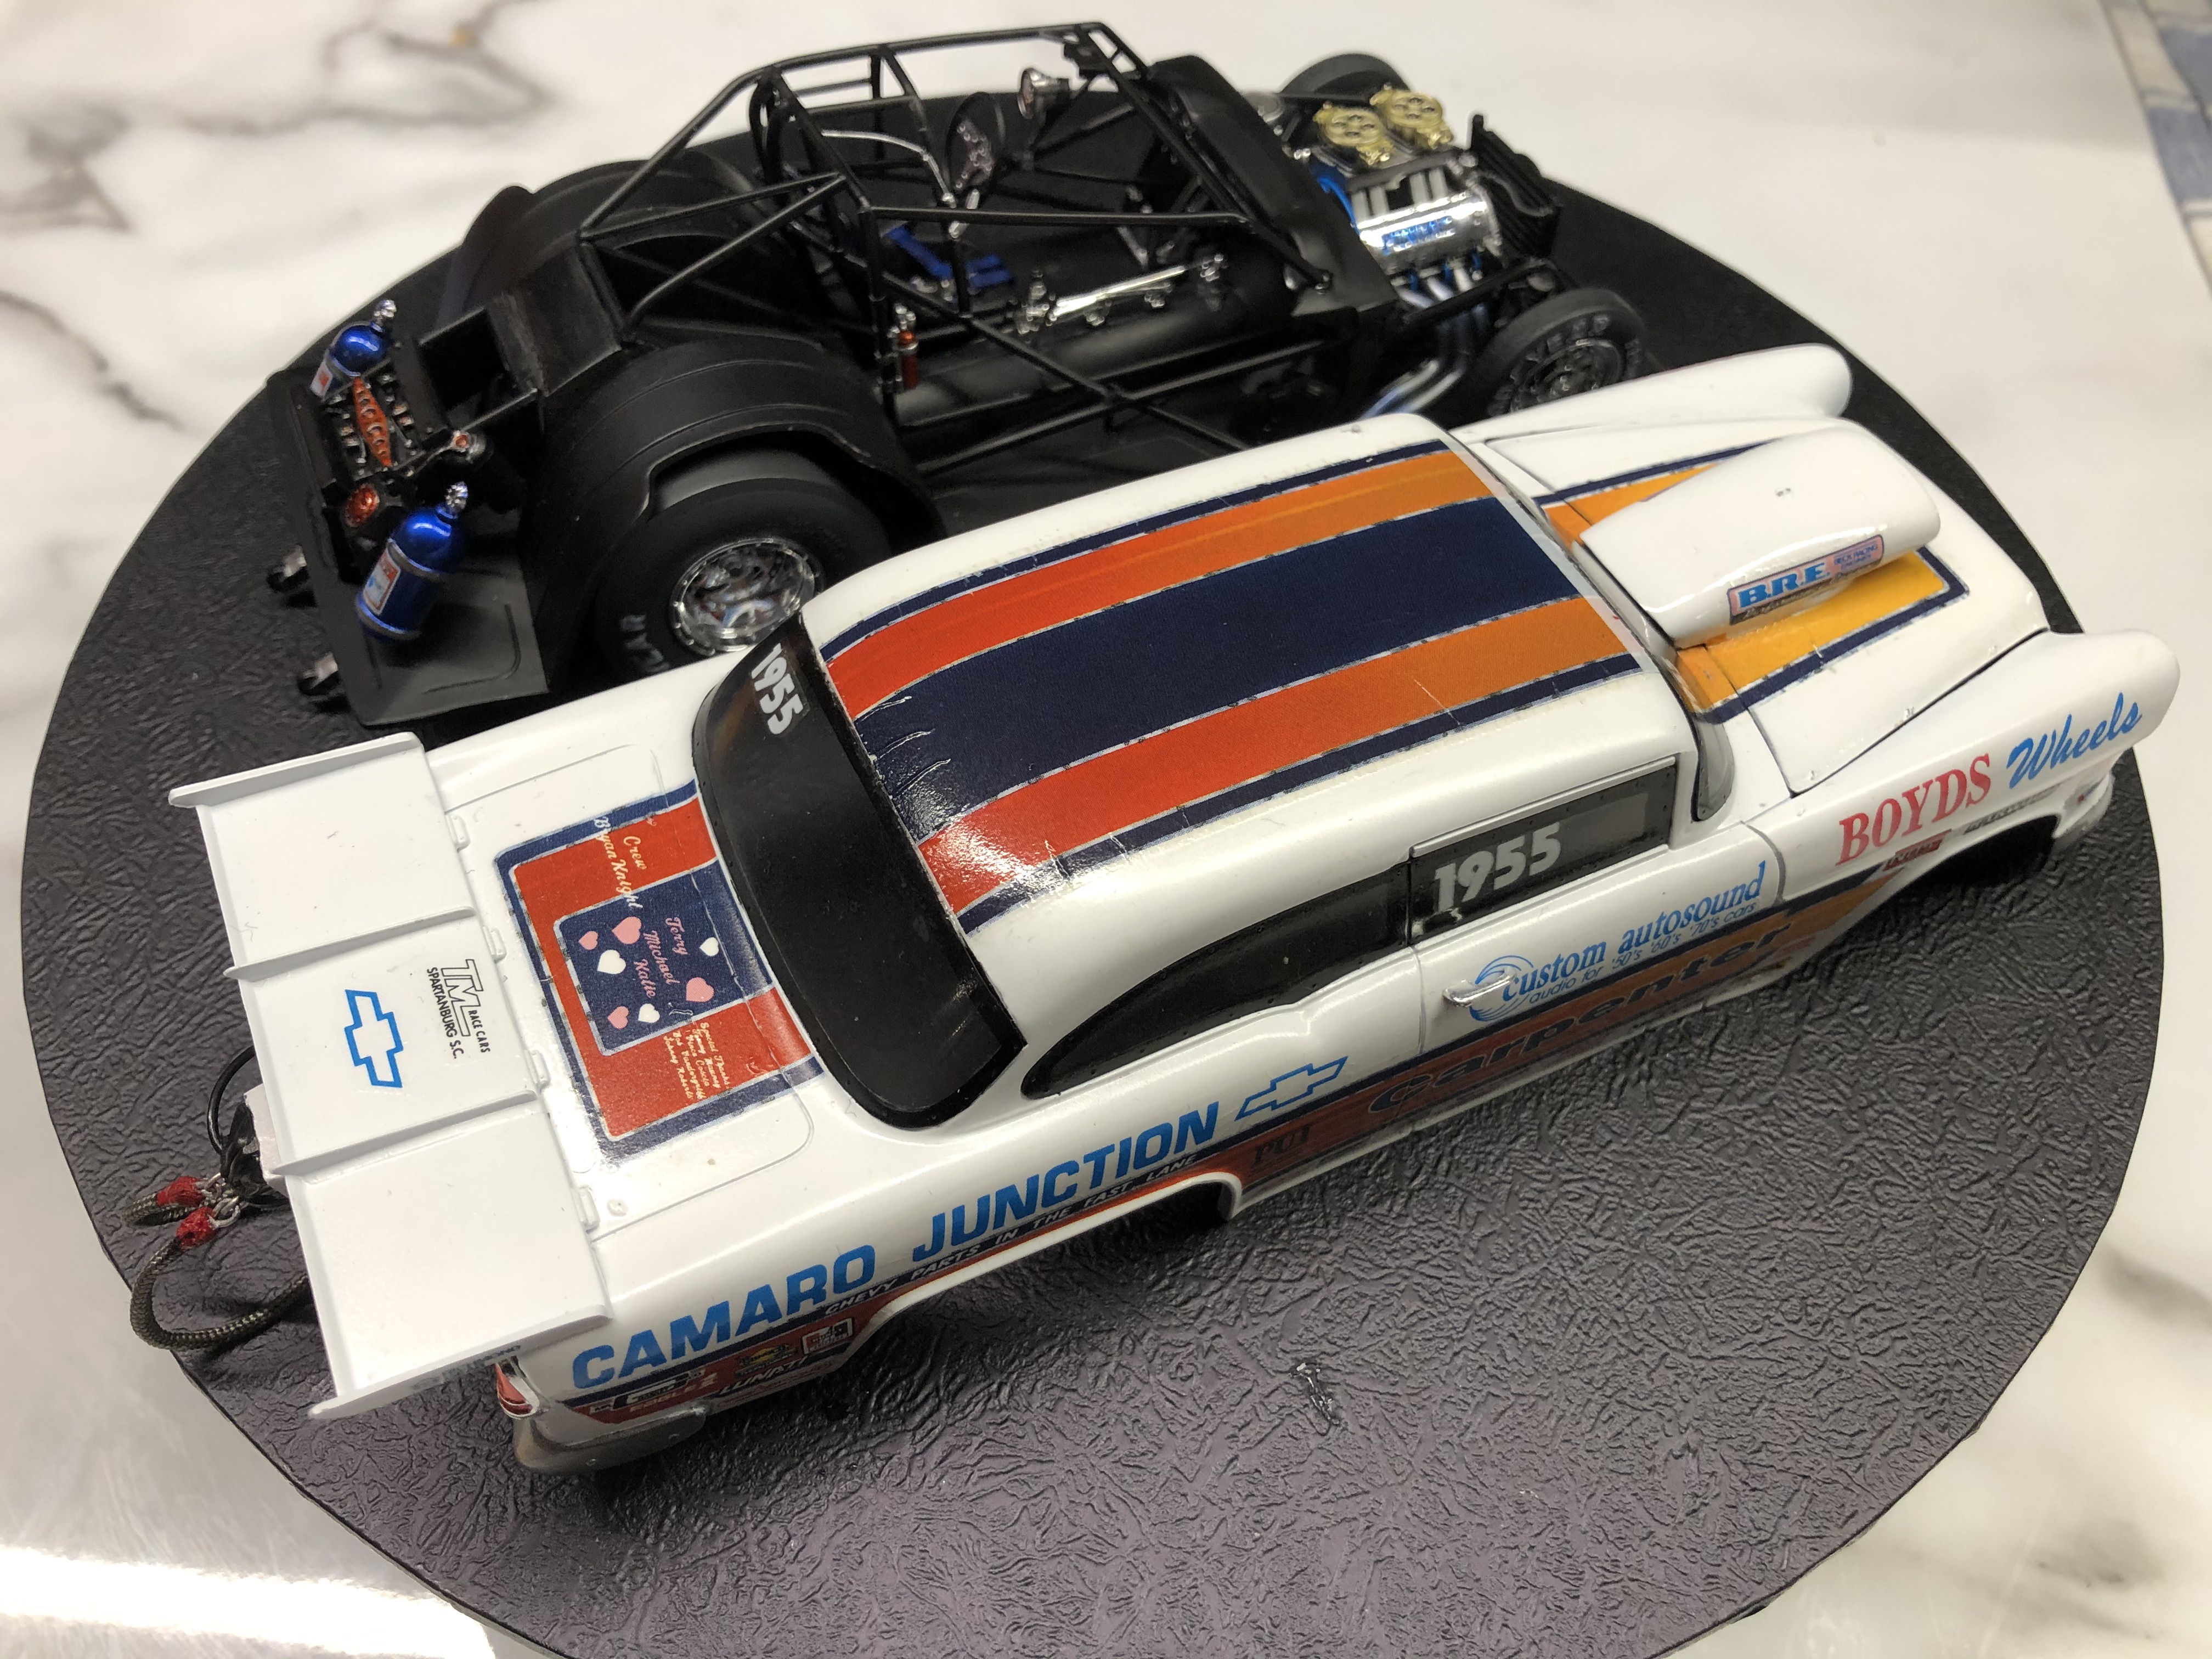
LHS done tonight (with the statutory glass of Shiraz!)
I will be going back over the older decals now to see if I can get them to settle down a bit better.
May 28th update
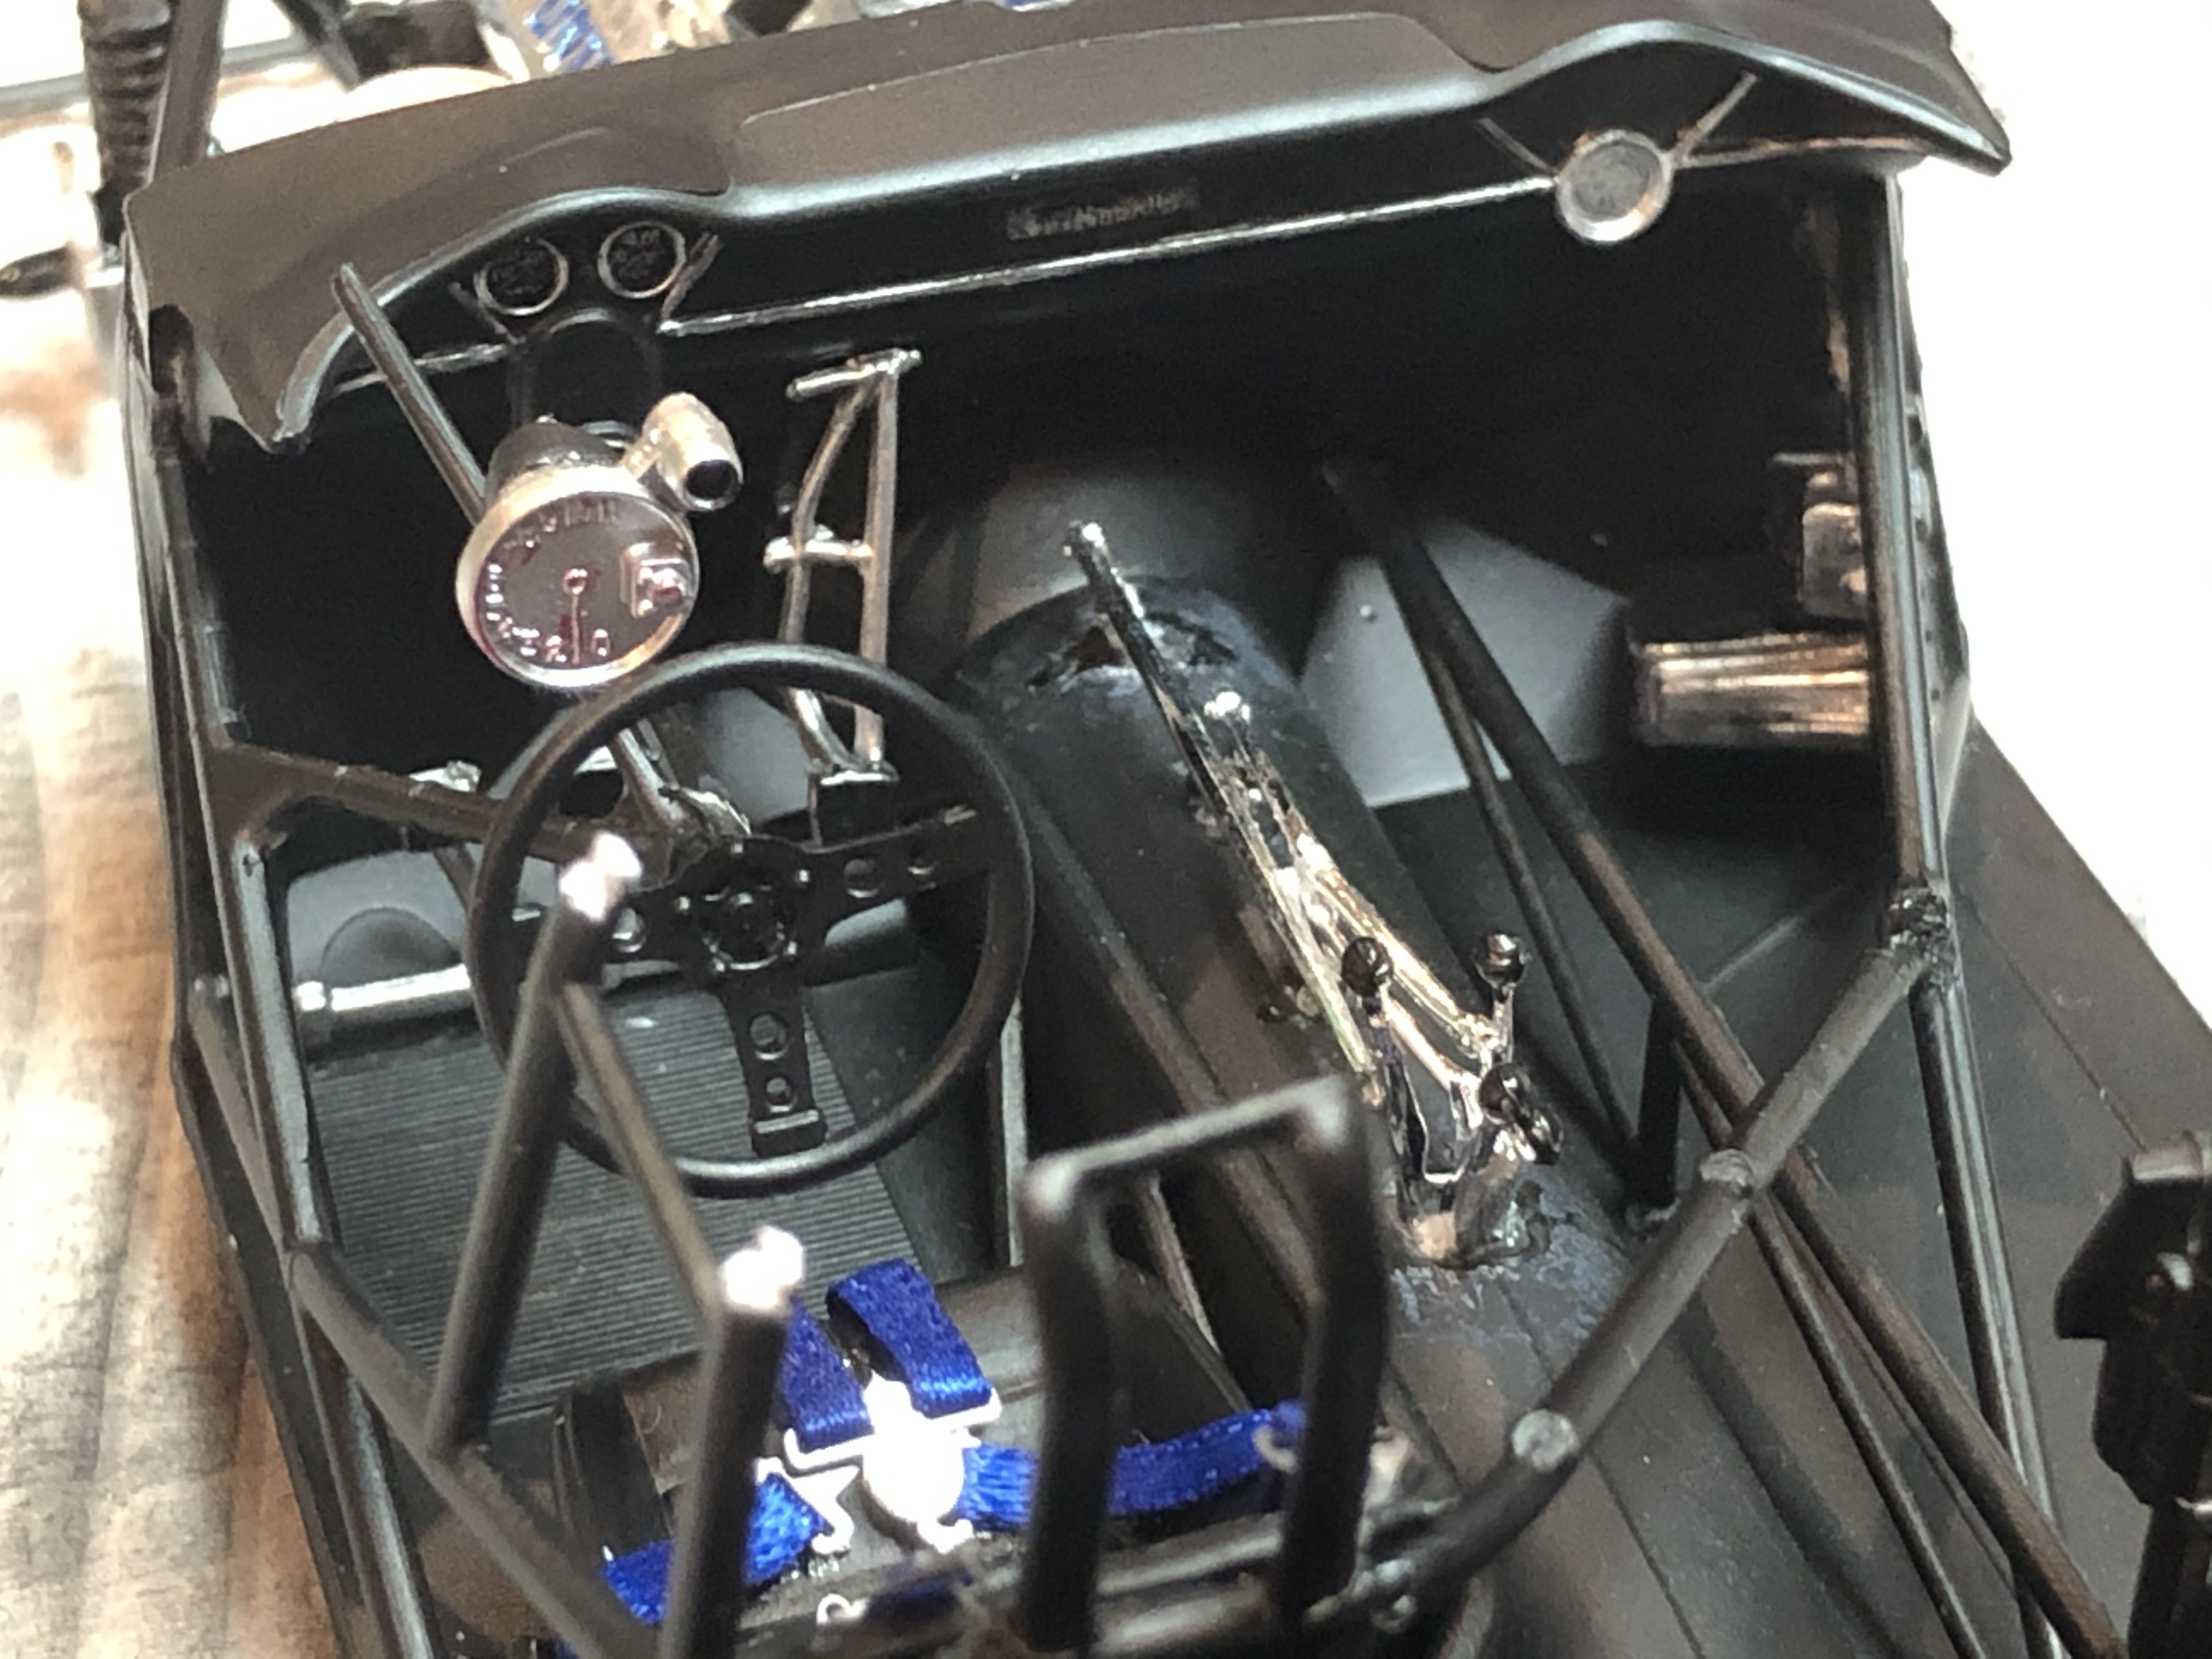
I gave the decals a rest last night and moved forward with some more assembly tasks.
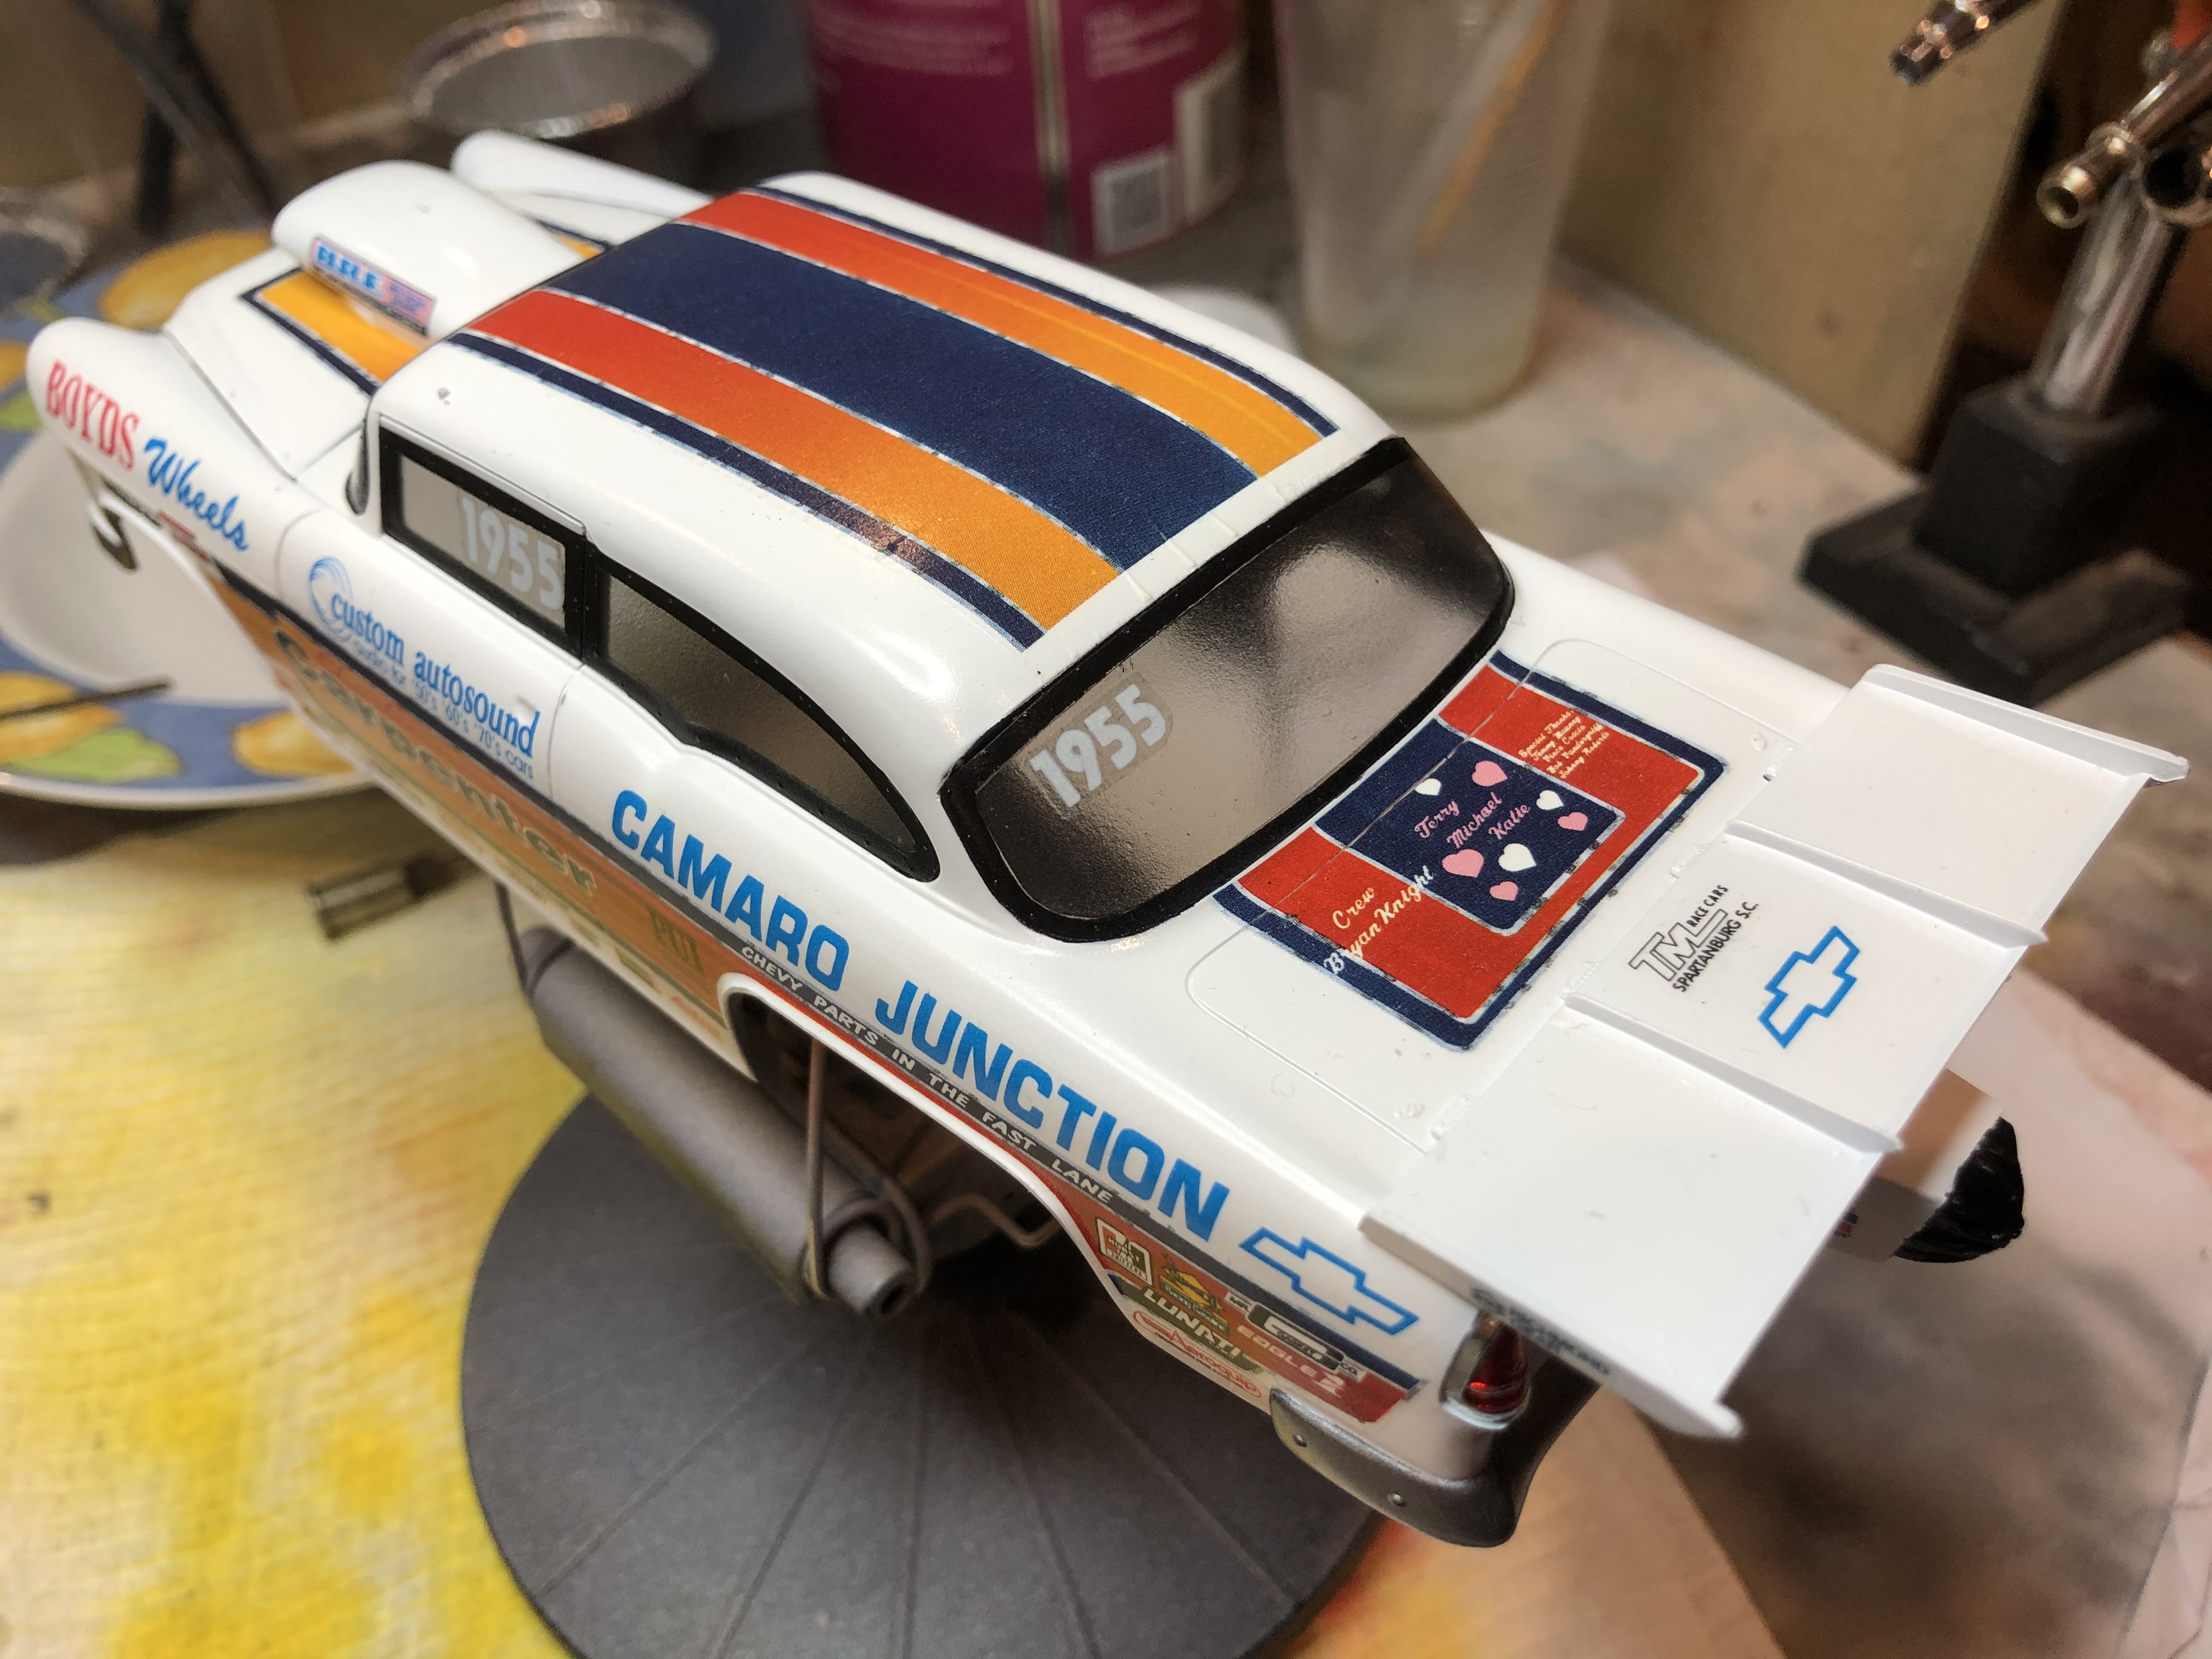
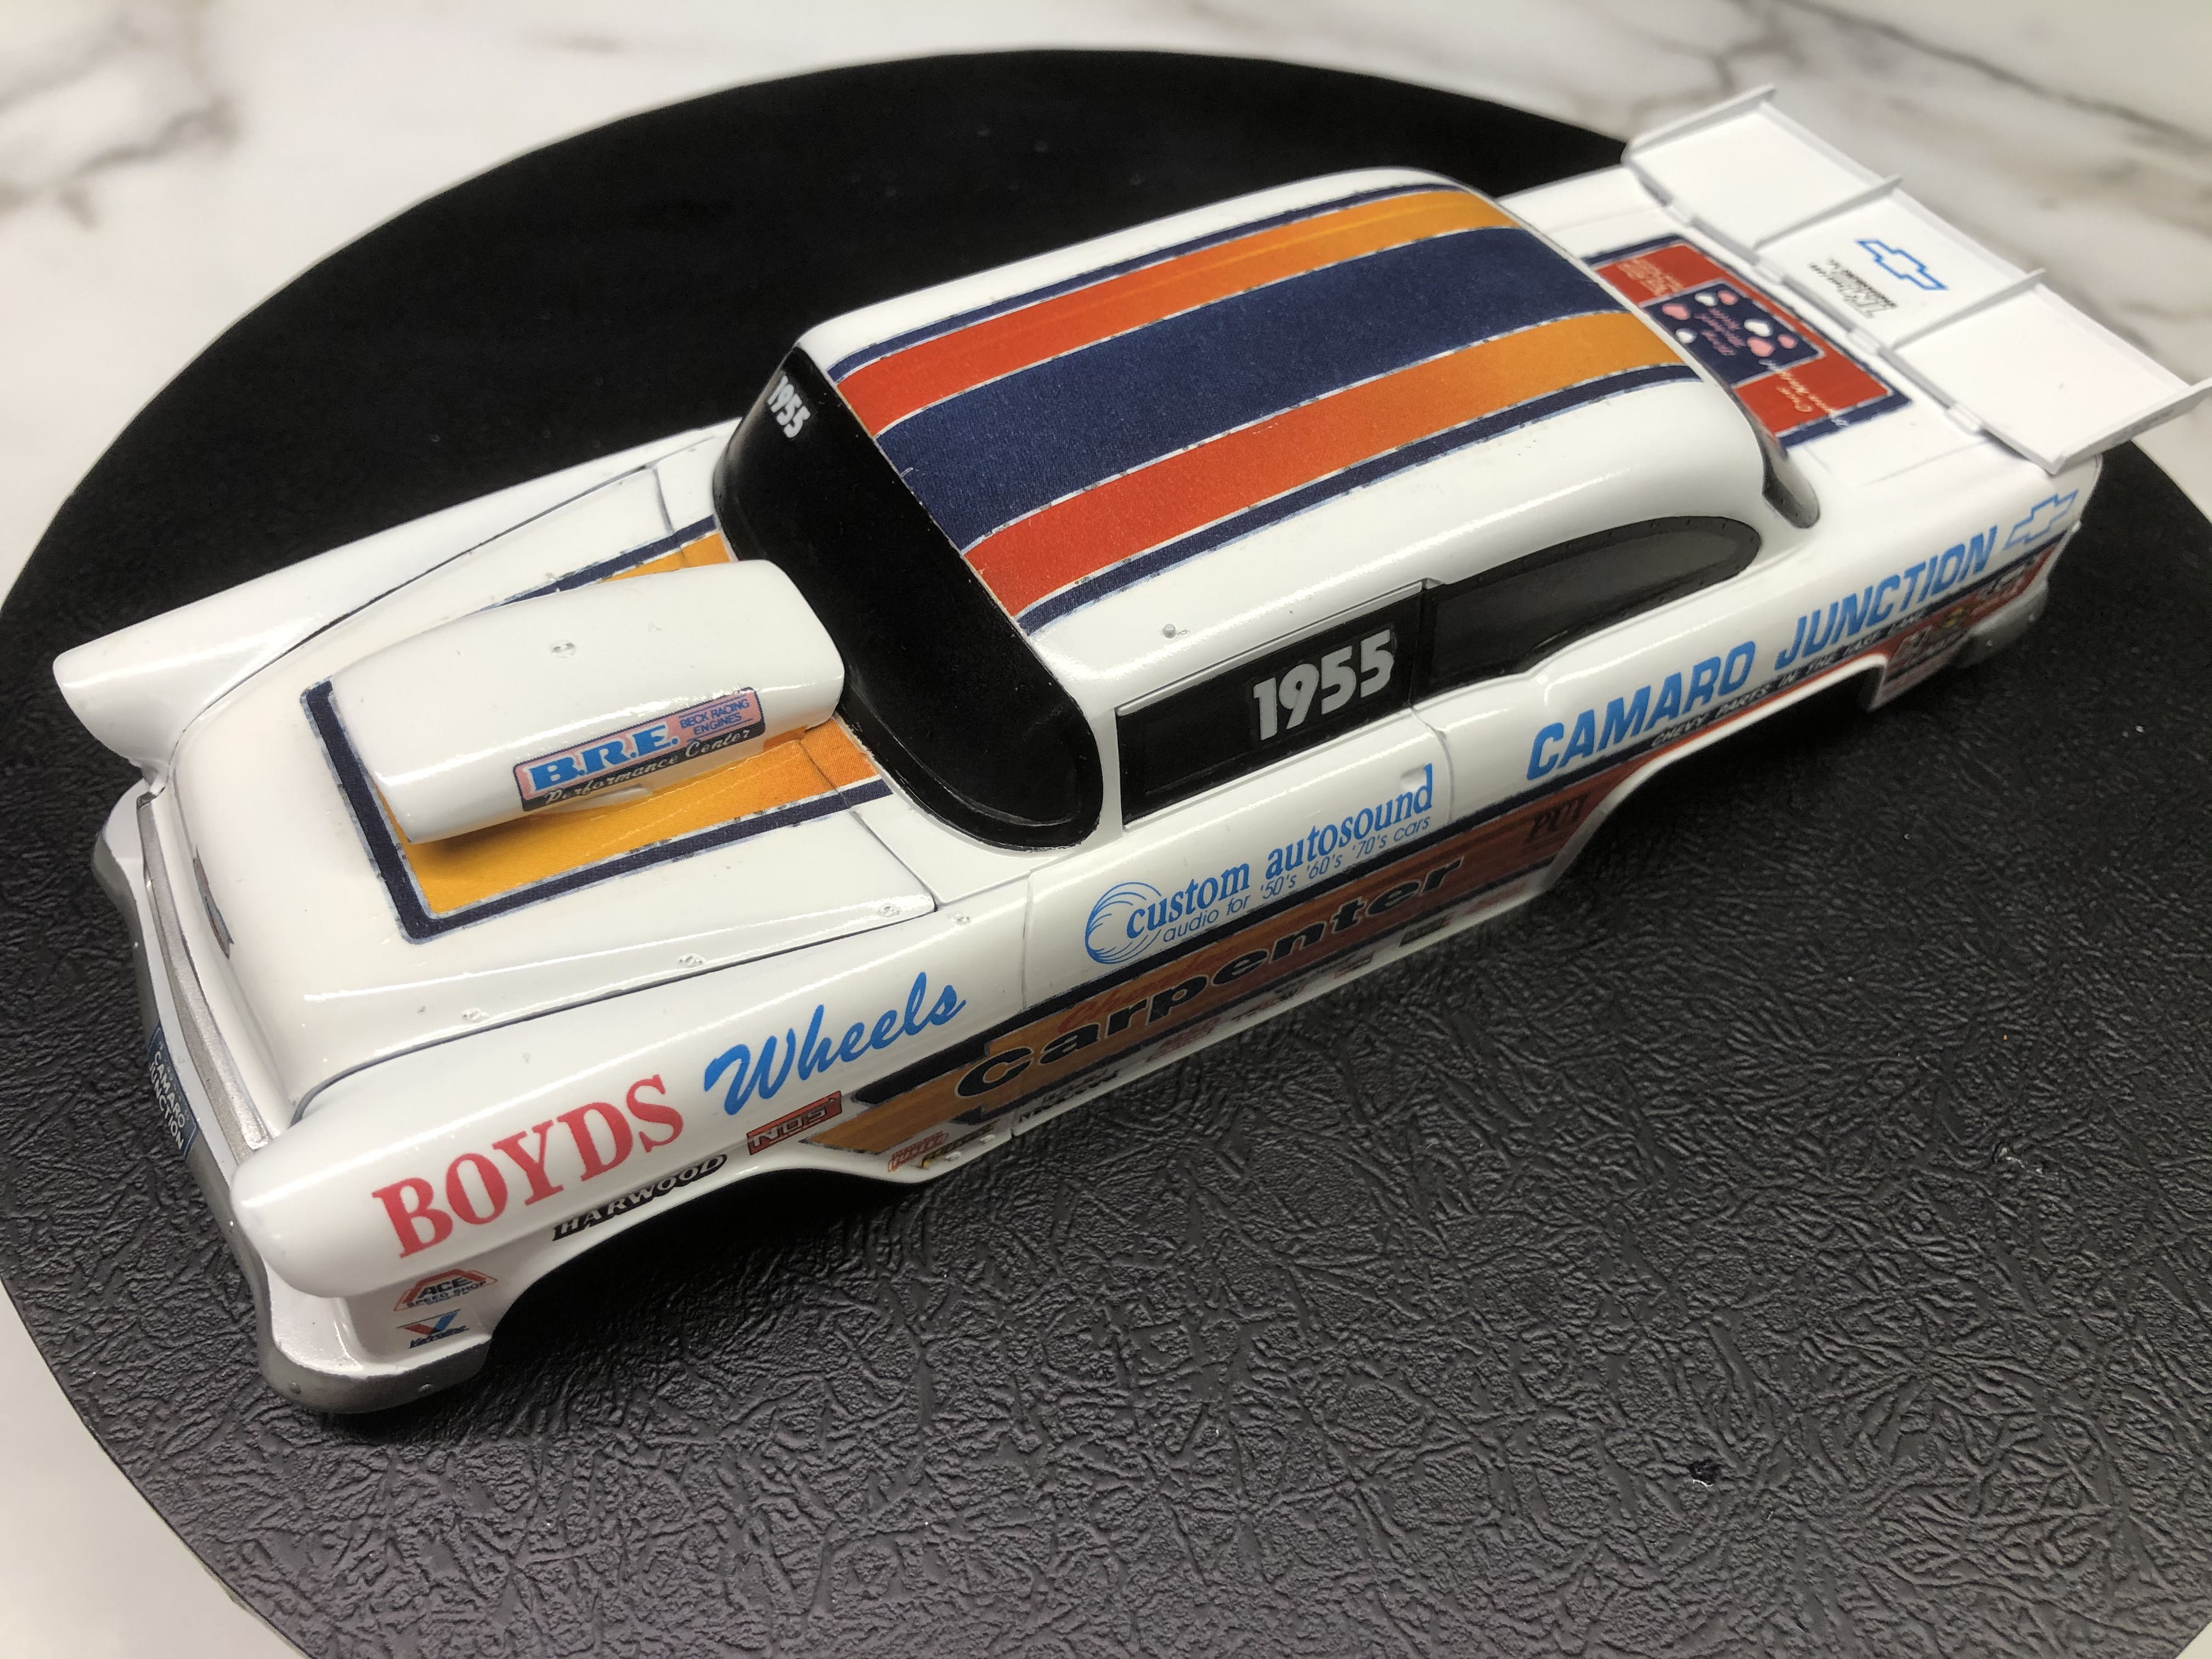
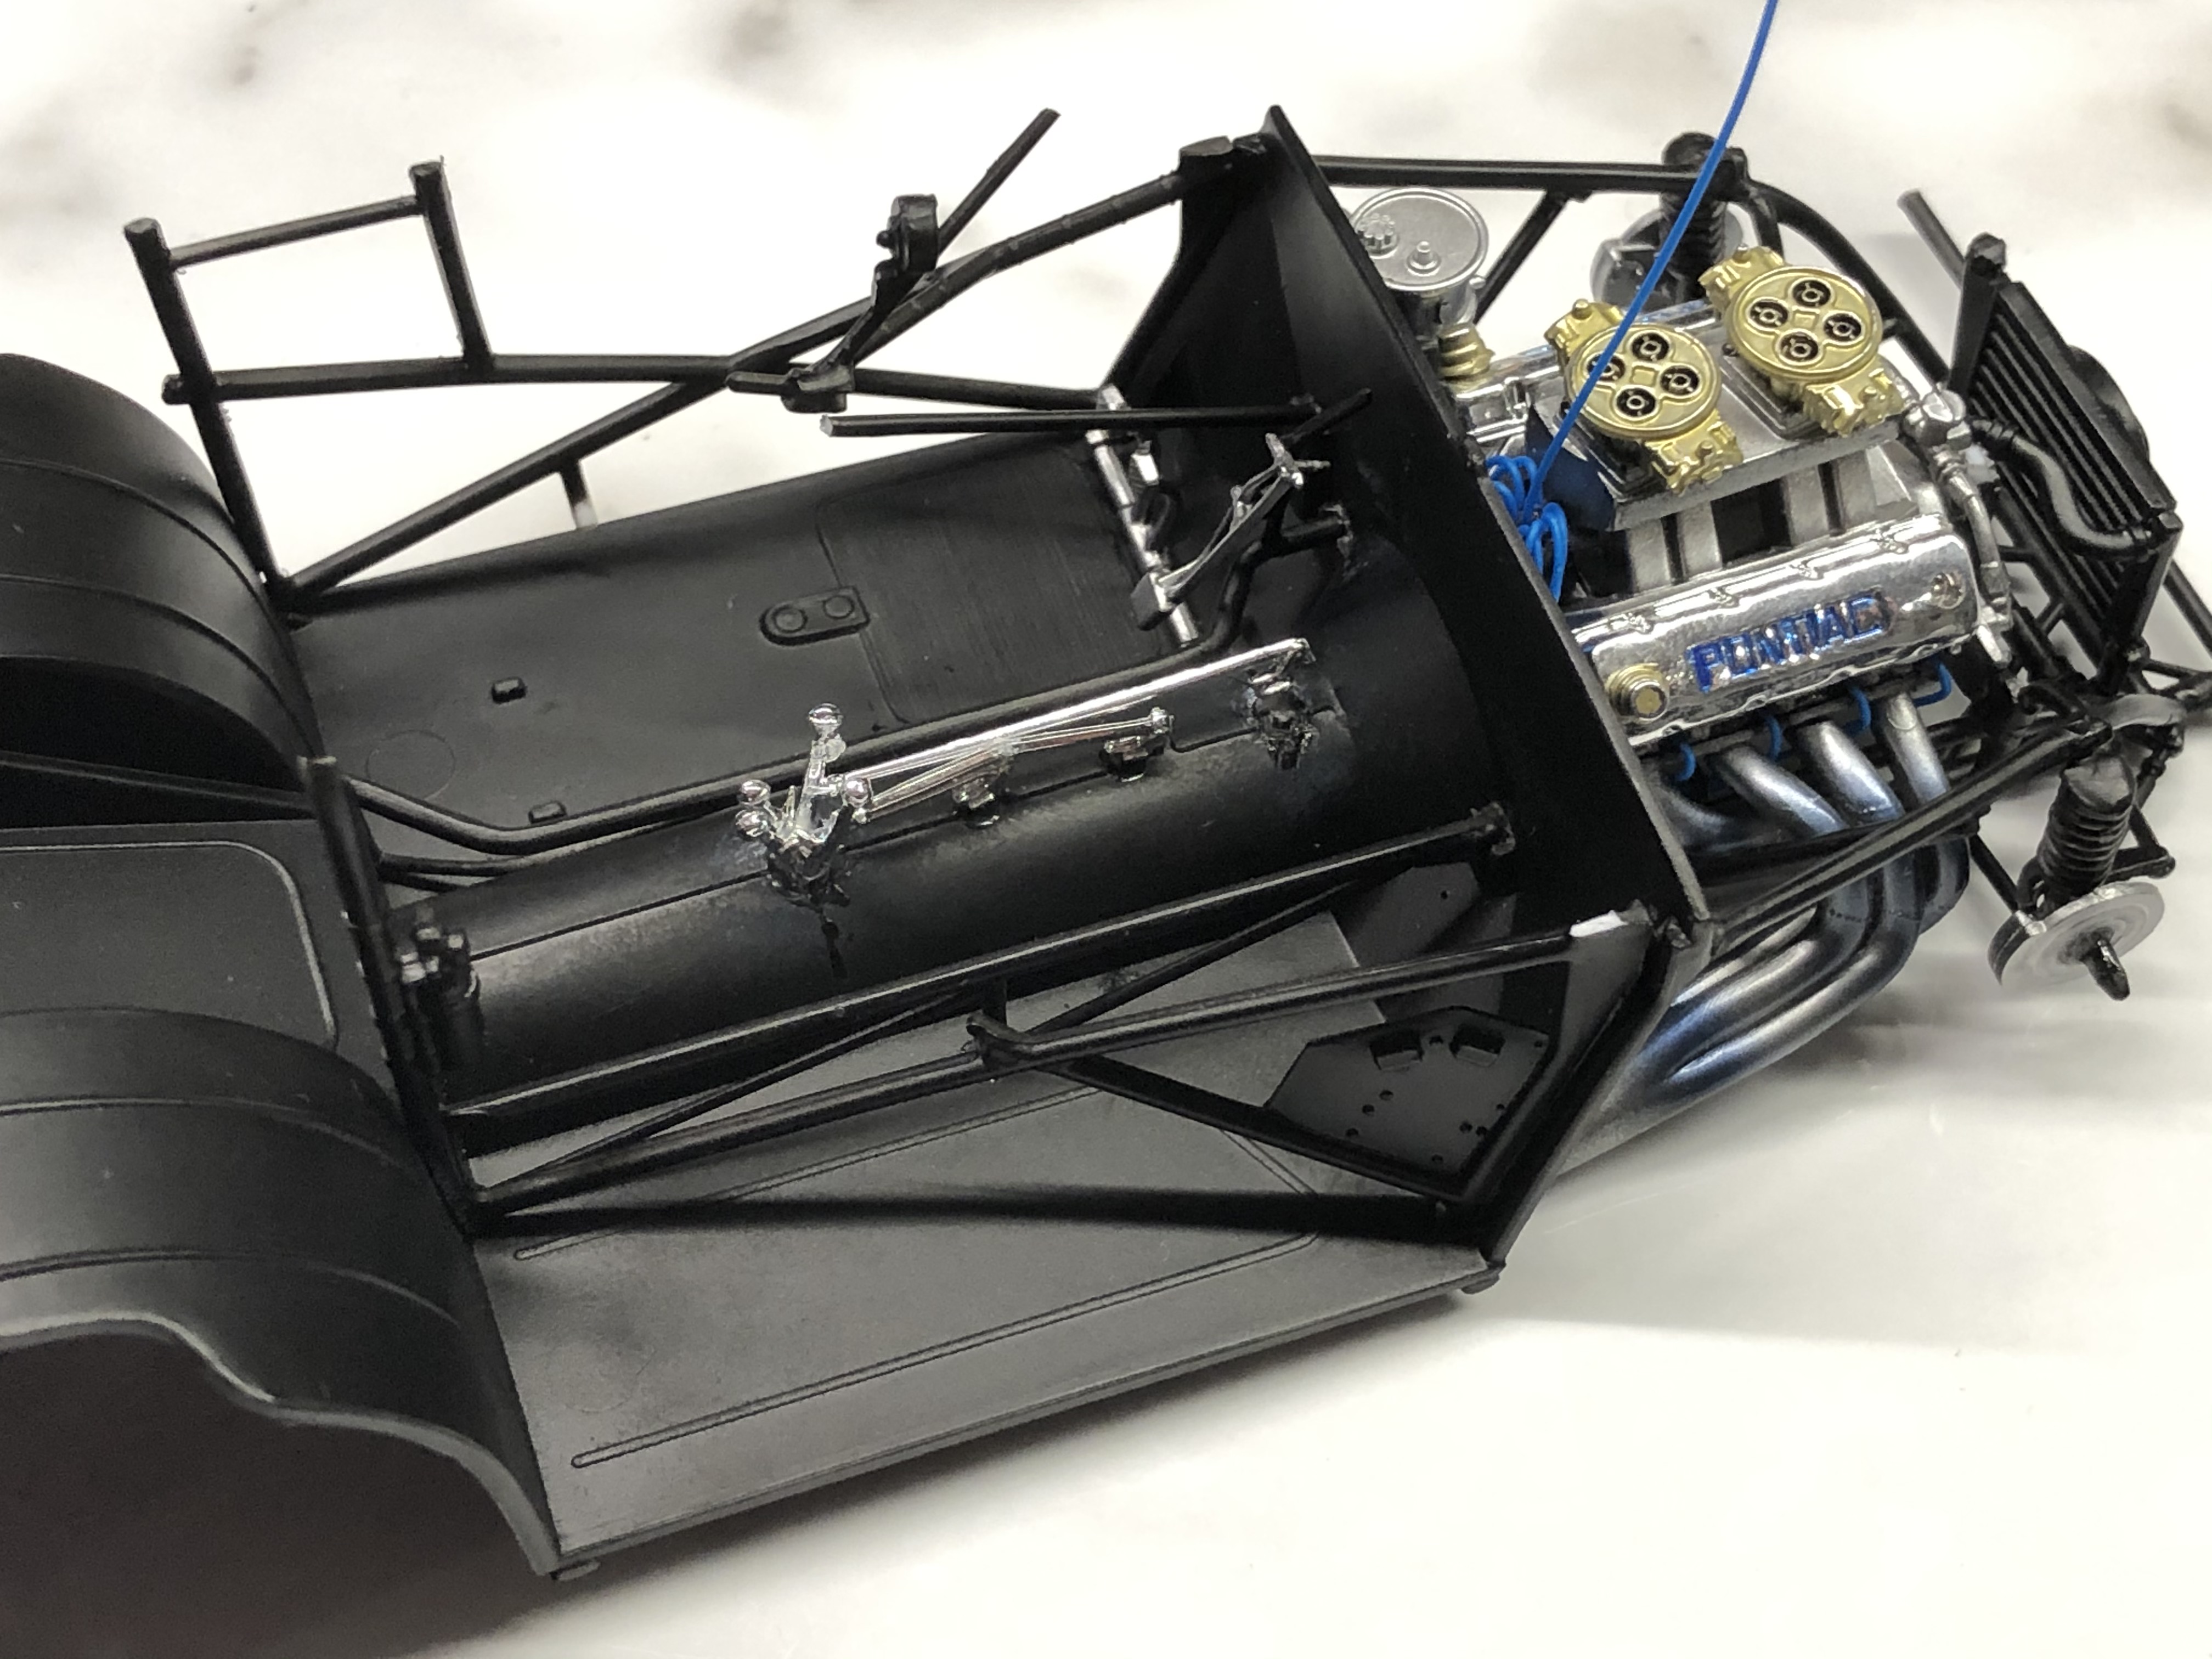
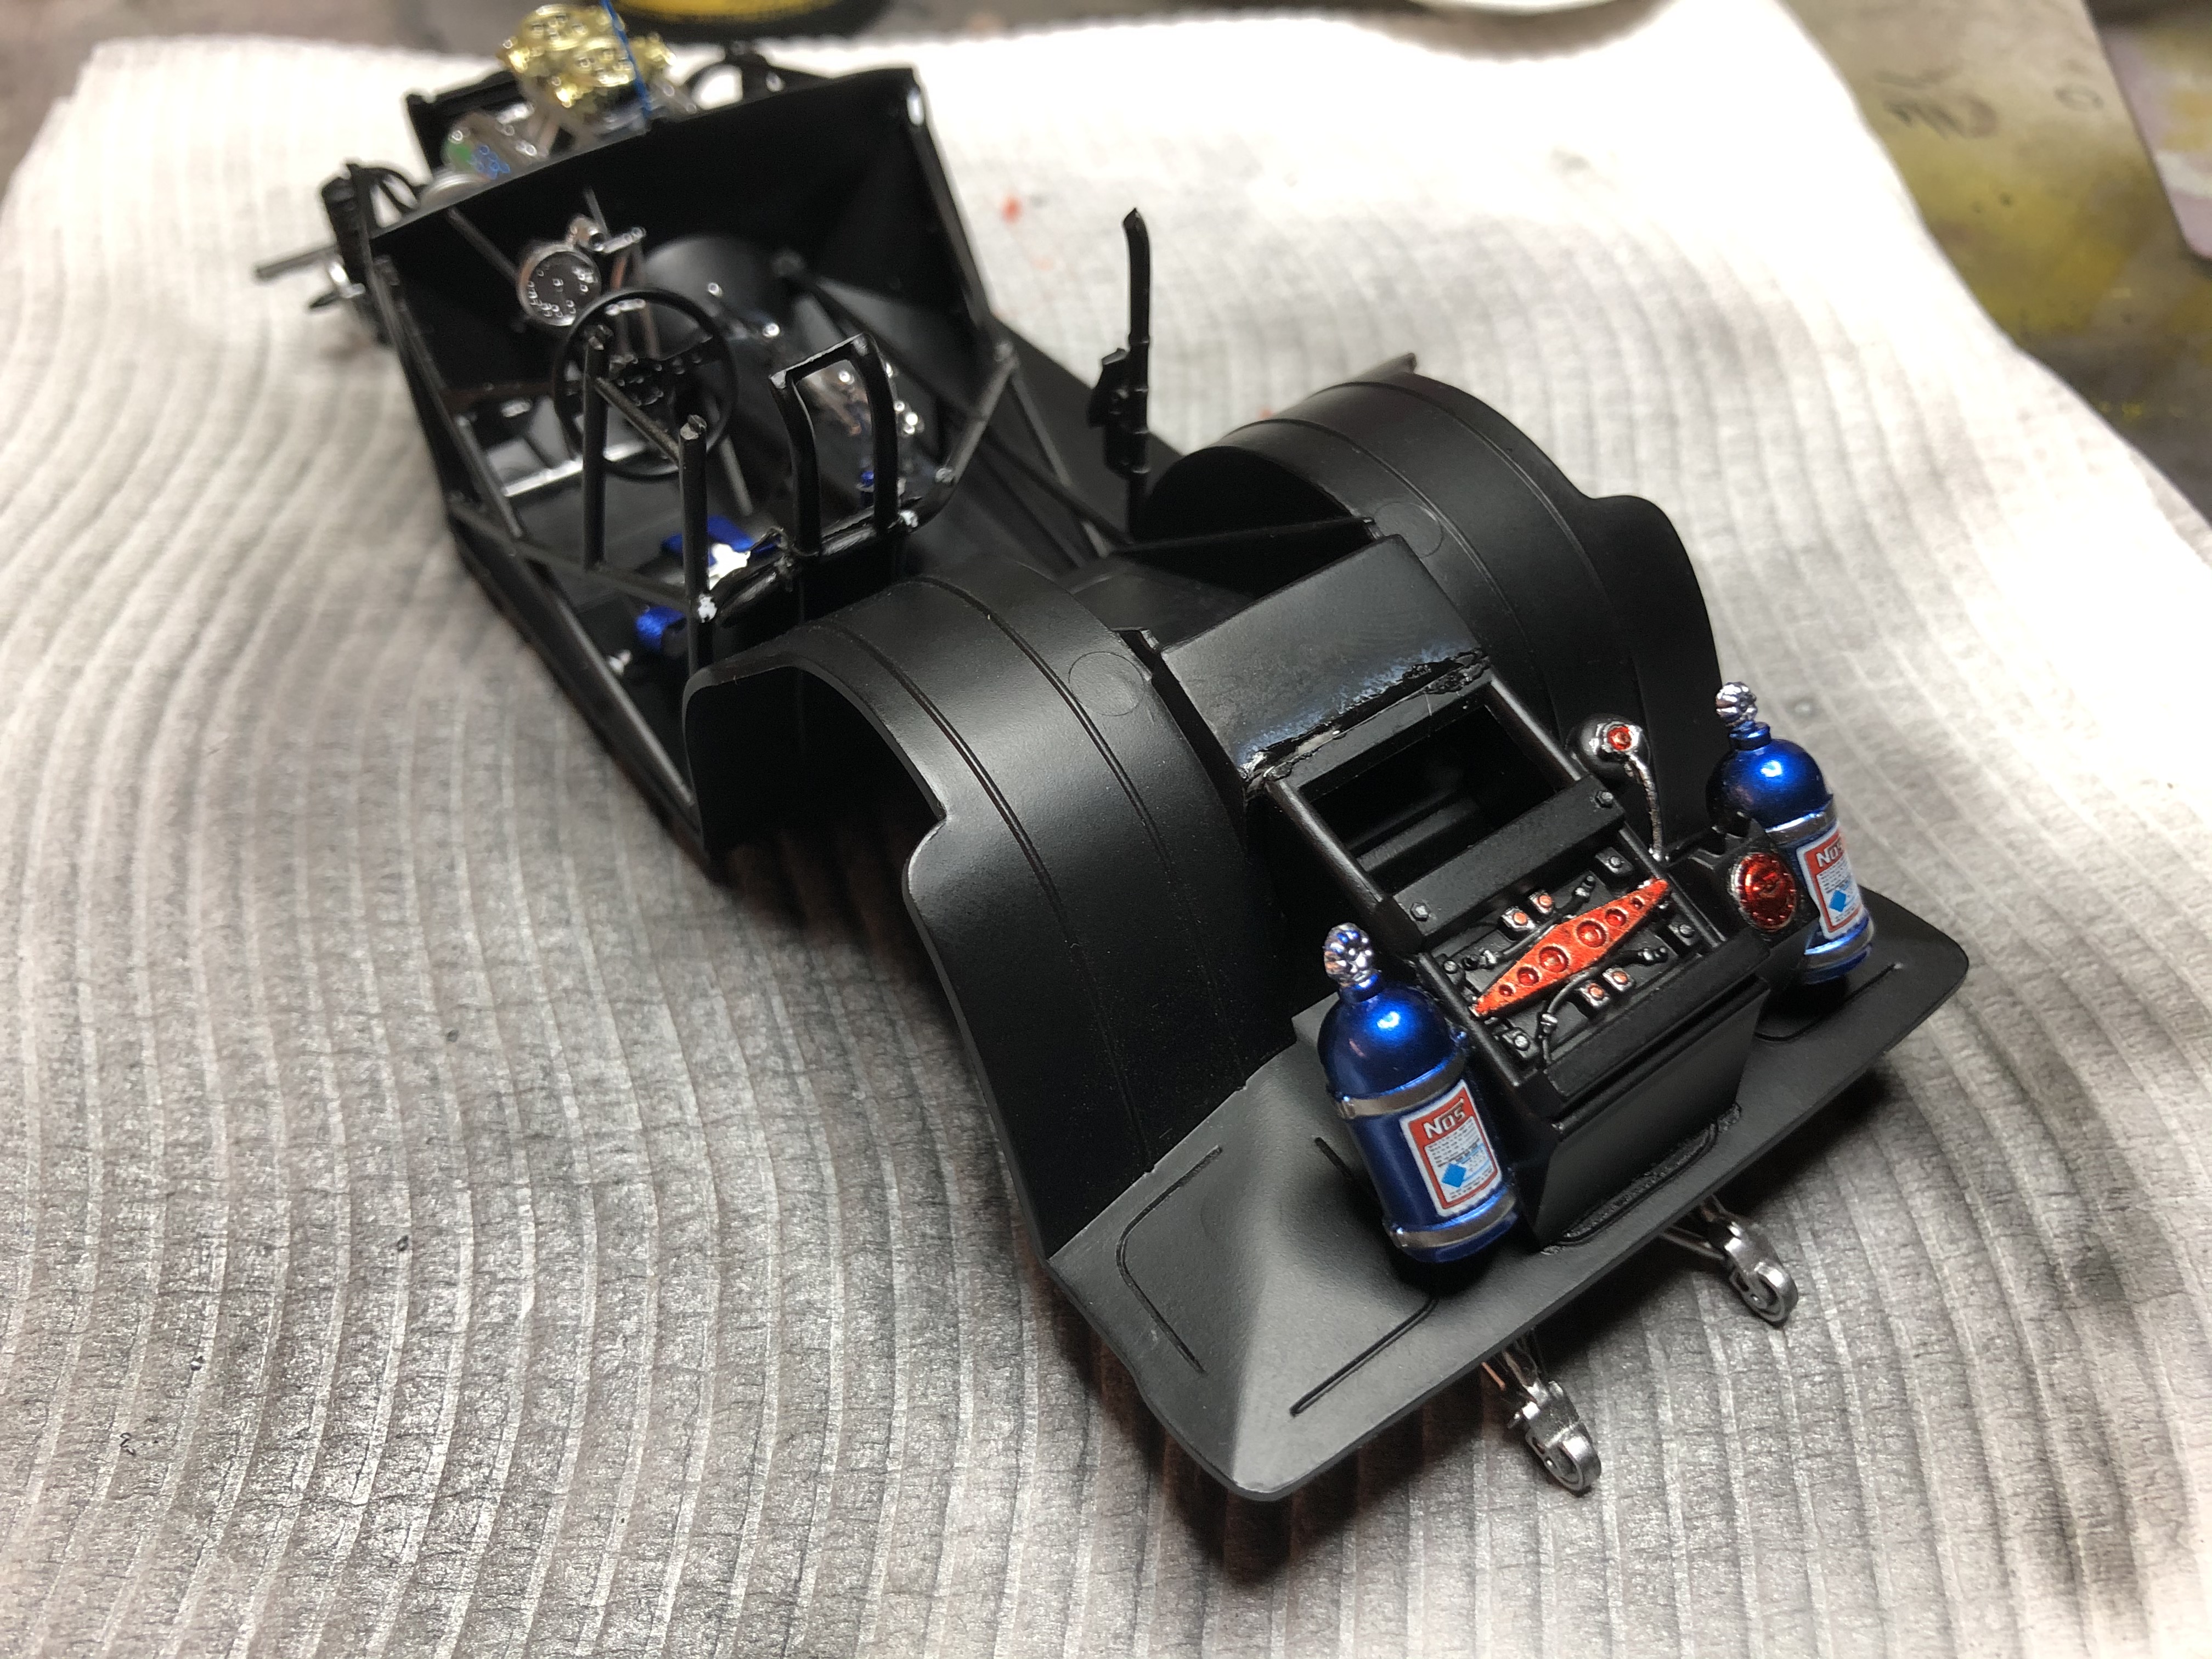
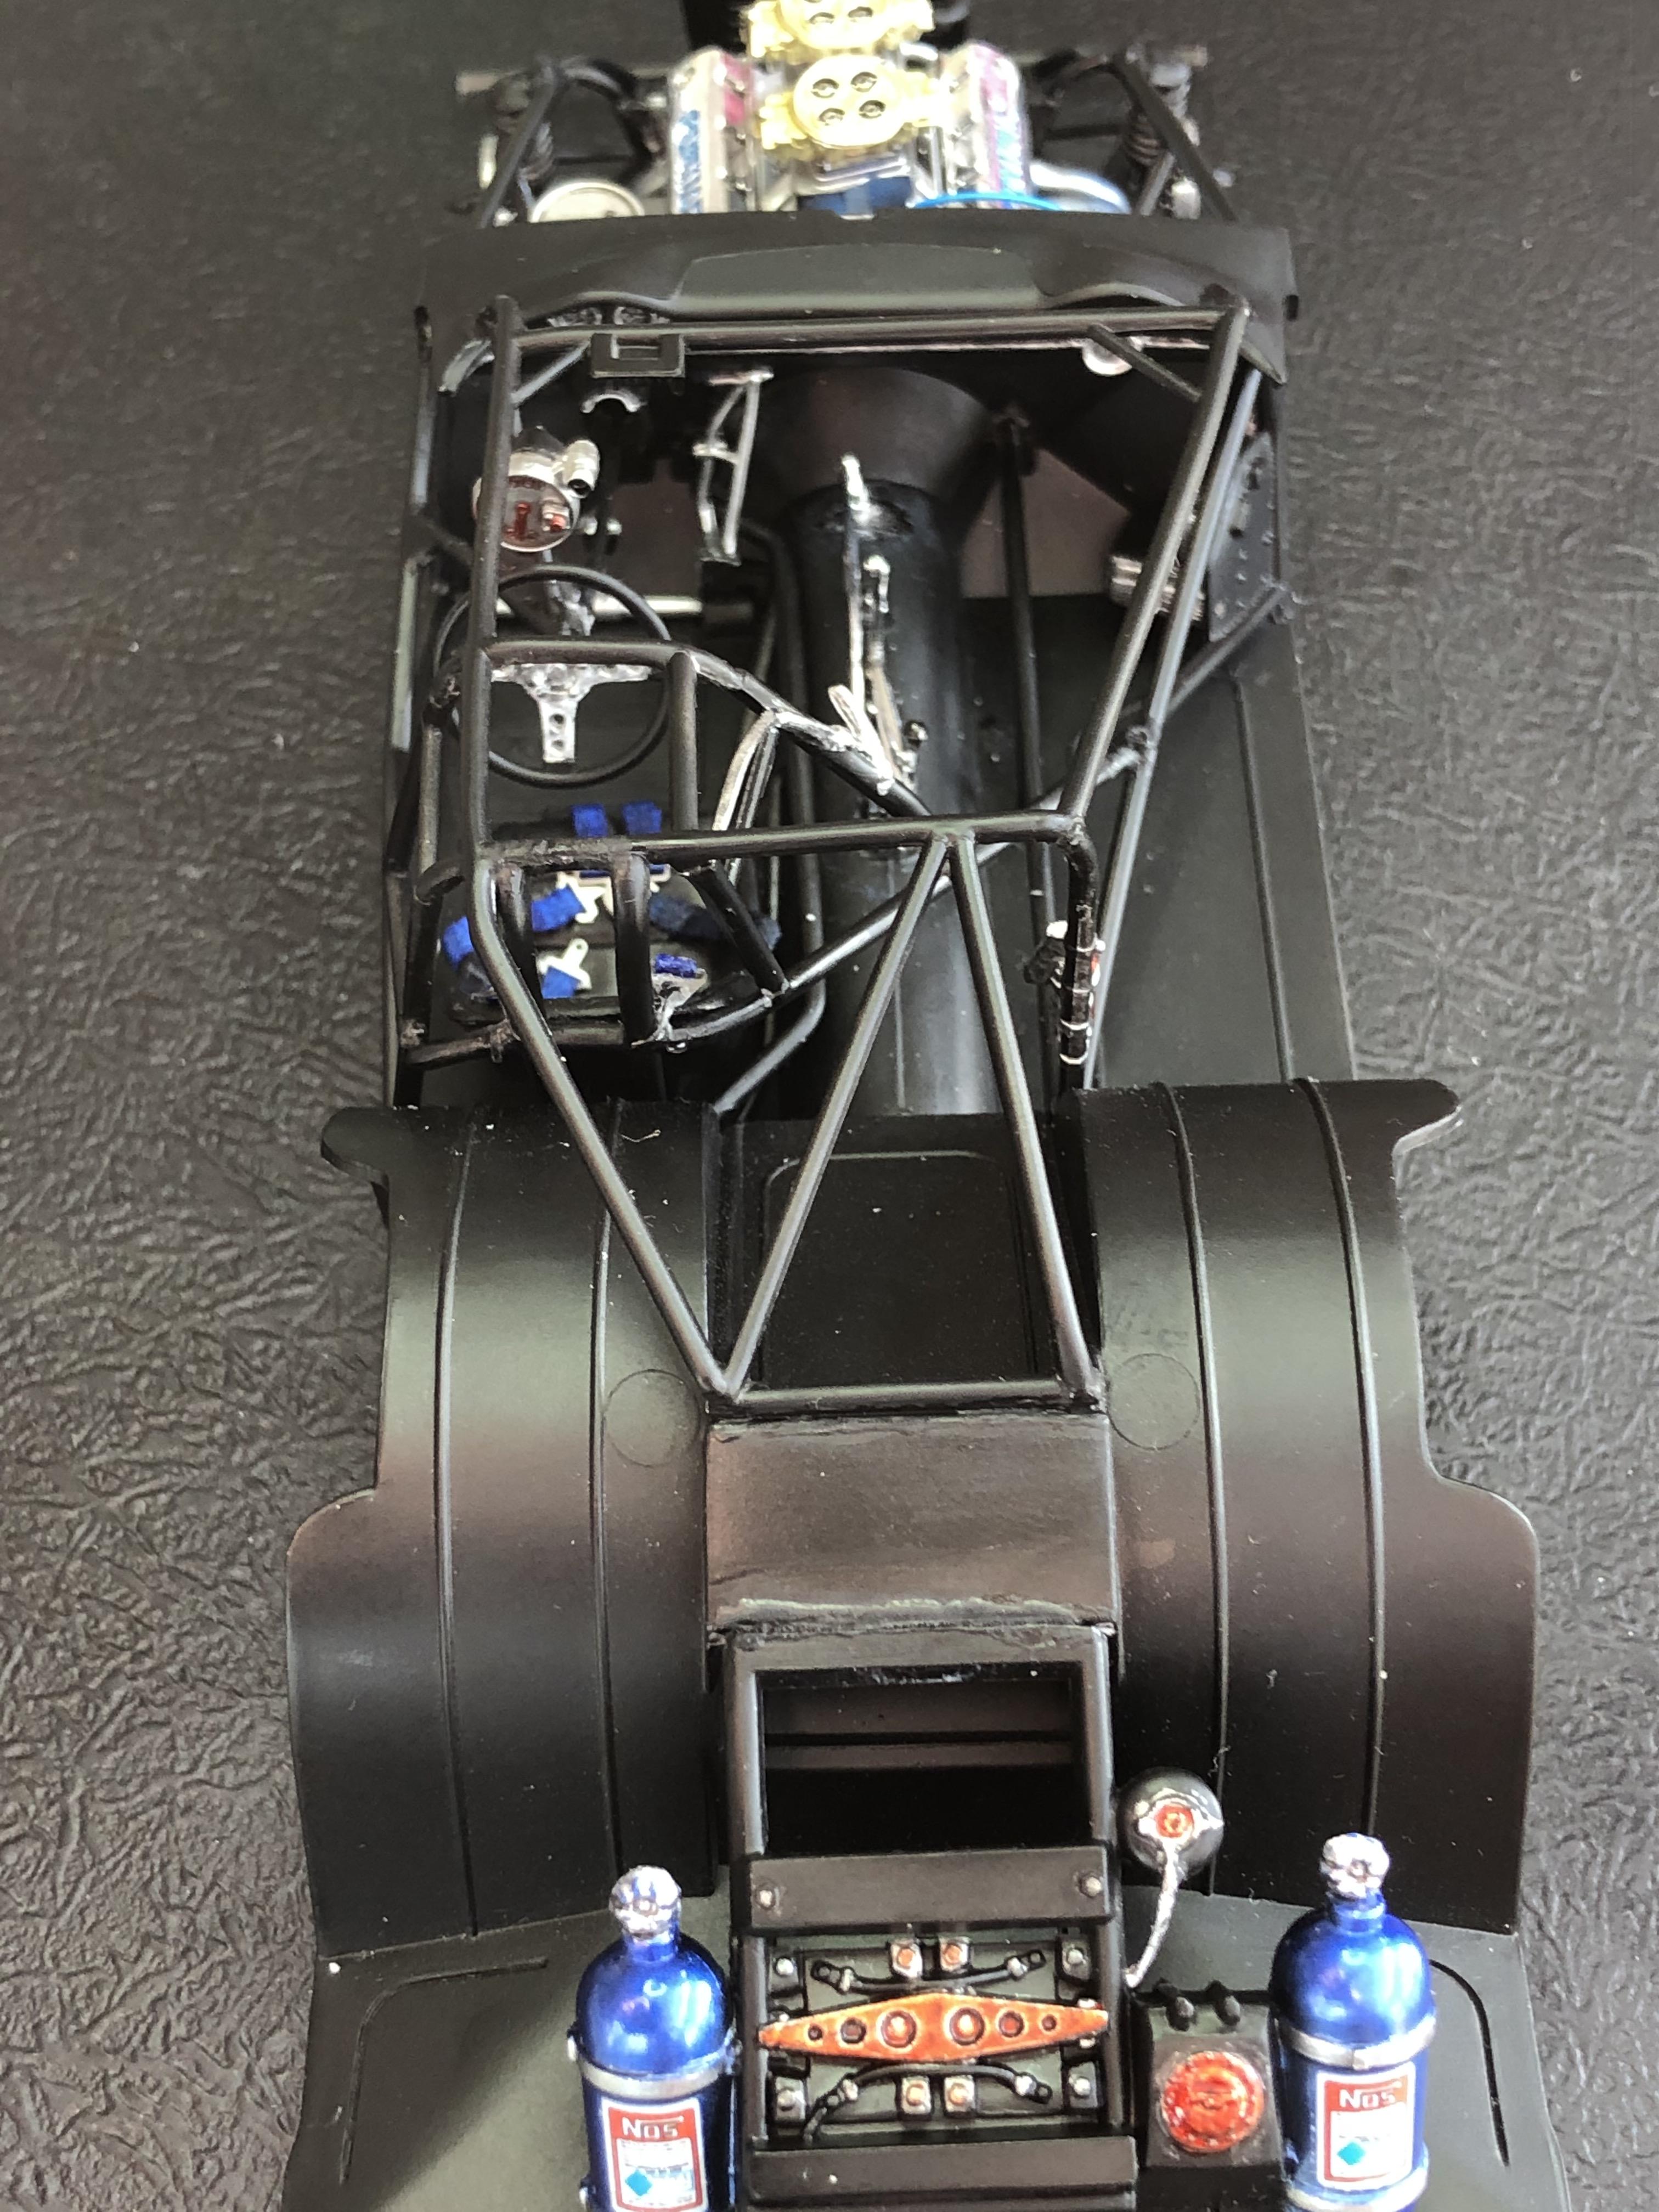
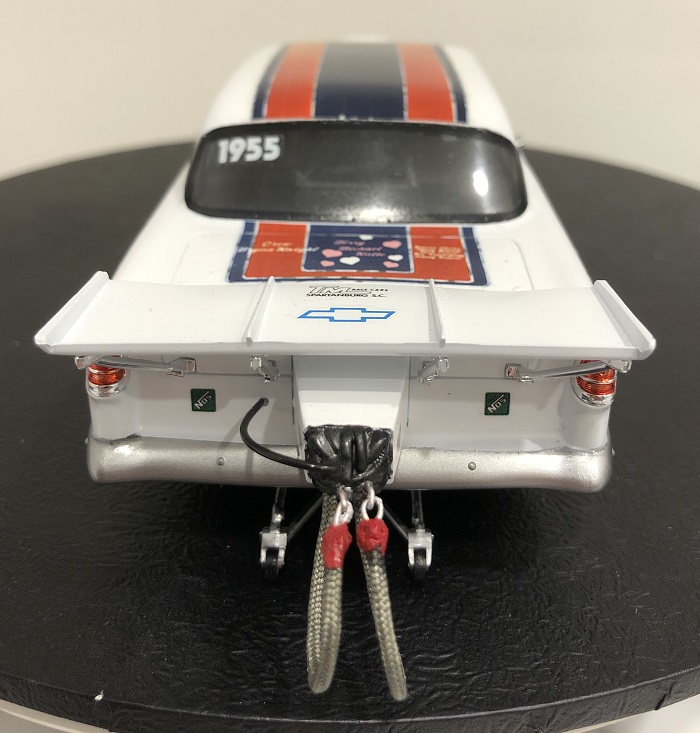
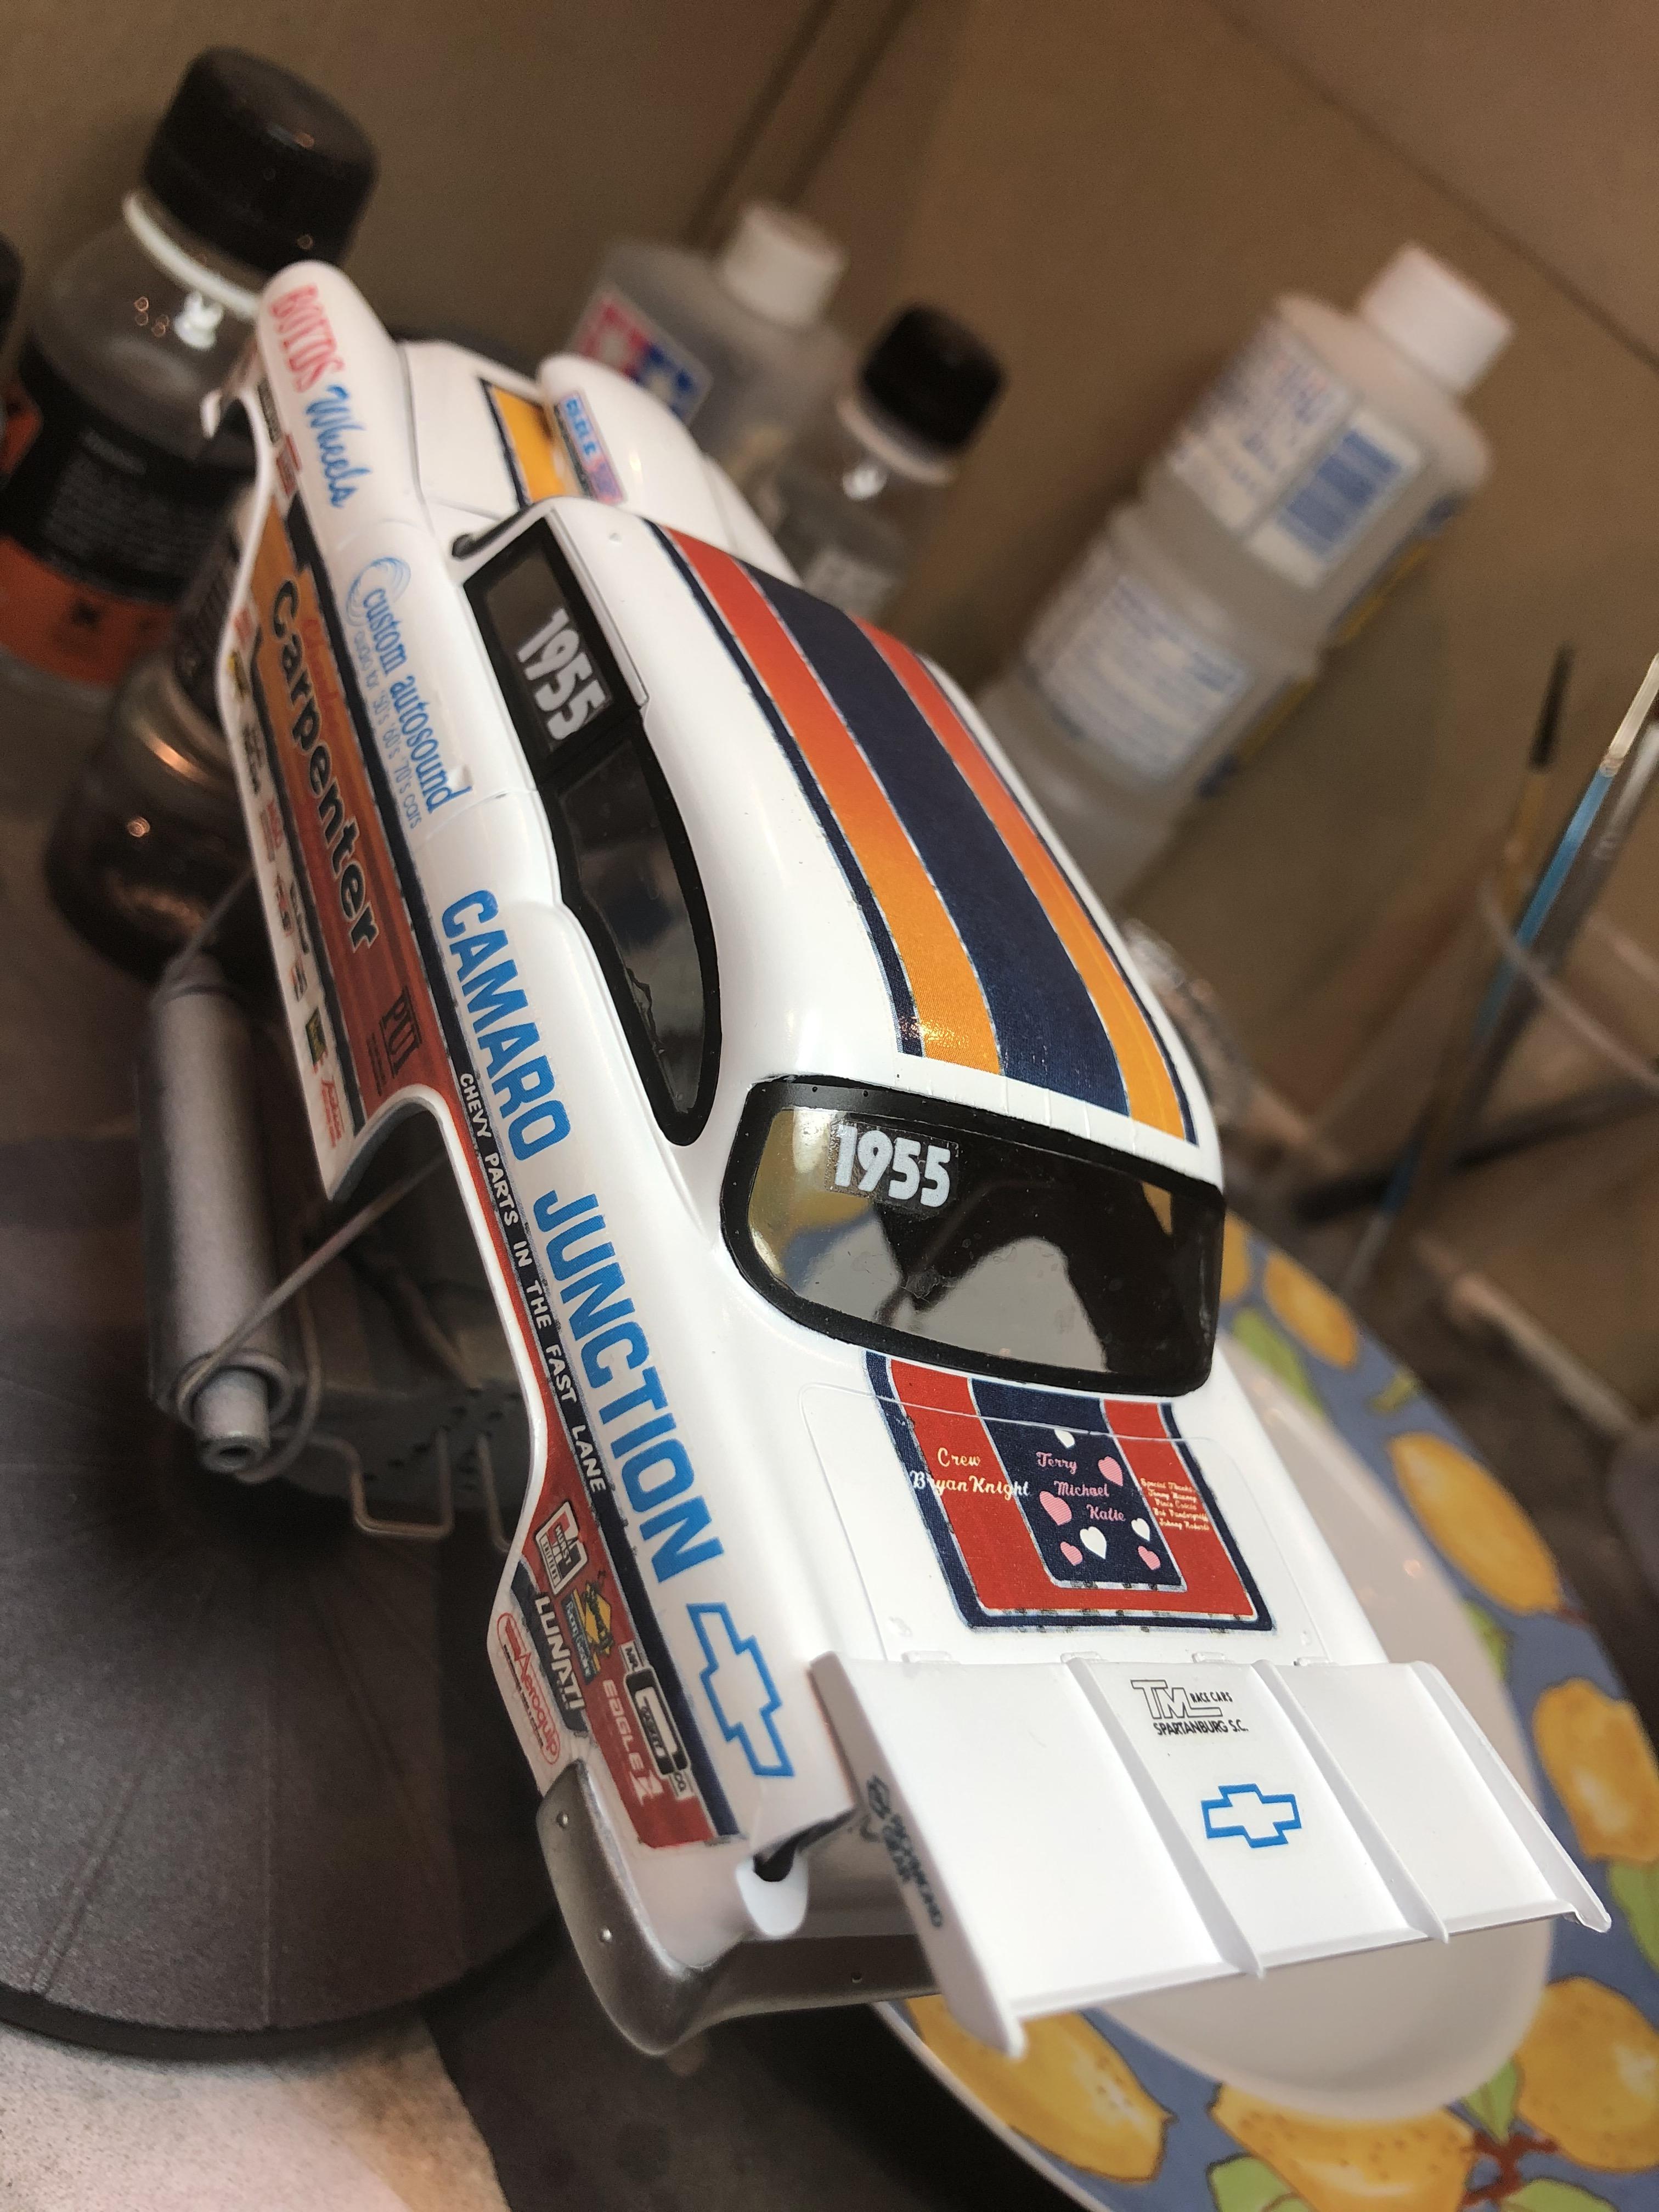
First up I fitted off the drag chute pack and rear spoiler support struts.
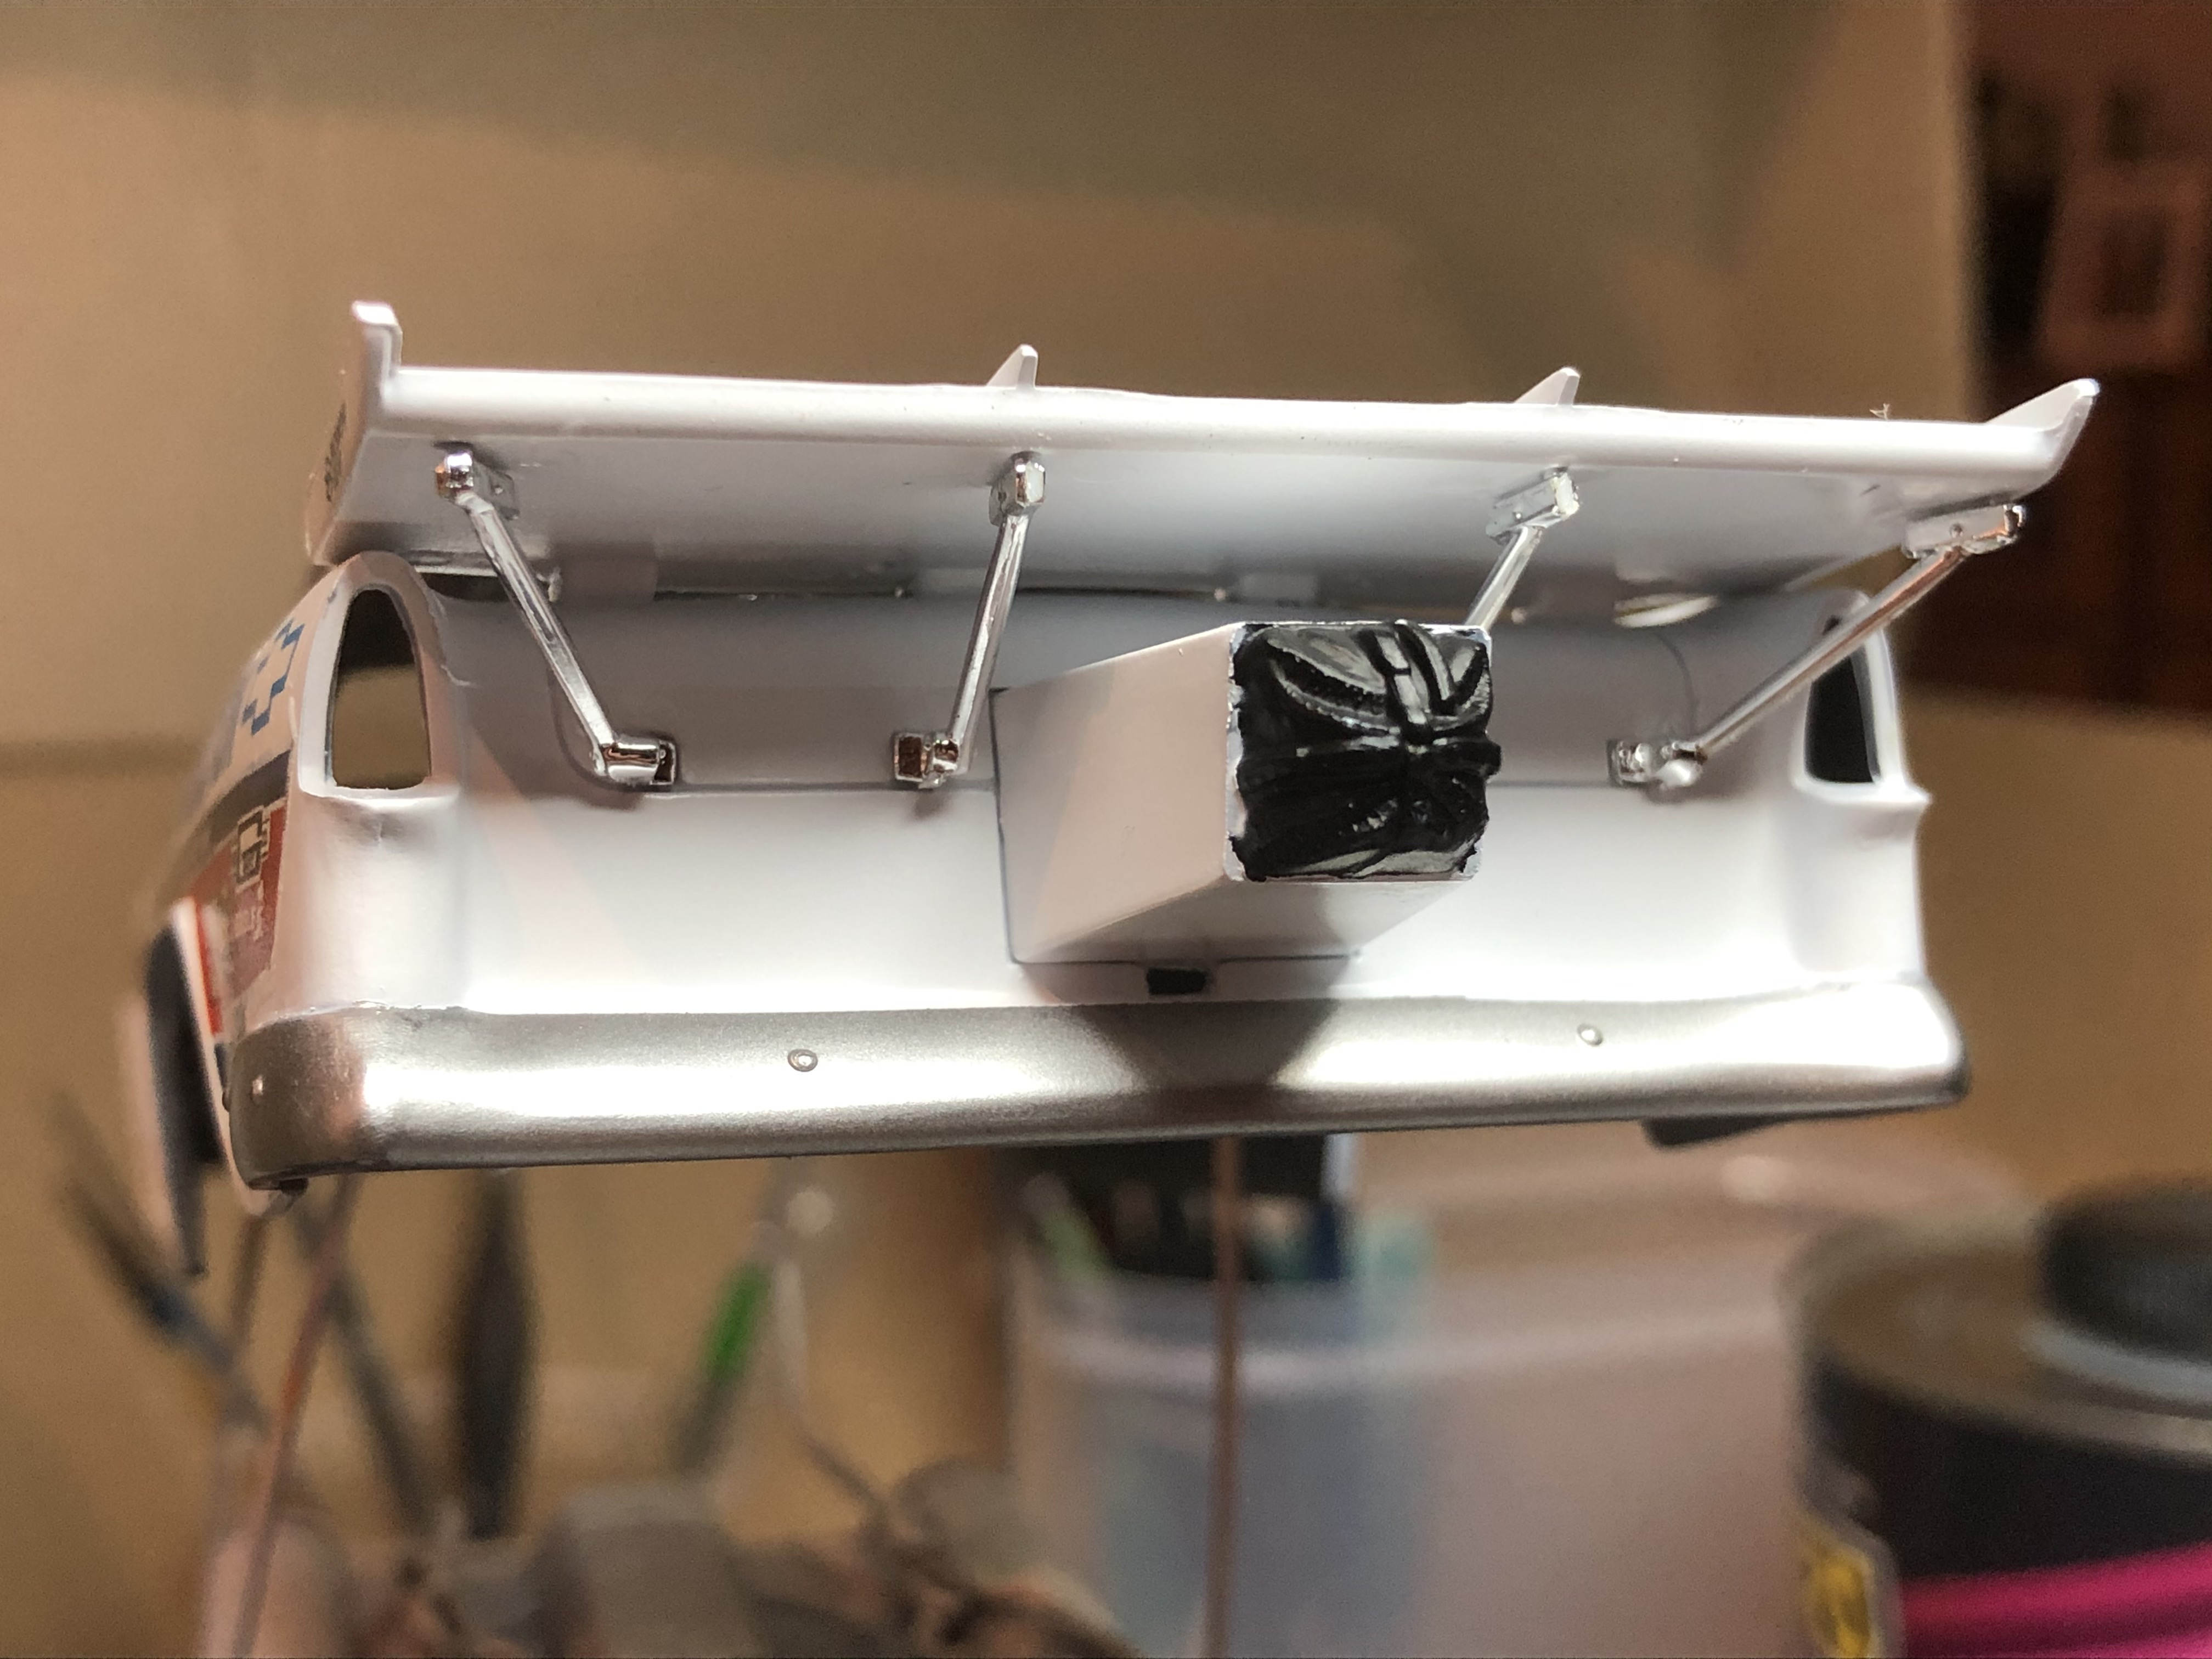
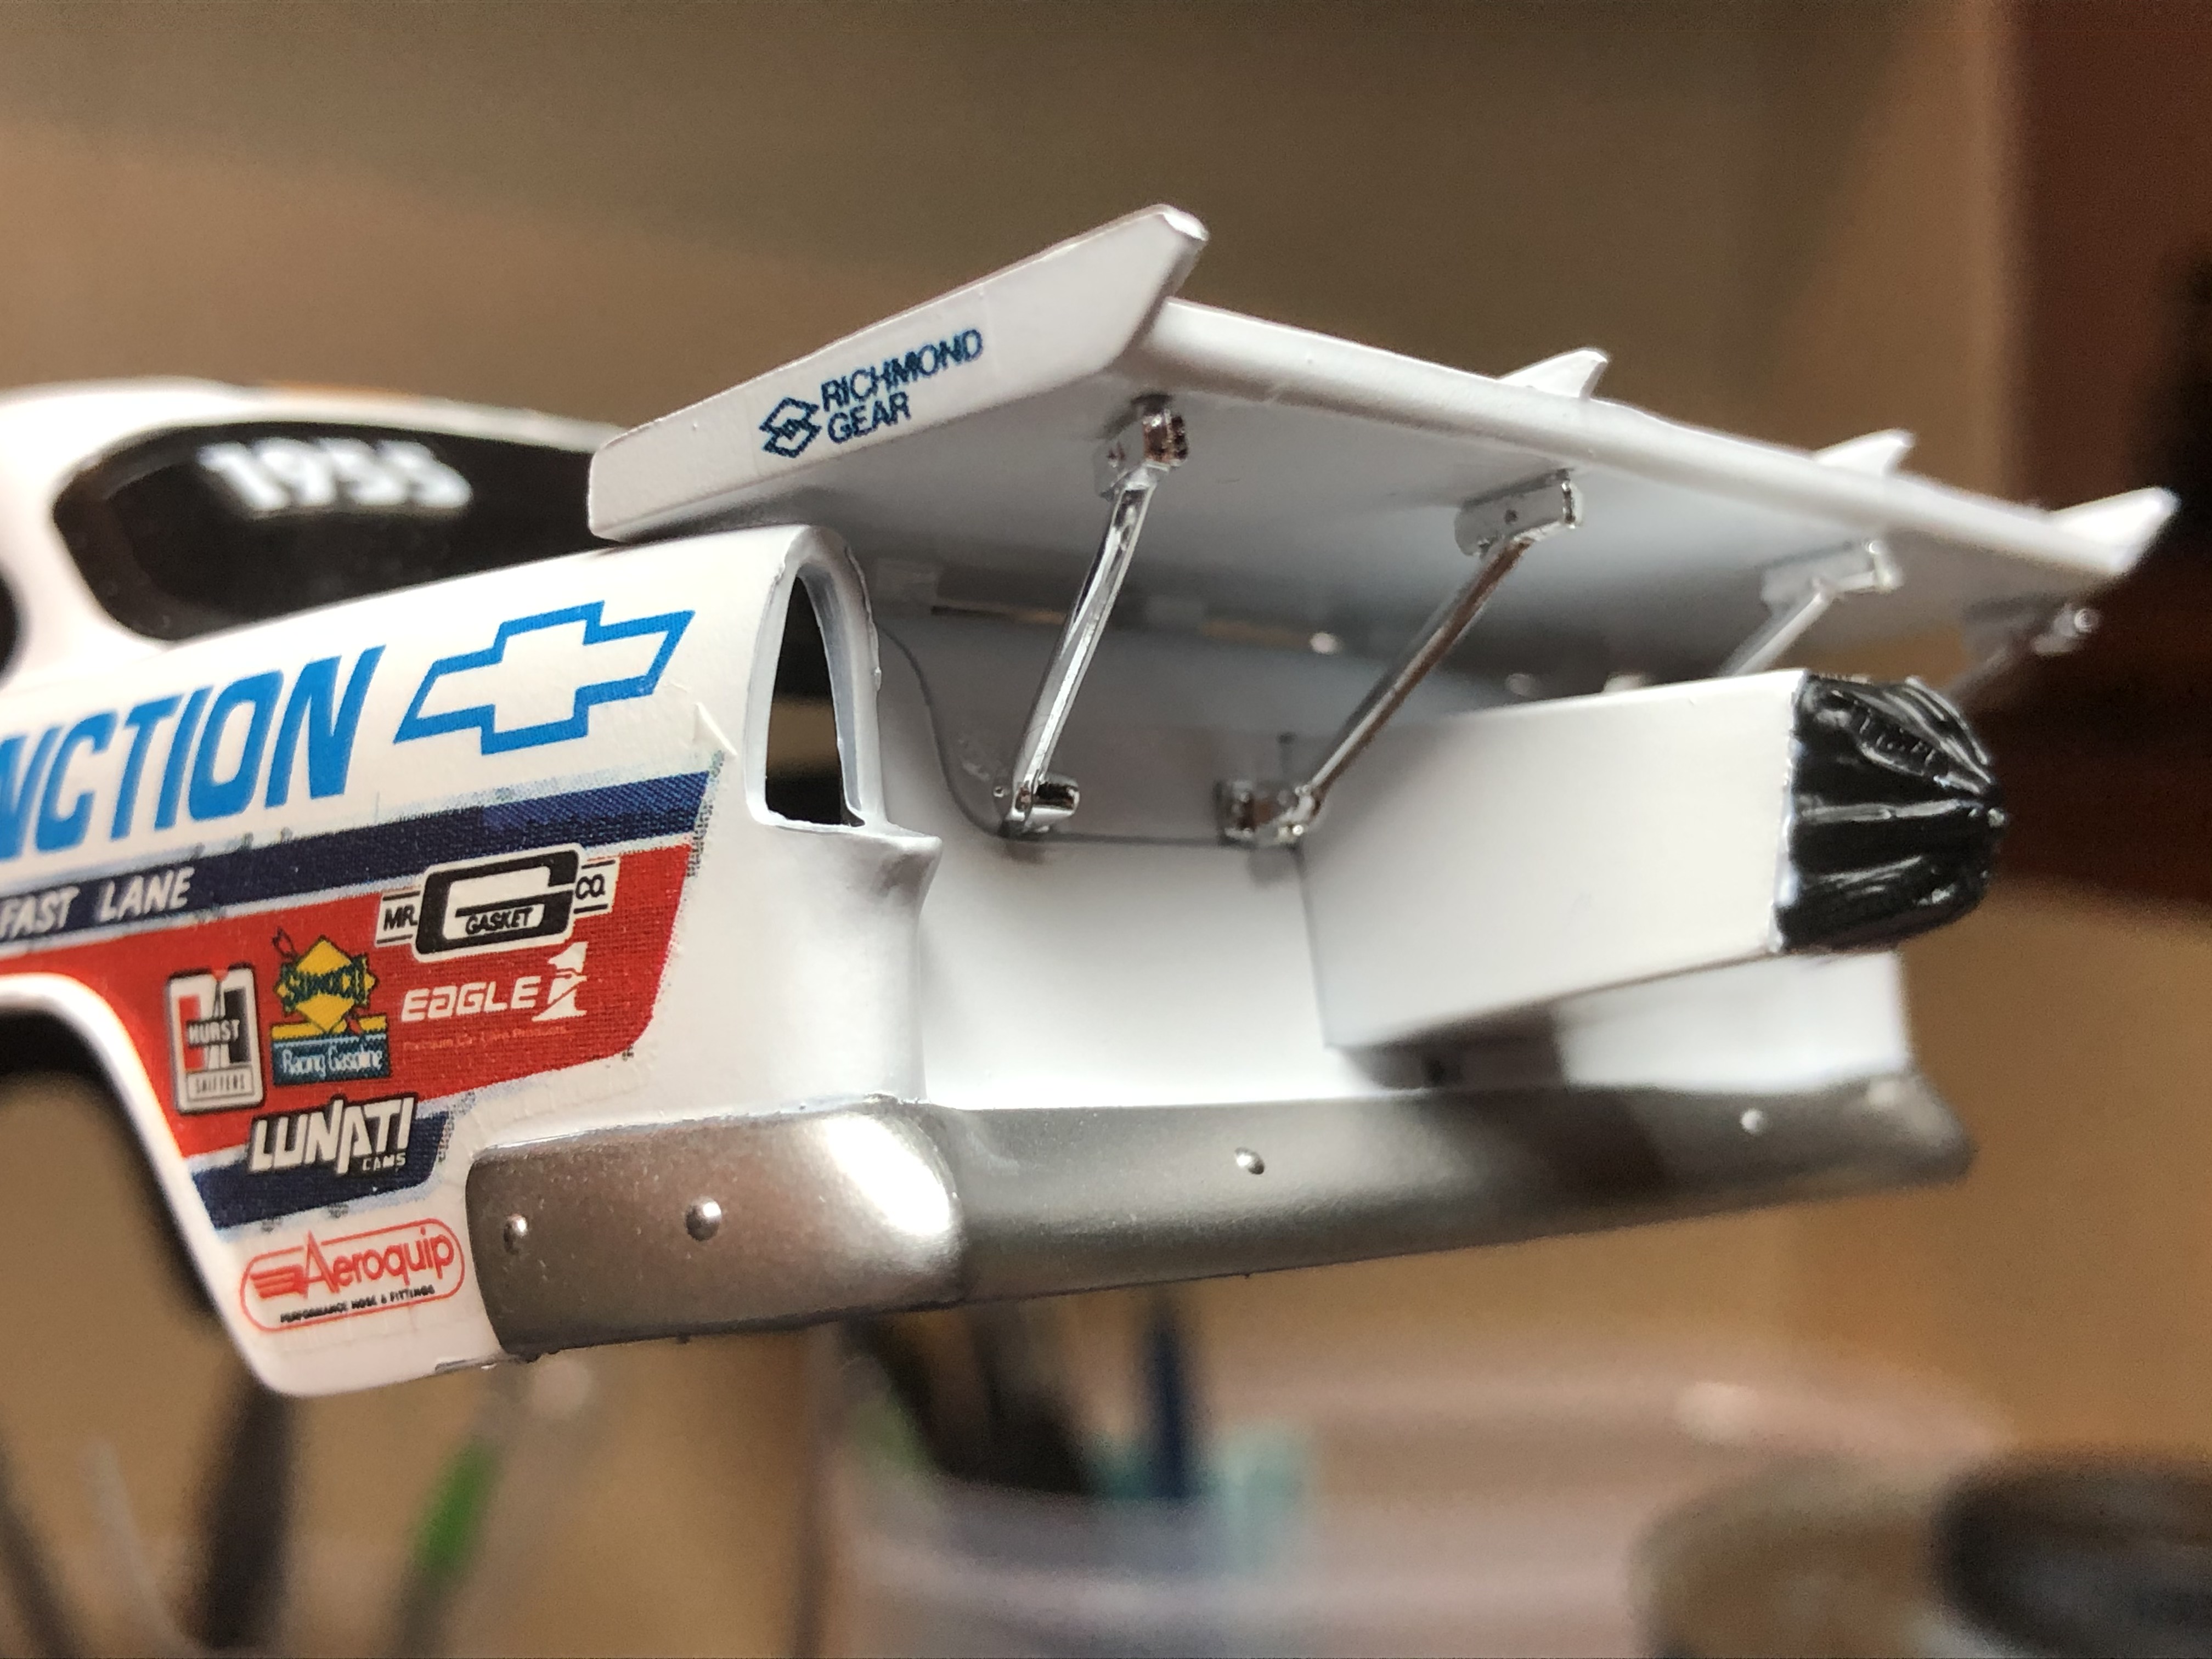
I have pre-drilled a small hole directly beneath the pack for the chute cables to fit through, and they attach to the bottom of the chutes themselves.
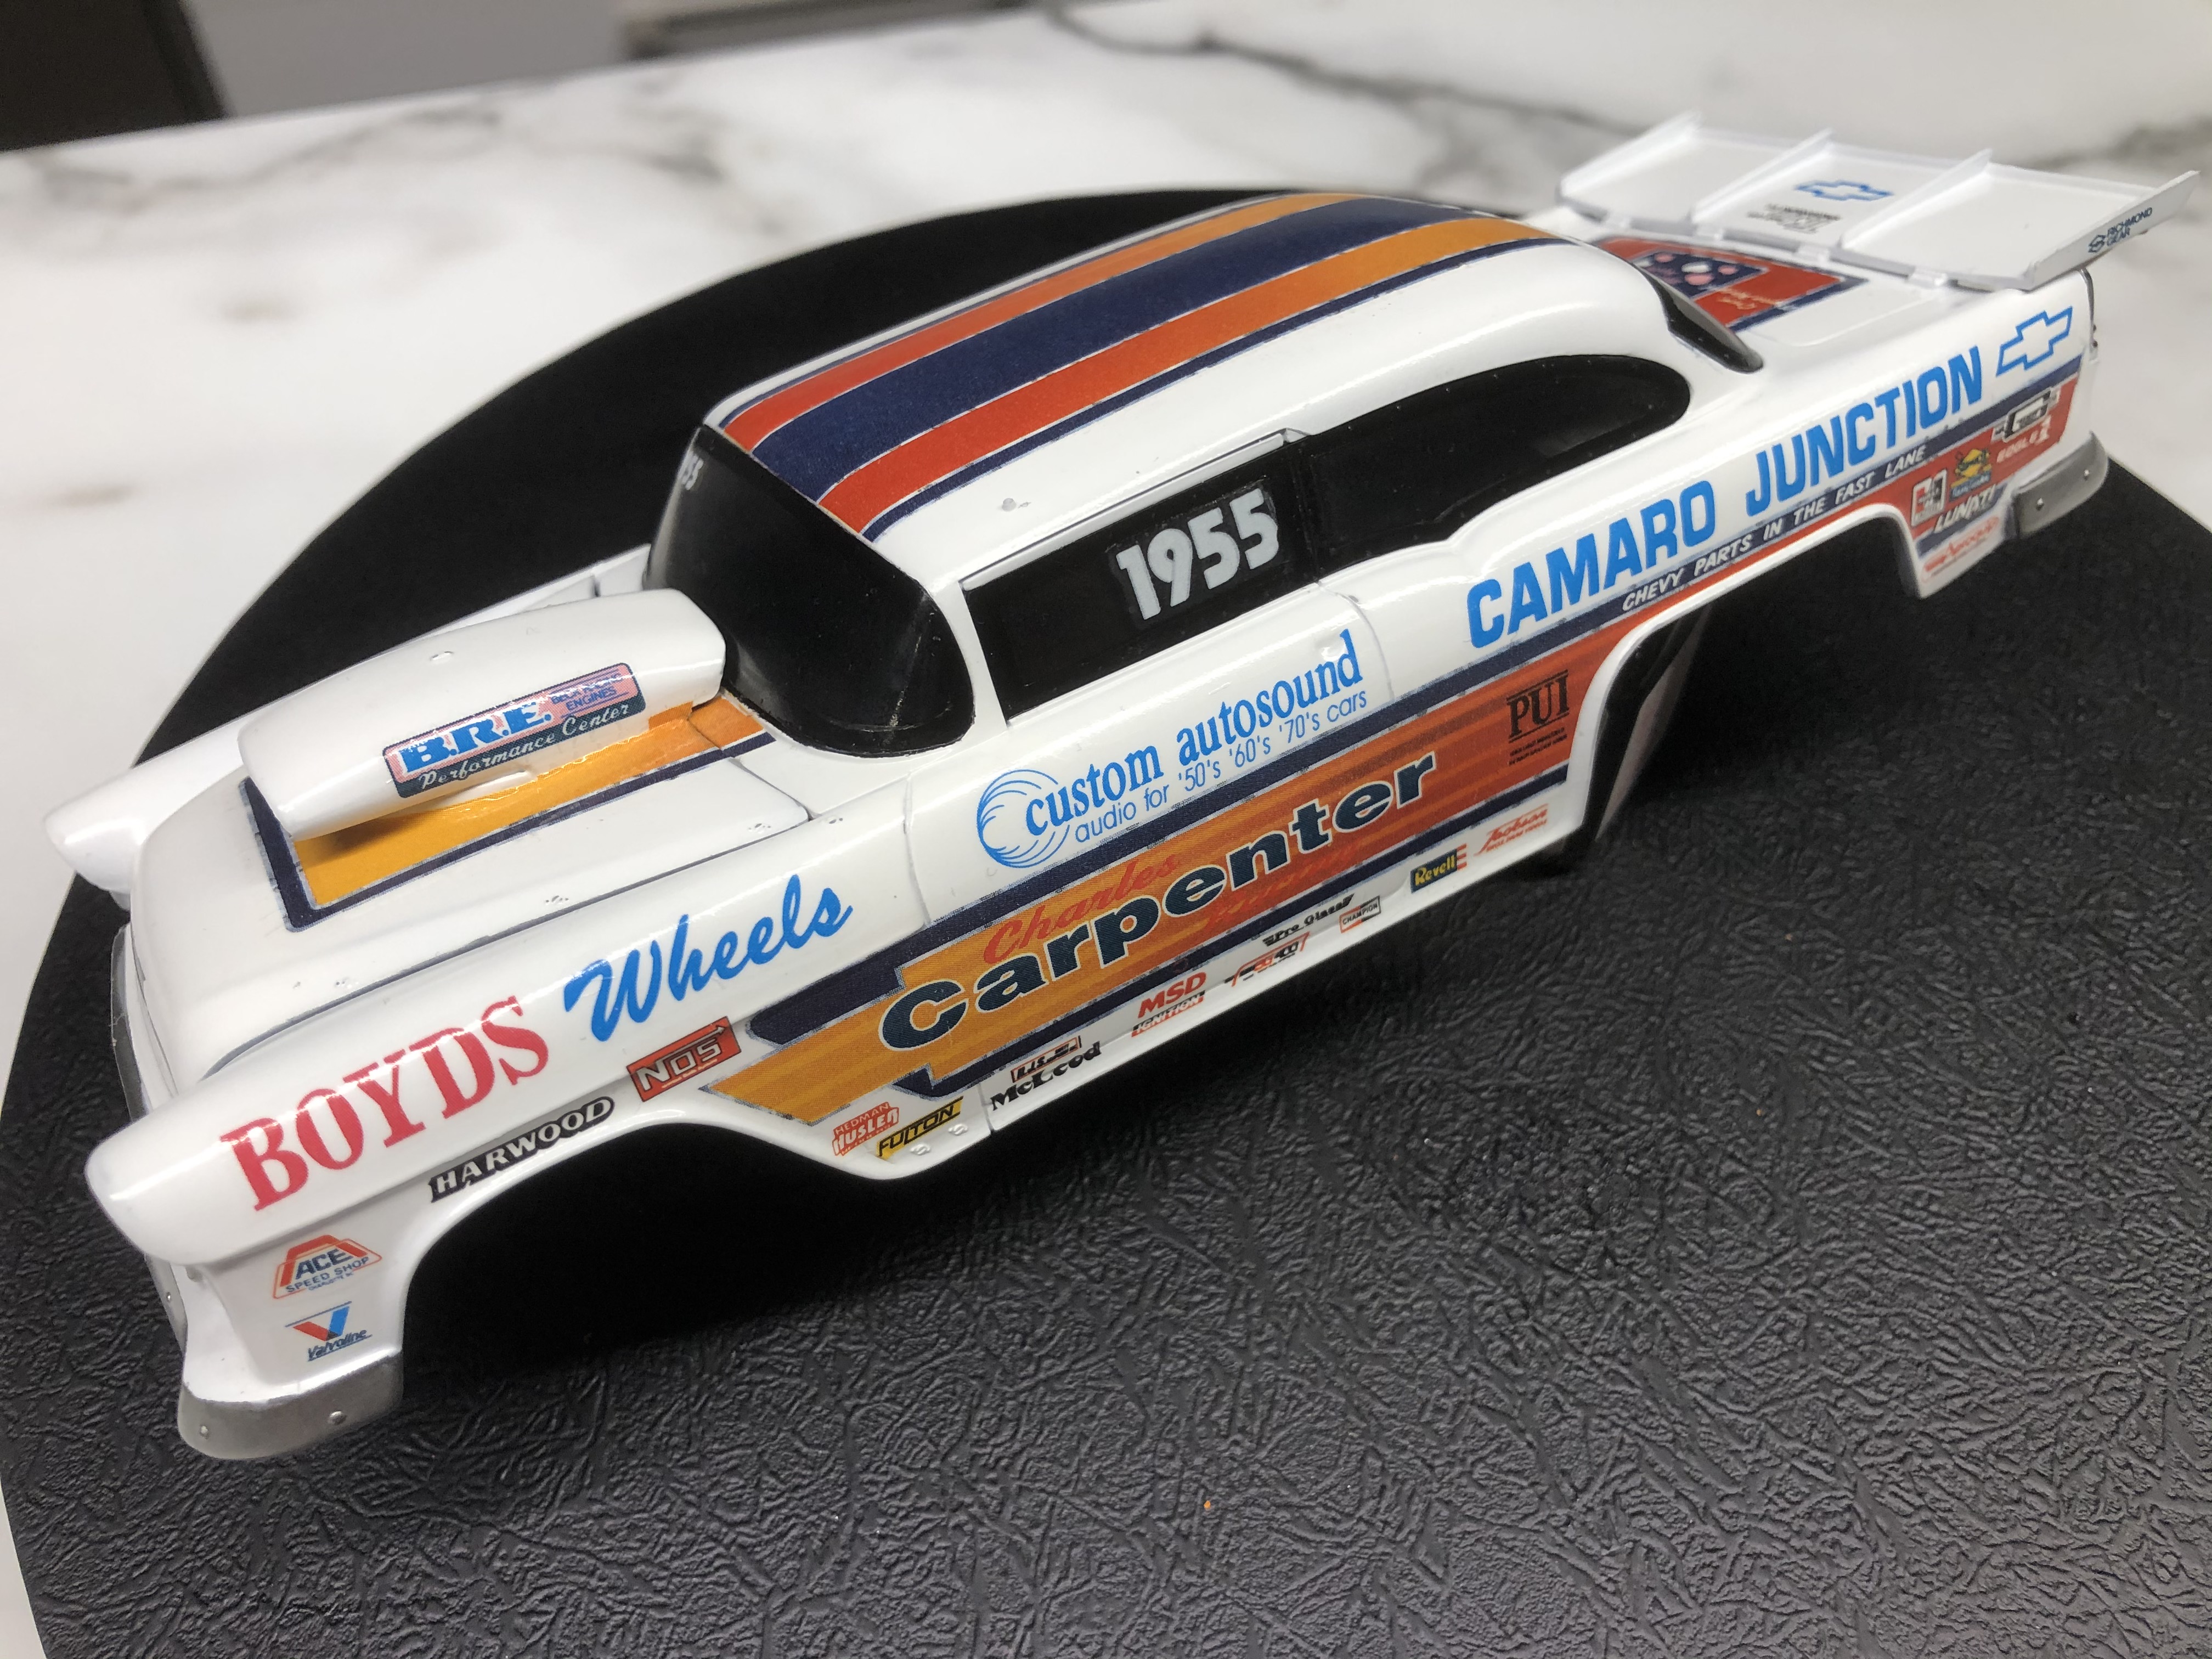
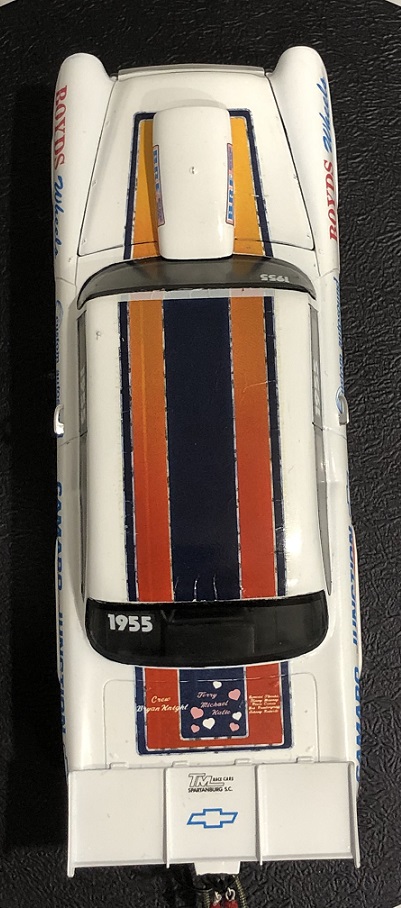
The beauty and curse of digital photos, I can now see a small fold in the carrier film of the decal right beside the LHS tail light that I need to address.

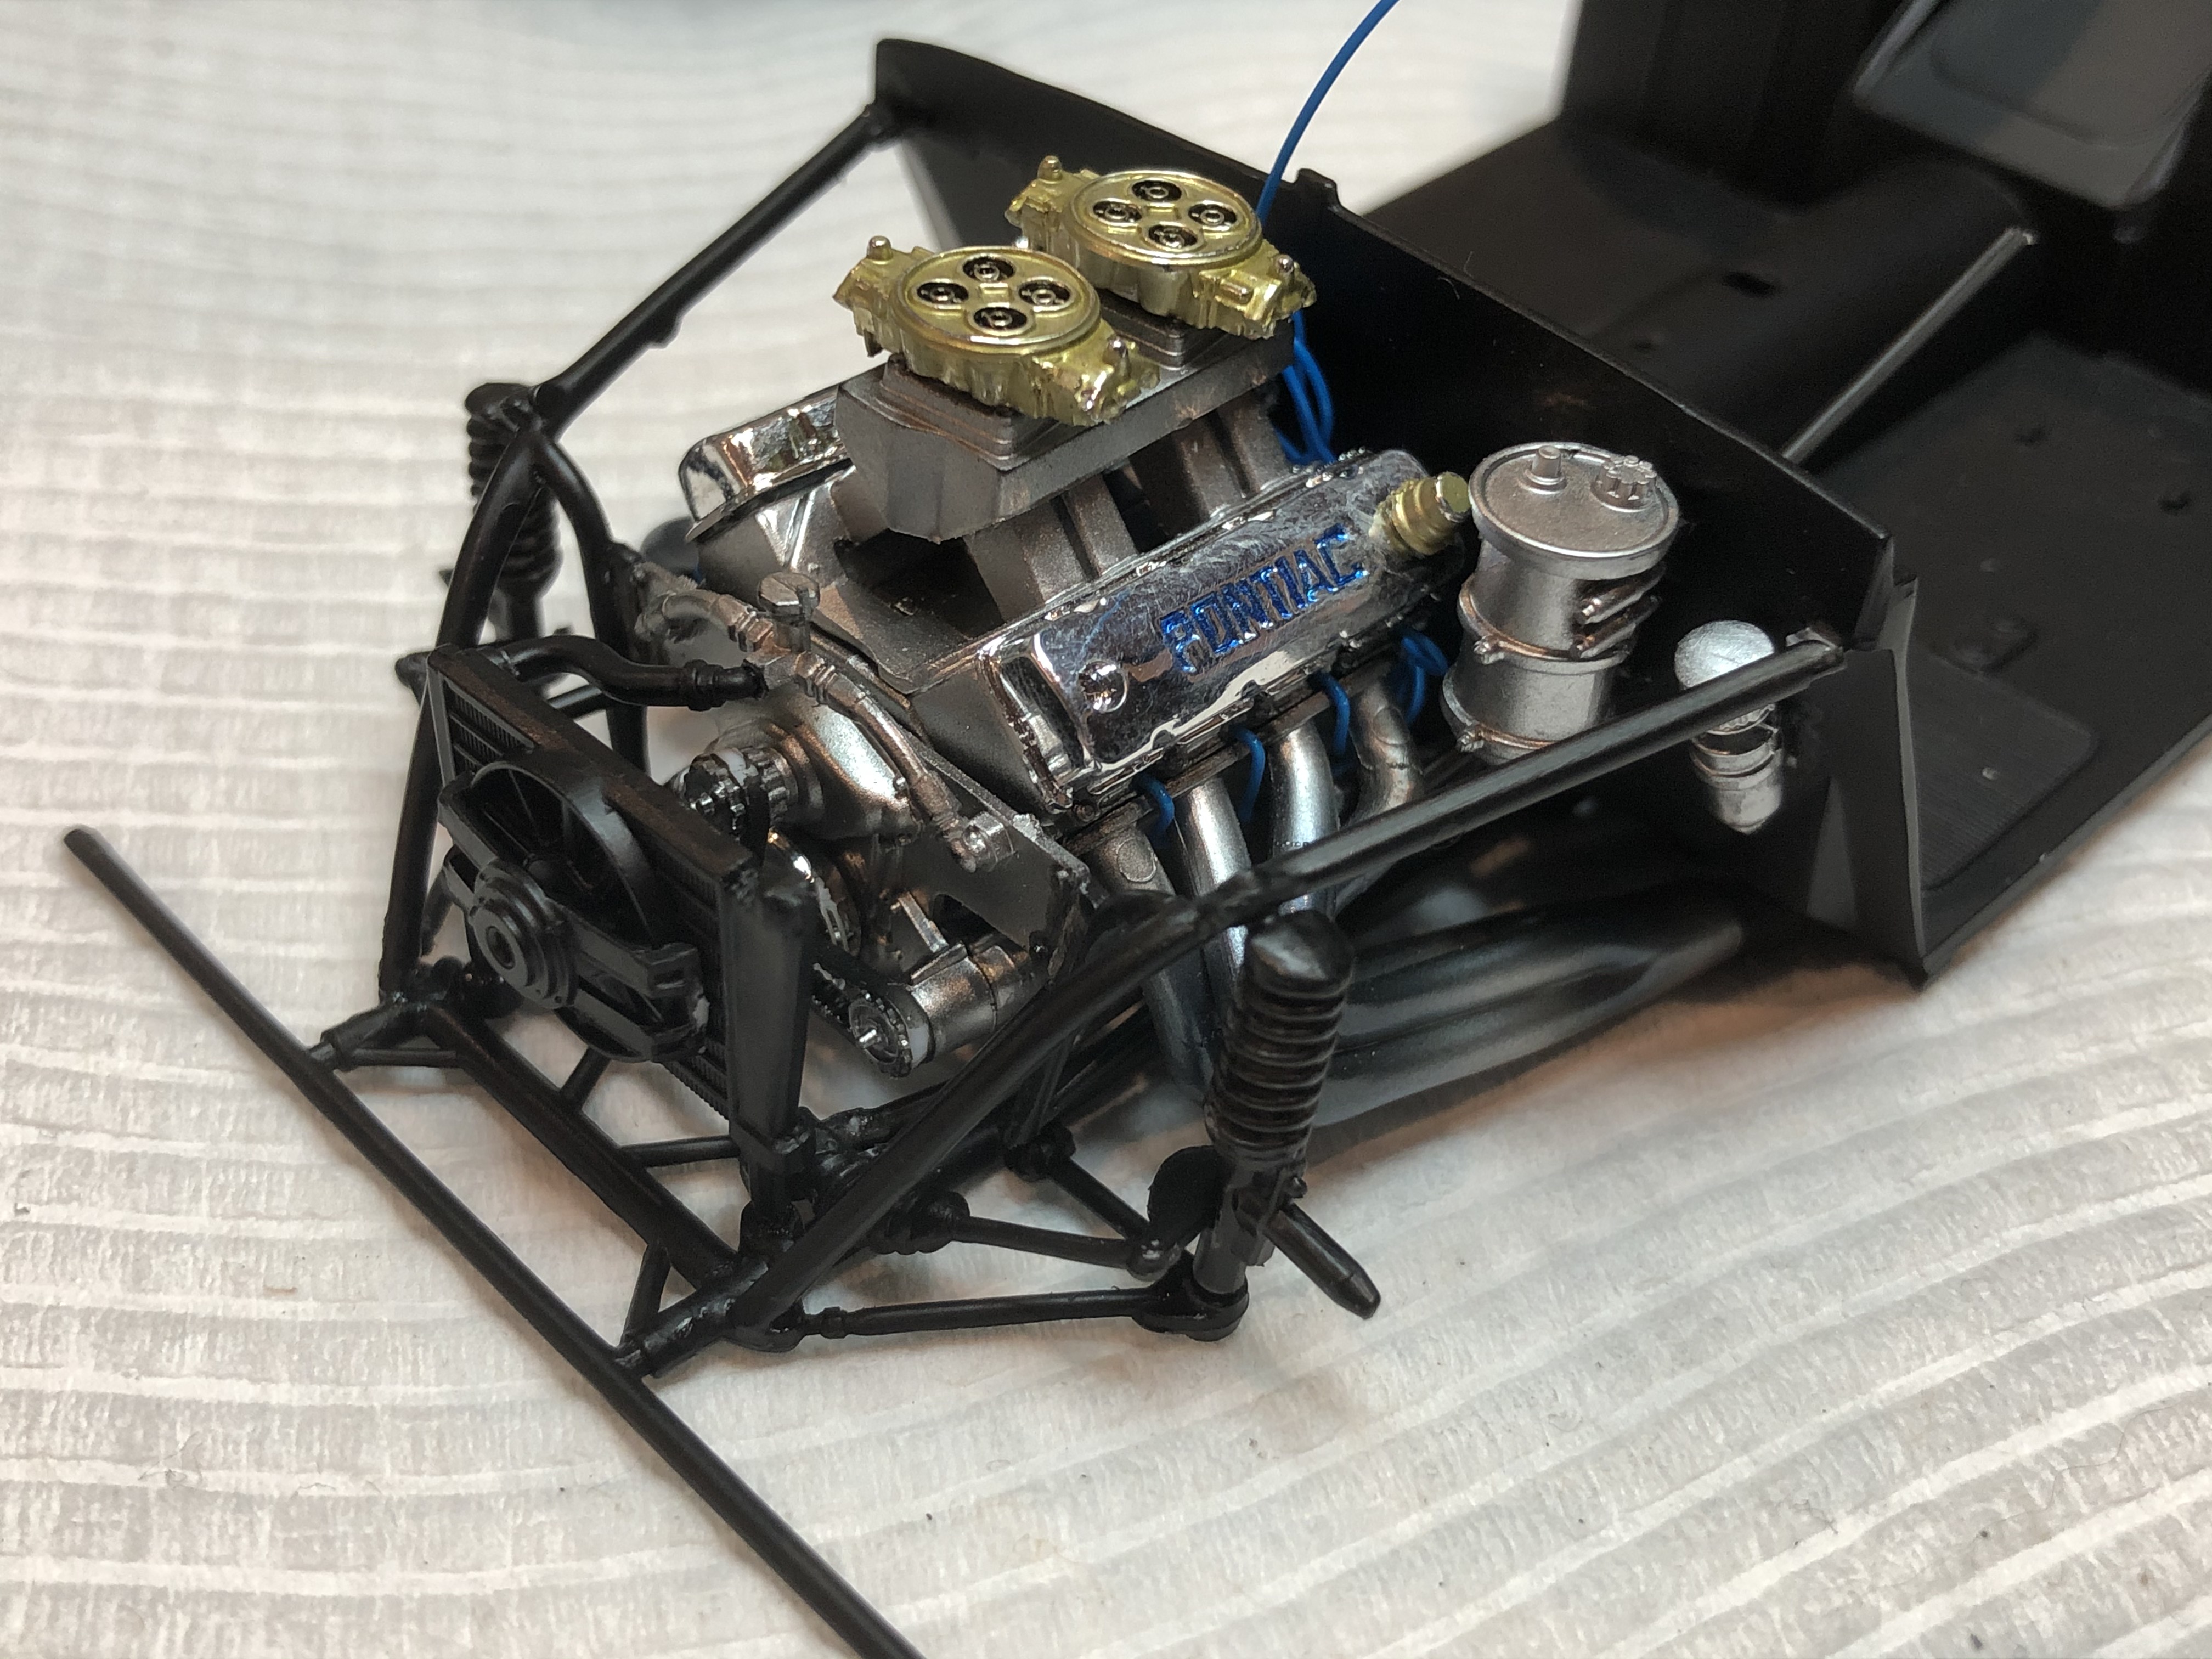
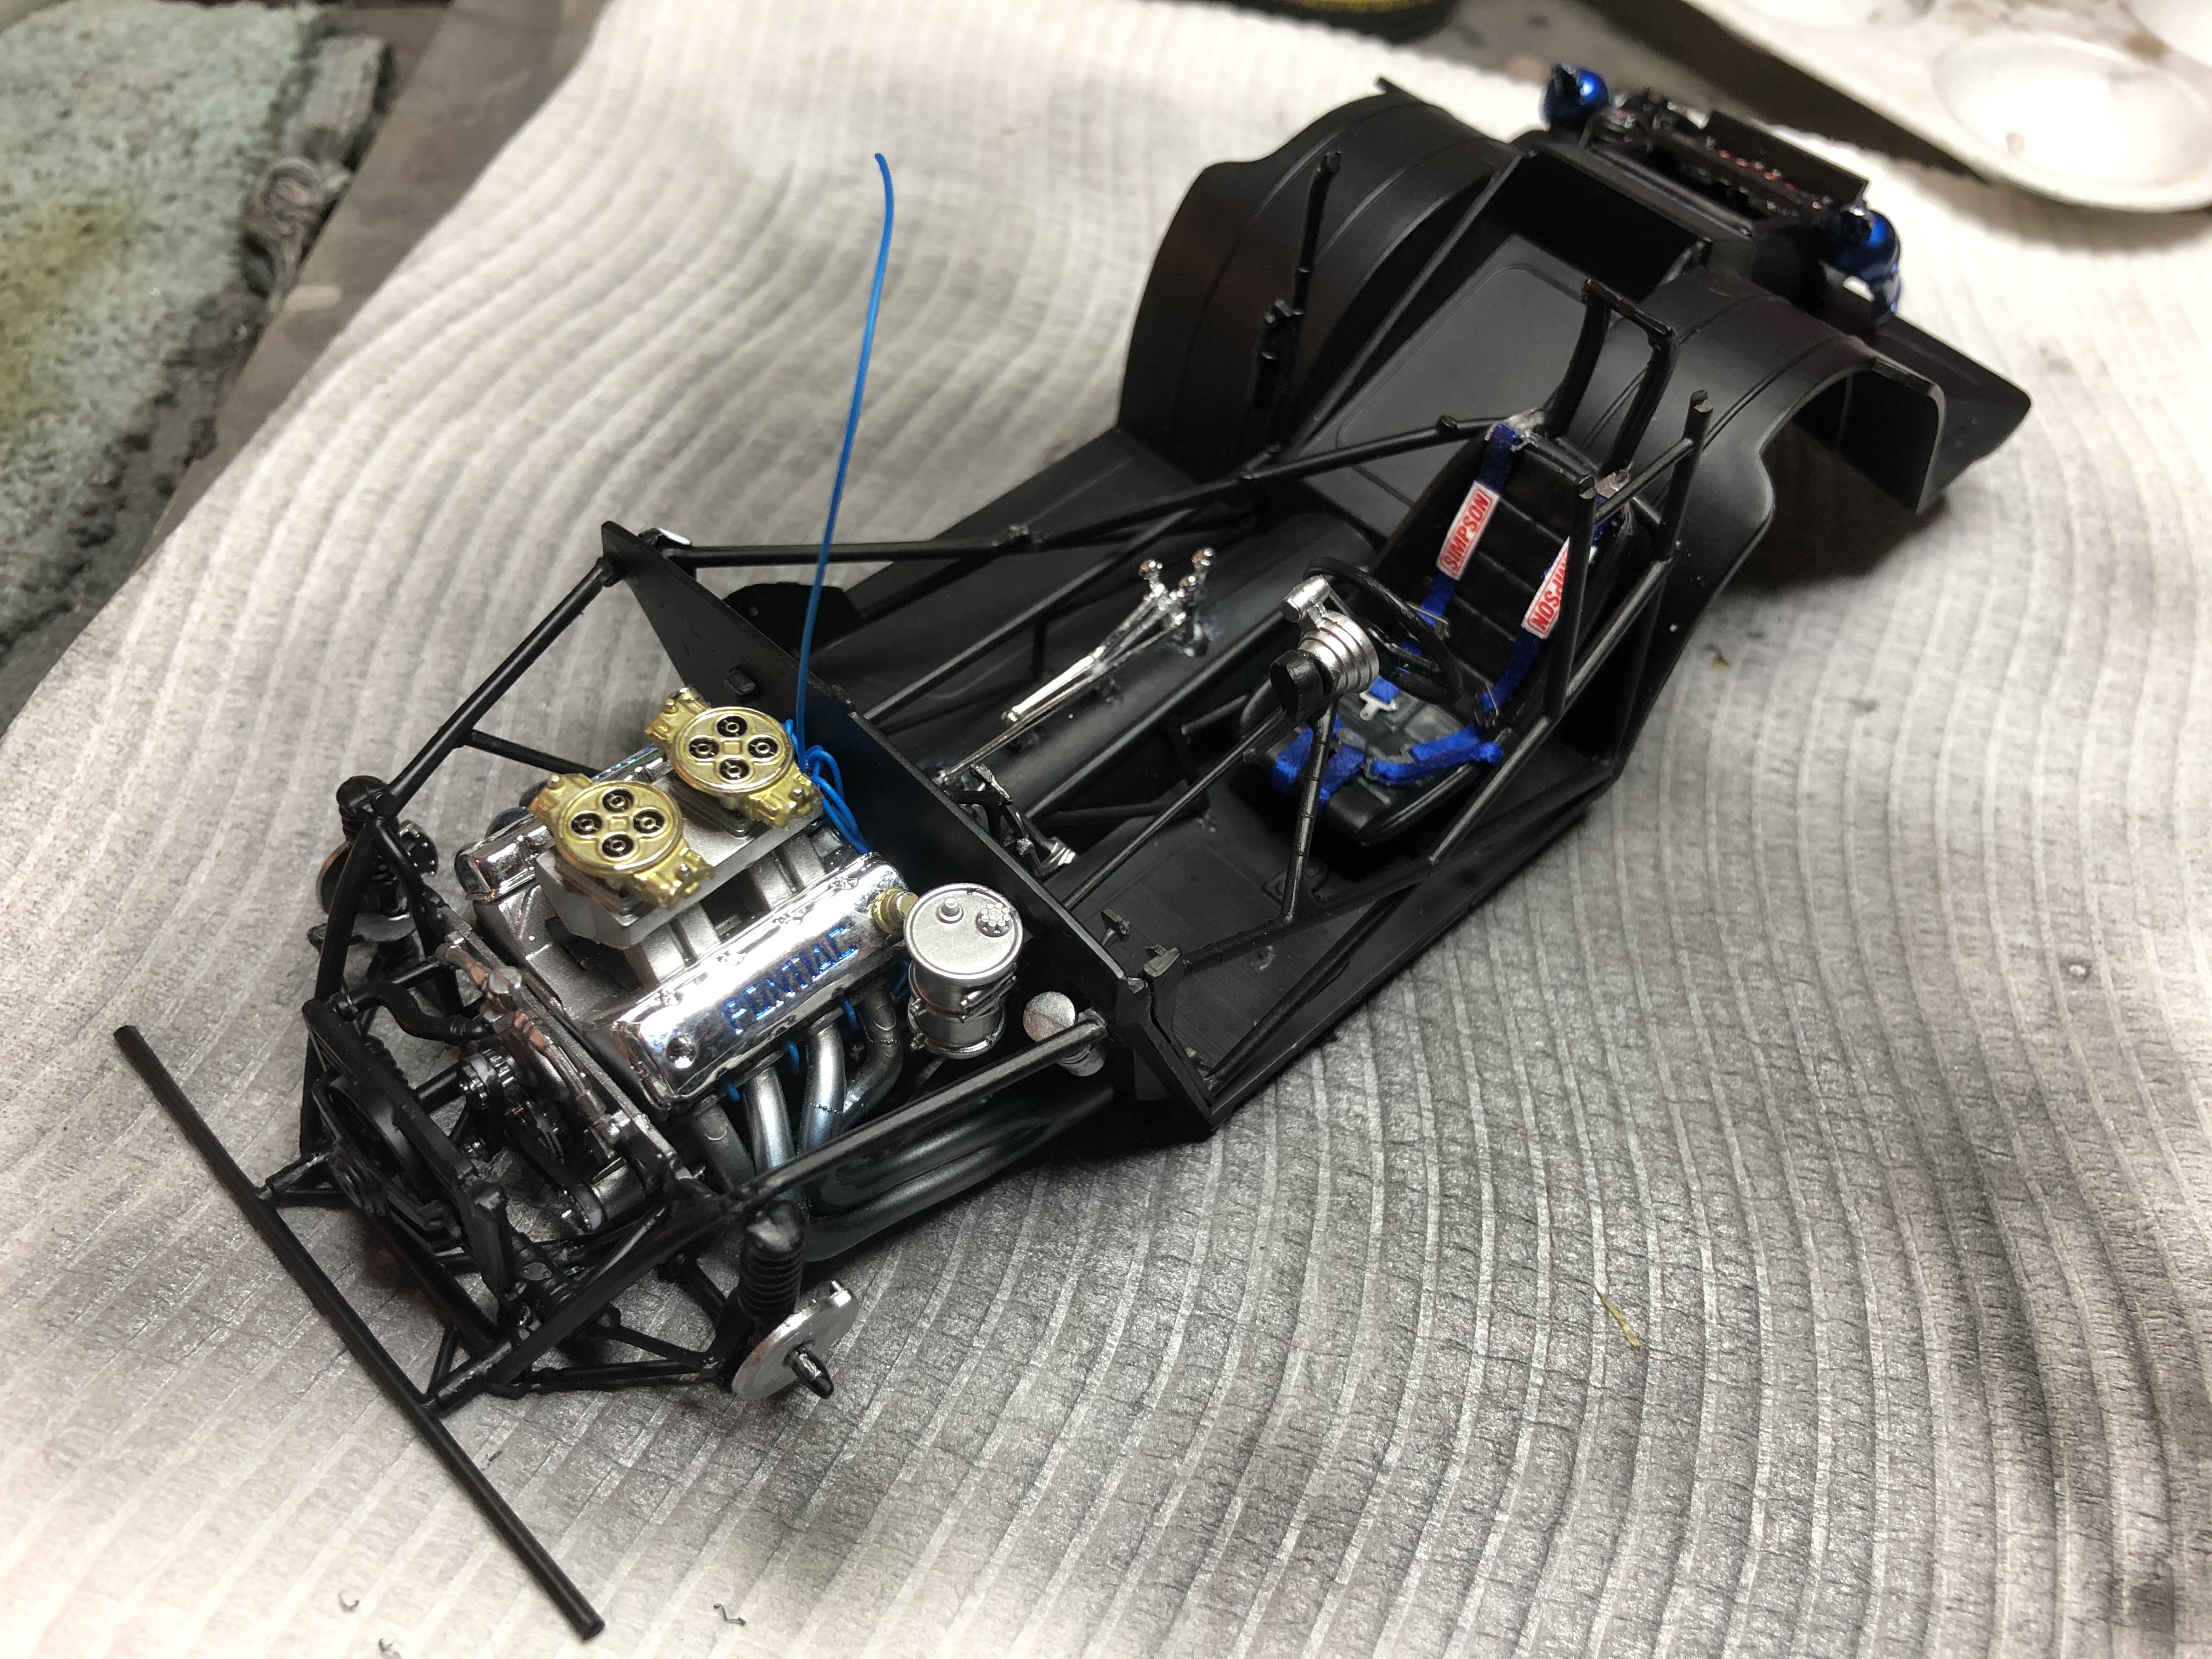
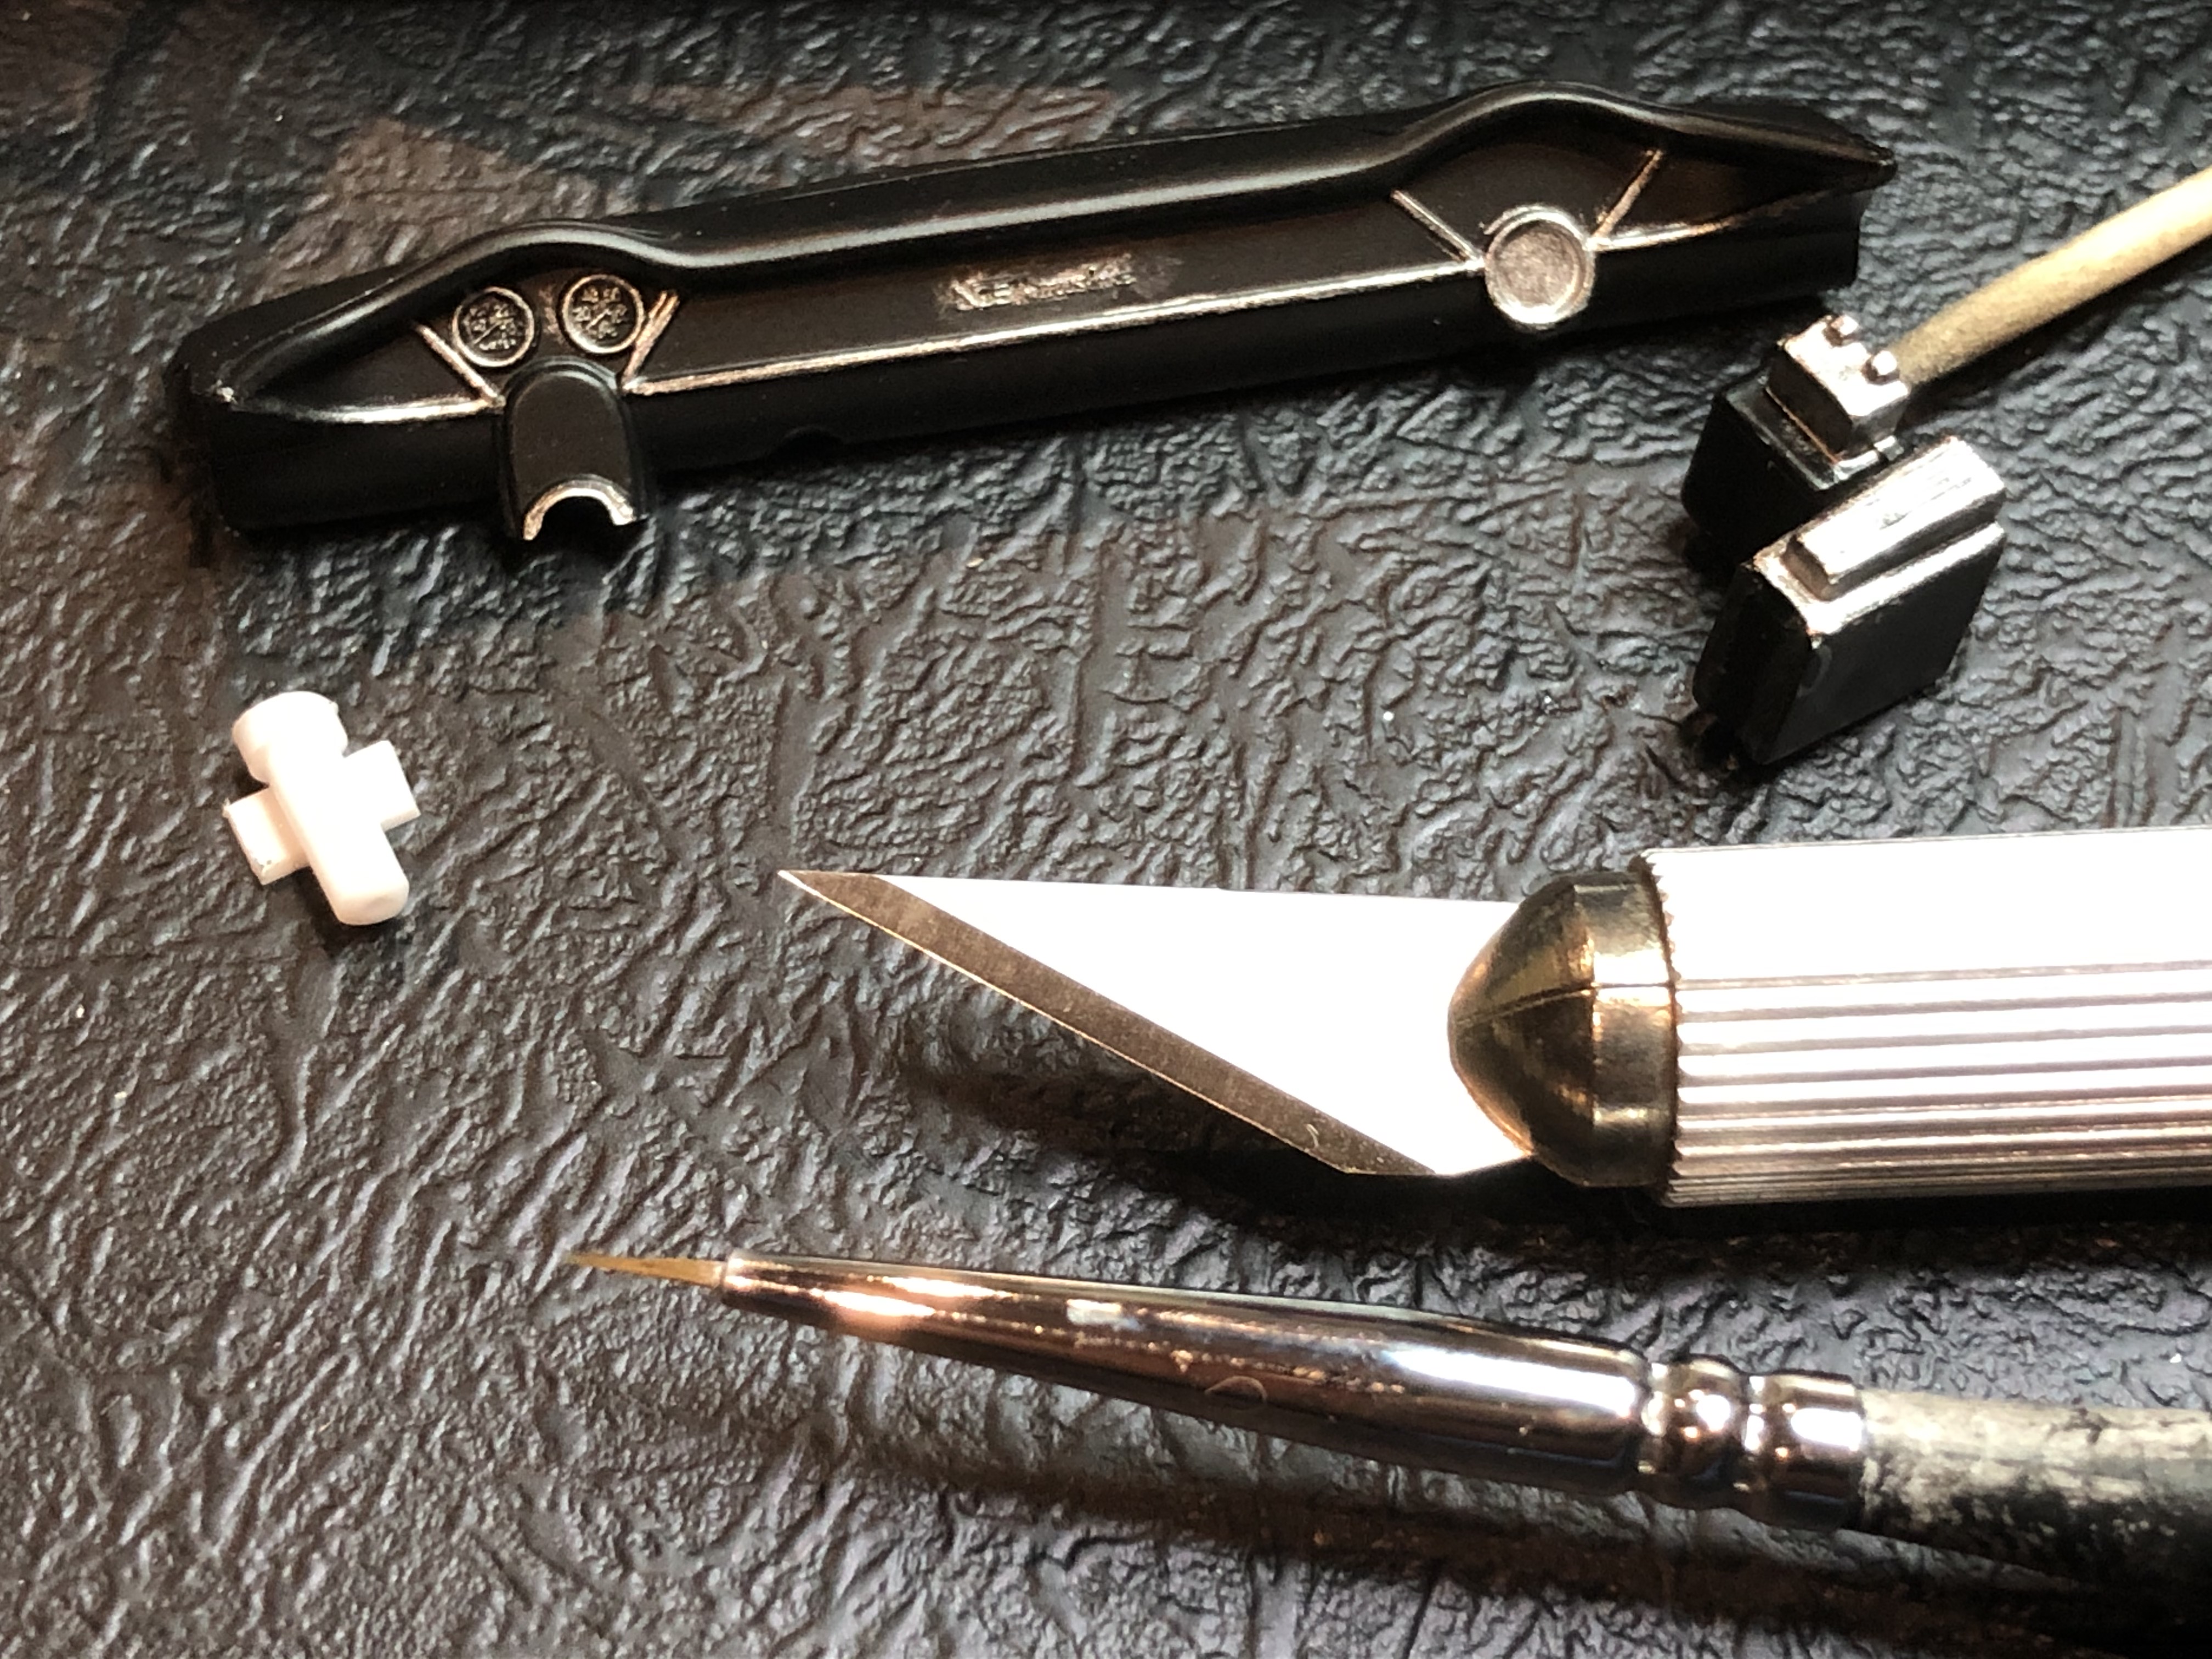
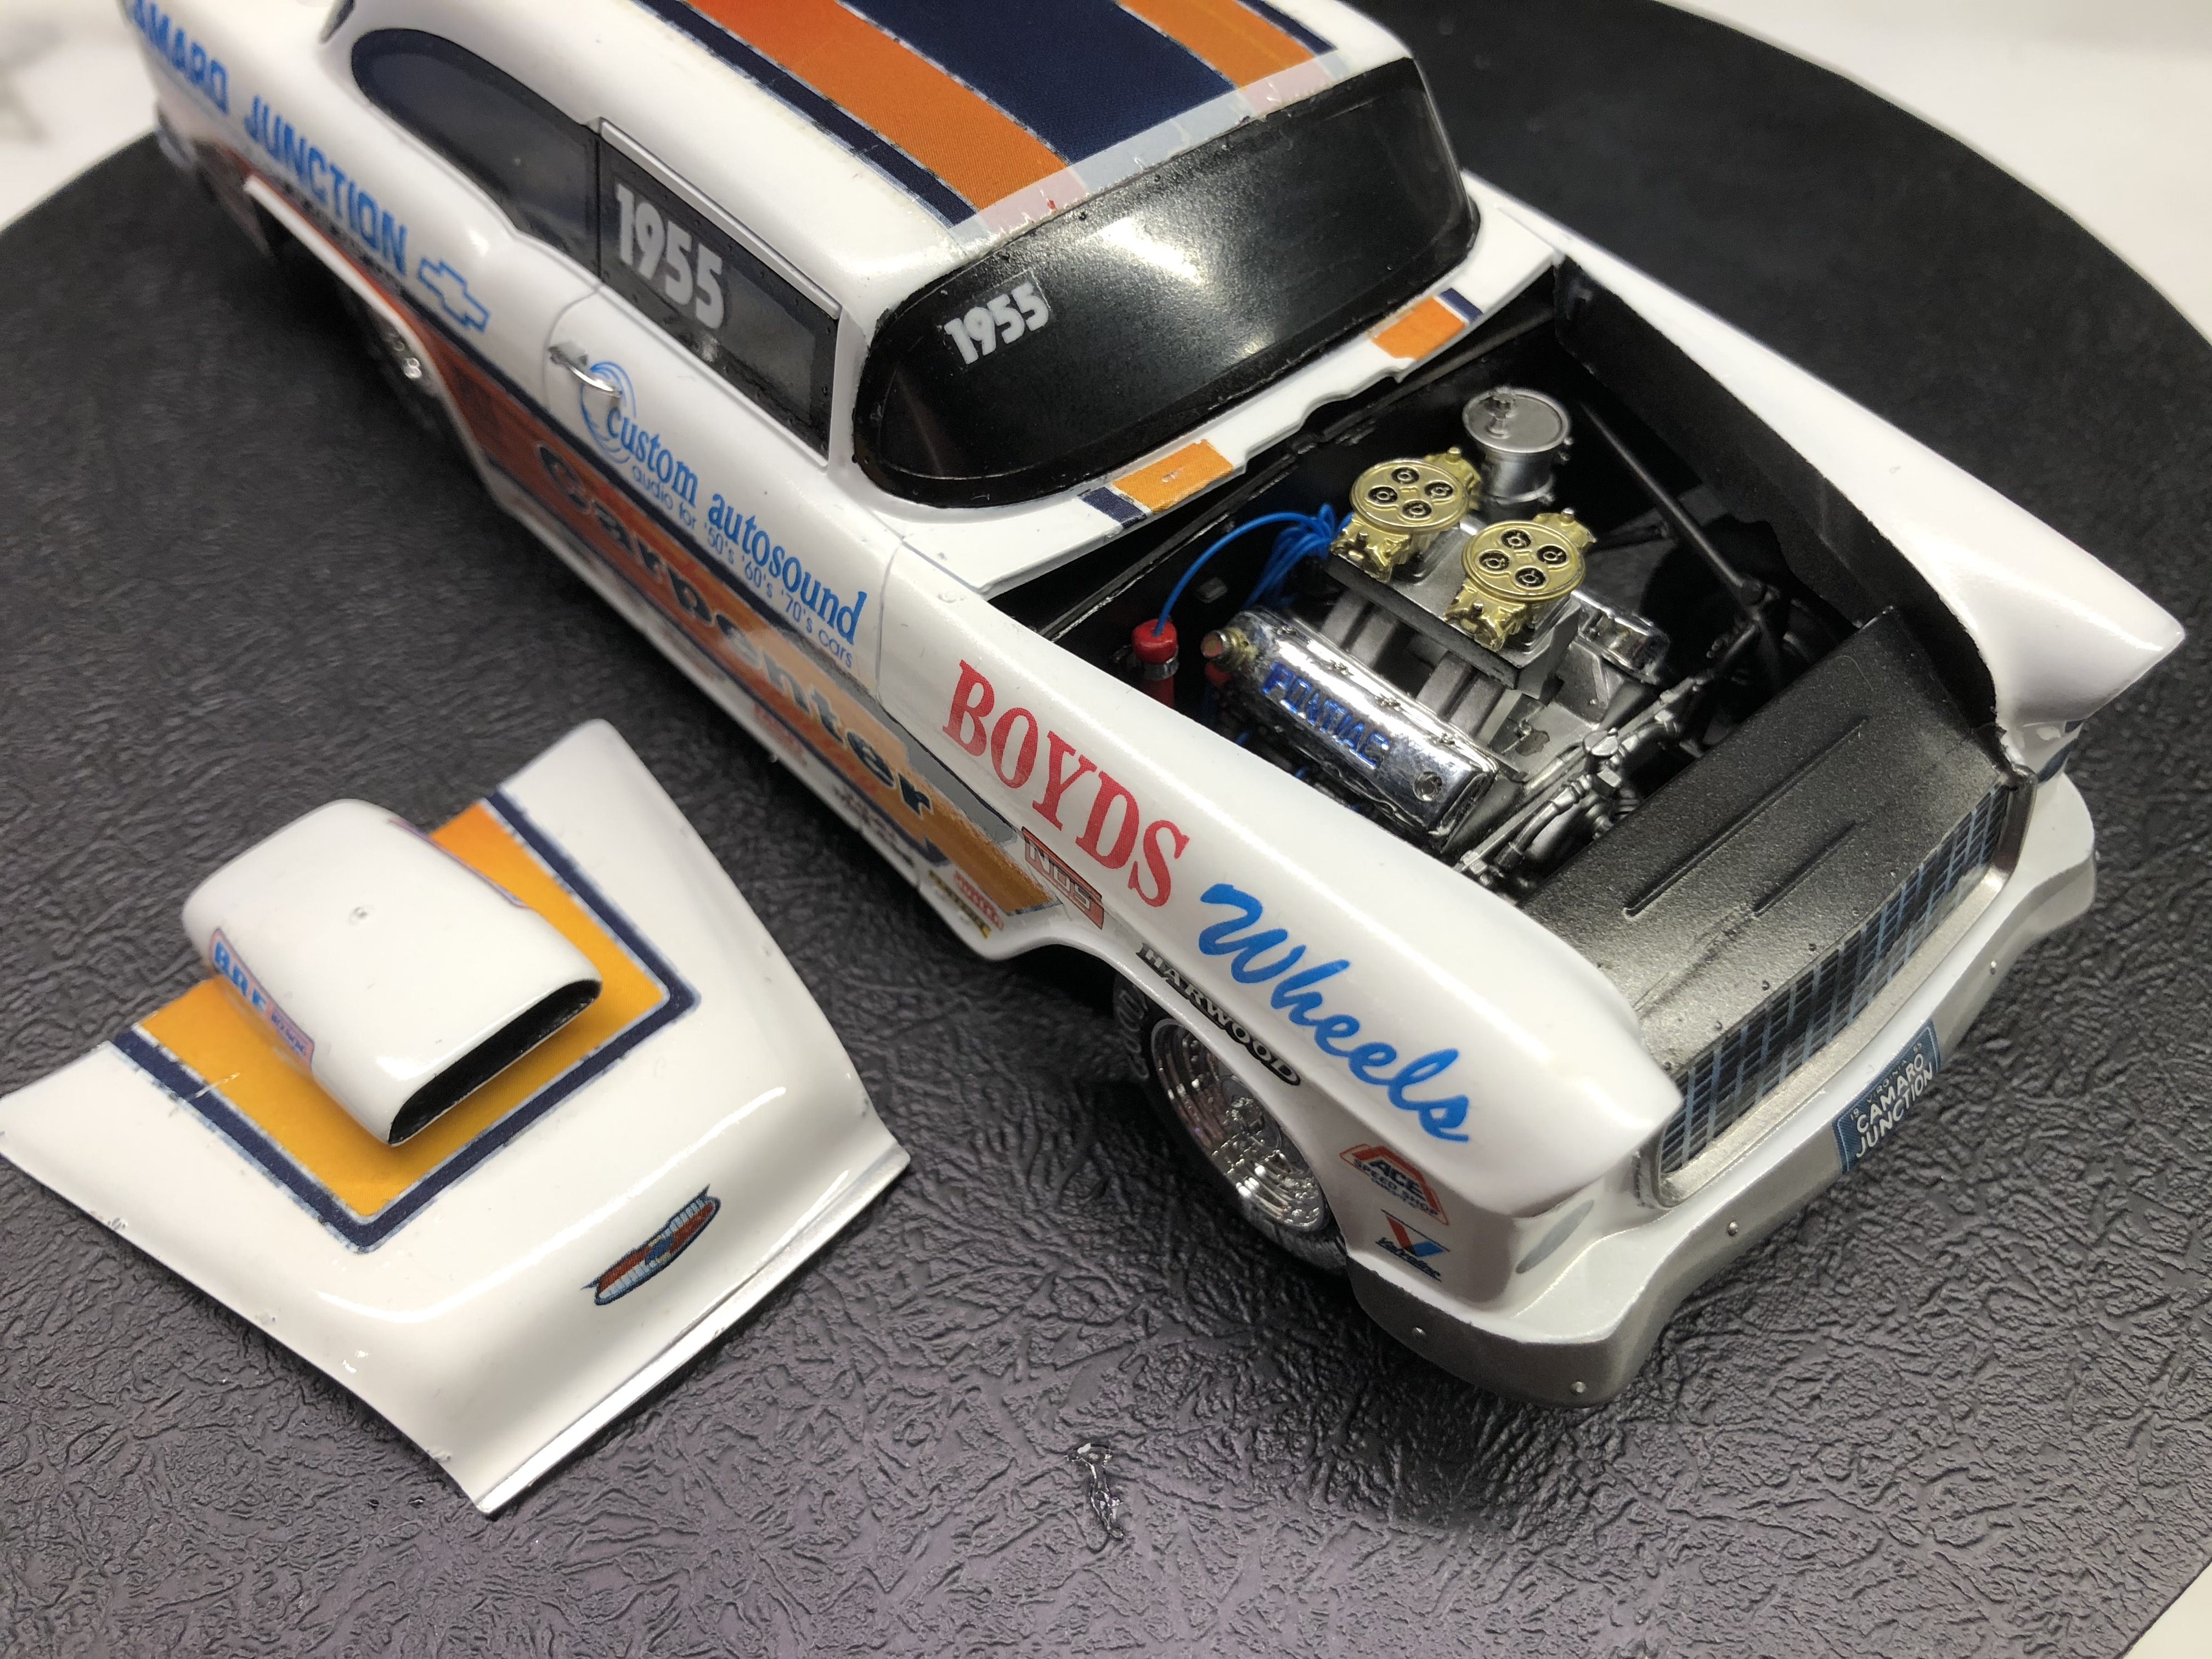
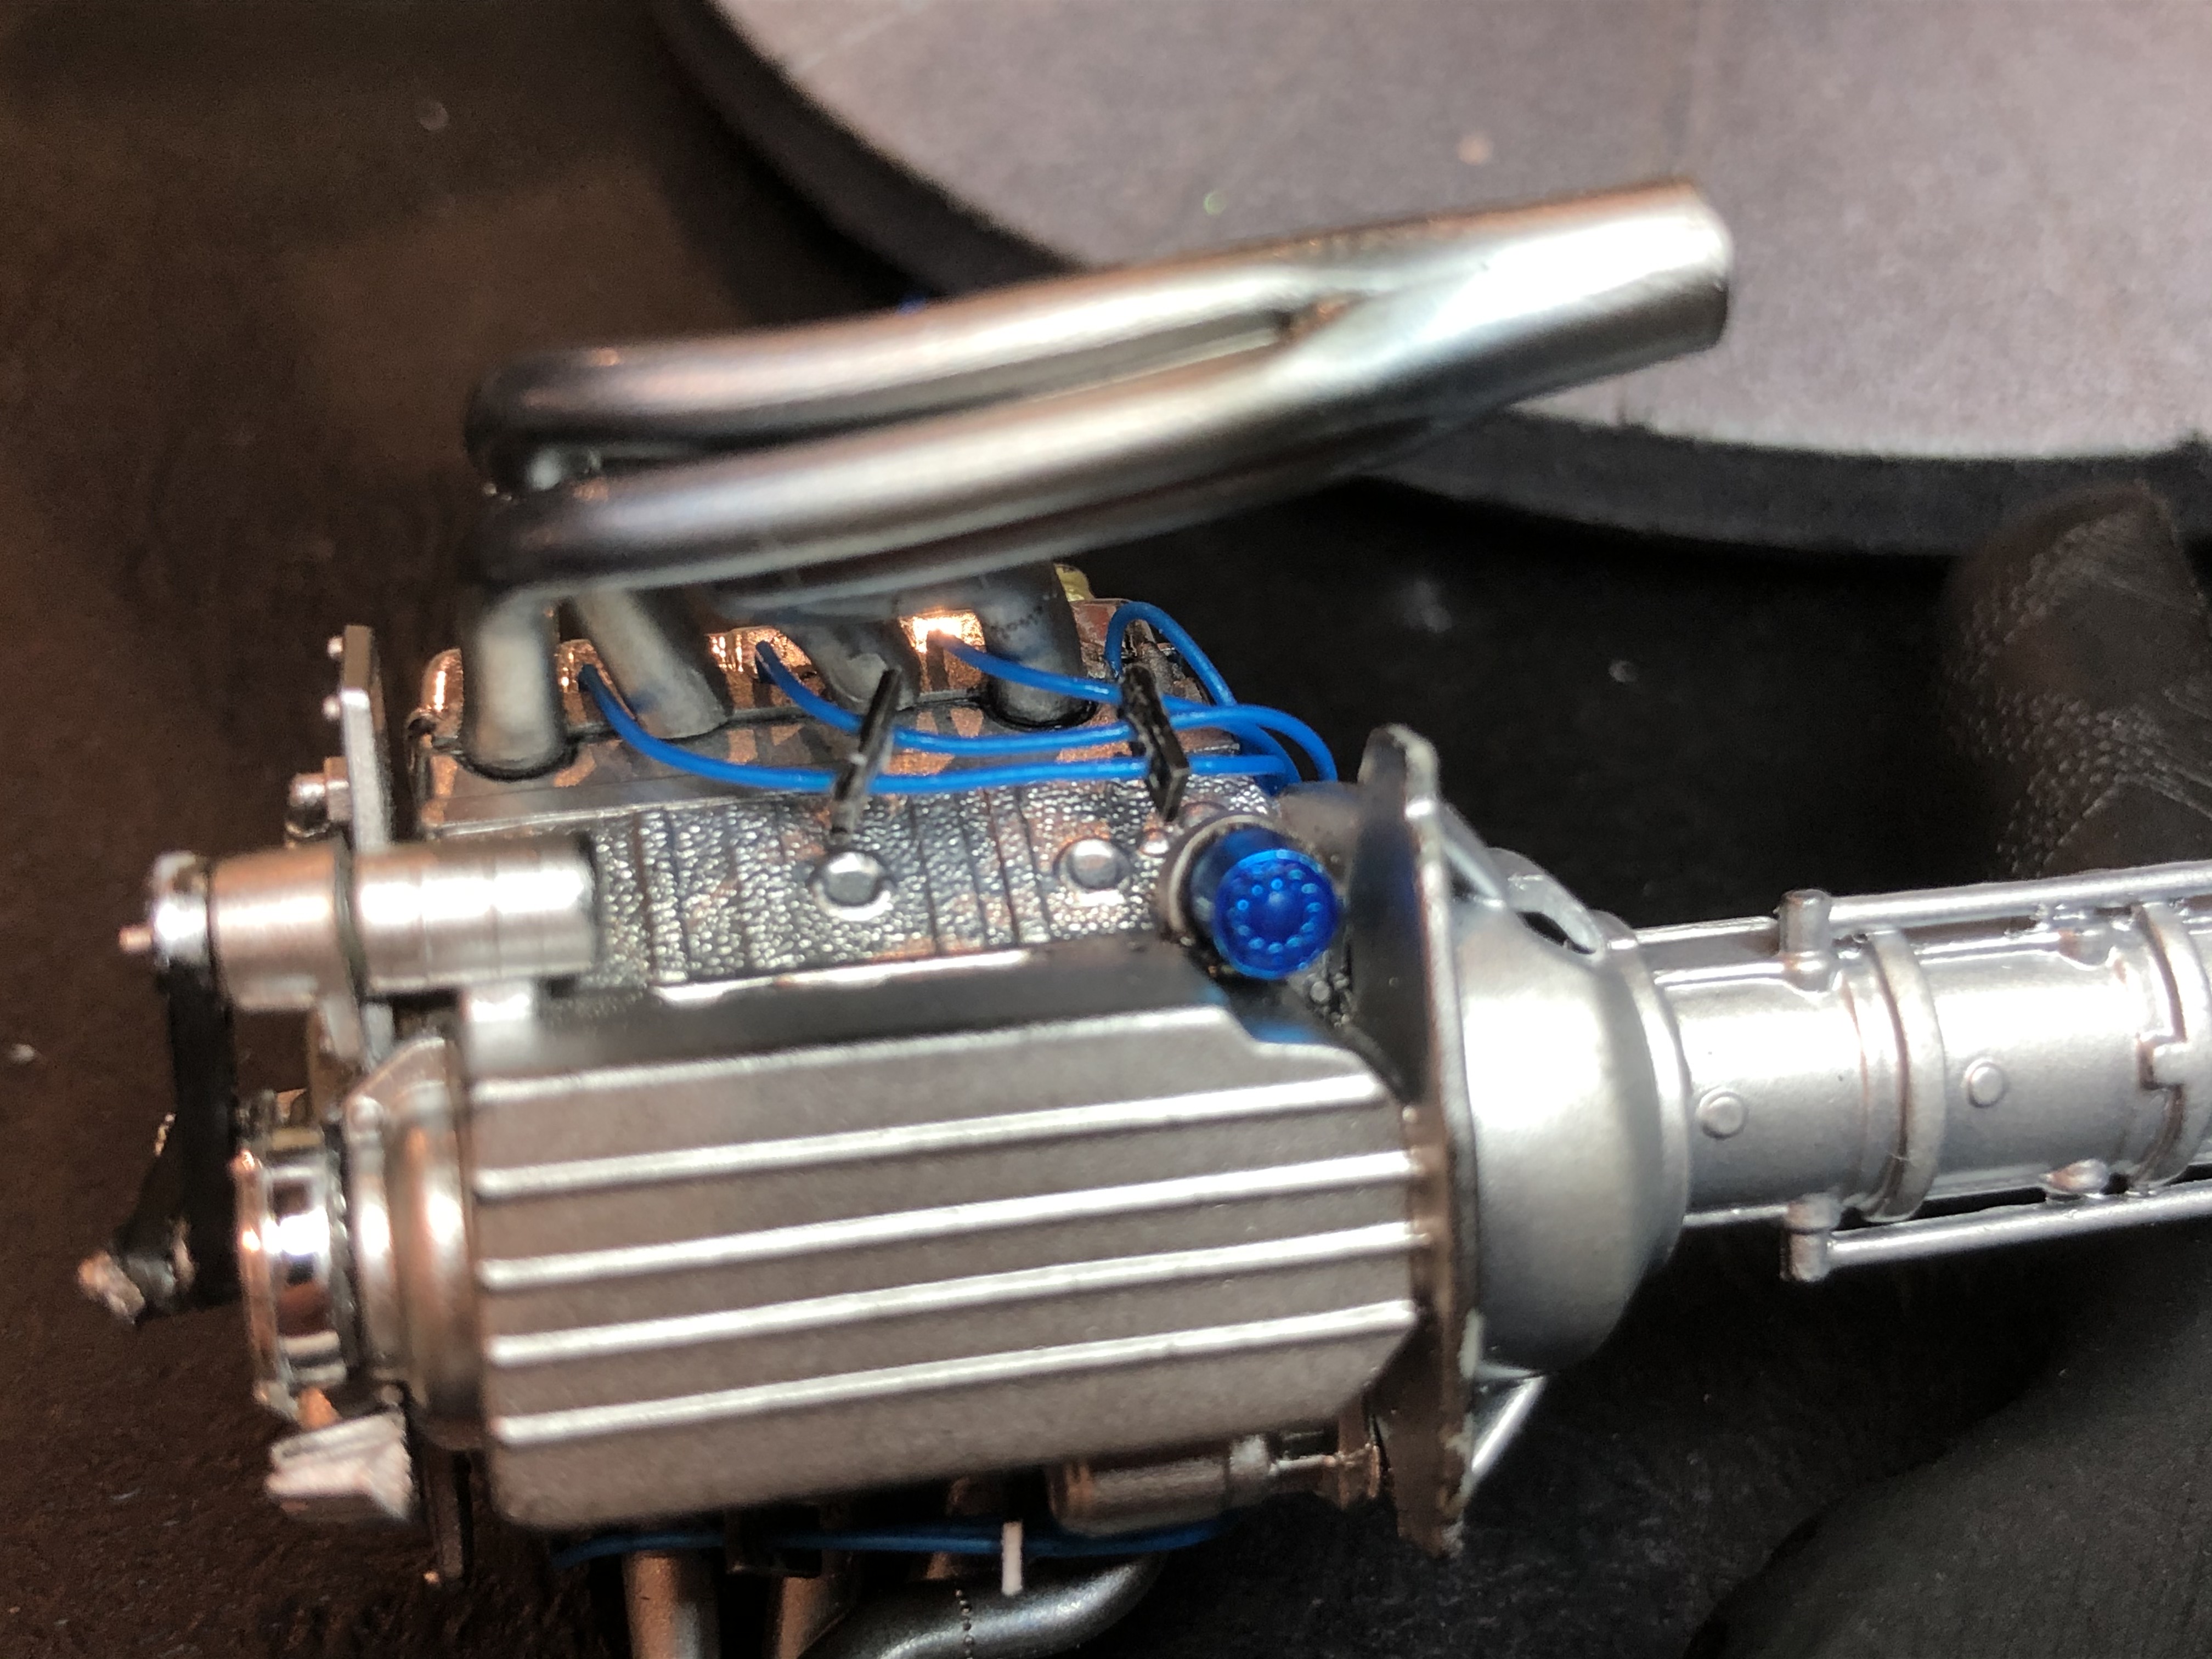
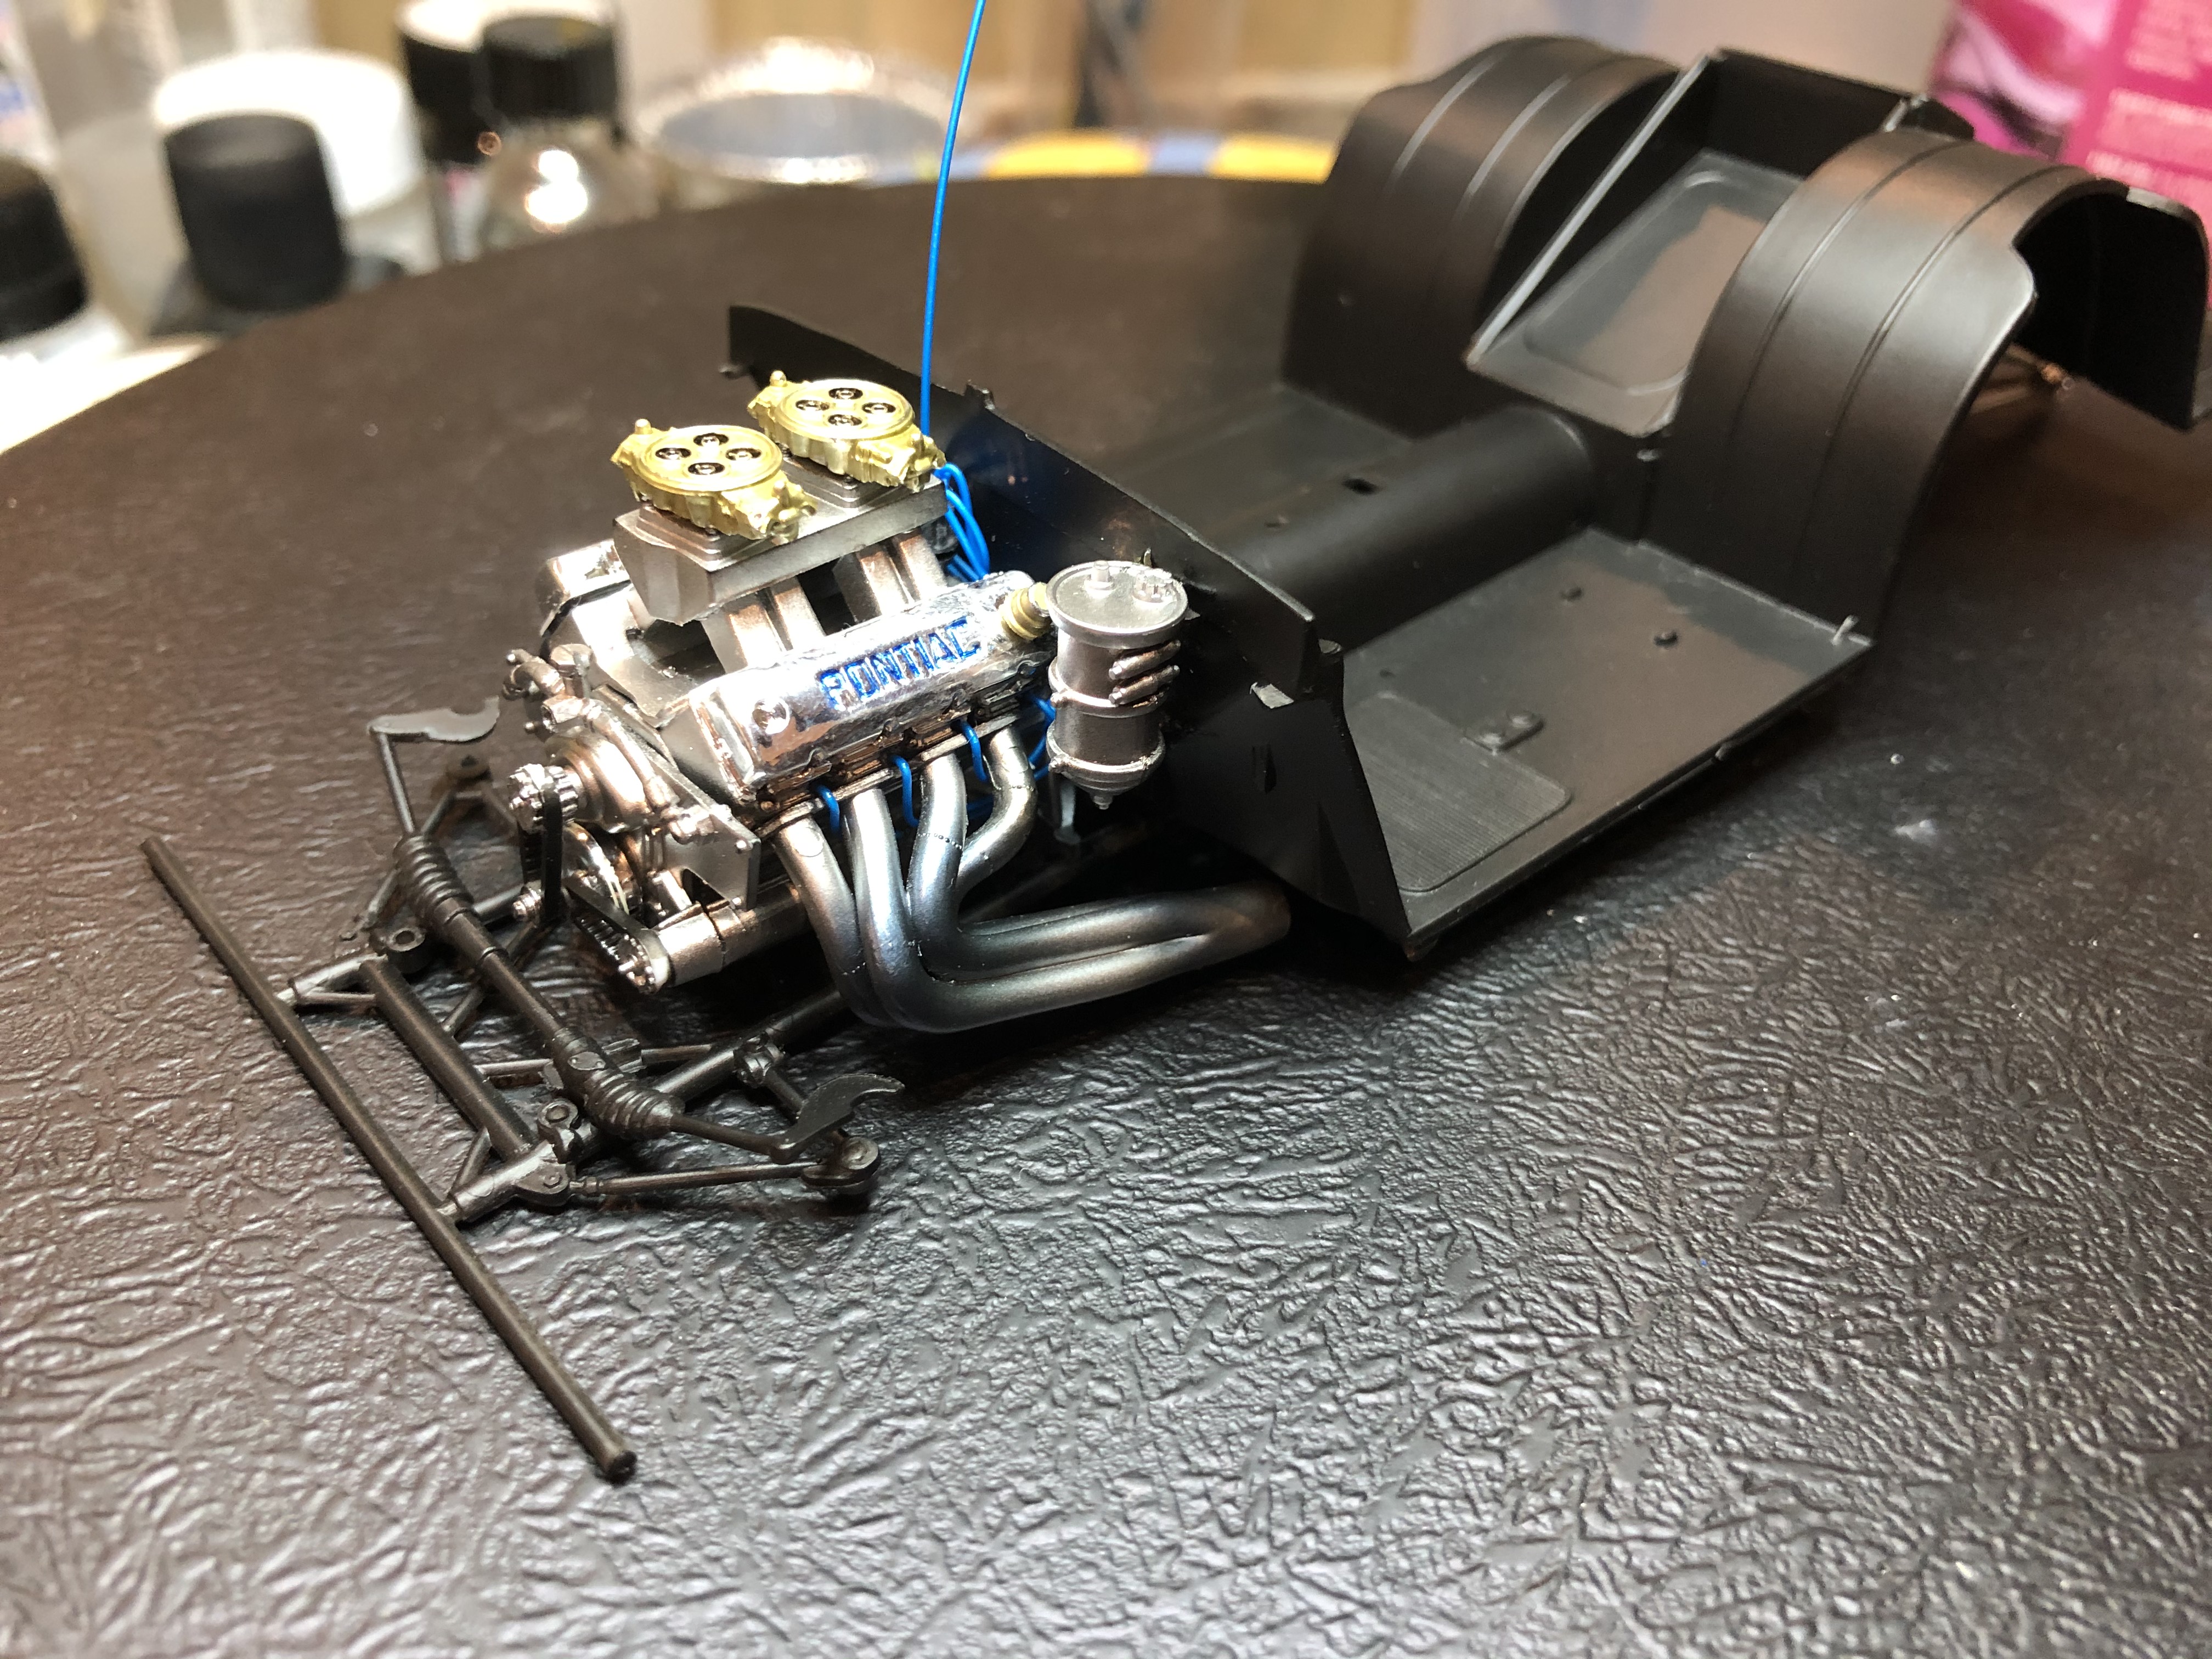
Next up I spent some time on the noisy end. I added the Oil
Filter, Flywheel, Pulleys and Belts, Breathers and Headers, and then the after market Distributor. The Carbs might just get a hit of gold paint and the ports drilled out before I fit them off, then I will work on the ignition wiring.

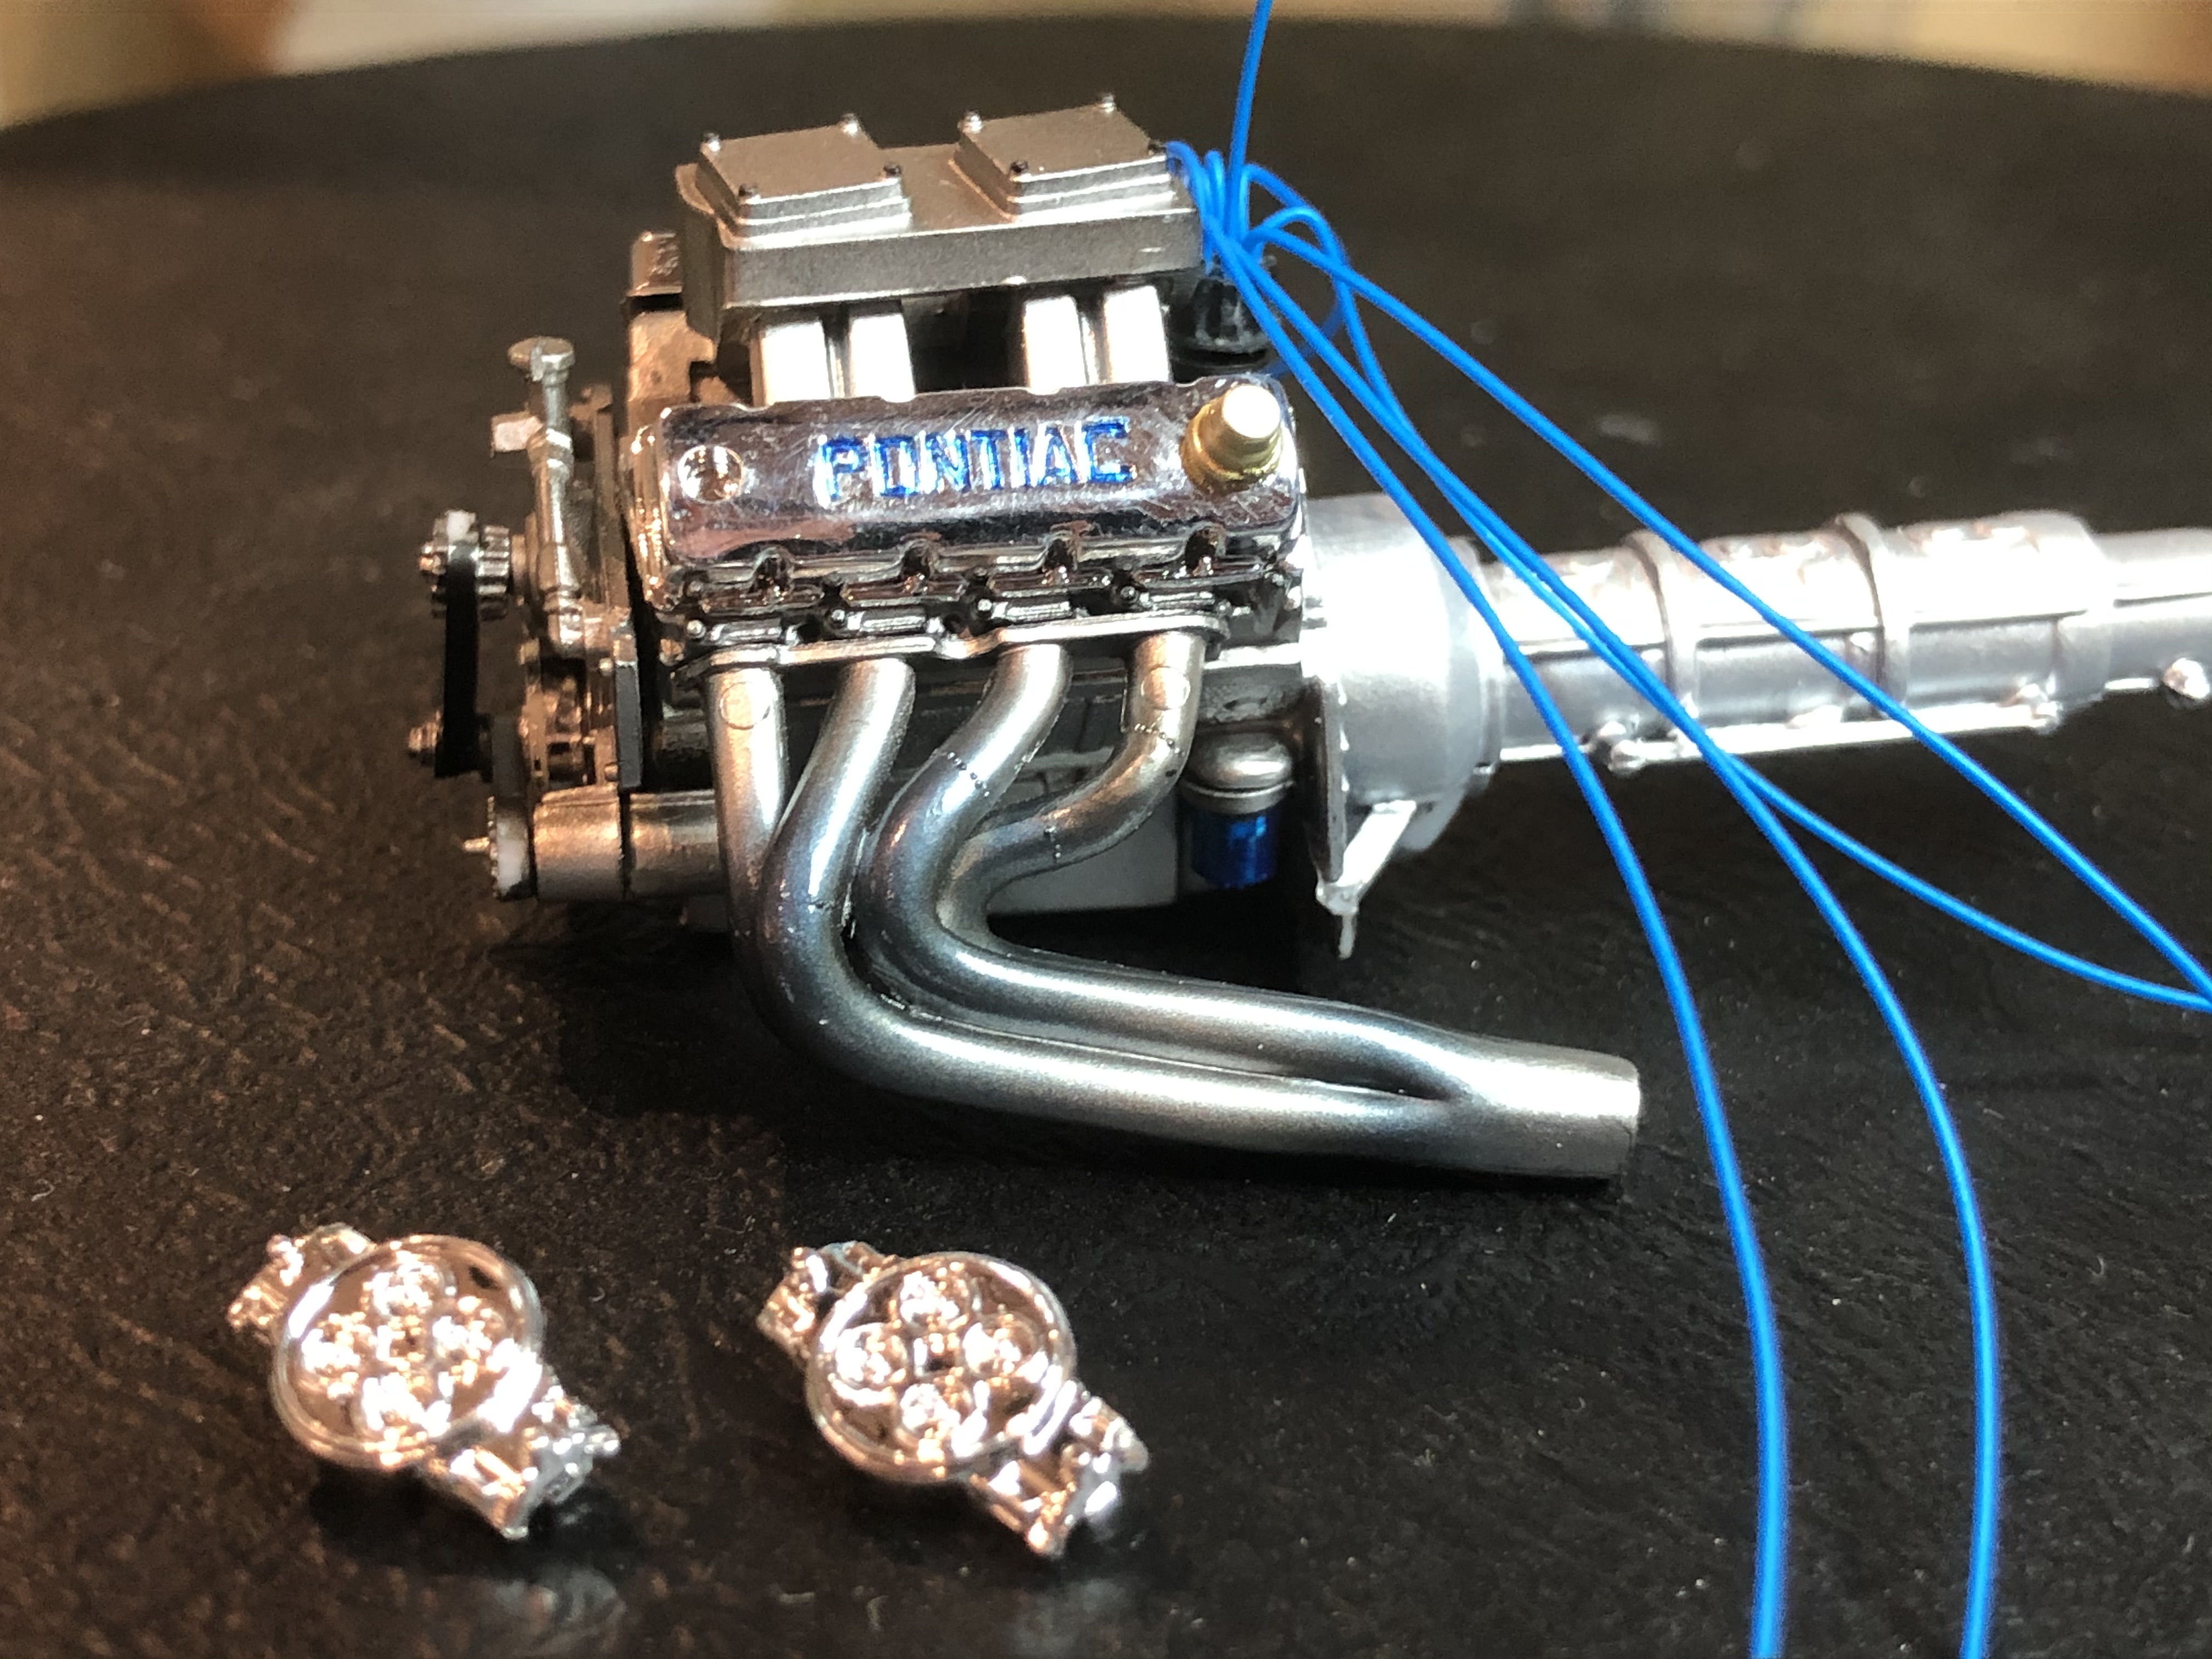
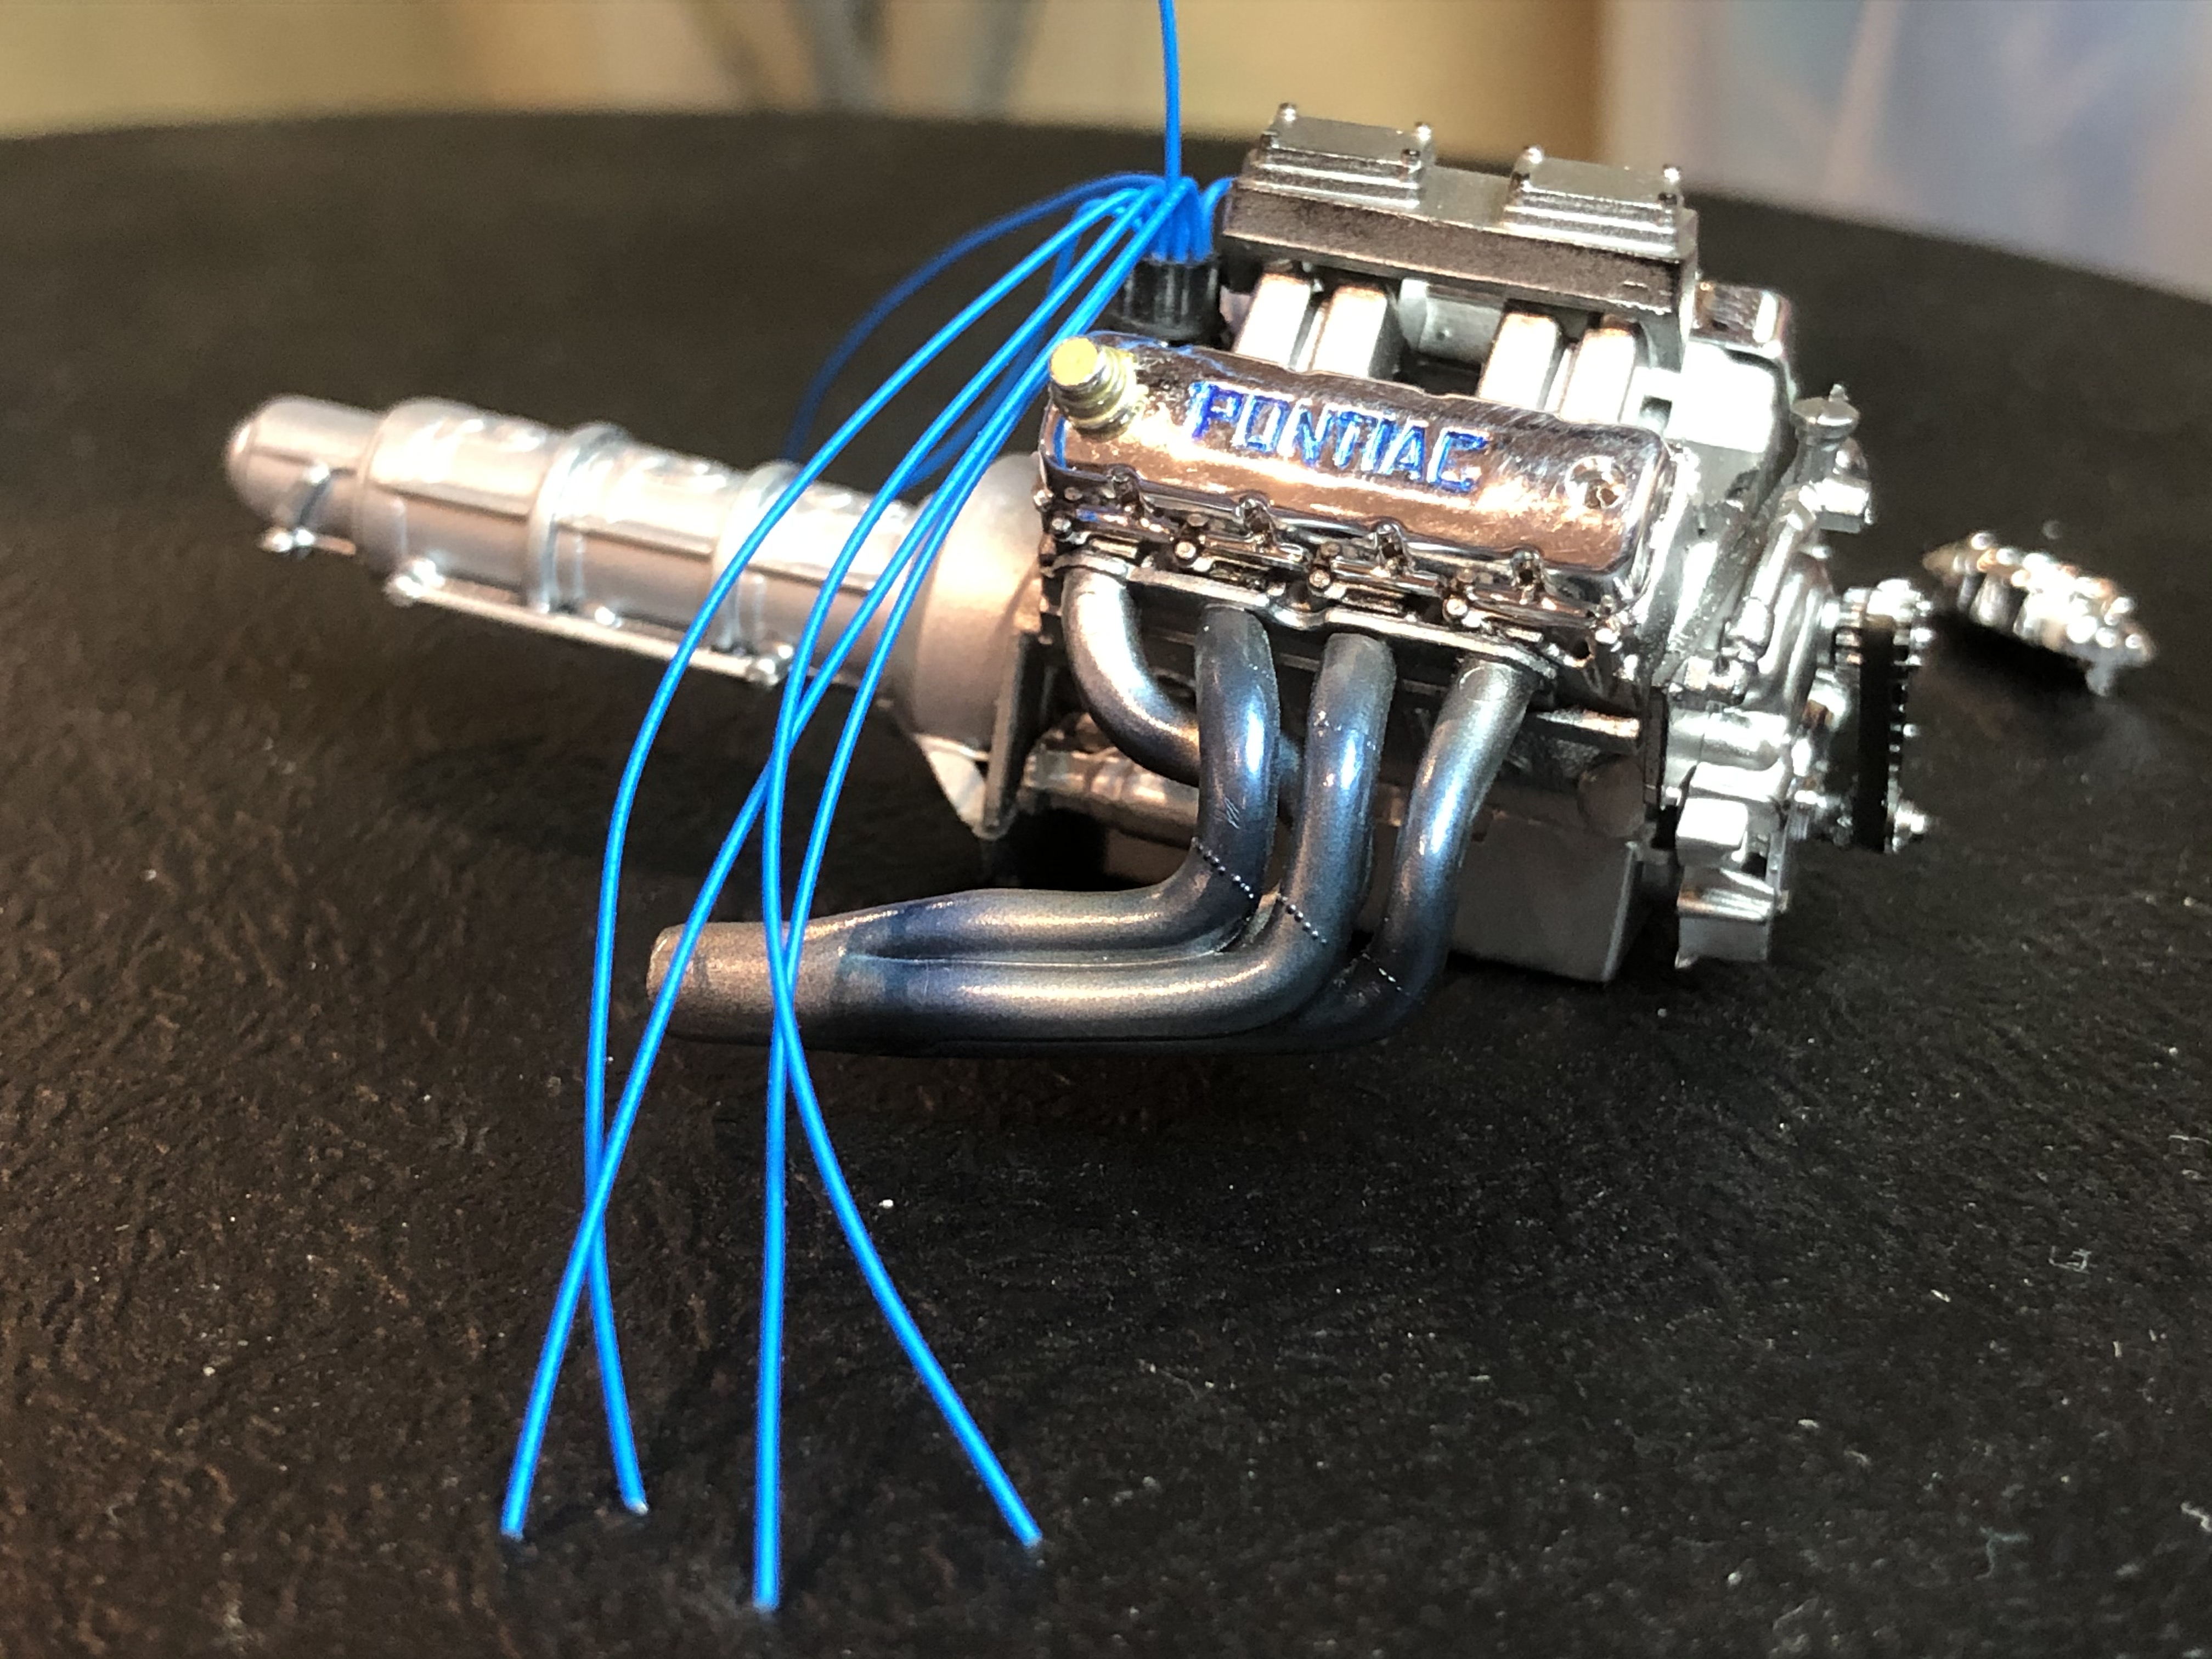
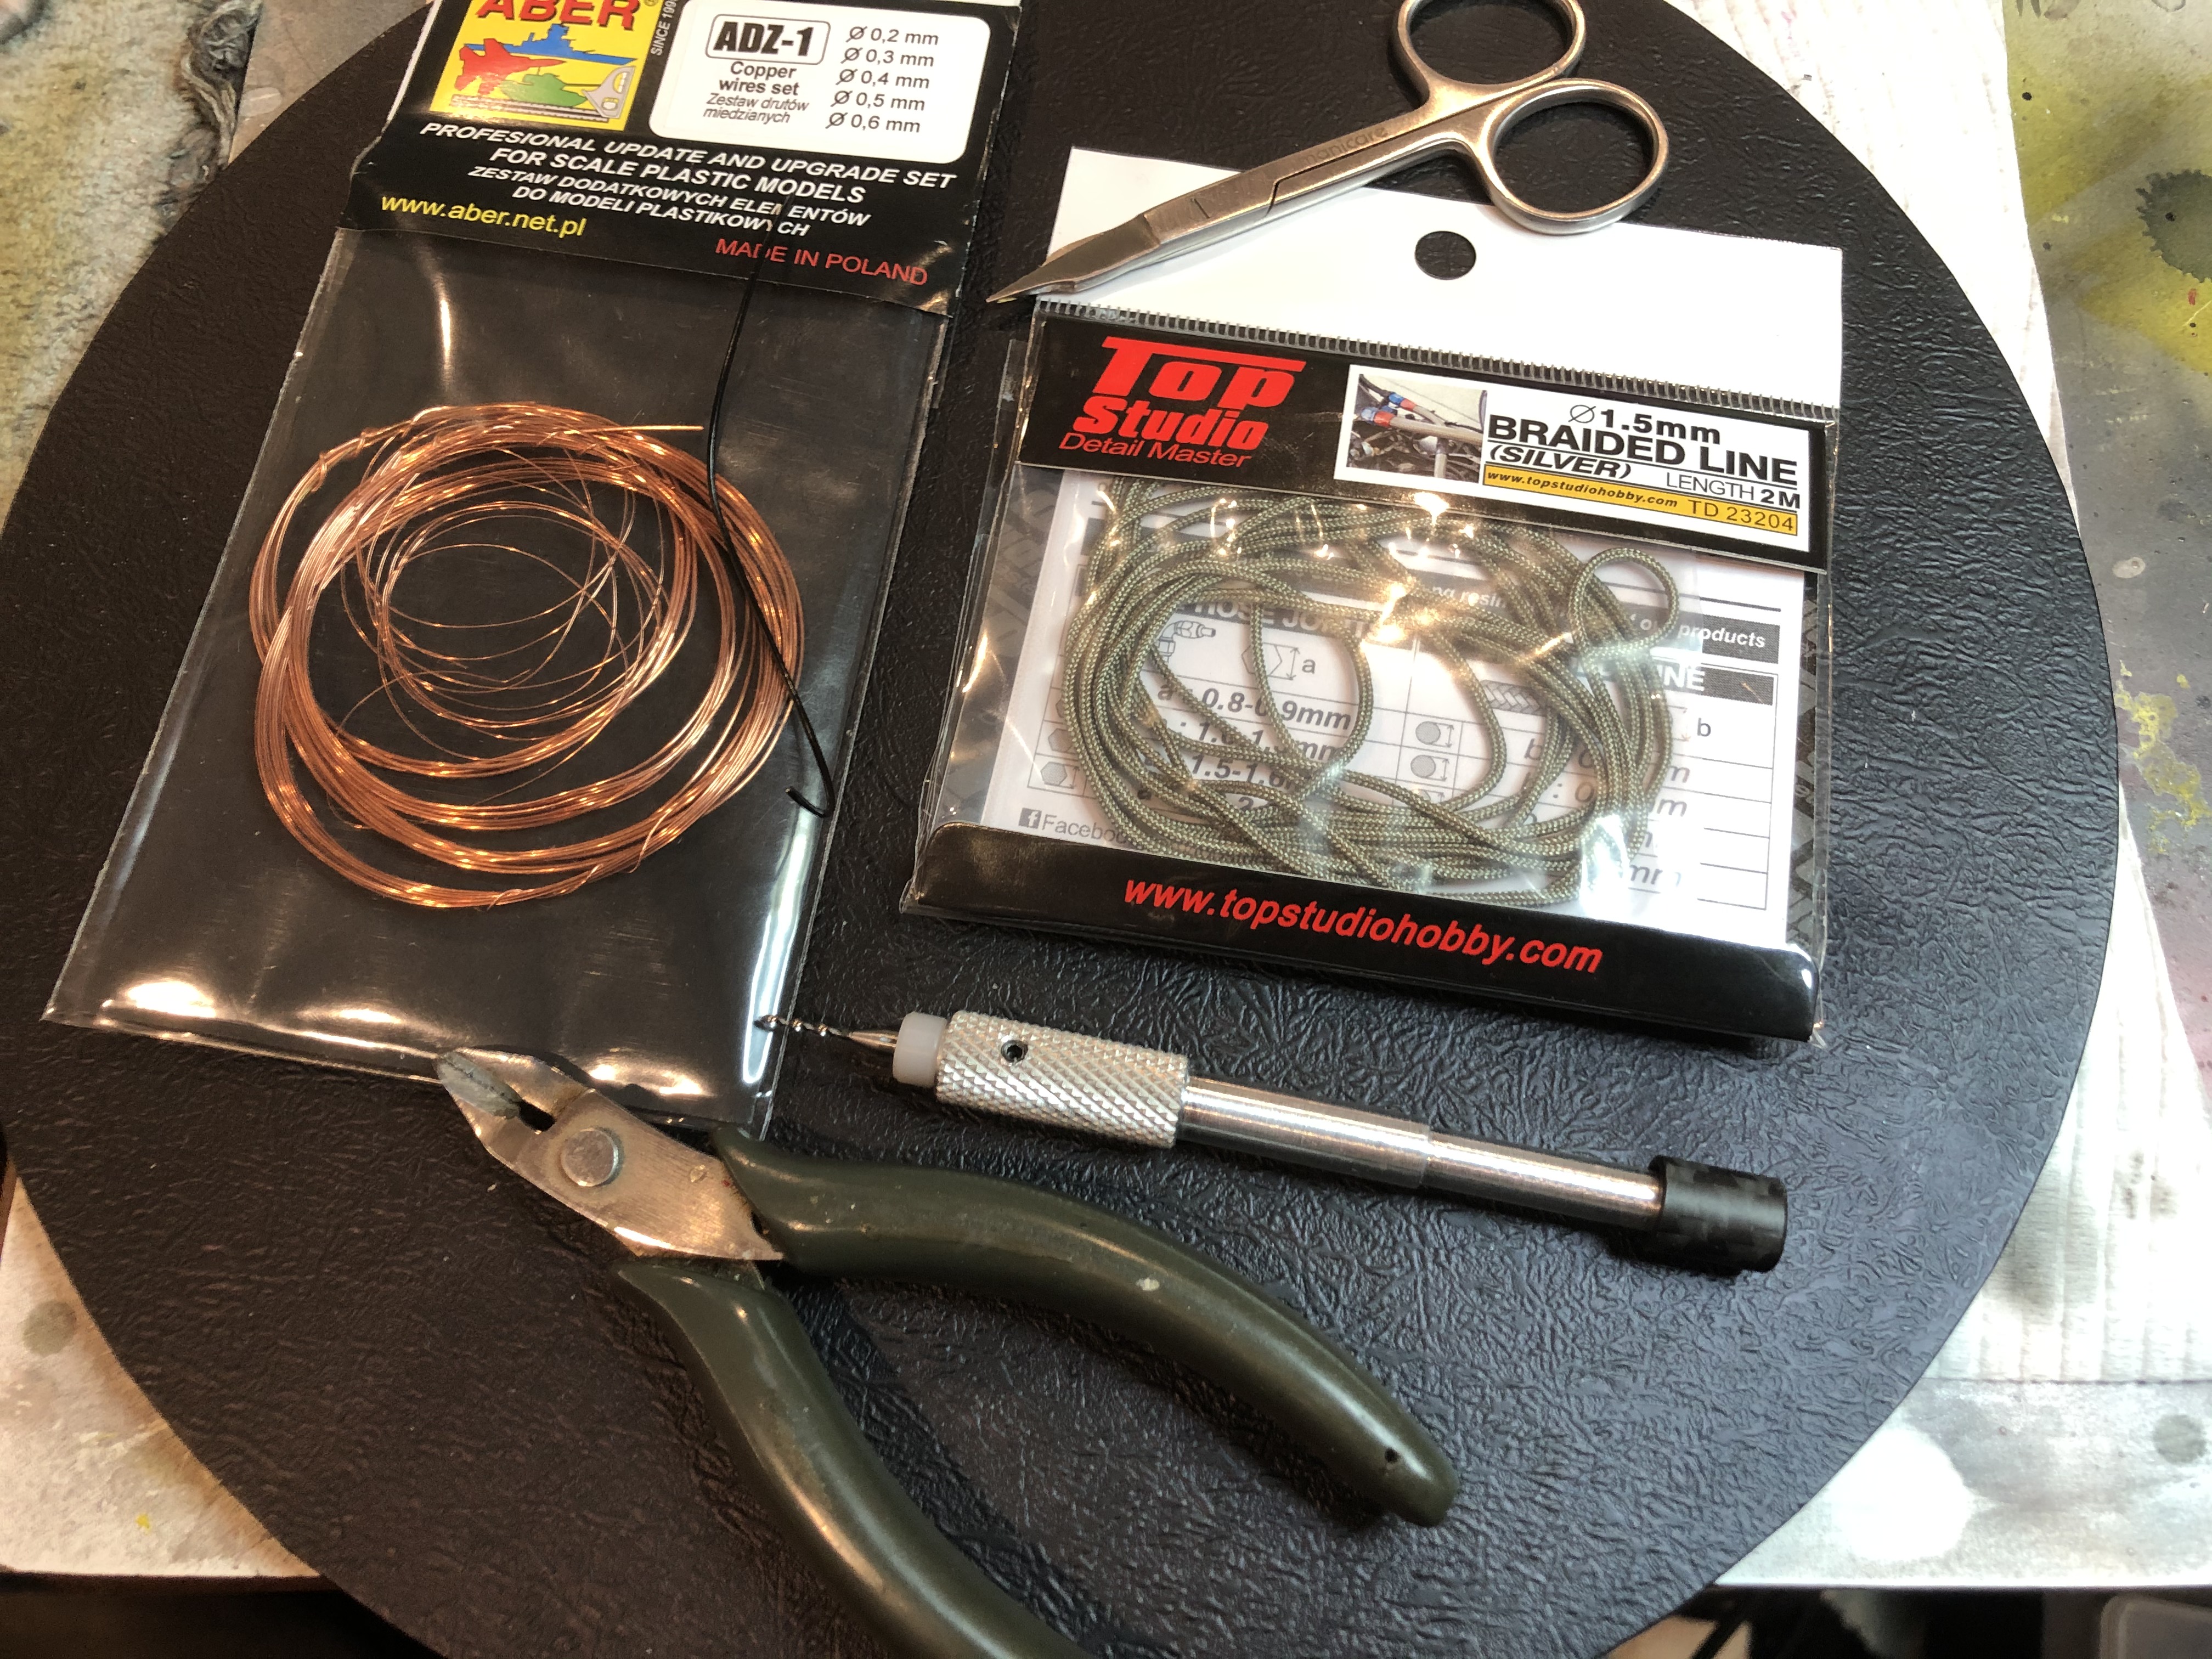
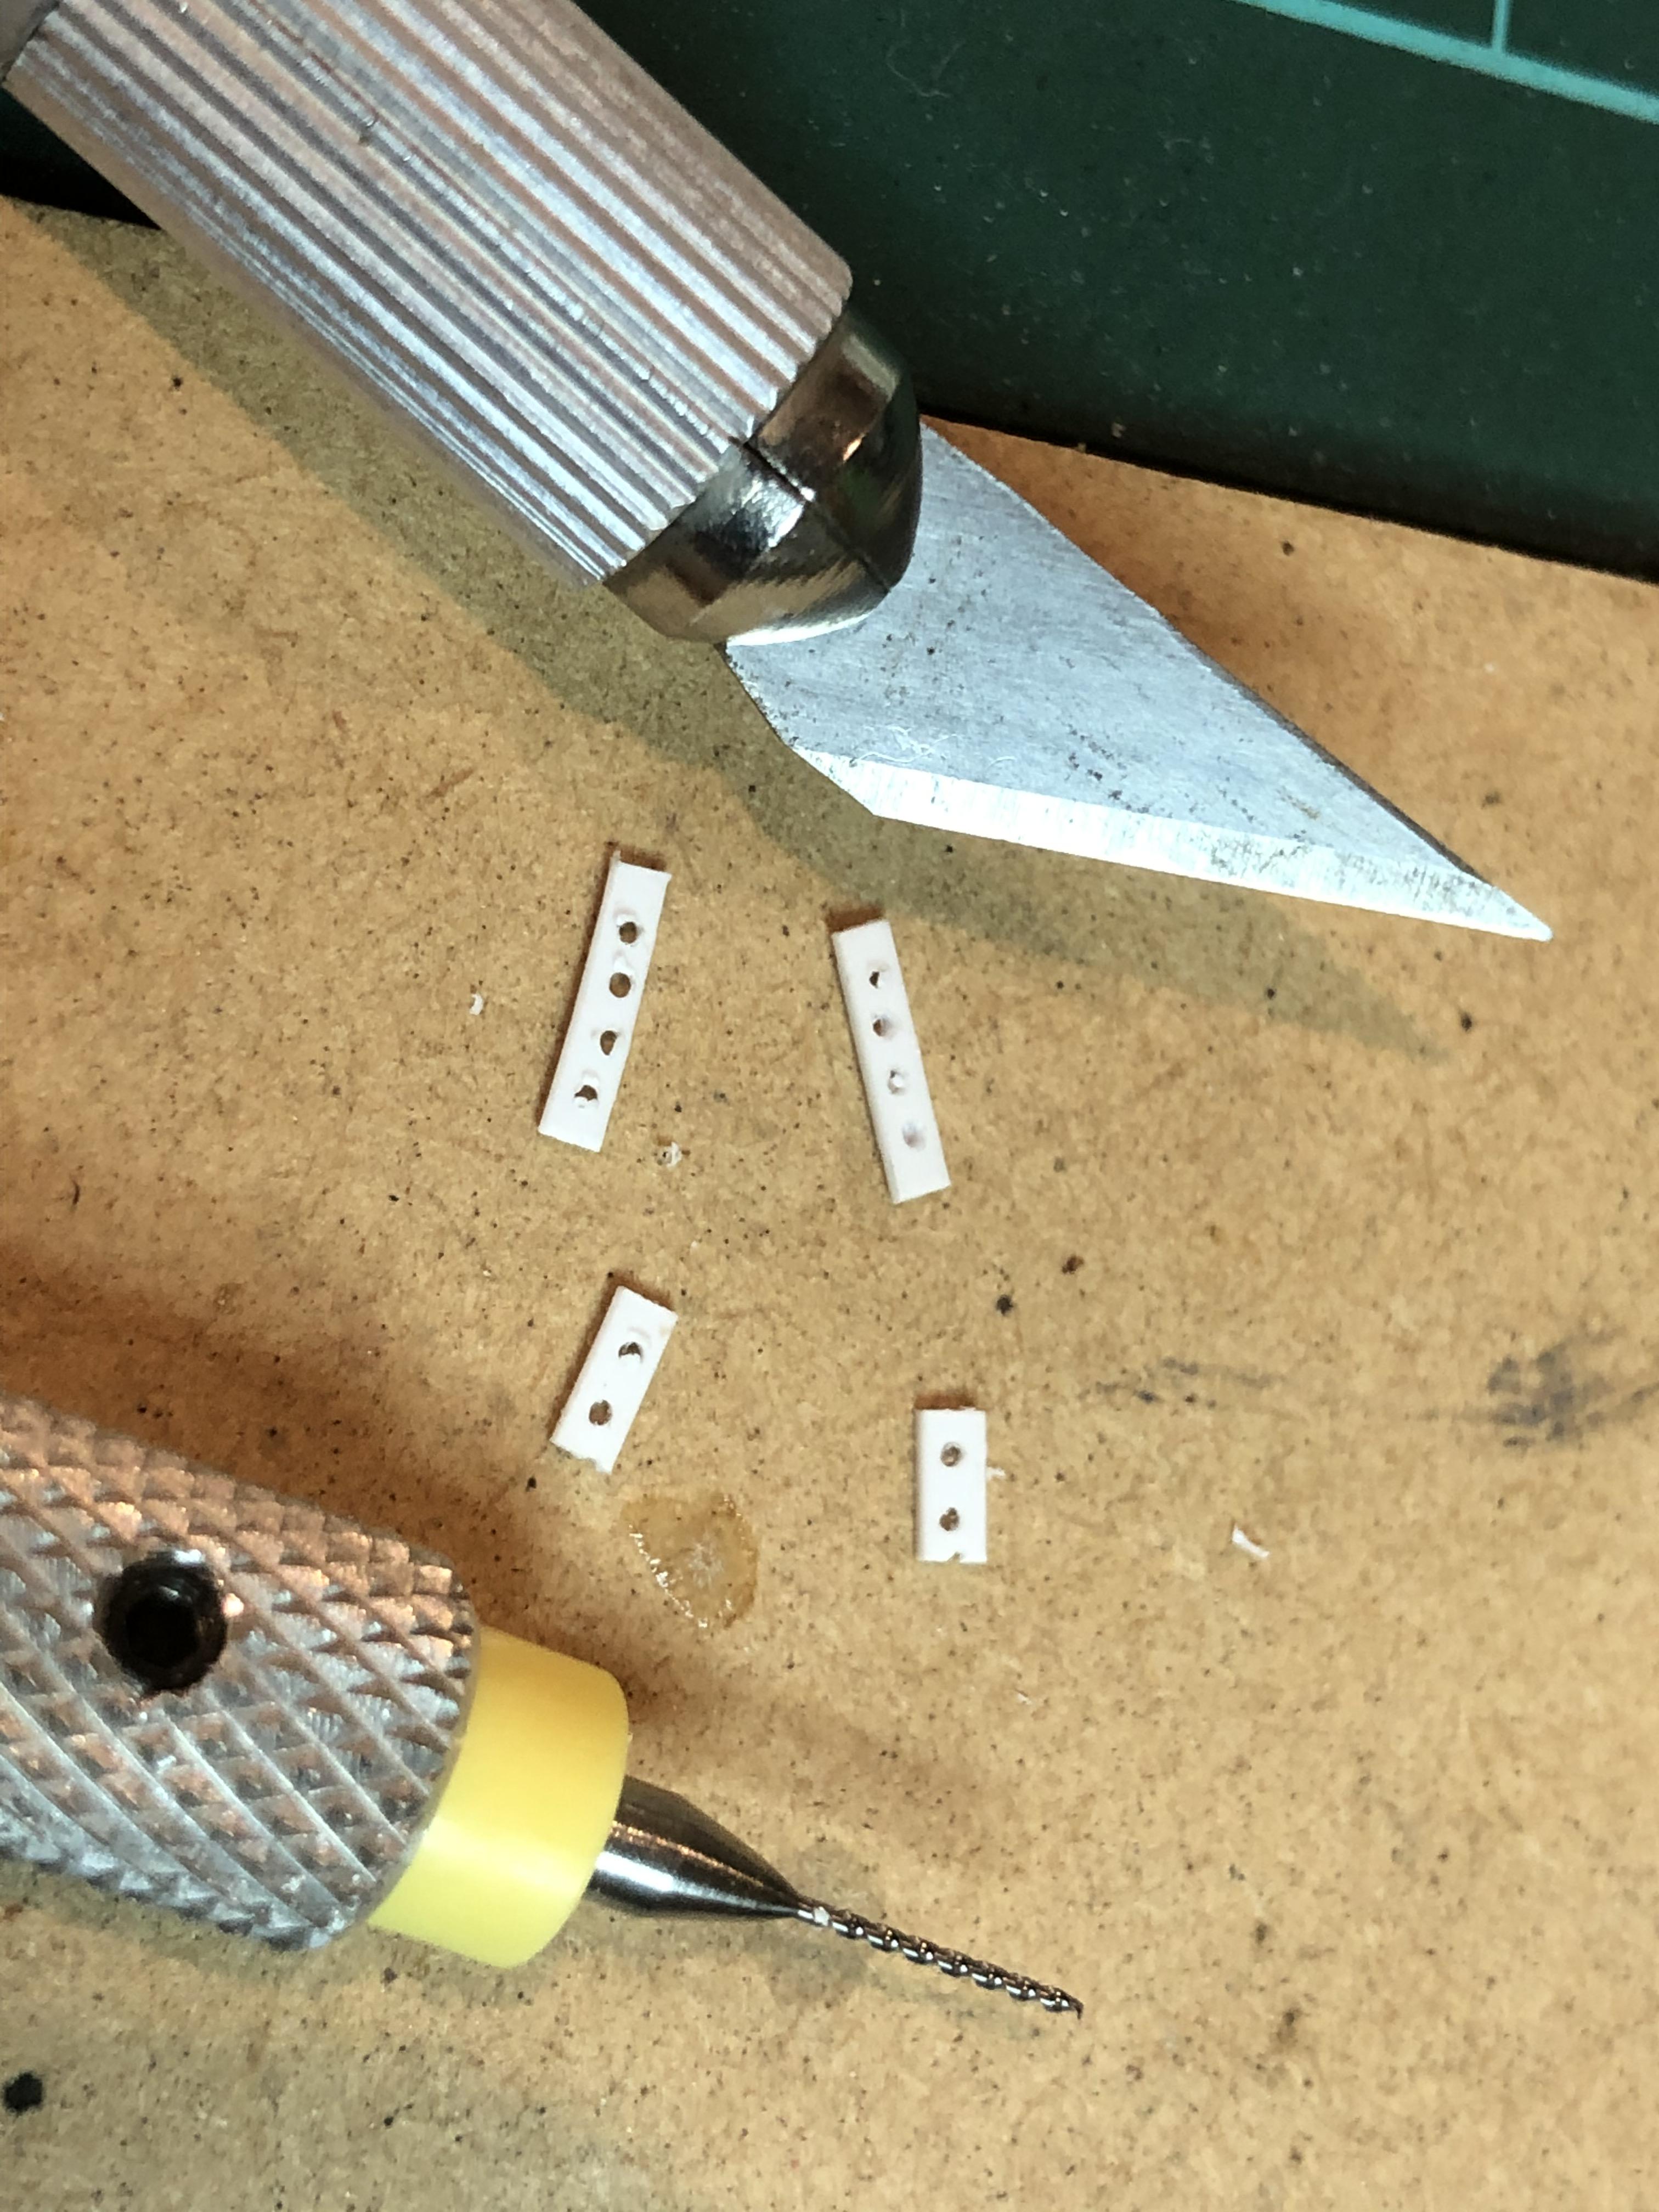
I'm also playing around with some strip styrene to make up some cable frames for the wiring.
May 29th update
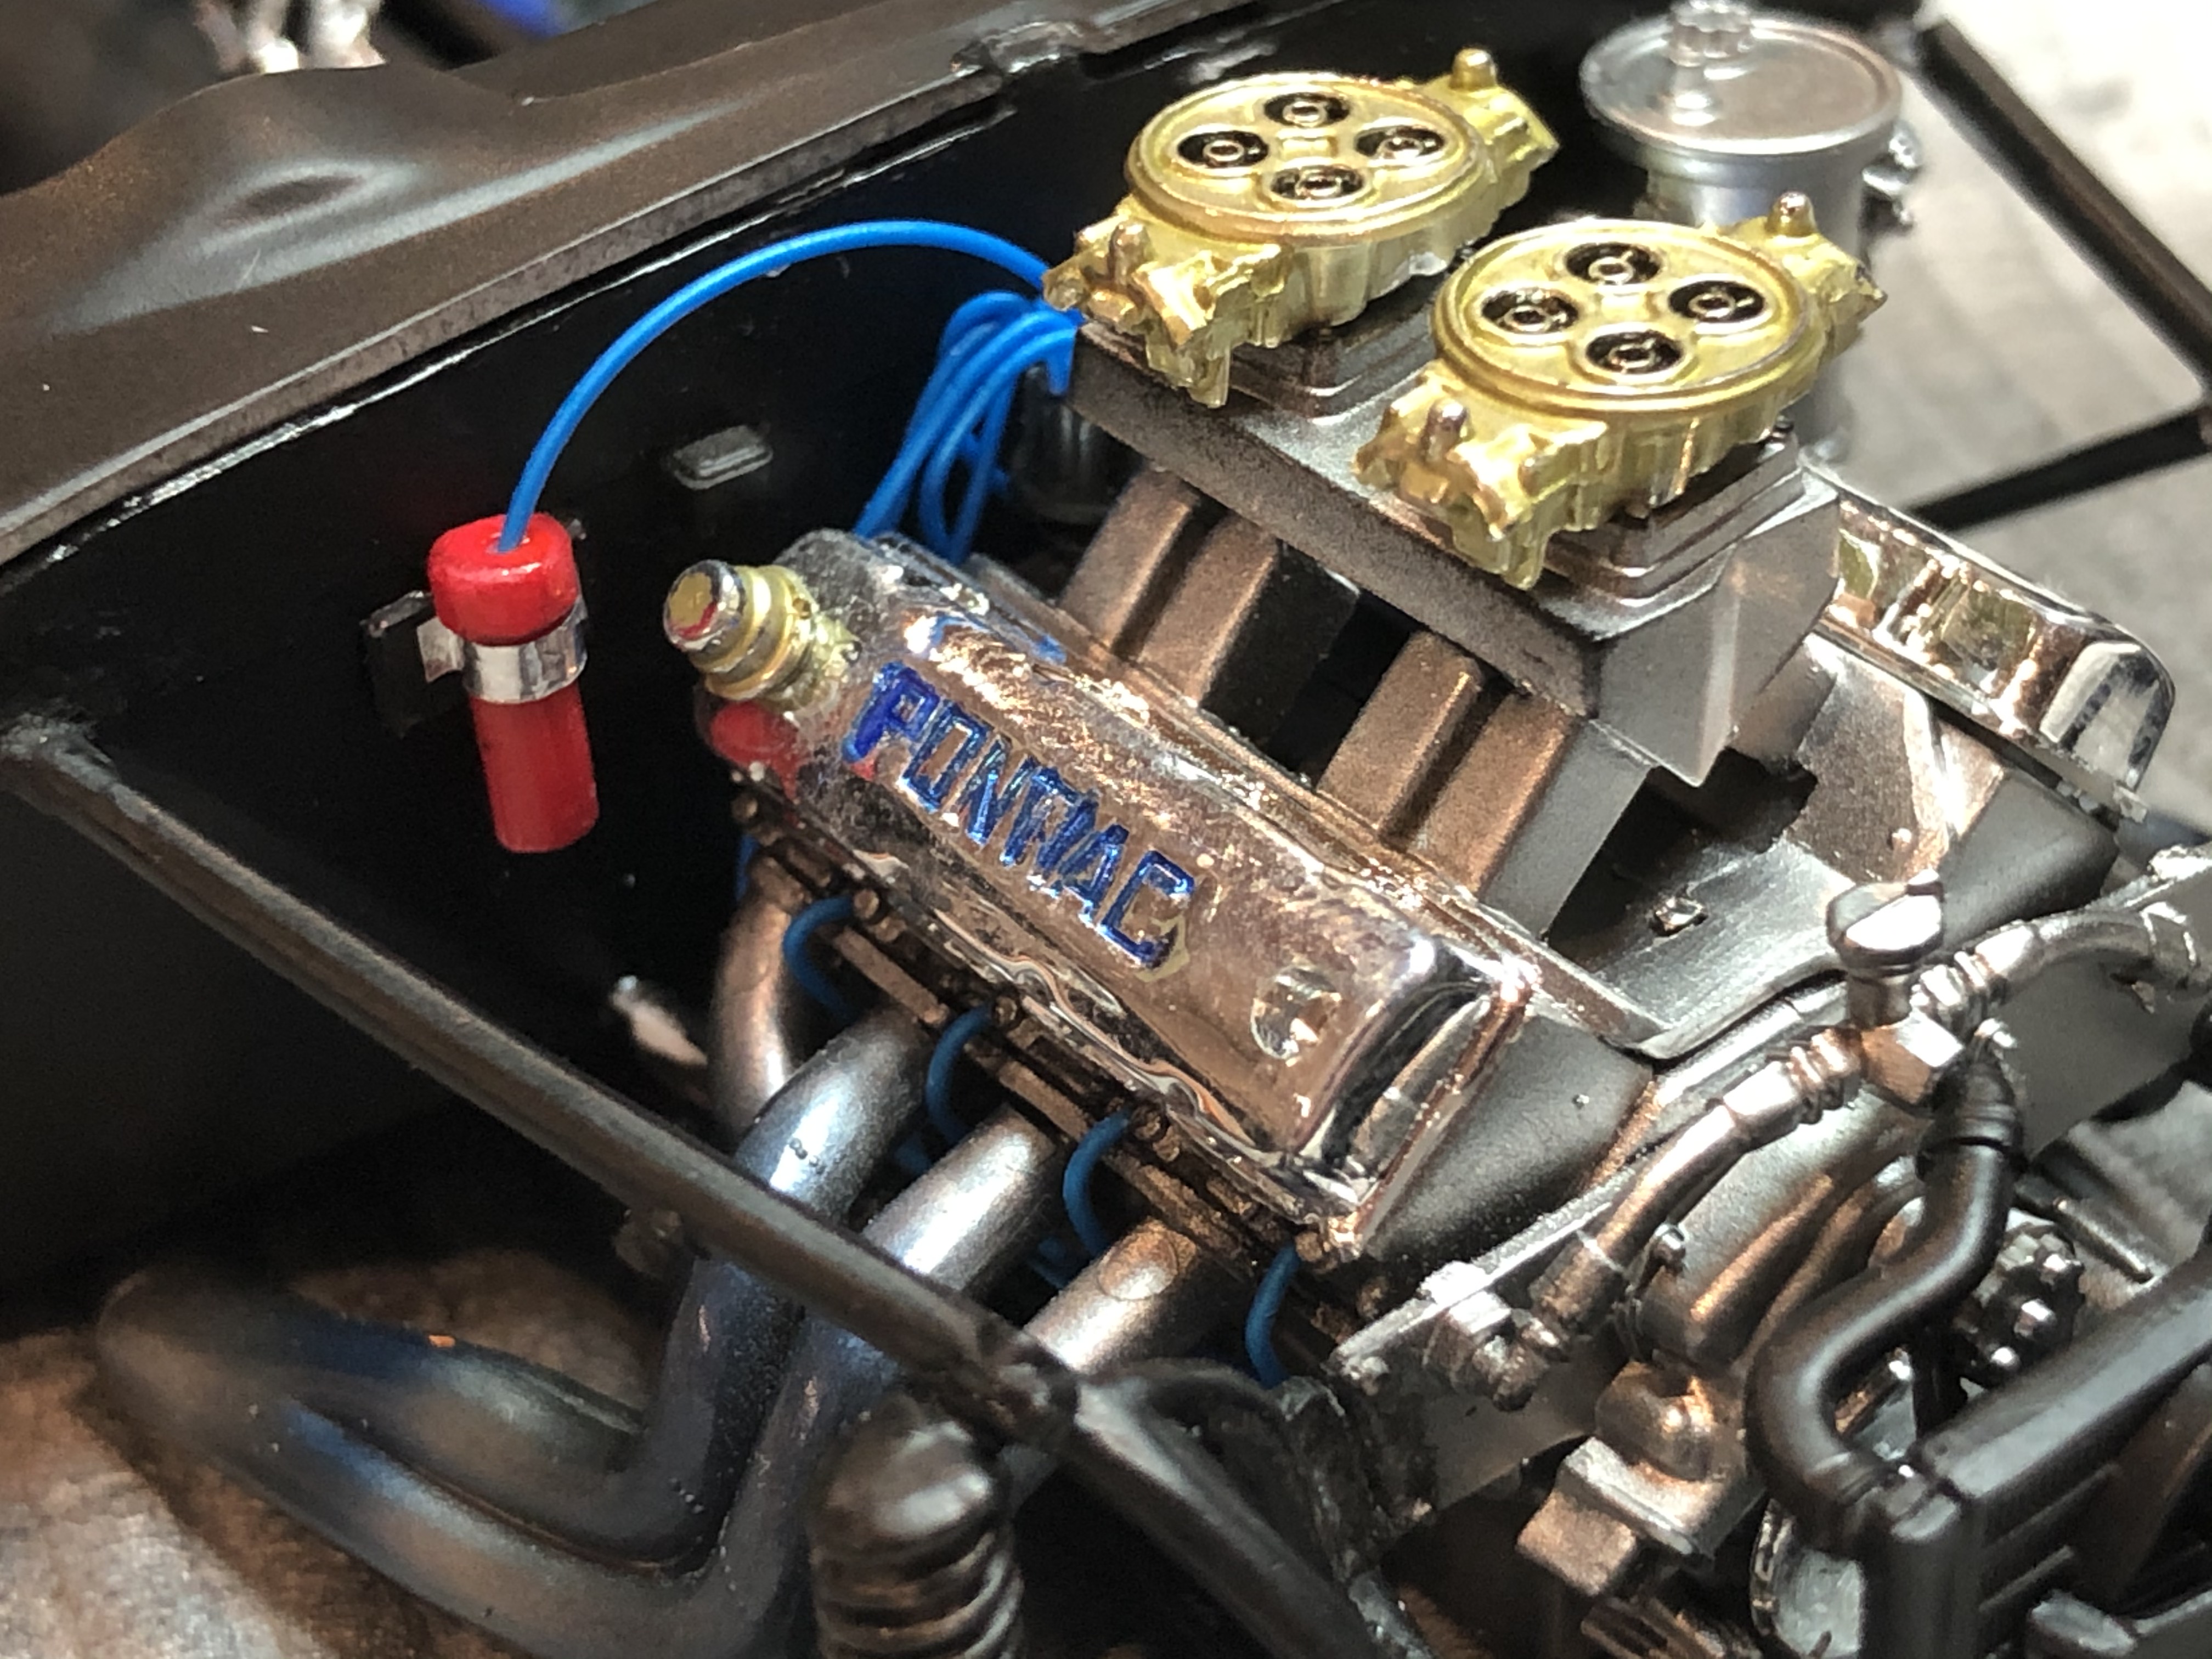
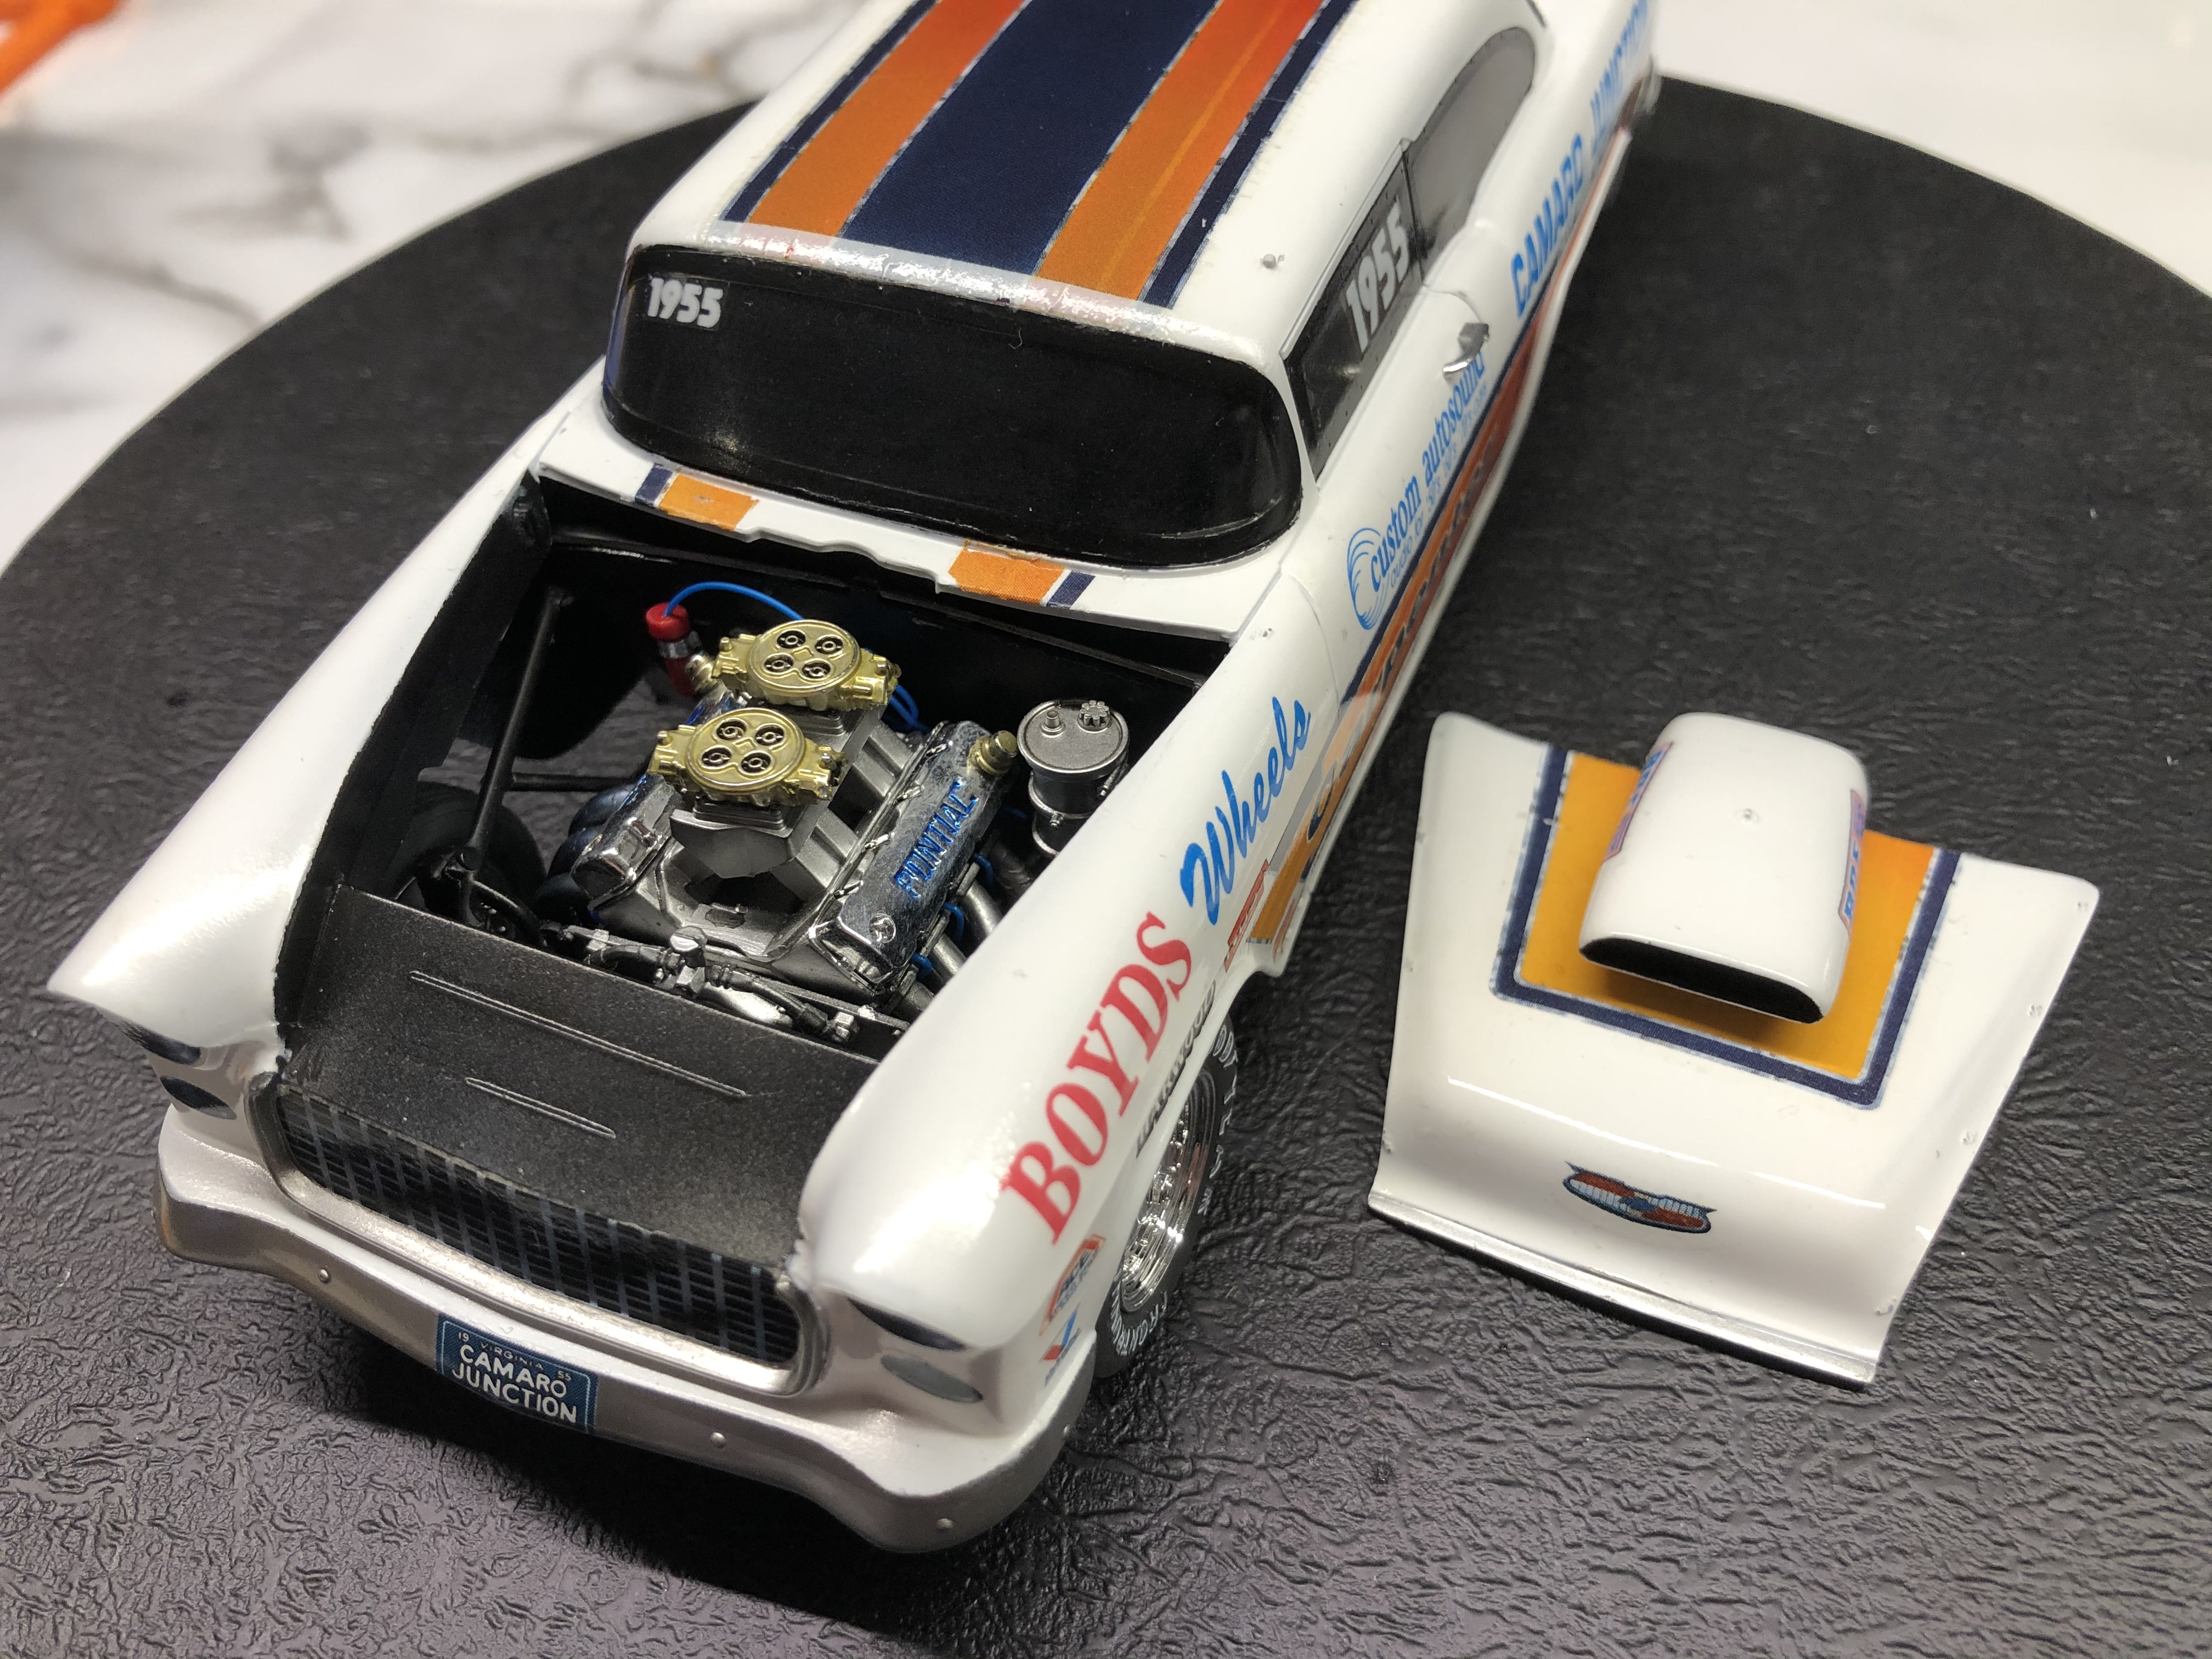
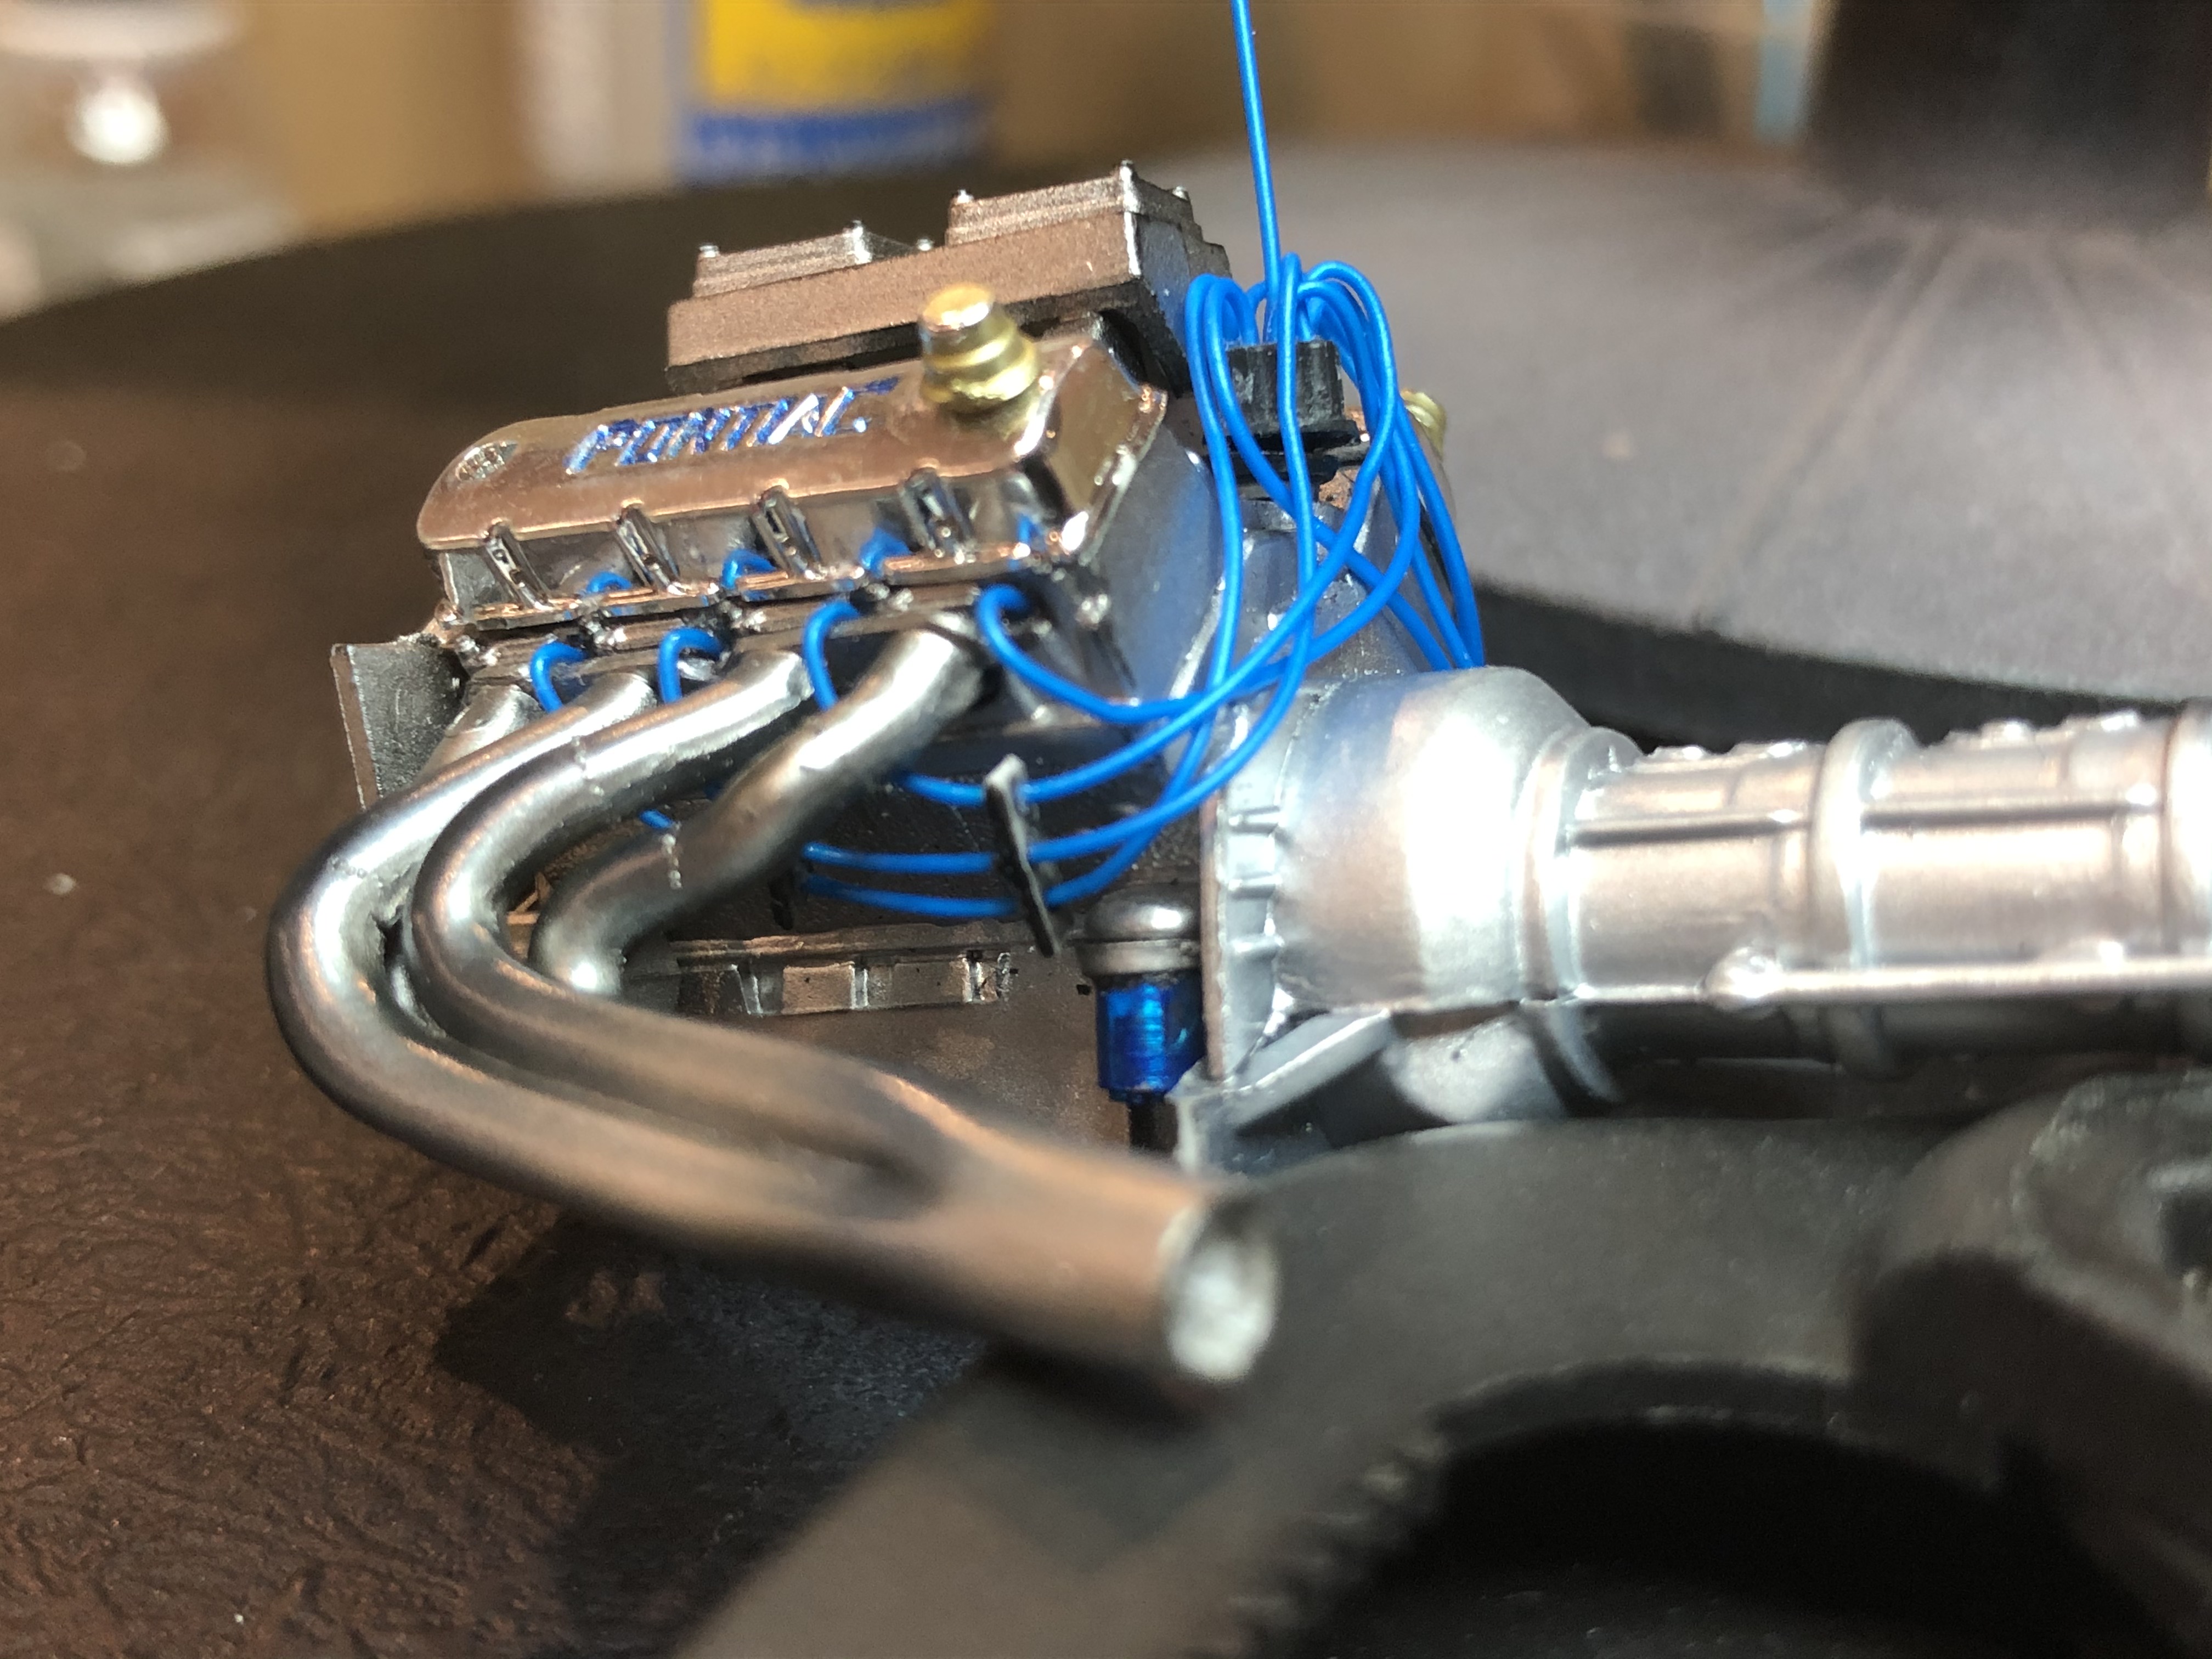
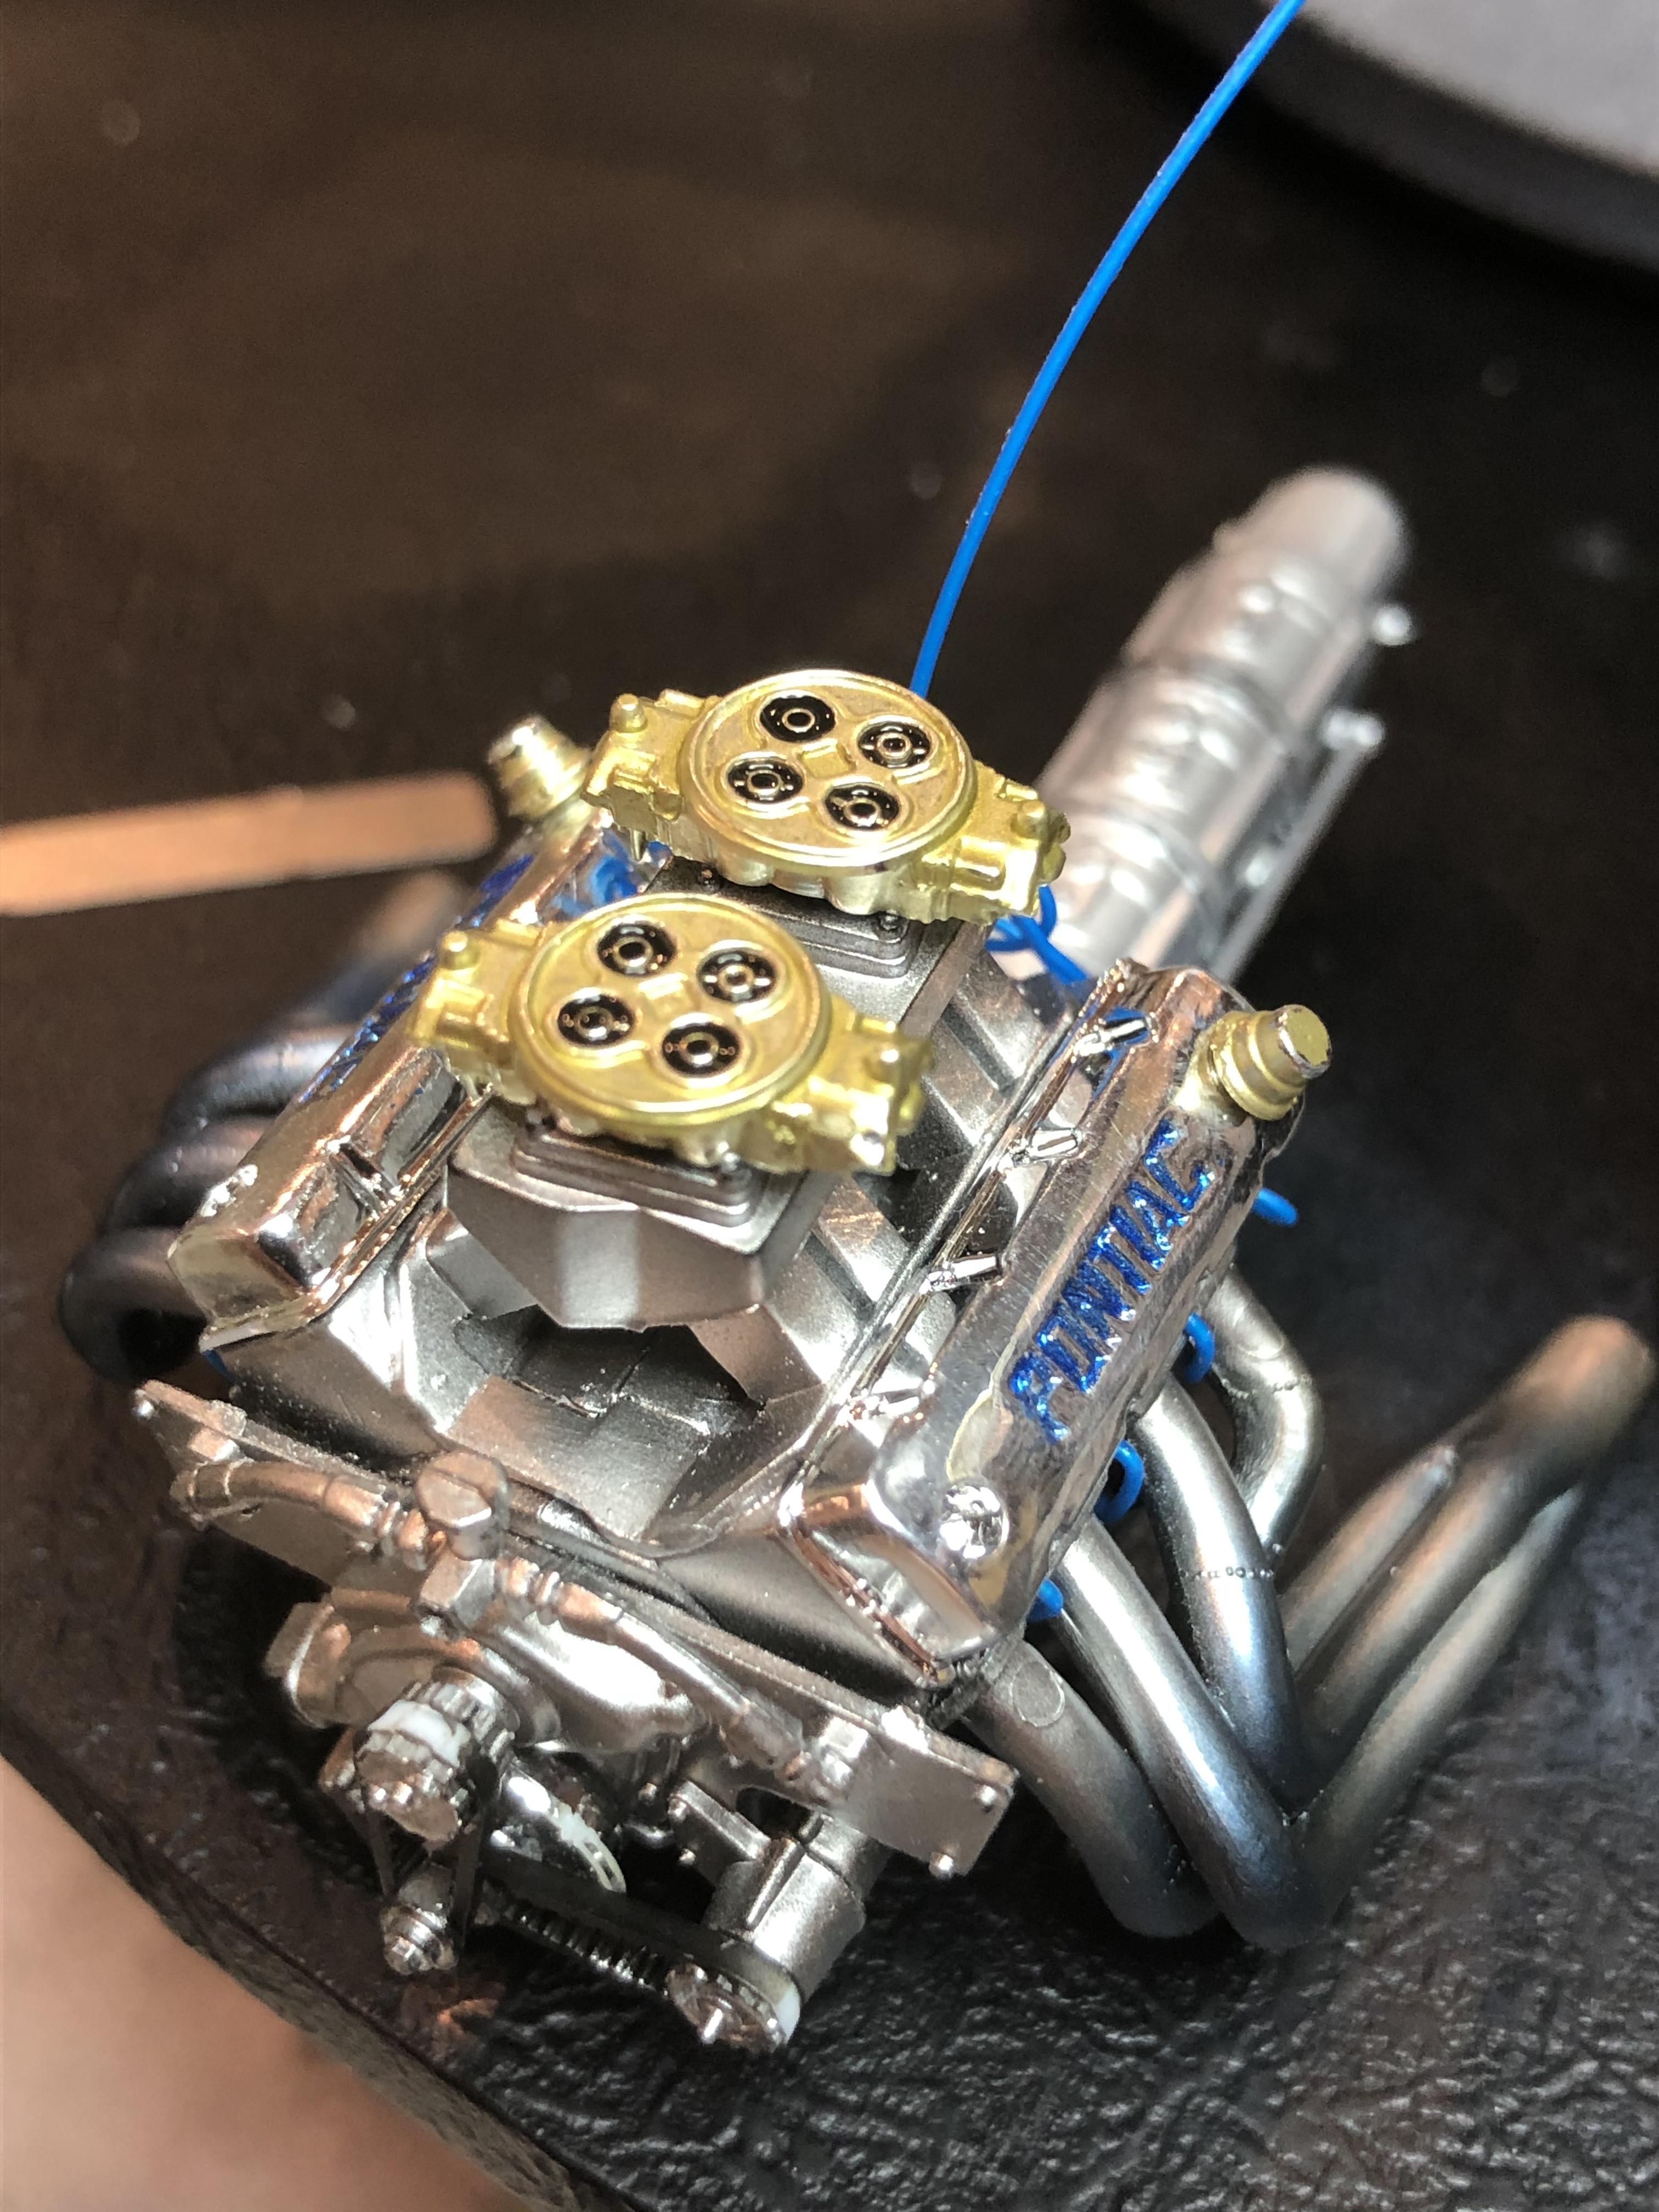
I managed a couple of hours tonight on the engine detailing, really happy with the result. The first time I've used an after market pre-wired dizzy, and I must say it won't be the last!
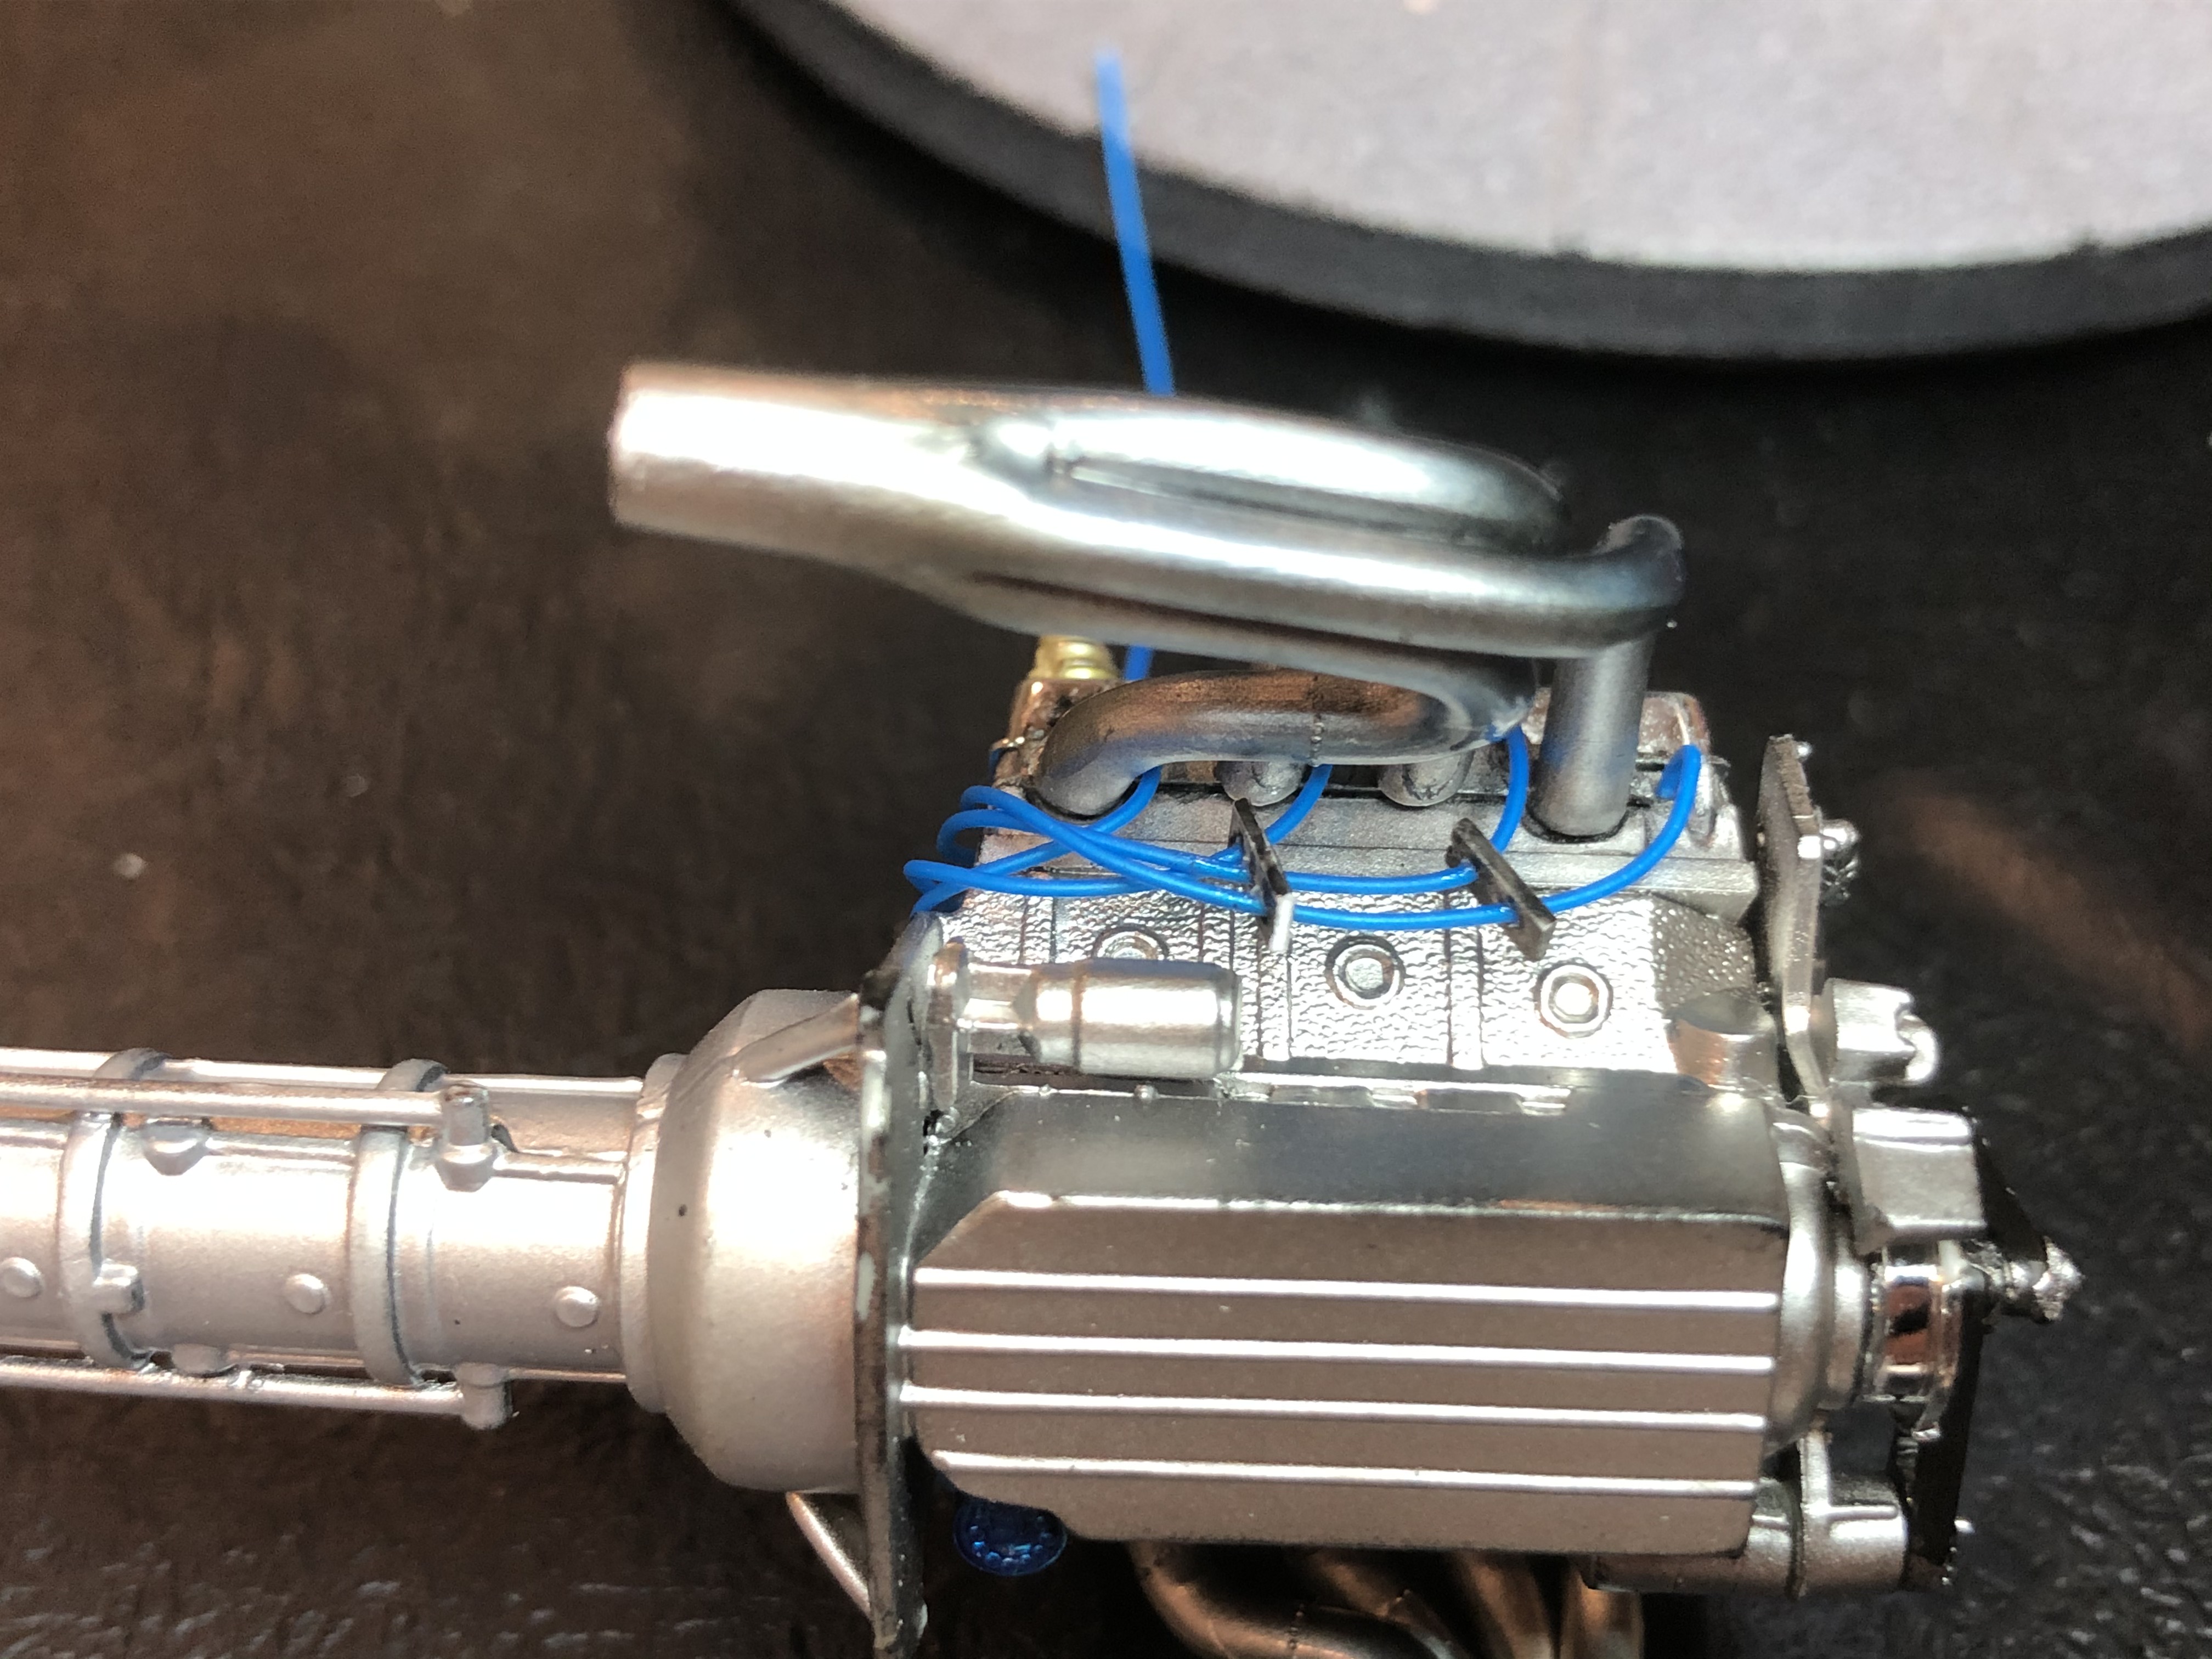

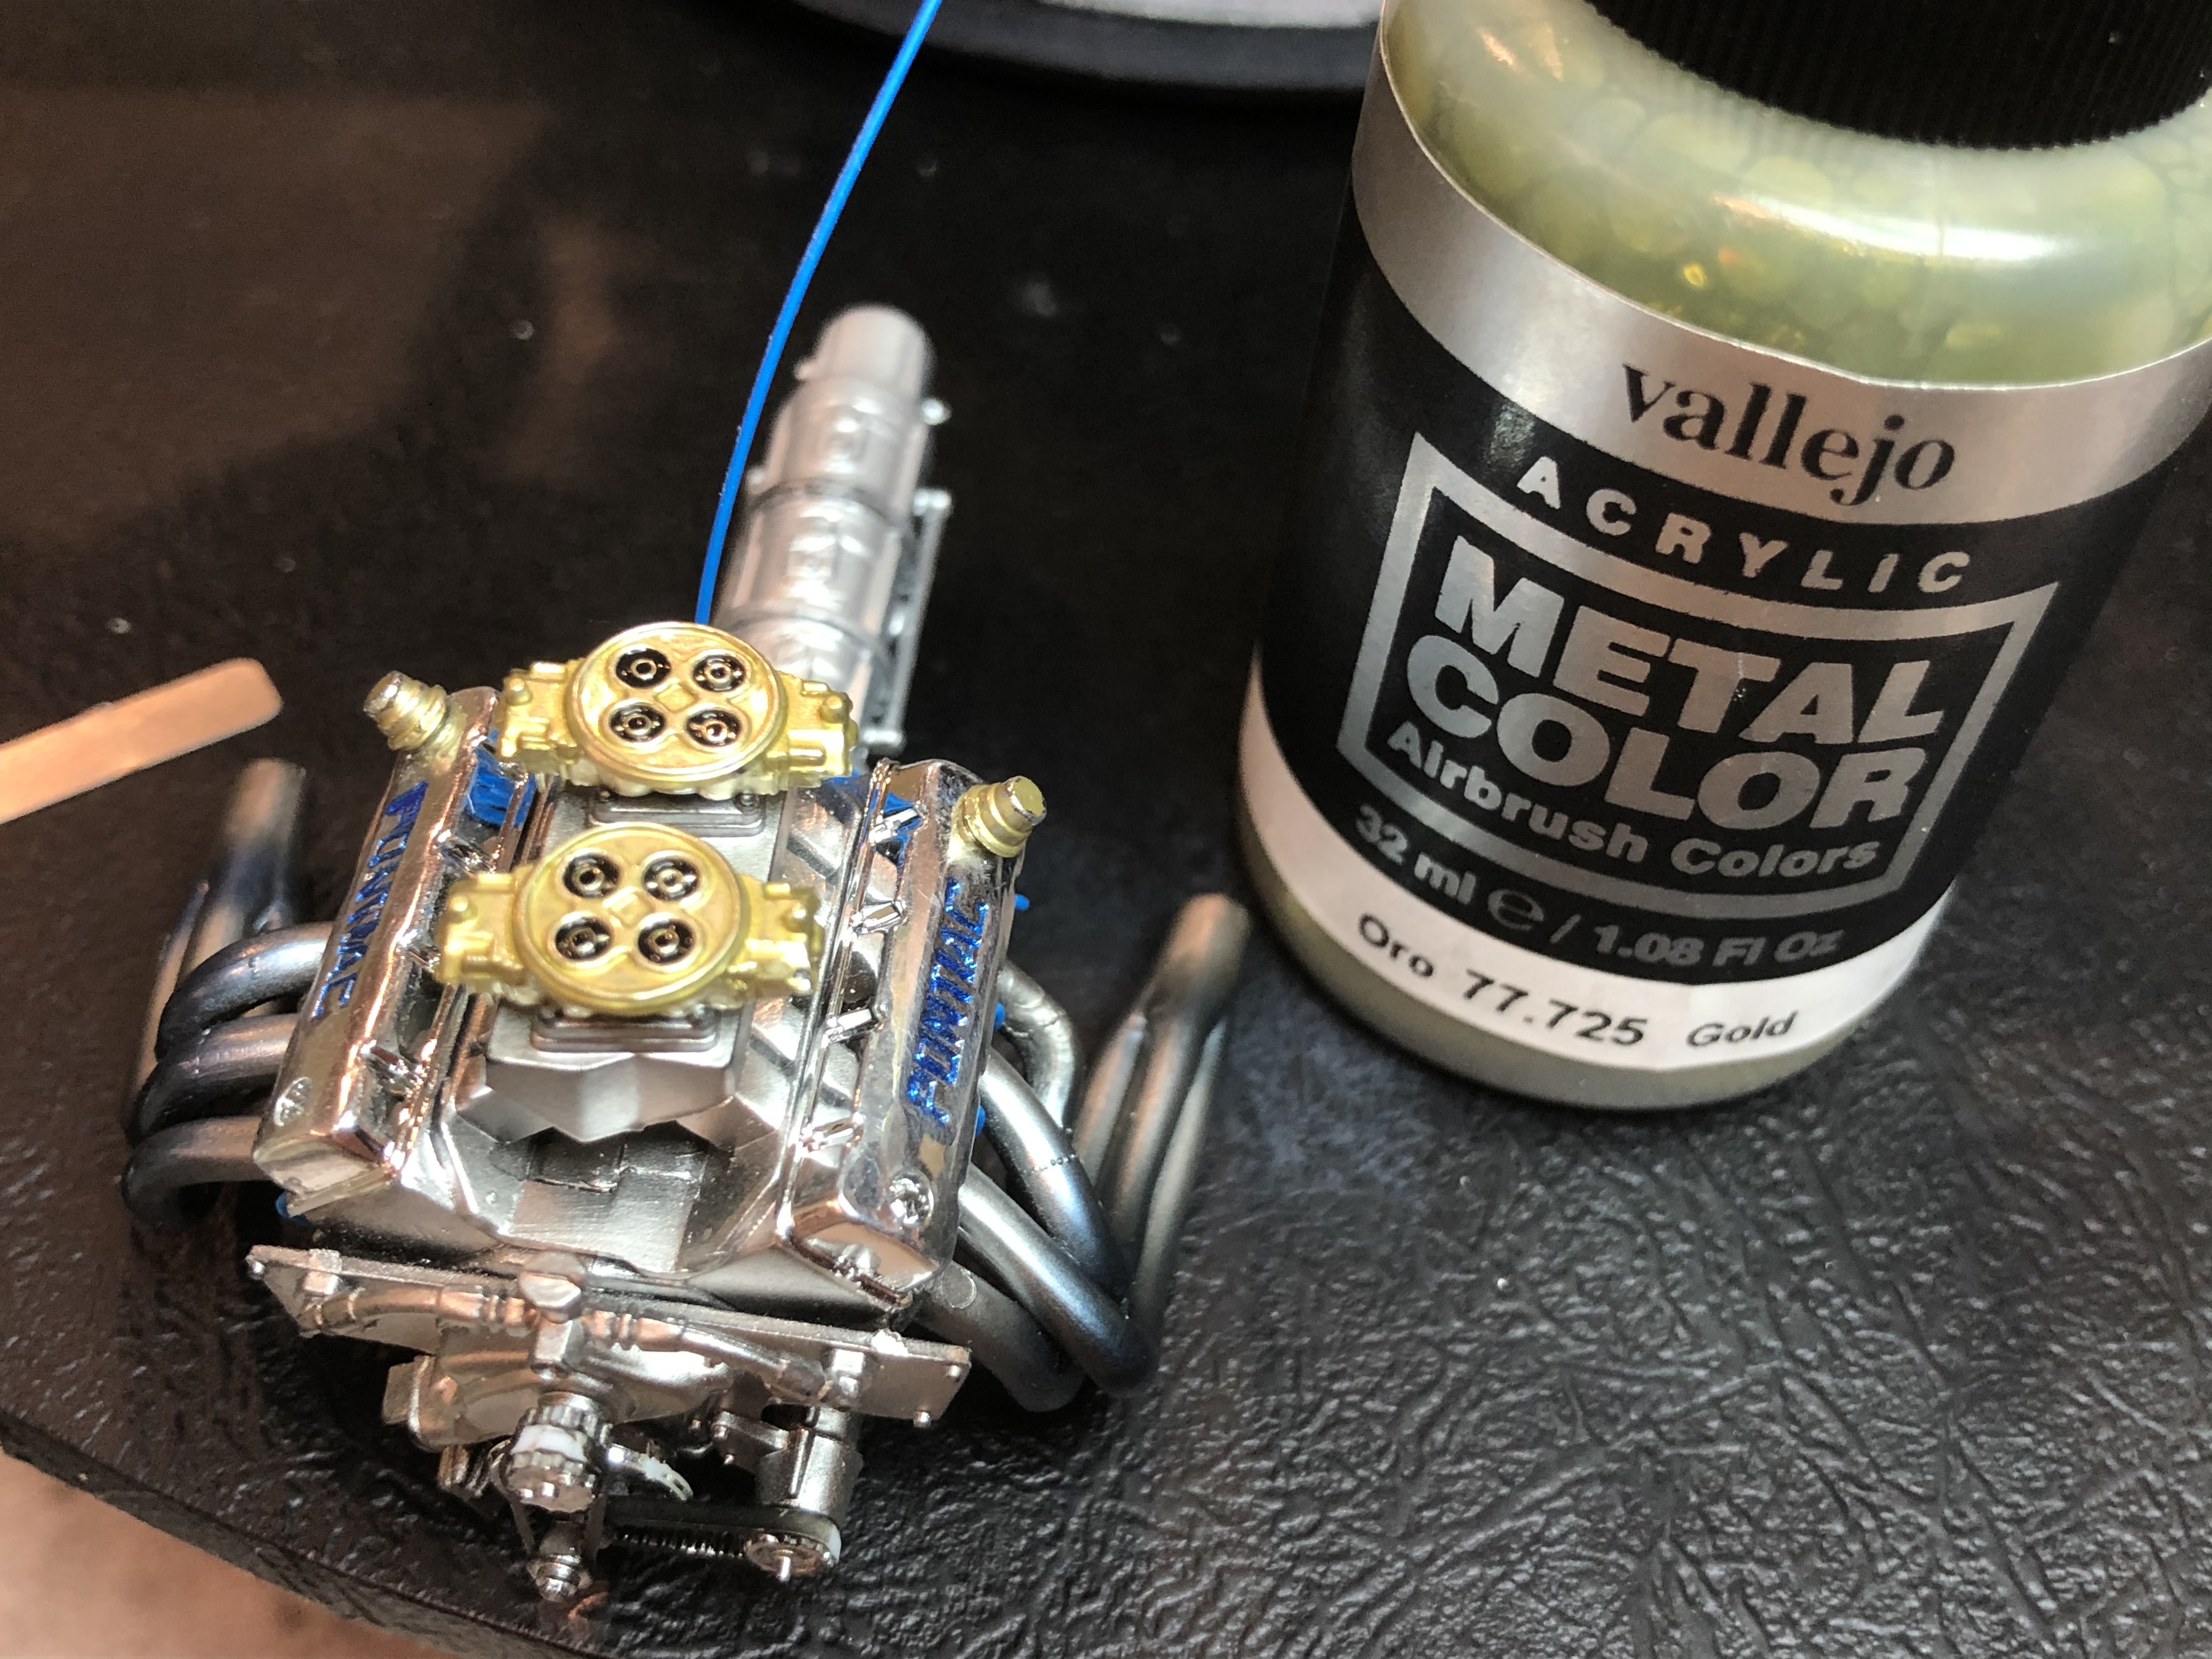
The dual carbs got a brushed coat of Vallejo Metal Colour Gold (77.725) and some Tamiya Black PLW in the ports.
EDIT - Once again, a few touch-ups to do looking at the last image, the gold breathers lost paint from handling, and the belts and pulleys look a bit sloppy!
FURTHER EDIT (and complaint to Revell) - Ejector pin marks on the OUTSIDE of the headers!! Why Revell, WHY????
June 4th update
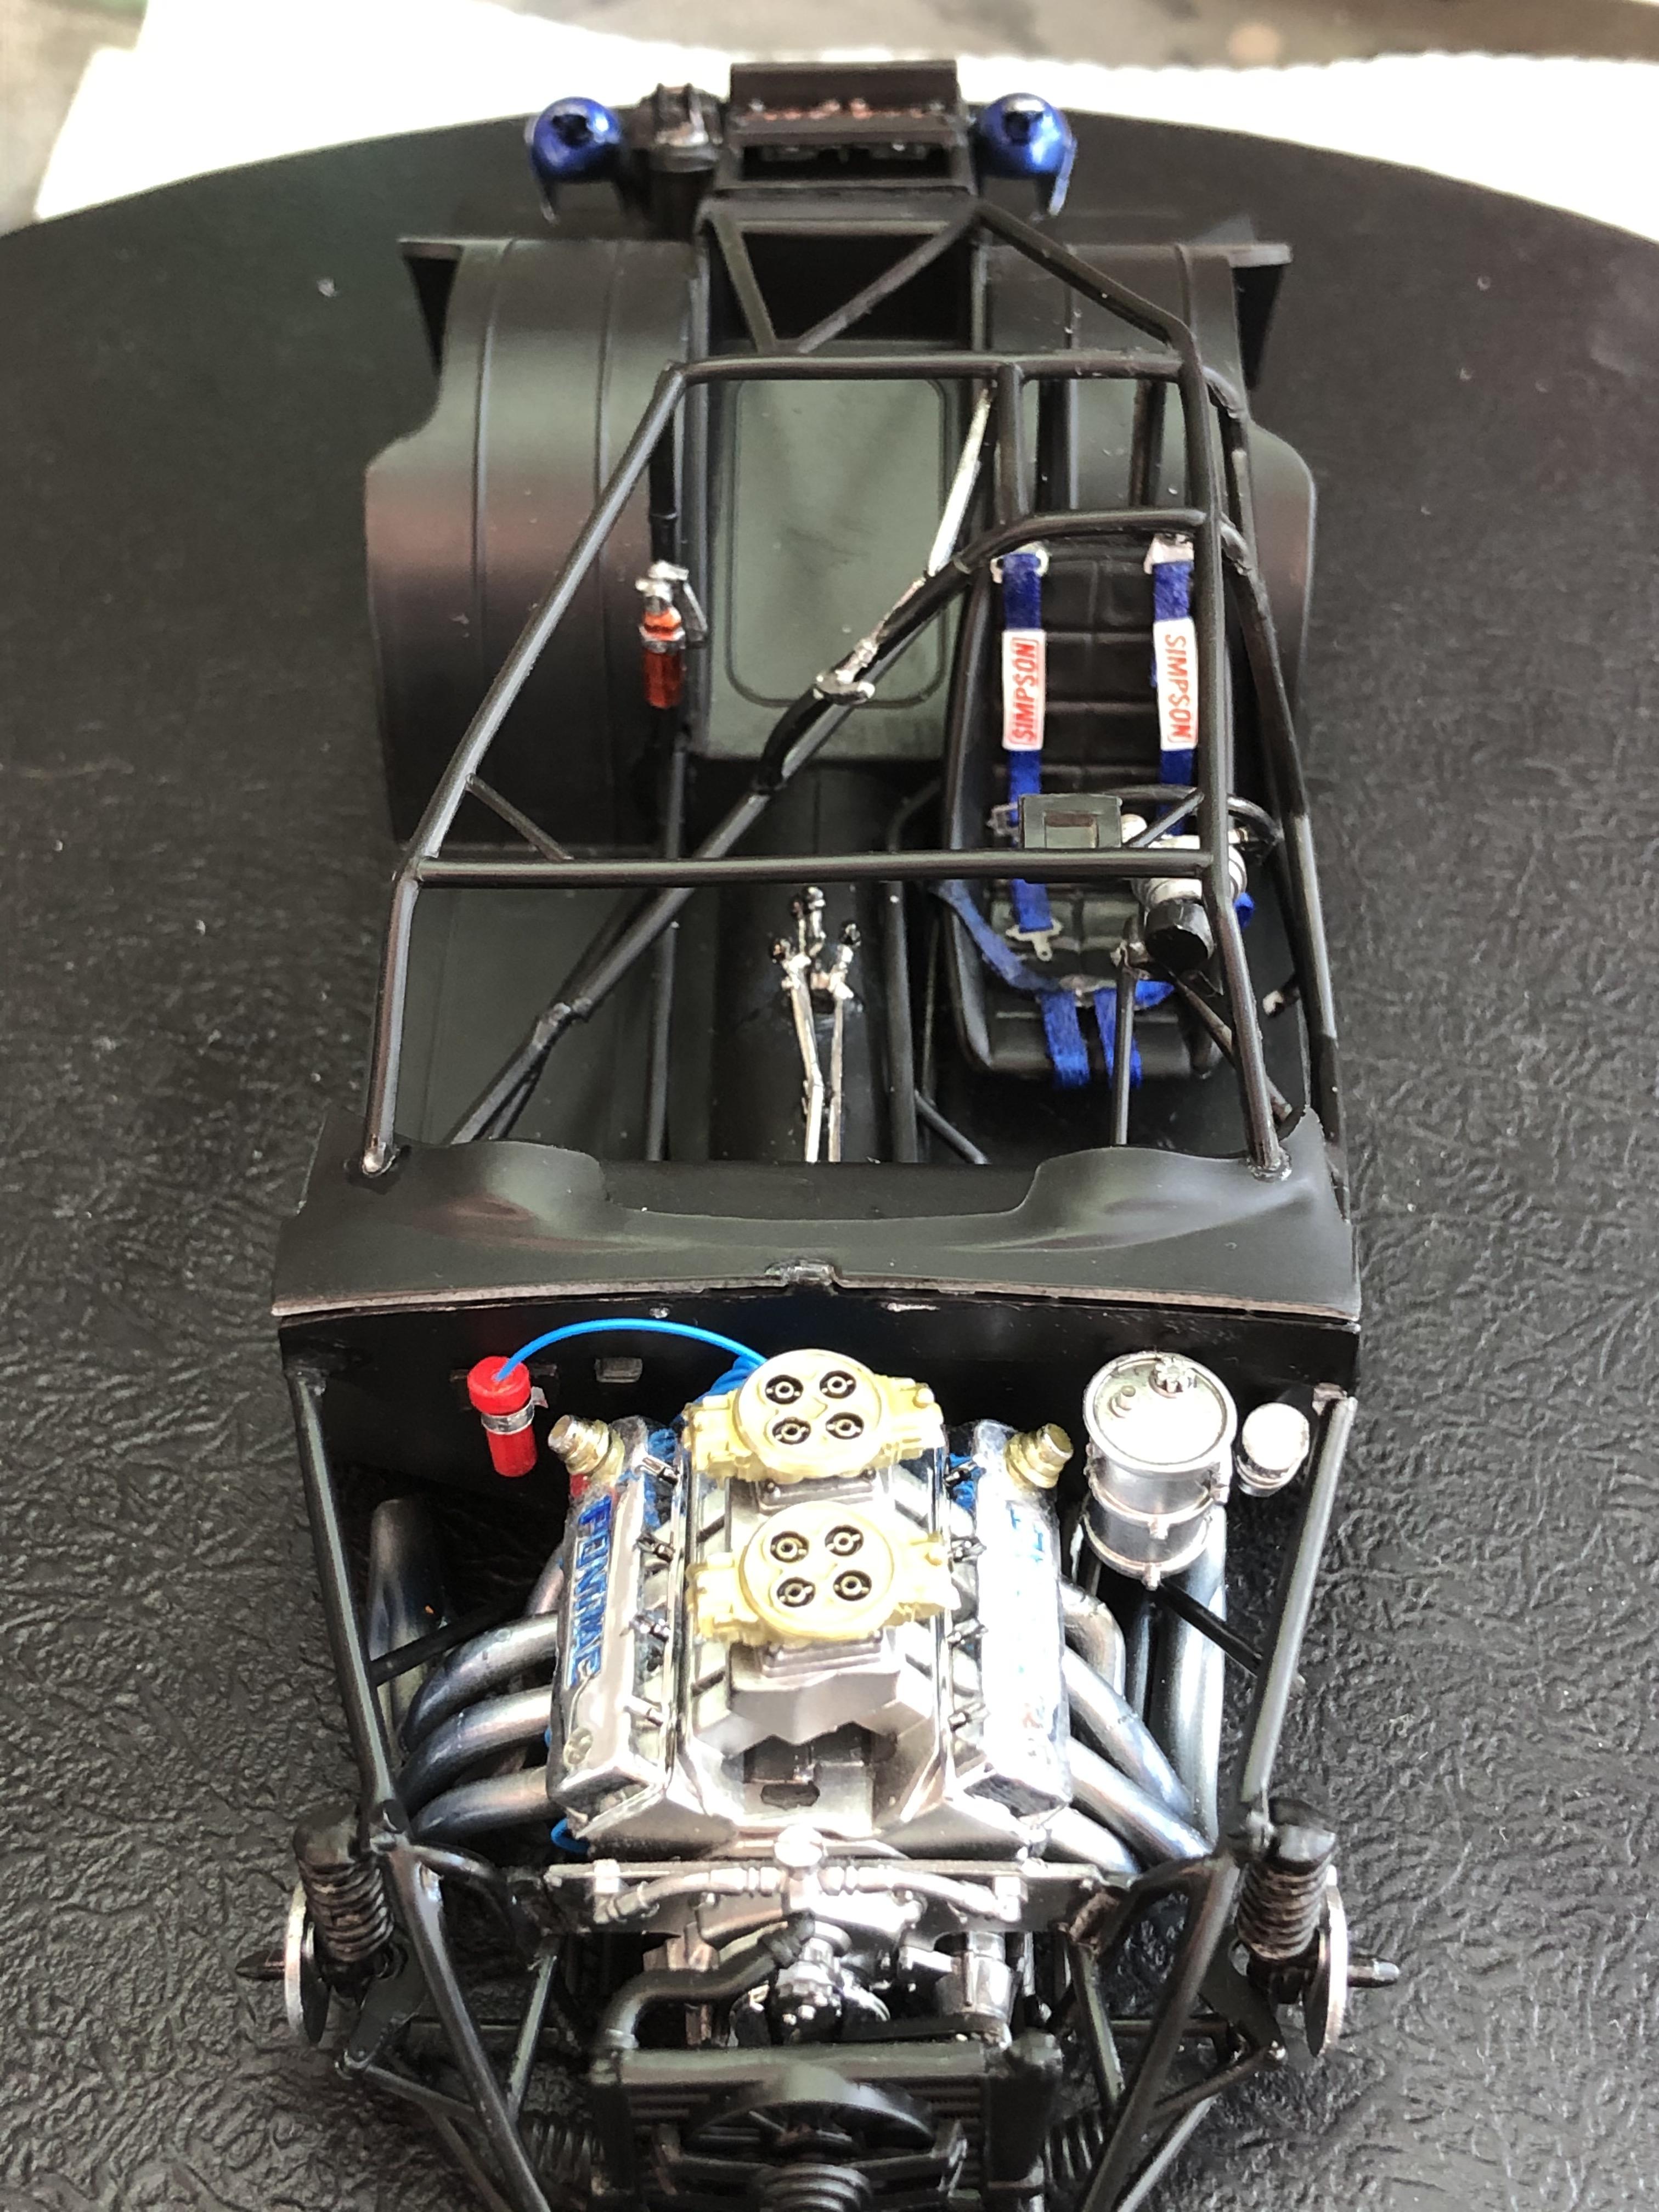
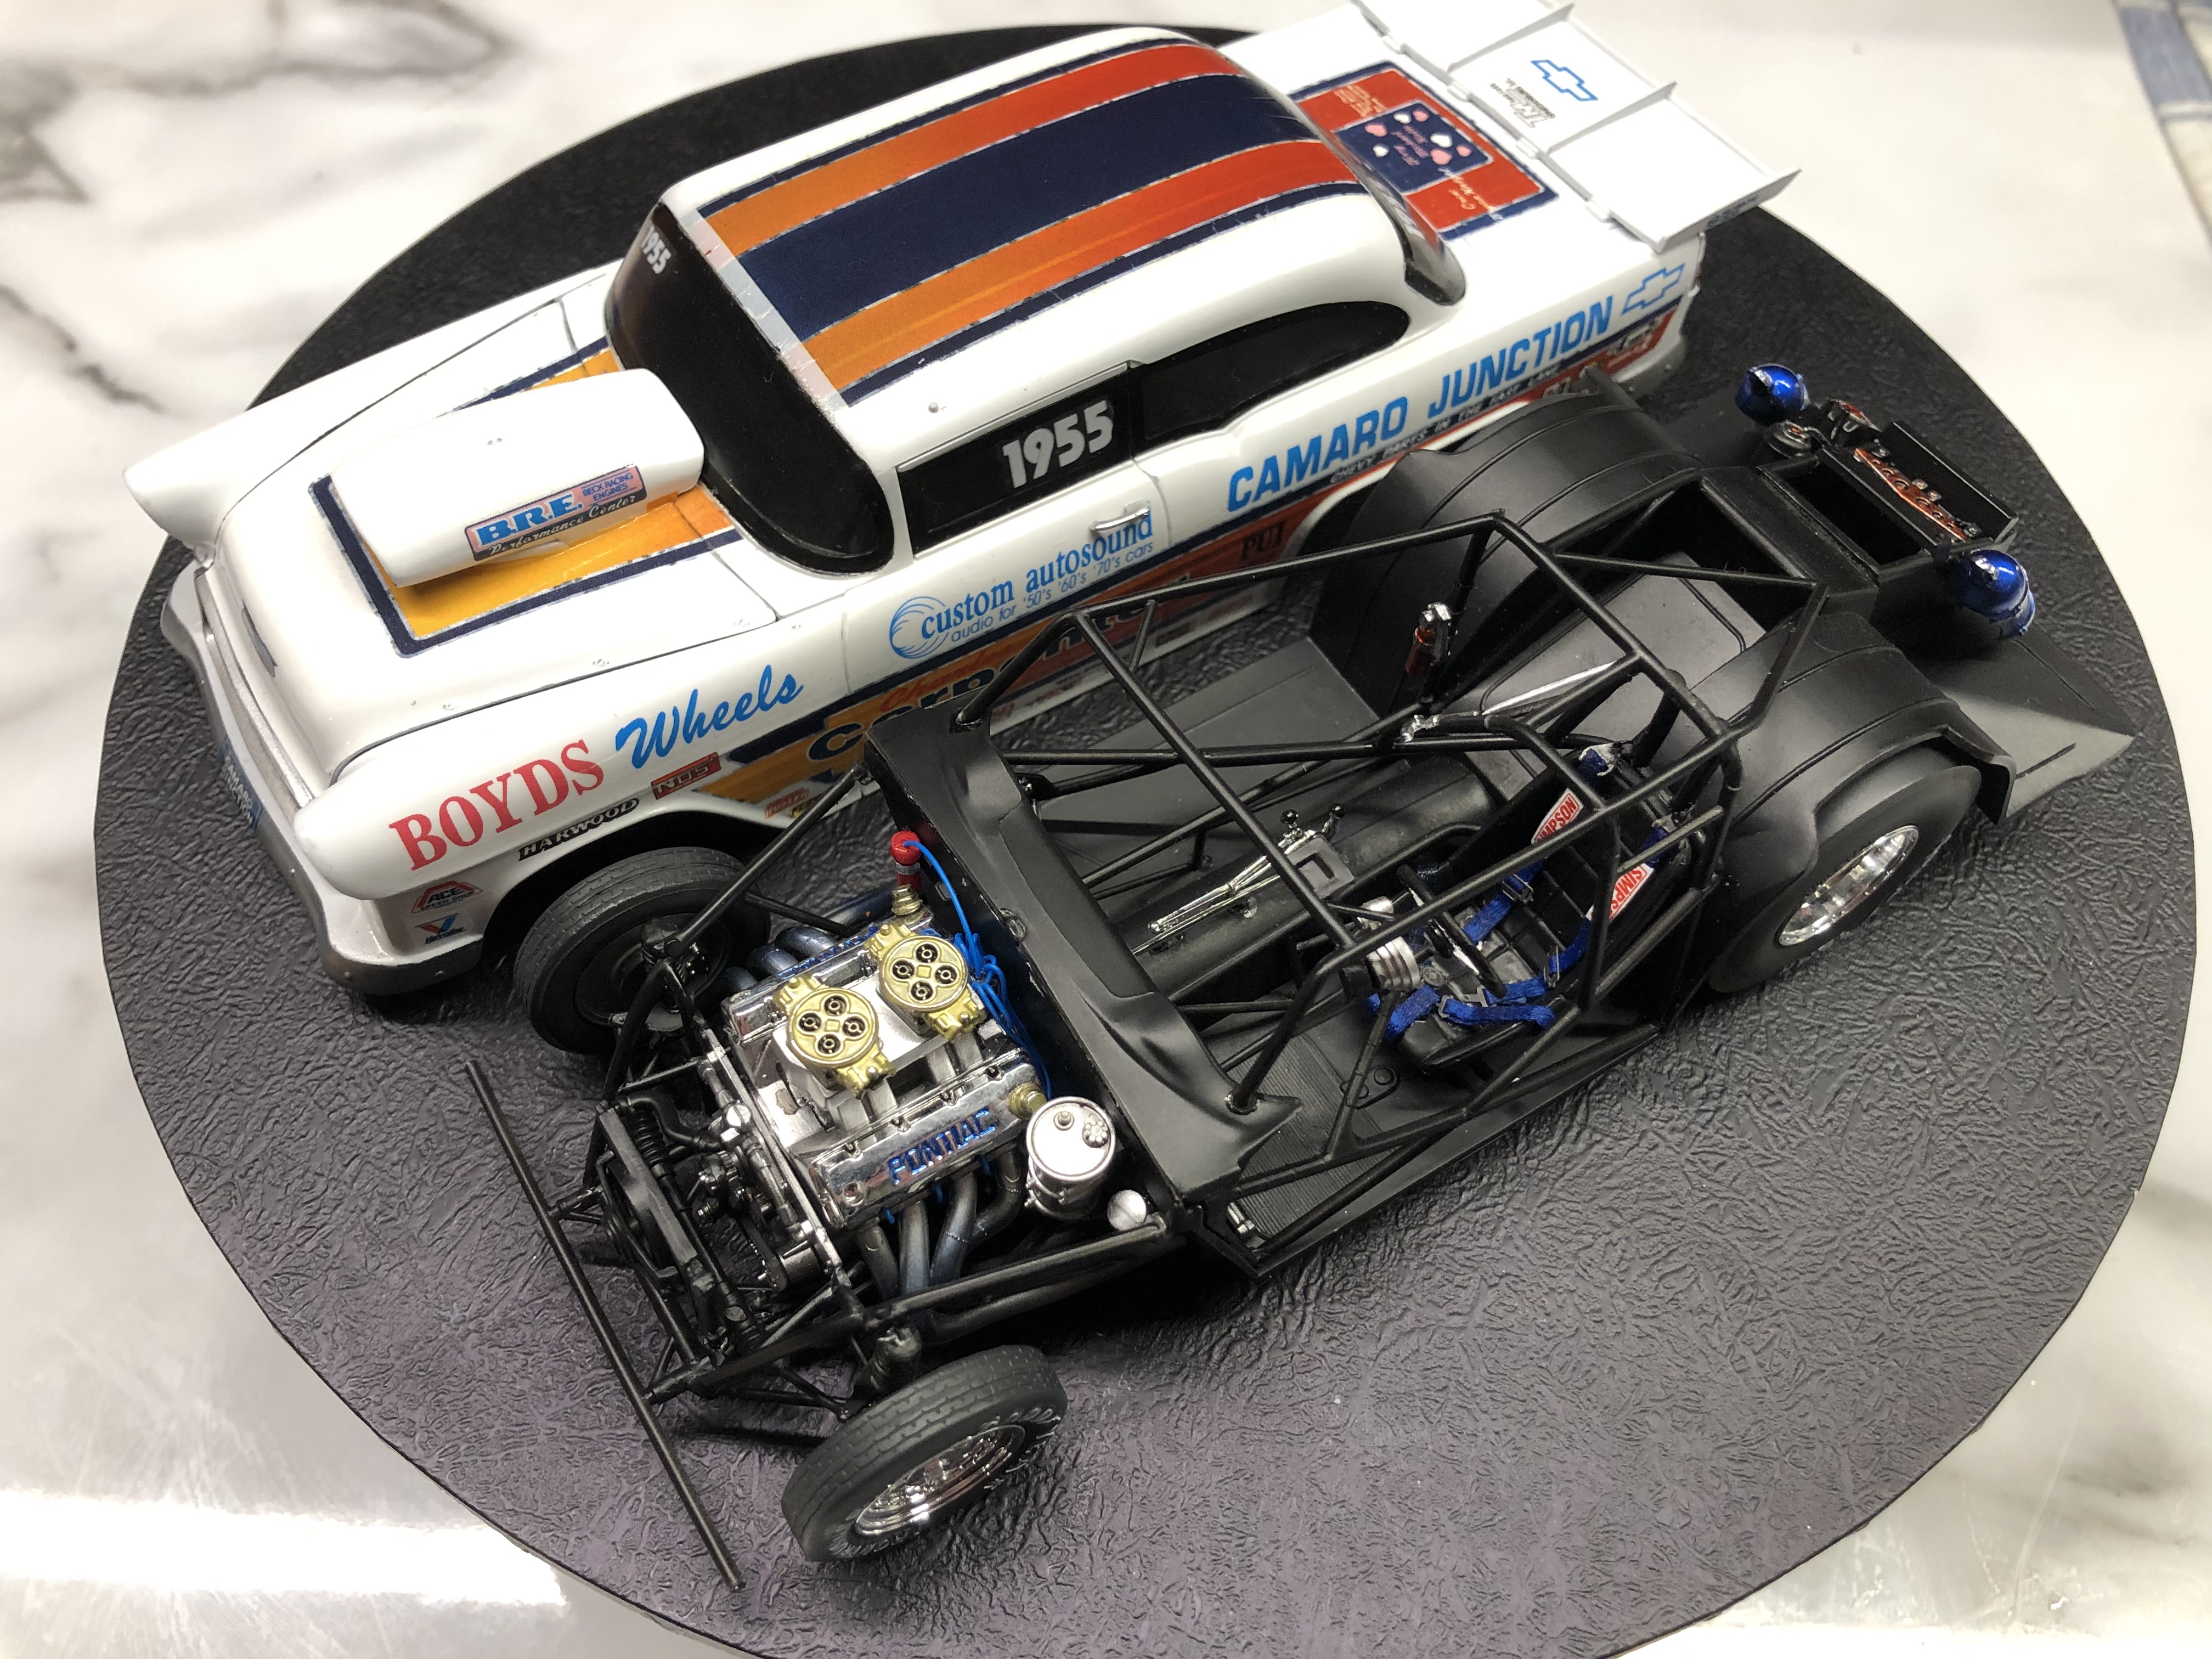
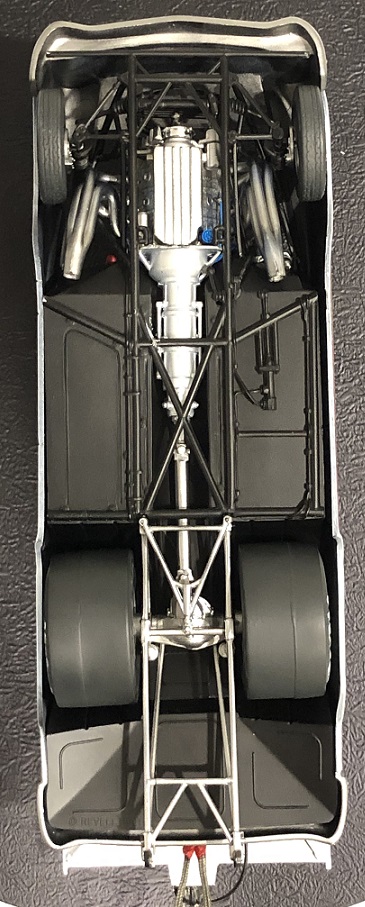
A little progress at the bench tonight, started on the assembly of the rolling chassis and drive train. The engine went in first, then the diff/driveshaft/wheelie-bar assembly. Everything lined up beautifully and just dropped into place.
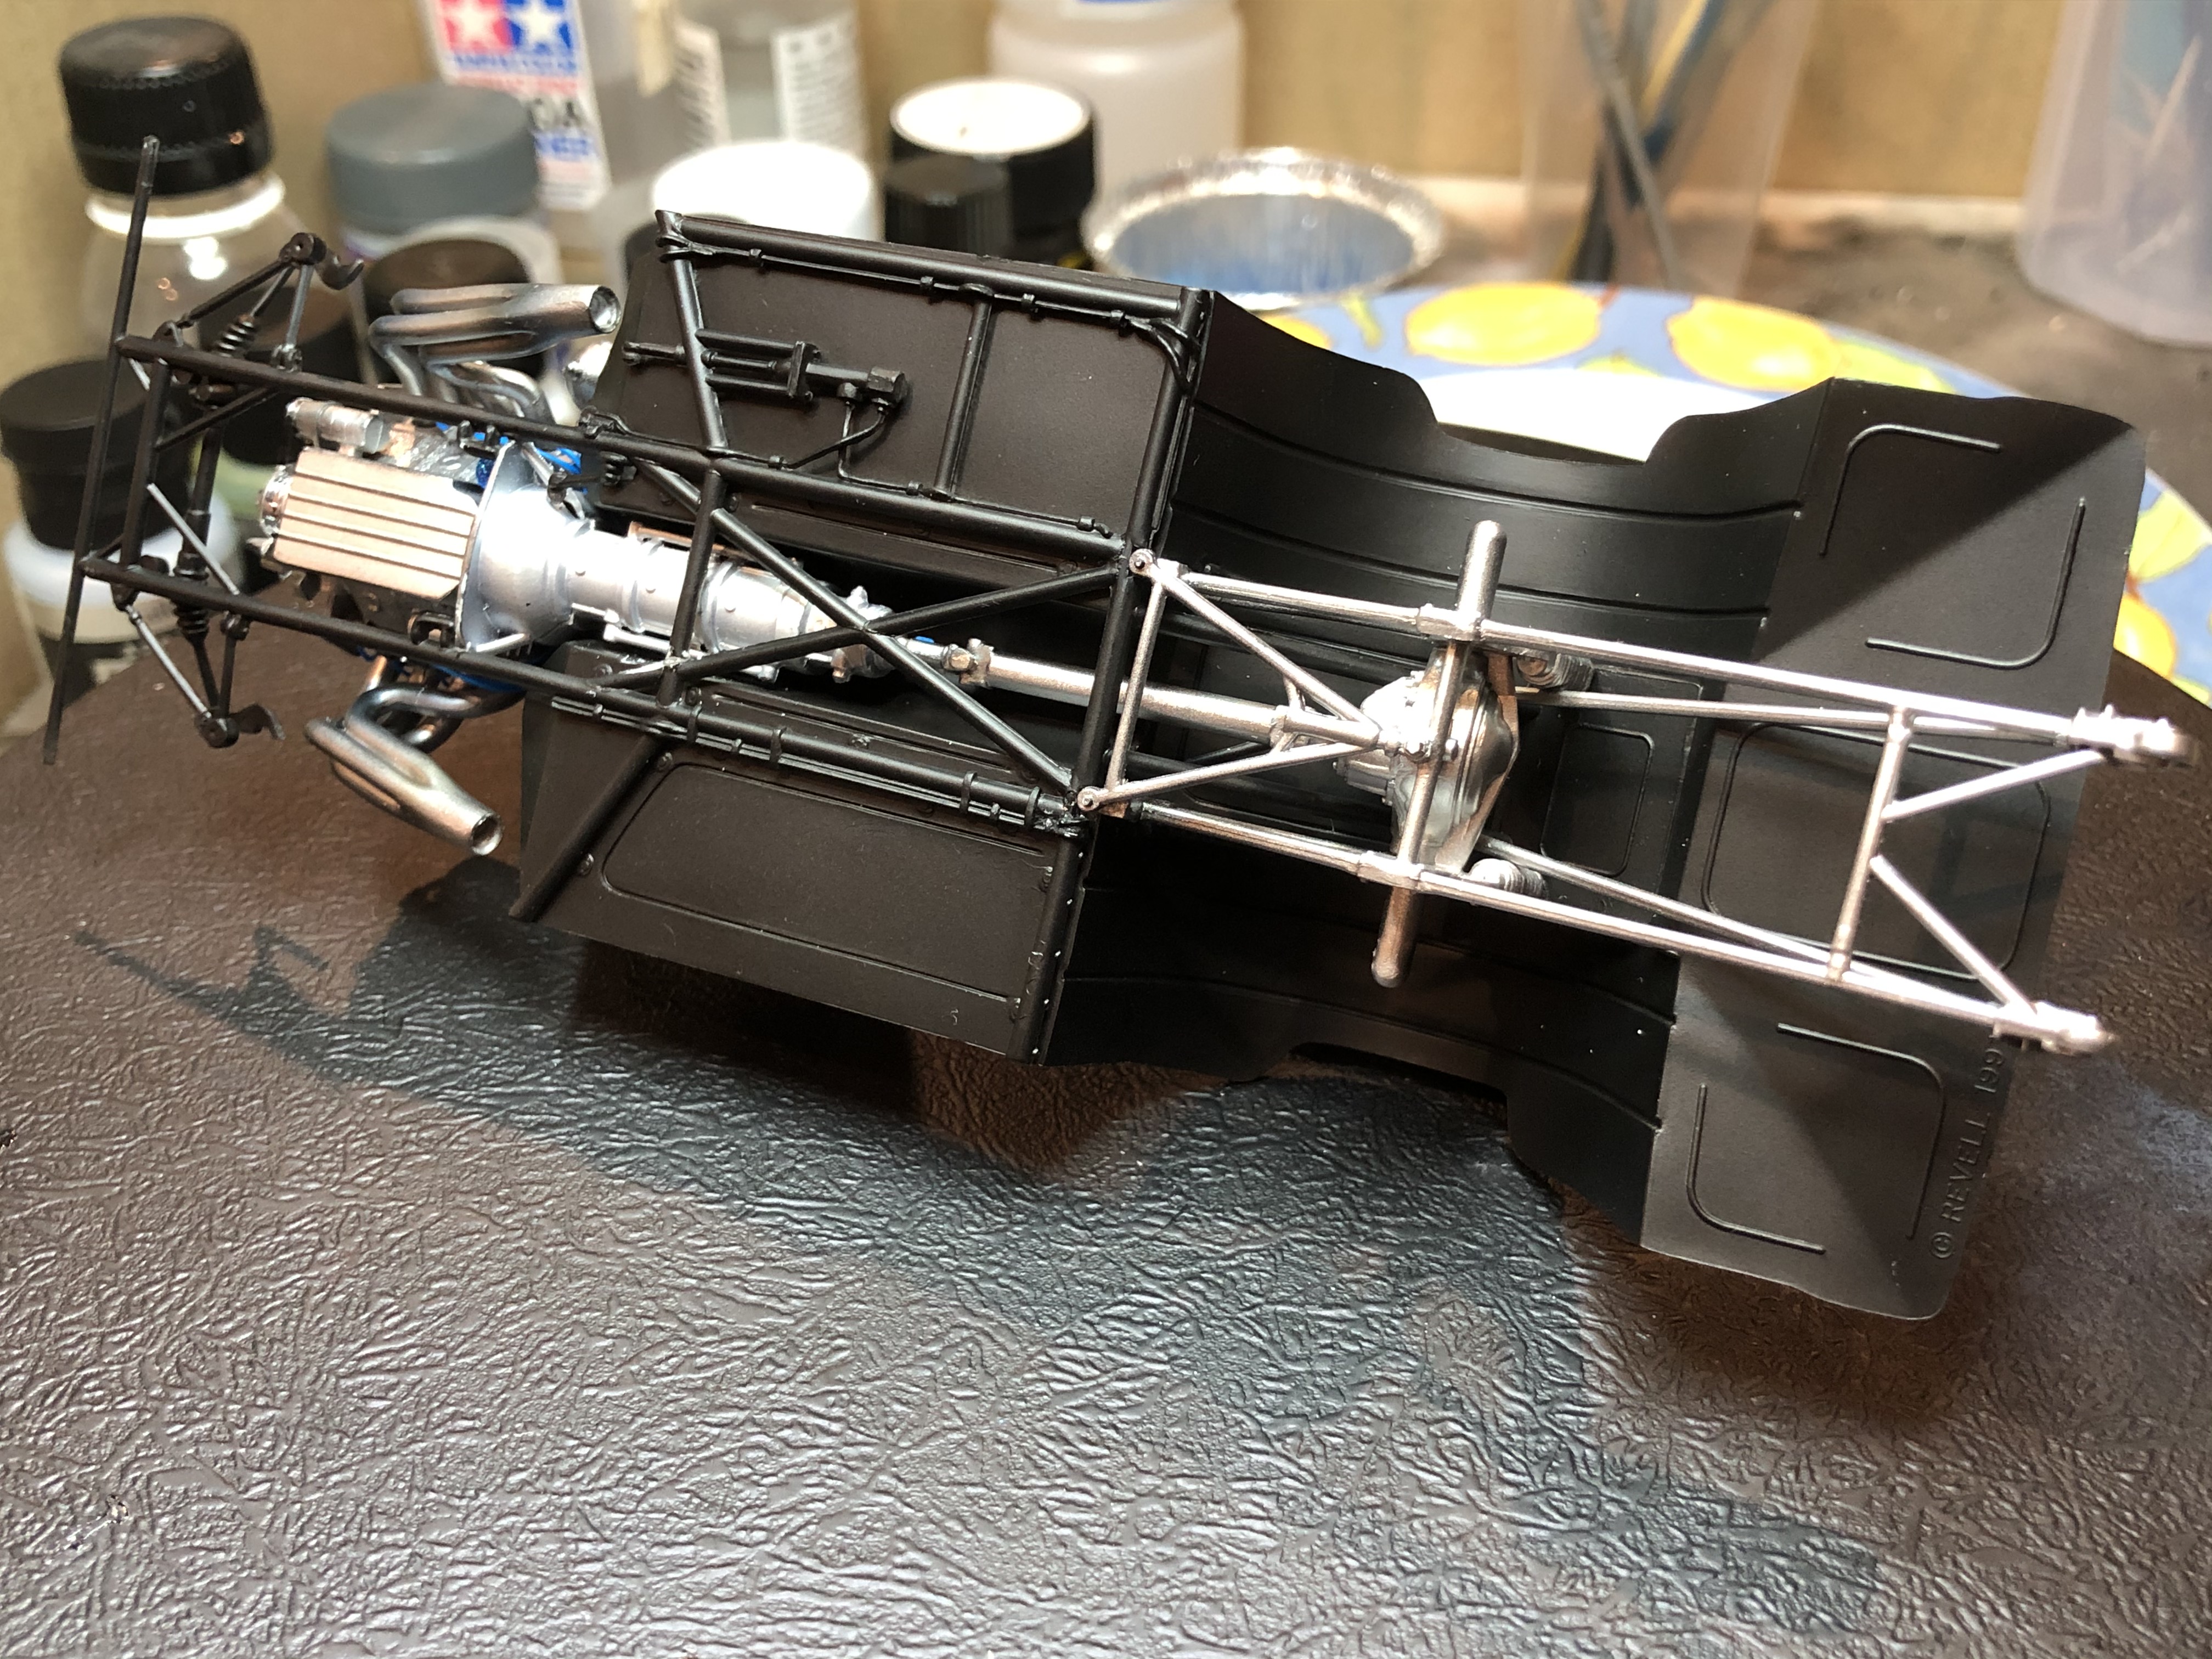
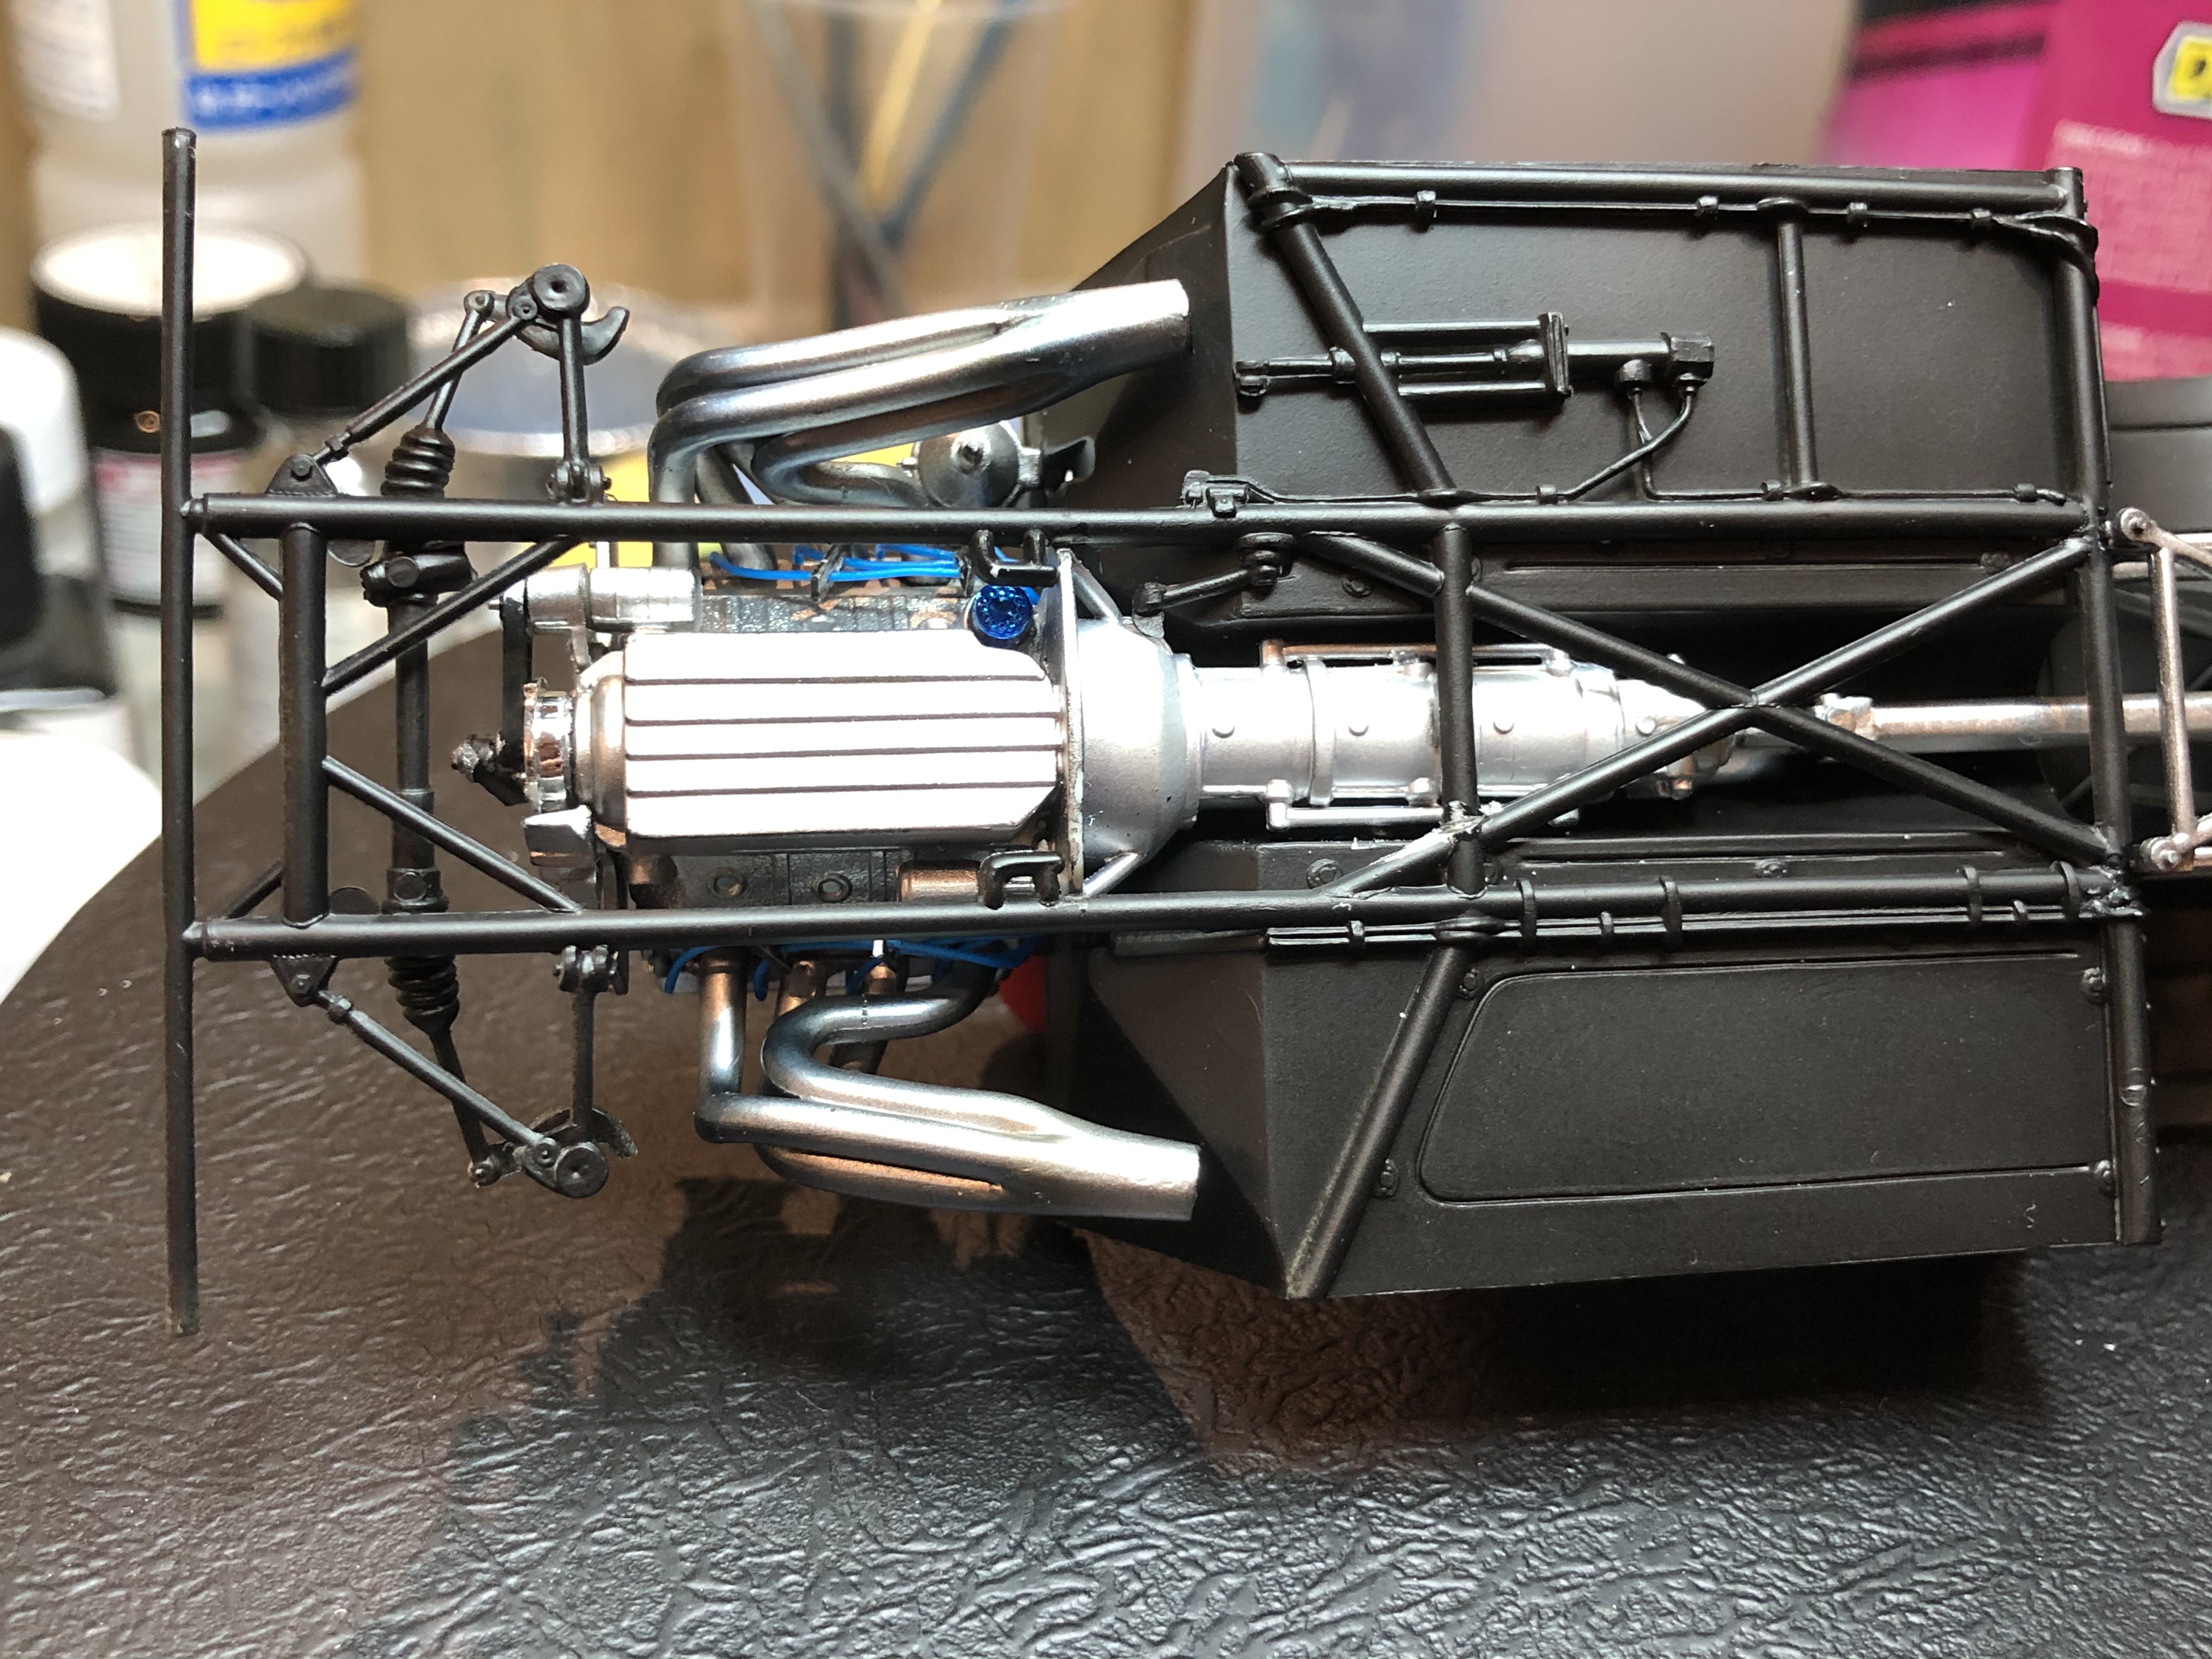
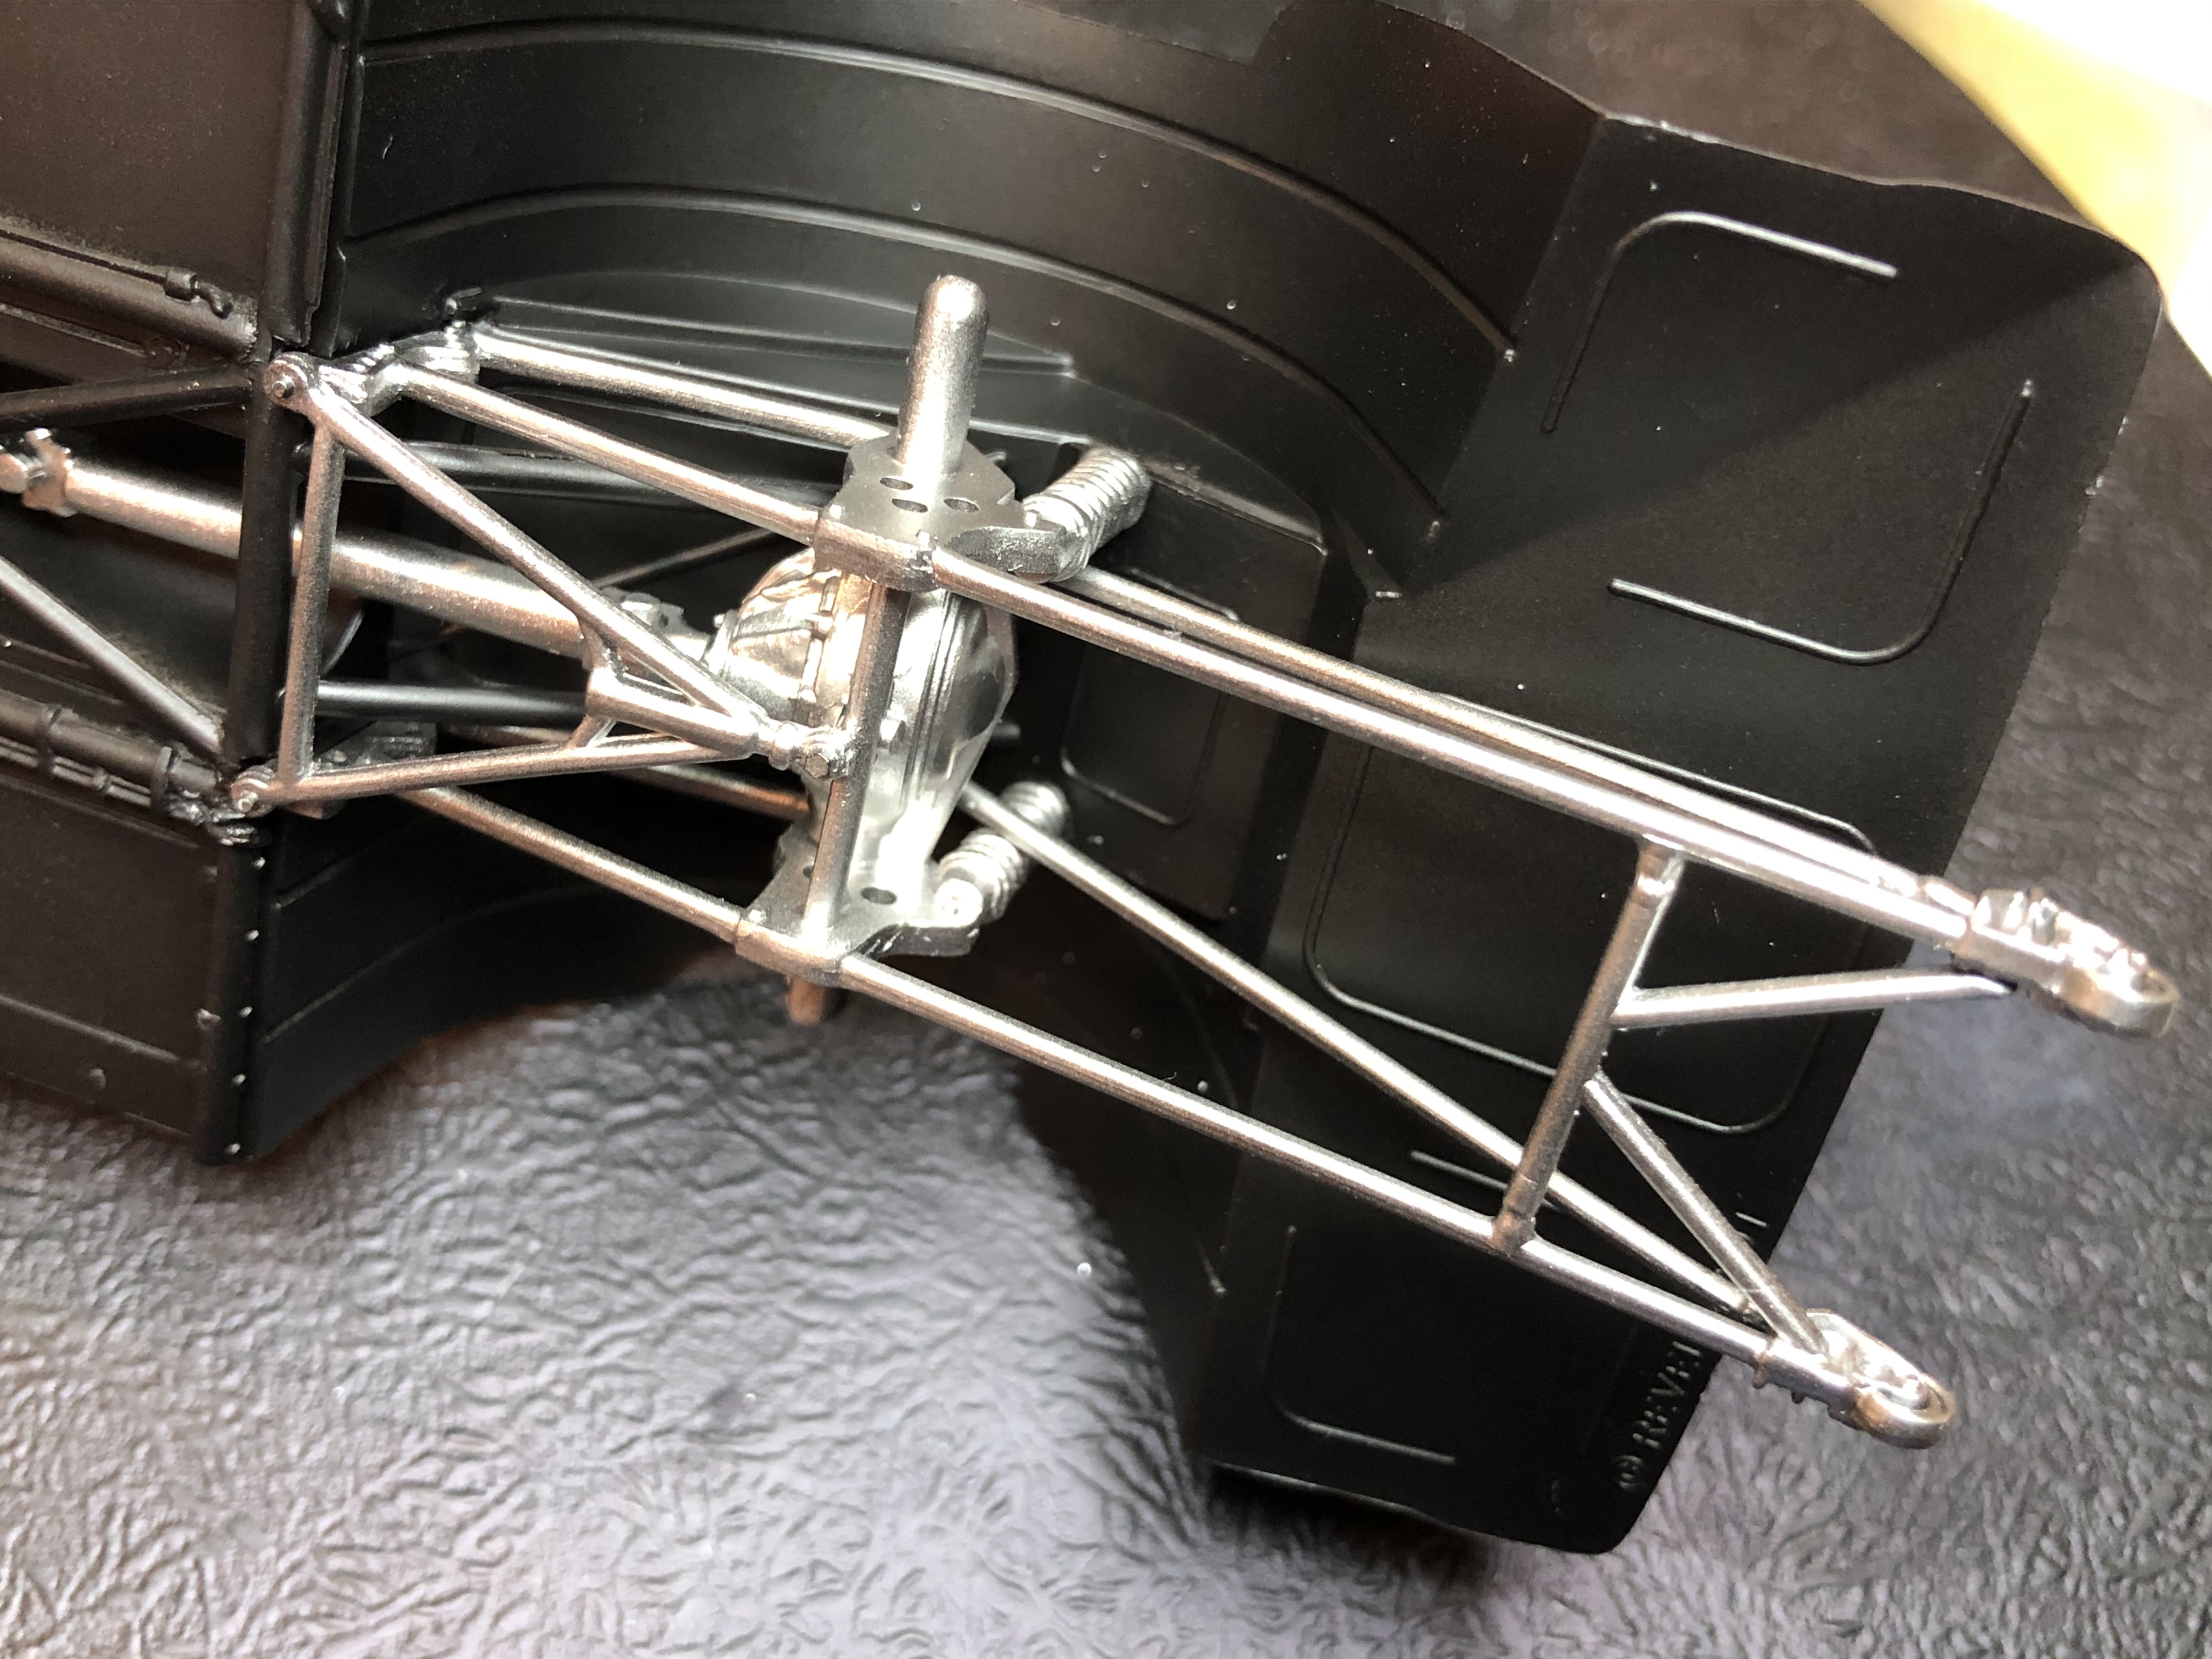
Cheers, D