


------------------------------------------


Charles,
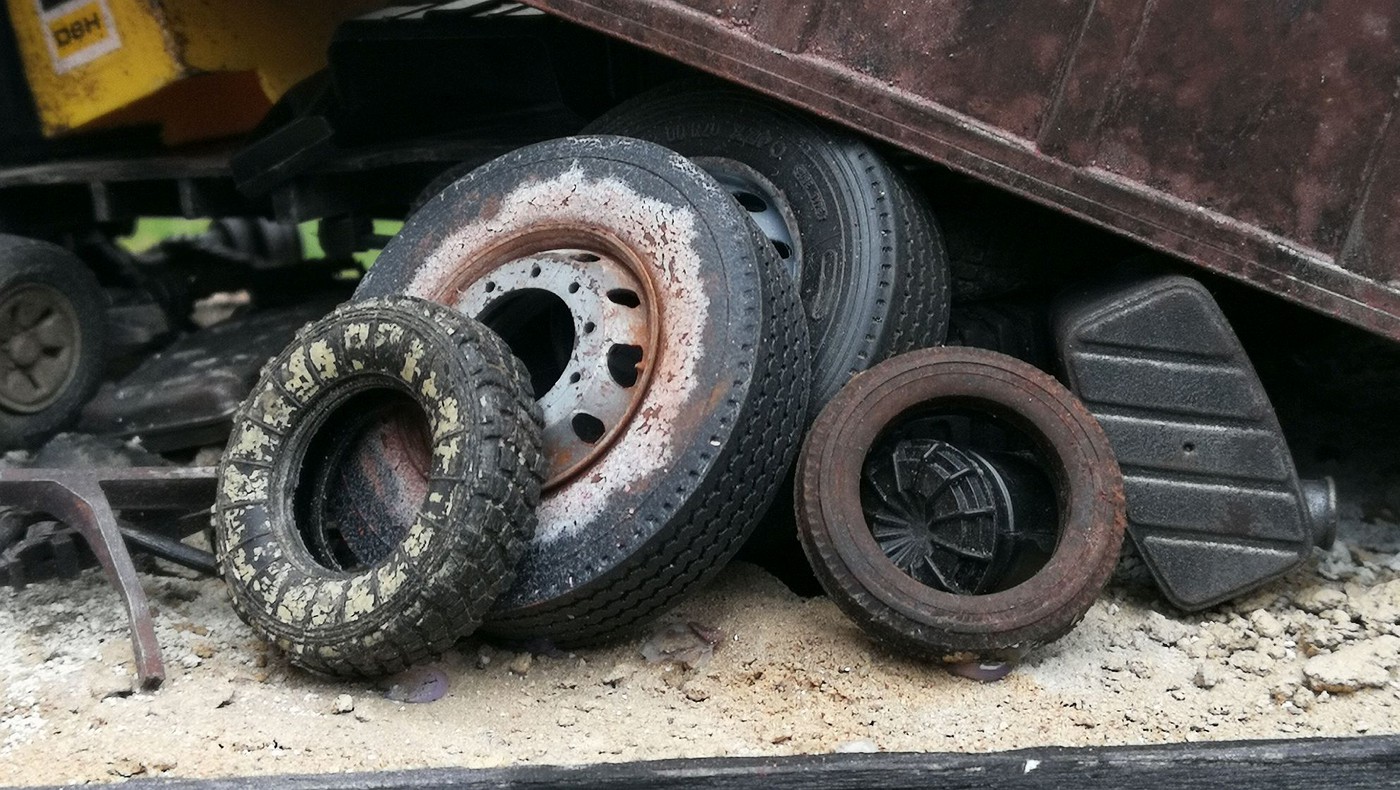
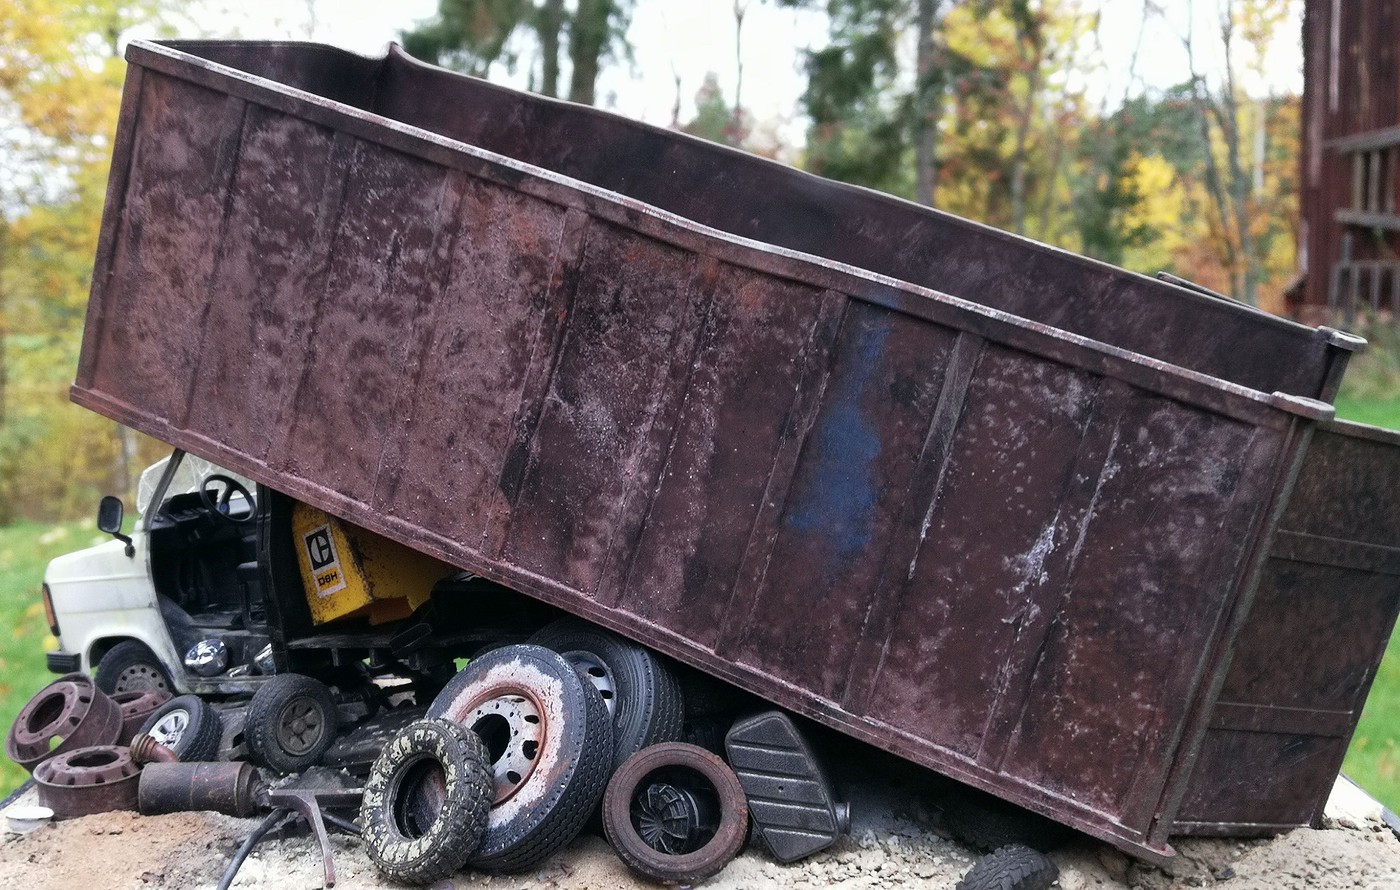
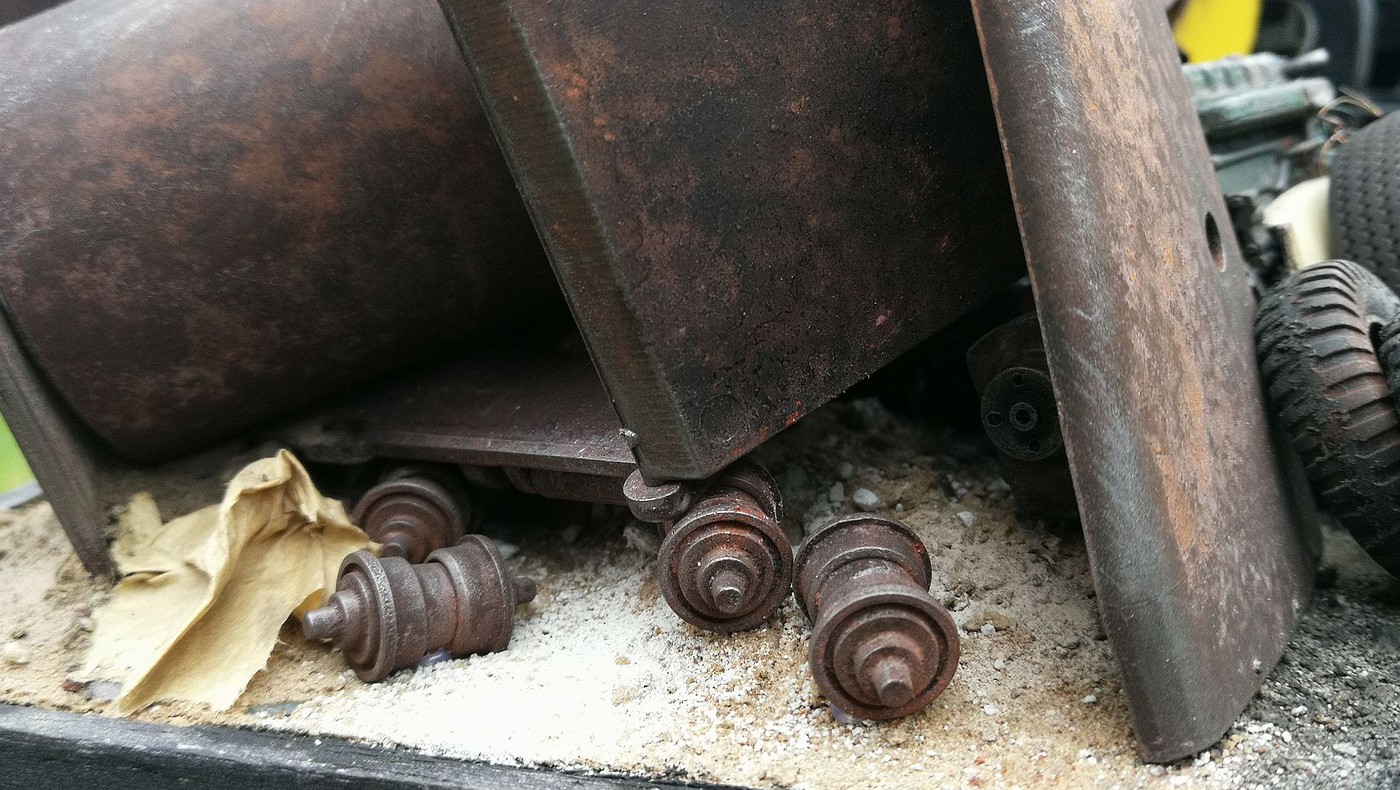
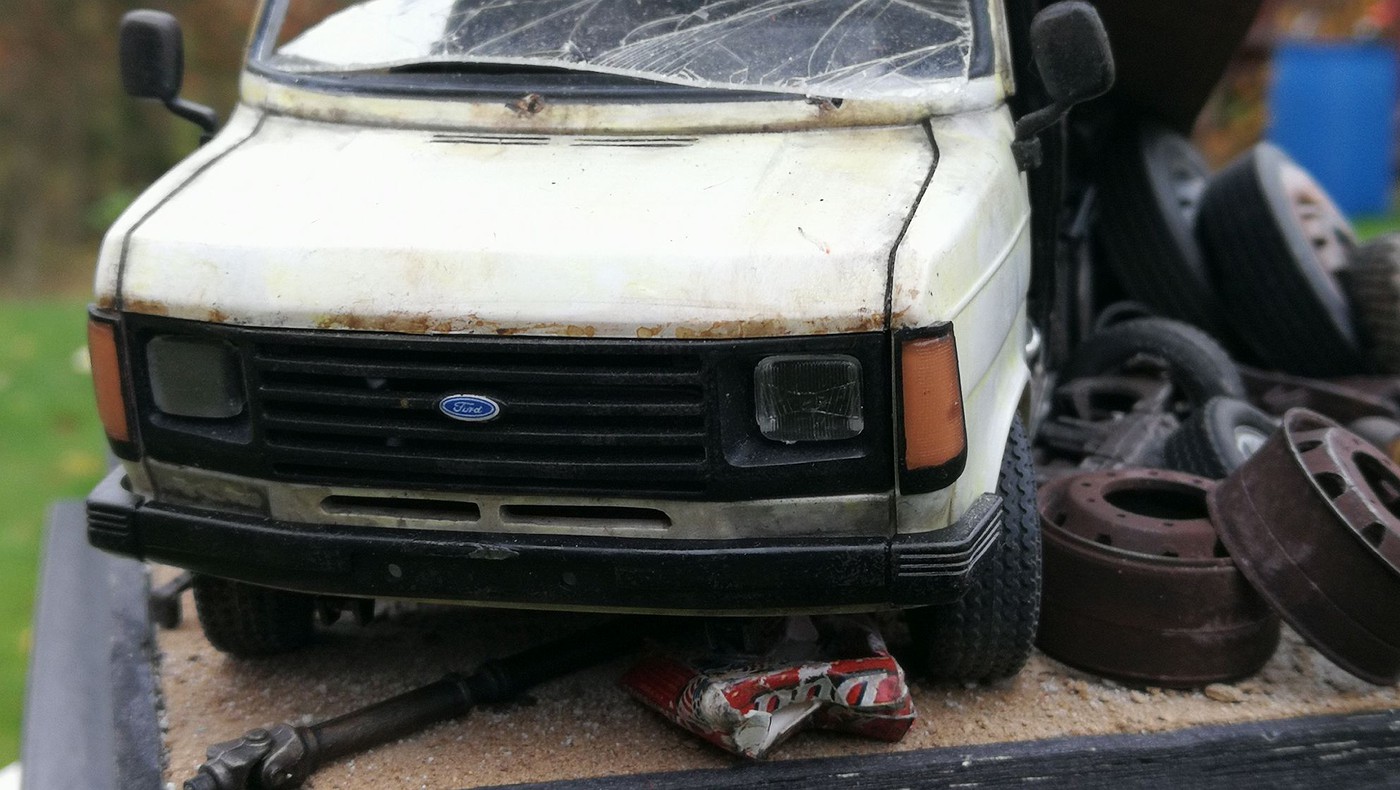
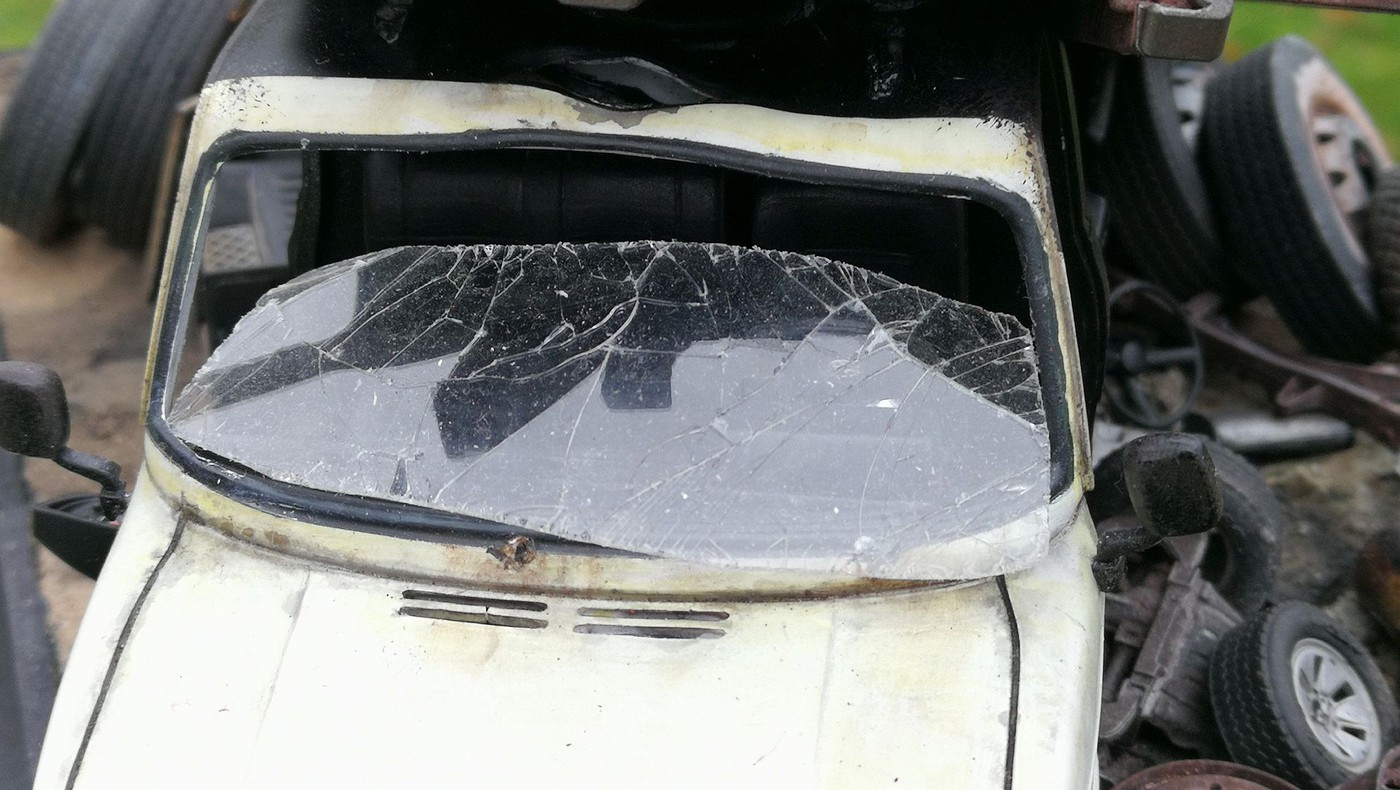
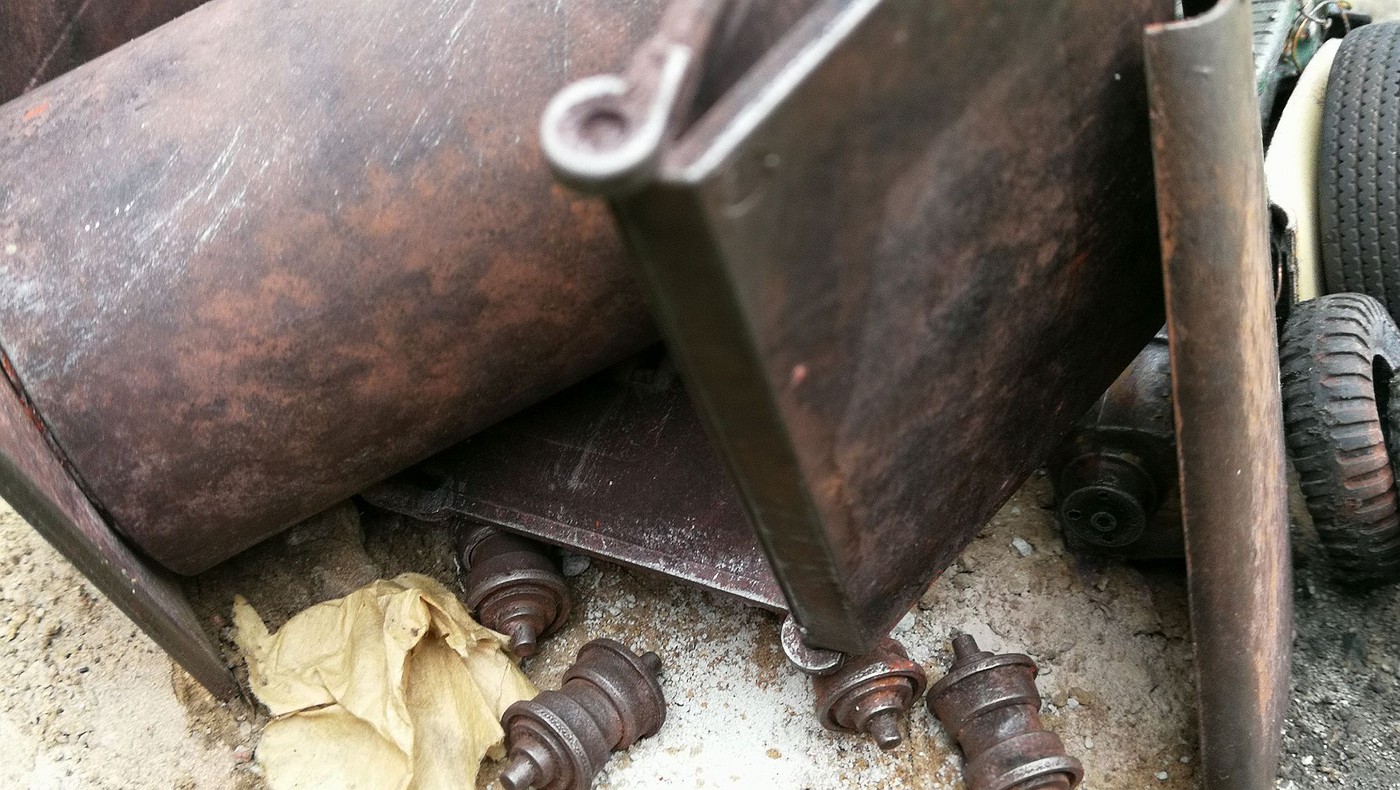
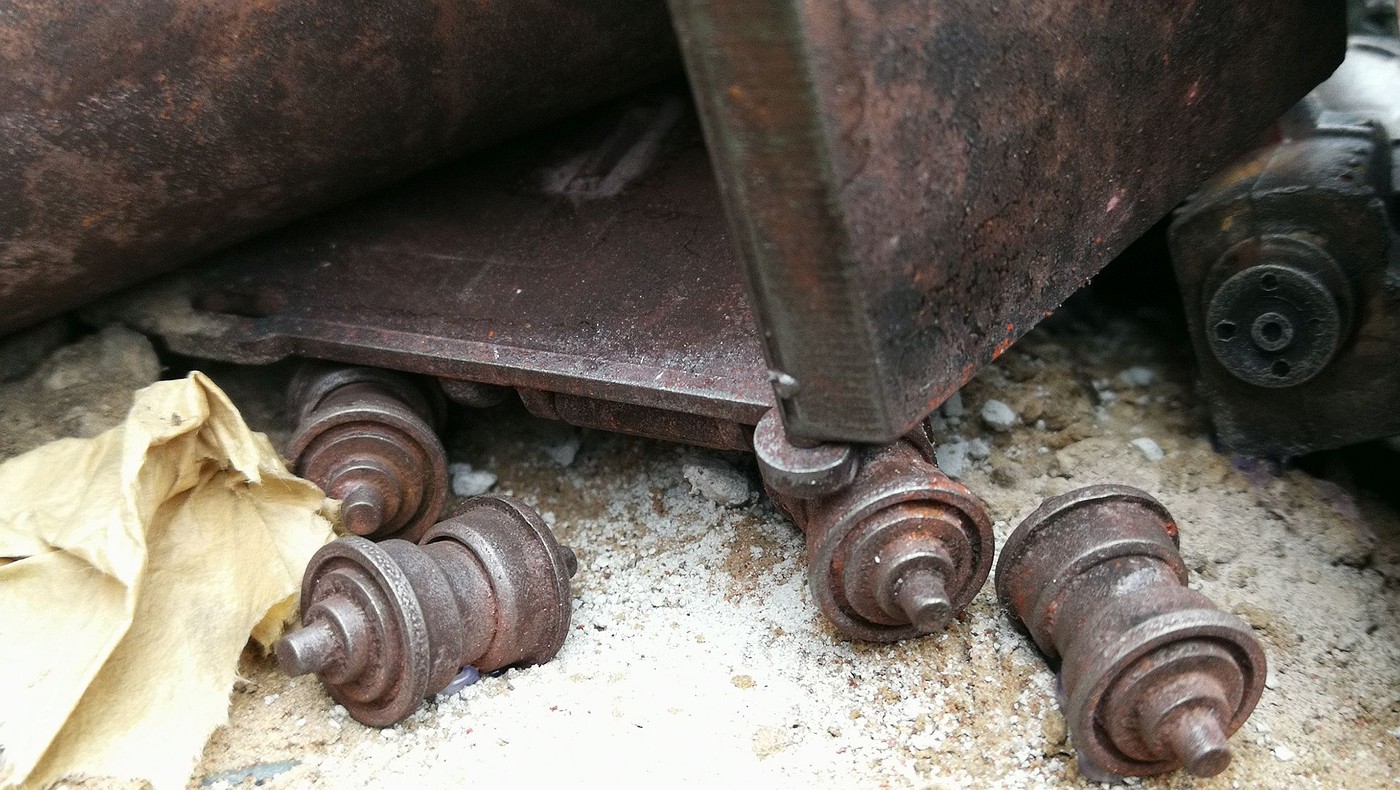
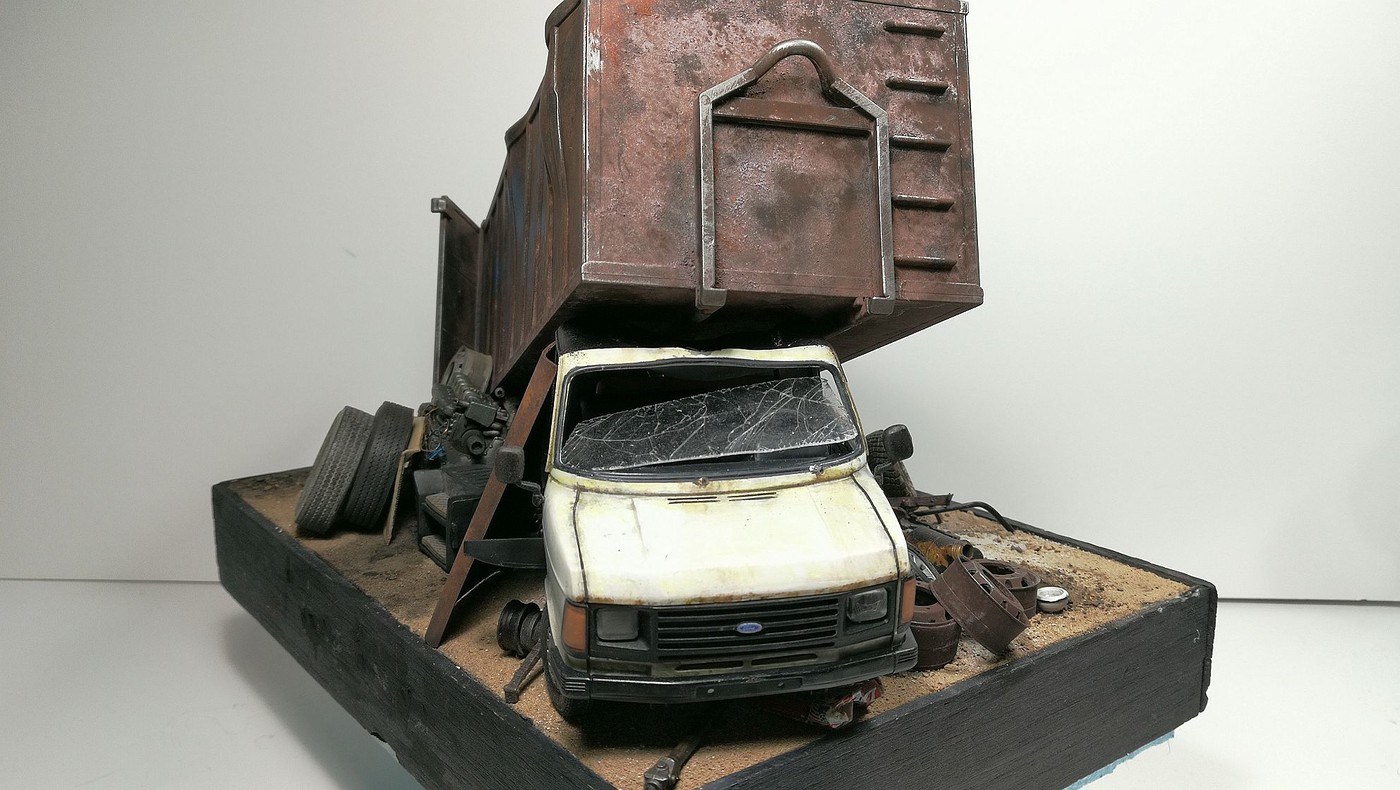
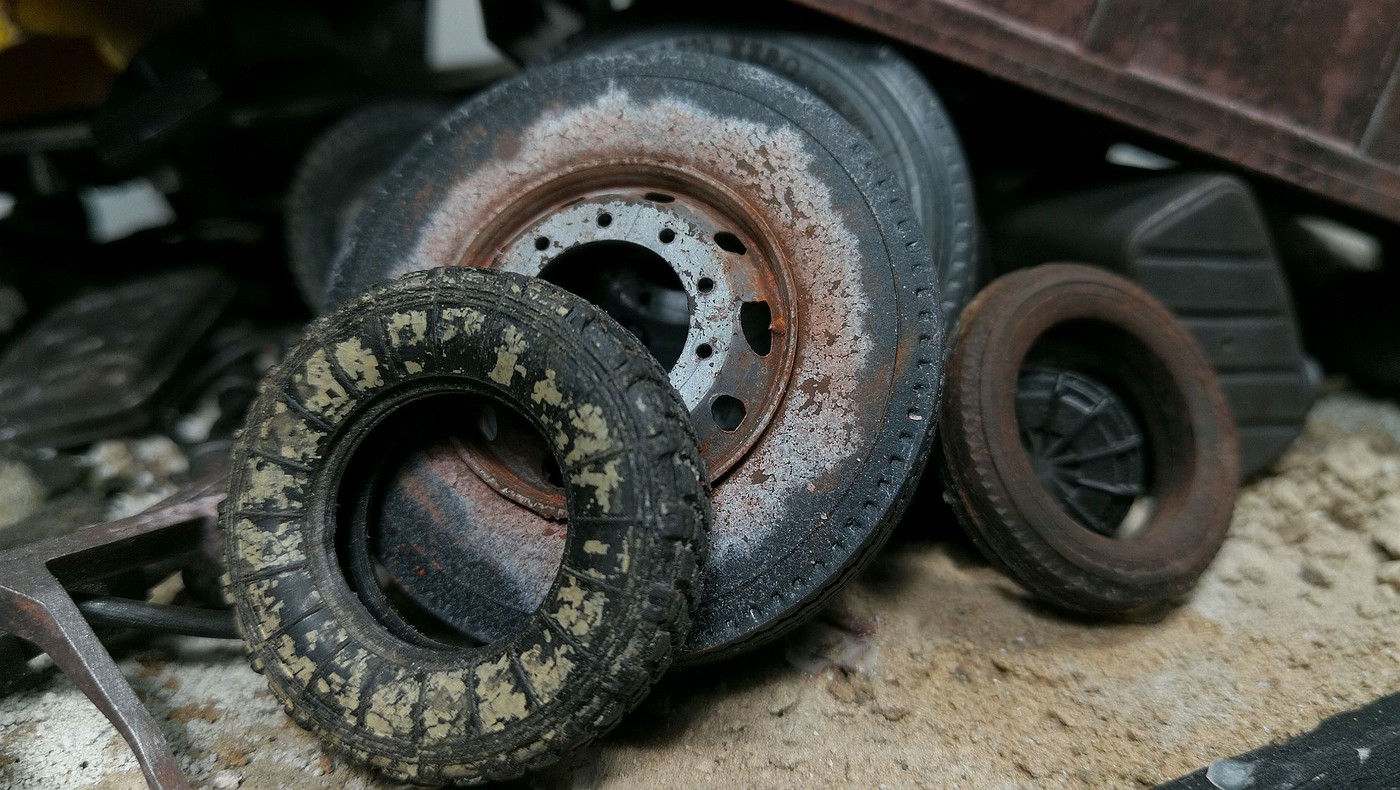
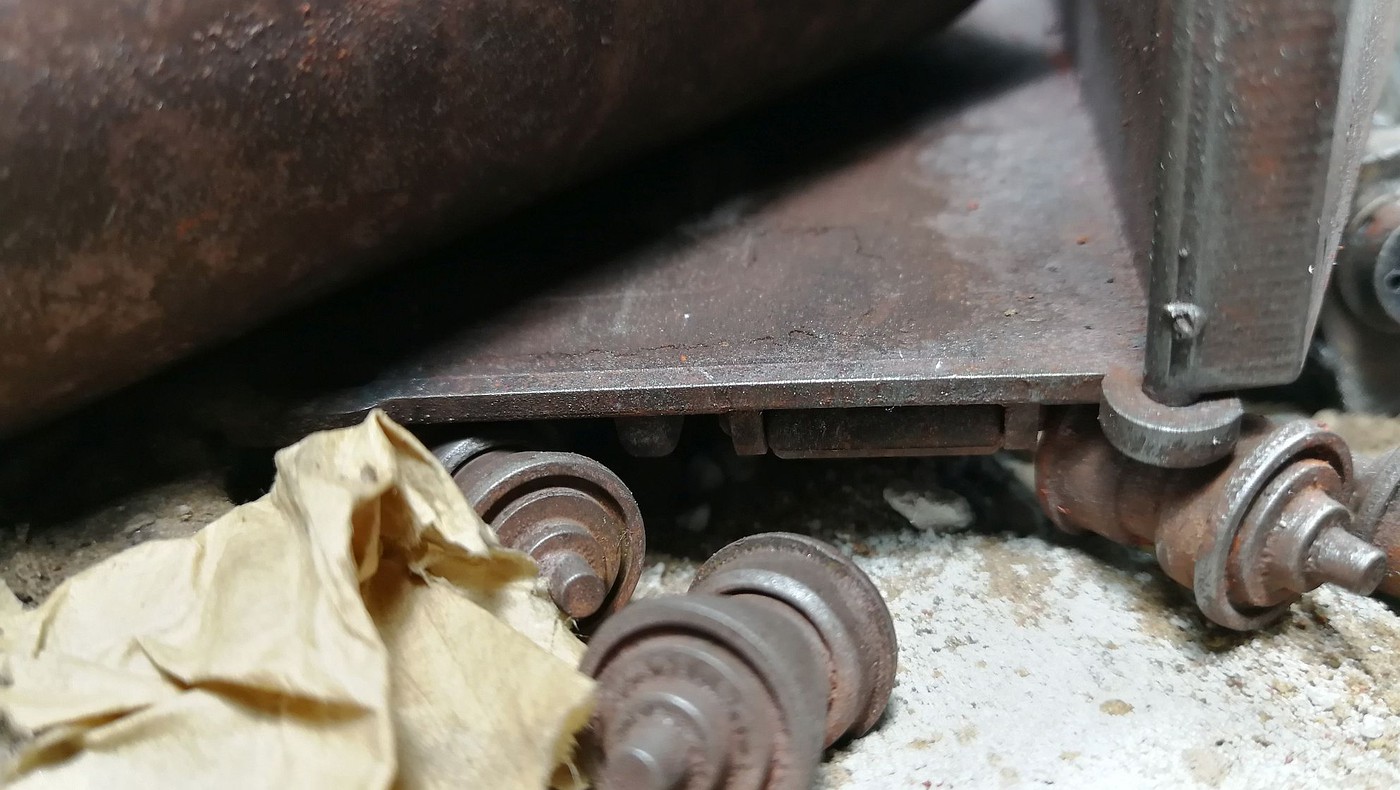
Judging by your posted pictures, I'd say that you certainly achieved your goal of creating miniature scenes within the larger diorama.
I've also crossed posted your thread to the car section of the Beta AutoModeler site. Check it out and see where the future is going. And please cross post so that we can all get use to the new site and it's many excellent features.
Joel


Hi Joel. Thank you. I thought I already posted to the automodeler site? I'm confused.
Thank you. I saw the link but for some reason, I can't log on with my present details. Do I have to make a new account?


Charles, extraordinary work. How did you create the rust effect on the container?
 |


