_GOTOBOTTOM
Cars
Discuss all types of automotive modeling here.
Franzis 1/3 Porsche Carrera type 547 engine
kpnuts
_VISITCOMMUNITY
United Kingdom
Joined: December 20, 2013
KitMaker: 1,179 posts
Auto Modeler: 647 posts
Posted: Saturday, October 24, 2020 - 06:15 AM UTC
Hi all got this for my birthday, I'm well impressed, the instruction manual is a thing of beauty I've never seen one like it before. 

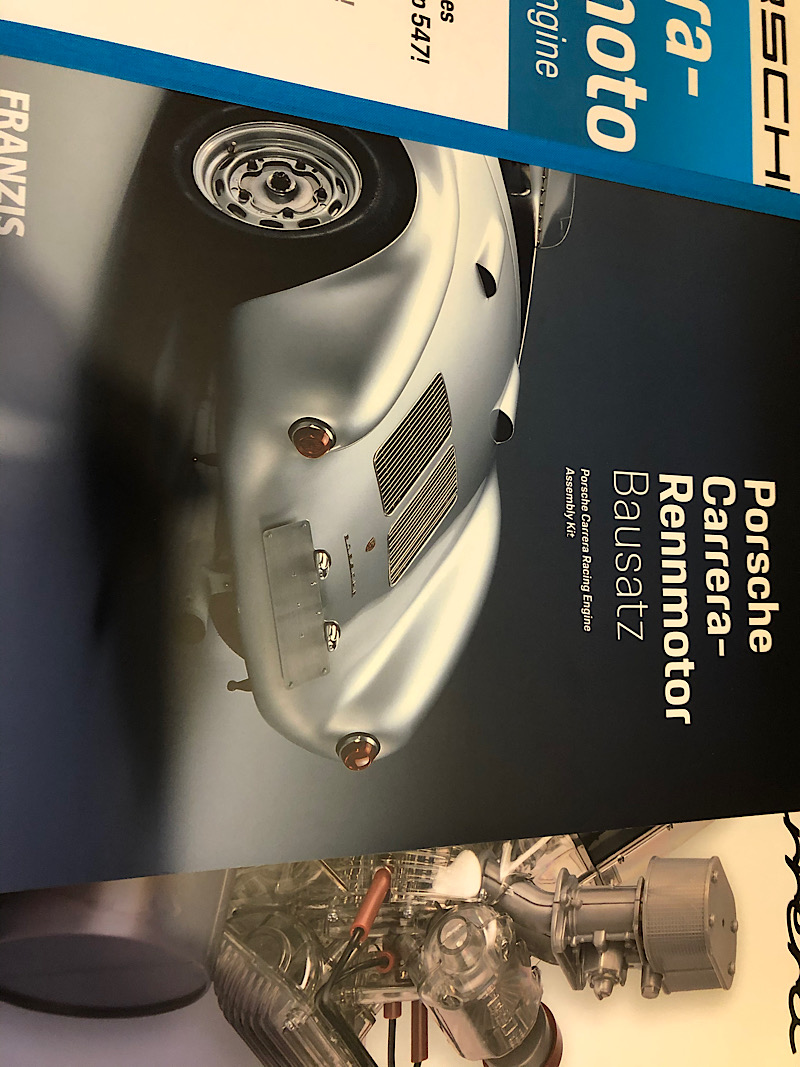
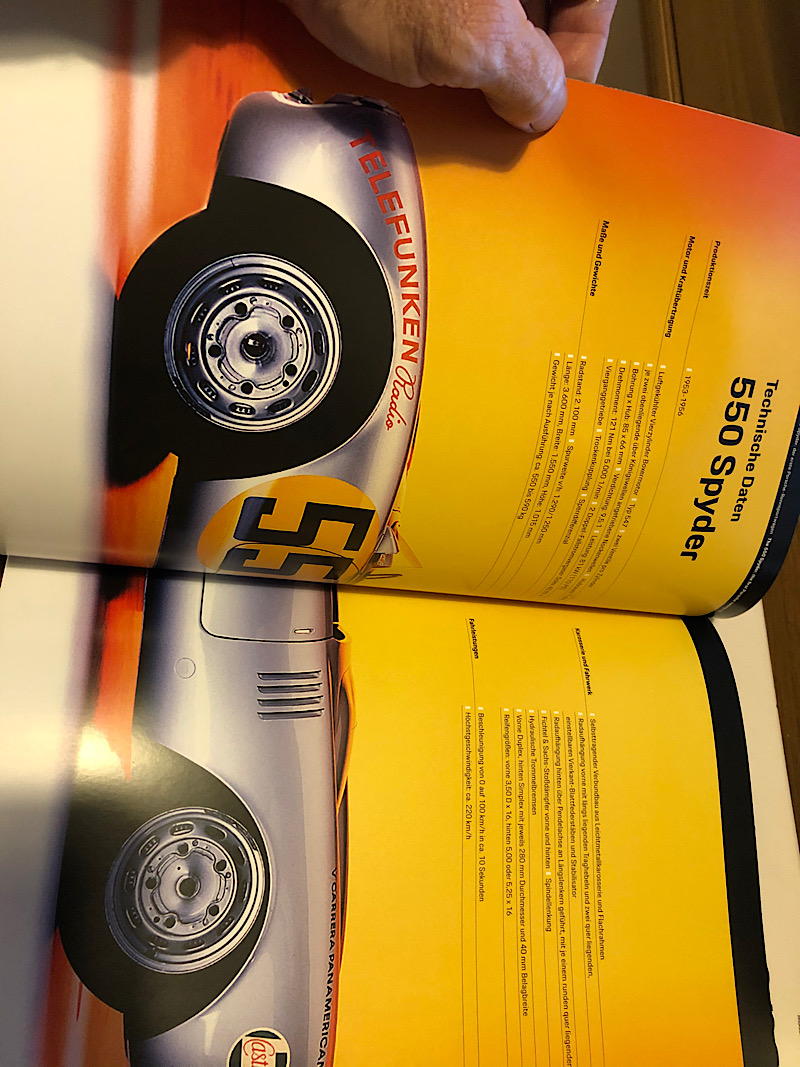
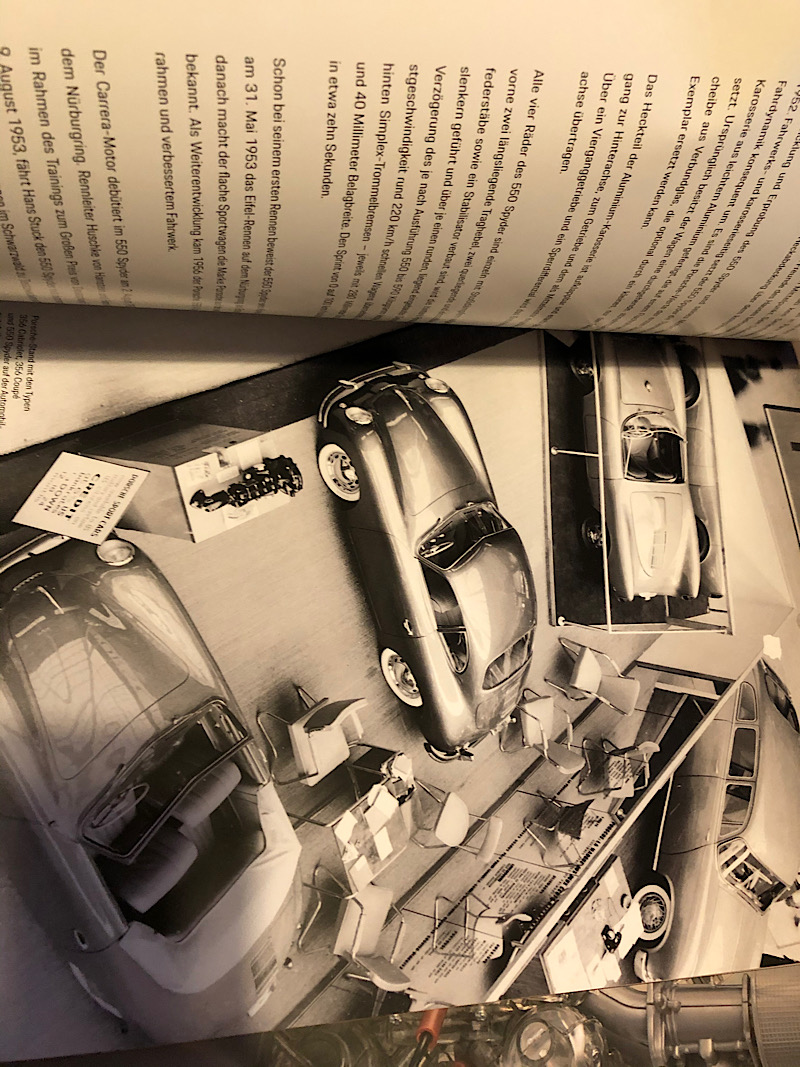
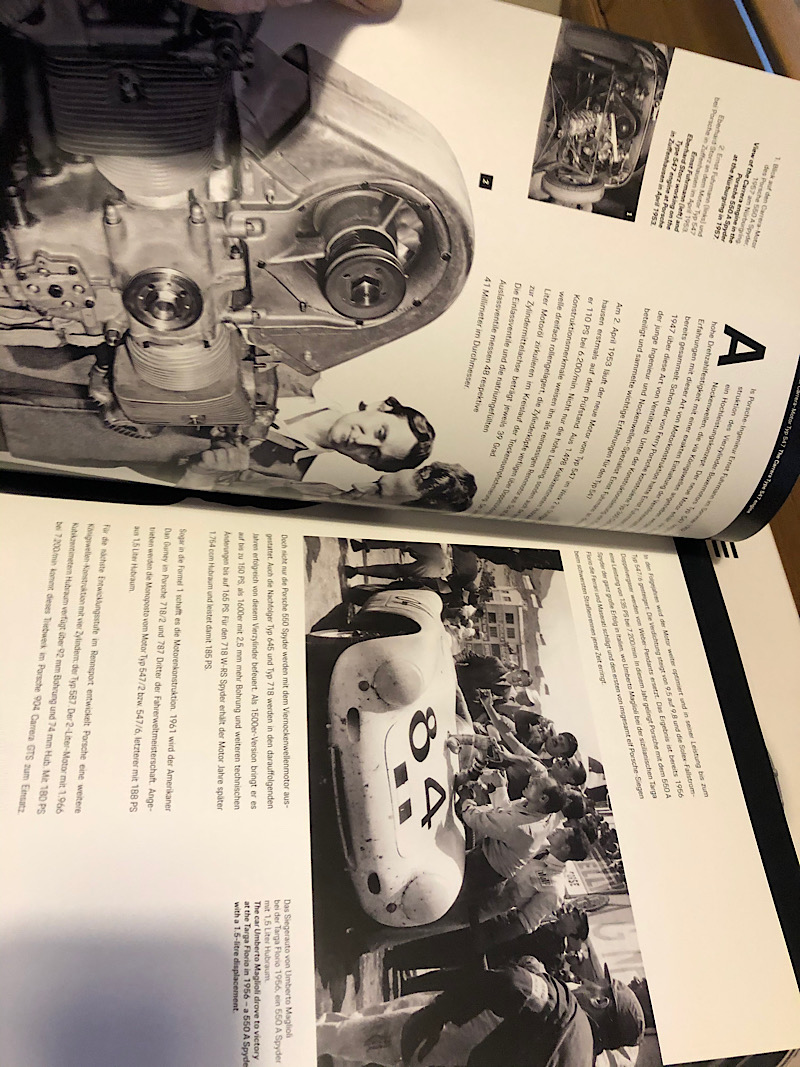
It is full of history and information also loads of beautiful pictures of the cars this engine was in.

The actual instructions make up about a third of the manual and are also beautifully printed and clear to follow.

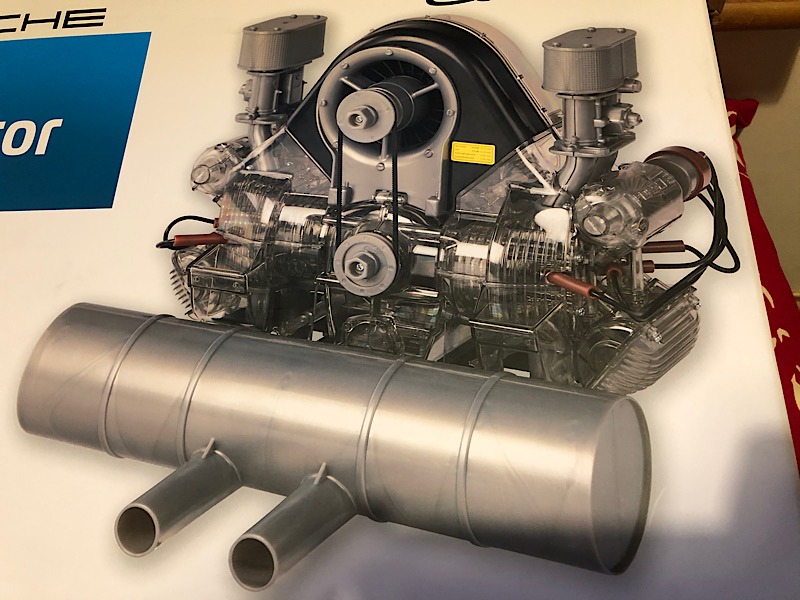
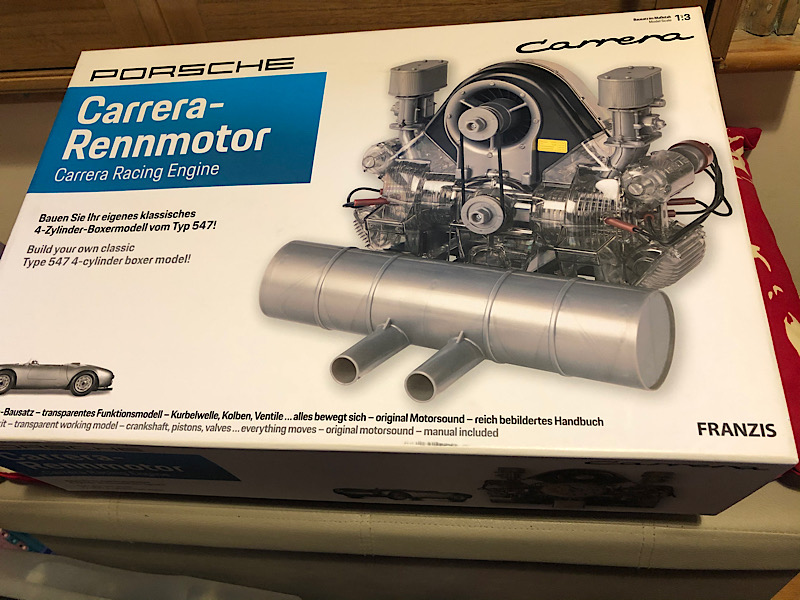
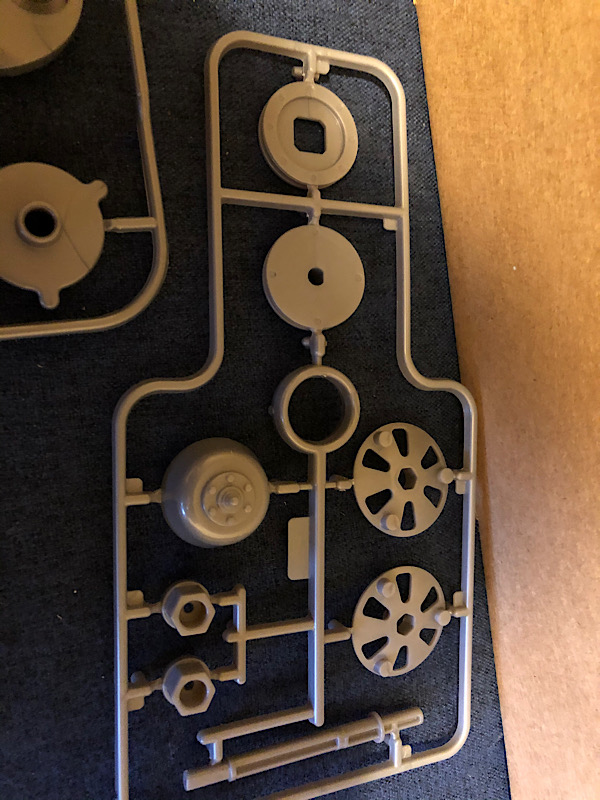
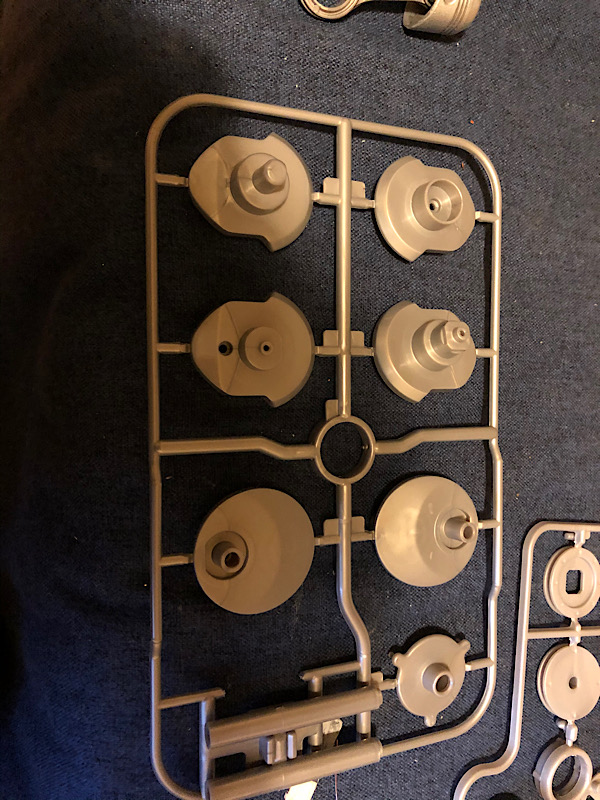
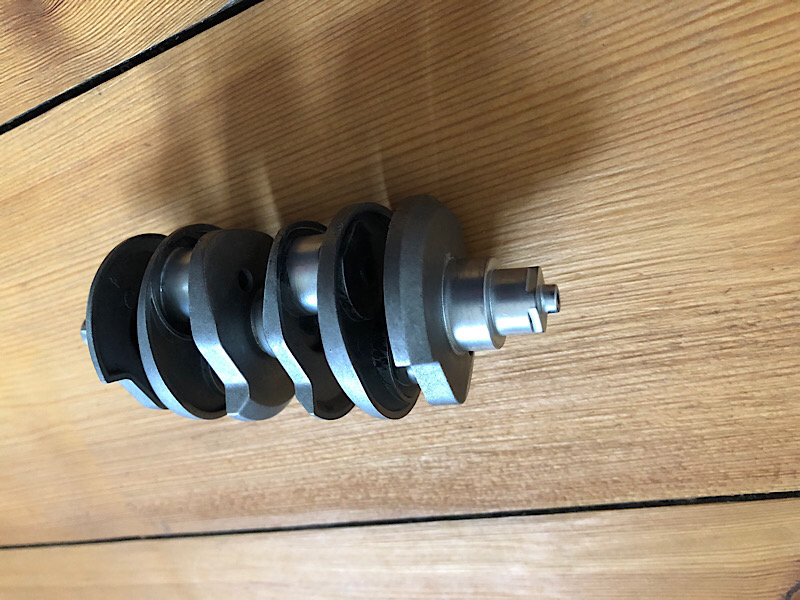
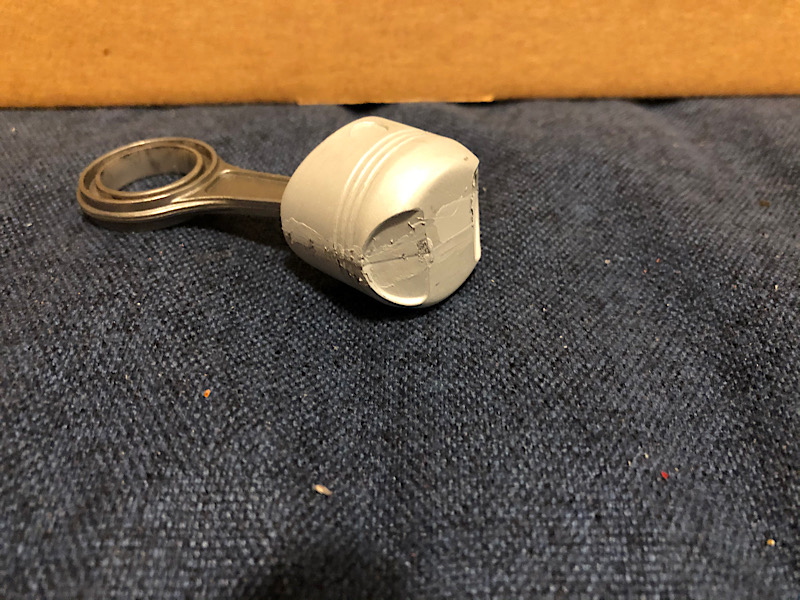
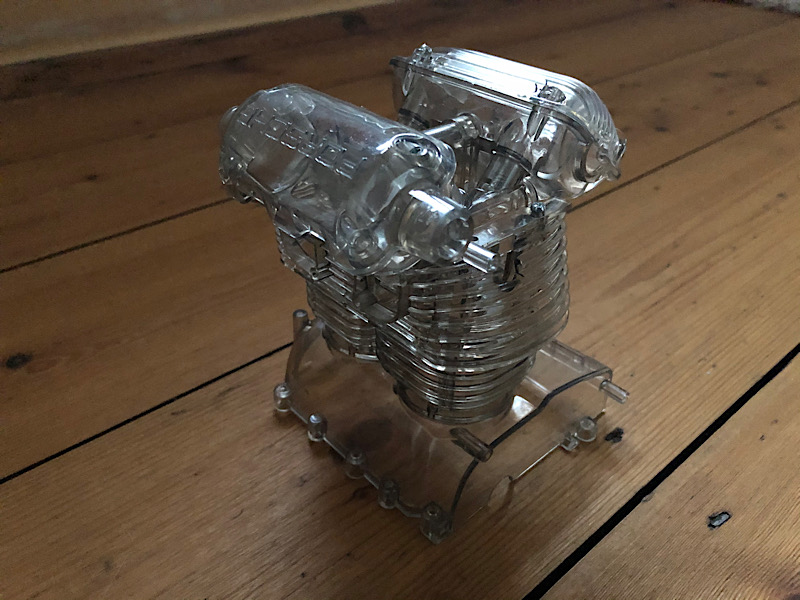
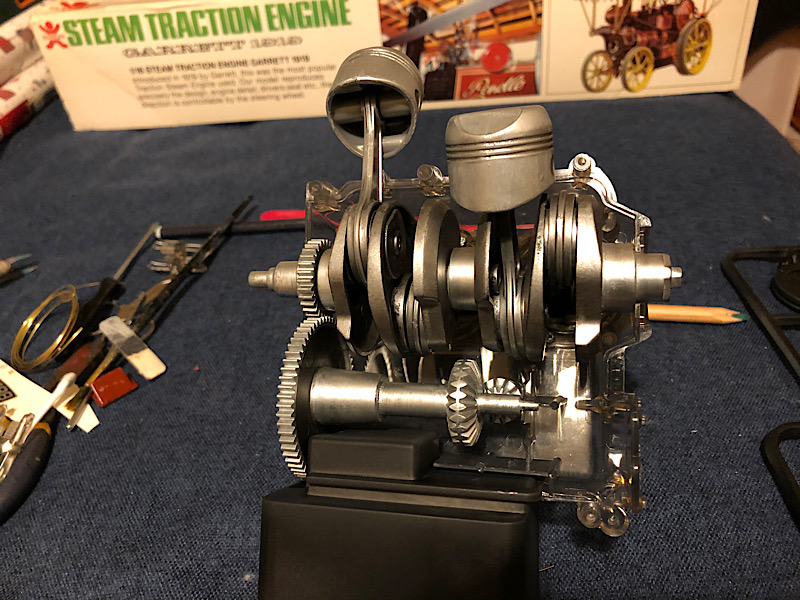
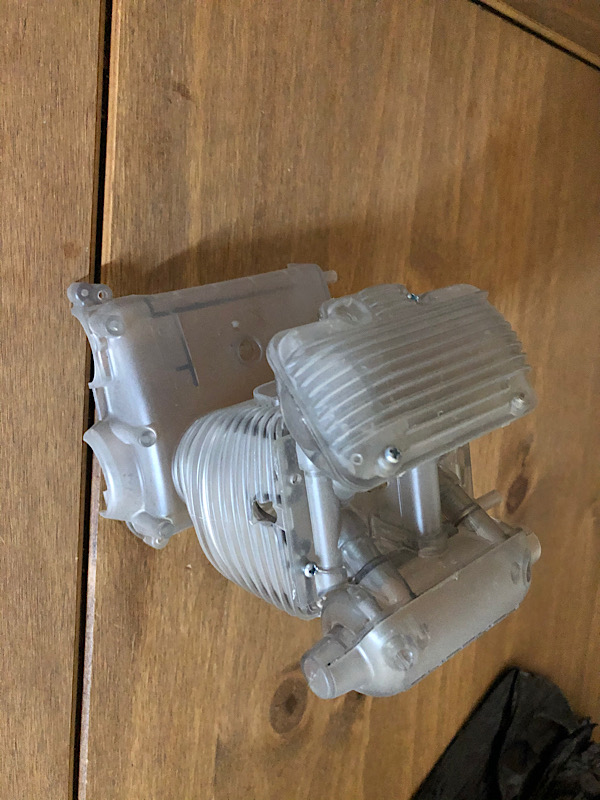
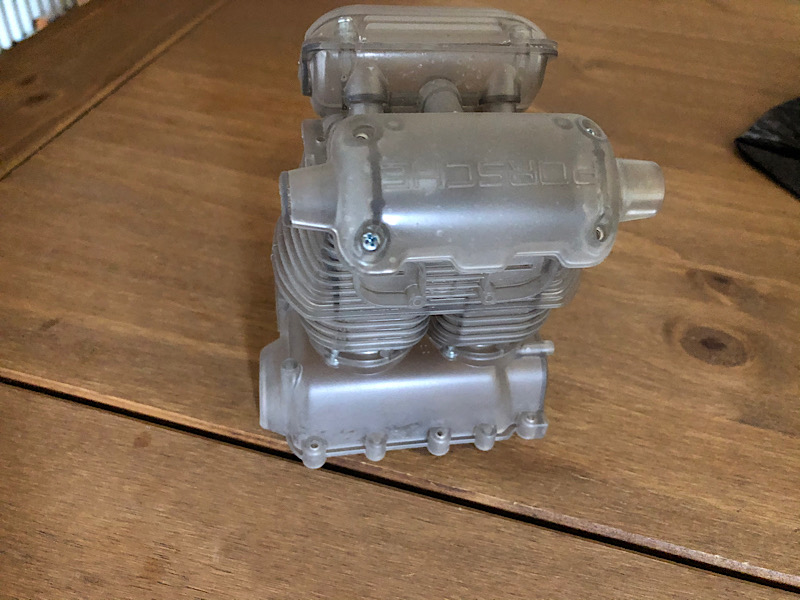
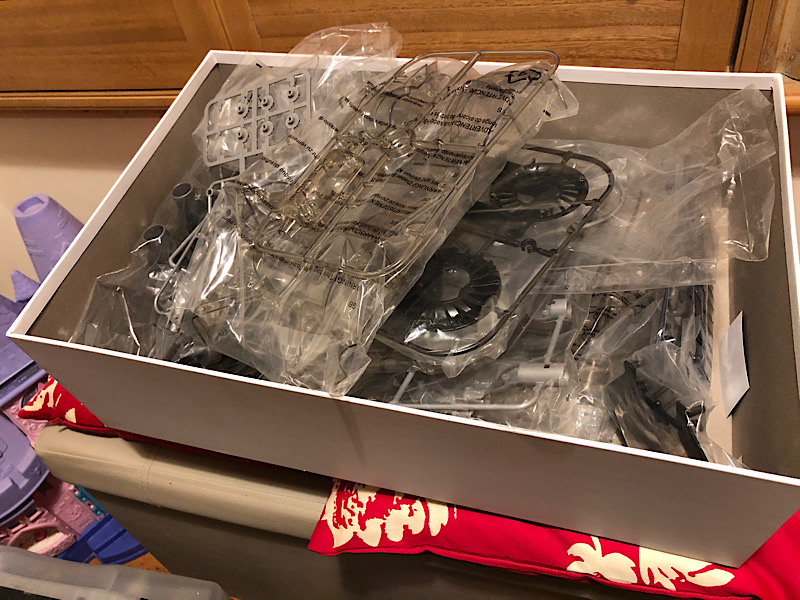
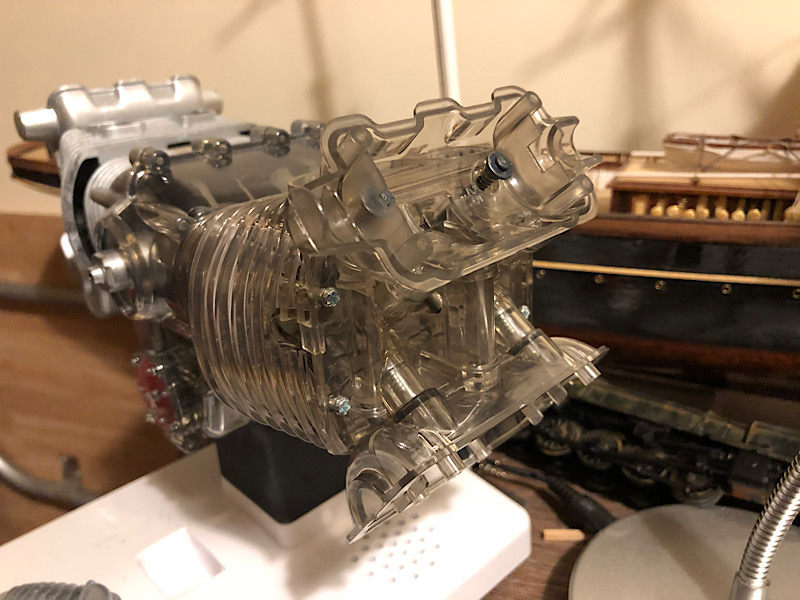
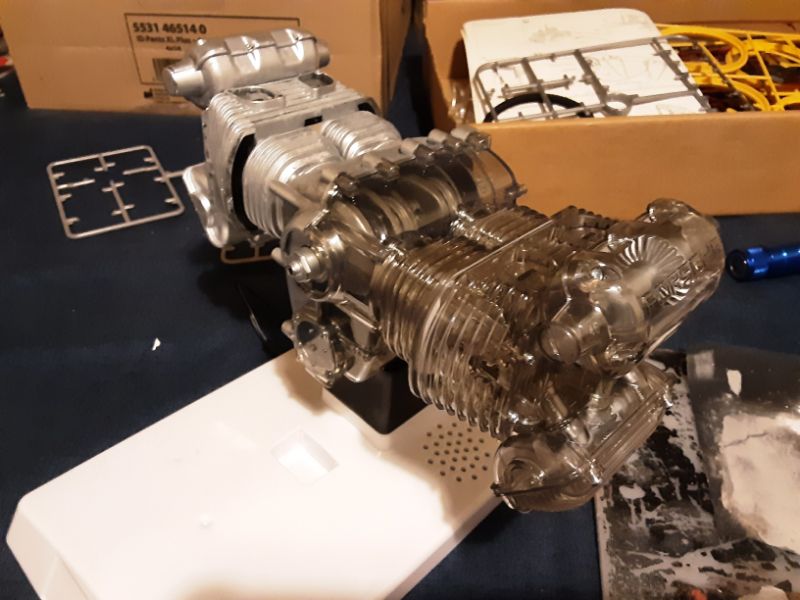
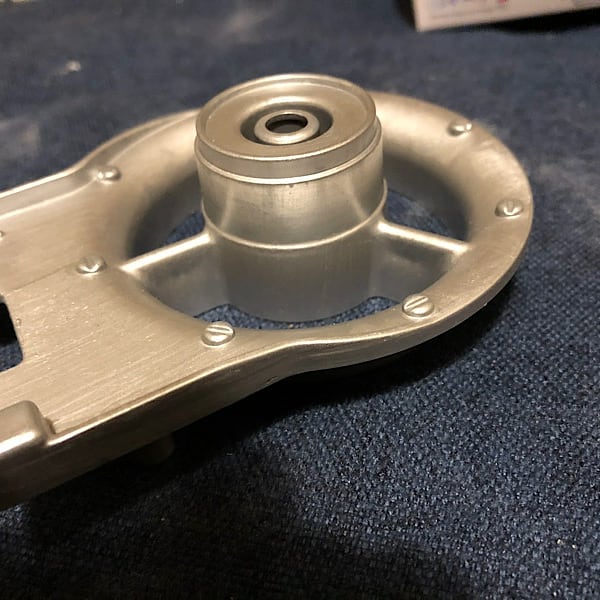
The box is huge, good quality and stuffed to the brimm with high quality plastic.

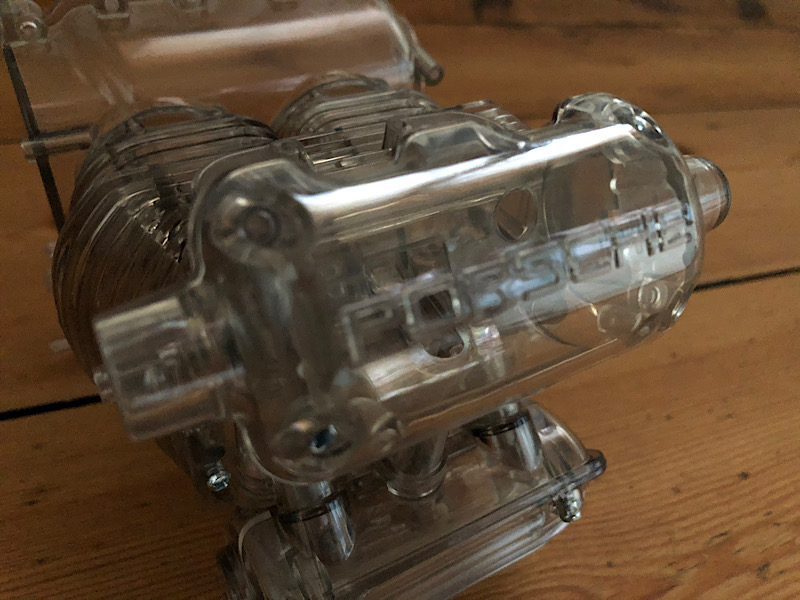
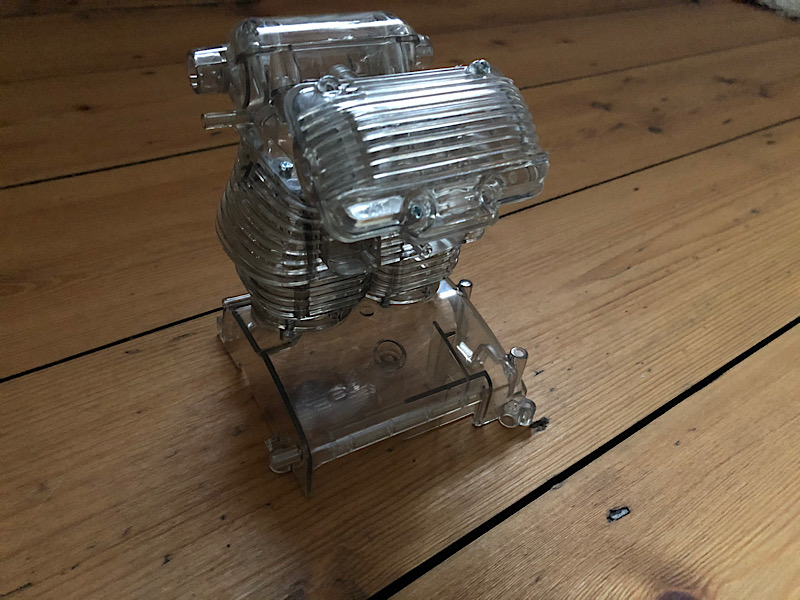
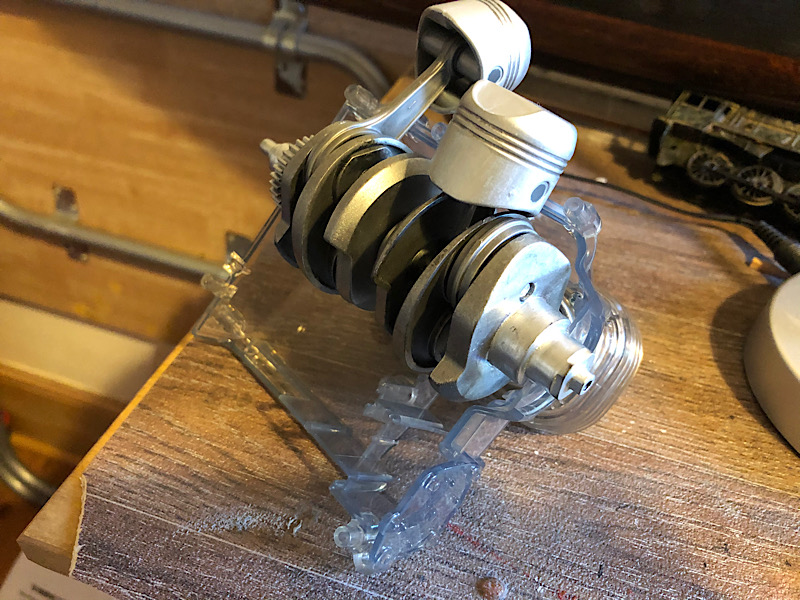
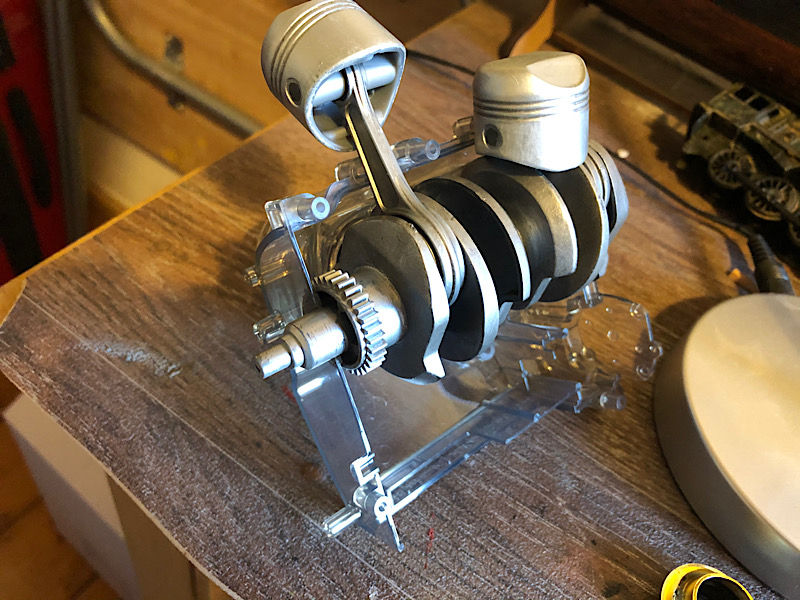
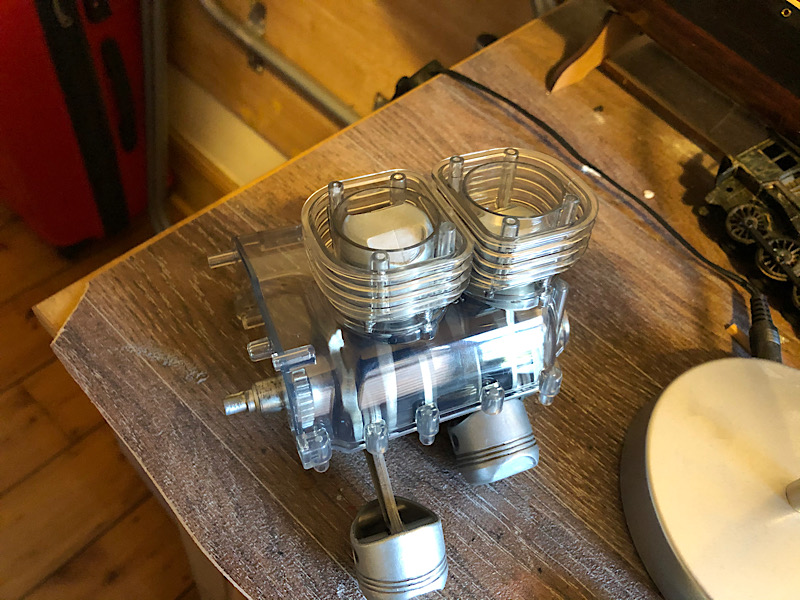
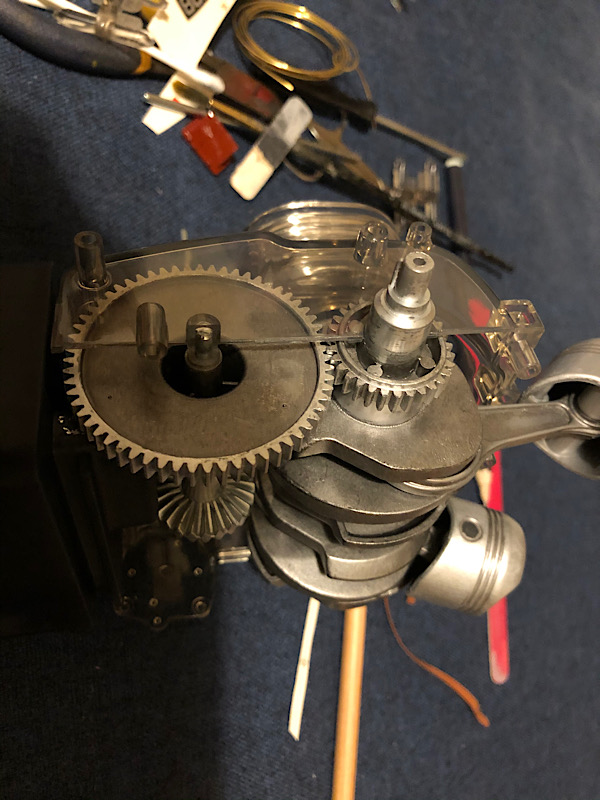
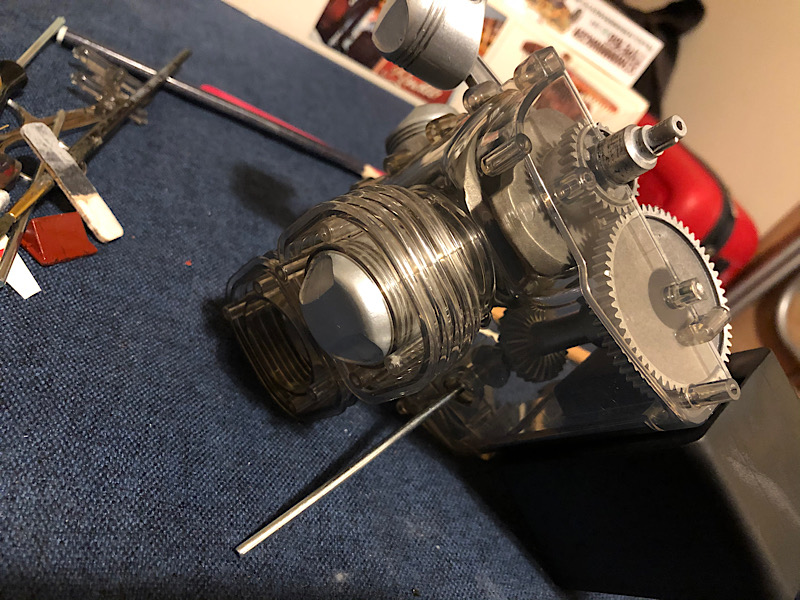
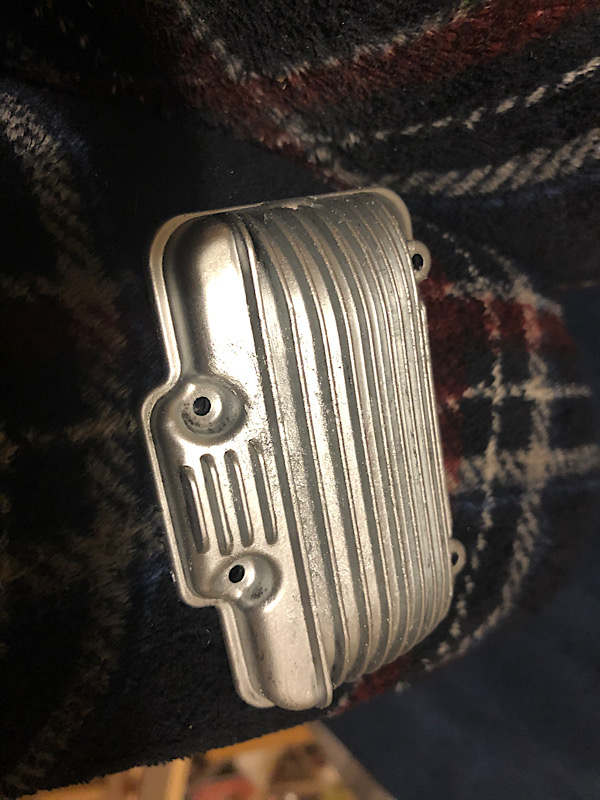
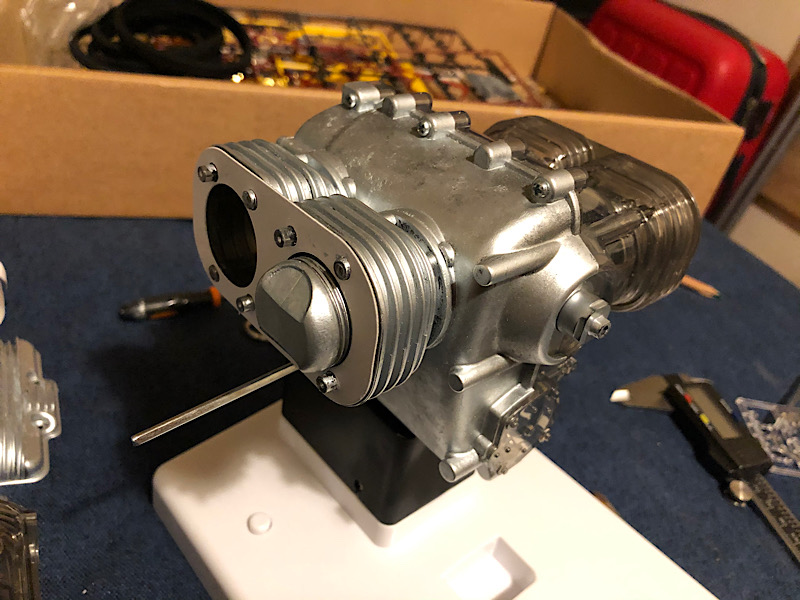
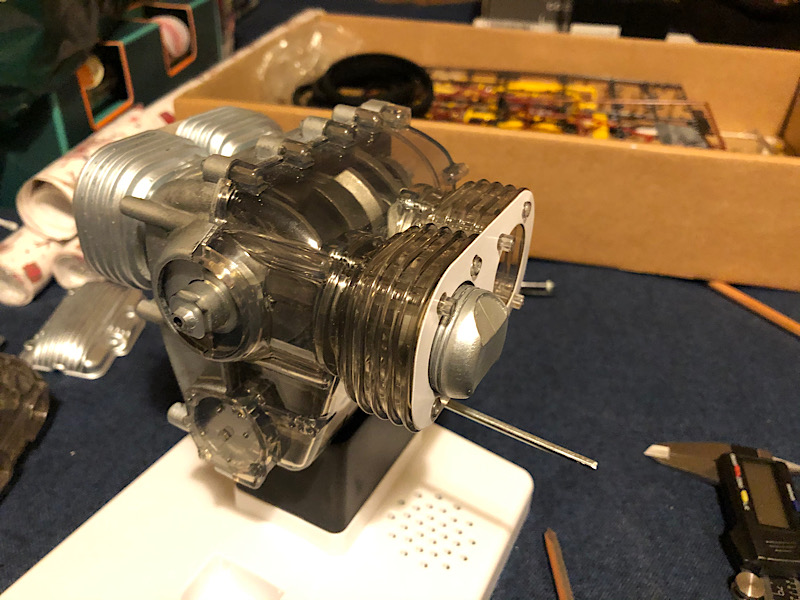
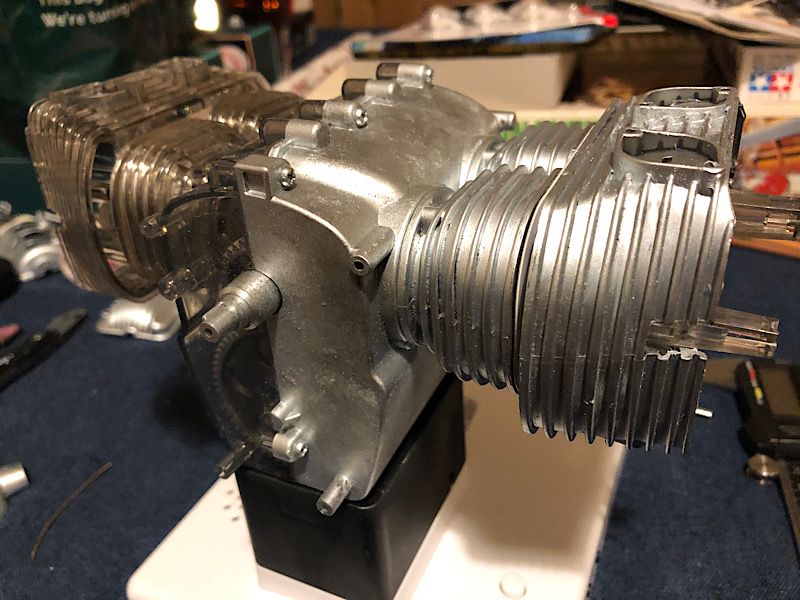
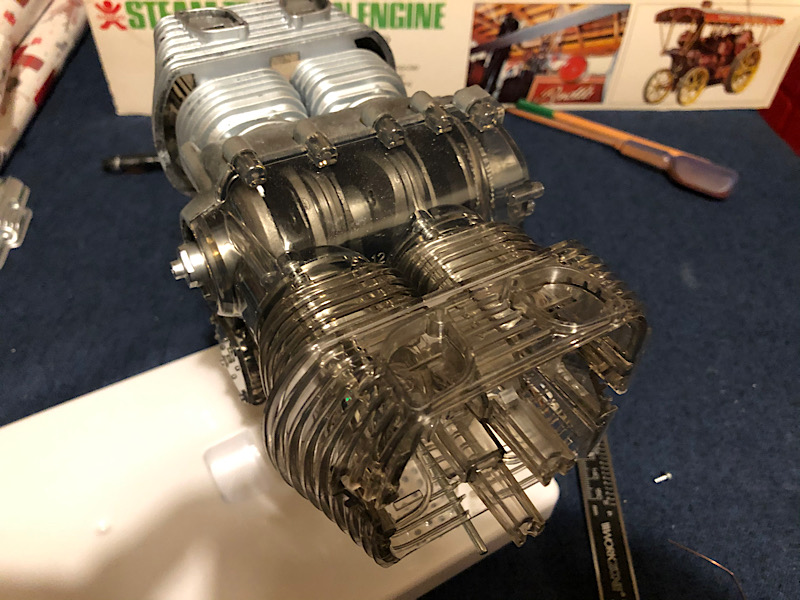
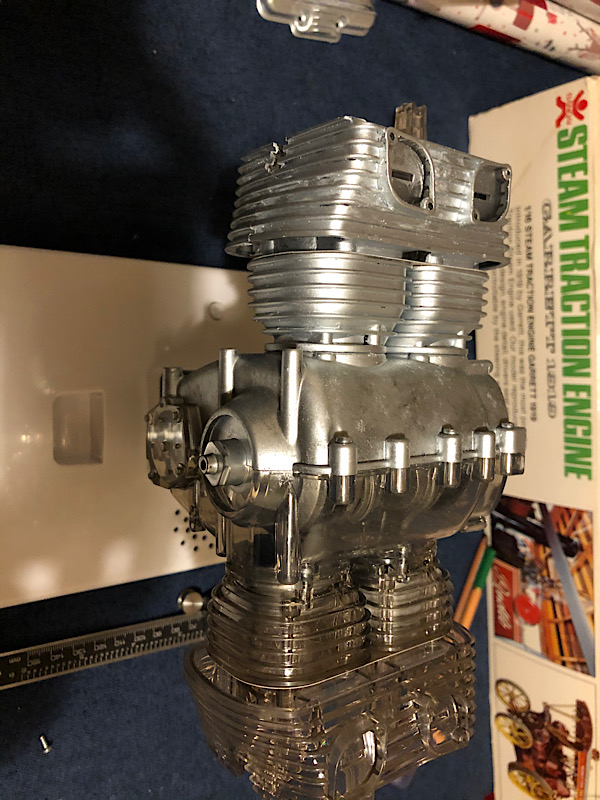
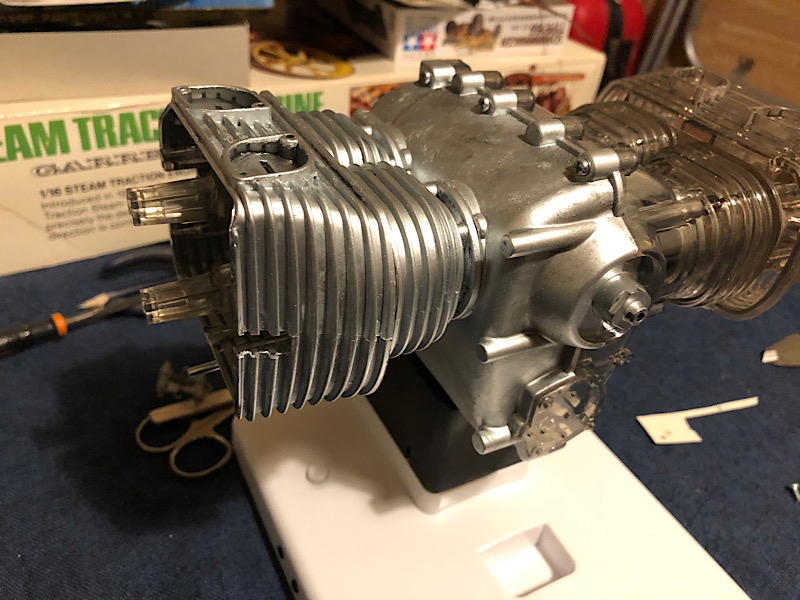
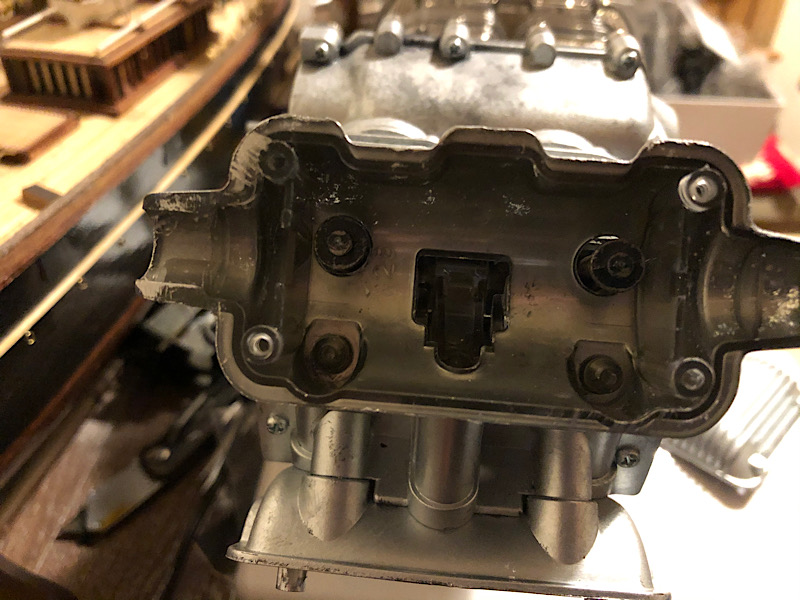
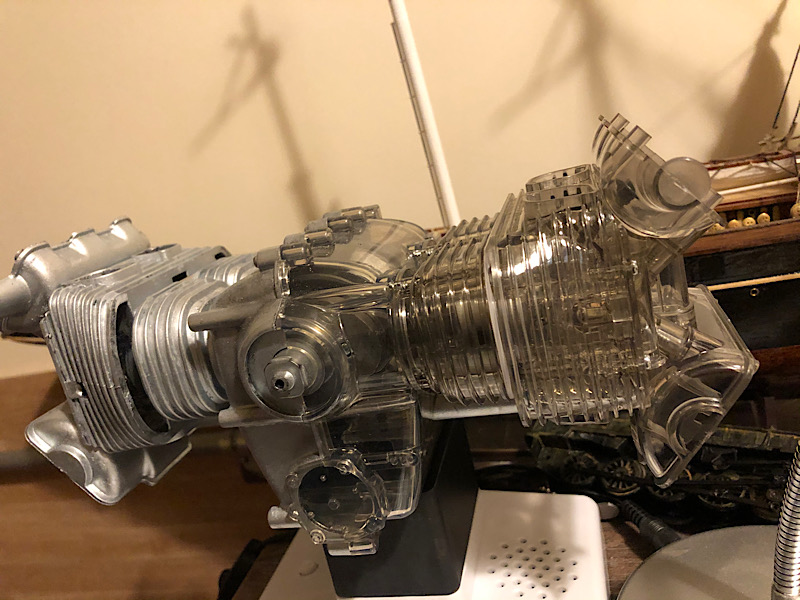
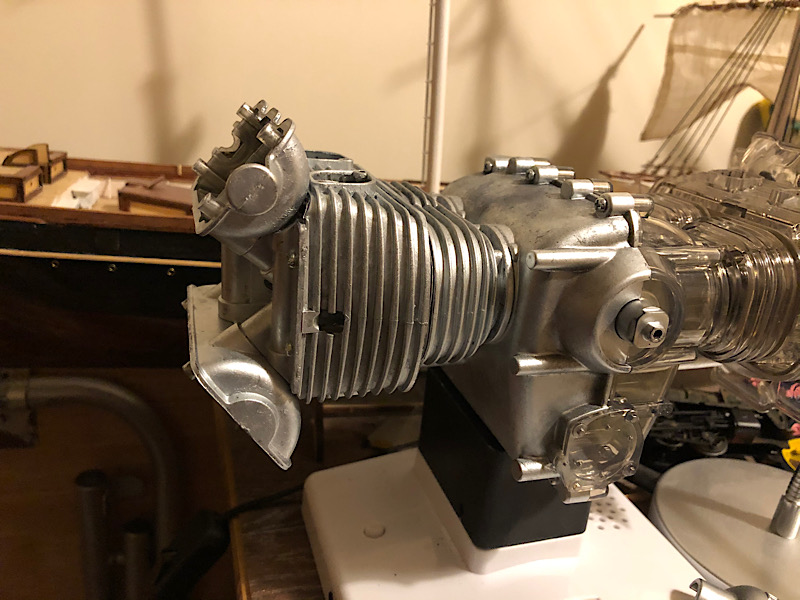
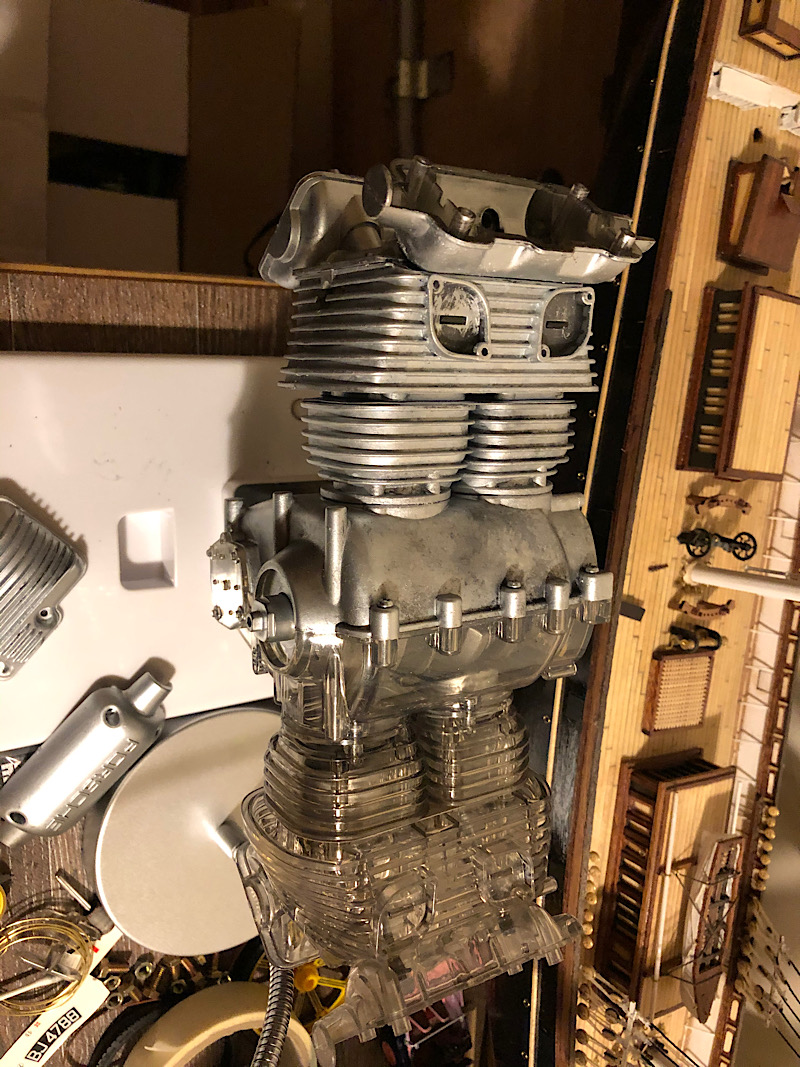
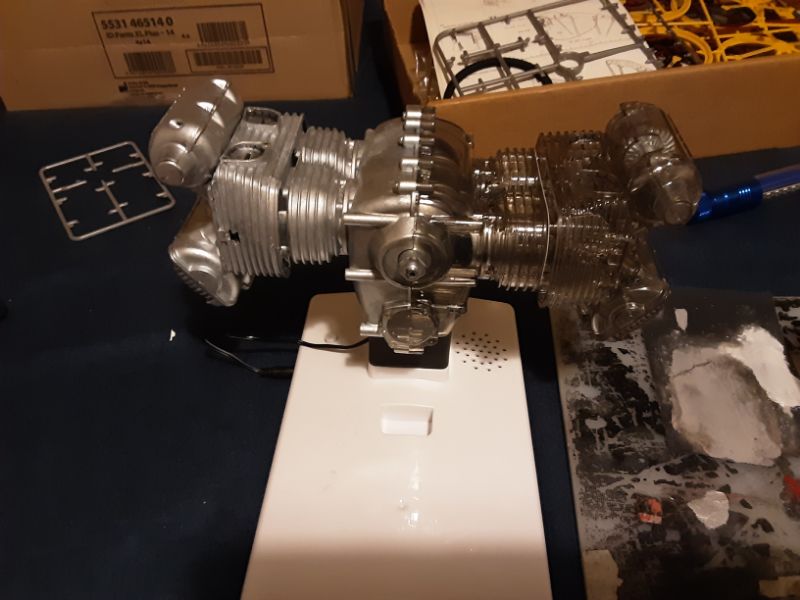
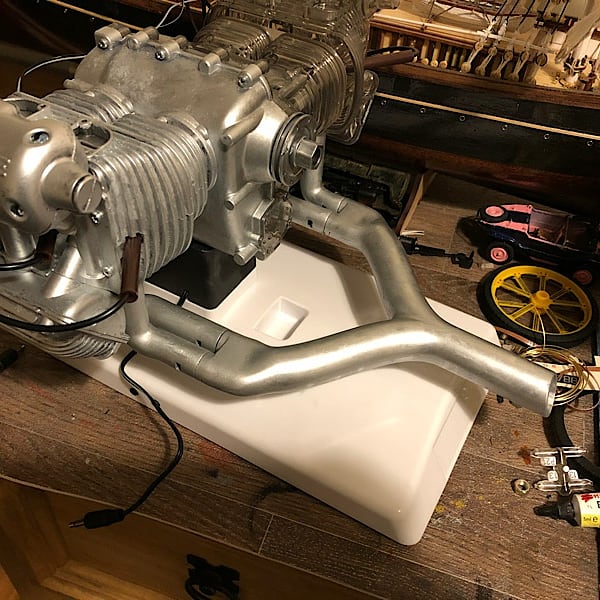
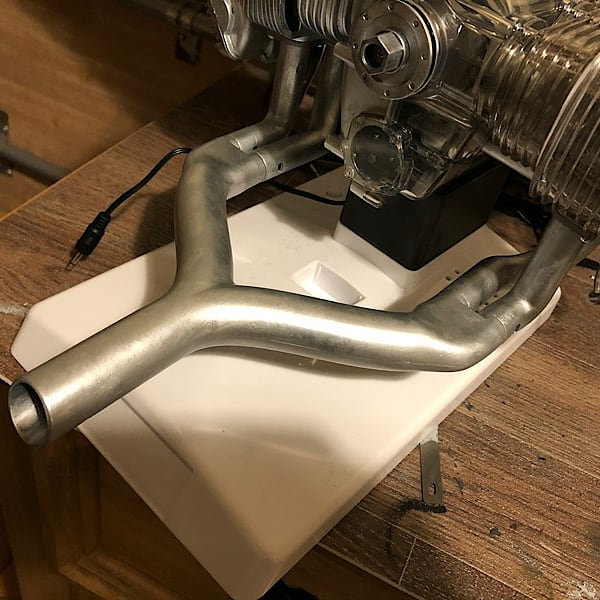
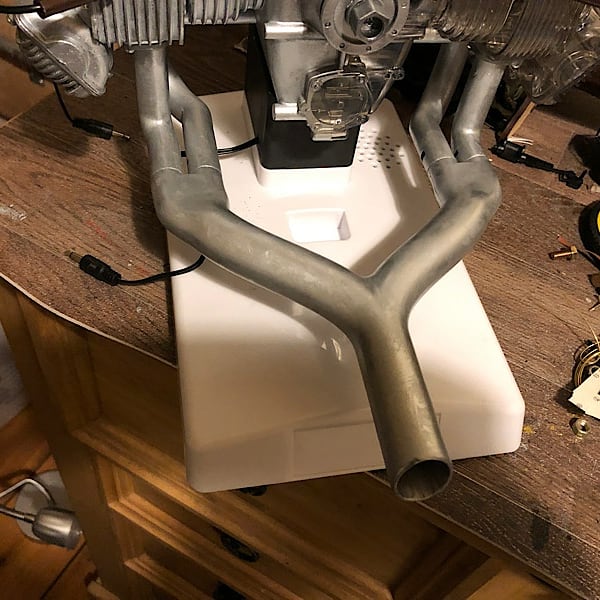
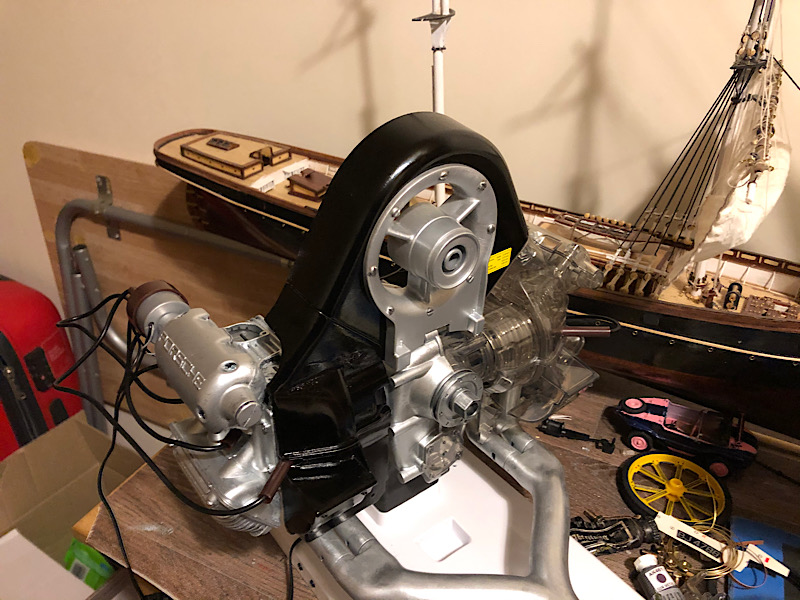
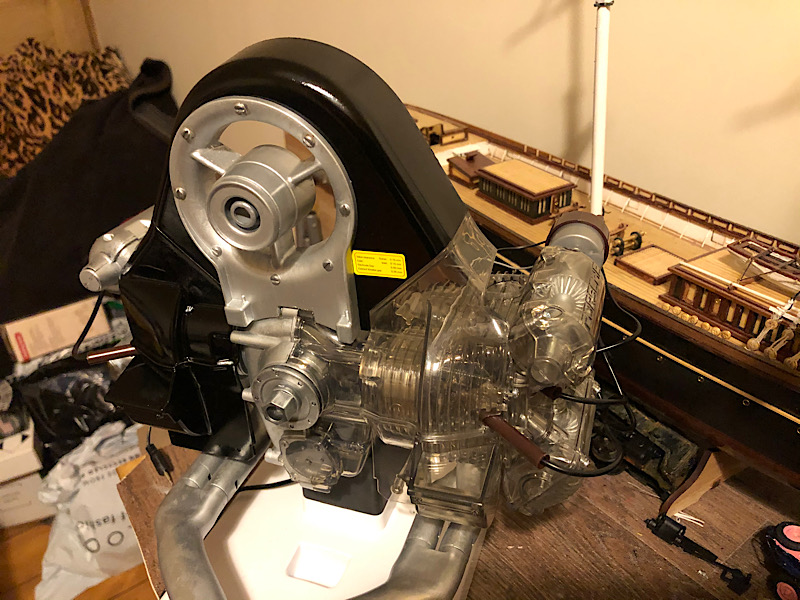
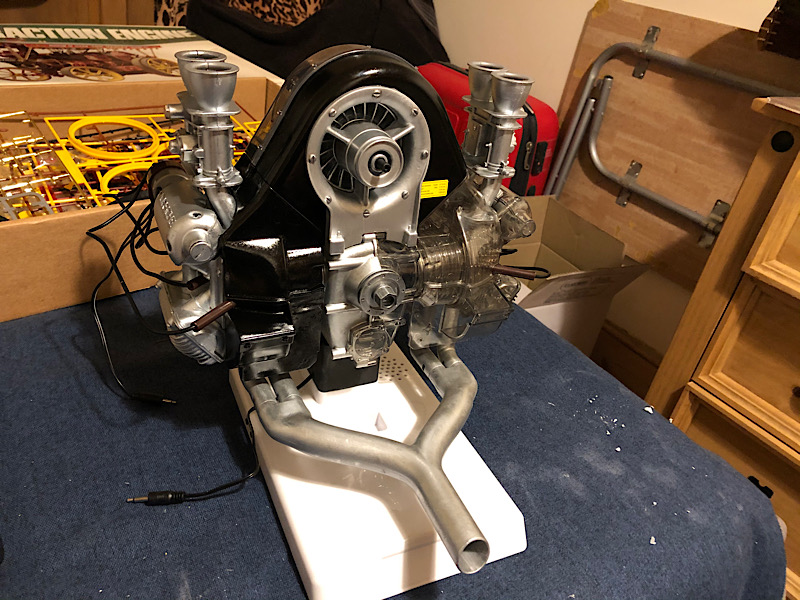
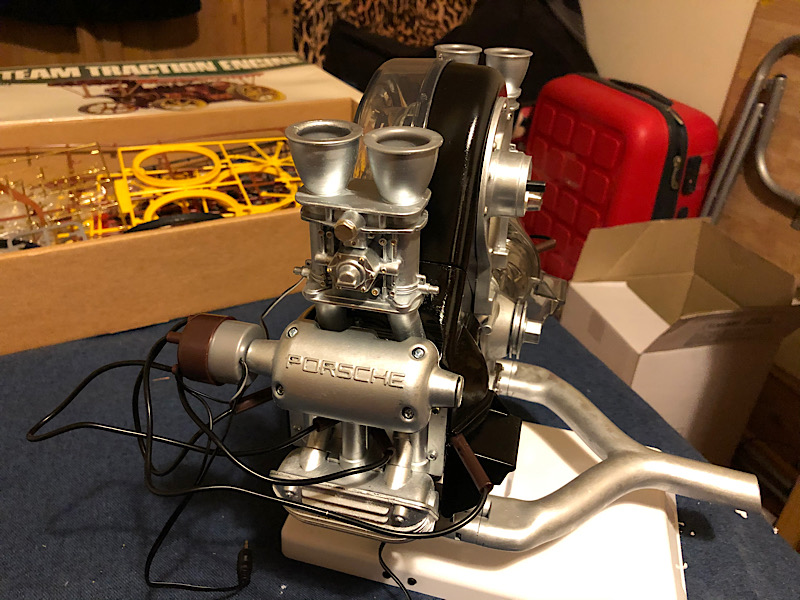
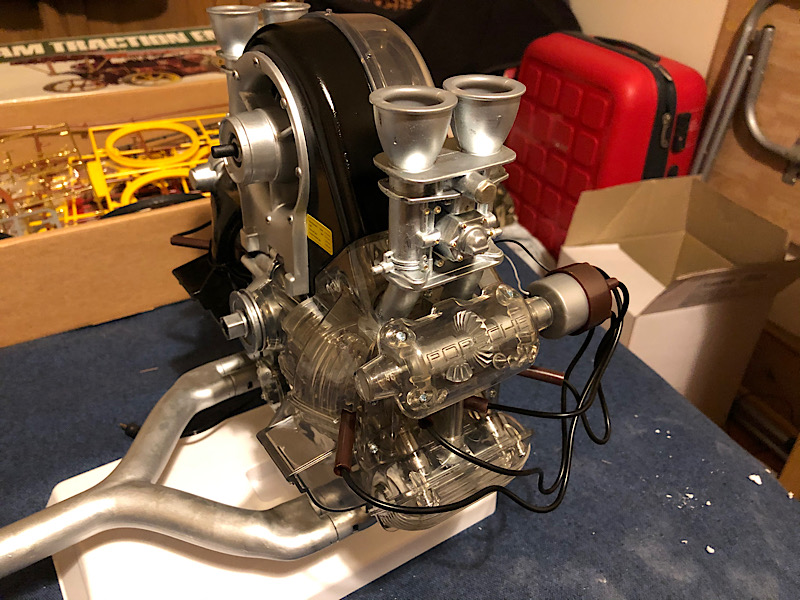
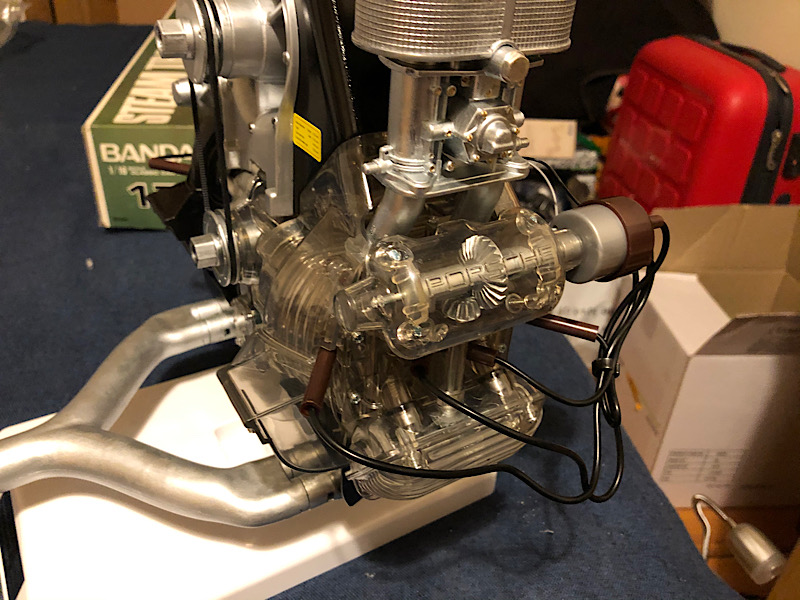
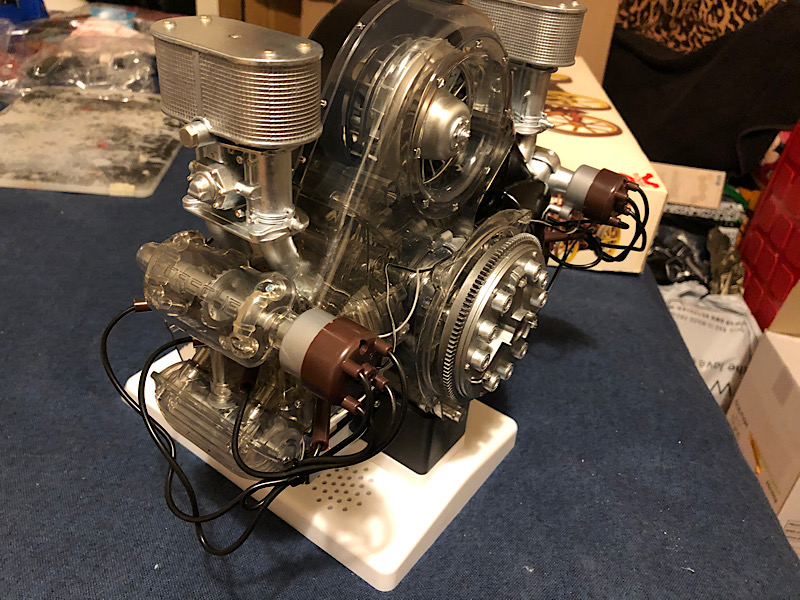
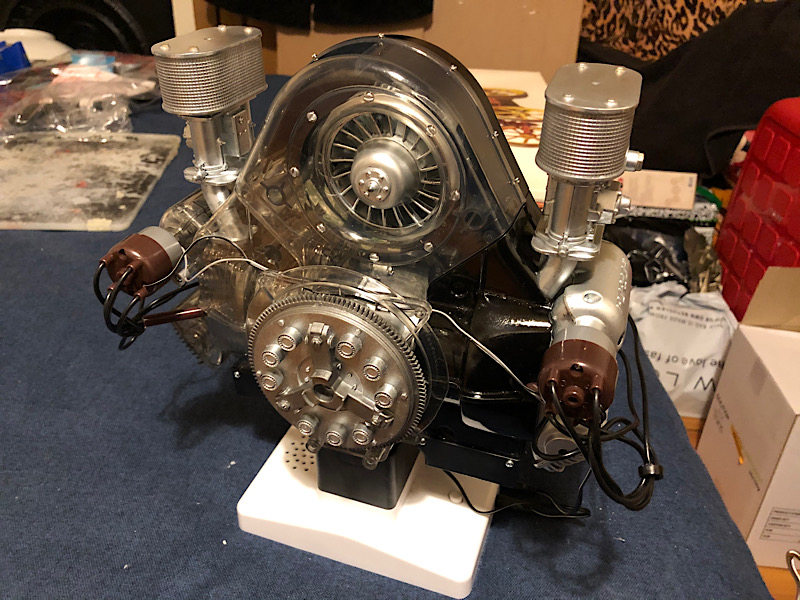
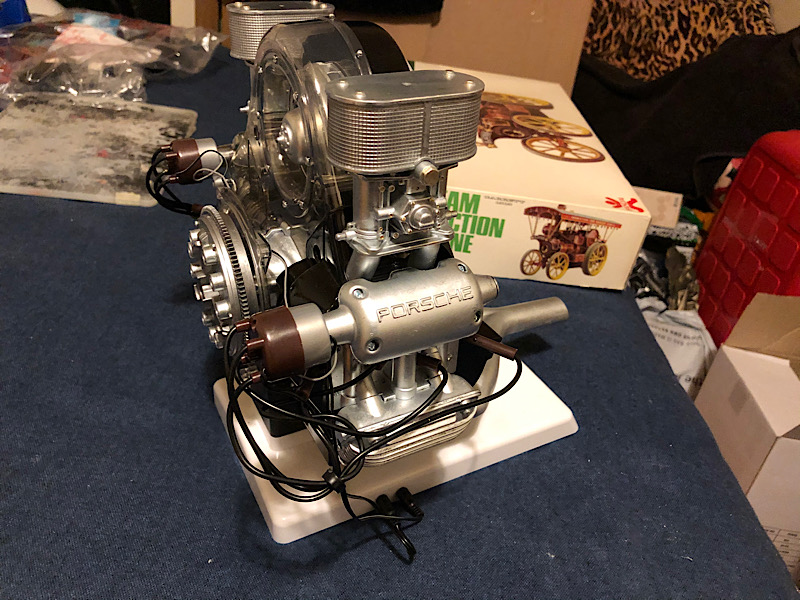
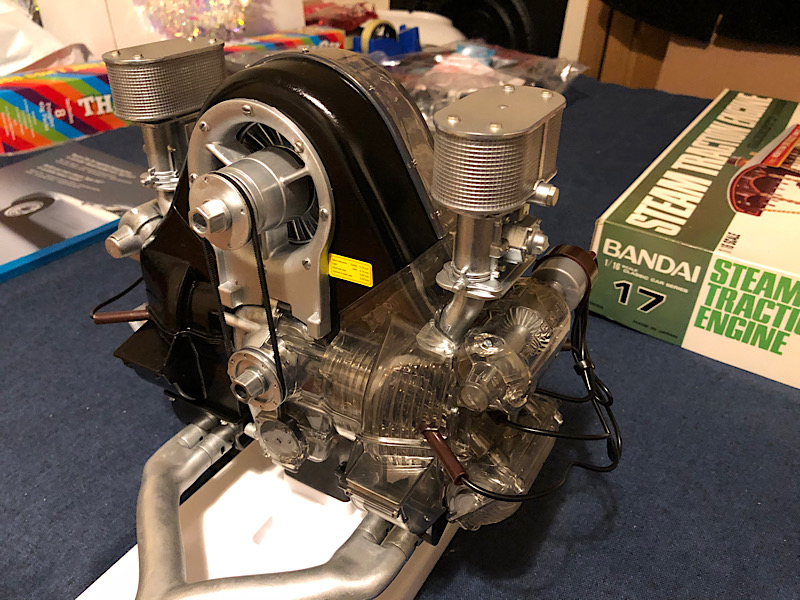
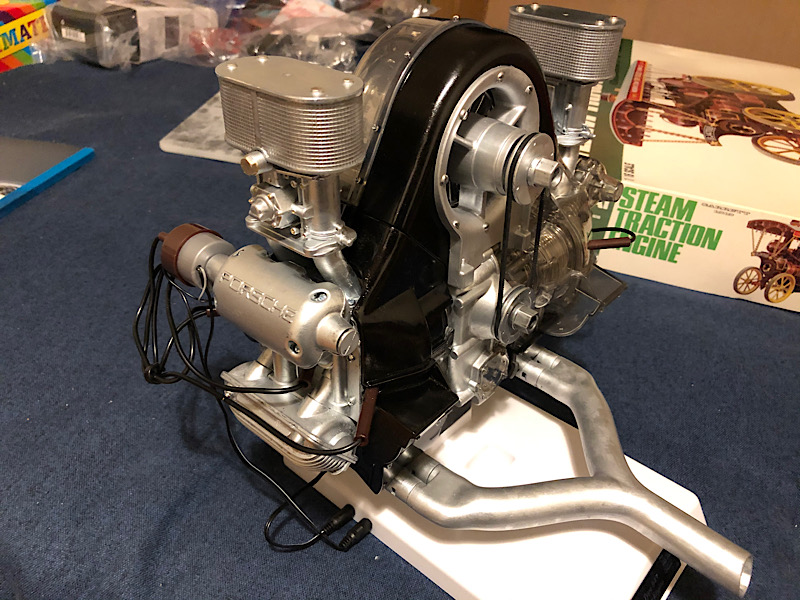
I'm intending to build this as half see through rather than completely see through as is intended with the kit


kpnuts
_VISITCOMMUNITY
United Kingdom
Joined: December 20, 2013
KitMaker: 1,179 posts
Auto Modeler: 647 posts
Posted: Saturday, October 24, 2020 - 07:57 AM UTC
So I've started the crankshaft and piston.


I've built the casings of the half I'm going to paint, we have a machine at work called a vapour blaster which we use to clean engine parts which I'm hoping to use to give these parts a cast look (it uses tiny glass beads and is only supposed to remove 30 microns on metal parts will try it on a piece of sprue first)


Joel_W
Staff MemberAssociate Editor
AUTOMODELER
_VISITCOMMUNITY
New York, United States
Joined: December 04, 2010
KitMaker: 11,666 posts
Auto Modeler: 2,974 posts
Posted: Saturday, October 24, 2020 - 10:11 AM UTC
Ken,
I've never seen this kit either. A 1:3 scale Porsche Carrera Type 547 engine surely will be the center piece of your collection.

I'm looking forward to following every single step to completion. The crankshaft looks so real, I'm not sure whether it's real or the kit part. Same for the cylinders from one side of the engine block.

Just one favor, can you please cross post in the new forum's car section.

Thanks,

Joel
kpnuts
_VISITCOMMUNITY
United Kingdom
Joined: December 20, 2013
KitMaker: 1,179 posts
Auto Modeler: 647 posts
Posted: Saturday, October 24, 2020 - 09:51 PM UTC
Hi Joel I tried that just now and it said I didn't have an account so I tried to create one but I think I put my email down wrong as I've not receive the activation code
kpnuts
_VISITCOMMUNITY
United Kingdom
Joined: December 20, 2013
KitMaker: 1,179 posts
Auto Modeler: 647 posts
Posted: Sunday, October 25, 2020 - 05:51 AM UTC
Hi all more work on the engine, im certainly getting a lot of practice creating metal effects on this one.


kpnuts
_VISITCOMMUNITY
United Kingdom
Joined: December 20, 2013
KitMaker: 1,179 posts
Auto Modeler: 647 posts
Posted: Monday, October 26, 2020 - 08:54 AM UTC
Hi all one of the advantages of having a 547 engine completely dismantled at work is loads of reference material, for instance this main drive gear should have 6 30 mm holes in it, 1/3 equates to 10 mm 


I also took the half I'm painting aluminium to work to vapour blast it (for a cast effect)


And the first coat of the casting effect


kpnuts
_VISITCOMMUNITY
United Kingdom
Joined: December 20, 2013
KitMaker: 1,179 posts
Auto Modeler: 647 posts
Posted: Tuesday, October 27, 2020 - 09:02 AM UTC
More work on this, been adding a few bit of discolouration to the ally side, got a bit more work to do on those effects yet.


Still loads more bits in the box.

kpnuts
_VISITCOMMUNITY
United Kingdom
Joined: December 20, 2013
KitMaker: 1,179 posts
Auto Modeler: 647 posts
Posted: Wednesday, October 28, 2020 - 09:08 AM UTC
Well I've got the valves installed worked some more on the casings getting happier with the results (I think maybe its too shiny needs dulling down a bit) I don't want to make it look grubby just weather worn and aged.


kpnuts
_VISITCOMMUNITY
United Kingdom
Joined: December 20, 2013
KitMaker: 1,179 posts
Auto Modeler: 647 posts
Posted: Friday, October 30, 2020 - 09:51 AM UTC
Hi all more work on the valve gear


https://youtu.be/wG8IpL55tx4
kpnuts
_VISITCOMMUNITY
United Kingdom
Joined: December 20, 2013
KitMaker: 1,179 posts
Auto Modeler: 647 posts
Posted: Sunday, November 01, 2020 - 06:02 AM UTC
Got the exhaust on and more experimental metal effects, a word of warning to anyone building this kit and painting parts of it the black shiny plastic is of a different type of plastic to the rest of the kit I sprayed the cowl for the fan (with the same type of paint used everywhere else) the plastic on the cowl has crazed and cracked (and that's even with using plastic safe primer) im hoping a layer of filler sanded down then sprayed over will fix it.


Joel_W
Staff MemberAssociate Editor
AUTOMODELER
_VISITCOMMUNITY
New York, United States
Joined: December 04, 2010
KitMaker: 11,666 posts
Auto Modeler: 2,974 posts
Posted: Sunday, November 01, 2020 - 12:23 PM UTC
Ken,
The metal finishes all look as real as one could ever hope to achieve. The exhaust is simply amazing.

I've run into some of those weird plastics that both paint and glue don't stick, and manage to do some damage as well. Sometimes another coat of two of primer worked, but sometimes I never could figure it out. Here's hoping that your efforts work just fine.

Joel
kpnuts
_VISITCOMMUNITY
United Kingdom
Joined: December 20, 2013
KitMaker: 1,179 posts
Auto Modeler: 647 posts
Posted: Tuesday, November 03, 2020 - 08:48 AM UTC
Nearing completion now.


kpnuts
_VISITCOMMUNITY
United Kingdom
Joined: December 20, 2013
KitMaker: 1,179 posts
Auto Modeler: 647 posts
Posted: Thursday, November 05, 2020 - 07:21 AM UTC
Well its done (the supplied belt is too tight making the top pully bind and stopping it)


https://youtu.be/5b3f-i0C1Ng
 _GOTOTOP