OFFICIAL: Chev vs Hemi Group Build
Joined: July 03, 2004
KitMaker: 386 posts
Auto Modeler: 345 posts
Posted: Saturday, April 23, 2011 - 09:49 PM UTC
heres one for the Chevy side

quick mock-up pic
the body is painted sapphire blue. it still needs to be sanded and polished out.
engine is built. I decided to leave it box stock only using paint detail.

Joined: July 03, 2004
KitMaker: 386 posts
Auto Modeler: 345 posts
Posted: Sunday, April 24, 2011 - 04:28 AM UTC
body polished out.
I wet sand with 2000 grit

then I use scratch X, I find with the scratch X you need to apply about 3 or 4 times to get it glass smooth


Joined: July 03, 2004
KitMaker: 386 posts
Auto Modeler: 345 posts
Posted: Sunday, April 24, 2011 - 08:22 PM UTC
AussieReg
 Associate Editor
#007
Victoria, Australia
Joined: June 09, 2009
KitMaker: 8,156 posts
Auto Modeler: 2,953 posts
Posted: Sunday, April 24, 2011 - 08:30 PM UTC
Looking great James, really nicework on the paint.
What are you using for the chrome trim, are you painting or using adhesive foil? Either way it's coming up very nicely indeed.
Cheers, D
ON the bench
Revell 1/24 '53 Corvette (building as '54)
Revell 1/24 BMW 507 Coupe and Cabrio
Italeri 1/48 Me262 B-1a/U1 Nightfighter
Monogram 1/24 '57 Chevy Nomad
Dragon 1/350 USS Frank Knox DD-742
Joined: July 03, 2004
KitMaker: 386 posts
Auto Modeler: 345 posts
Posted: Sunday, April 24, 2011 - 10:25 PM UTC
hey thanks!,
for chrome i always use Bare Metal Foil and a toothpick to burnish it down good. then polish the car one more time after.
Joined: July 03, 2004
KitMaker: 386 posts
Auto Modeler: 345 posts
Posted: Monday, April 25, 2011 - 12:54 AM UTC
windows installed. and body/interior & chassis all stuck together now


Illinois, United States
Joined: August 30, 2005
KitMaker: 3,289 posts
Auto Modeler: 1,620 posts
Posted: Monday, April 25, 2011 - 09:21 AM UTC
James...she's looking good! BTW- what is "scratch-X"? I've been doing it the hard way I guess, but I like yours better! For the sake of the viewing audience- and I'm always curious too- how many coats of color did your lay before hitting it with 2000 grit? I like 3 good coats of color myself.
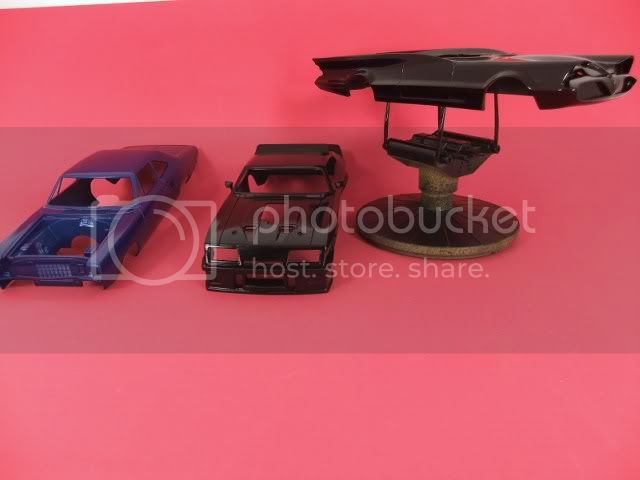
Ok, now nevermind the other cars...painting day....on your left you'll see the start of my Mod-Top Dodge. Closest I could nail the color.
-I say I have two kids- one son & one daughter...my wife says she has three- one son ,one daughter and one husband.
...and don't tell yourself you can't do it....it'll just take longer then
Joined: July 03, 2004
KitMaker: 386 posts
Auto Modeler: 345 posts
Posted: Monday, April 25, 2011 - 10:58 AM UTC
Kobenhavn, Denmark
Joined: June 29, 2004
KitMaker: 6,760 posts
Auto Modeler: 2,182 posts
Posted: Tuesday, April 26, 2011 - 07:00 AM UTC
James: Pretty amazing, even though it's a Chevy
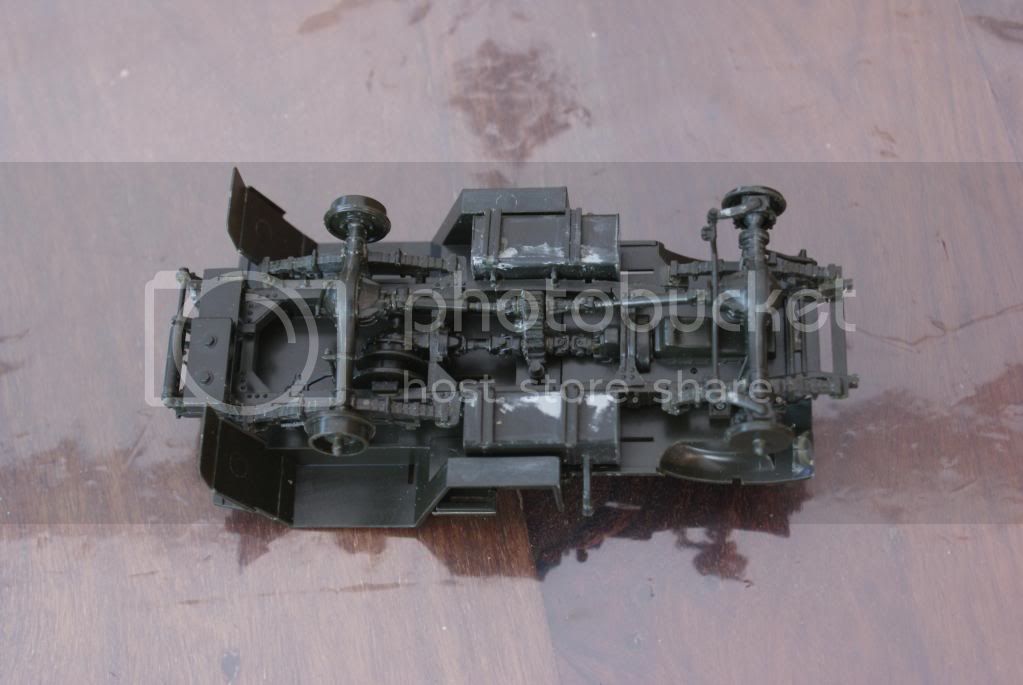
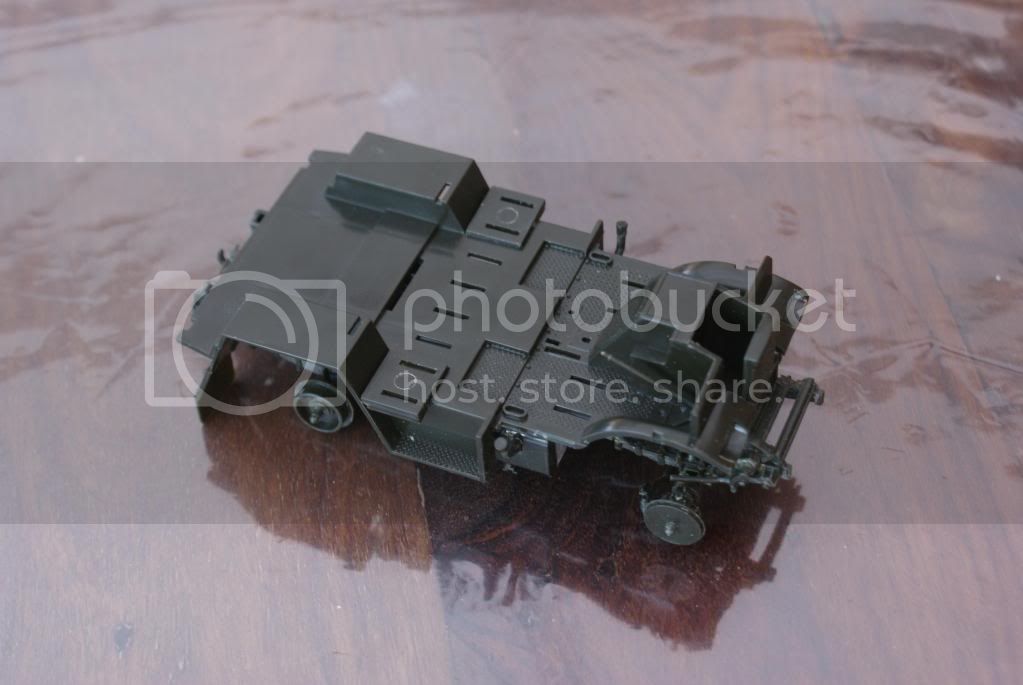
I started the old Italeri Chevy kit. Quite a lot of work, just to build the undercariage. Almost 100 parts, just for that and not the best fit.
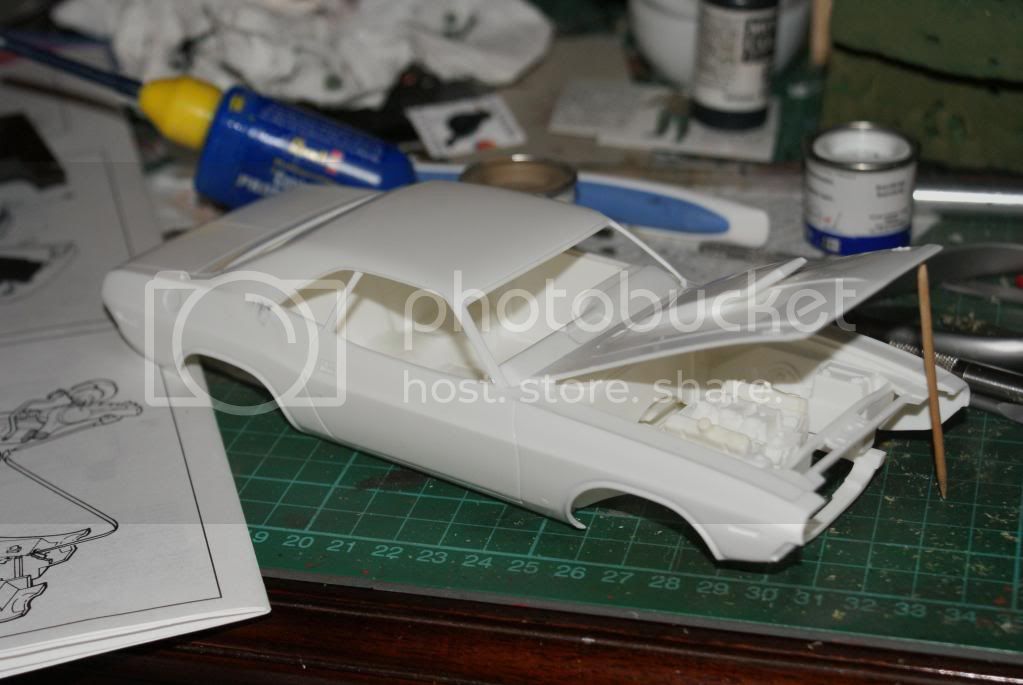
Did some work on the Challenger as well. Body, interior and main part of the engine preped for primer.
On the workbench:
MPC: 1972 Pontiac GTO
Revell: 1965 Mustang
Verlinden 120mm guard of the marine.
Revell: 2010 Camaro
Monogram: 1931 Rolls Royce
Italeri: LVT2 Amtrac
Illinois, United States
Joined: August 30, 2005
KitMaker: 3,289 posts
Auto Modeler: 1,620 posts
Posted: Tuesday, April 26, 2011 - 11:00 AM UTC
James- The Nova looks great and thanks for the Scratch-X input . I've sanded color coats before so long as they're solid colors...metallics, pearls and color change top coats can get messed up if you sand those. I like the 3 coats of clear too.
Jesper, that lil buggy does have alot of little fidgity things on it doesn't it?! It's been a while since I've built one but I can remember it. Can't wait to see the challenger when it's done.
Where's Hermon when we need him?........
-I say I have two kids- one son & one daughter...my wife says she has three- one son ,one daughter and one husband.
...and don't tell yourself you can't do it....it'll just take longer then
Joined: July 03, 2004
KitMaker: 386 posts
Auto Modeler: 345 posts
Posted: Friday, April 29, 2011 - 12:38 AM UTC
time for some MOPAR power
I'll be building the MPC super bee kit. this one wont be as quickly made the Nova was just a long weekend project


Joined: July 03, 2004
KitMaker: 386 posts
Auto Modeler: 345 posts
Posted: Friday, April 29, 2011 - 12:20 PM UTC
engine painted up, I like to make them look used a bit, so I added some paint chipping and general dust on it.


Joined: July 03, 2004
KitMaker: 386 posts
Auto Modeler: 345 posts
Posted: Saturday, April 30, 2011 - 07:34 AM UTC
printed out a license plate, I just stuck scotch tape over the paper to make it glossy.

Joined: July 03, 2004
KitMaker: 386 posts
Auto Modeler: 345 posts
Posted: Sunday, May 01, 2011 - 03:46 AM UTC
engine bay glued together


Joined: July 03, 2004
KitMaker: 386 posts
Auto Modeler: 345 posts
Posted: Monday, May 02, 2011 - 04:48 AM UTC
just working on painting the goodyear logos on the tires.
also finished the rear bumper


Wisconsin, United States
Joined: September 11, 2009
KitMaker: 1,917 posts
Auto Modeler: 268 posts
Posted: Monday, May 02, 2011 - 05:01 AM UTC
Whoa, James! Your ability with weathering and finishes is beautiful! I cried a little.

Truly a work of art.
thanks for posting!
-Sean.

Current: model railroad layout
Stalled a while ago:
. 1950's Chrome, WW II Twins
Last completed: Police Car
Joined: July 03, 2004
KitMaker: 386 posts
Auto Modeler: 345 posts
Posted: Tuesday, May 03, 2011 - 07:48 AM UTC
Antwerpen, Belgium
Joined: August 25, 2006
KitMaker: 794 posts
Auto Modeler: 179 posts
Posted: Tuesday, May 03, 2011 - 08:24 AM UTC
Hé something to read.
That's handy when you are waiting for the Chevy Towtruck.
There are more planes in the ocean than submarines in the sky.
BR 52 on the work bench
Leopold Railway gun in progress.
VW Käfer 1/16
Joined: July 03, 2004
KitMaker: 386 posts
Auto Modeler: 345 posts
Posted: Tuesday, May 03, 2011 - 02:03 PM UTC
haha theres 40 bucks and some pornos, could be picking up a hooker lol
chassis painting

Kobenhavn, Denmark
Joined: June 29, 2004
KitMaker: 6,760 posts
Auto Modeler: 2,182 posts
Posted: Tuesday, May 03, 2011 - 11:13 PM UTC
that looks amazing James.
Are the chrome rims, for the gauges, aftermarket PE, BMF or something interrely different?
On the workbench:
MPC: 1972 Pontiac GTO
Revell: 1965 Mustang
Verlinden 120mm guard of the marine.
Revell: 2010 Camaro
Monogram: 1931 Rolls Royce
Italeri: LVT2 Amtrac
Joined: July 03, 2004
KitMaker: 386 posts
Auto Modeler: 345 posts
Posted: Wednesday, May 04, 2011 - 03:51 AM UTC
the trim around the gauges, I used thin wire wrapped around a drill bit for size.
Joined: July 03, 2004
KitMaker: 386 posts
Auto Modeler: 345 posts
Posted: Thursday, May 05, 2011 - 04:39 AM UTC
body painted, forest green from dupli-color


Joined: July 03, 2004
KitMaker: 386 posts
Auto Modeler: 345 posts
Posted: Thursday, May 05, 2011 - 02:40 PM UTC
AussieReg
Associate Editor #007
Victoria, Australia
Joined: June 09, 2009
KitMaker: 8,156 posts
Auto Modeler: 2,953 posts
Posted: Thursday, May 05, 2011 - 09:57 PM UTC
James you're a machine mate ! Well done on a great pair of builds, you are showing us all where we should be at.
Great tip on the instrument dial rims, I will be giving that a try for sure.
Anybody else got some progress to show us ? I'm ashamed to say that I haven't done anything since the last update, but I'm hoping to get a couple of hours this weekend.
Cheers, D
ON the bench
Revell 1/24 '53 Corvette (building as '54)
Revell 1/24 BMW 507 Coupe and Cabrio
Italeri 1/48 Me262 B-1a/U1 Nightfighter
Monogram 1/24 '57 Chevy Nomad
Dragon 1/350 USS Frank Knox DD-742
Illinois, United States
Joined: December 06, 2005
KitMaker: 64 posts
Auto Modeler: 7 posts
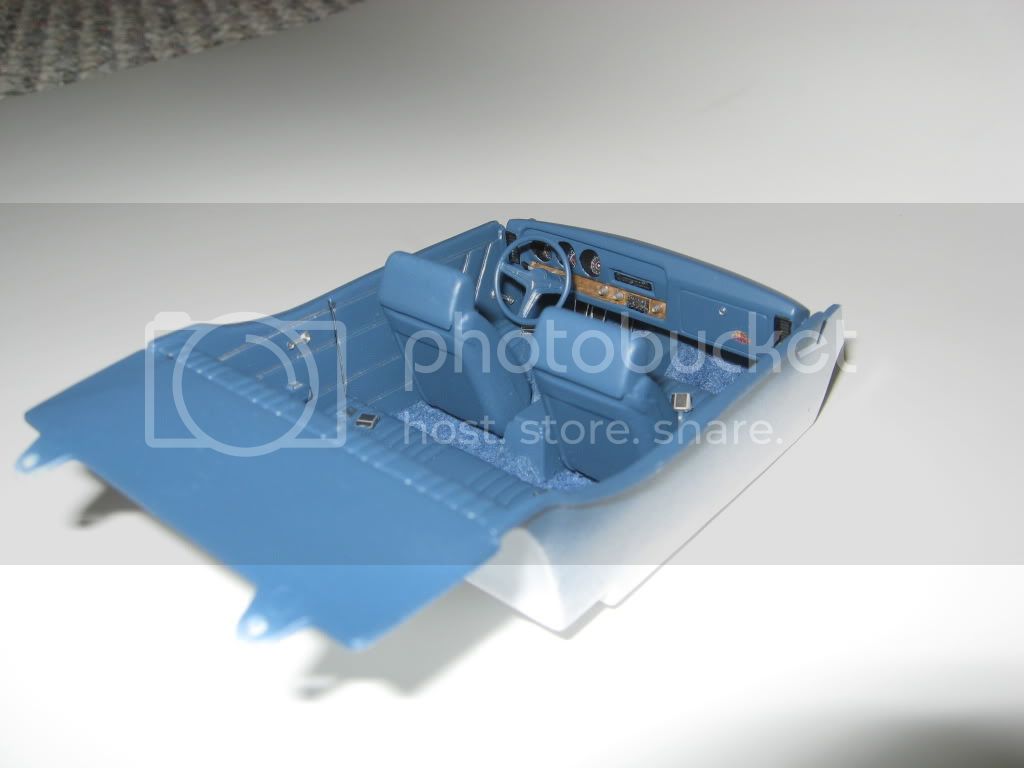
Posted: Wednesday, May 25, 2011 - 02:08 PM UTC
The Judge coming along. My first try at carpet flocking and PE seat belts on an auto interior. Pretty satisfied with the learning process.
Tom
My logisticians are a humorless lot . . . they know if my campaign fails, they are the first ones I will slay.
Alexander the Great