_GOTOBOTTOM
Paint & Finish
For automotive paint and finishing topics.
Weathering Techniques for Auto Builds
M4A1Sherman
_VISITCOMMUNITY
New York, United States
Joined: May 02, 2013
KitMaker: 4,403 posts
Auto Modeler: 30 posts
Posted: Tuesday, September 24, 2019 - 03:50 AM UTC

Quoted Text

great job on the Suburban - or whatever the Chevrolet suv was called then. the steps outlined prove helpful. thanks


"Suburban" is right- Even the U.S. Army called them that before the United States entered WWII...
M4A1Sherman
_VISITCOMMUNITY
New York, United States
Joined: May 02, 2013
KitMaker: 4,403 posts
Auto Modeler: 30 posts
Posted: Tuesday, September 24, 2019 - 04:14 AM UTC

Quoted Text

A discussion was started in another thread about weathering techniques and philosophies and their application to our Auto builds. Rather than hijack that thread we will create a dedicated ongoing thread to use as a forum for discussion as well as a reference "library" that will hopefully evolve over time into a valuable resource for us all.

Weathering is a very personal choice and has created much debate on many forums. How much weathering, choice of colours, location and direction of streaks and chipping, oil and rust leaks and stains, but in my experience the discussion has been in the fields of Armour, Ships and Aircraft for the vast majority.

In our Auto word I see only two main schools, the showroom high gloss at one end, and the barn find or junkyard dog wreck at the opposite. Both of these schools are perfectly valid and there are thousands of examples of amazing builds, absolute works of art, for each, but what I rarely see are builds showing subtle weathering and the "wear and tear" present on all of our "daily driver" vehicles.

This thread is an open forum for all of us to discuss, explore, demonstrate, and share here are any and all thoughts, references, products, methods, tricks and examples of all levels of weathering relevant to our art. This is the finishing touch that can elevate a build to the next level, whether it is some subtle pin washes on the interior or engine, or half a ton of mud on a rally car or excavator.

The door is open, come on in and put your ideas on the table.

Cheers, D


Hi, All!

"Weathering"... Hm. That's all contingent upon what one wishes to depict. I for one, dislike the "Tire-Dress"-look, even when I build a "brand-new" car. I like to spray my "brand-new" cars' Tires with some TESTORS Dullcote #1960, for that absolutely "dead-flat" look that even many cars' on New Car Dealers' Show Room Floors, display. When I depict "dirty" Tires, I will use a combination of dry-brushing and airbrushing, "weathering powders", a sealer, and followed up with a few more streaks of weathering powders, and then sealed AGAIN.

"Mud spatter" can be depicted by using one of the late, great Shepard Paine's techniques. Get your "mud" ready on a pallet, add a tiny dab of appropriately-colored weathering powder, and find yourself an old brush you don't care about anymore. Load your brush with your mixture, and you can gently "flick" your loaded brush's bristles against an old pencil or another old brush's handle- Get close to your subject and flick away! This will create your "spatter-effect". Some judicious maneuvering will be required with this technique. PRACTICE is KEY. Use an old "junker", first. Once you've mastered the "spattering" with the old loaded brush-and-pencil, (or secondary brush's-handle), you can start to actually use this method by flicking your loaded brush DIRECTLY, by using the "lips" of the Fender Wells, etc. This method is a bit harder to describe than to actually do, in practice. It's easy, once you know how. To "soften" these effects a bit, one can airbrush a very thinned-down solution of your "mud-color", over and around your "spatter"...

The "rusting" and "pin-wash" techniques as described by other modelers above, are also very effective in producing "weathered effects" on model automobiles.

I'm very happy to see that this topic has been broached here on Auto Modeler; the "Tankists" aren't the only guys in the world that know a thing or two about building models...

VR, Dennis
M4A1Sherman
_VISITCOMMUNITY
New York, United States
Joined: May 02, 2013
KitMaker: 4,403 posts
Auto Modeler: 30 posts
Posted: Tuesday, September 24, 2019 - 05:20 AM UTC

Quoted Text

As opposed to other model subjects, I don’t like to weather my automotive models much if at all. I prefer to view them as “showroom ready”. However there is one area on car models I always “weather”— the tires around the tread. Even showroom ready cars have some form of wear “where the rubber meets the road” so to speak. My favorite technique for vinyl or rubber is to use a bit of sandpaper or a sanding stick around the tread surface. If it’s a plastic tire, I like to use a slightly darker or lighter shade of “brown rubber”, “charcoal gray” or “dark gray” airbrushed around the tread portion of the tire, with a black wash in the treads. This really makes the tires “pop”. An alternative method is to carefully “dry brush” these colors on. I’ve tried pigments as well, but find they are more difficult to control.
VR, Russ


Hi, Russ and everyone else!

Re: The Tires, (Tyres), and just a little bit more about weathering them- Here is one area which many modelers tend to overlook. I've also noticed that many modelers will not pay much attention to the way that Tires tend to pick up road-dirt, mud, etc. Your next opportunity when you're outside, take a look at the Tires' Tread-patterns on a relatively "clean" car. You'll notice that dirt/dried mud/muck has collected INSIDE the Tire Tread, i.e, INSIDE the wells of the Tread and in the various Sipes which are associated with the Tires' Tread, as well.

What I like to do to replicate this, is to flow a mud or dirt-colored "pin-wash" INTO the Tires' Tread Patterns, and then "follow-up" by dry-brushing with a dirty "Rubber"-color on the surfaces of the Tires' Tread where they come into contact with road surfaces- I do this, because as will be seen on actual 1:1 Tires, the FRICTION between the Tires and the Road Surface will have worn much of the dirt/mud/muck off of the raised portions of the Tires' Tread-pattern.

Go ahead, take a look at real vehicles, and you'll find that I'm right in many cases; not ALL, but many. Wheeled construction and work-trucks (lorries) are great examples with which to observe the "look" of dirt, mud and muck and how this detritus collects and appears all over these vehicles, and how it appears on their respective Tires. You'll find that your best friend in collecting "realistic" examples of weathering on 1:1 motor vehicles, is your camera...

Note that this would be contingent upon the WEATHER, and the road's surface- A wet, muddy road will necessarily coat the Tires and surrounding areas, (Fenders, Quarter-panels, body sides, Fender Wells, etc) with a good deal of the road's mud and muck, right? Dry-brushing the dirty "Rubber"-color onto the Tires' Tread, would obviously not be required in this case. Weather-wise, dry, dusty conditions will also impart a completely different appearance on the vehicles' Tires and their surrounding areas...
M4A1Sherman
_VISITCOMMUNITY
New York, United States
Joined: May 02, 2013
KitMaker: 4,403 posts
Auto Modeler: 30 posts
Posted: Tuesday, September 24, 2019 - 05:33 AM UTC

Quoted Text


Quoted Text


Quoted Text

A full blown rally car with dirt and such would look ok, but I would still be tempted to model it on a base with whatever you covered the car in underneath it, just to tie it all together.


Perfect scenario to play with a few different techniques there Andy, a crossover into the Armour techniques for muddying up the tanks.

Cheers, D


Now just to throw a swerve ball in there, what about your fully mud covered rally car returning to the service area on tarmac roads. Very dirty car on a clean road.


Hello, Luciano!

In this case, the FRICTION between the clean road's abrasive tarmac surface and the dirty Tires, will very rapidly wear the dirt off the CONTACT SURFACES of the Tires' Tread-patterns, but the dirt will remain INSIDE the wells of the Tread and their corresponding Sipes. The Rally car of course, would still remain comparatively dirty...

It sounds odd, but these are in fact, the "facts"... A quick look at 1:1 car Tires' Tread-patterns will confirm what I'm saying...

Of course, if the Driver(s) "wipe-down" their Rally car, or their Pit Crew should be standing by the side of the "clean" road with a Water Truck in order to hose the Rally car down, things would tend to look a bit different!

VR, Dennis
M4A1Sherman
_VISITCOMMUNITY
New York, United States
Joined: May 02, 2013
KitMaker: 4,403 posts
Auto Modeler: 30 posts
Posted: Tuesday, September 24, 2019 - 06:00 AM UTC

Quoted Text

Some useful stuff on here. One question I have, is it common for people to do panel lines on cars they way they do for planes. I haven't really noticed it on cars.

cheers
Michael


Hi, Michael!

It depends on the modeler; I generally don't use a "Pin-wash" to depict panels on a "pristine" car. There are various levels of "new" appearances... On a "beater"? Well, that's another matter, altogether. These are just my variable methods, that's all...
VR, Dennis
M4A1Sherman
_VISITCOMMUNITY
New York, United States
Joined: May 02, 2013
KitMaker: 4,403 posts
Auto Modeler: 30 posts
Posted: Tuesday, September 24, 2019 - 06:04 AM UTC

Quoted Text

Hi Gents,

I just finished a build log here that features a rusty old truck. I'm sure there are lots of ways to recreate the look of rust, for what it's worth, I'm posting a few steps I follow. Something I like about this approach is that you can create numerous variations on what the "rust" looks like, as your project requires. But first, a couple of images of the results using this method, starting with construction equipment:


Next, the old Chevy:


and even on dioramas:


The basic steps behind each of these is as follows.

I start with a base of dark gray, that I paint over the vehicle's base color - it's supposed to look like a primer coat, or, whatever is under the base color of the vehicle, it also provides a nice base for the rust you'll be adding, allowing the rust to show in contrast to the base color of the model, and not appear to be painted onto it.

I apply it with a beat up, old stiff bristle brush - maybe 1/4" in diameter - it took me some practice to get the consistency how I like it. I stipple the paint on, and generally don't directly brush it, but do quickly drybrush:


Next, I make my own rust color:


The paint combo here is Burnt Umber, Orange, White and Sand Yellow. I blend, add, etc until I find a mix that I like - as long as you stick with the basic palette, you can come back and add/modify later or as needed. I only use acrylics. You need some patience, but not the same you need when adding Aber PE to a T-55...that is real patience. In this case, you just need to take it easy and pay attention to what you've painted, and watch out for puddles of washes.

It's not the end if you find general mistakes, as you can generally go back over them later to get a different result.

You can buy rust color paints and "weathering systems" from the suppliers we all know - which work pretty well. I use this method so that I can control the outcome of the color. Sometimes I want really "old" dark, almost black rust (like on the diorama), and other times lighter. Making the color myself allows me to do that. Depending on your goals you can paint in other colors too, like variations of silver as seen on the dozer and blade and part of the roller.

And as with the gray, stipple it on - but vary the color density, and include various washes of the same. For this method, the trick is to "stay loose" with the layers - I don't want my results to look like rust color painted on:


You can see the difference between the left and right sides of the roof. And when you're done:


I make it a point to run several light washes of this color over and beyond the main rust area. Next - I keep the dirty brush water and use it throughout the process for washes etc. Once this is done, I add a dust wash:


That's Life color Dust 1 - the cap is in my tray, I dip the brush in it, then the water, which makes a wash - I use this on all of my tires and on any vehicle I don't want to shine and to have dirty windows, and as before - start light and build up to what you want. The result below:


Ok hope this might be of some use to somebody - just another way to get that lived in look out of your project -

Happy model building,

Nick


Beautifully done, Nick! KUDOS!

VR, Dennis
ironwork
_VISITCOMMUNITY
Viana do Castelo, Portugal
Joined: January 12, 2012
KitMaker: 216 posts
Auto Modeler: 1 posts
Posted: Monday, November 04, 2019 - 02:47 AM UTC
A good day to you all.

Here a tutorial abut a car weathering technique LINK
LINK

165thspc
#521
_VISITCOMMUNITY
Kentucky, United States
Joined: April 13, 2011
KitMaker: 9,465 posts
Auto Modeler: 106 posts
Posted: Monday, November 04, 2019 - 04:43 PM UTC
Nick I remain in awe of the weathering job you did on that old Chevy Surburban. Between the work and your success using strong natural lighting I still look at your photos and do a double take thinking it is real.
165thspc
#521
_VISITCOMMUNITY
Kentucky, United States
Joined: April 13, 2011
KitMaker: 9,465 posts
Auto Modeler: 106 posts
Posted: Tuesday, November 05, 2019 - 06:12 PM UTC
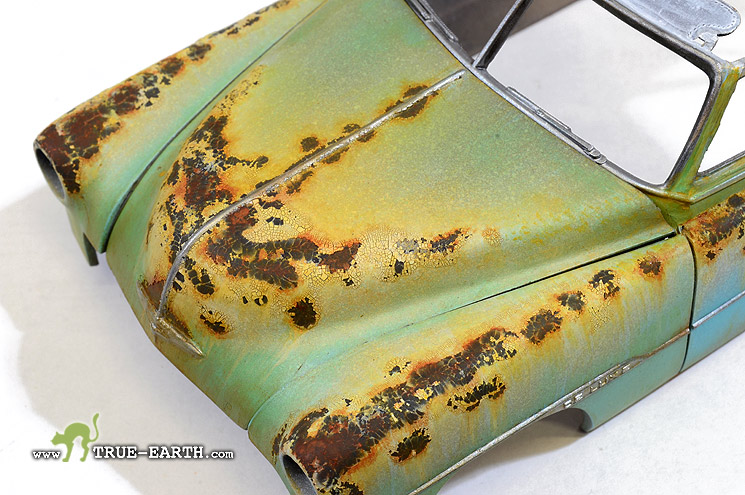
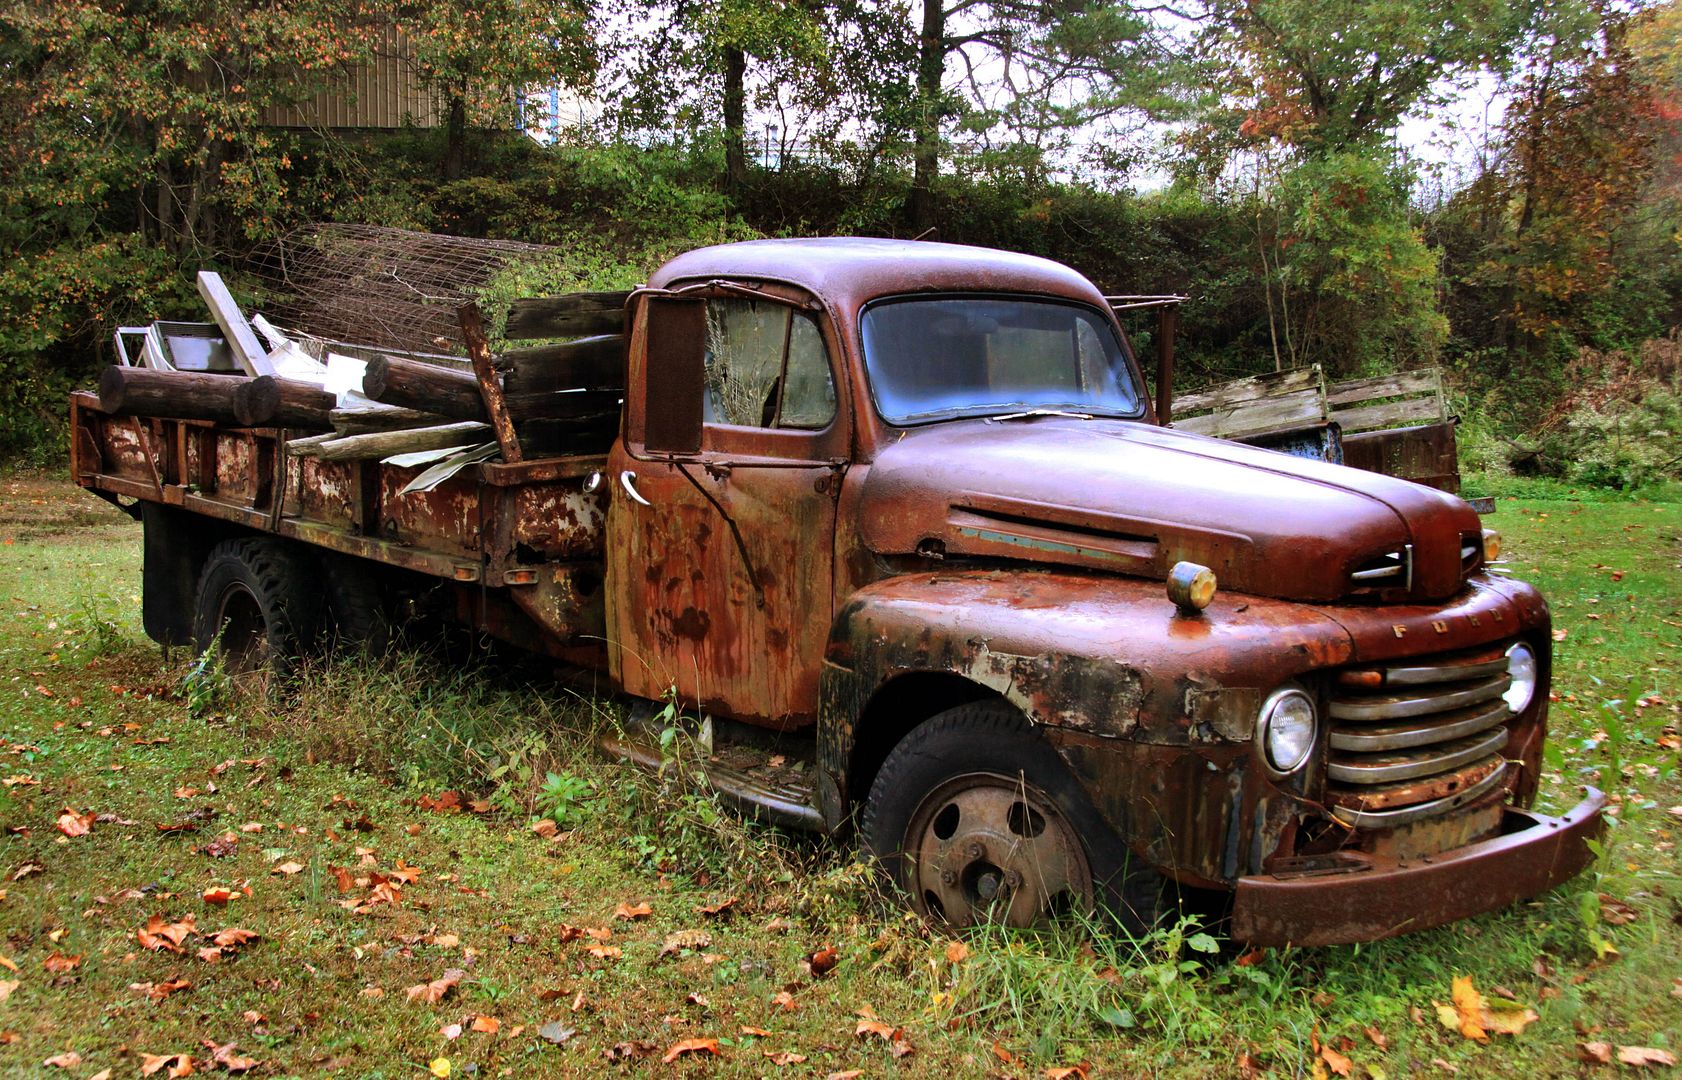
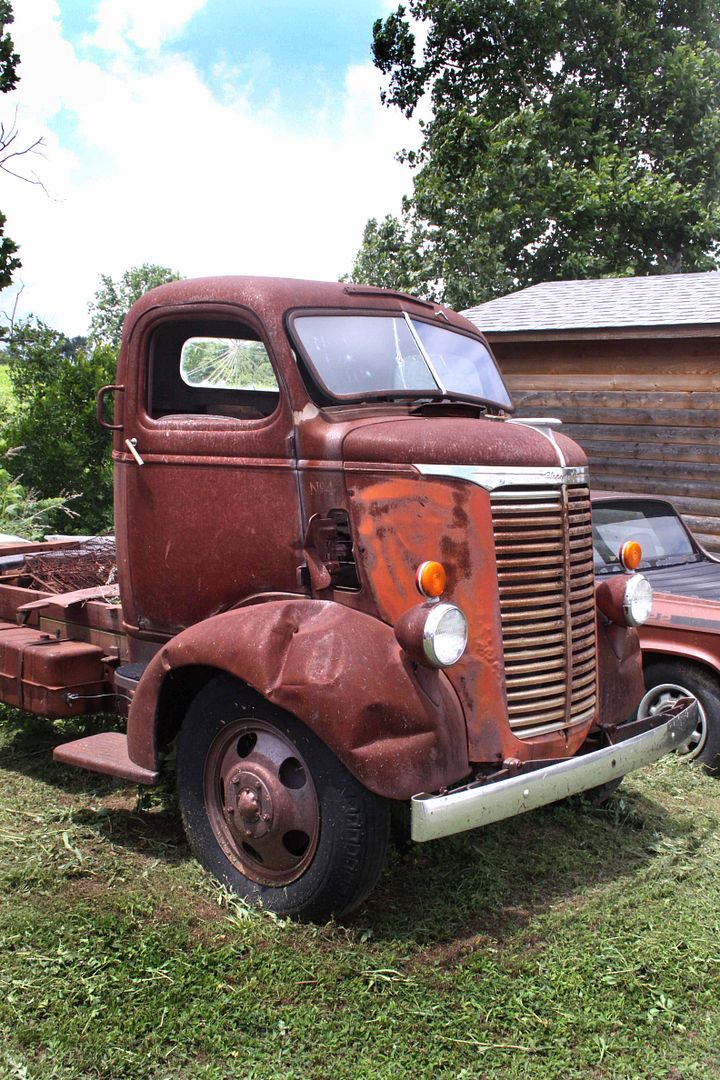
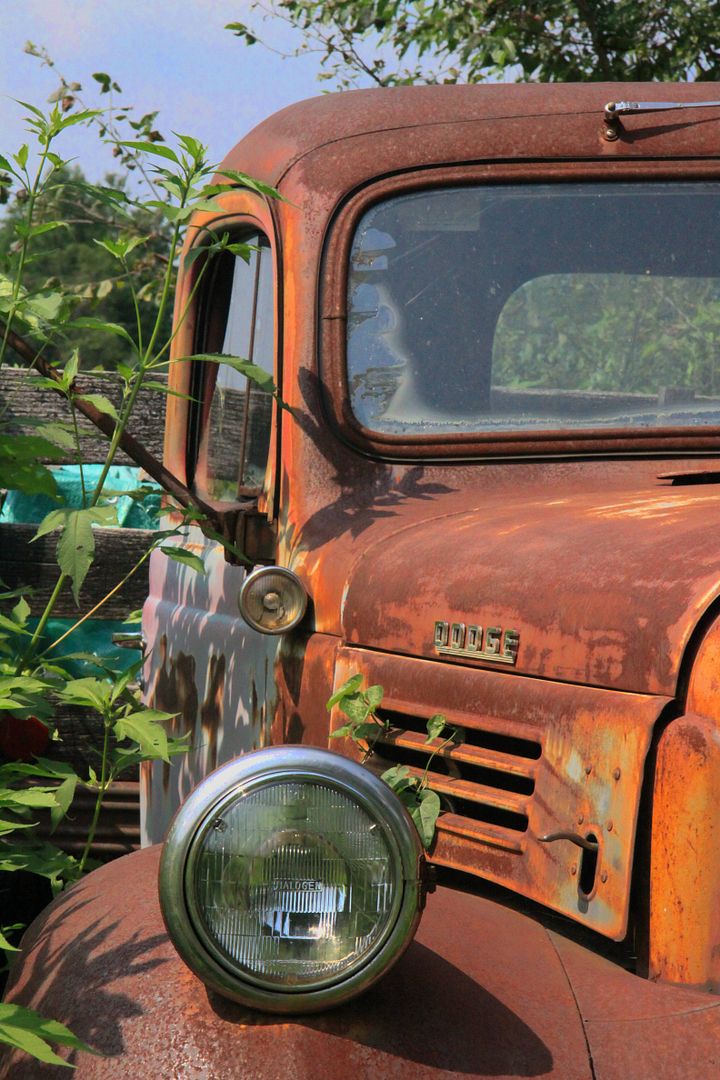
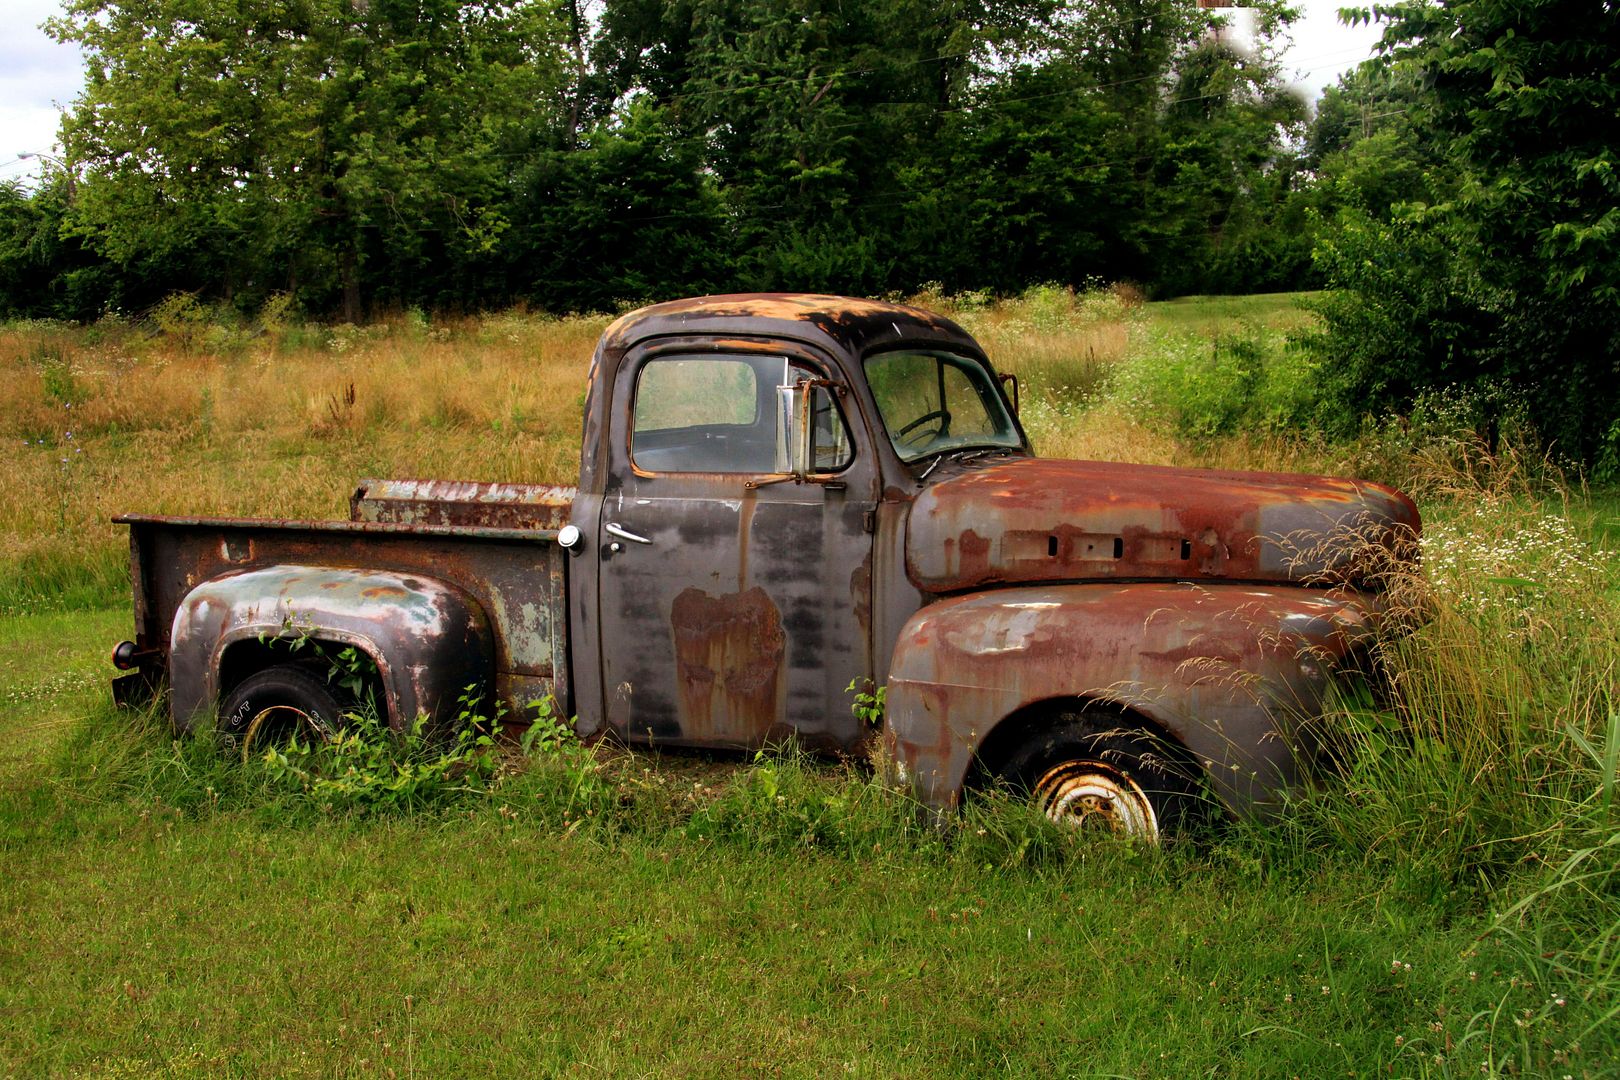
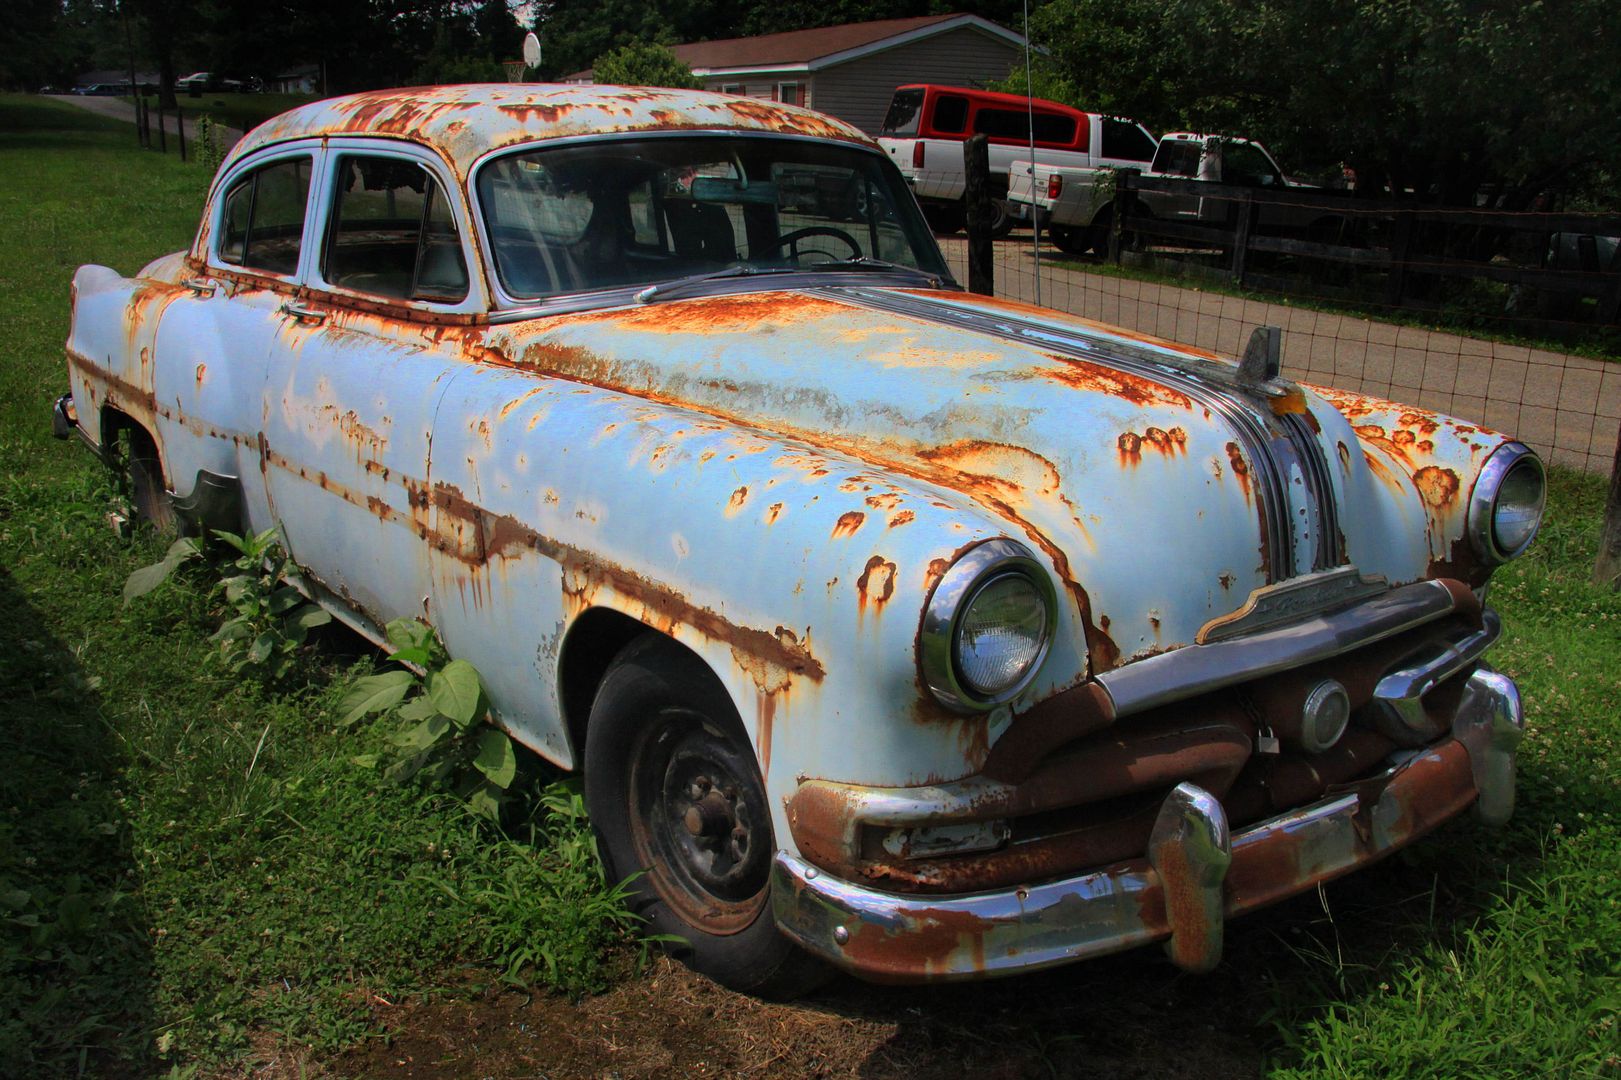
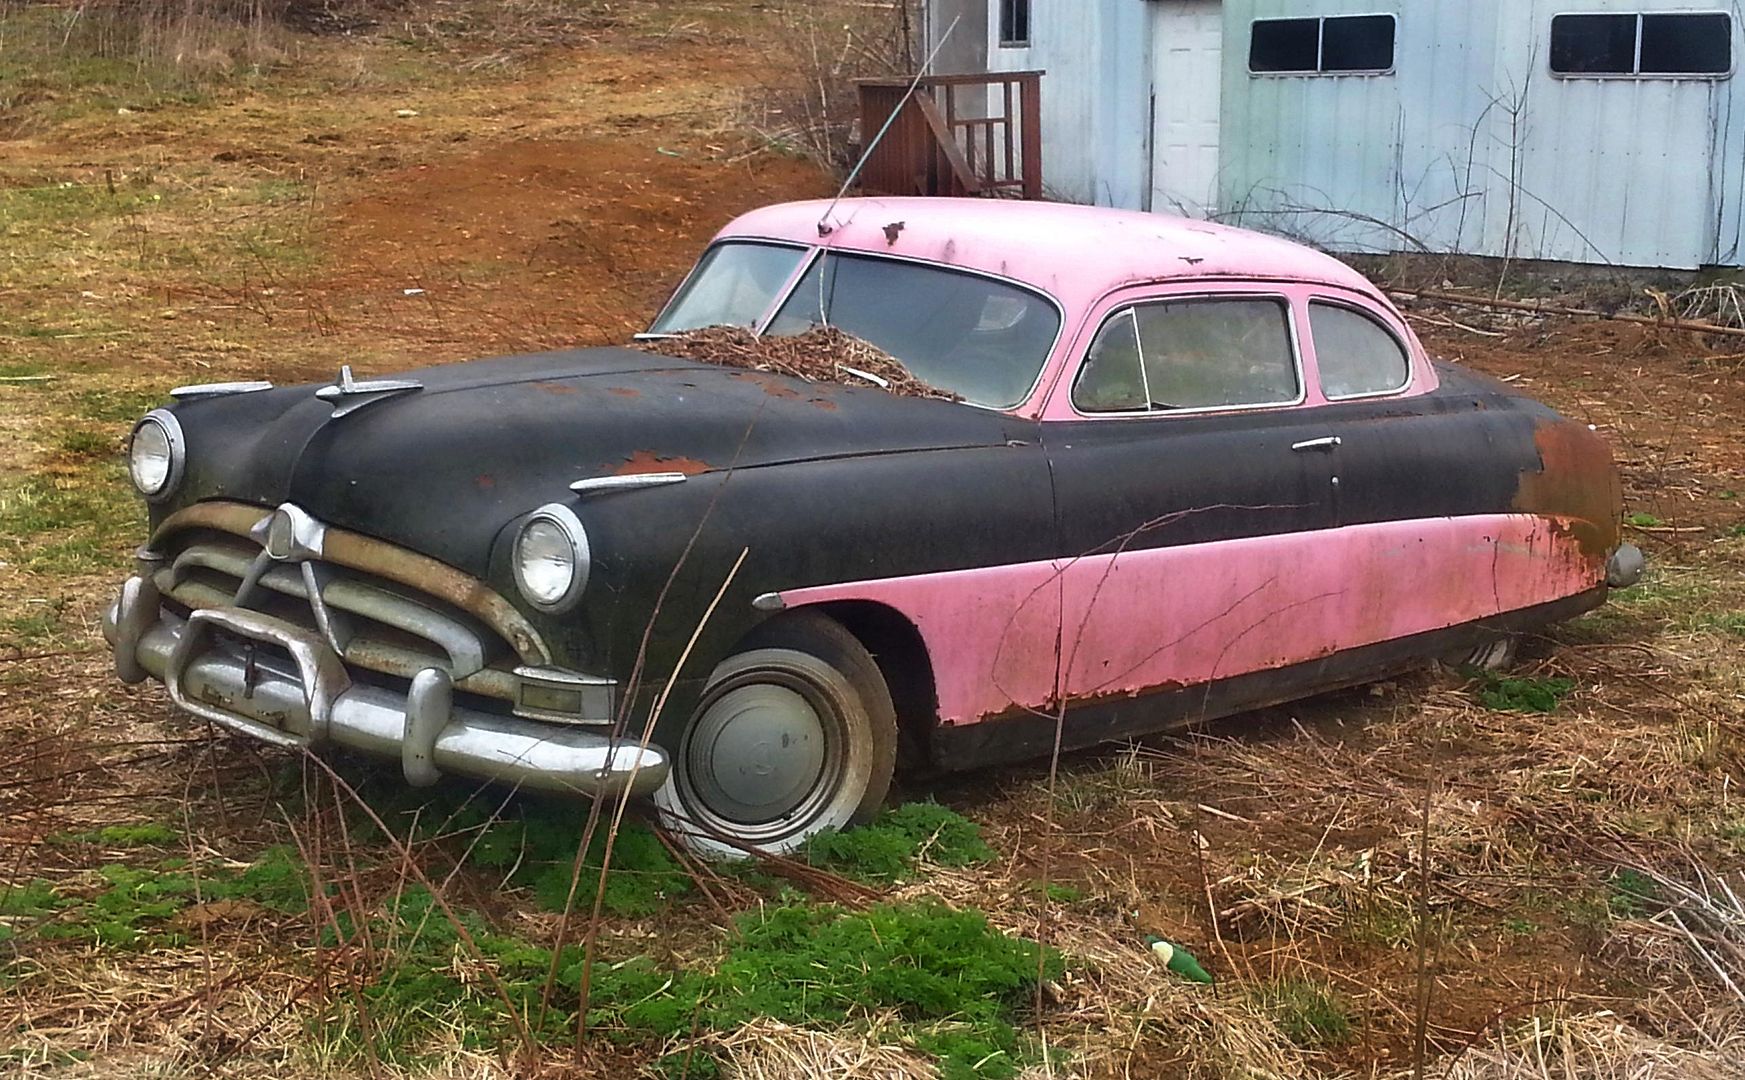
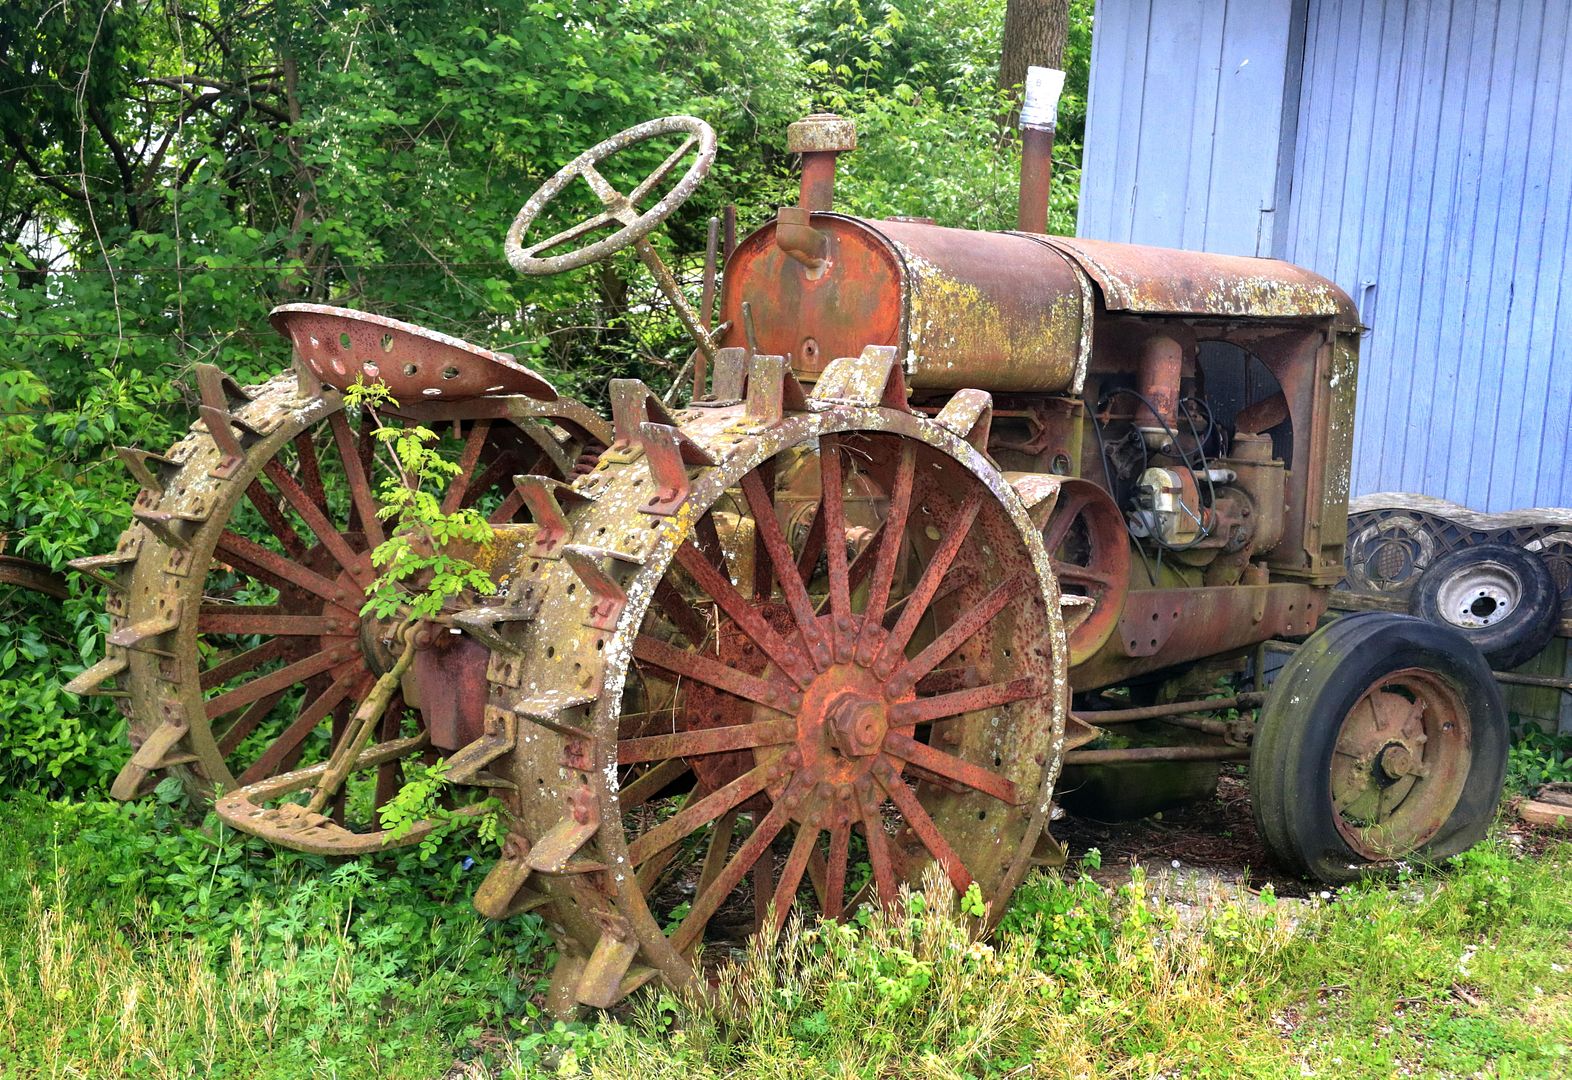
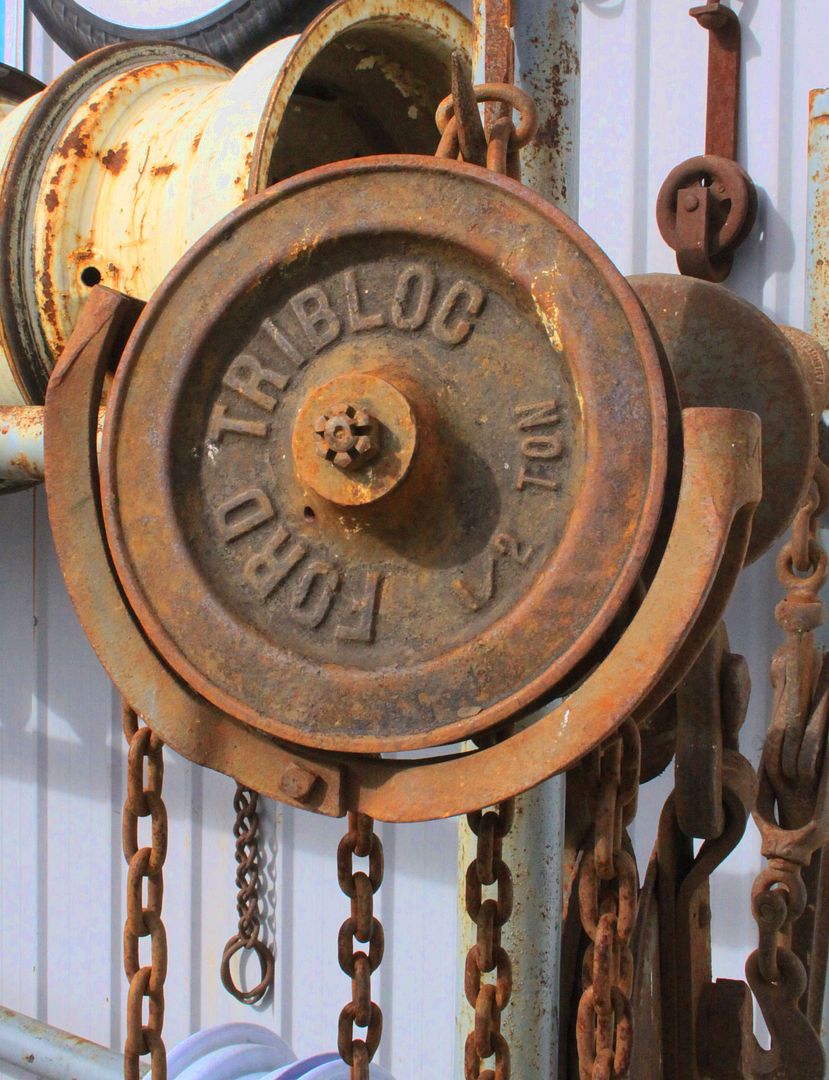
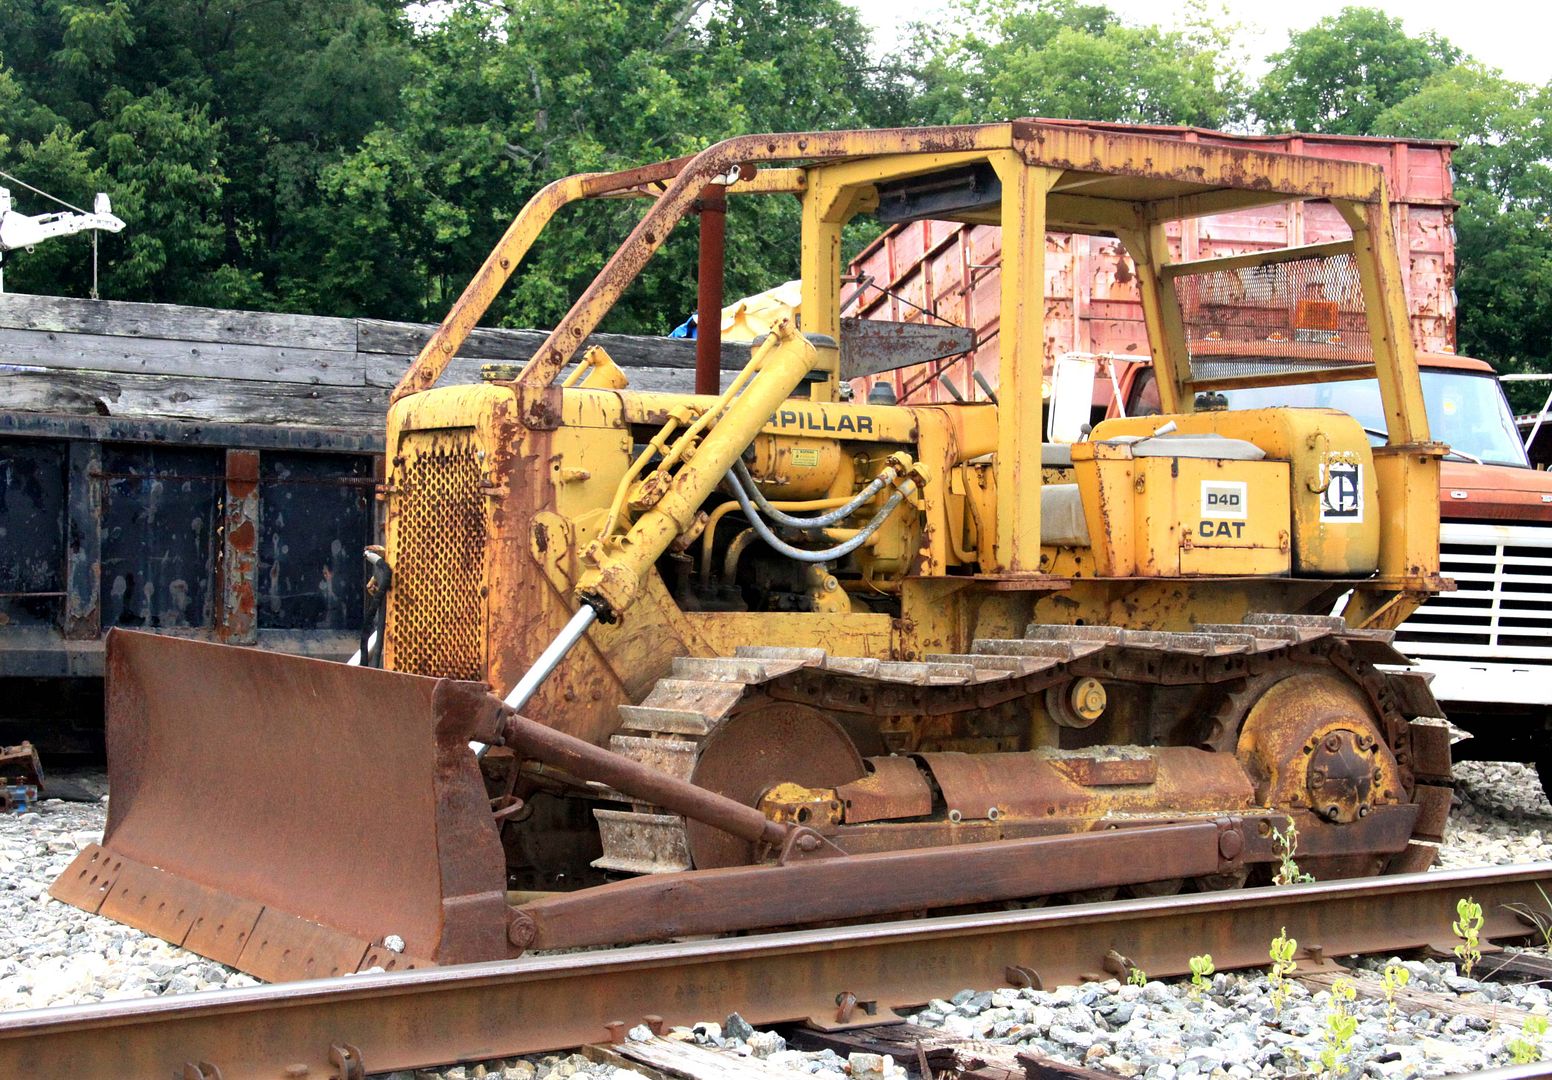
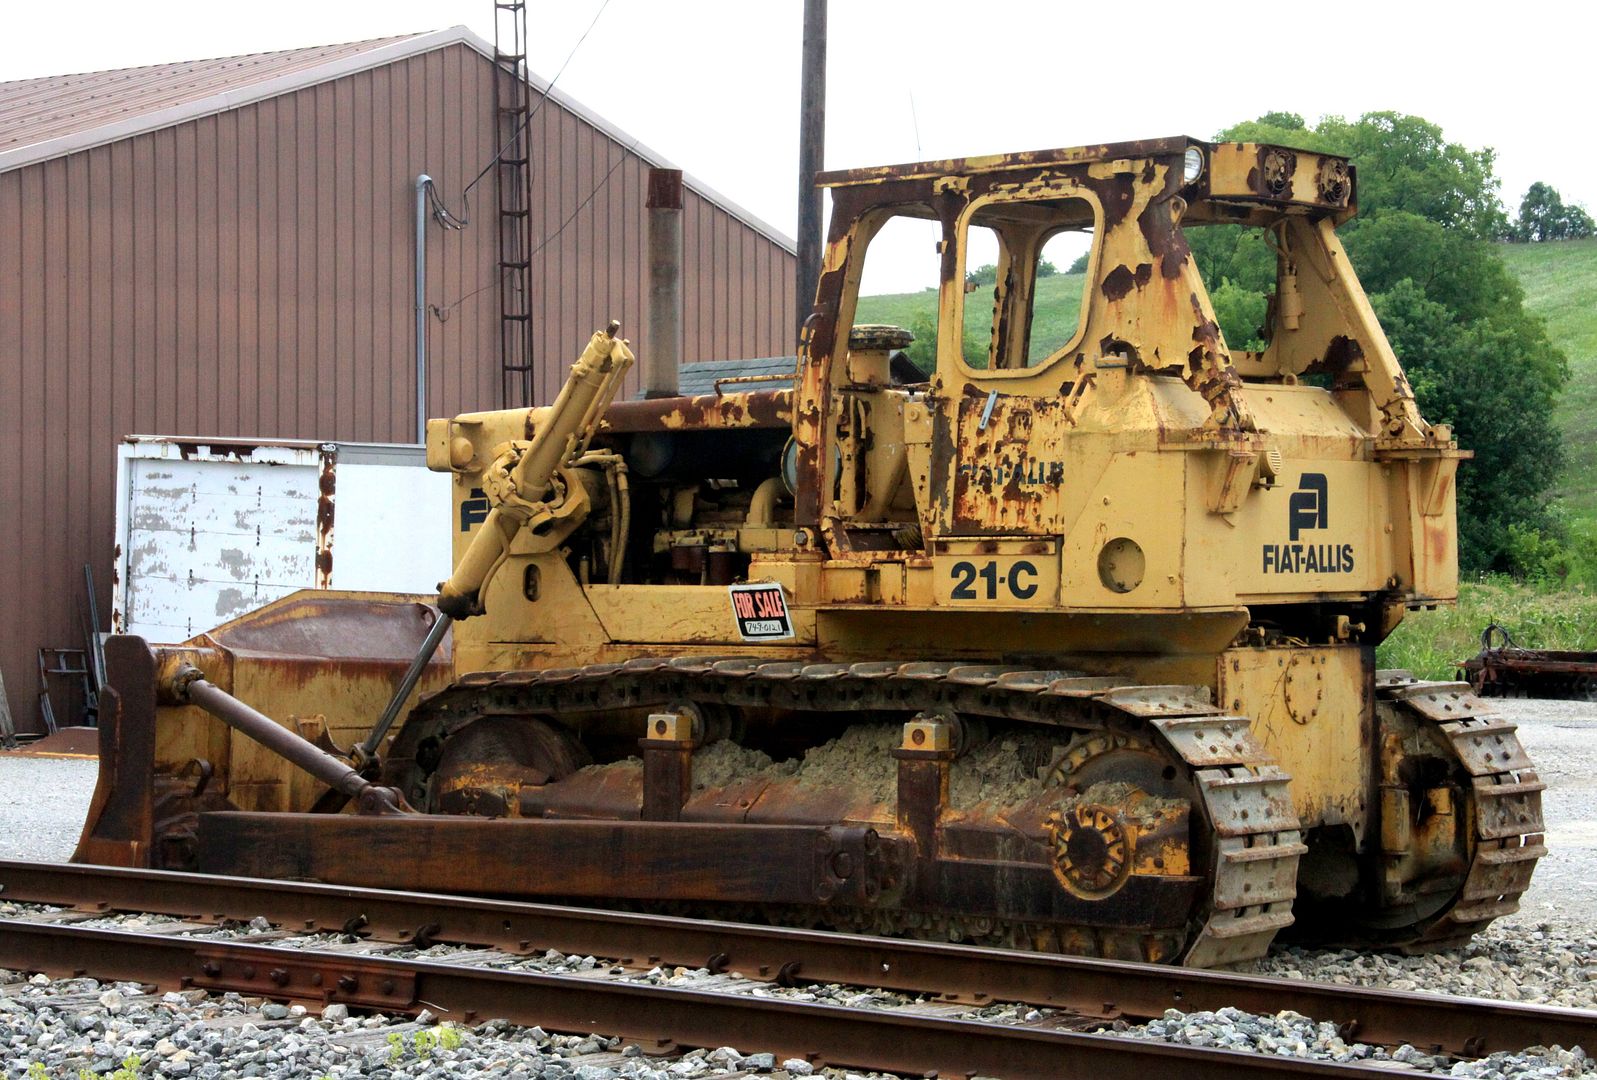
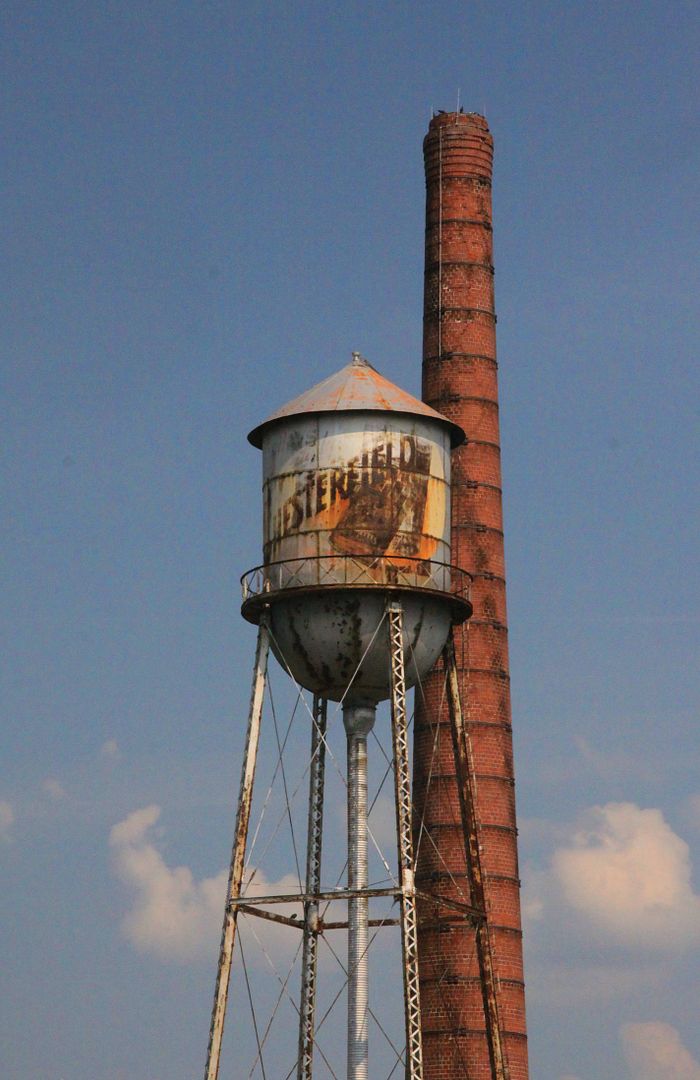
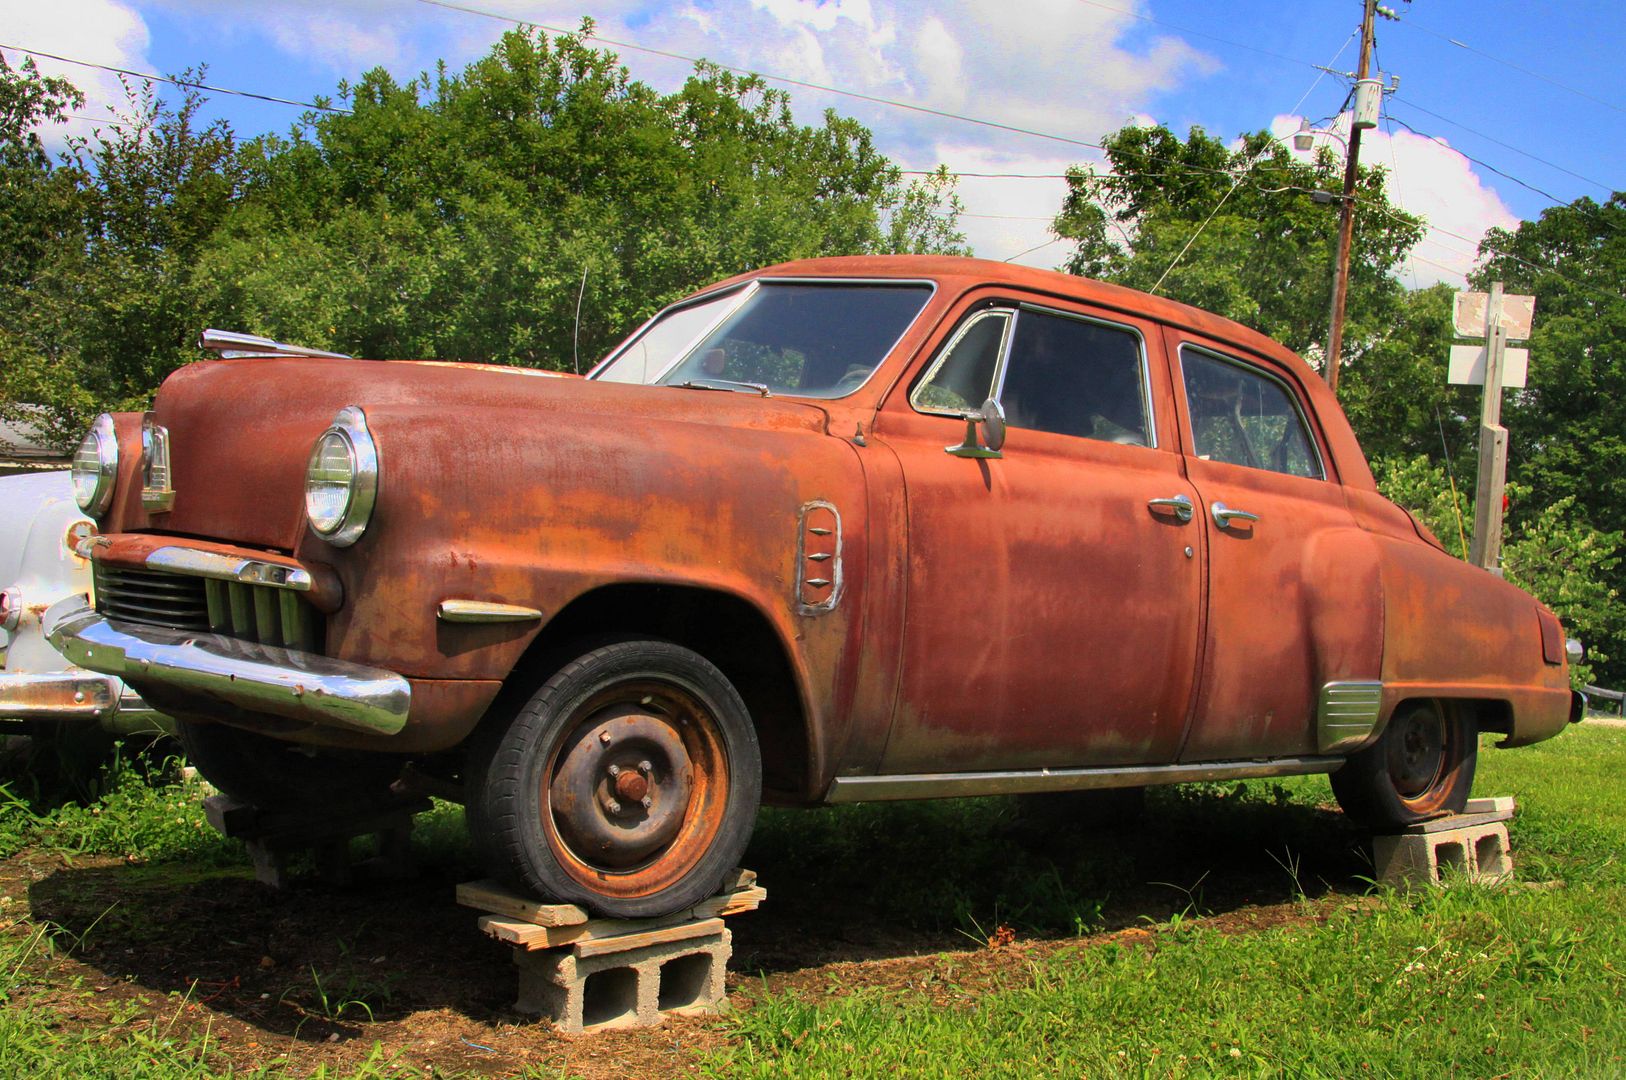
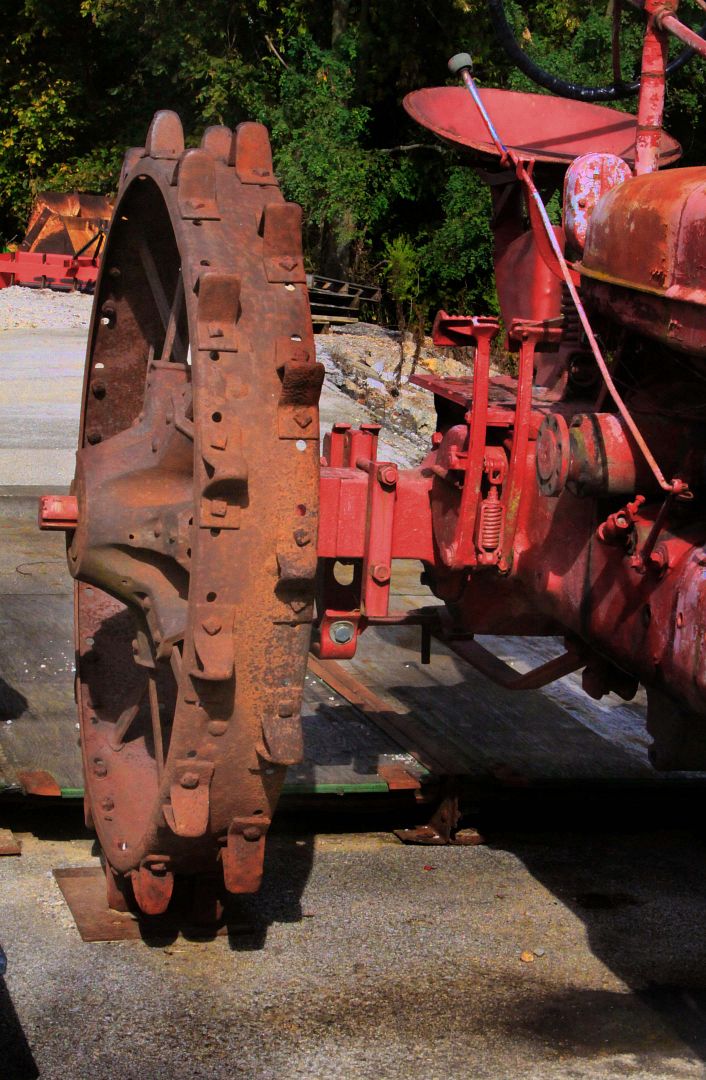
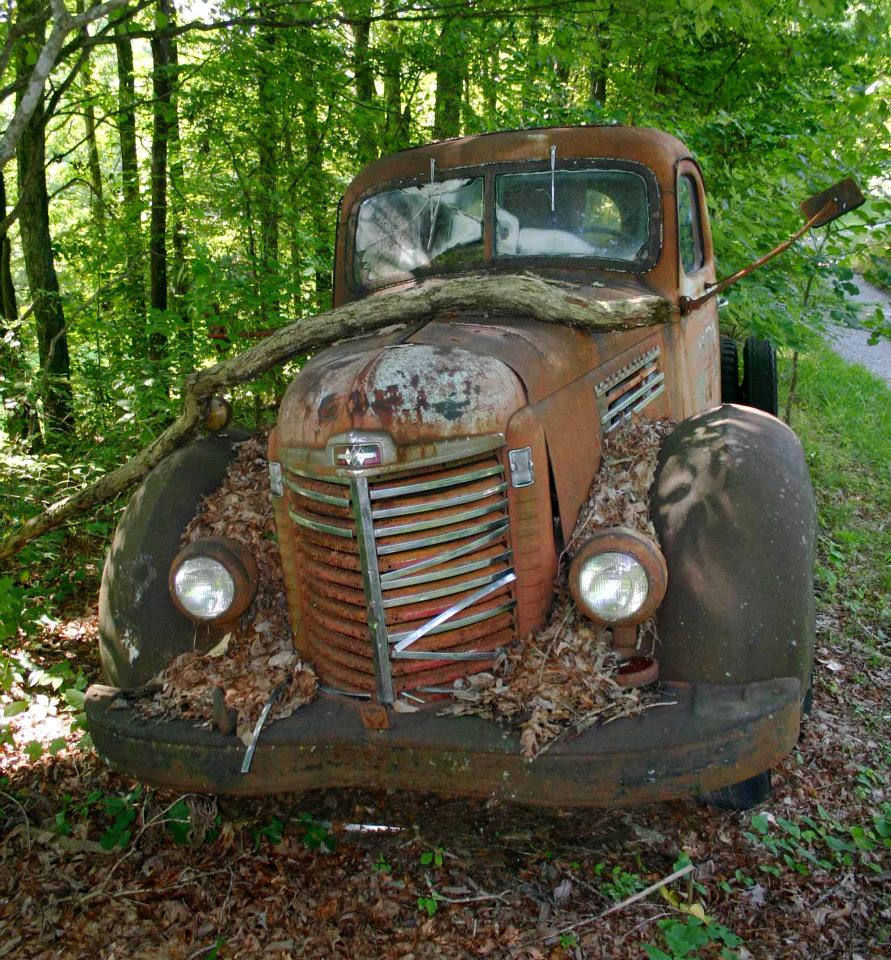
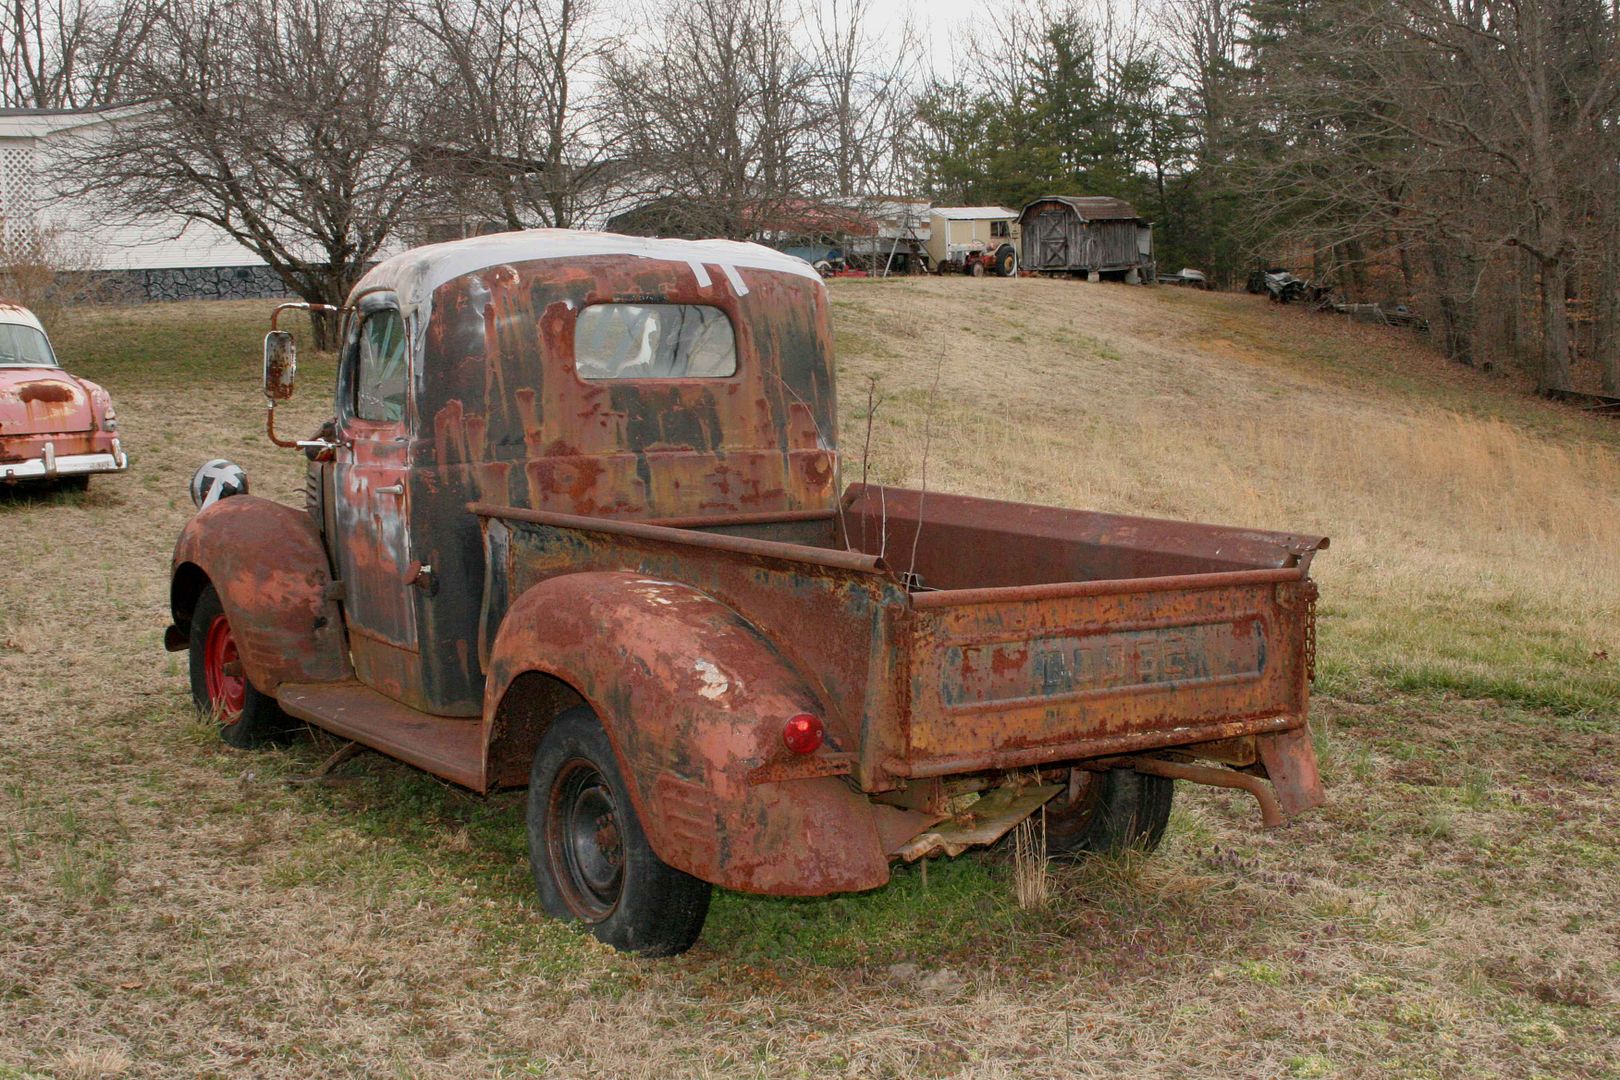
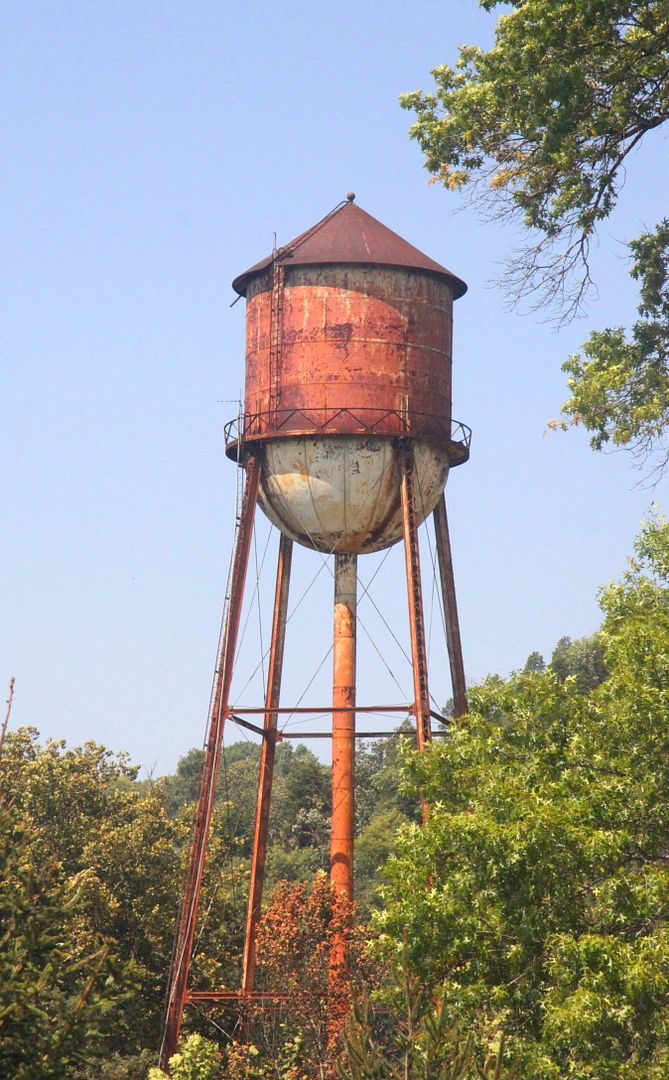
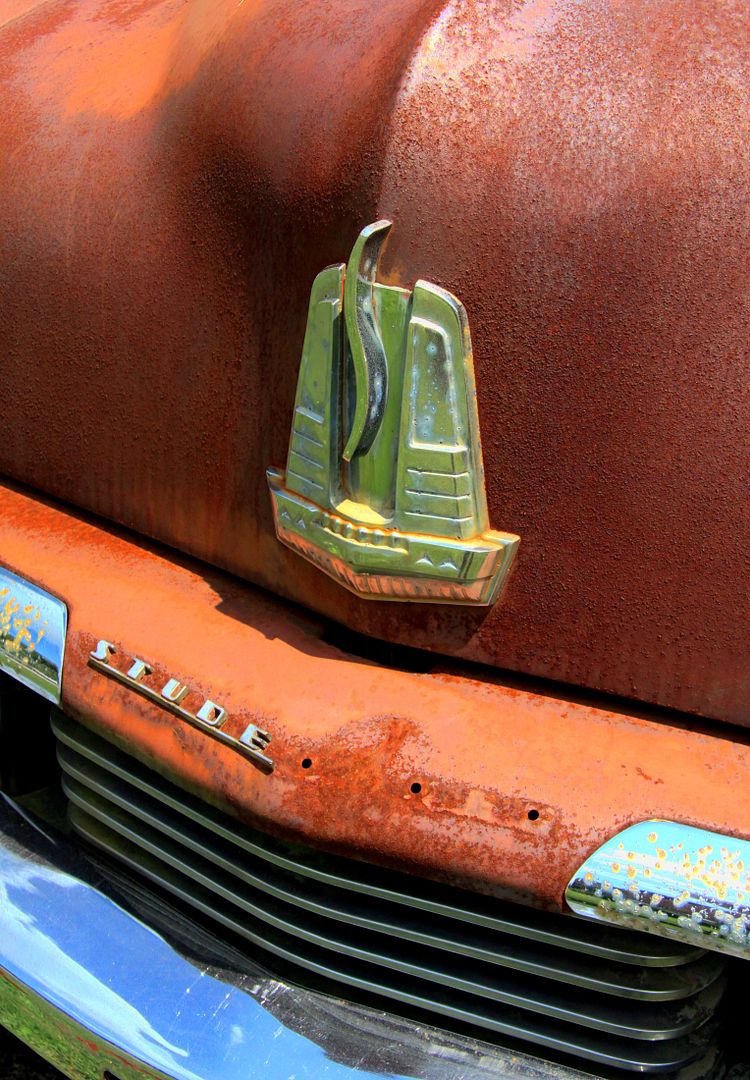
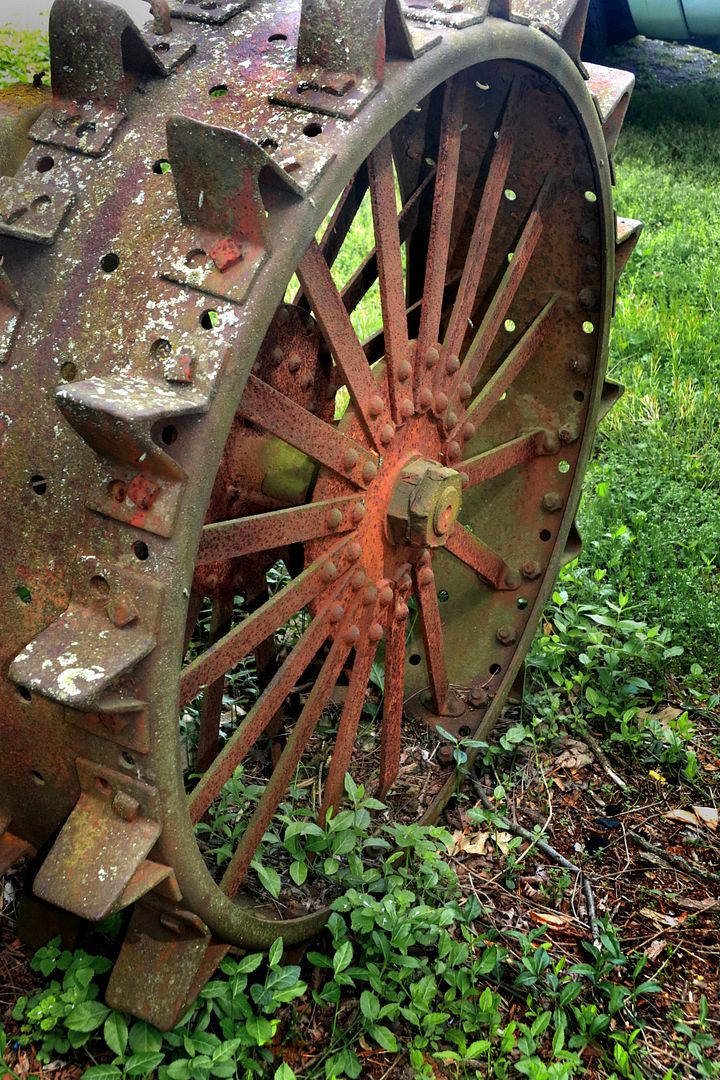
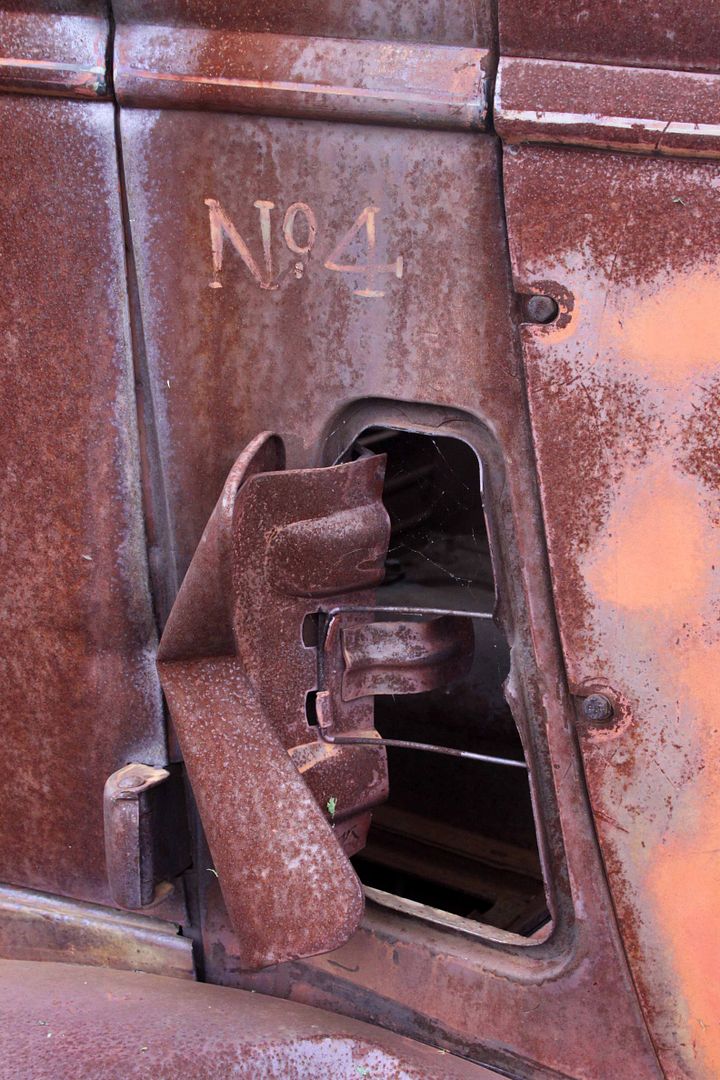
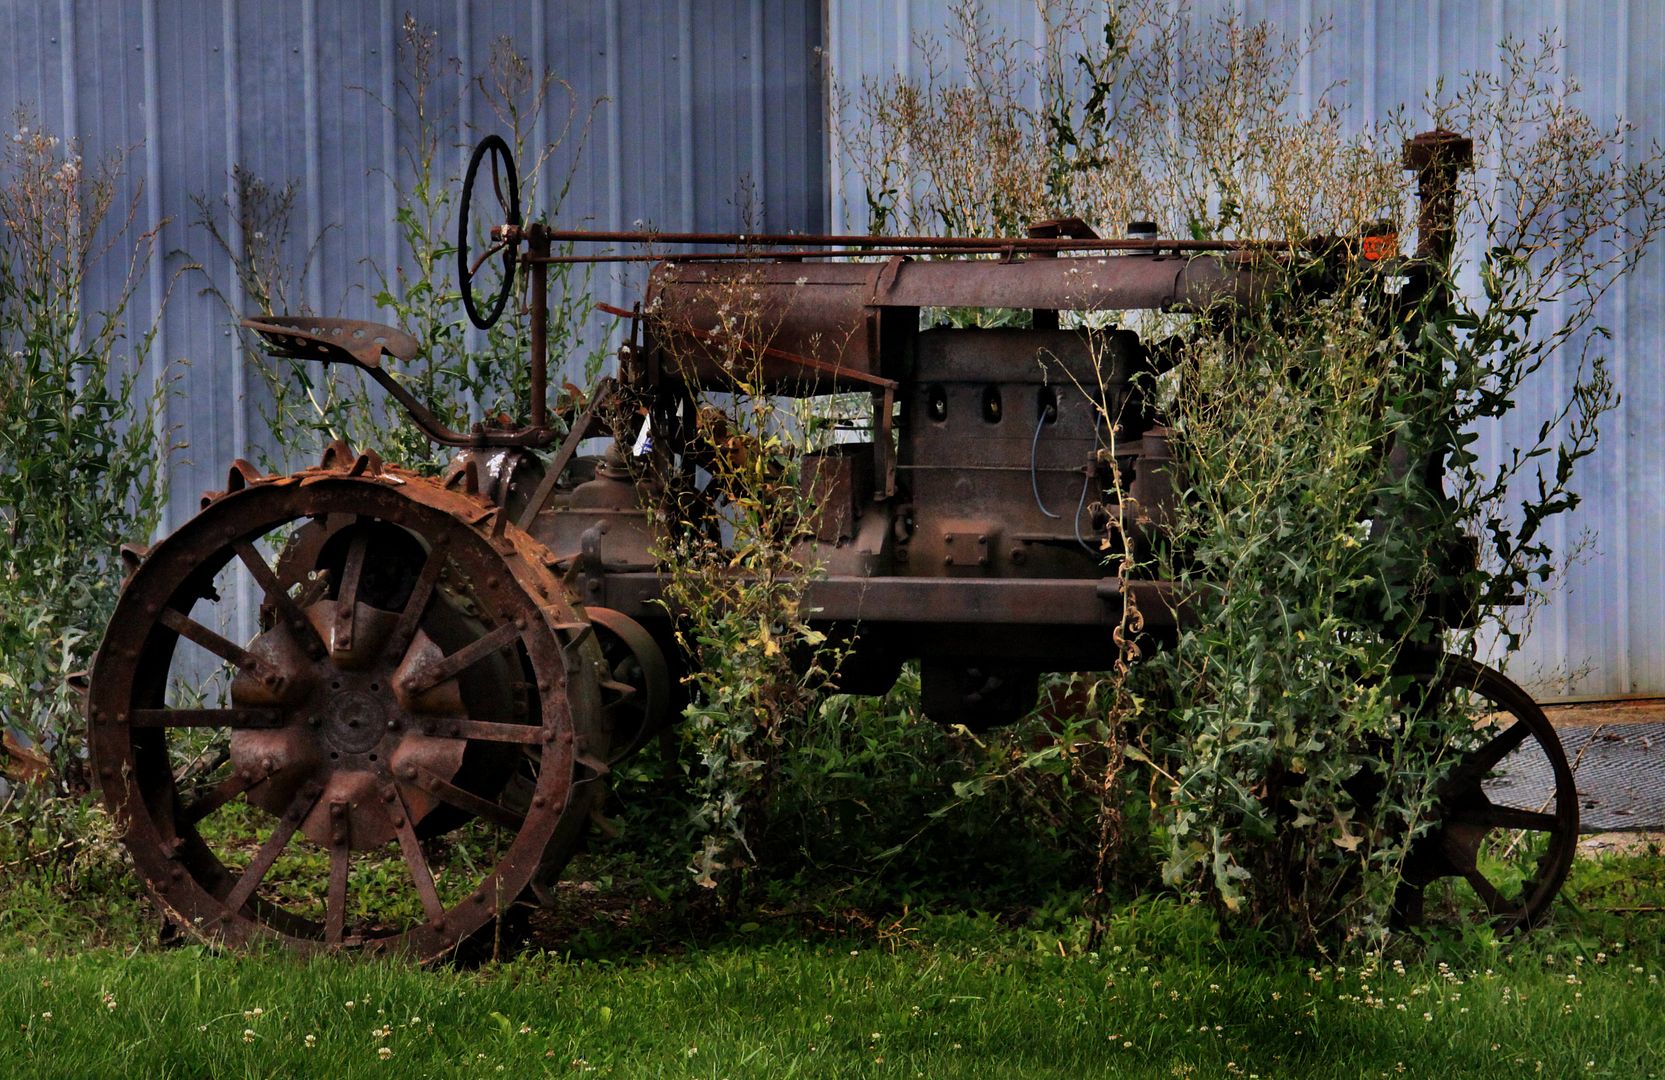
While I have mastered (to some extent) the arts of dust, grime, muck and camo I have yet to master rust - certainly not to the extent that Nick has achieved. But in the hopes of someday becoming successful at even this masterful art form I have accumulated a large file of reference down thru the years.

I hope you won't mind my sharing some.


All photos copyright Michael Koenig 2019 - All Rights Reserved
165thspc
#521
_VISITCOMMUNITY
Kentucky, United States
Joined: April 13, 2011
KitMaker: 9,465 posts
Auto Modeler: 106 posts
Posted: Tuesday, November 05, 2019 - 06:18 PM UTC


All photos copyright Michael Koenig 2019 - All Rights Reserved
165thspc
#521
_VISITCOMMUNITY
Kentucky, United States
Joined: April 13, 2011
KitMaker: 9,465 posts
Auto Modeler: 106 posts
Posted: Tuesday, November 05, 2019 - 06:21 PM UTC
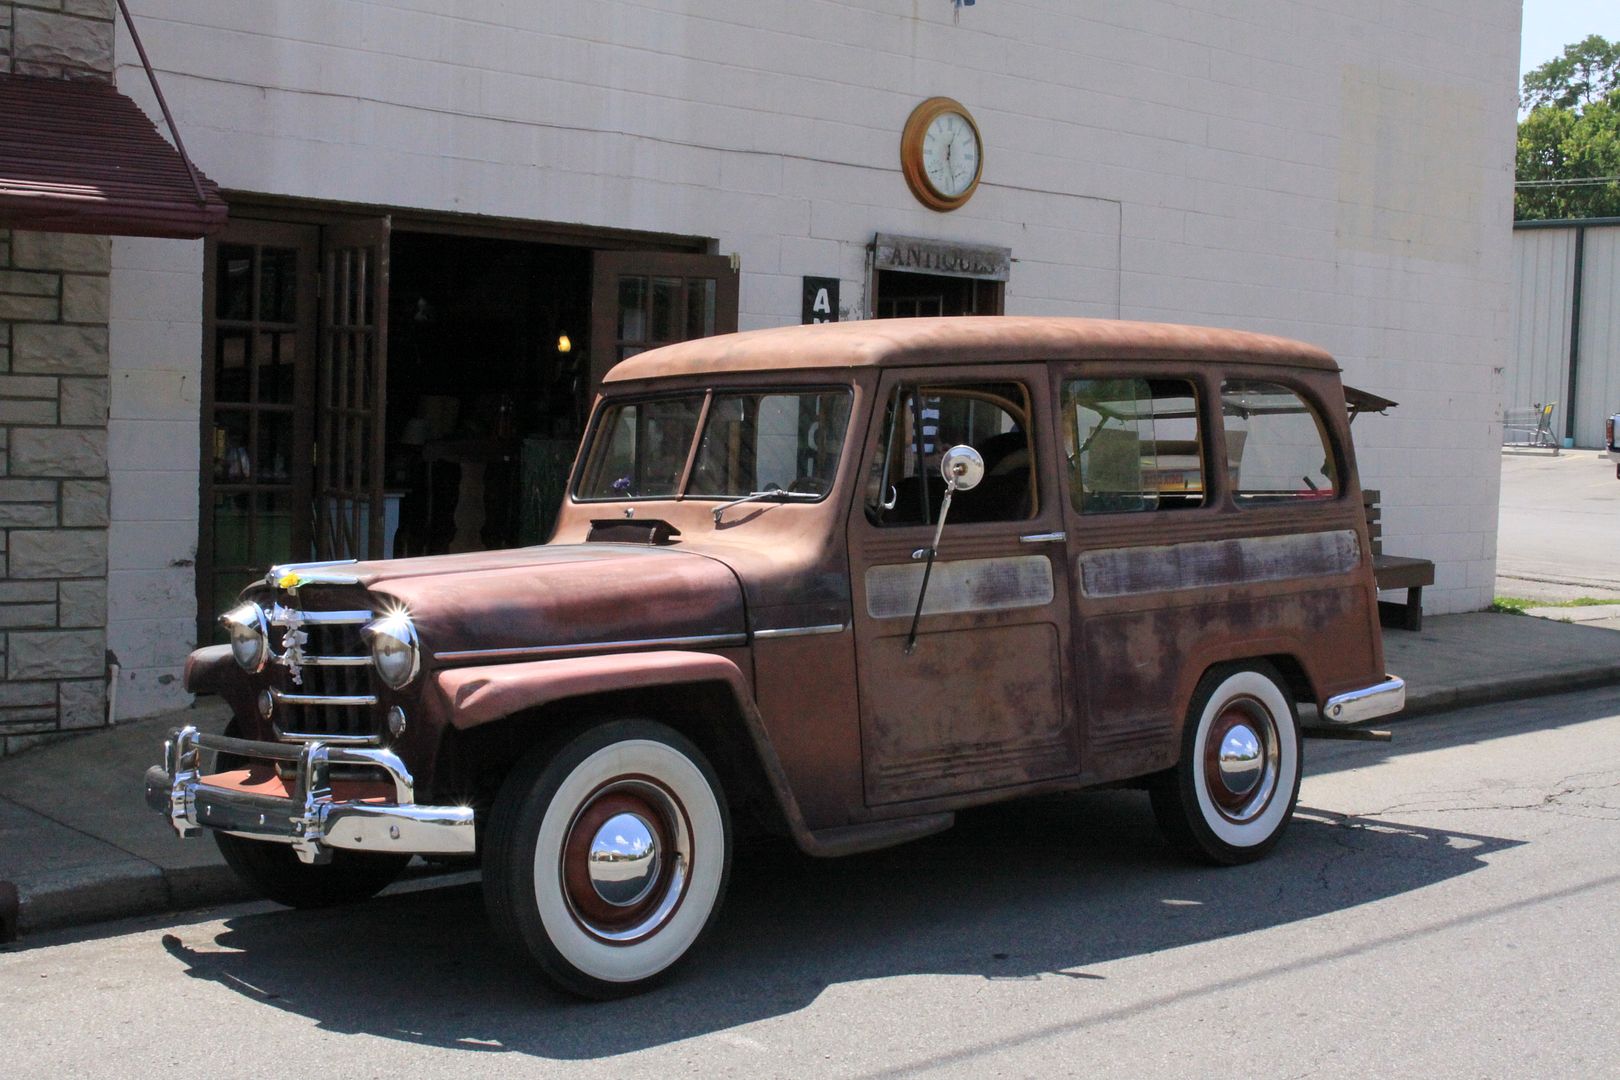
As you can see the back roads of Kentucky afford no end to the classic "rusty gold" automobile find.


Not sure this guy understands exactly what the concept "up on blocks" actually means.


All photos copyright Michael Koenig 2019 - All Rights Reserved
165thspc
#521
_VISITCOMMUNITY
Kentucky, United States
Joined: April 13, 2011
KitMaker: 9,465 posts
Auto Modeler: 106 posts
Posted: Tuesday, November 05, 2019 - 06:48 PM UTC


All photos copyright Michael Koenig 2019 - All Rights Reserved
165thspc
#521
_VISITCOMMUNITY
Kentucky, United States
Joined: April 13, 2011
KitMaker: 9,465 posts
Auto Modeler: 106 posts
Posted: Thursday, November 07, 2019 - 01:27 AM UTC
Sorry guys. I seem to have brought the conversation to a halt.
md72
#439
_VISITCOMMUNITY
Washington, United States
Joined: November 05, 2005
KitMaker: 4,950 posts
Auto Modeler: 555 posts
Posted: Thursday, November 07, 2019 - 02:19 AM UTC
great stuff here. Even under the rust, the style shines through,
AussieReg
Staff MemberAssociate Editor
AUTOMODELER
#007
_VISITCOMMUNITY
Victoria, Australia
Joined: June 09, 2009
KitMaker: 8,156 posts
Auto Modeler: 2,953 posts
Posted: Thursday, November 07, 2019 - 07:37 PM UTC

Quoted Text

Sorry guys. I seem to have brought the conversation to a halt.


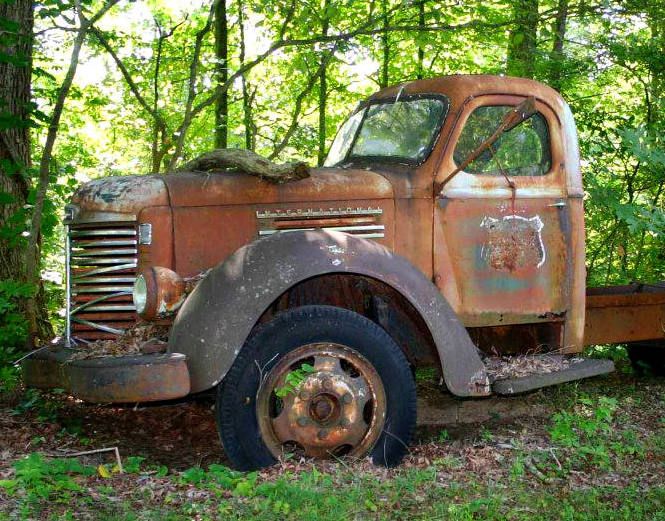
Not at all, I'm just absorbed in checking out the images. I love the International, looks to be about a '45 model.

Great stuff, keep them coming!

Cheers, D
165thspc
#521
_VISITCOMMUNITY
Kentucky, United States
Joined: April 13, 2011
KitMaker: 9,465 posts
Auto Modeler: 106 posts
Posted: Friday, November 08, 2019 - 03:01 AM UTC
Sorry but I gotta do one more round.
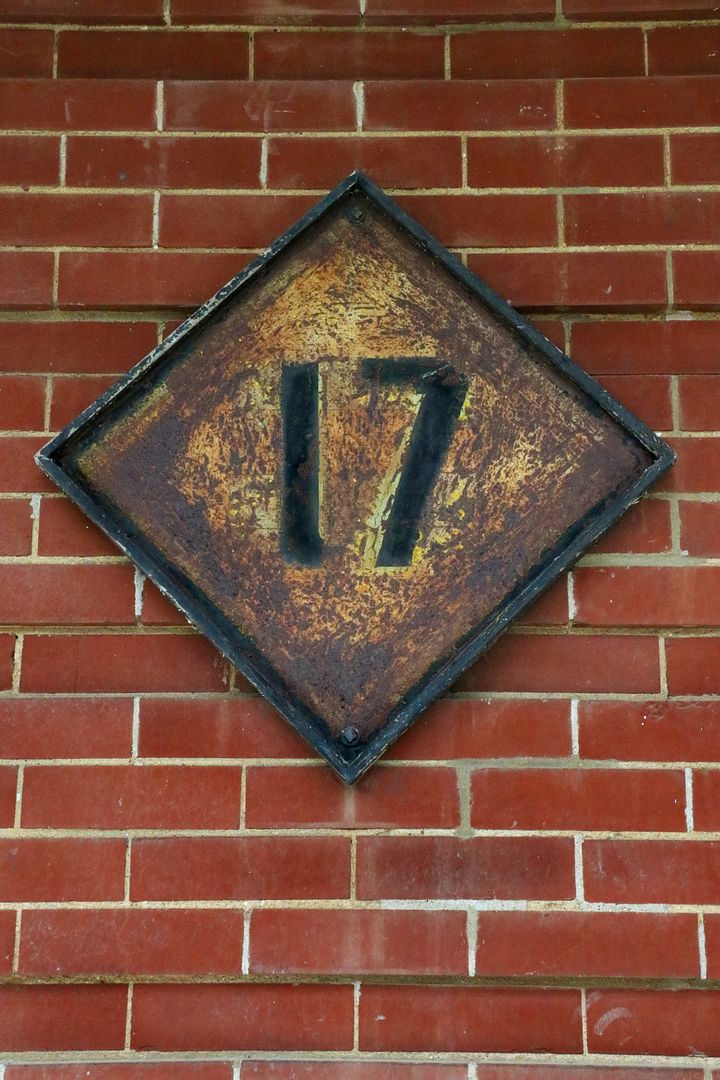
Please excuse . . . I call this entire collection "Rusty Gold".


All photos copyright Michael Koenig 2019 - All Rights Reserved
 _GOTOTOP