

Go to automodeler.com for the current dynamic site!


The Garage
For general automotive modeling or non-modeling topics.
For general automotive modeling or non-modeling topics.
Hosted by Jim Starkweather
Garage Queens 2020 Group Build

Hwa-Rang

Joined: June 29, 2004
KitMaker: 6,760 posts
Auto Modeler: 2,182 posts

Posted: Monday, January 13, 2020 - 06:11 PM UTC
Damian, gorgeous color, for the 'Cuda.

AussieReg

#007

Joined: June 09, 2009
KitMaker: 8,156 posts
Auto Modeler: 2,953 posts

Posted: Saturday, January 25, 2020 - 01:41 AM UTC
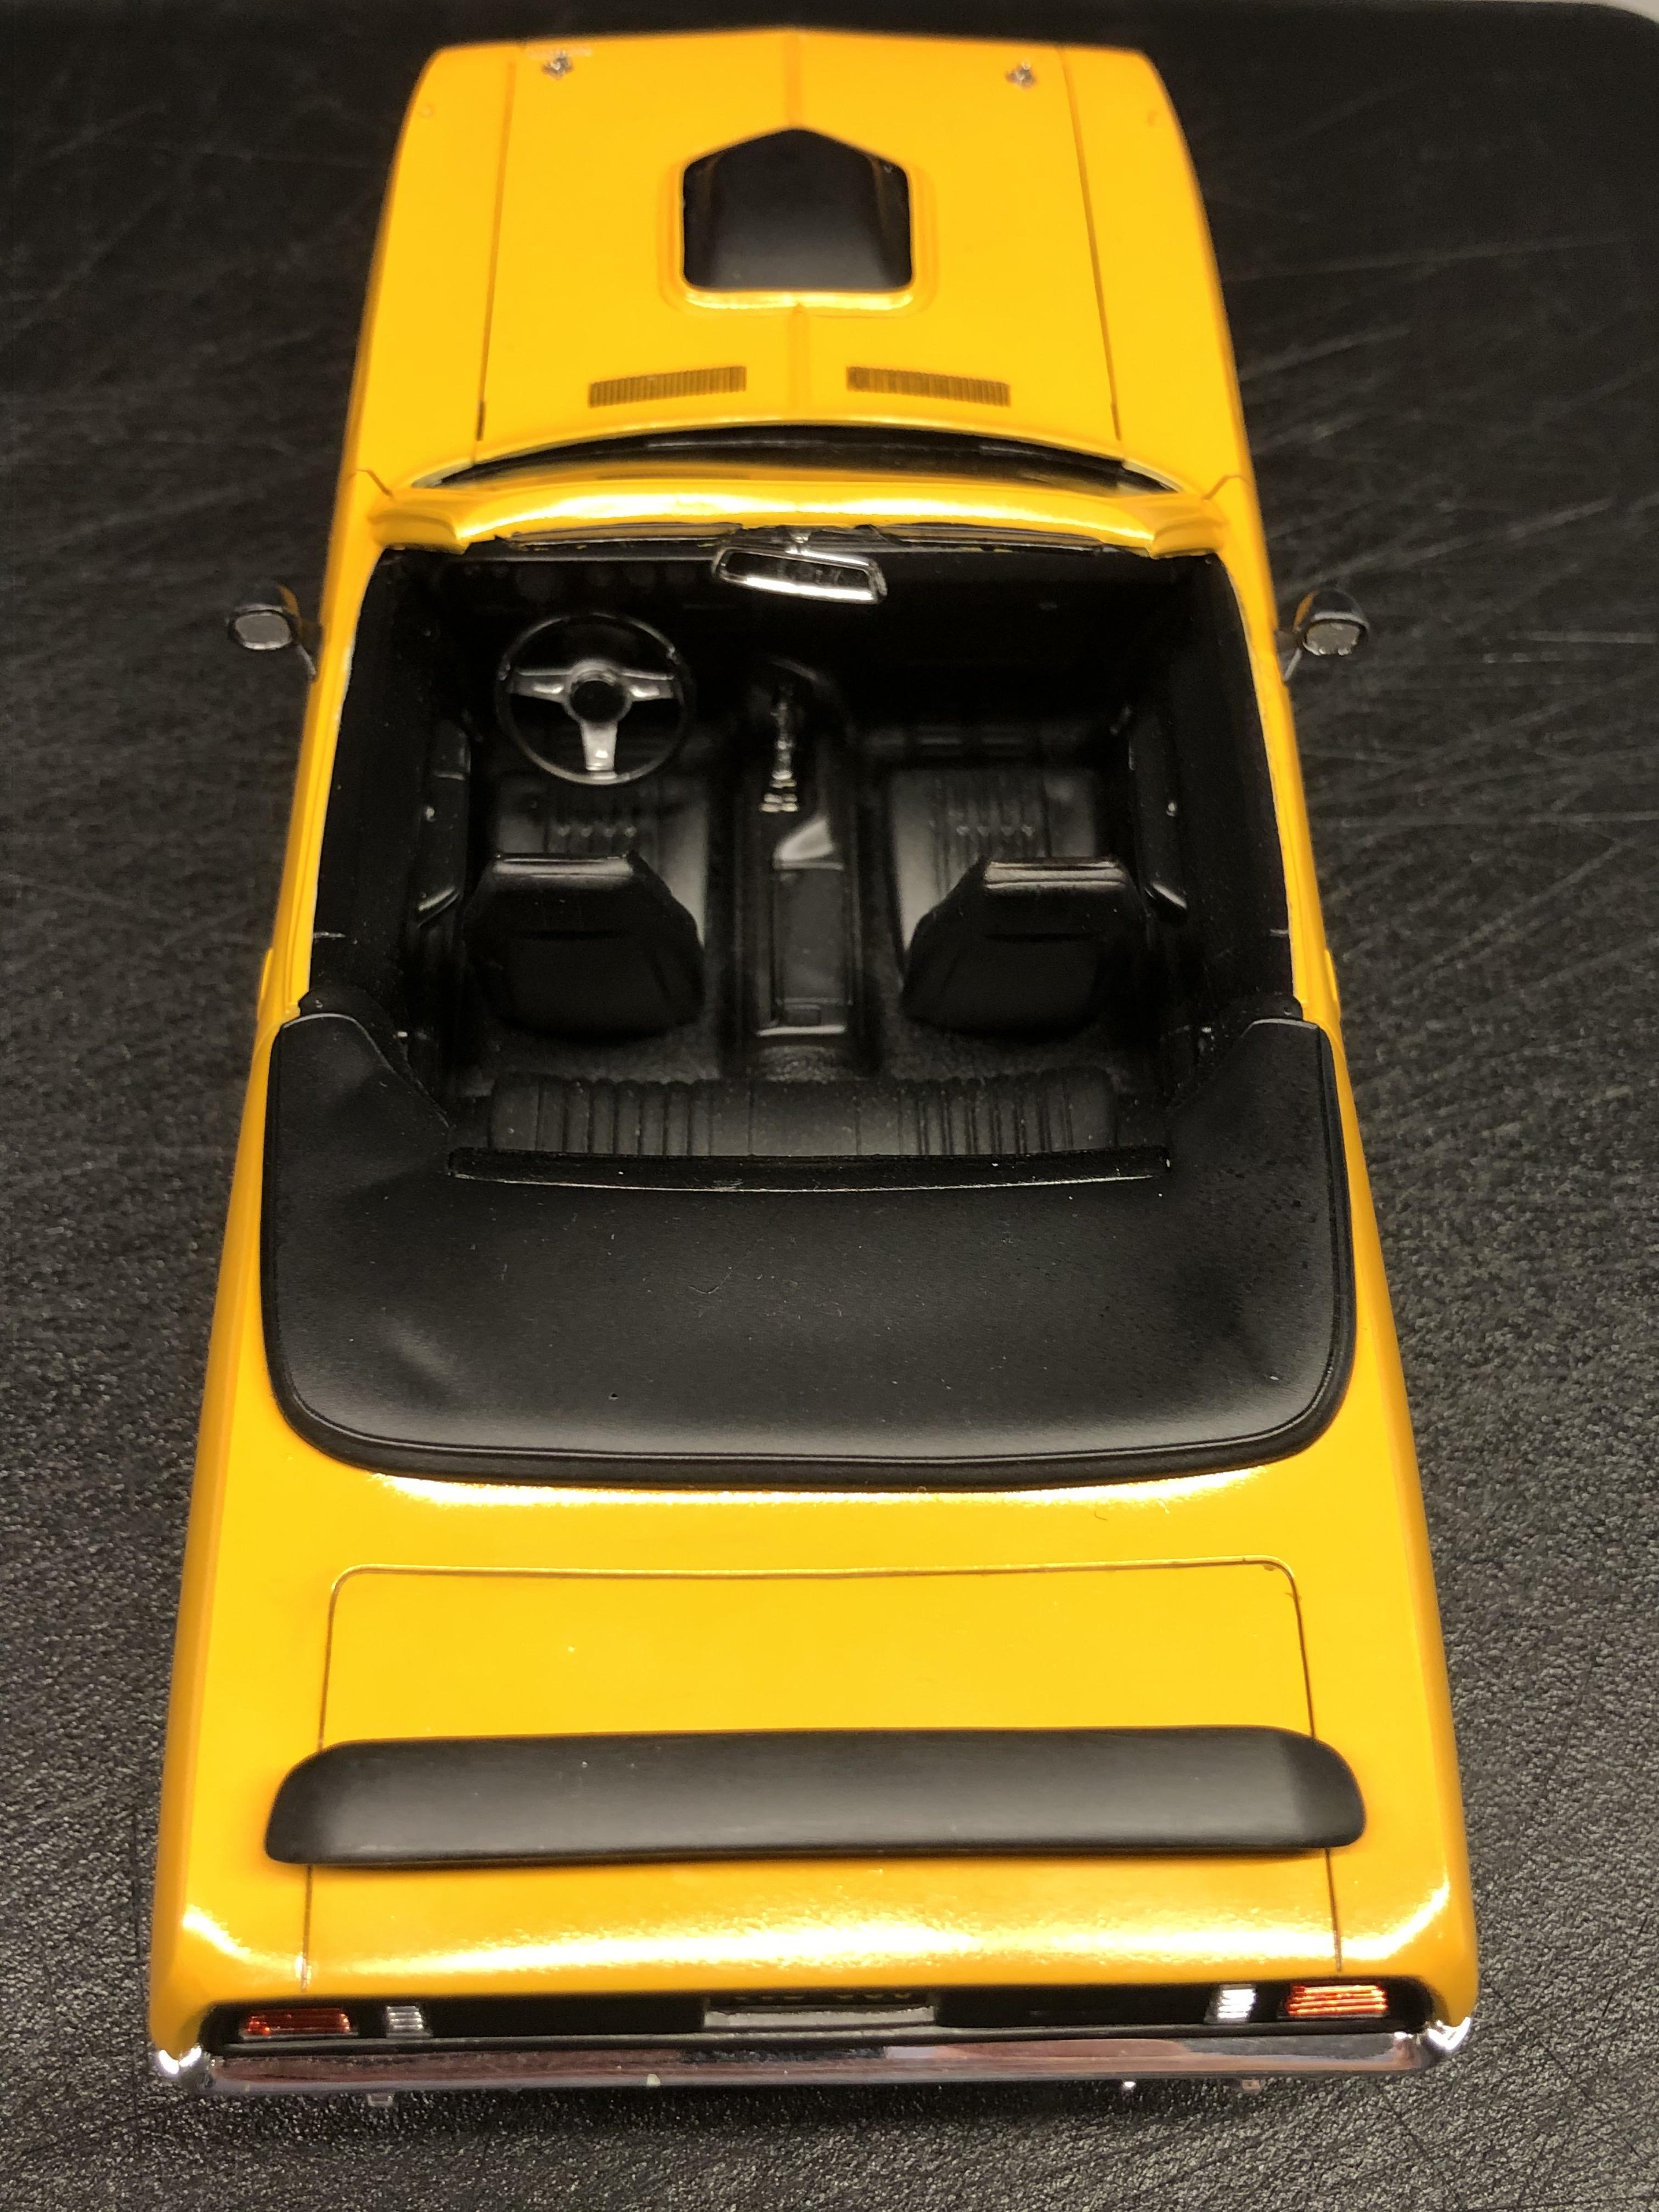
I've been working away at the Cuda, got the windscreen, radiator and interior tub installed.
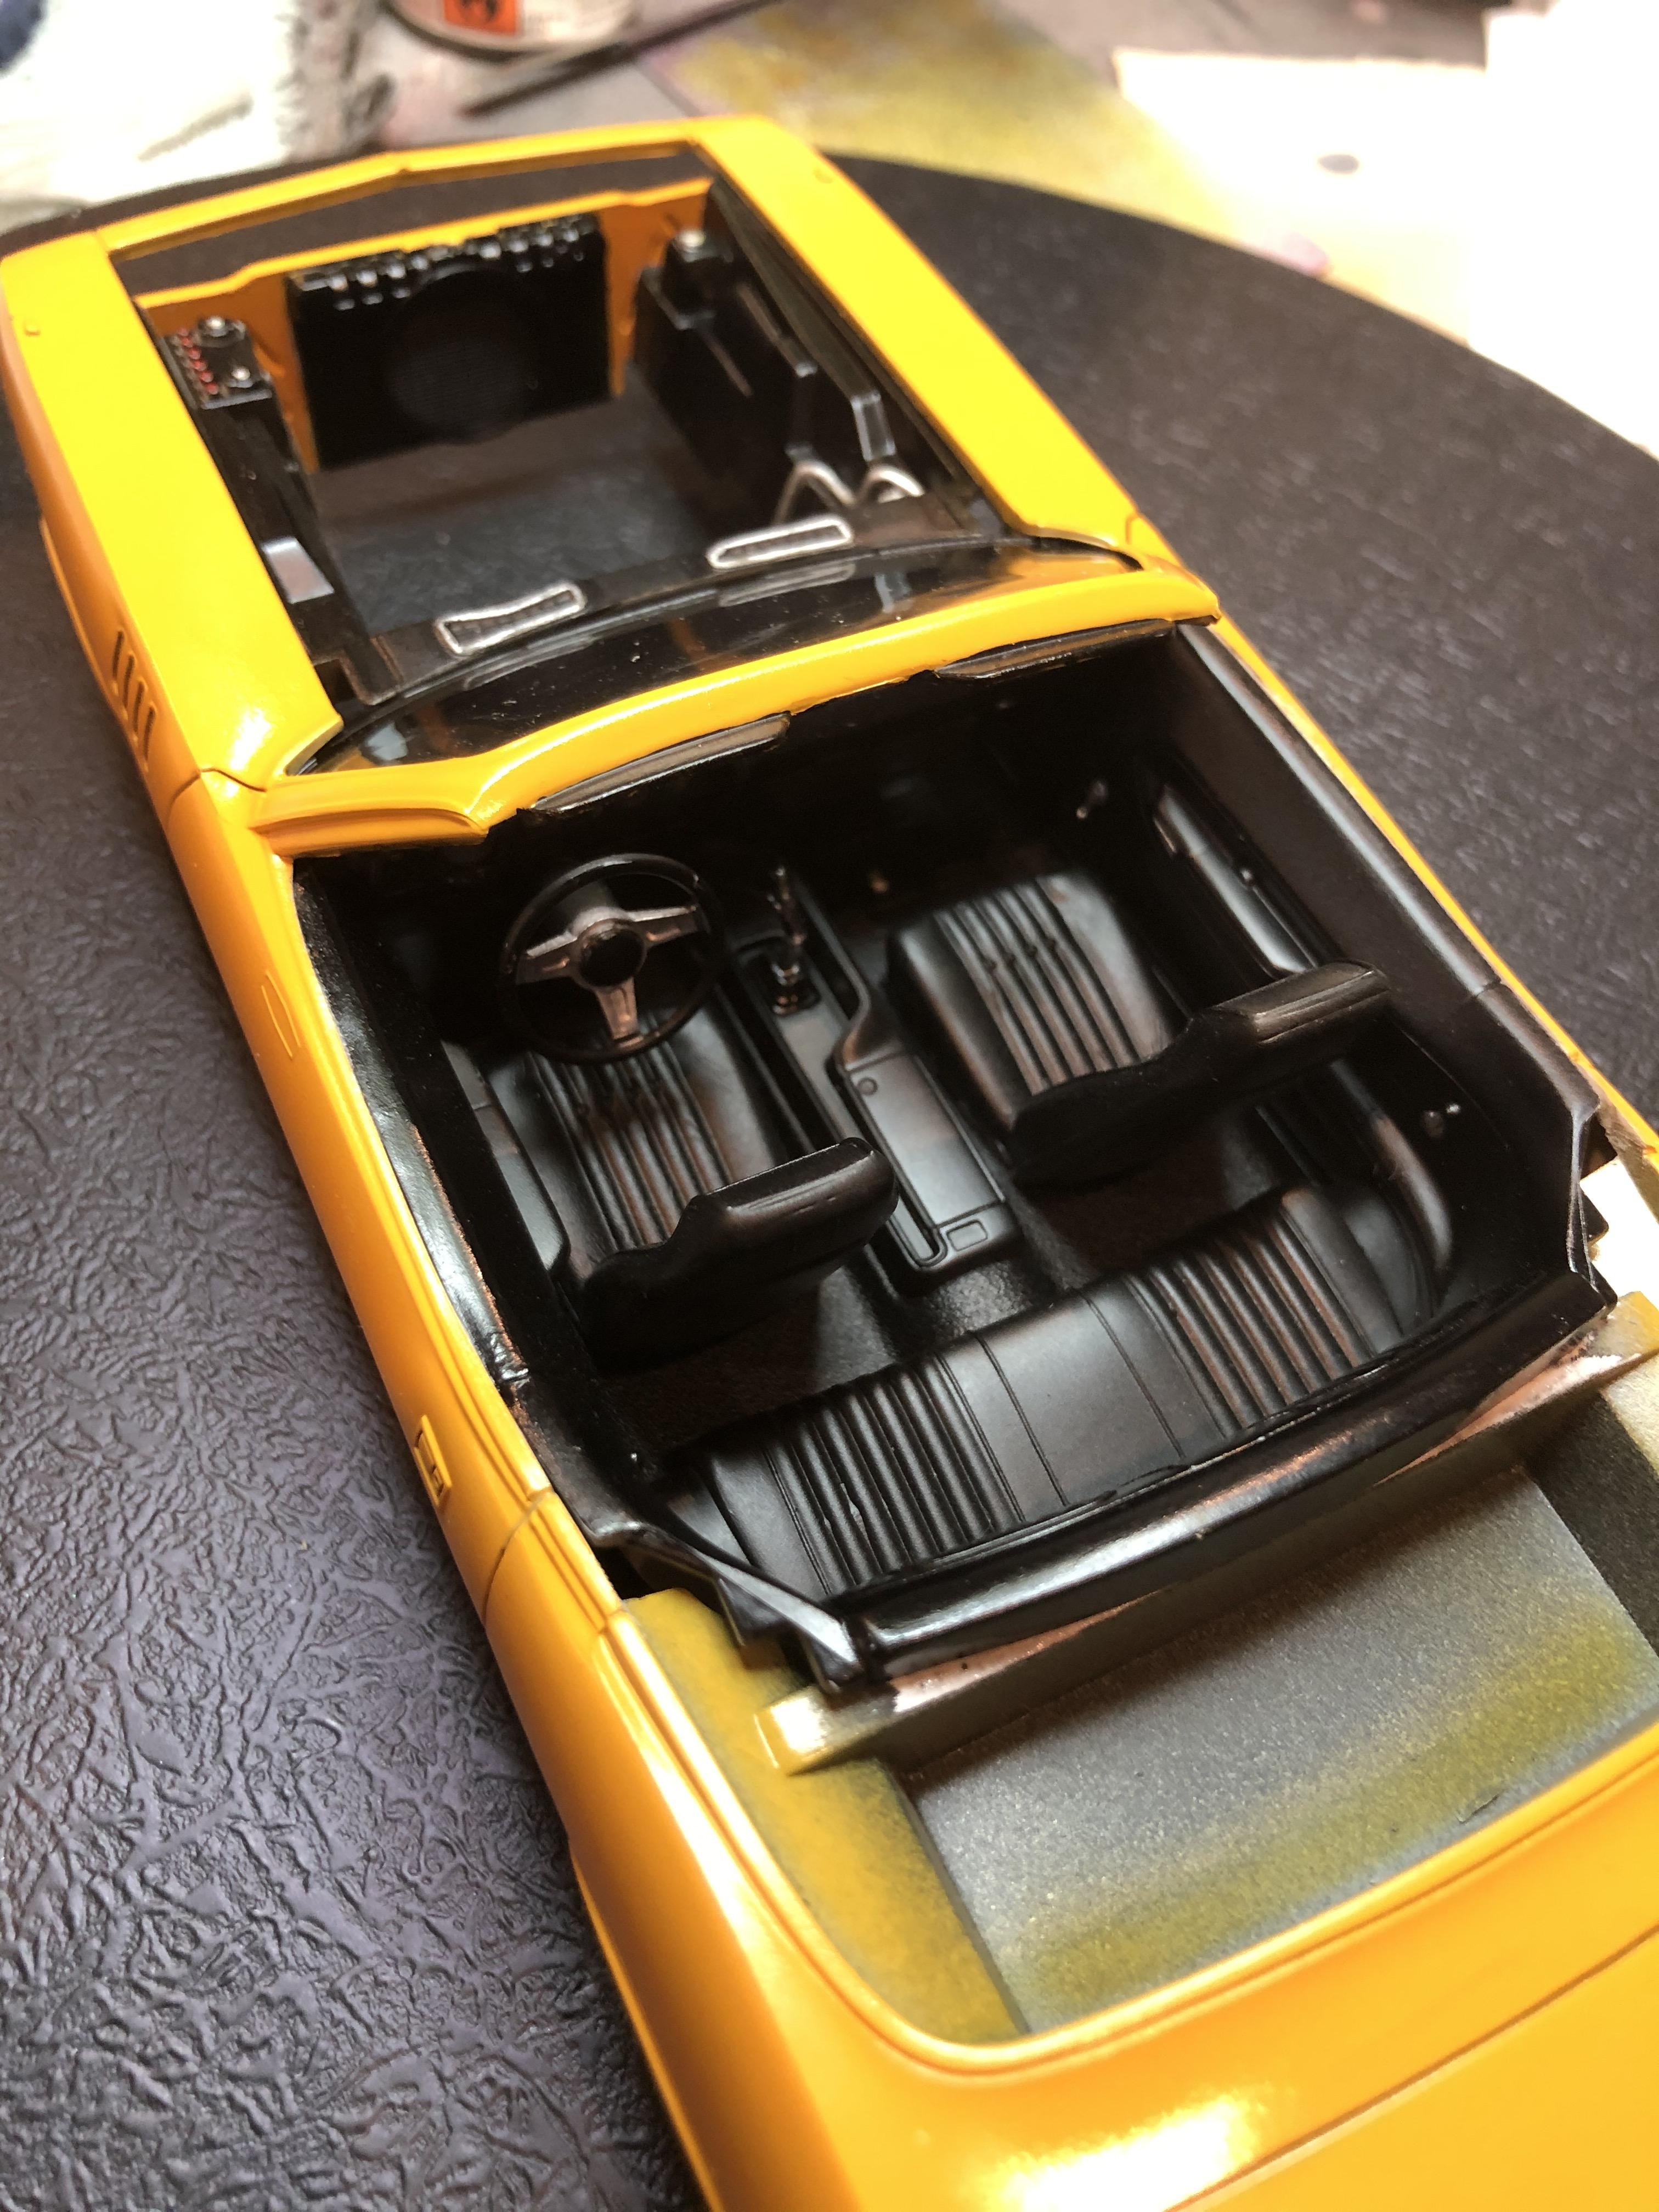
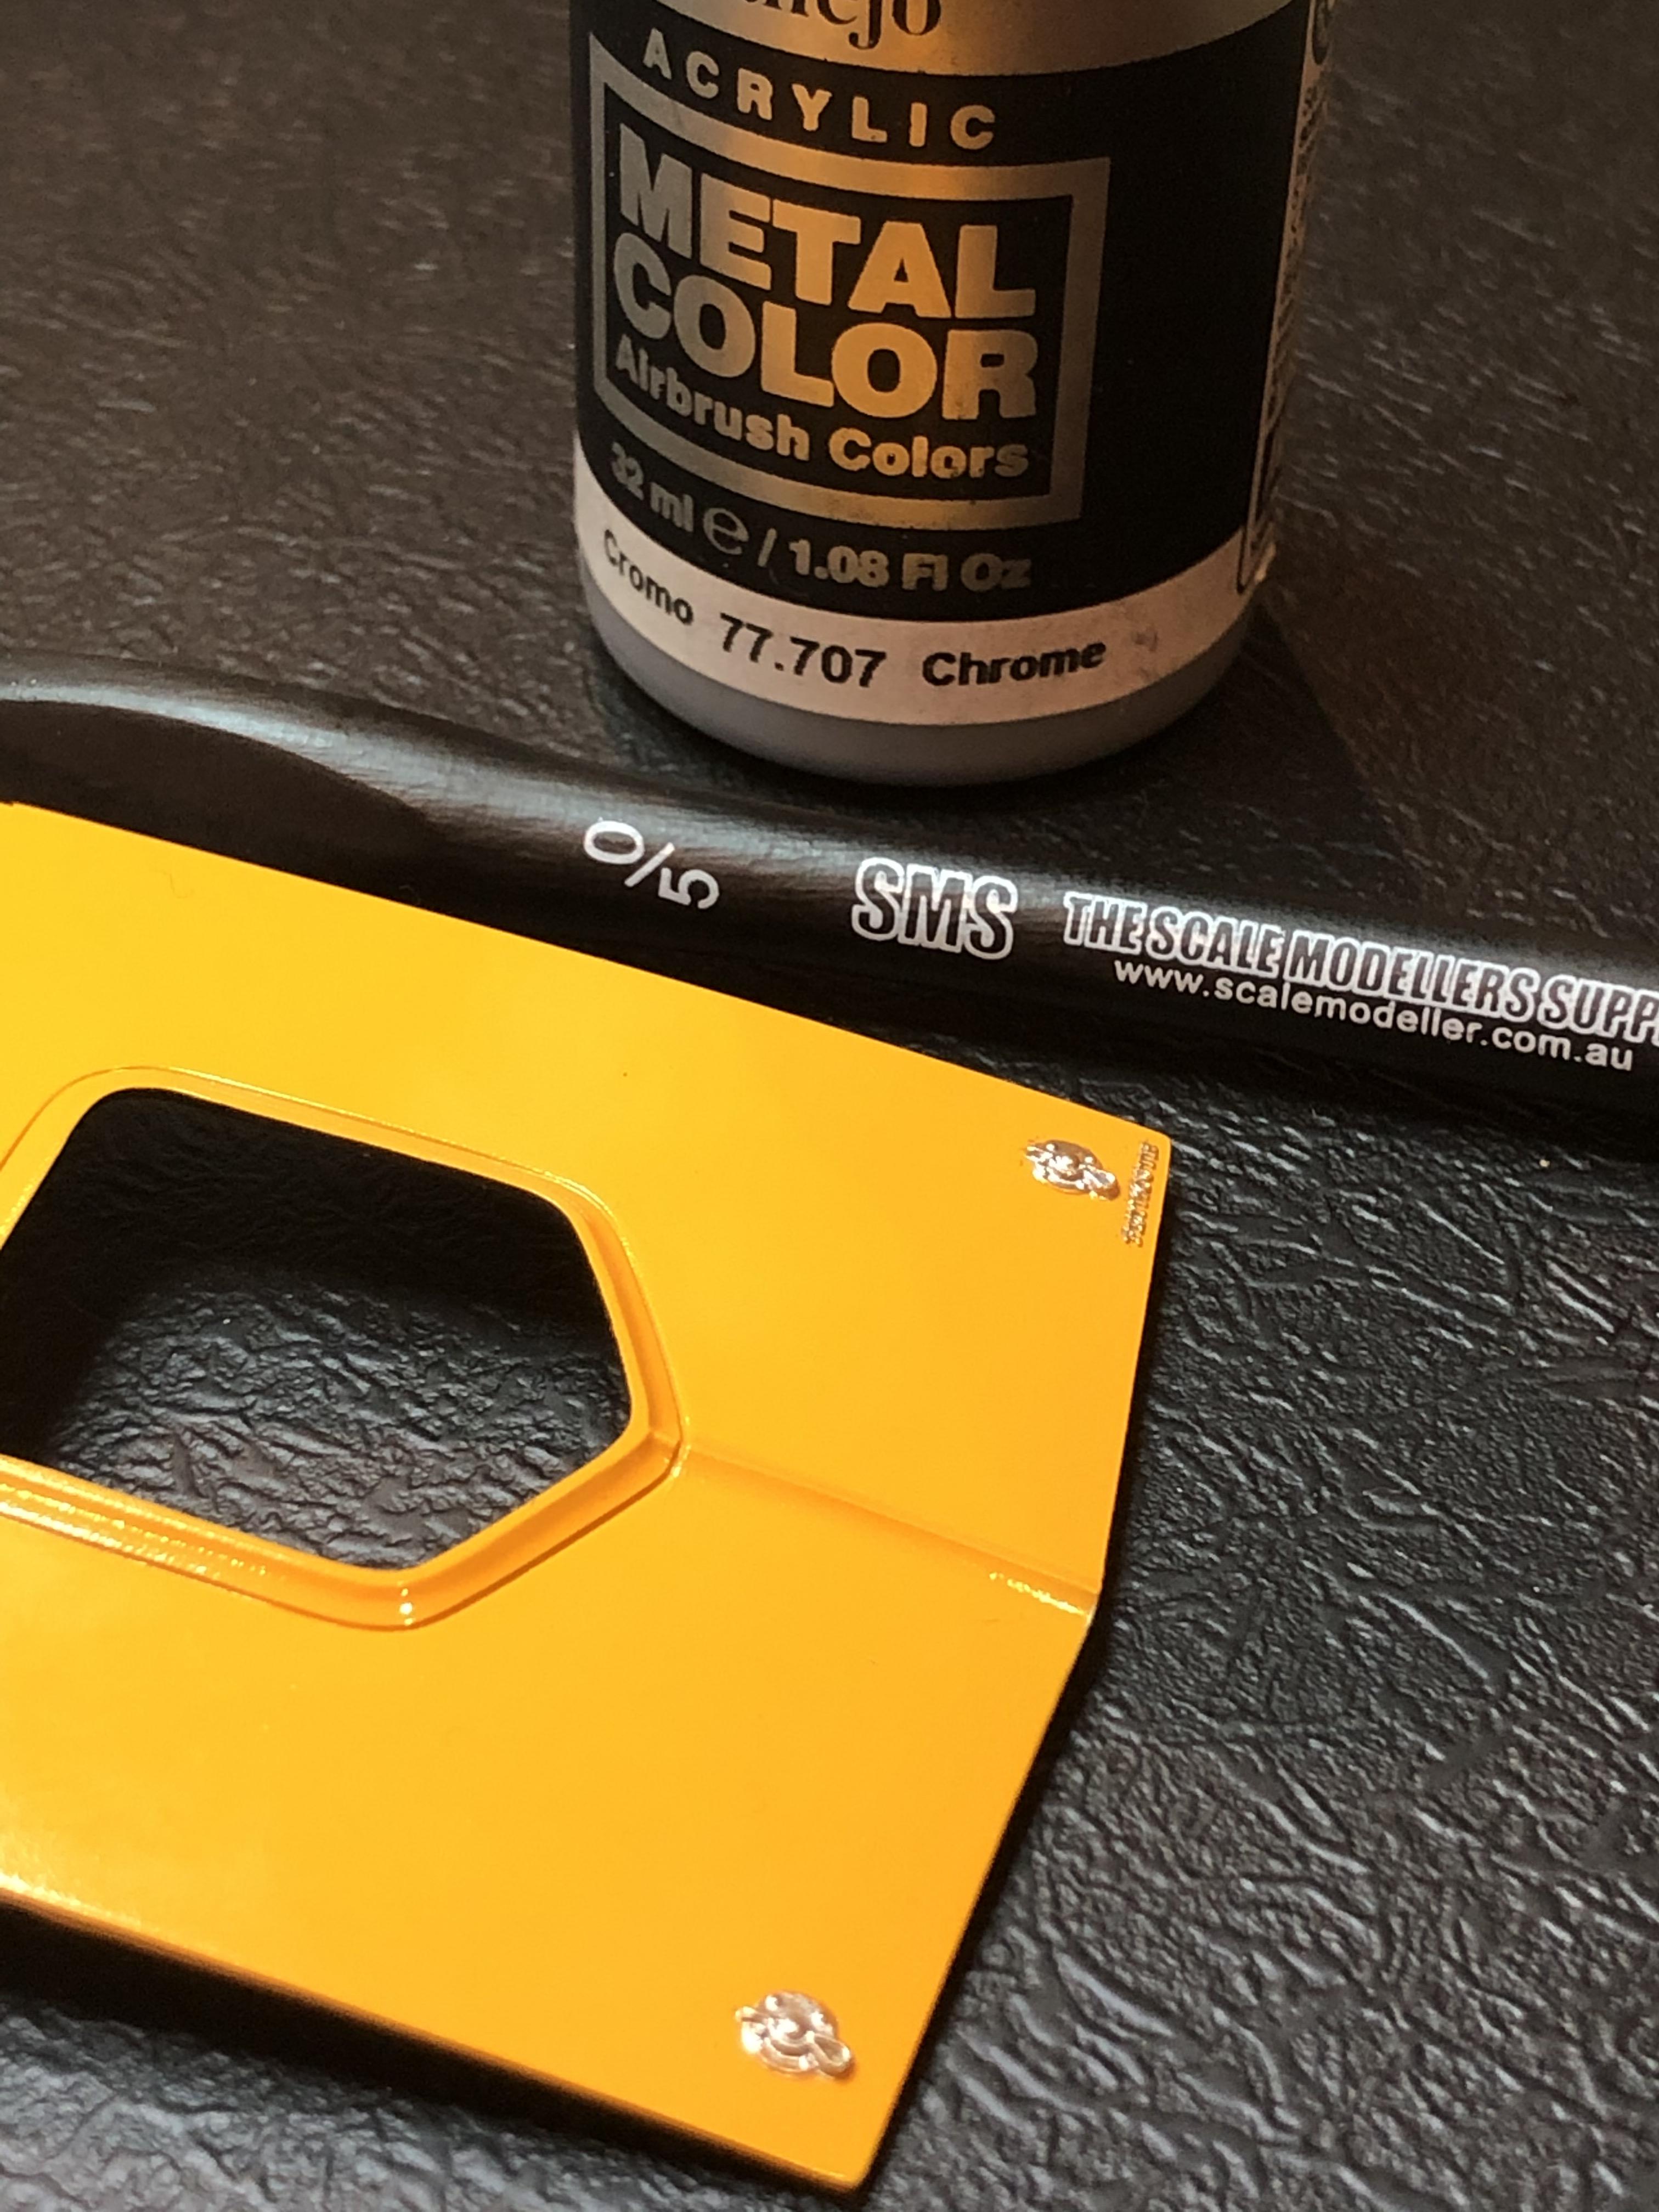
I used a 5/0 brush to detail paint the bonnet tie-downs, that tested my eyesight and steady hands.

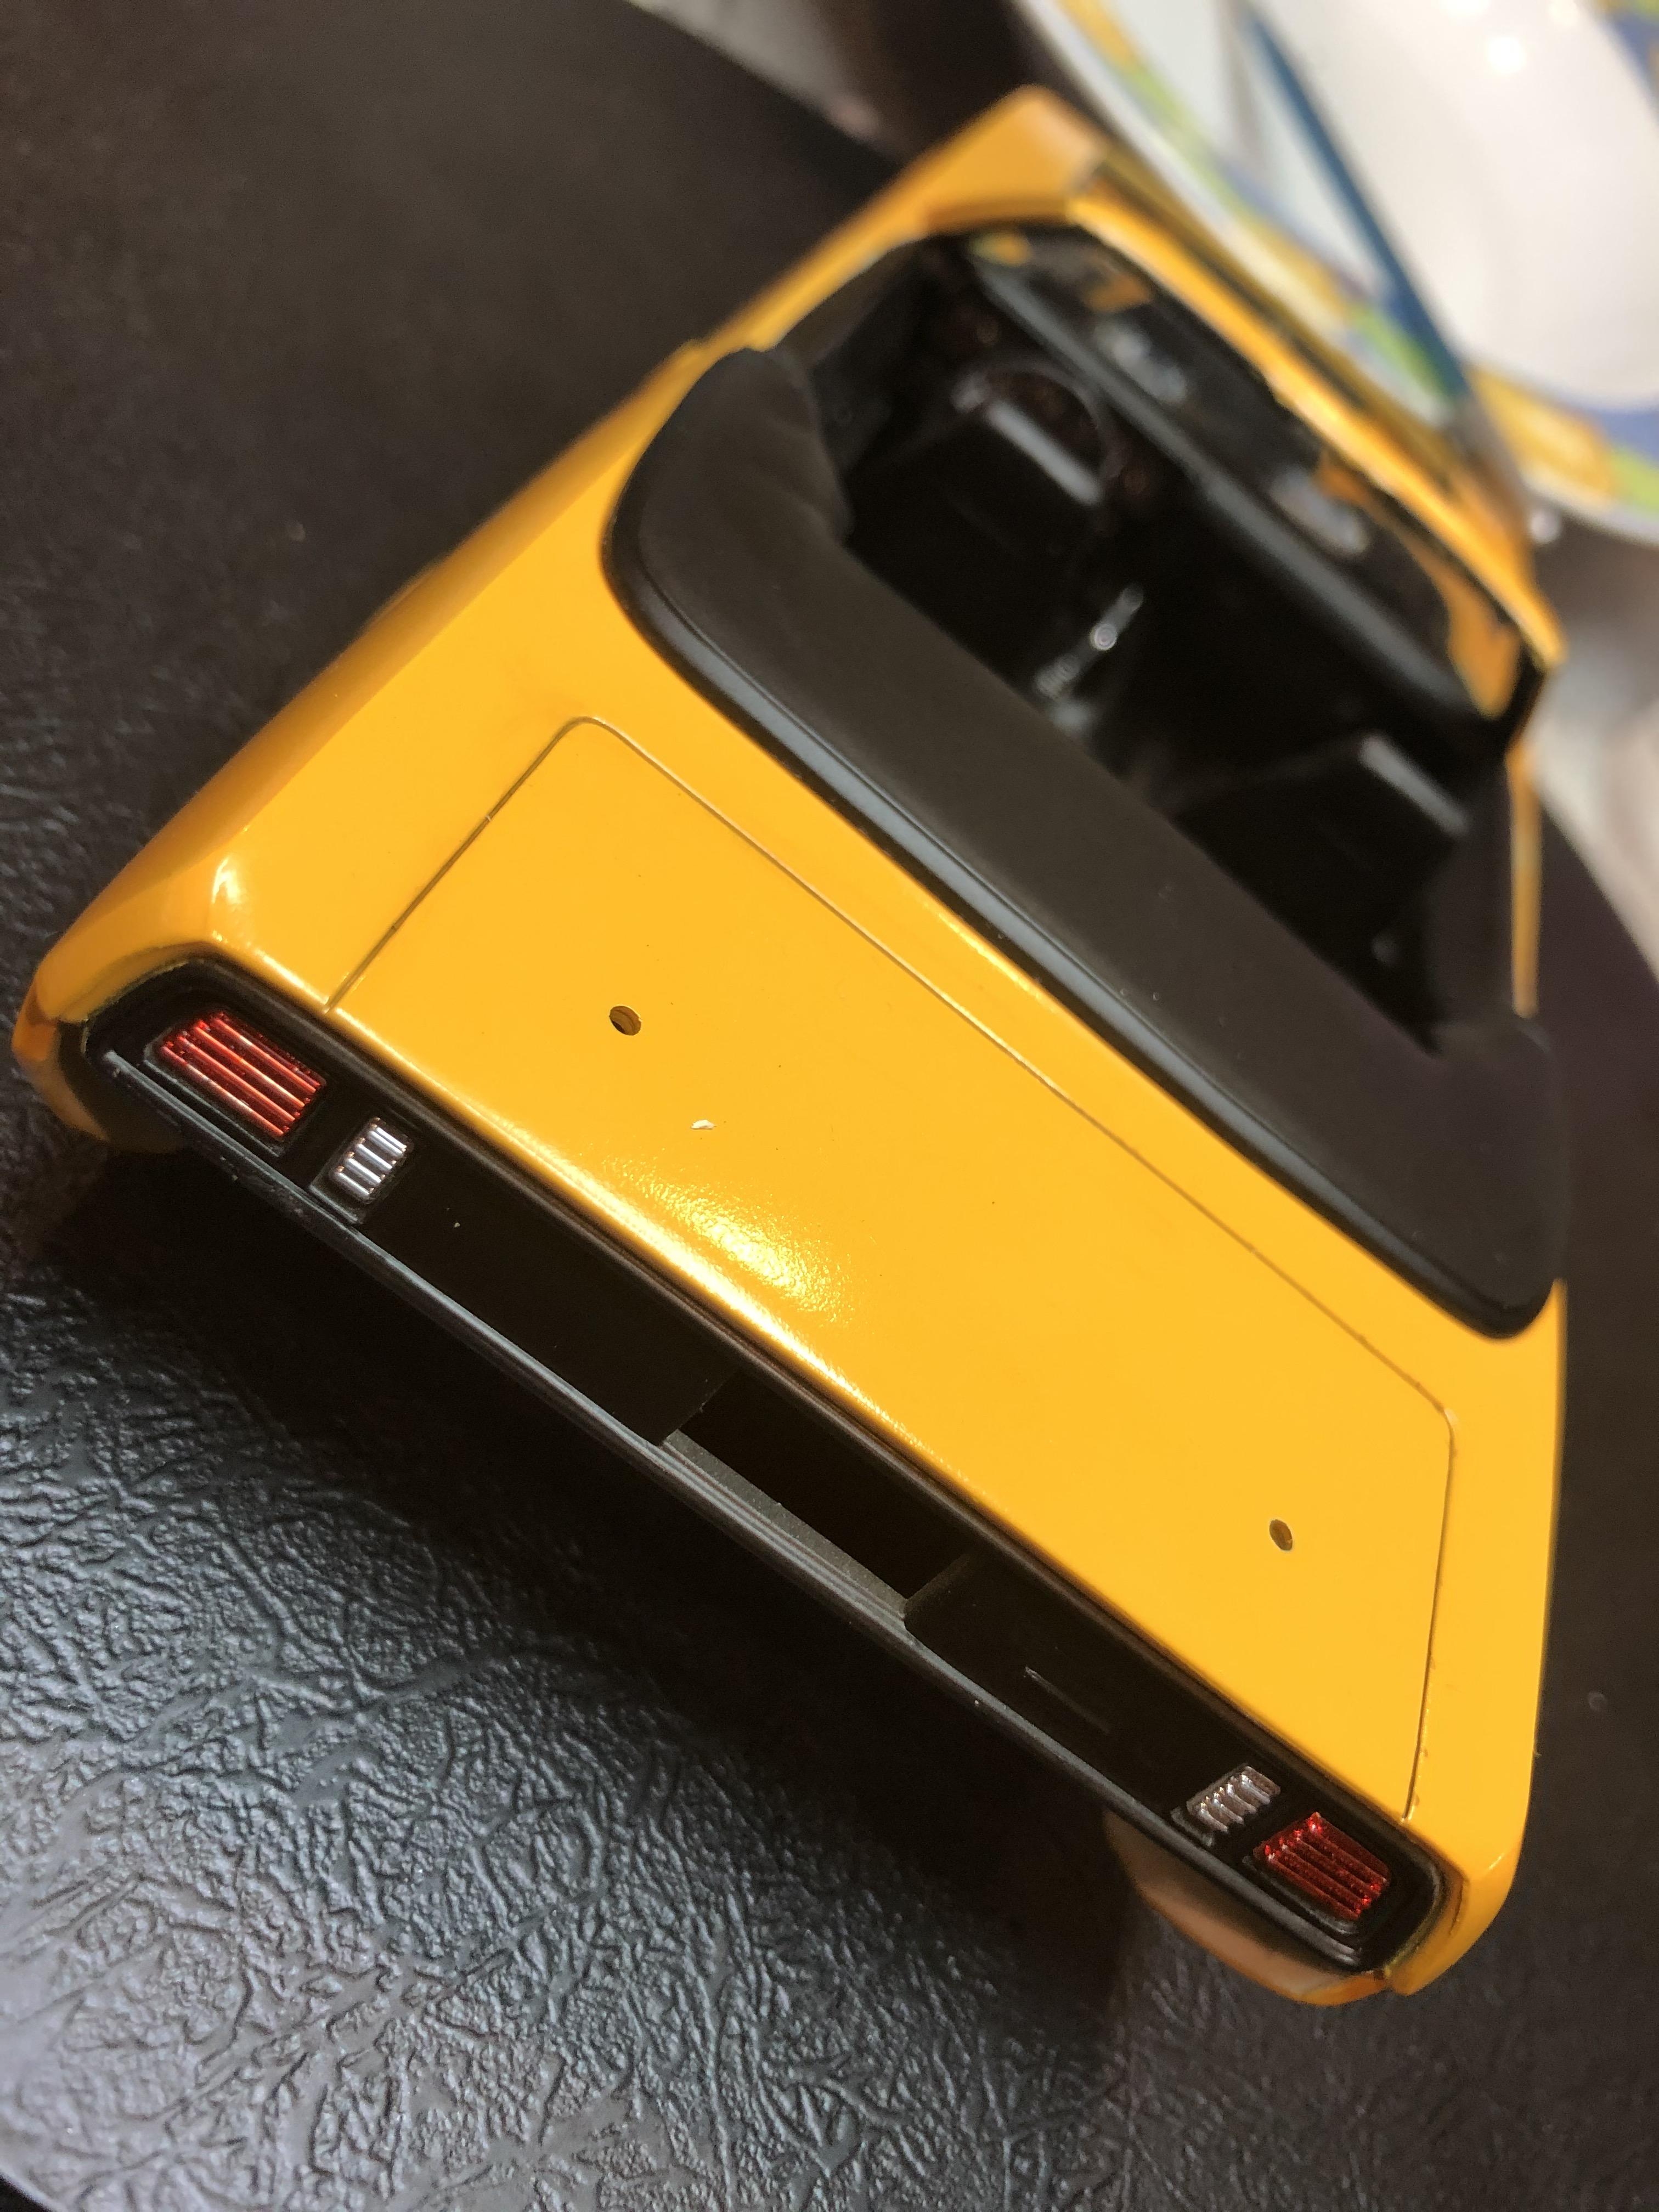
Lastly I have fitted off the ragtop cover and tail light assemblies.
Close to home now with this one.
Cheers, D
I used a 5/0 brush to detail paint the bonnet tie-downs, that tested my eyesight and steady hands.
Lastly I have fitted off the ragtop cover and tail light assemblies.
Close to home now with this one.
Cheers, D


jimb

Joined: August 25, 2006
KitMaker: 2,539 posts
Auto Modeler: 1,405 posts

Posted: Saturday, January 25, 2020 - 03:05 AM UTC
Looking really nice. I like the color & your detail painting.
Jim
Jim

Joel_W
Joined: December 04, 2010
KitMaker: 11,666 posts
Auto Modeler: 2,974 posts

Posted: Saturday, January 25, 2020 - 03:50 AM UTC
D,
The Cuda looks great Both the leather seats and the cover for the convertible top really has that leather look especially with the slight shine. And I'd give you a A++ on the hood pins. Damn !! do they look good. That's another job still left on my Mustang, as even with my Optivisor, I can't see them well enough.
Joel
The Cuda looks great
Both the leather seats and the cover for the convertible top really has that leather look especially with the slight shine. And I'd give you a A++ on the hood pins. Damn !! do they look good. That's another job still left on my Mustang, as even with my Optivisor, I can't see them well enough.Joel


Dixon66
Joined: December 12, 2002
KitMaker: 1,500 posts
Auto Modeler: 645 posts

Posted: Saturday, January 25, 2020 - 04:45 AM UTC
I'm not a Mopar fan, but that looks damn sweet!

md72

#439
Joined: November 05, 2005
KitMaker: 4,950 posts
Auto Modeler: 555 posts

Posted: Saturday, January 25, 2020 - 06:41 AM UTC
Great work D, really inspiring. Looks like you're gonna clear out the garage this year.  But there's only one ribbon in the deal.
But there's only one ribbon in the deal. 
md72
#439
Joined: November 05, 2005
KitMaker: 4,950 posts
Auto Modeler: 555 posts
Posted: Saturday, January 25, 2020 - 07:27 AM UTC
Tiny steps on my '57 Bel Air. Got the one piece chassis primered. And got down the black undercoat for the side flash and trim.
Probably doing this bass ackwards. But it's the most challenging step.
Probably doing this bass ackwards. But it's the most challenging step.
Joel_W
Joined: December 04, 2010
KitMaker: 11,666 posts
Auto Modeler: 2,974 posts
Posted: Saturday, January 25, 2020 - 09:47 AM UTC
Mark,
You lost me on the undercoat with the last picture. What is it?
Joel
You lost me on the undercoat with the last picture. What is it?
Joel
AussieReg
#007
Joined: June 09, 2009
KitMaker: 8,156 posts
Auto Modeler: 2,953 posts
Posted: Saturday, January 25, 2020 - 11:04 AM UTC
Great to see some progress on the '57 Mark! I can't see a problem with getting the trim painted and then masking it off to do the rest of the body. It might even prove easier to do than masking off the entire body to do the trim later. Are you going to do it all chrome, or do the interior "triangle" in white aluminium?
Joel, that's the chrome/aluminium side flash on the body of the '57.
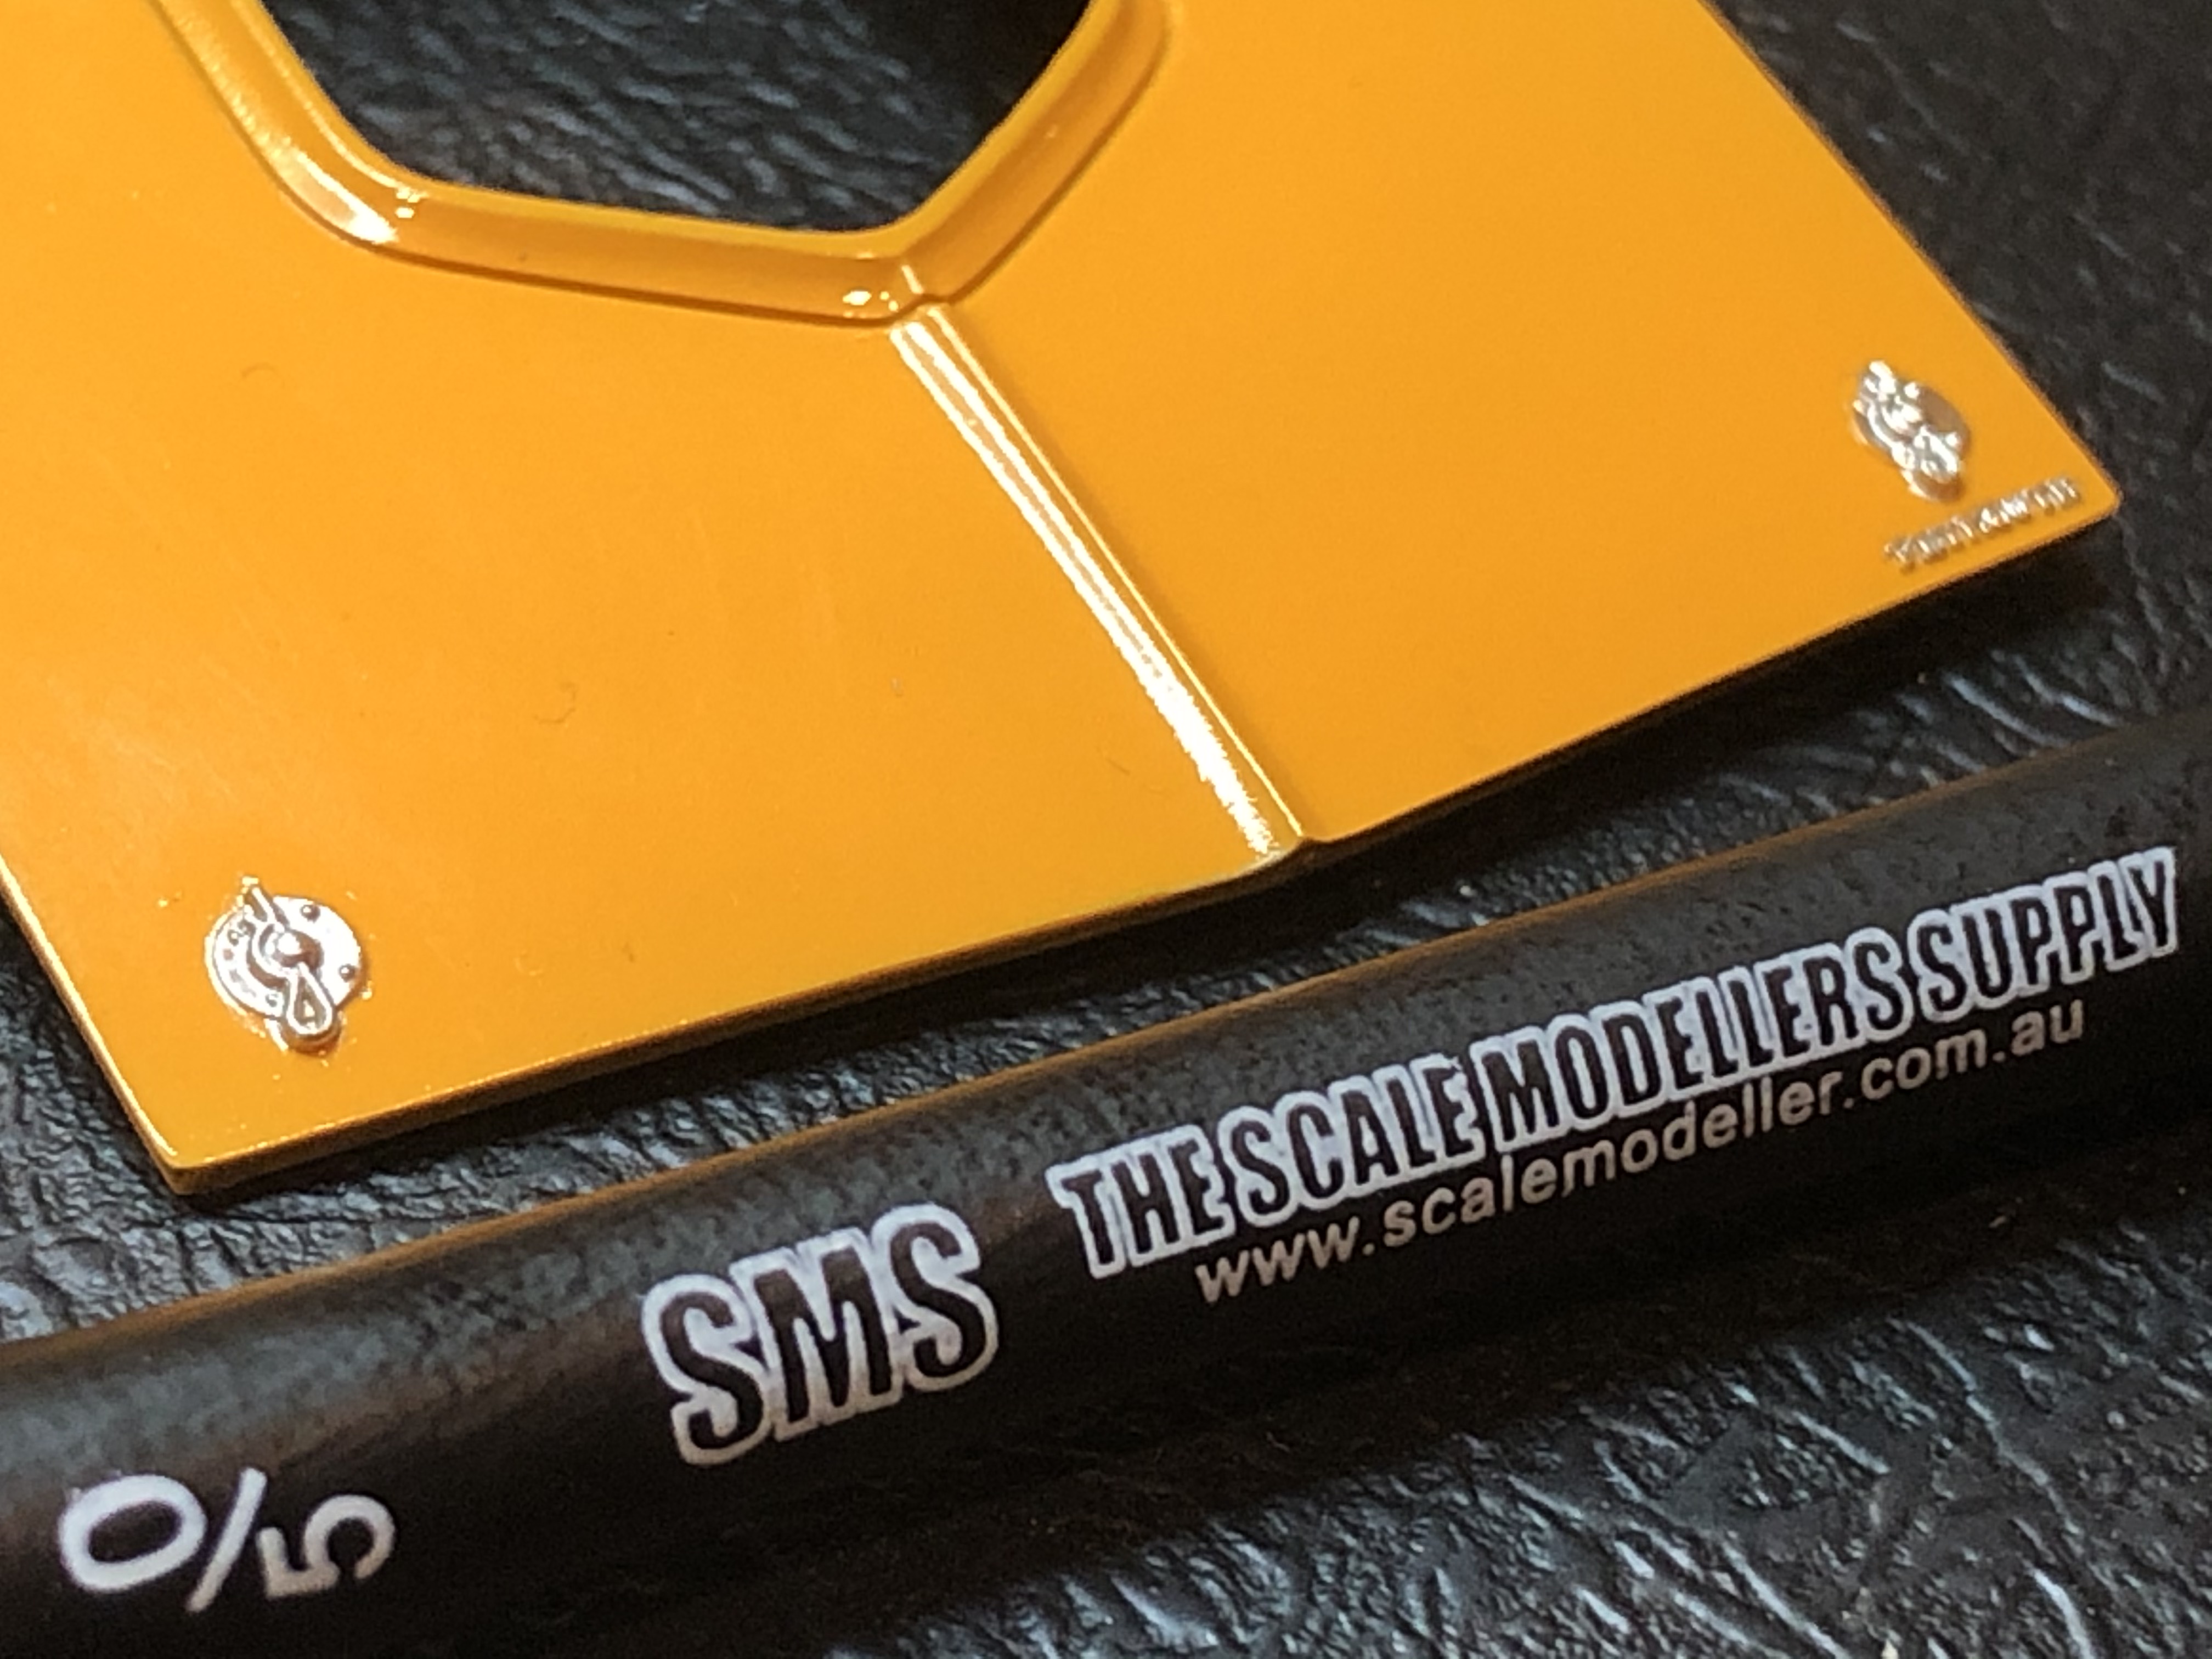
The hood pins took some work. The good thing about using the Vallejo Chrome for these little details is the water base. I can use a toothpick or pointed Q-tip dampened with water to remove the over-paint from the body without affecting the main colour, and trust me there was plenty to remove. I can still see some in the photos that needs attention. Once I'm happy with the clean-up, I will give it a tiny drop of PLW to pop the rivet and pin details.
David, I'm not a Mopar fan either, this is a relic from the "Chev vs Hemi Group Builds, but I can highly recommend this kit. It is going together beautifully and the details are very sharp. The only issue I have hit so far is a slight twist in the bonnet (hood), but that is possibly a one-off on my kit, or from being partially painted and put back into storage years ago.
Many thanks for the feedback guys, much appreciated.
Cheers, D
Quoted Text
Mark,
You lost me on the undercoat with the last picture. What is it?
Joel
Joel, that's the chrome/aluminium side flash on the body of the '57.
The hood pins took some work. The good thing about using the Vallejo Chrome for these little details is the water base. I can use a toothpick or pointed Q-tip dampened with water to remove the over-paint from the body without affecting the main colour, and trust me there was plenty to remove. I can still see some in the photos that needs attention. Once I'm happy with the clean-up, I will give it a tiny drop of PLW to pop the rivet and pin details.
David, I'm not a Mopar fan either, this is a relic from the "Chev vs Hemi Group Builds, but I can highly recommend this kit. It is going together beautifully and the details are very sharp. The only issue I have hit so far is a slight twist in the bonnet (hood), but that is possibly a one-off on my kit, or from being partially painted and put back into storage years ago.
Many thanks for the feedback guys, much appreciated.
Cheers, D
md72
#439
Joined: November 05, 2005
KitMaker: 4,950 posts
Auto Modeler: 555 posts
Posted: Saturday, January 25, 2020 - 05:14 PM UTC
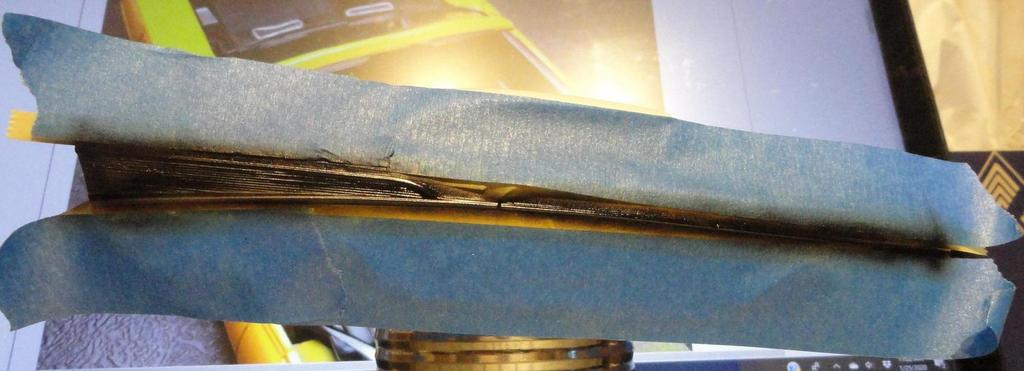
Sorry Joel, behind all that tape is a Revell '57 Bel Air. This one:

I wanted to try Alclad II for the trim. So I've masked off the side flash, now the trick is whether to paint it all aluminum, then mask off the Al and paint the chrome, or do it the other way around, chrome, mask, aluminum. then mask it all off and do the ivory roof and turquoise body.
I wanted to try Alclad II for the trim. So I've masked off the side flash, now the trick is whether to paint it all aluminum, then mask off the Al and paint the chrome, or do it the other way around, chrome, mask, aluminum. then mask it all off and do the ivory roof and turquoise body.
AussieReg
#007
Joined: June 09, 2009
KitMaker: 8,156 posts
Auto Modeler: 2,953 posts
Posted: Saturday, January 25, 2020 - 10:17 PM UTC
The chrome will look better over a black base so I would do that first, then mask it and spray the aluminium. If you have any, give the chrome a coat of Alcoas Aquagloss to protect it from the masking.
Cheers, D
Cheers, D
Joel_W
Joined: December 04, 2010
KitMaker: 11,666 posts
Auto Modeler: 2,974 posts
Posted: Sunday, January 26, 2020 - 03:22 AM UTC
Just a word of warning. Alcad2 doesn't recommend masking over several of their glossy finishes including Chrome, as it has a nasty tendancy to easily be pulled off. Due to that warning on their web site, I've always avoided masking anything but Matt finished Metallics. Never had any issues with their 3 Aluminums when I masked over them. Haven't ever tried another brands to see if there is an easy walk around.
As for removing excess chrome that's been hand painted on which I do after clearcoating and polishing but not waxing. My chrome/Silver of choice has been Mr. Color's Metallic lacquers. Once dry I also use a toothpick, and the excess just flakes right off as it doesn't stick to the clear gloss coat very well.
Joel
AussieReg
#007
Joined: June 09, 2009
KitMaker: 8,156 posts
Auto Modeler: 2,953 posts
Posted: Sunday, January 26, 2020 - 10:22 AM UTC
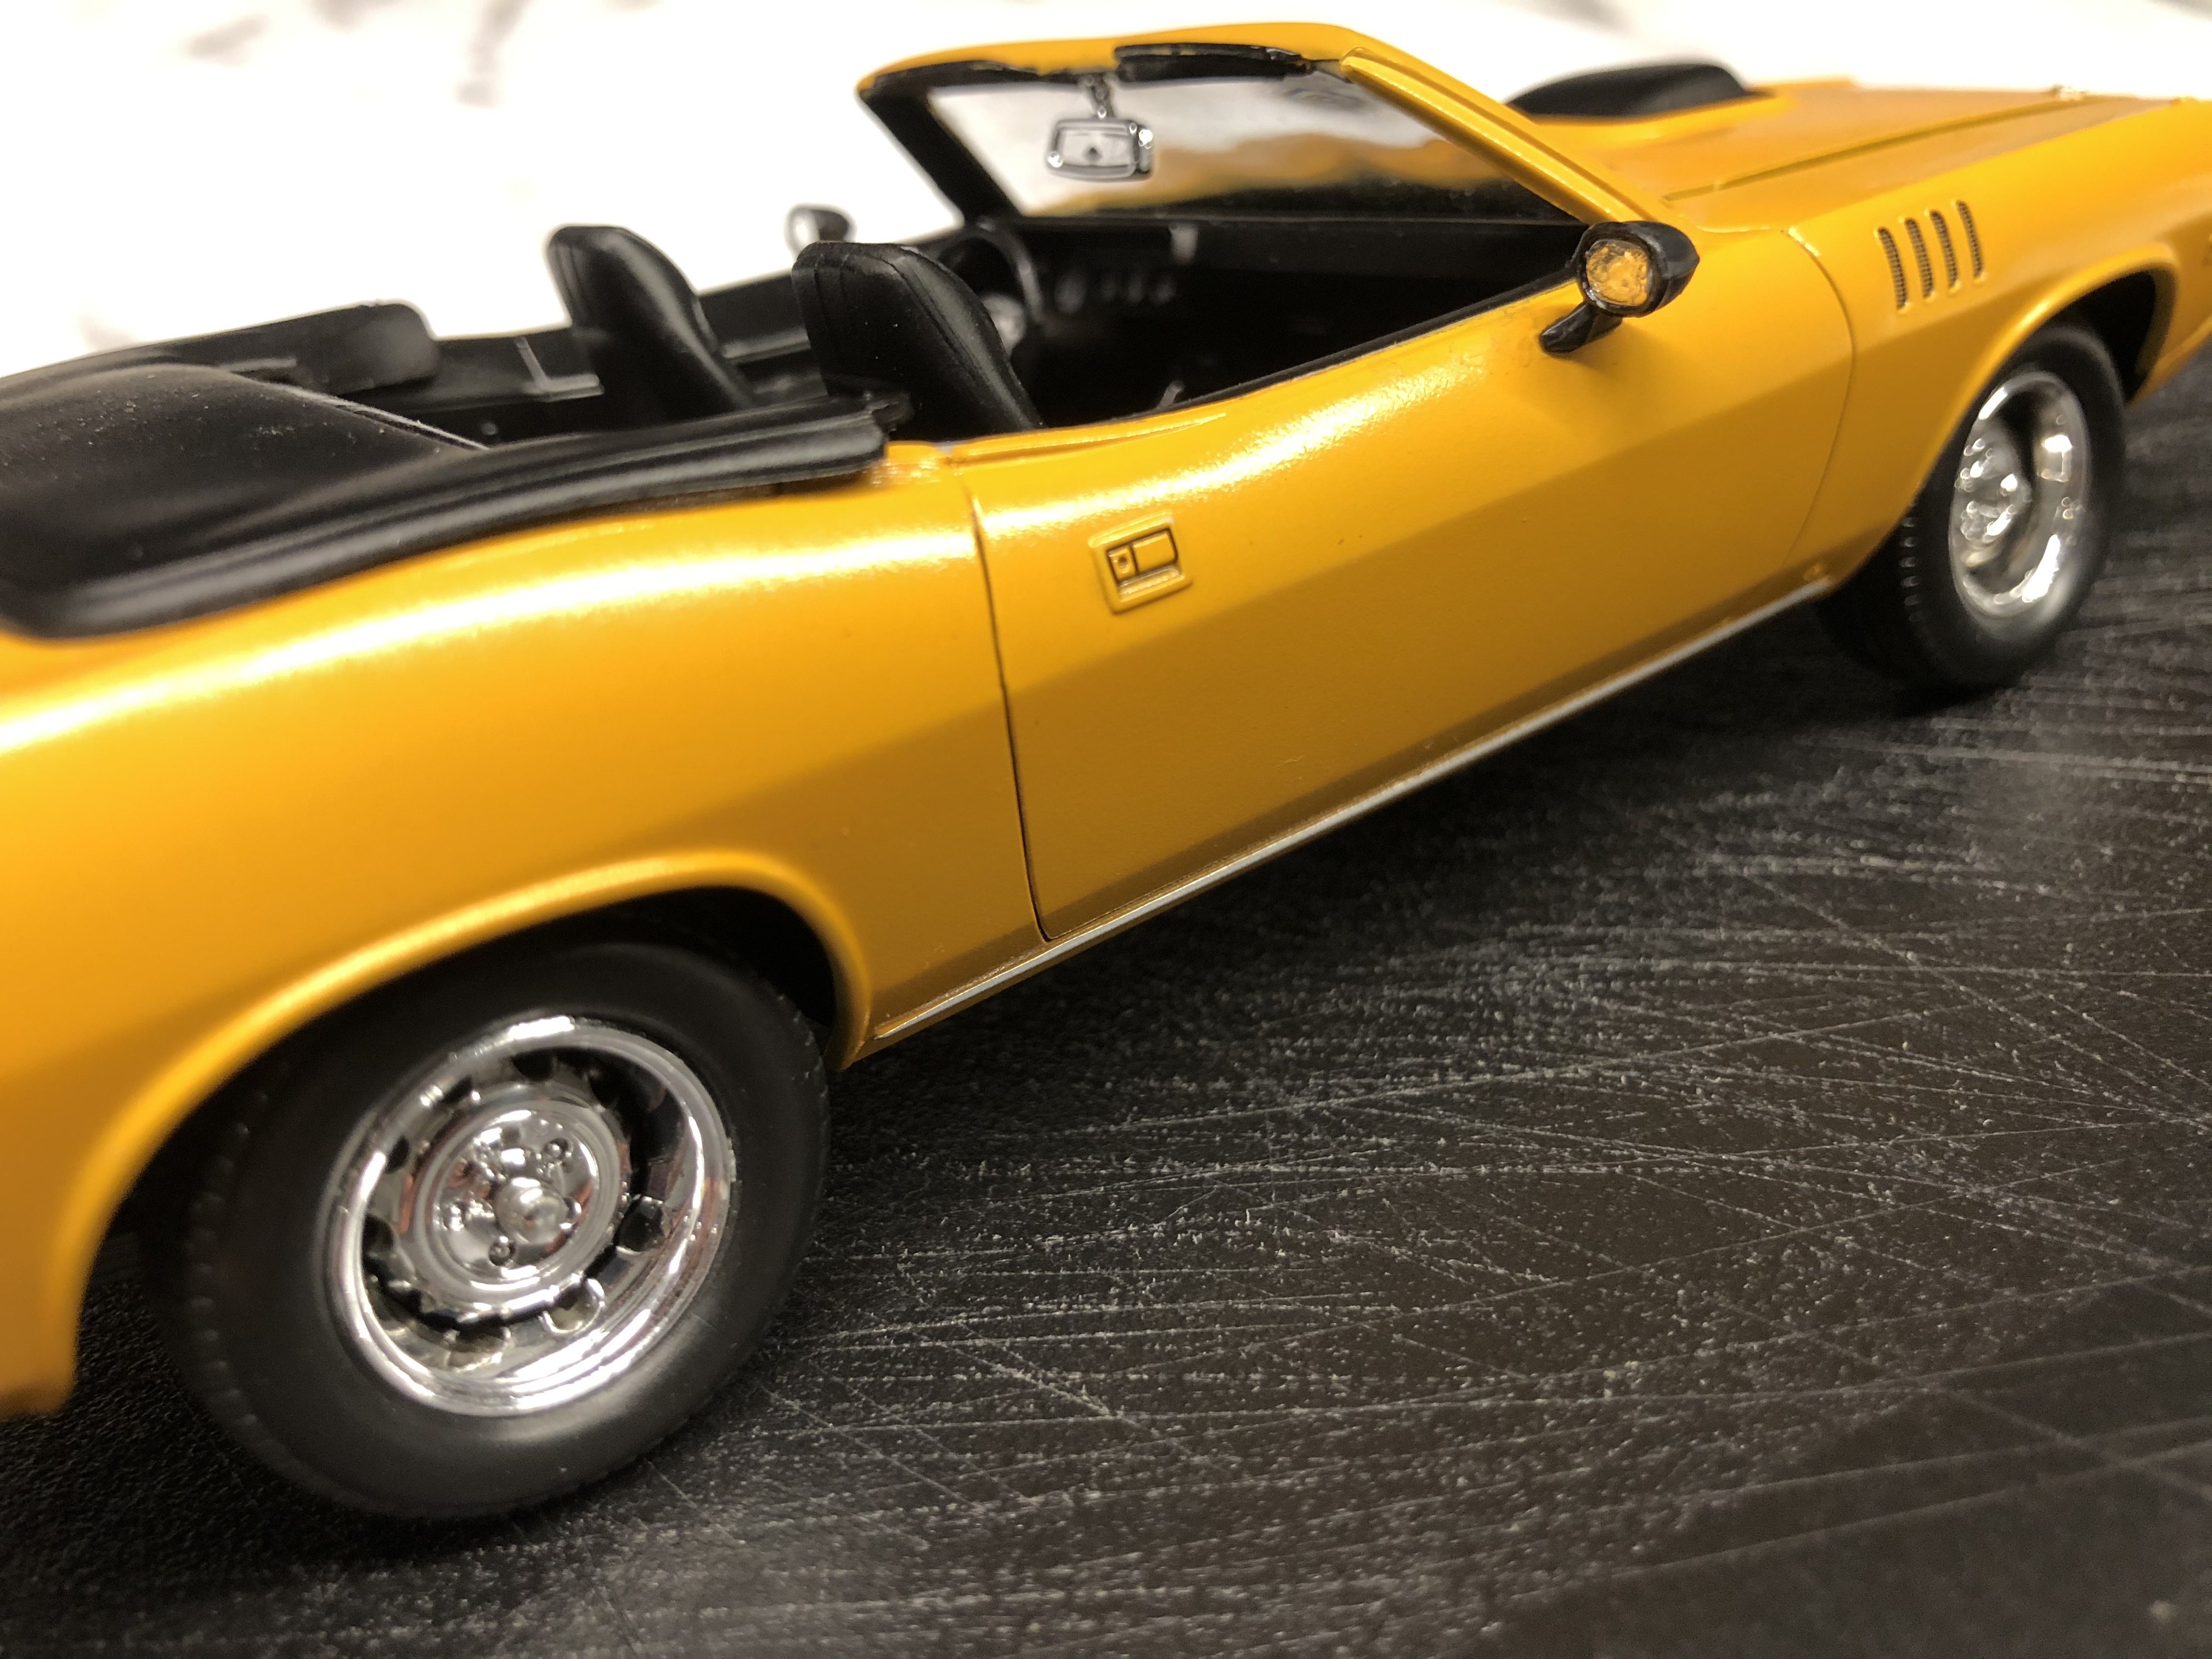
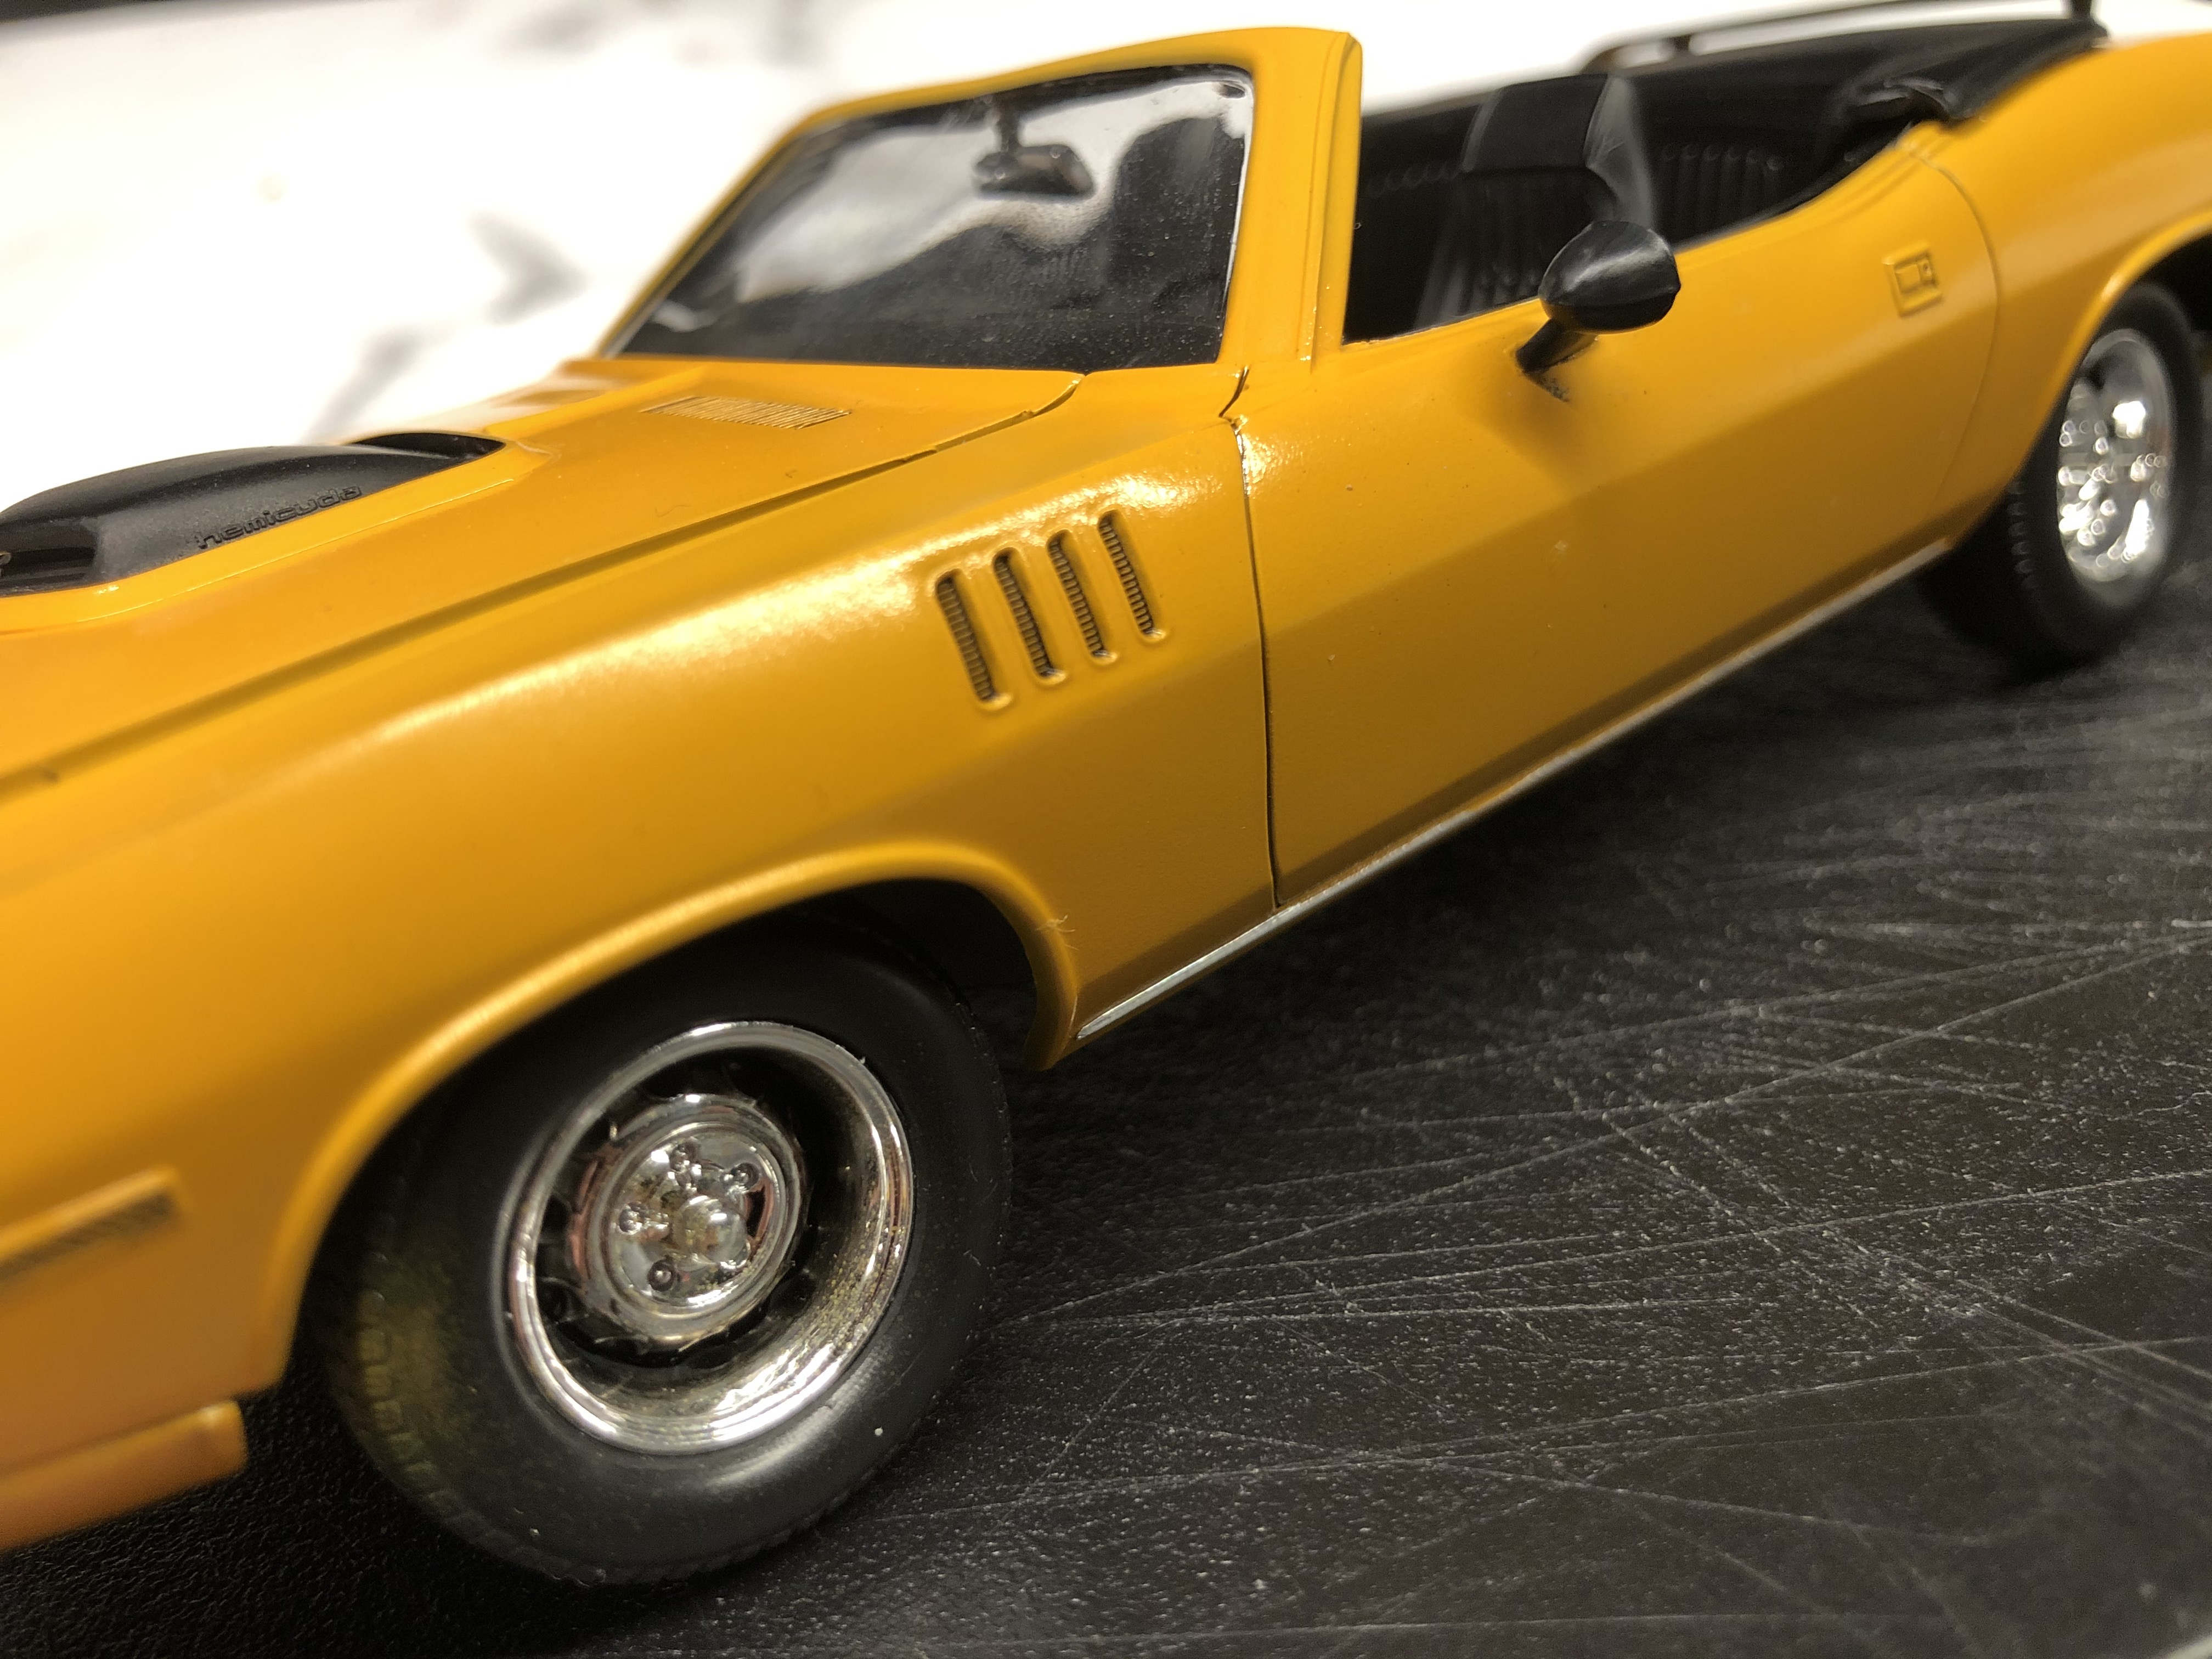
The Cuda is on it's feet! I have fitted the back end clip and test fitted the front end, not perfect but I've had far worse.
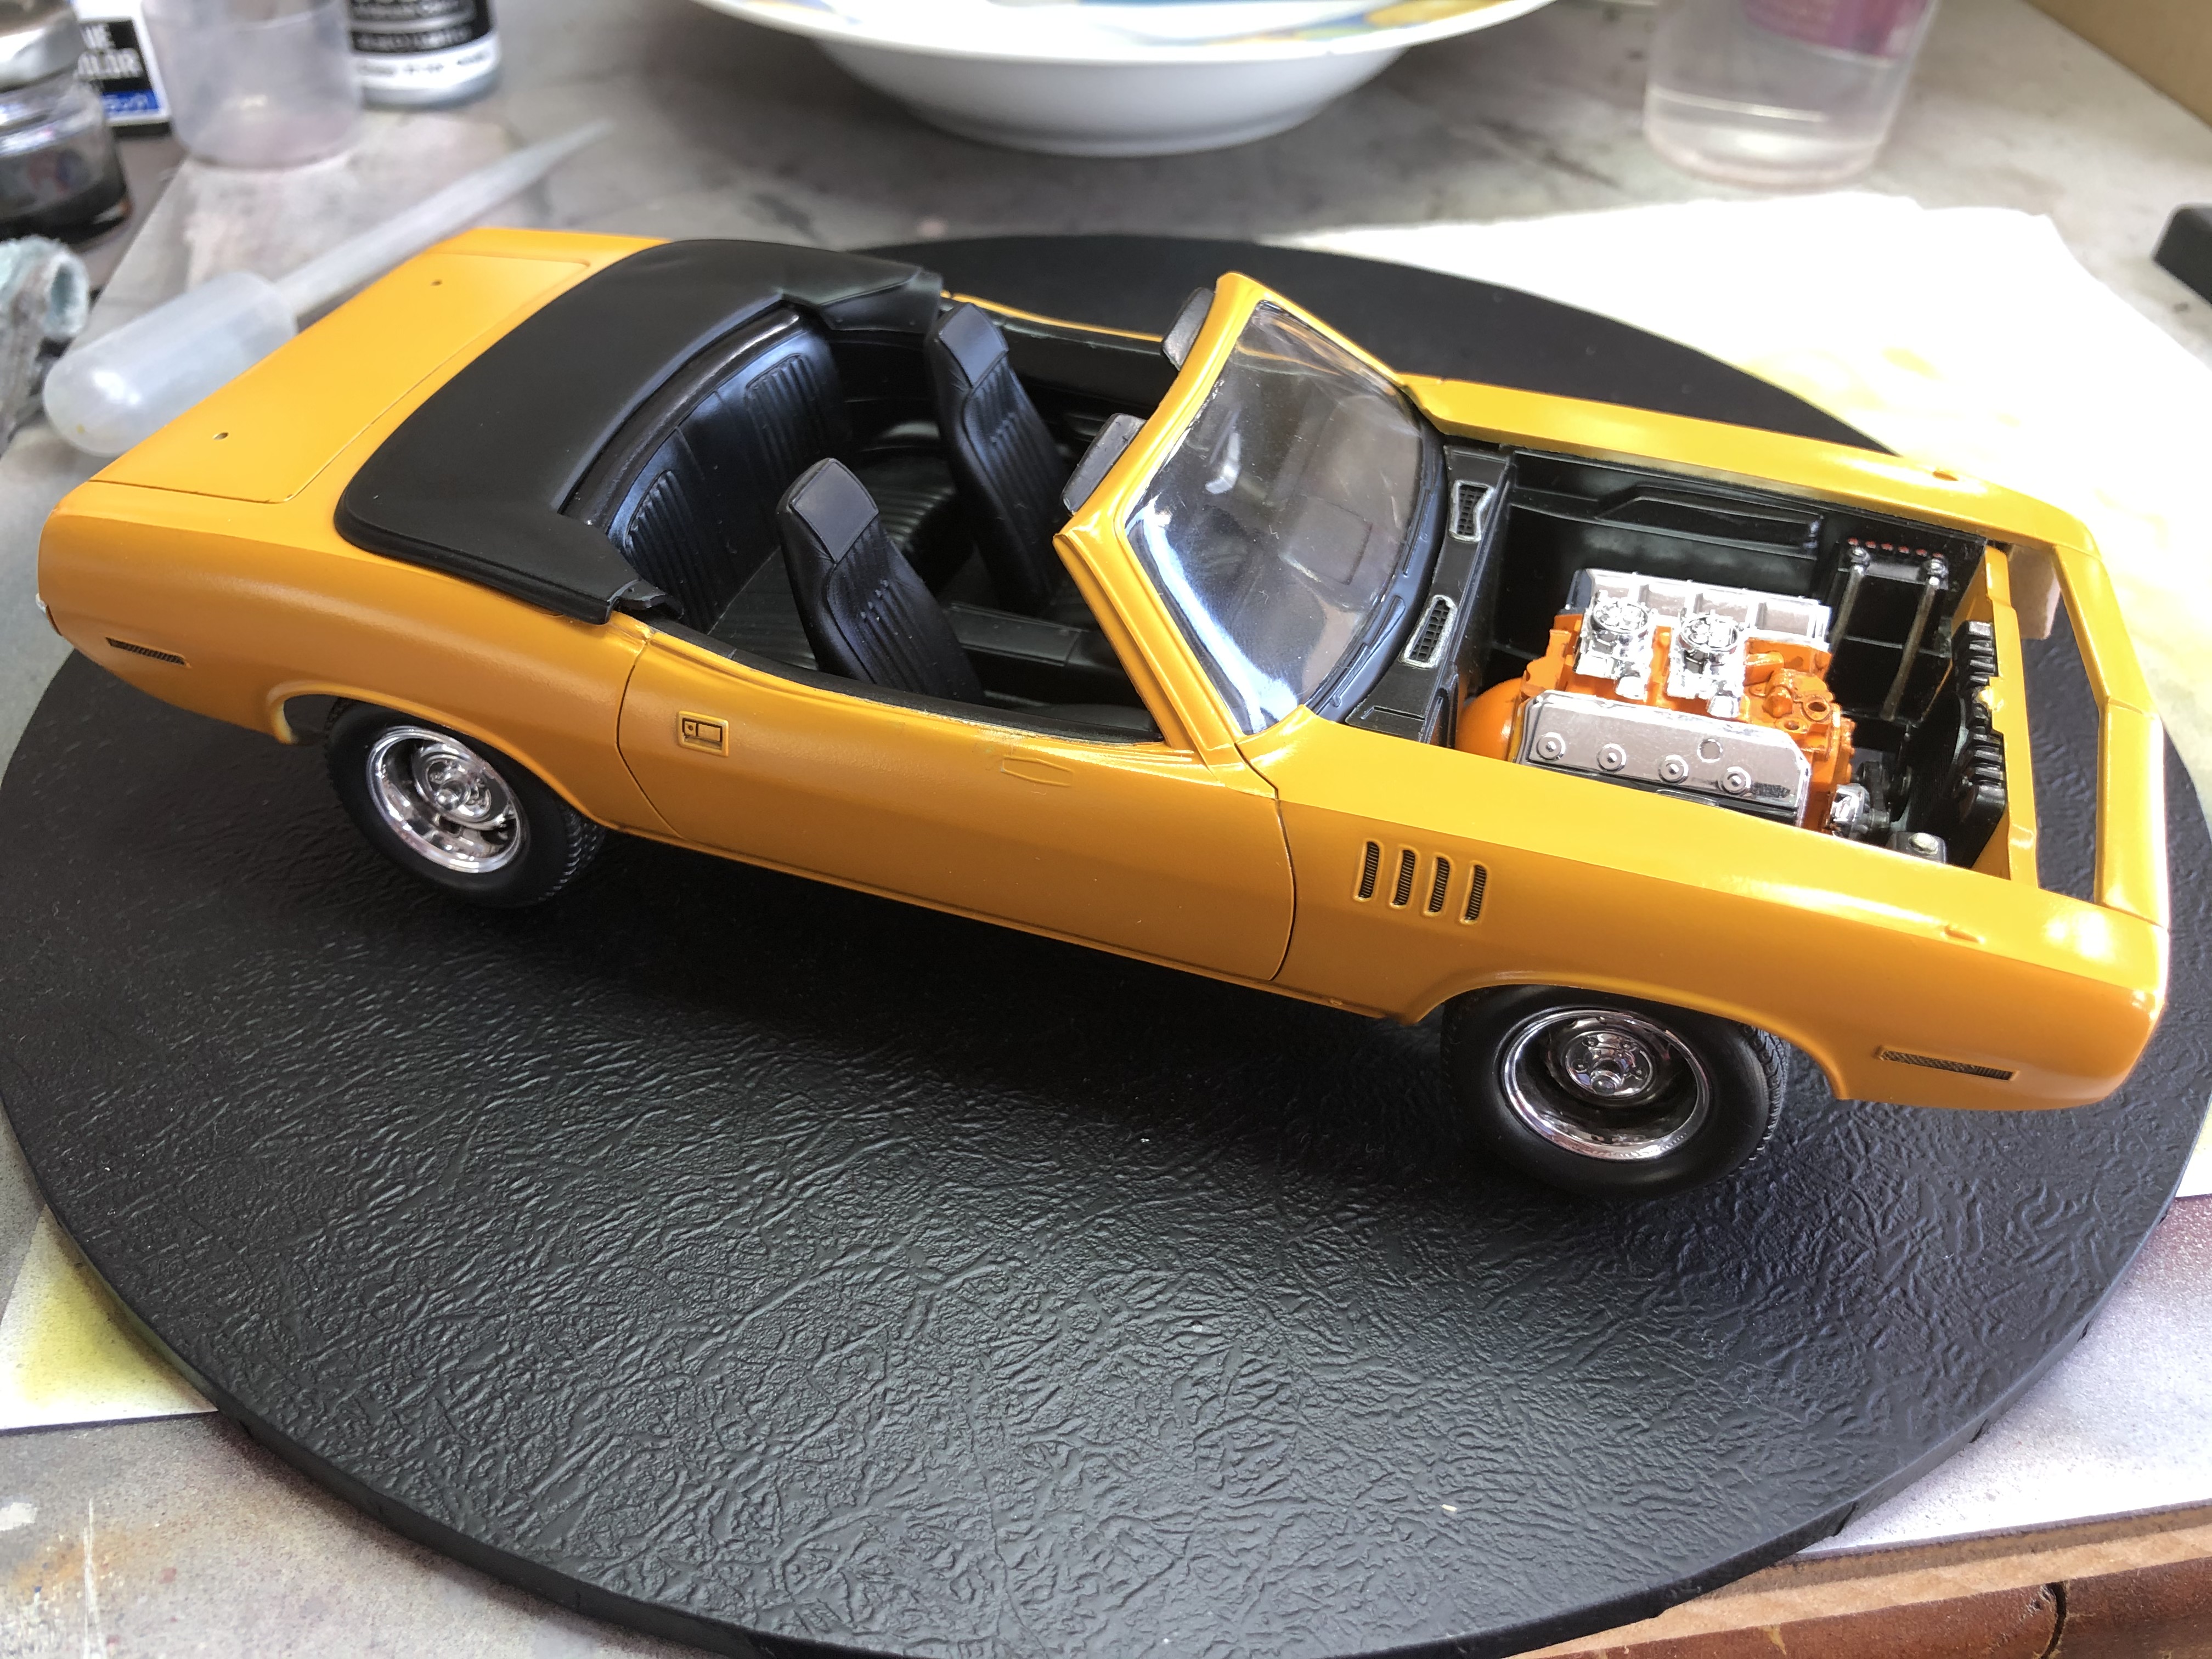
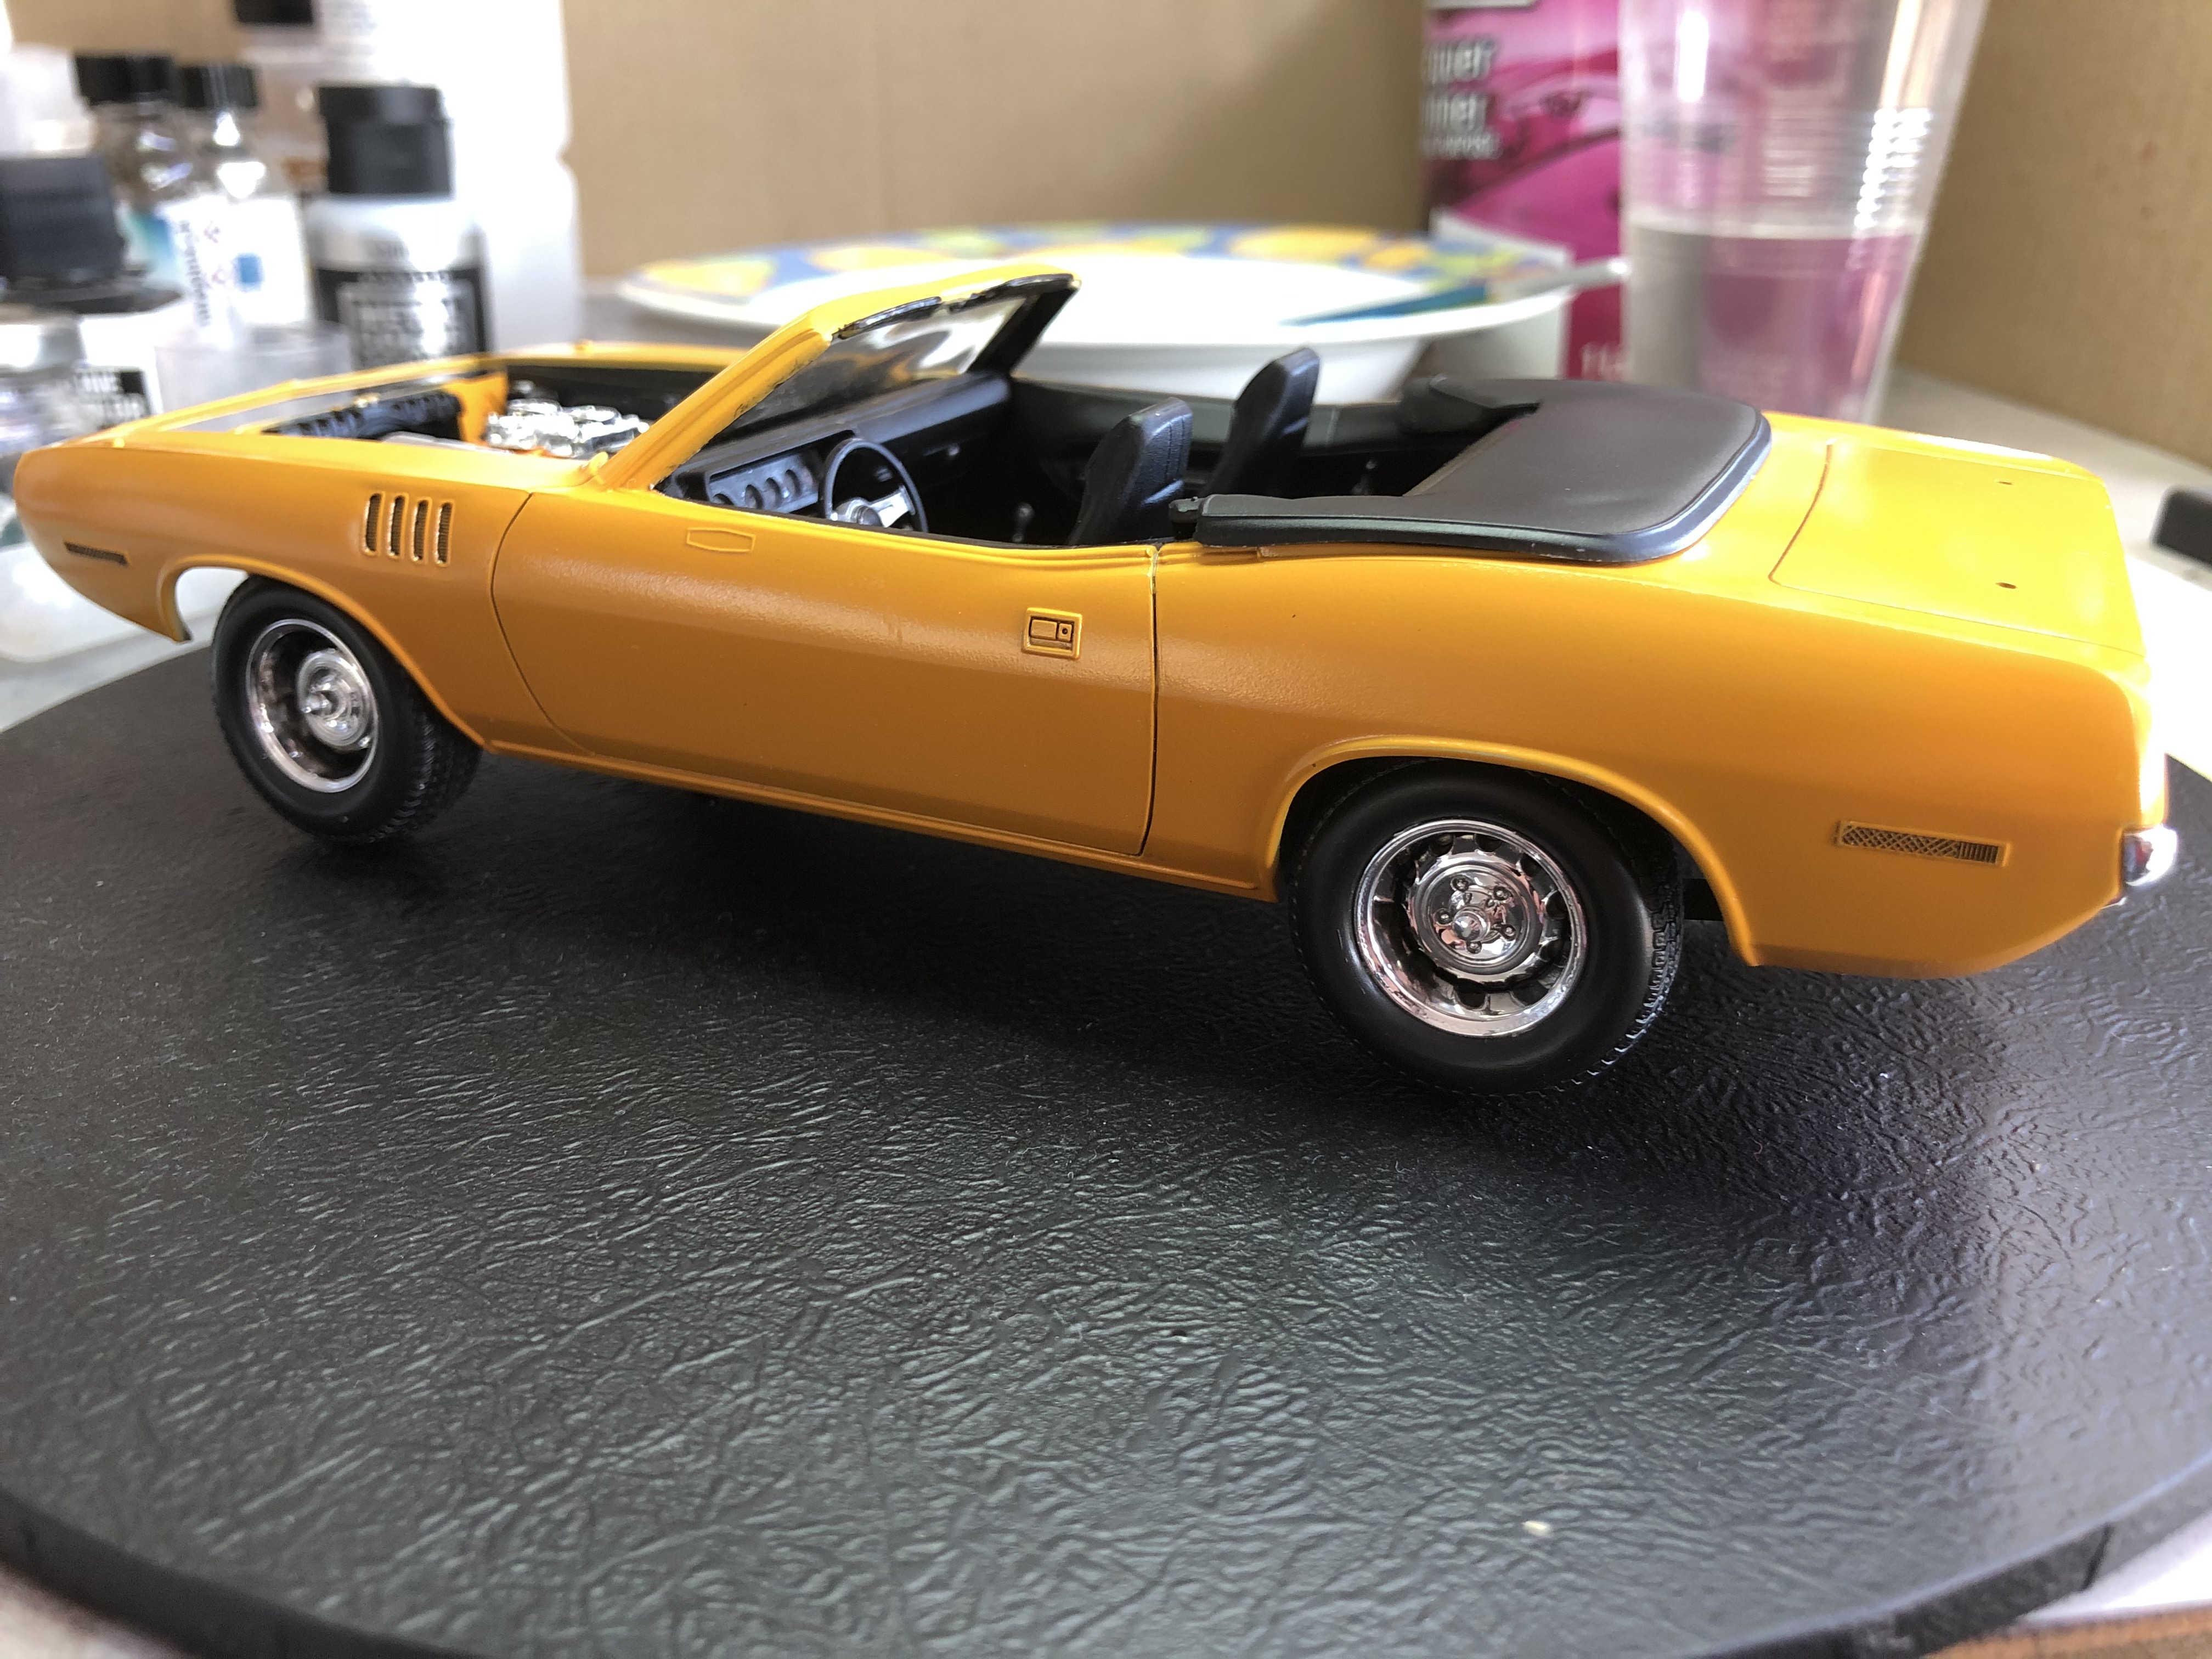
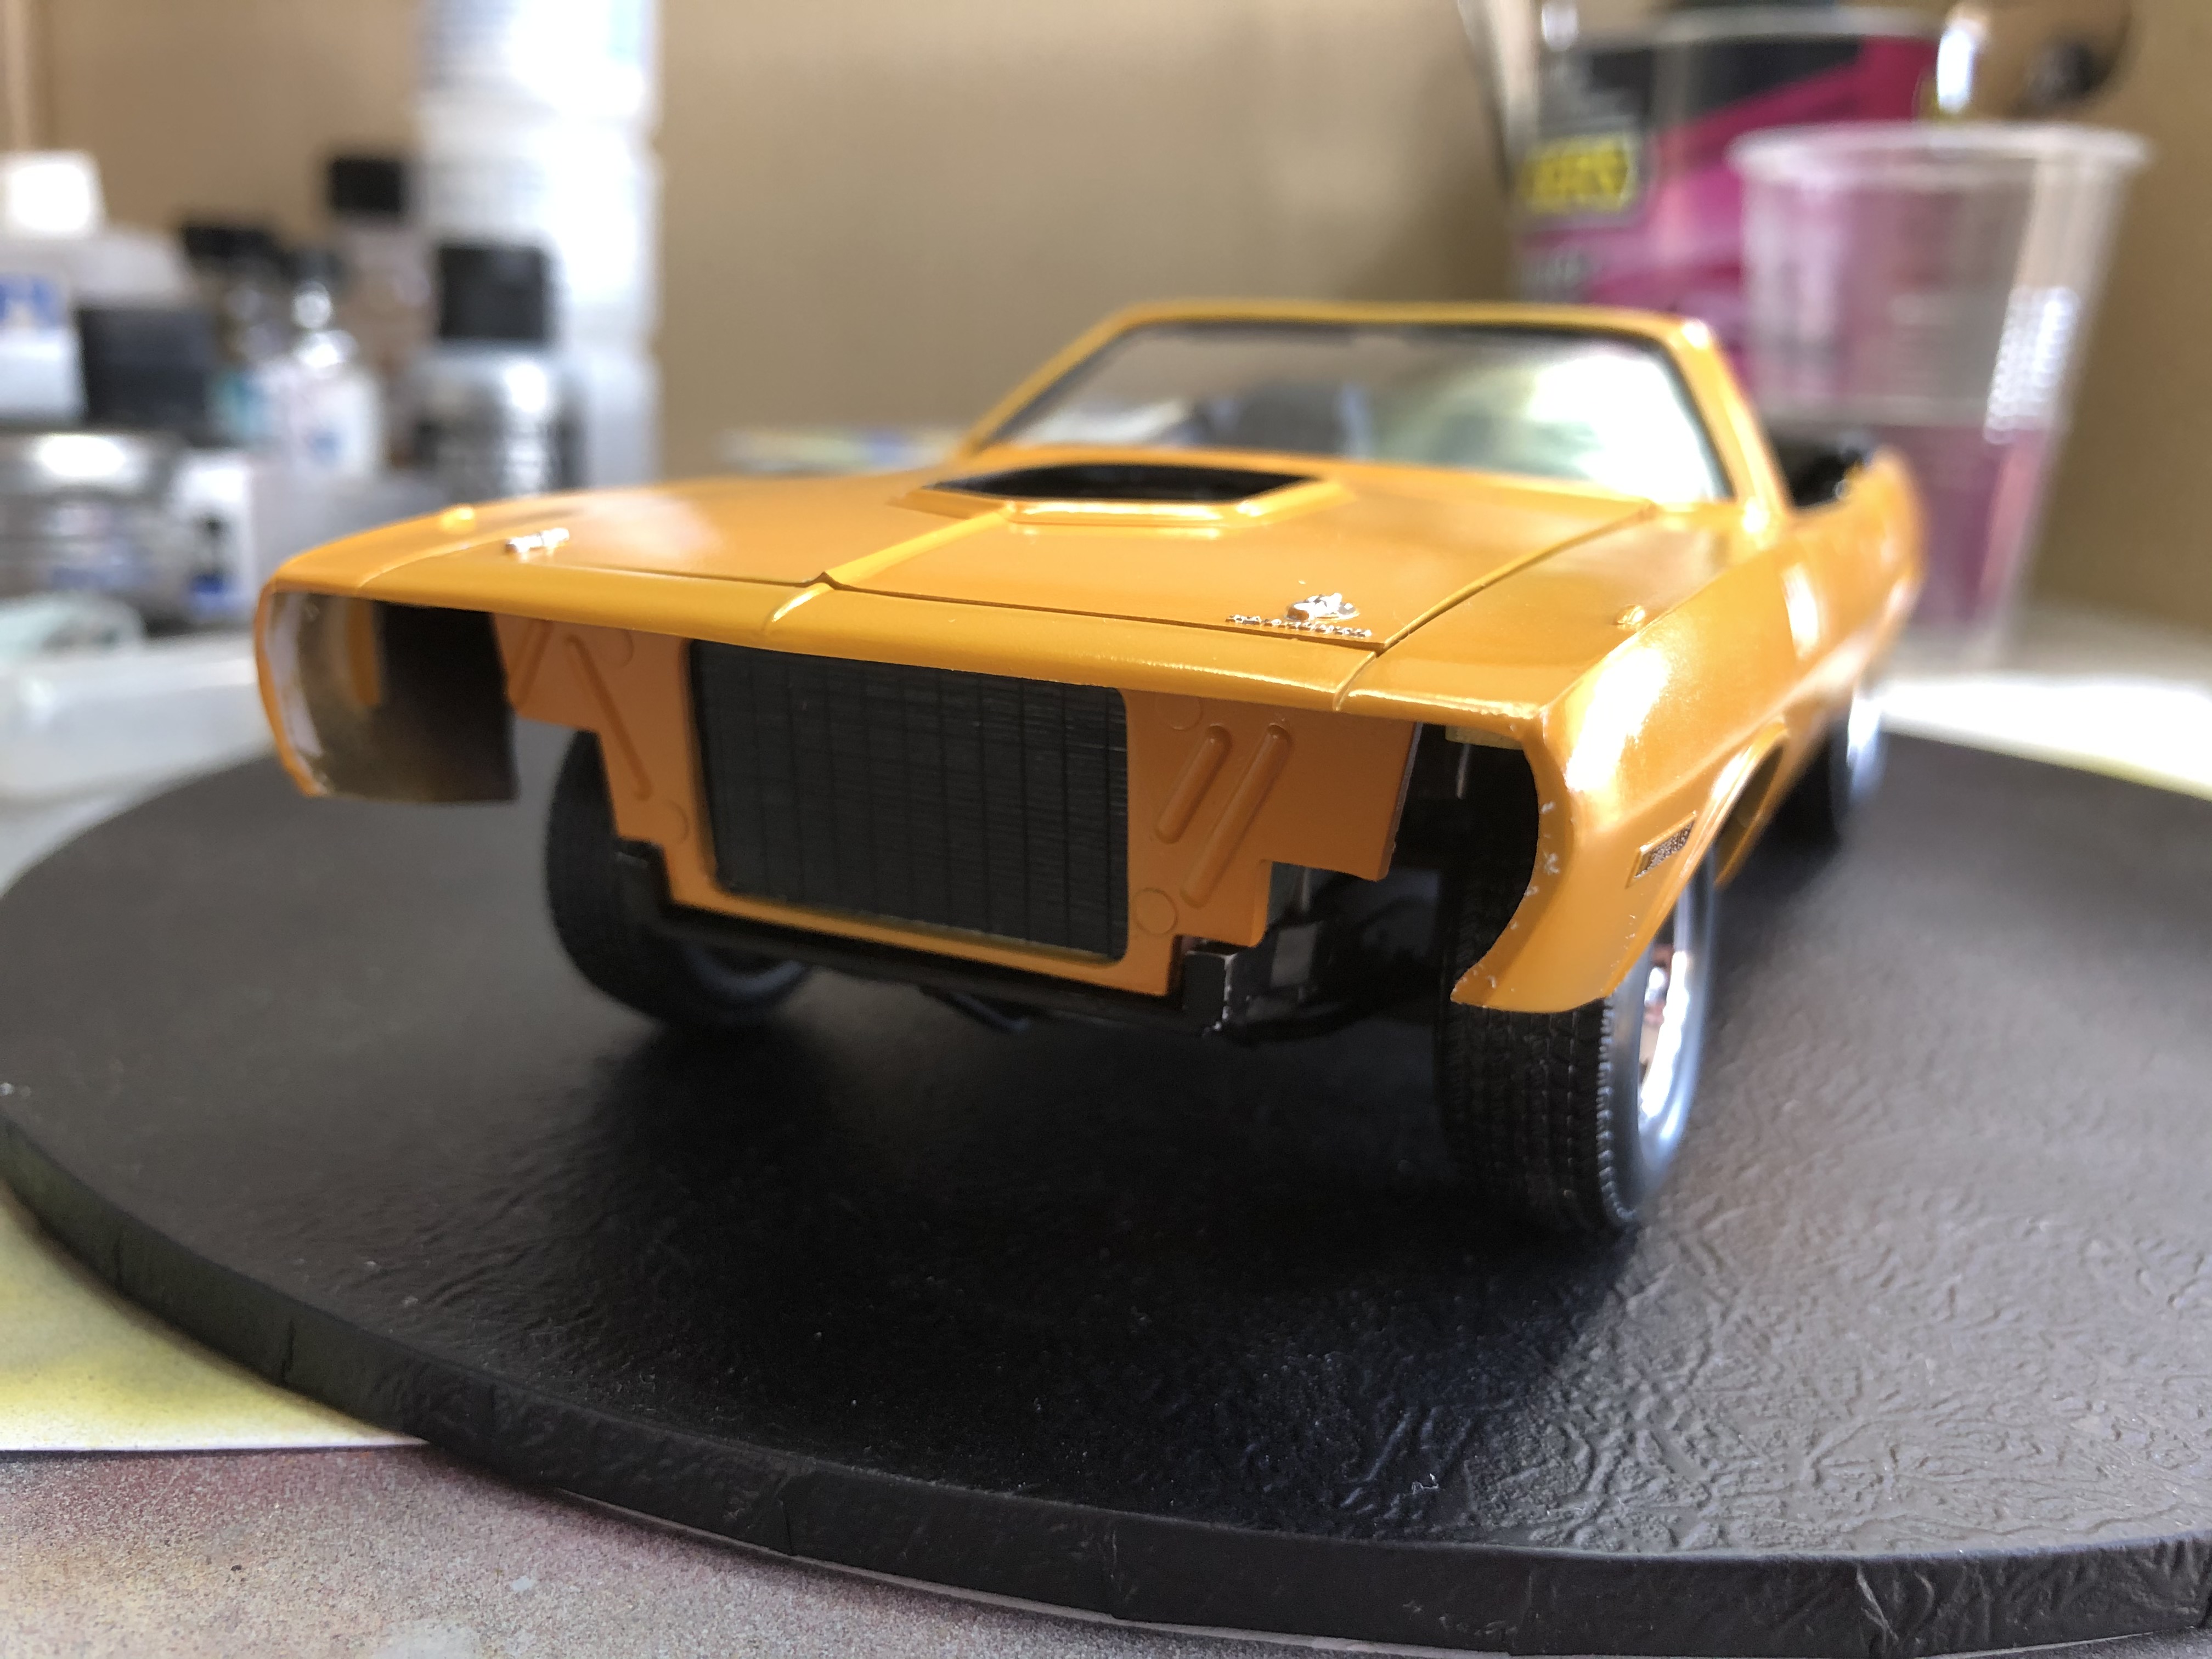
The Marigold Orange is actually not a bad match for the Nash Bridges Cuda.
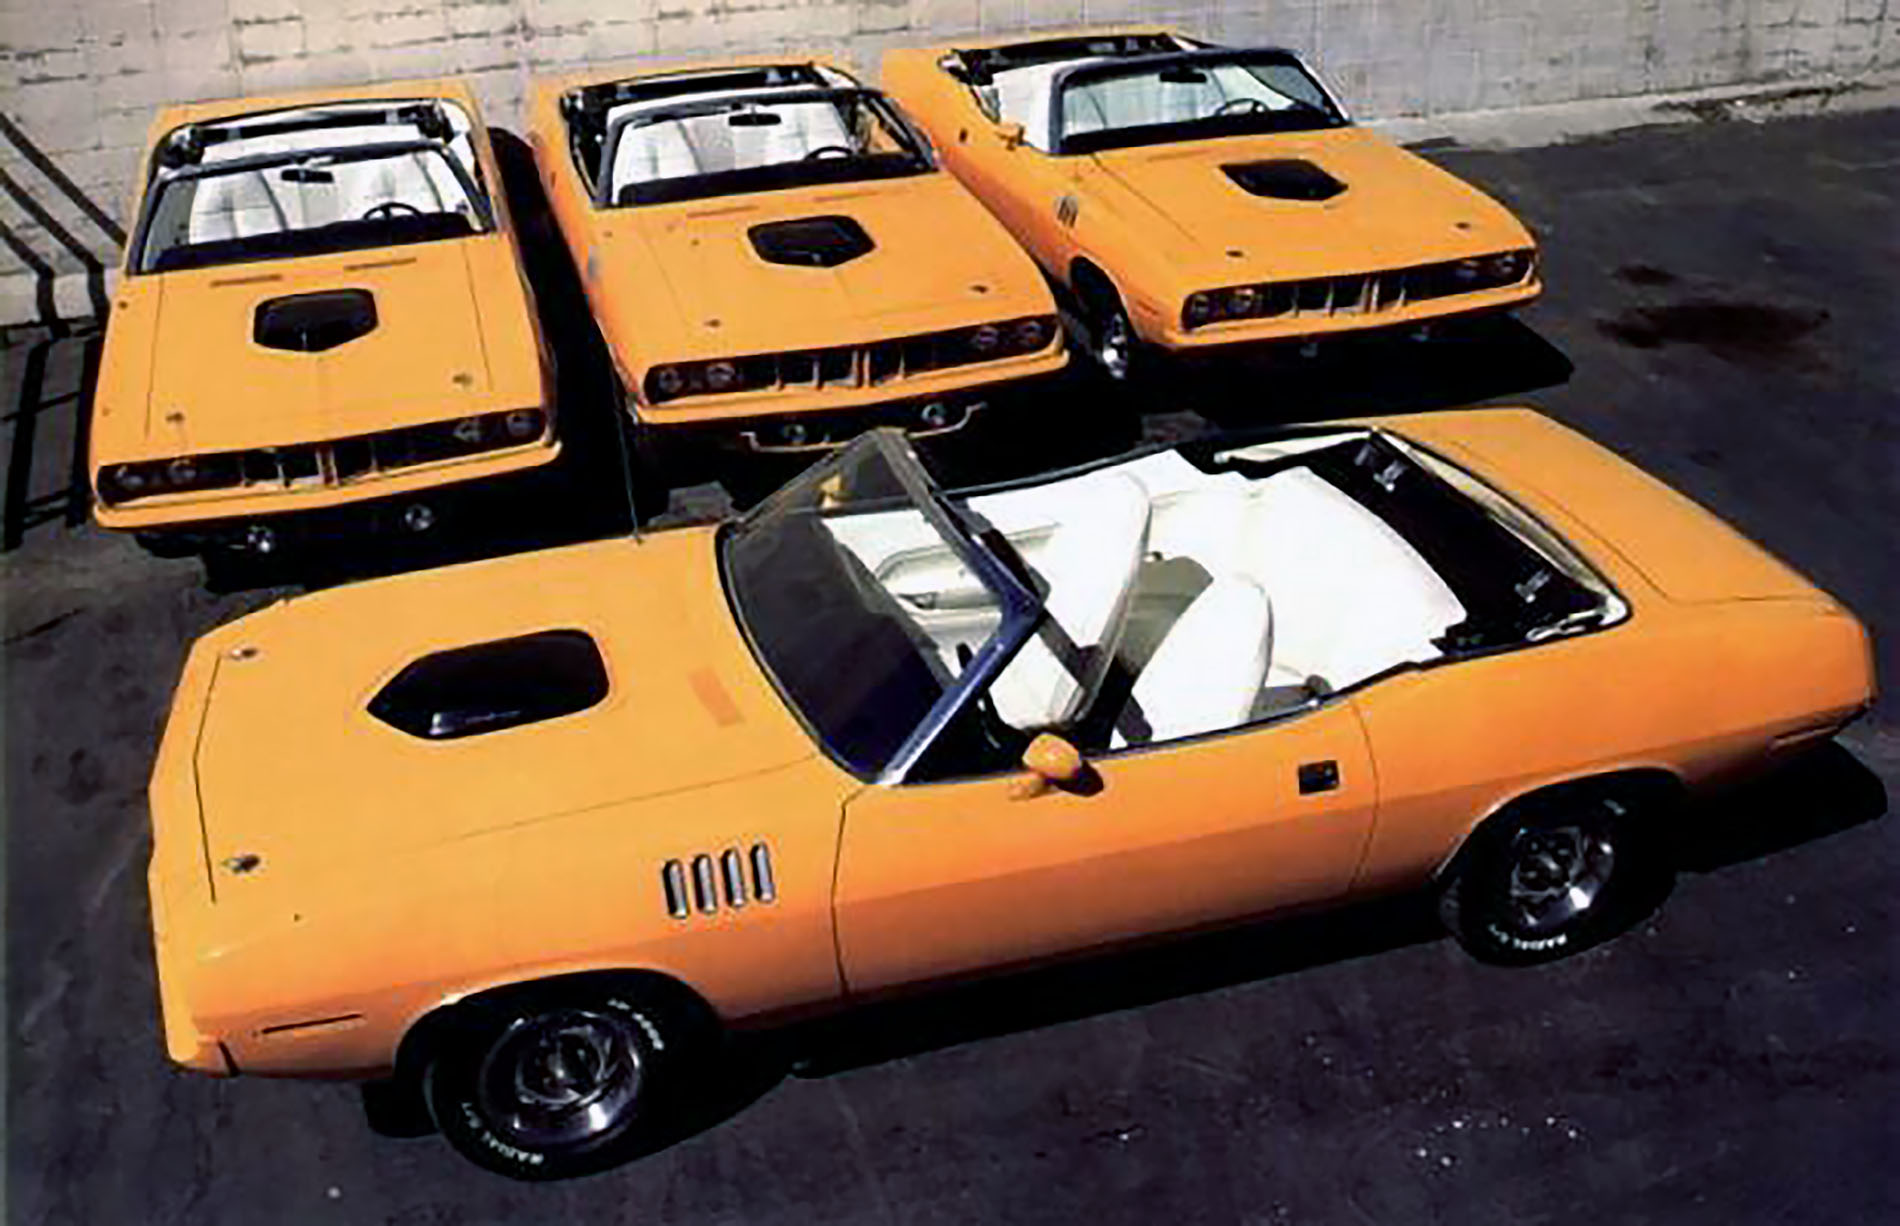
Cheers, D
Edit: Also hit my first "fit" issue, but one of my own doing. The carbs aren't lined up perfectly, so the shaker doesn't sit square and doesn't line up with the opening in the bonnet. I will drill out the holes in the shaker slightly to compensate, and then glue it into the bonnet. Technically not correct but it will keep things neat and tidy.
The Marigold Orange is actually not a bad match for the Nash Bridges Cuda.
Cheers, D
Edit: Also hit my first "fit" issue, but one of my own doing. The carbs aren't lined up perfectly, so the shaker doesn't sit square and doesn't line up with the opening in the bonnet. I will drill out the holes in the shaker slightly to compensate, and then glue it into the bonnet. Technically not correct but it will keep things neat and tidy.

Stickframe
#362
Joined: December 01, 2013
KitMaker: 1,661 posts
Auto Modeler: 431 posts

Posted: Sunday, January 26, 2020 - 11:38 AM UTC
Hi D,
The Cuda looks great! That color and finish is super -
Cheers
Nick
The Cuda looks great! That color and finish is super -
Cheers
Nick

Cosimodo
#335

Joined: September 03, 2013
KitMaker: 1,808 posts
Auto Modeler: 701 posts

Posted: Sunday, January 26, 2020 - 04:48 PM UTC
It looks very cool Damian. Great colour choice and nice link with the Nash Bridges.
cheers
Michael
cheers
Michael

GaryKato
Joined: December 06, 2004
KitMaker: 3,694 posts
Auto Modeler: 79 posts

Posted: Monday, January 27, 2020 - 05:33 PM UTC
I have a 00000 brush on order for February (I buy books once a month and added a brush). I have been working on a Fujimi 1/24 Ferrari F40 that needs tiny rivets painted silver.
AussieReg
#007
Joined: June 09, 2009
KitMaker: 8,156 posts
Auto Modeler: 2,953 posts
Posted: Tuesday, January 28, 2020 - 12:14 AM UTC
Quoted Text
I have a 00000 brush on order for February (I buy books once a month and added a brush). I have been working on a Fujimi 1/24 Ferrari F40 that needs tiny rivets painted silver.
Great to hear that you are working on an Auto build Gary! Are you going to enlist here and share your progress?
Cheers, D
GaryKato
Joined: December 06, 2004
KitMaker: 3,694 posts
Auto Modeler: 79 posts
Posted: Tuesday, January 28, 2020 - 04:59 AM UTC
Not yet. I have 3 campaigns I'm signed up for already. Once I finish one or two of them, I will consider others.

bluebell914
Joined: September 26, 2018
KitMaker: 61 posts
Auto Modeler: 49 posts

Posted: Wednesday, January 29, 2020 - 07:57 AM UTC
I'll be trying to finish this soon. Almost there but the dash is interfering with the windshield and keeps popping it loose. I need a 1/24 scale Sawzall!

md72
#439
Joined: November 05, 2005
KitMaker: 4,950 posts
Auto Modeler: 555 posts
Posted: Wednesday, January 29, 2020 - 08:39 AM UTC
Quoted Text
1/24 scale Sawzall!
Ya know, it's a bit surprising that Model Art doesn't have one out there yet. What about the Tamiya garage set, might that have one?
bluebell914
Joined: September 26, 2018
KitMaker: 61 posts
Auto Modeler: 49 posts
Posted: Wednesday, January 29, 2020 - 01:28 PM UTC
They have one, but no one sells gas for it. lol
Joel_W
Joined: December 04, 2010
KitMaker: 11,666 posts
Auto Modeler: 2,974 posts
Posted: Thursday, January 30, 2020 - 01:57 AM UTC
Patrick,
Still that Martini Porsche 917k really looks outstanding. I'm thinking about buying another Fujimi kit since I can now get the Gulf Wyler decals from Indy Cals.
Joel
Still that Martini Porsche 917k really looks outstanding. I'm thinking about buying another Fujimi kit since I can now get the Gulf Wyler decals from Indy Cals.
Joel
Joel_W
Joined: December 04, 2010
KitMaker: 11,666 posts
Auto Modeler: 2,974 posts
Posted: Thursday, January 30, 2020 - 01:59 AM UTC
D,
She's looking real good for sure. And that paint match is perfect to my eyes.
Joel
She's looking real good for sure. And that paint match is perfect to my eyes.
Joel
AussieReg
#007
Joined: June 09, 2009
KitMaker: 8,156 posts
Auto Modeler: 2,953 posts
Posted: Friday, January 31, 2020 - 09:51 AM UTC
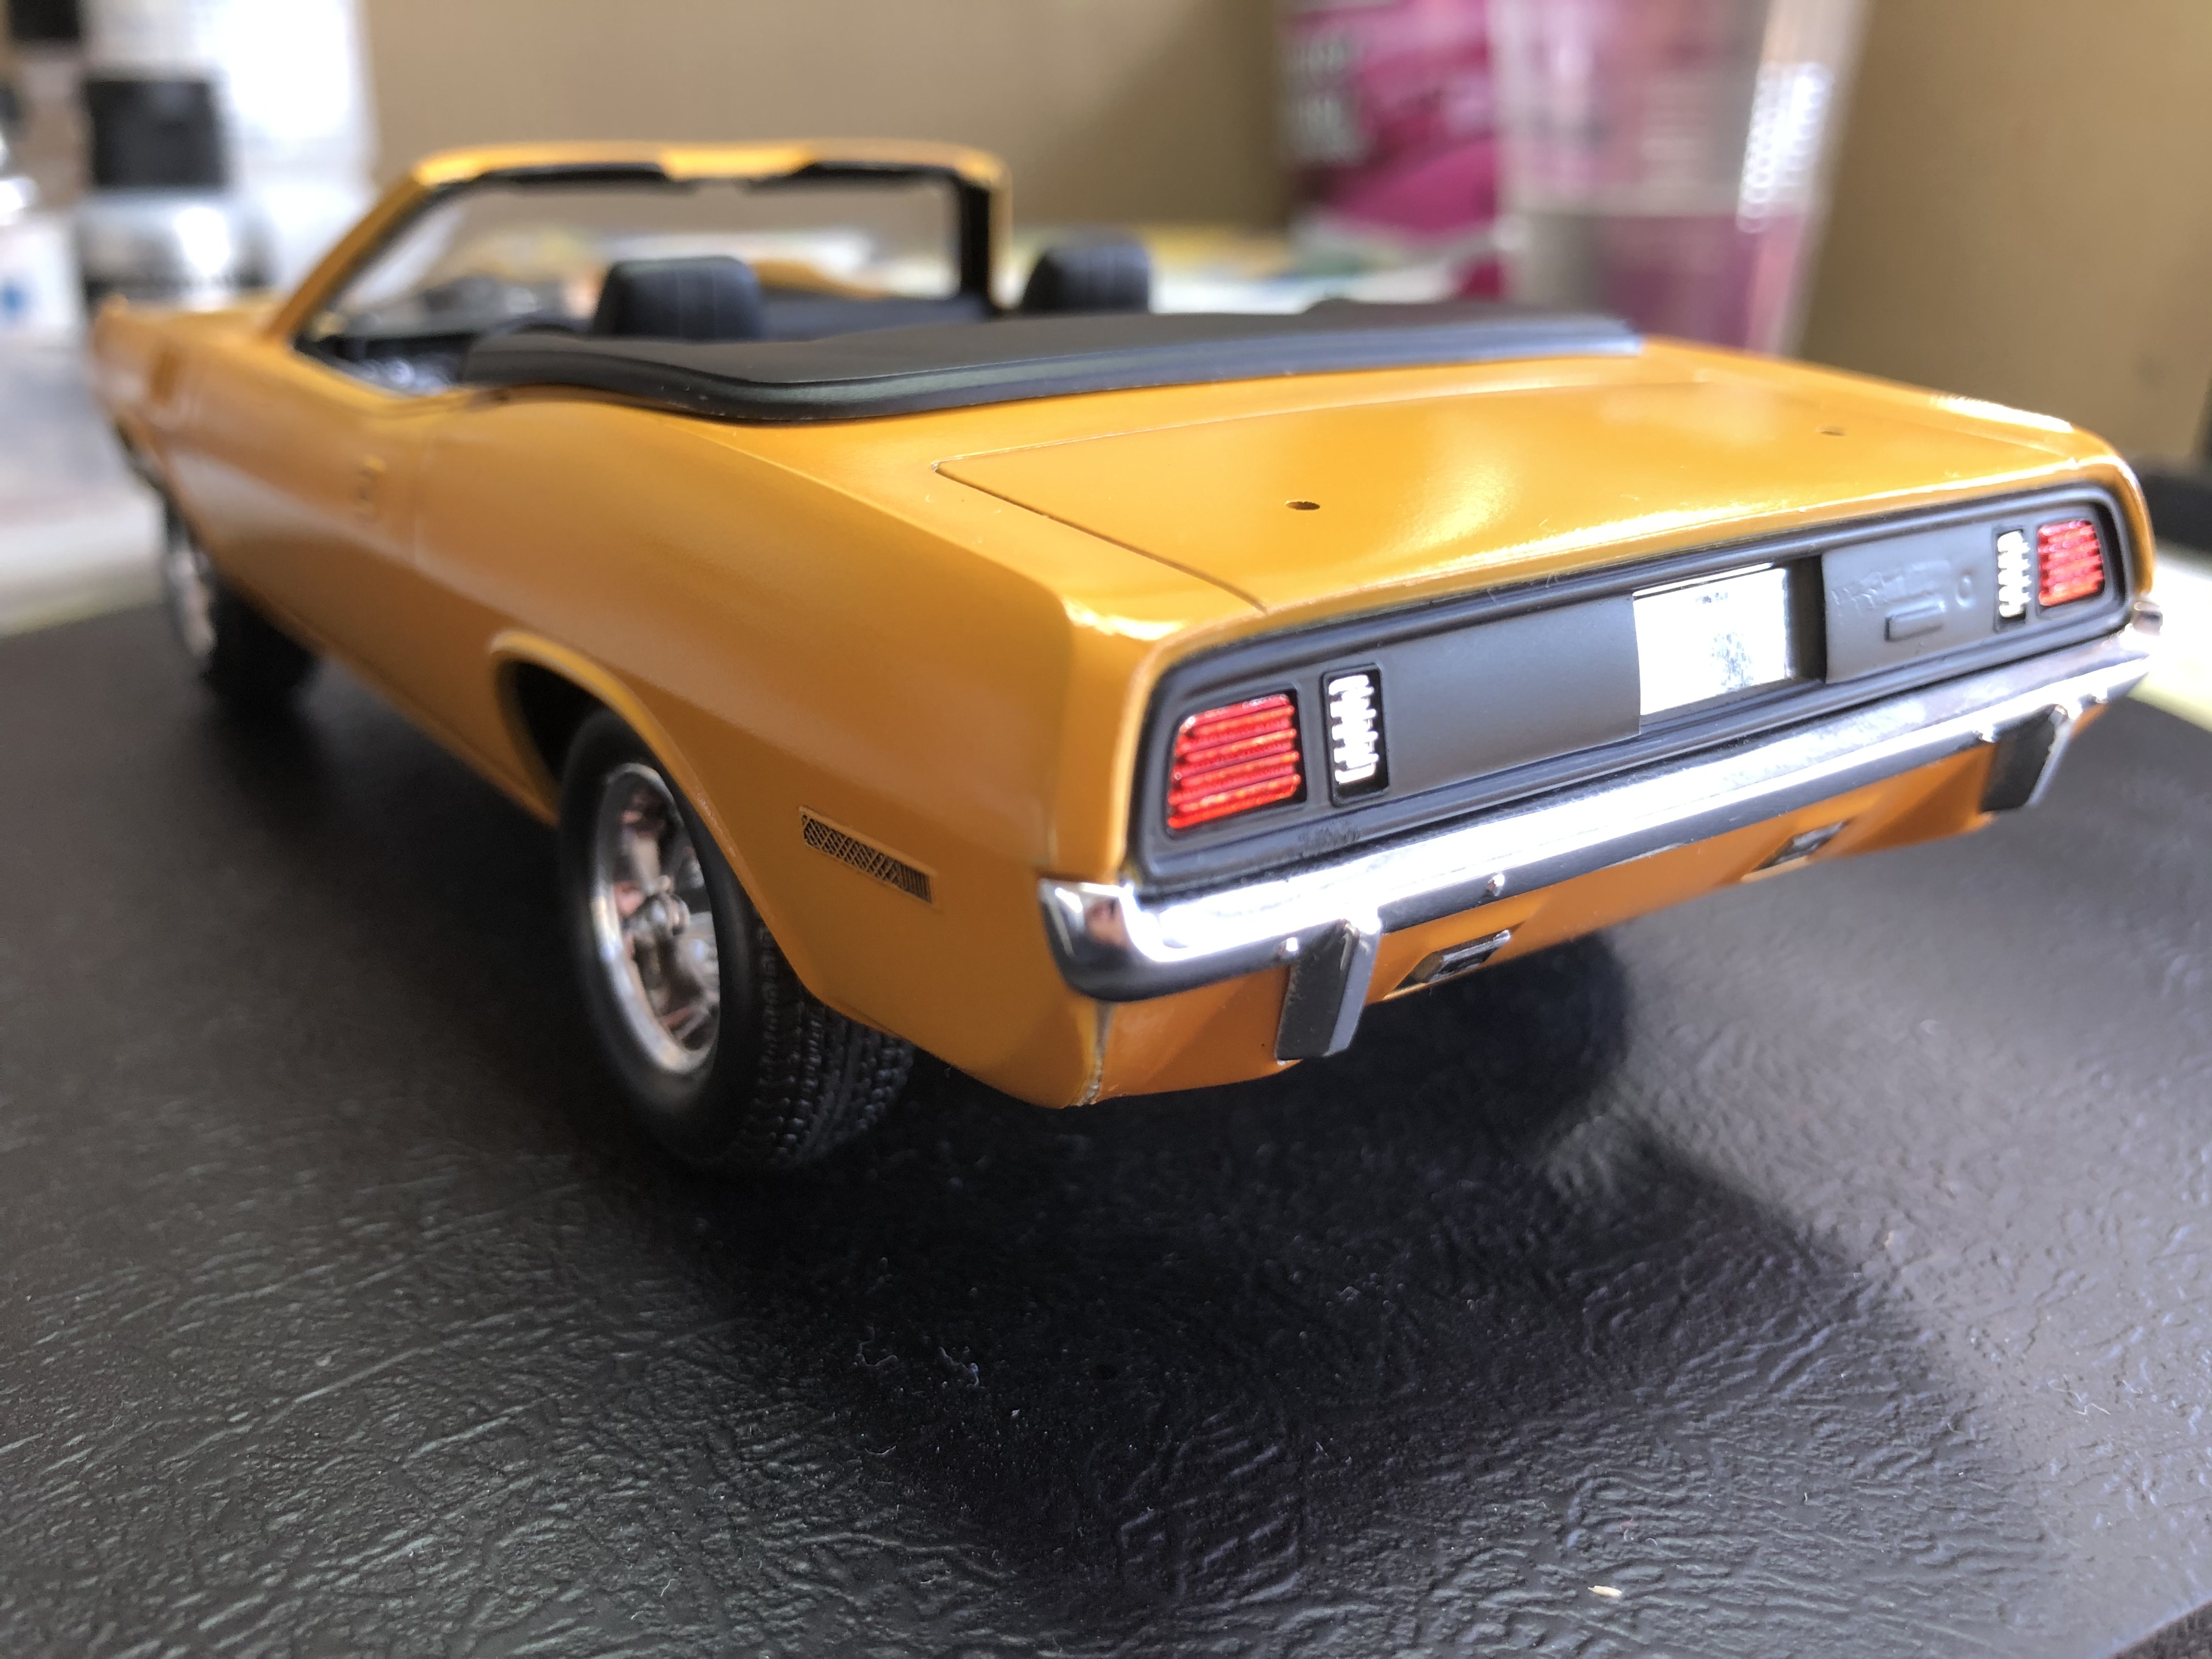
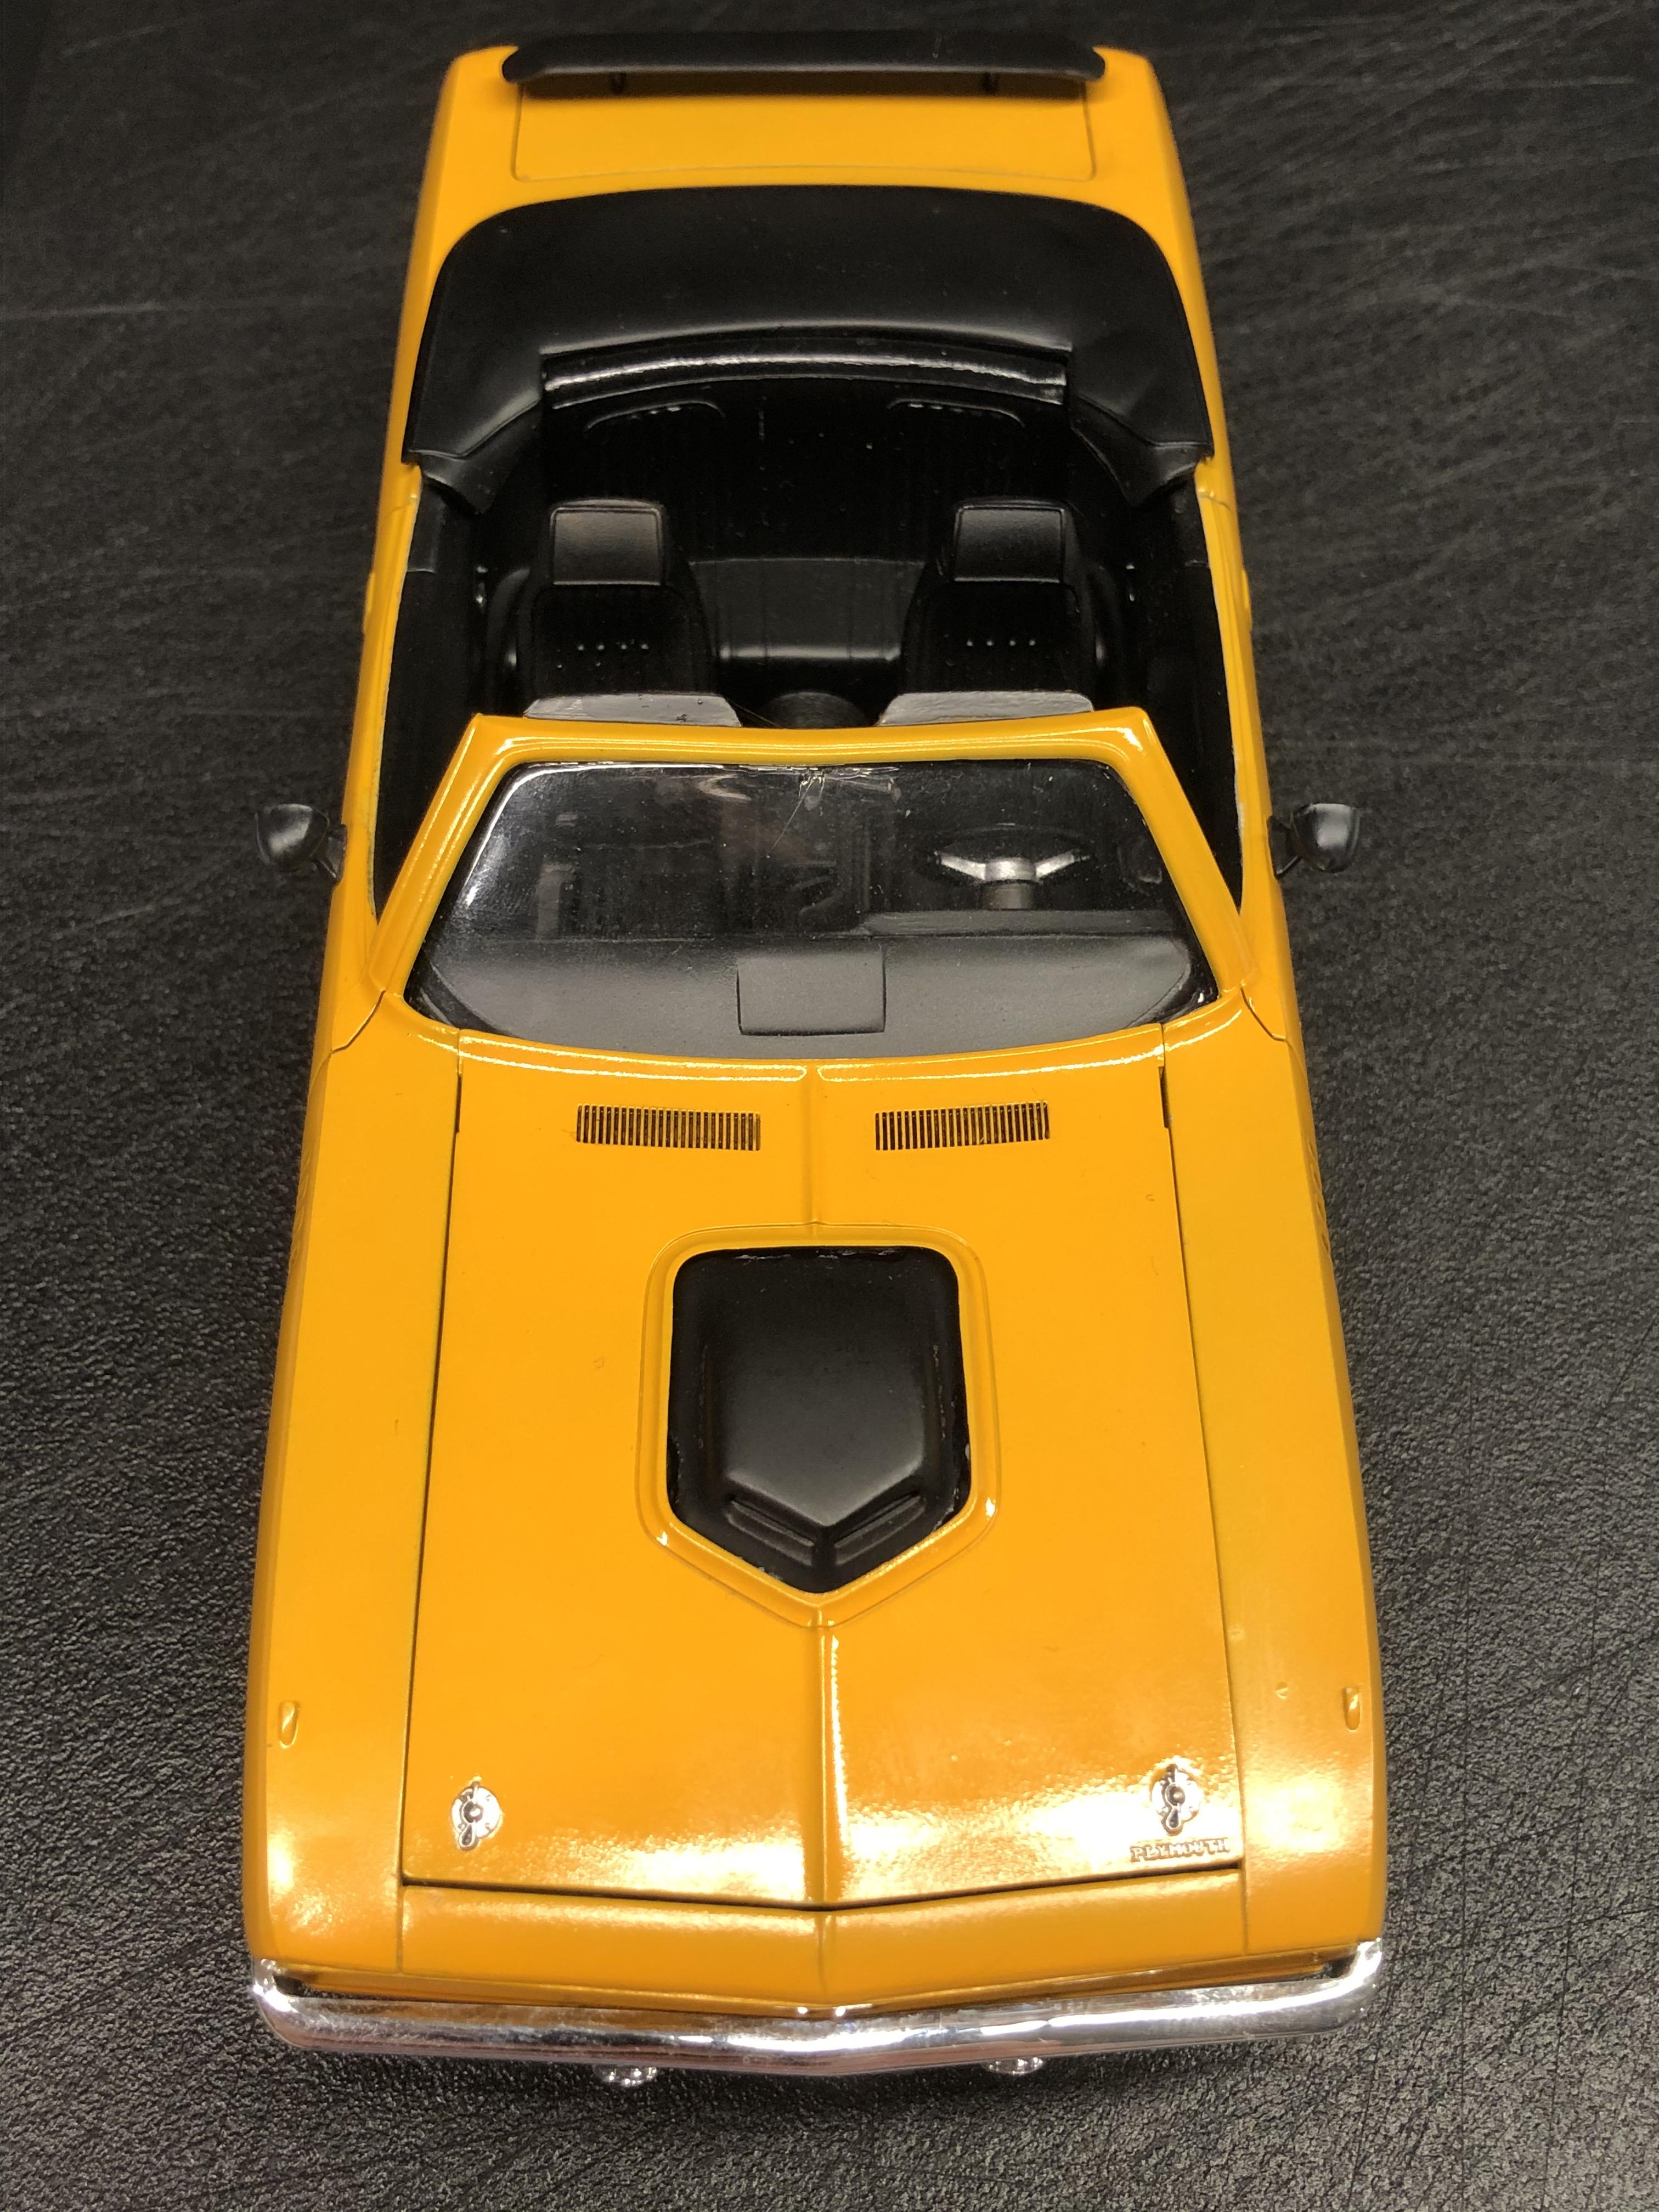
Coming down to the little final details on this build now.
Brake cylinder, distributor and upper radiator hose added to the engine bay.
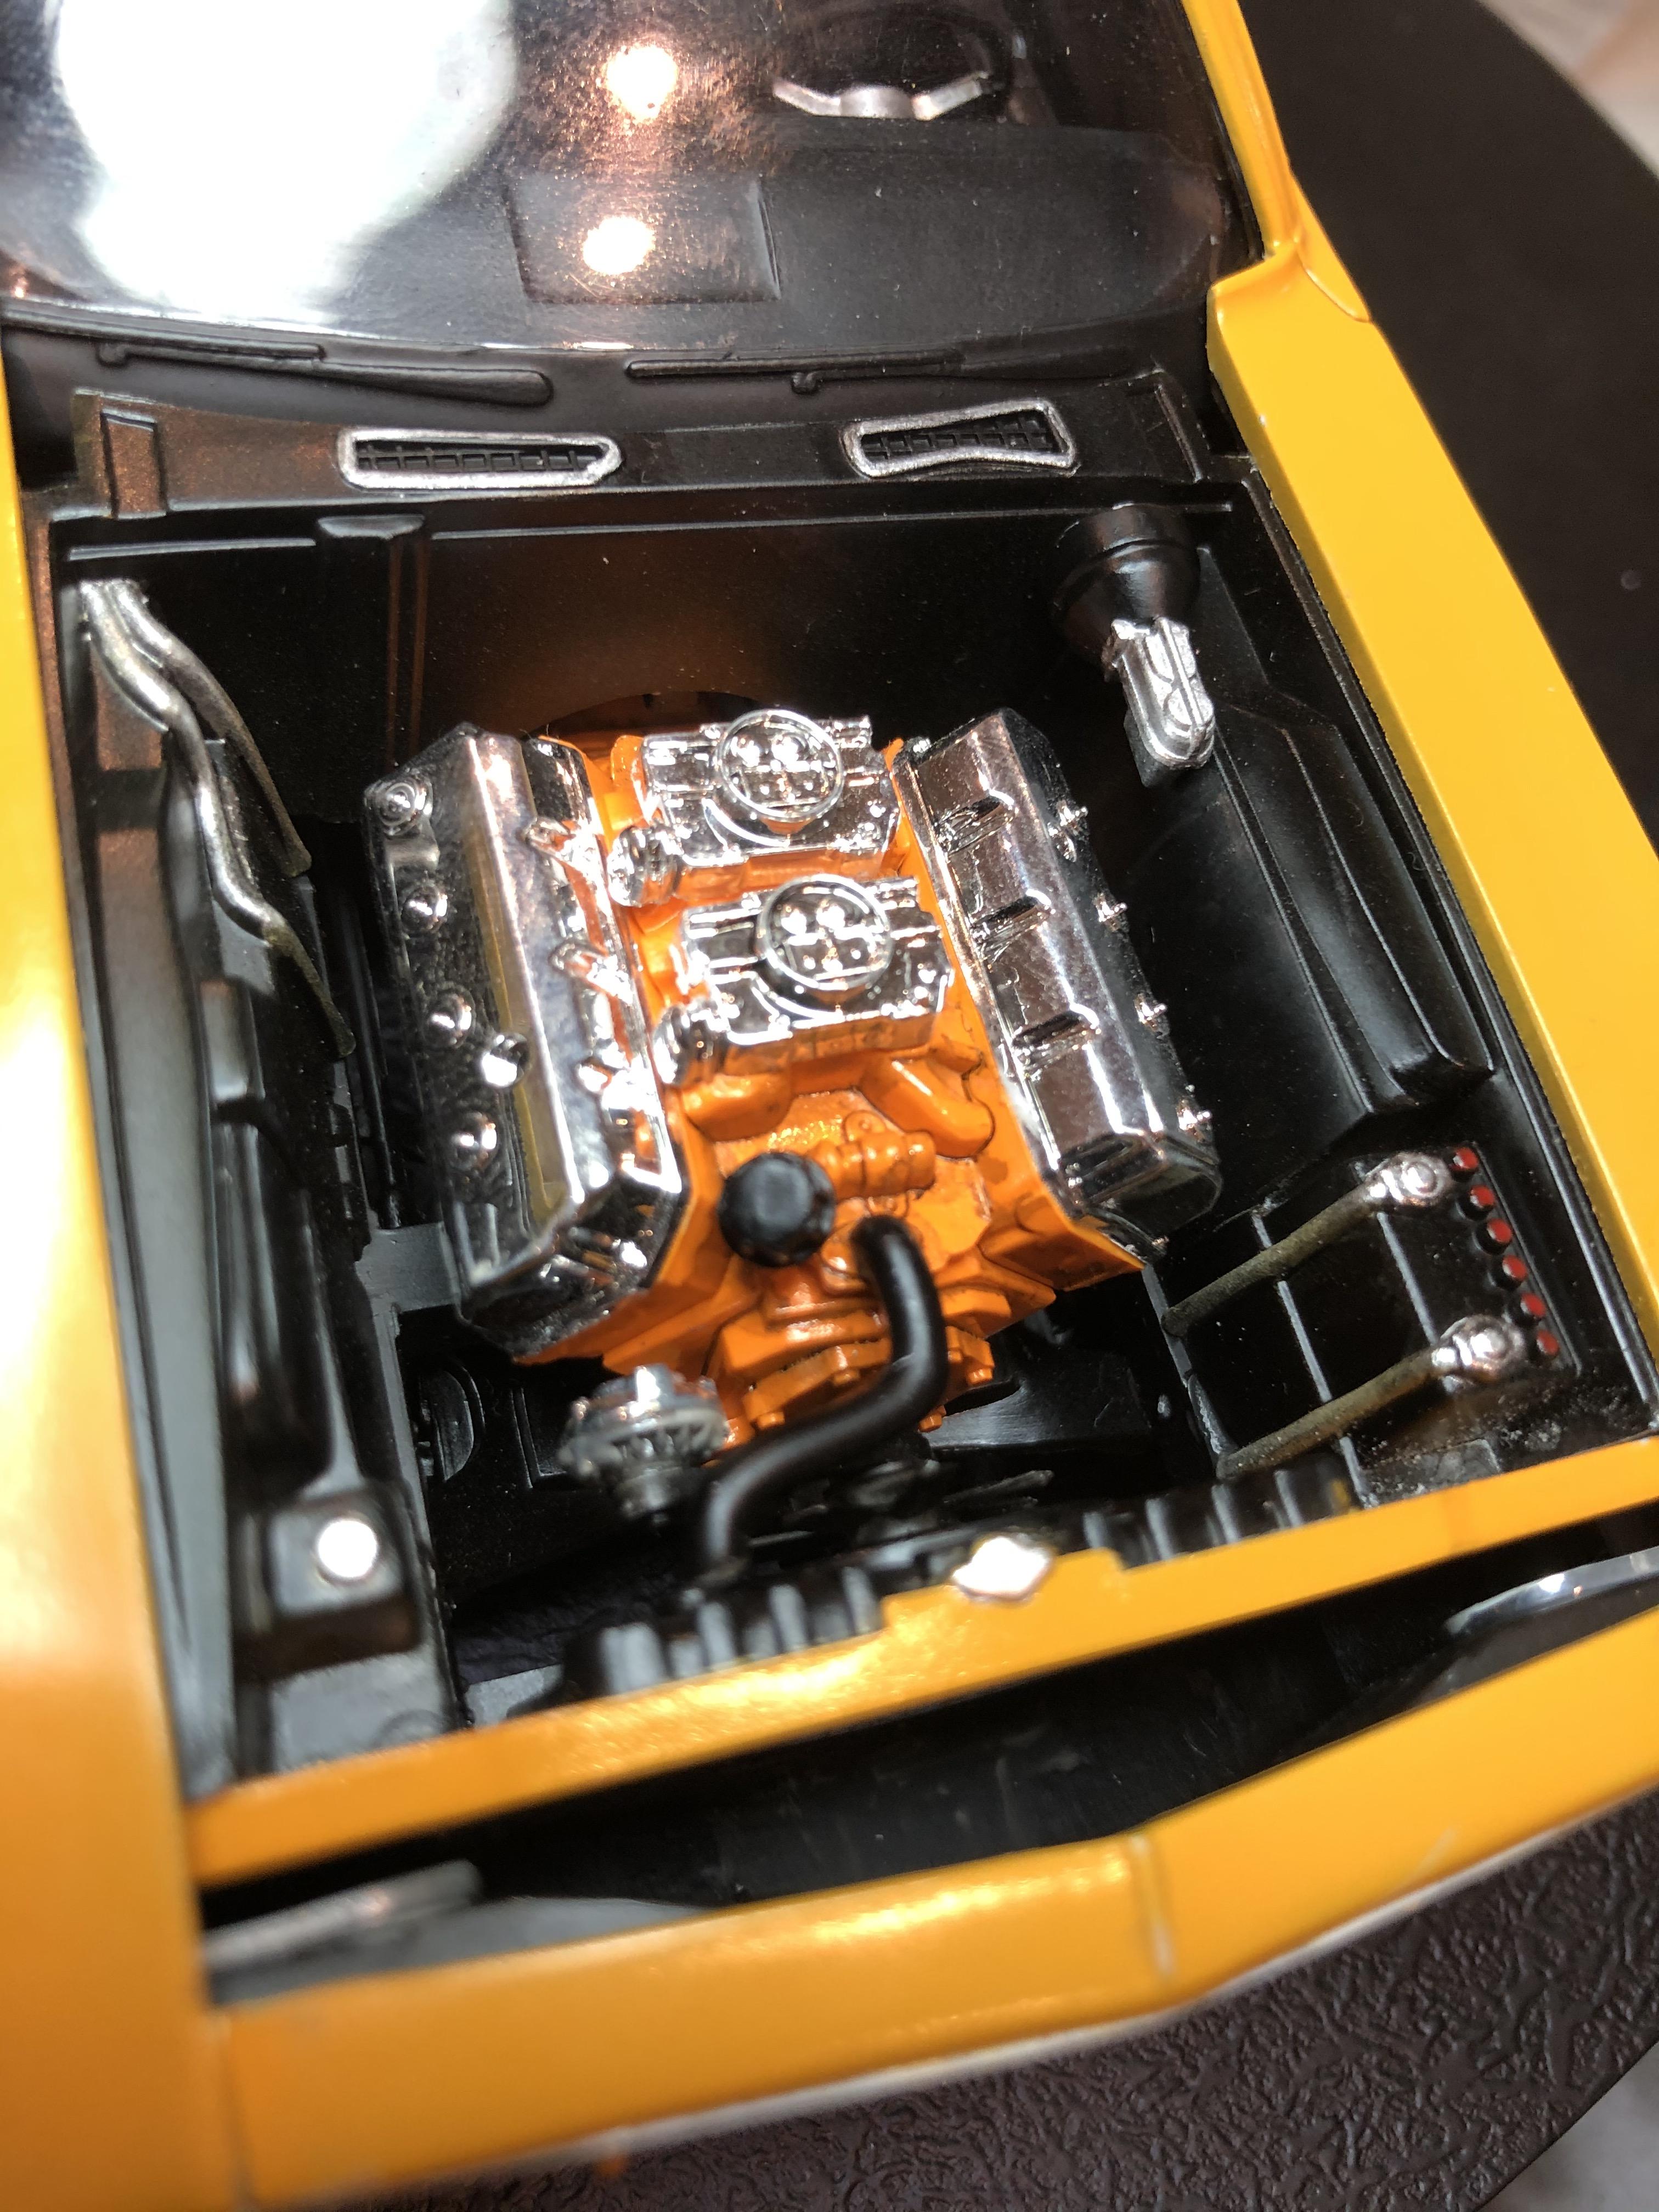
Shaker fitted under the bonnet.
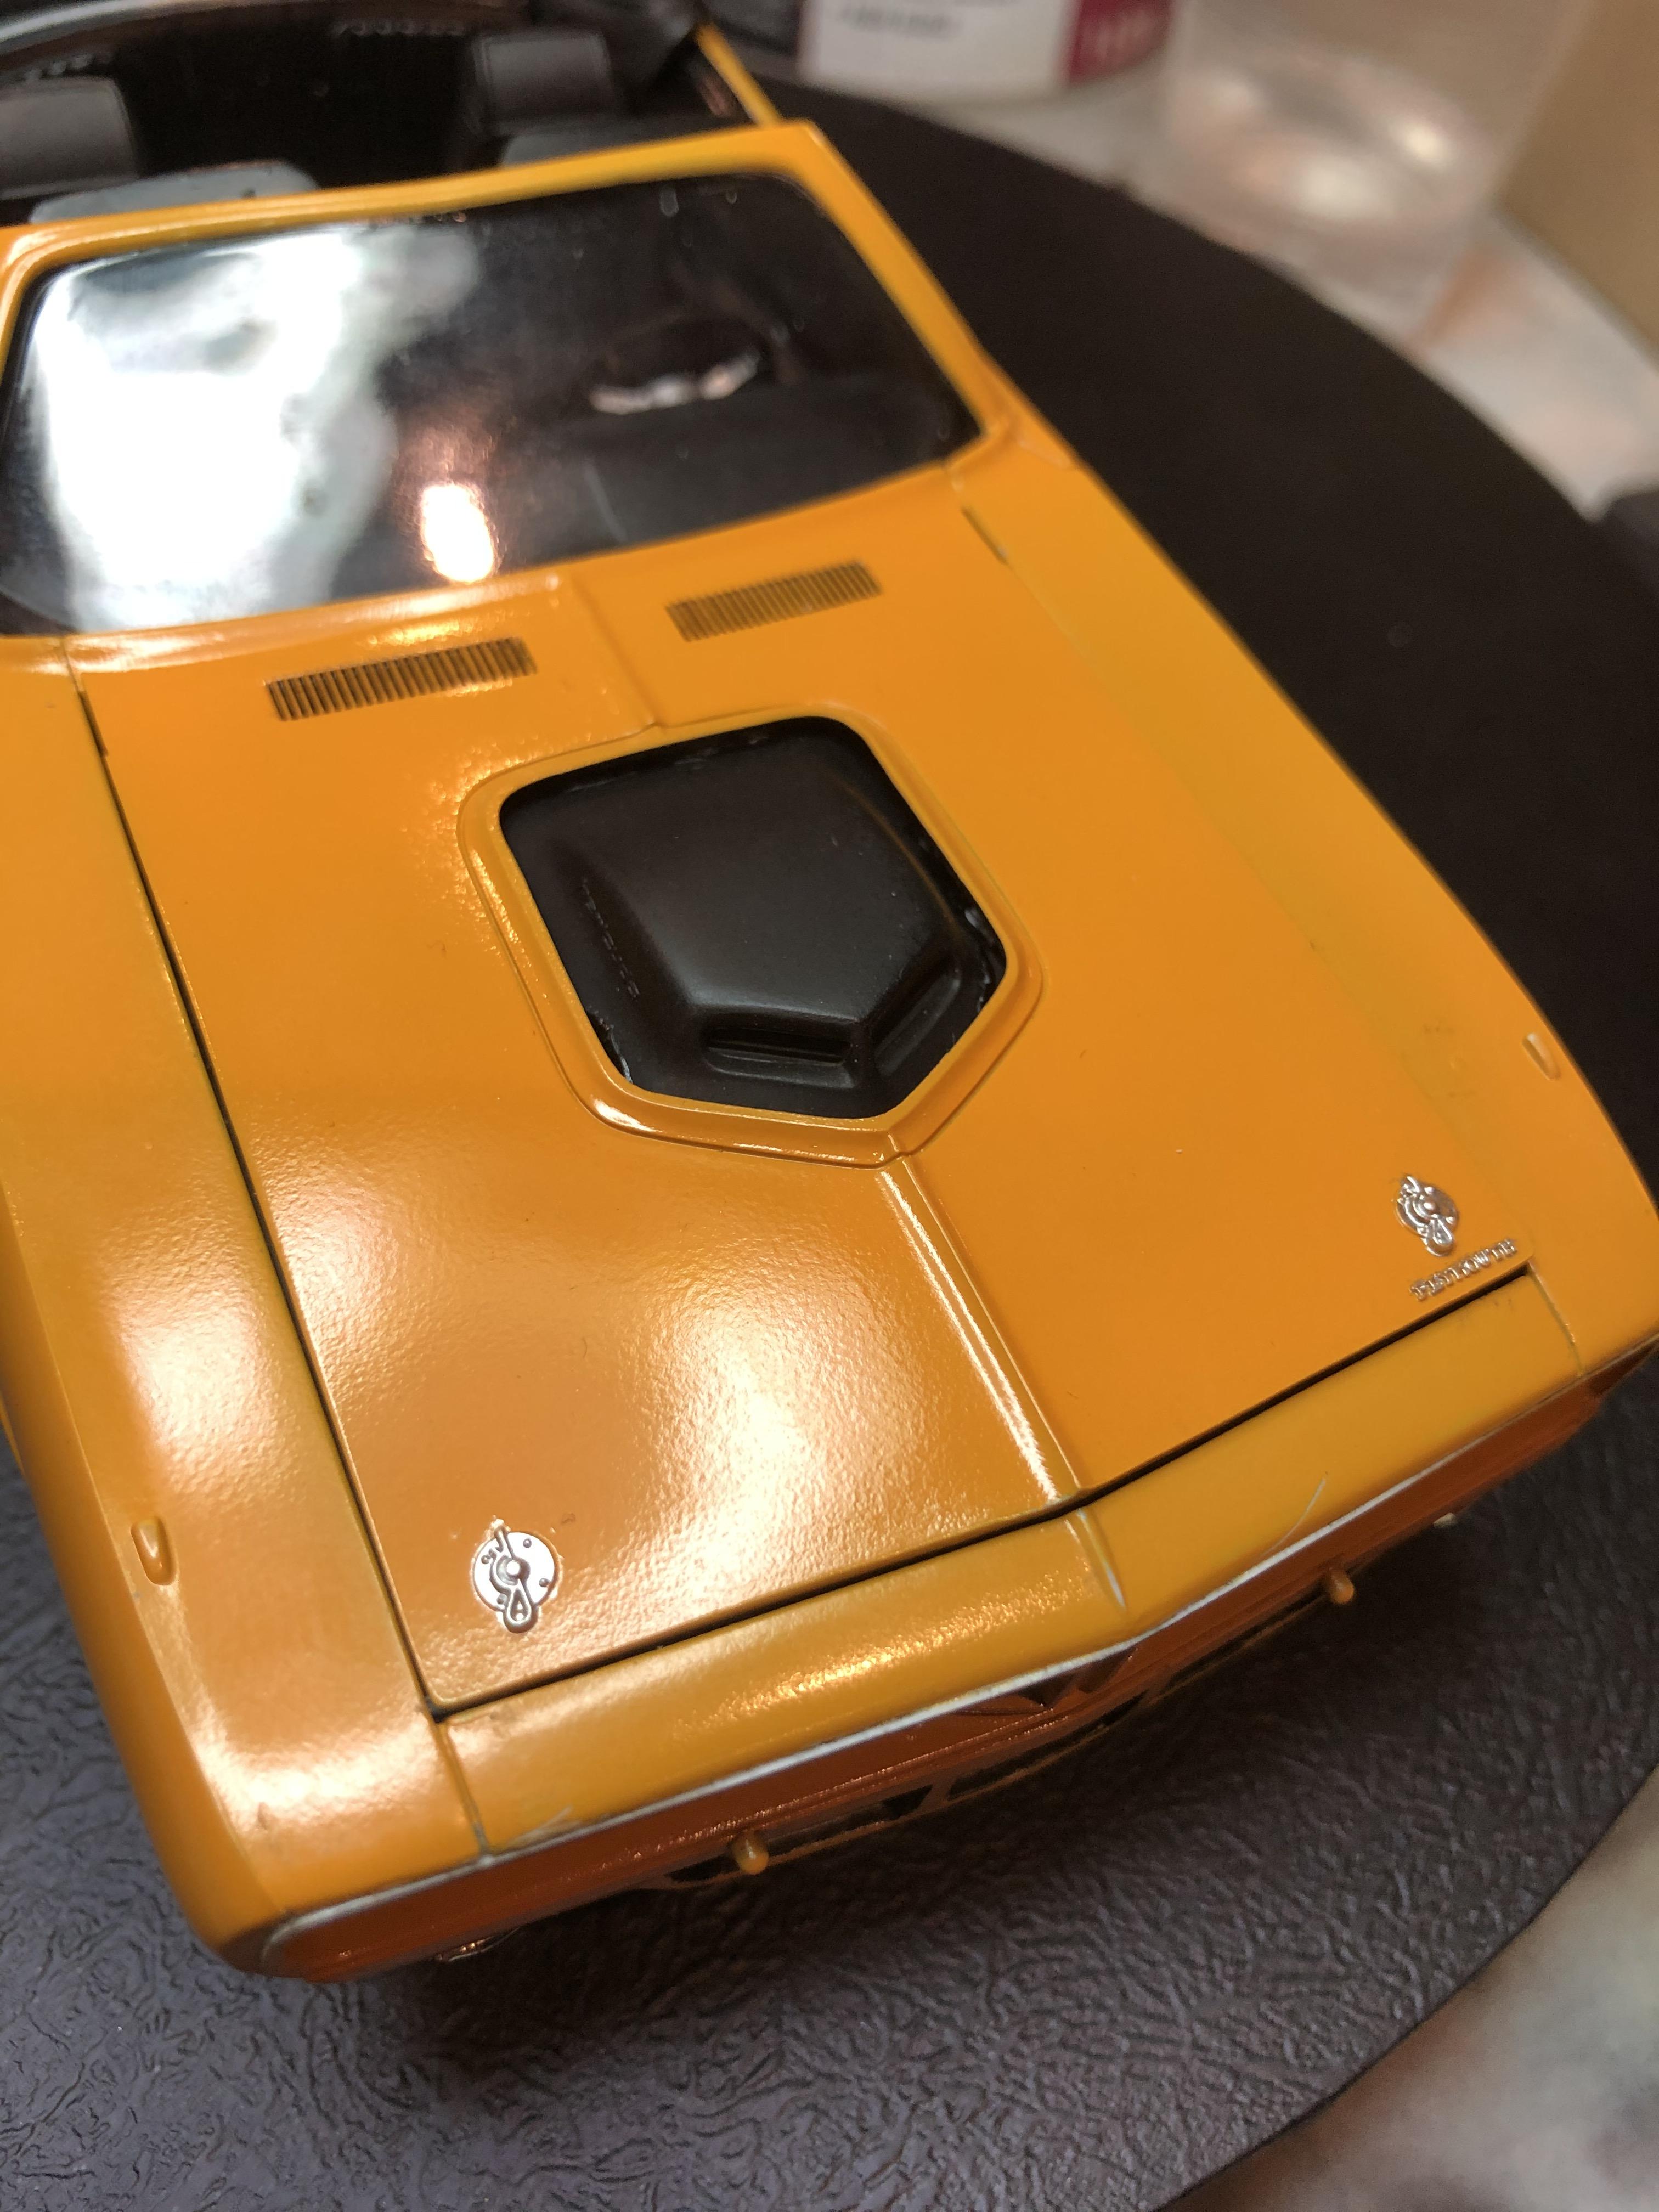
Spoiler tidied up and test dry fitted.
Front clip installed and front bumper test dry fitted.
In this last photo you can see the twist in the bonnet which I can't straighten out, so I will just need to live with it. The front clip wasn't quite a neat fit either, it overhangs forwards by about 0.5mm so I have a little tidying up and touch-up painting to do there.
Cheers, D
Brake cylinder, distributor and upper radiator hose added to the engine bay.
Shaker fitted under the bonnet.
Spoiler tidied up and test dry fitted.
Front clip installed and front bumper test dry fitted.
In this last photo you can see the twist in the bonnet which I can't straighten out, so I will just need to live with it. The front clip wasn't quite a neat fit either, it overhangs forwards by about 0.5mm so I have a little tidying up and touch-up painting to do there.
Cheers, D
AussieReg
#007
Joined: June 09, 2009
KitMaker: 8,156 posts
Auto Modeler: 2,953 posts
Posted: Saturday, February 01, 2020 - 12:50 AM UTC
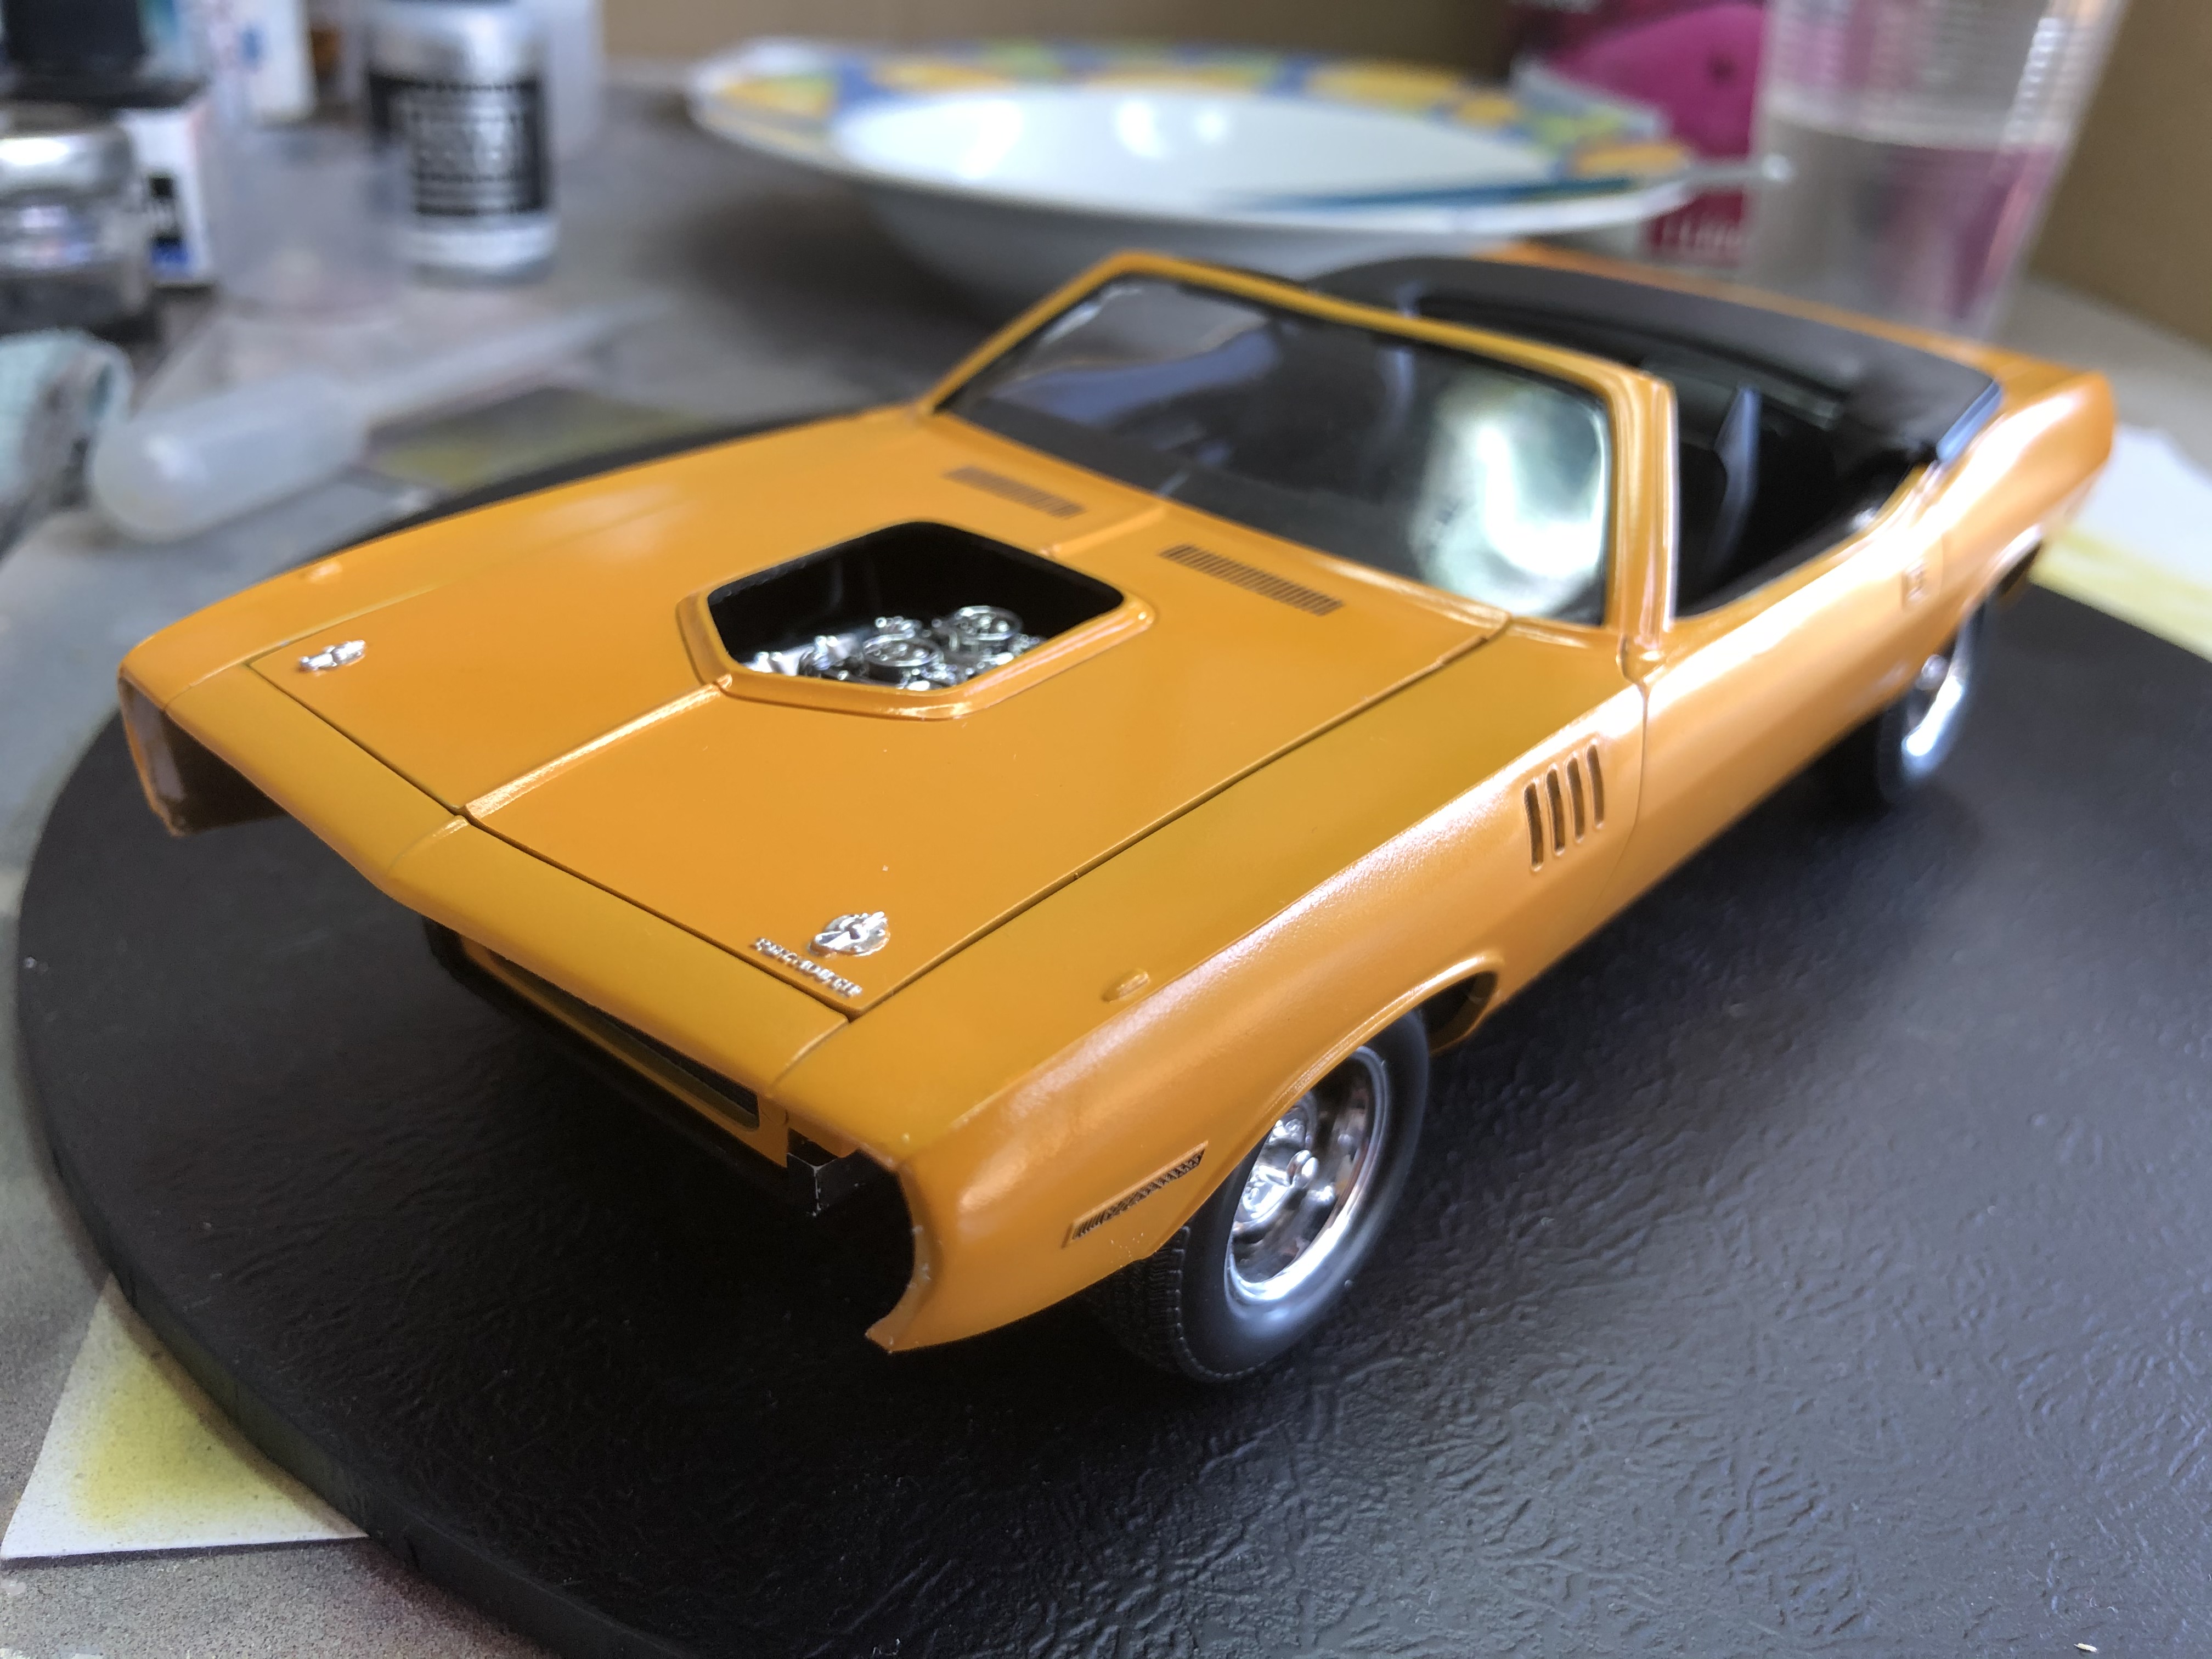
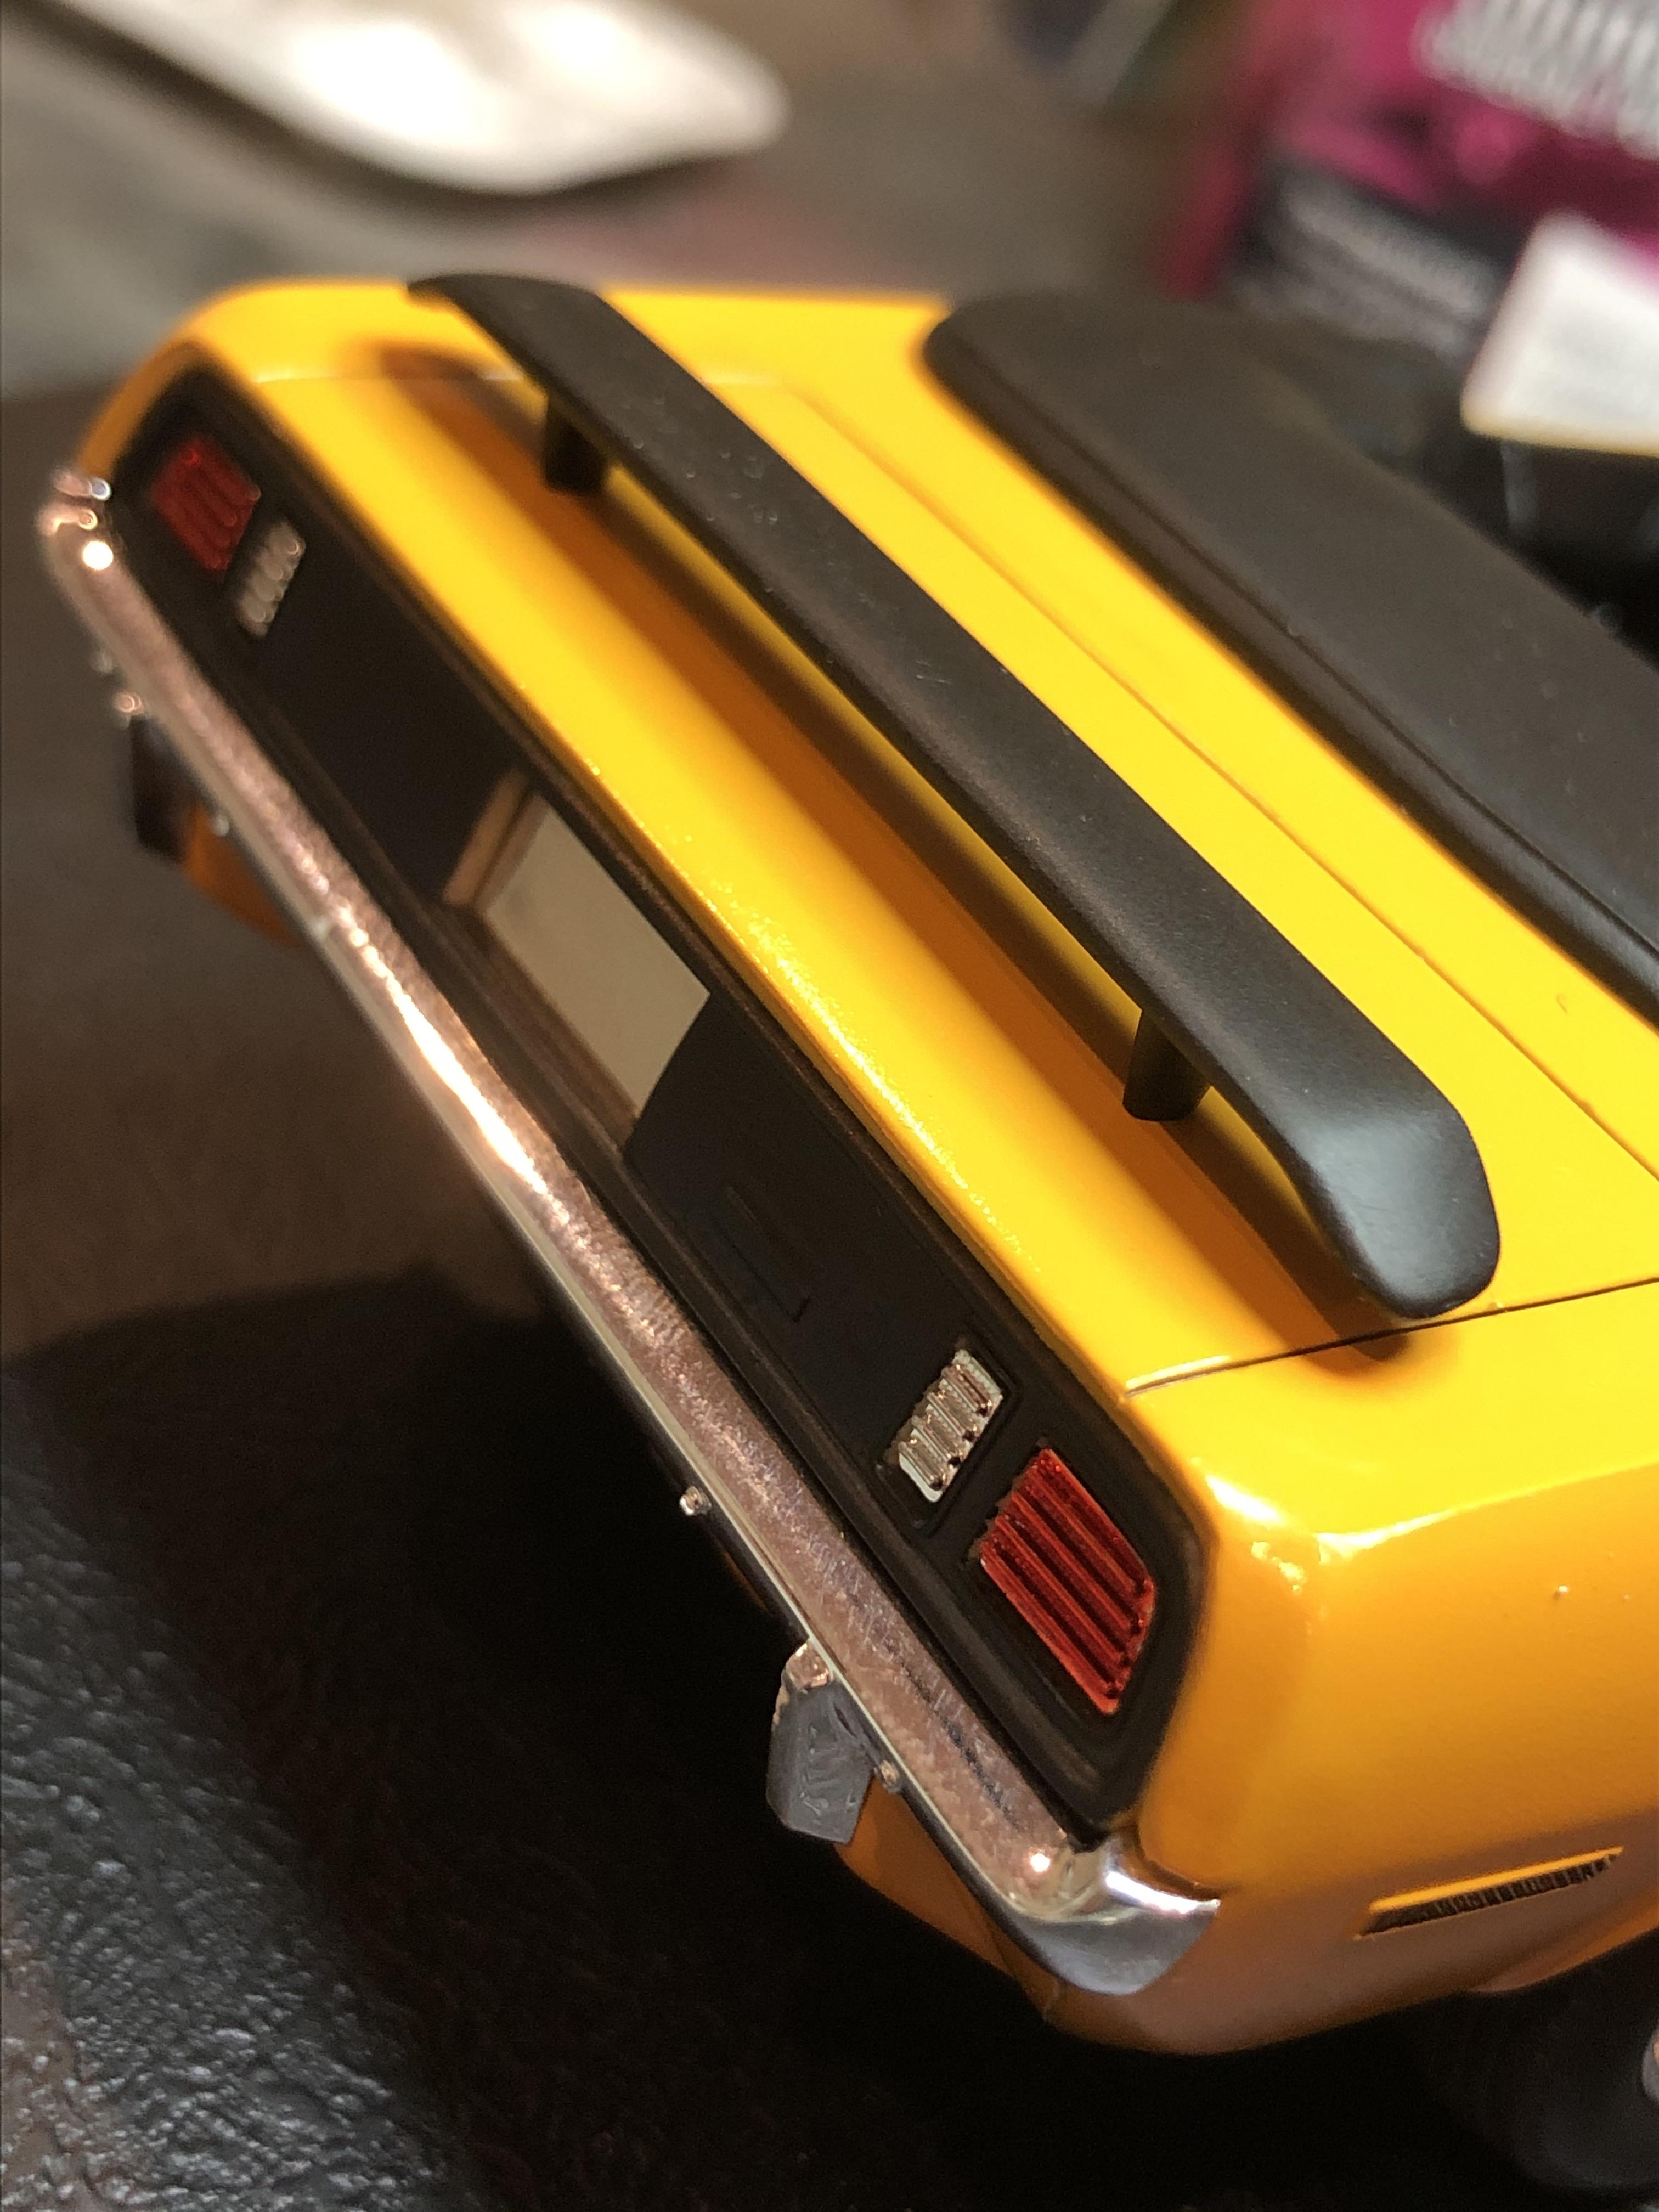
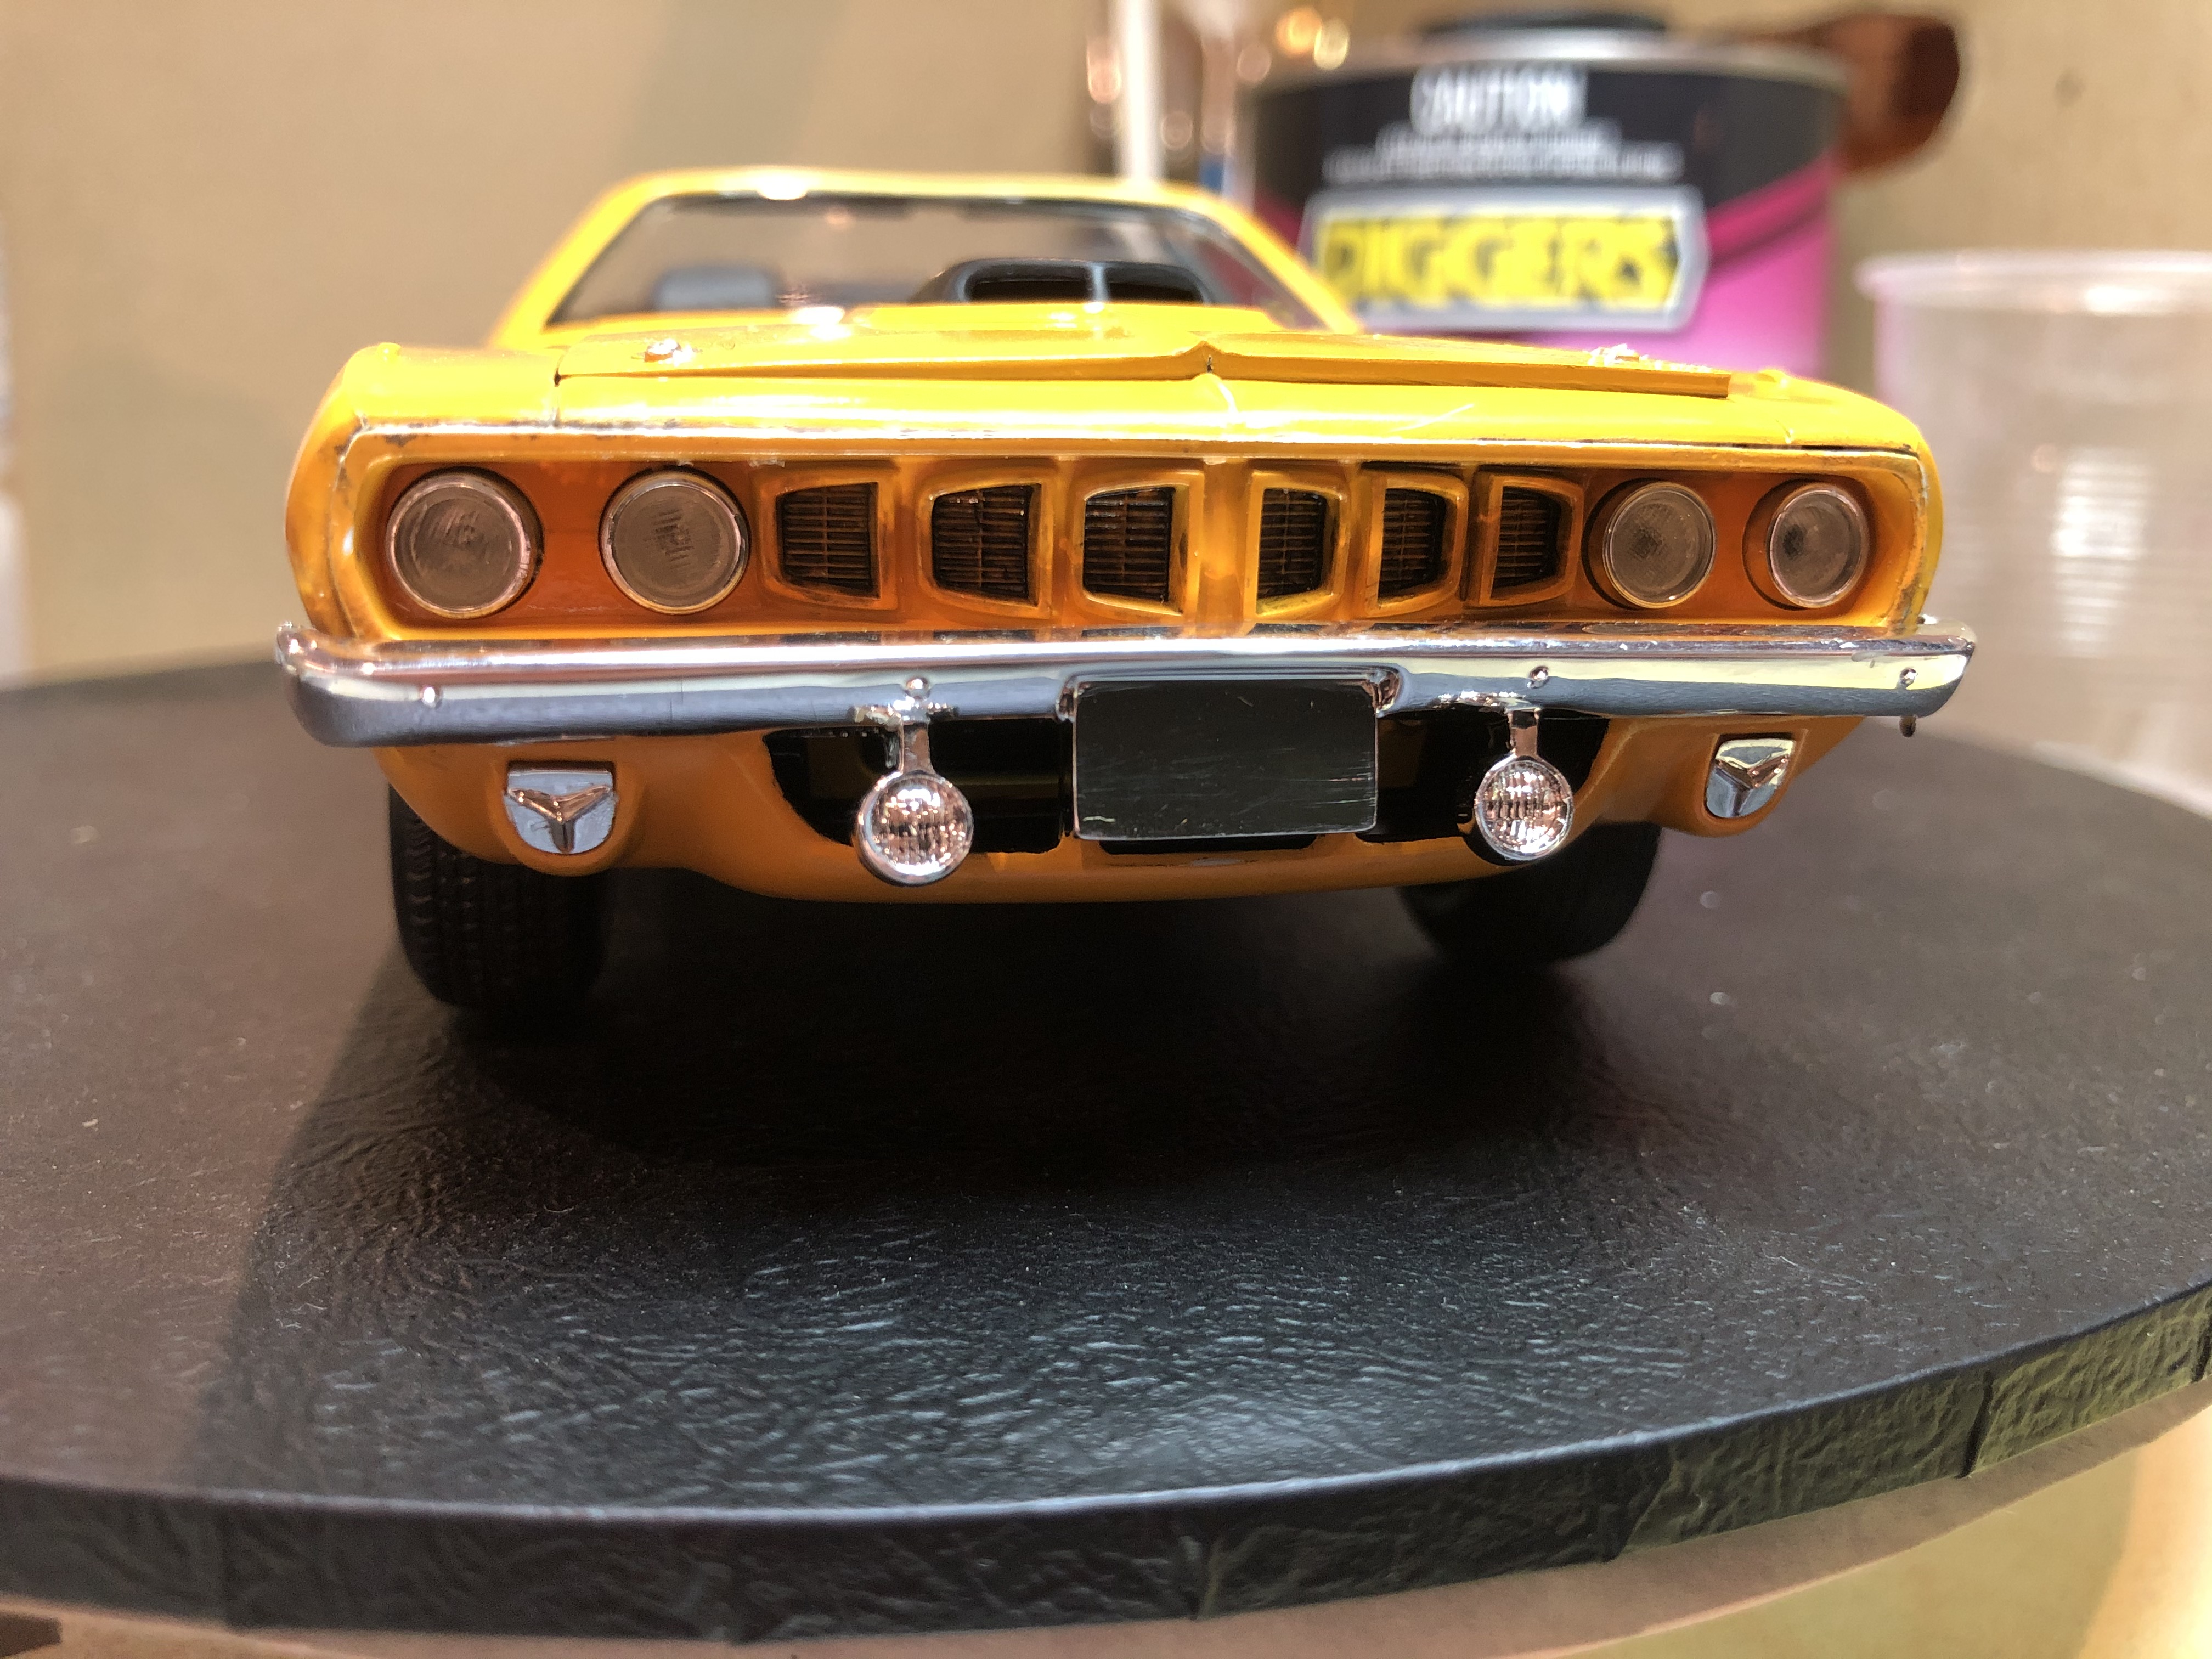
I put a couple of hours into this tonight and got it finished (almost 9 years after it was started)!
I cleaned up the join on the front clip and painted it, fitted off the front bumper and licence plate decal.
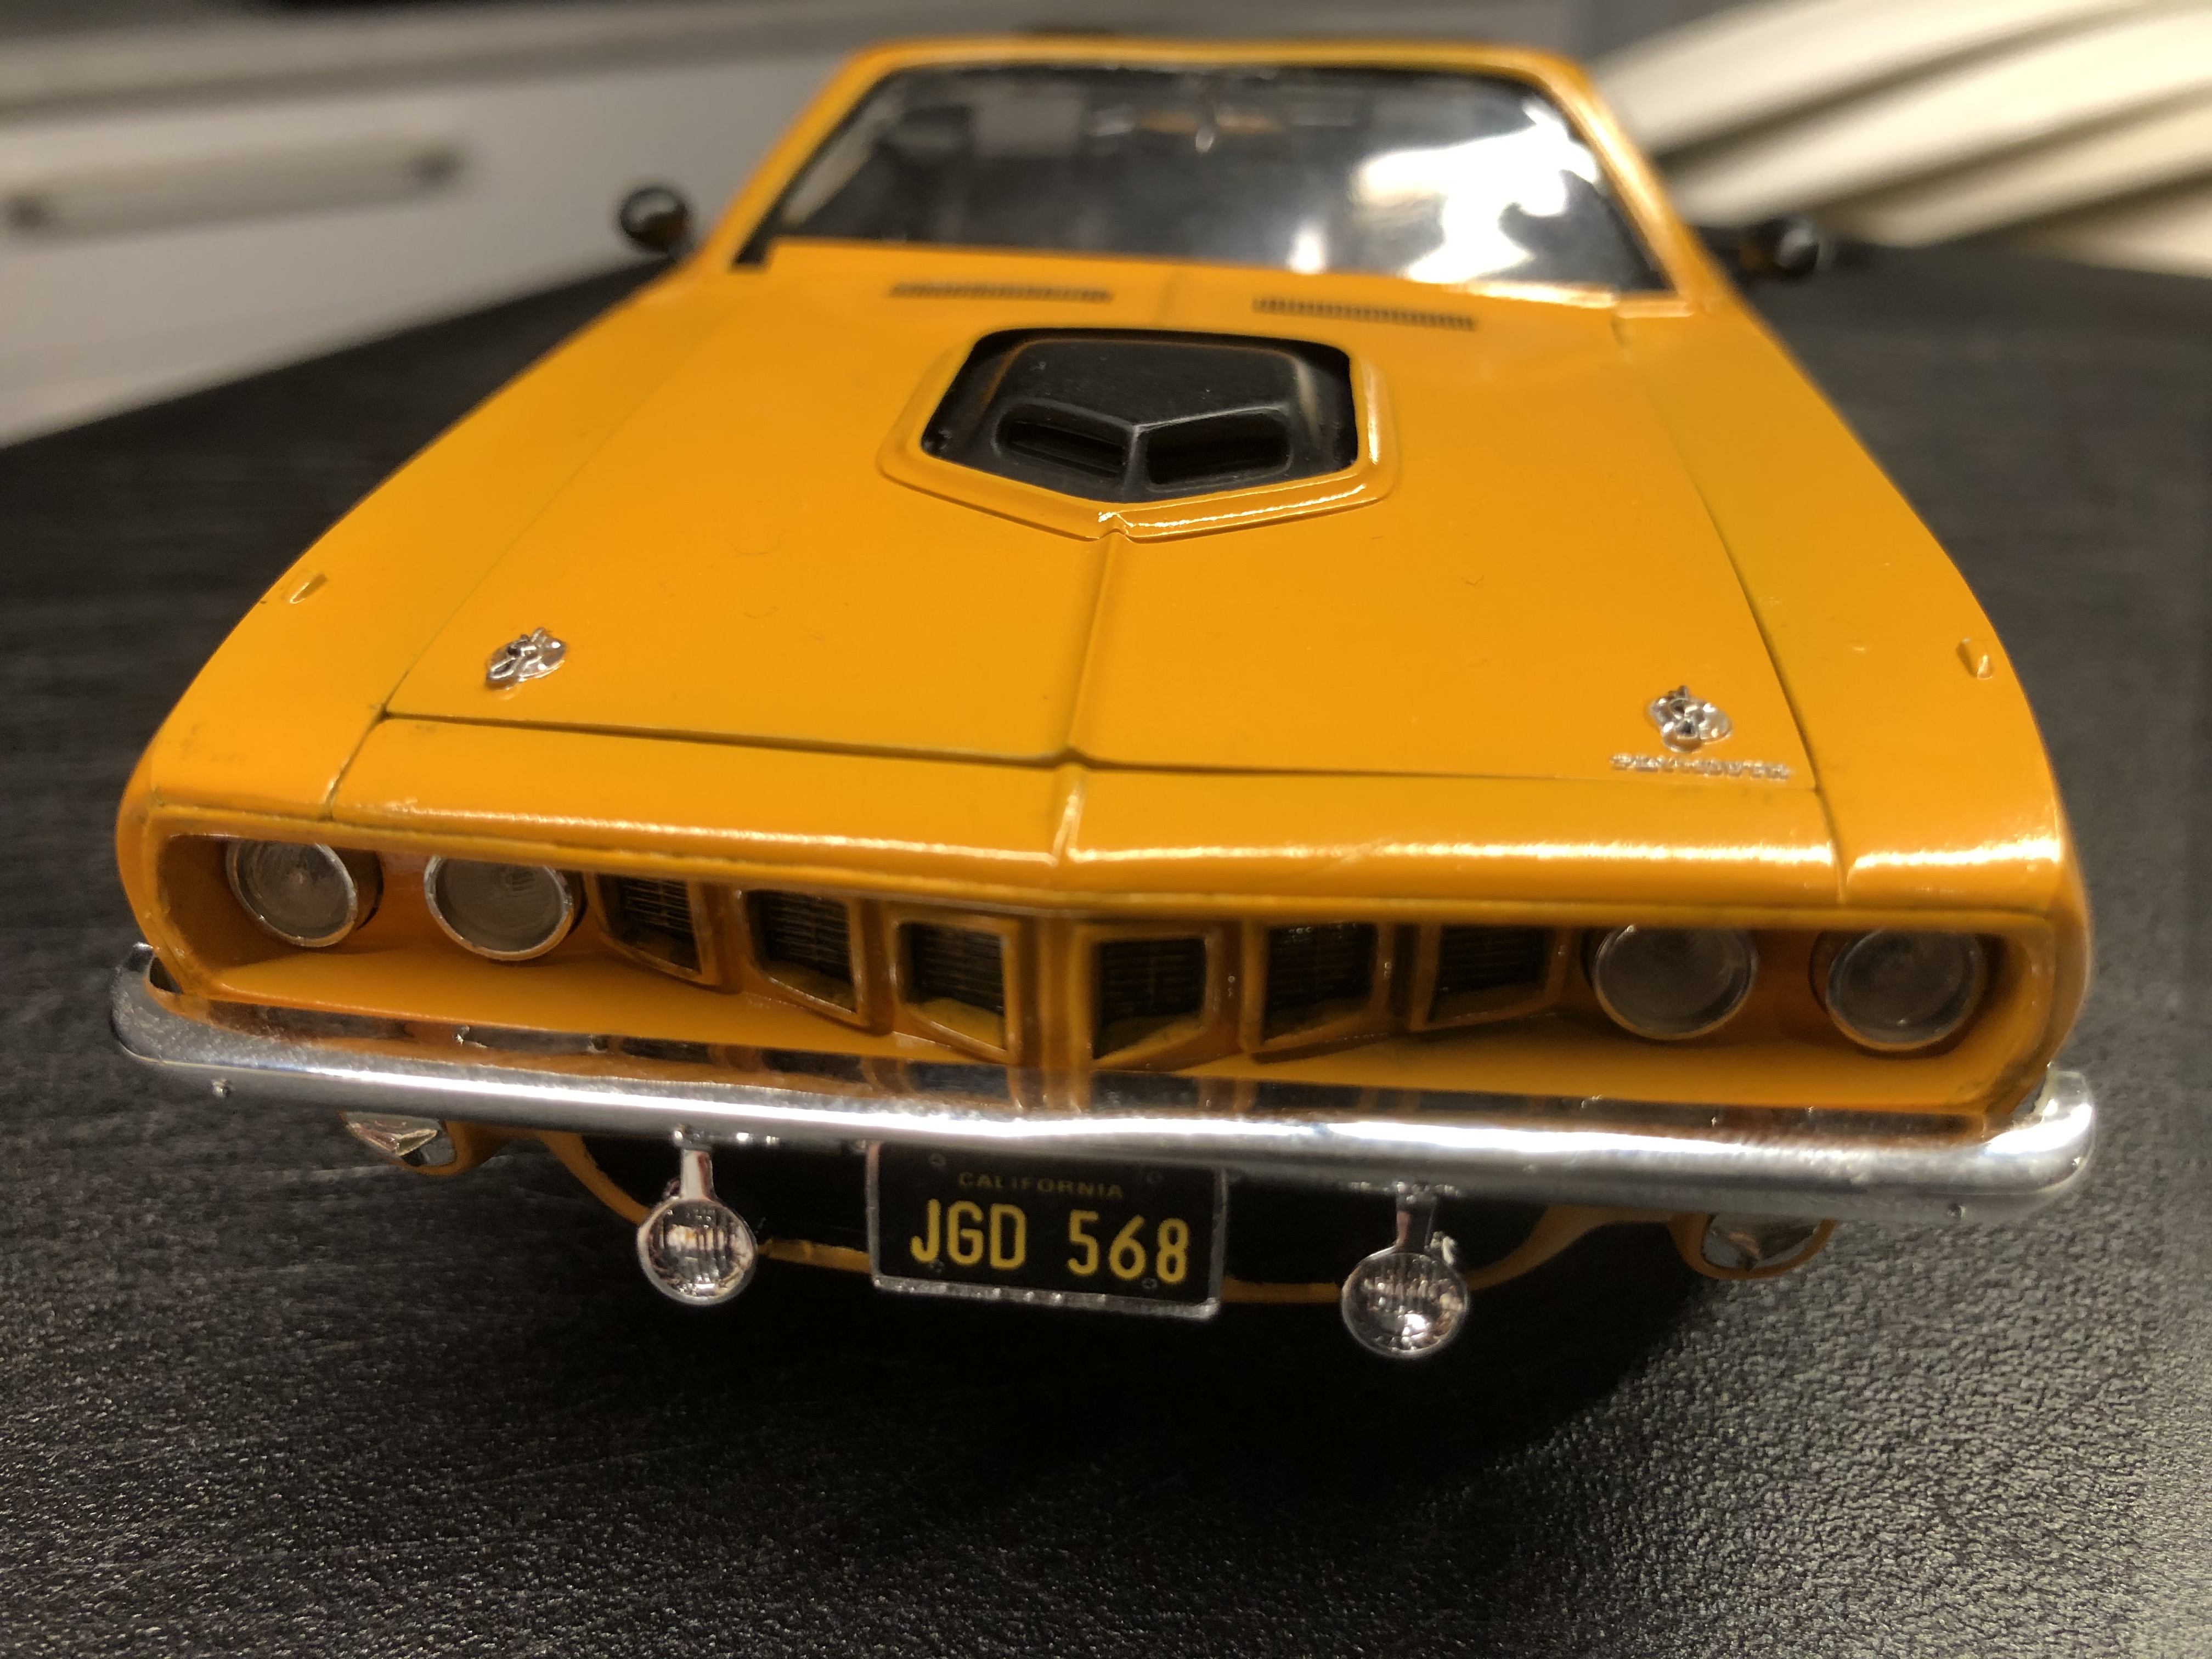
The spoiler and licence plate decal were added to the back end.
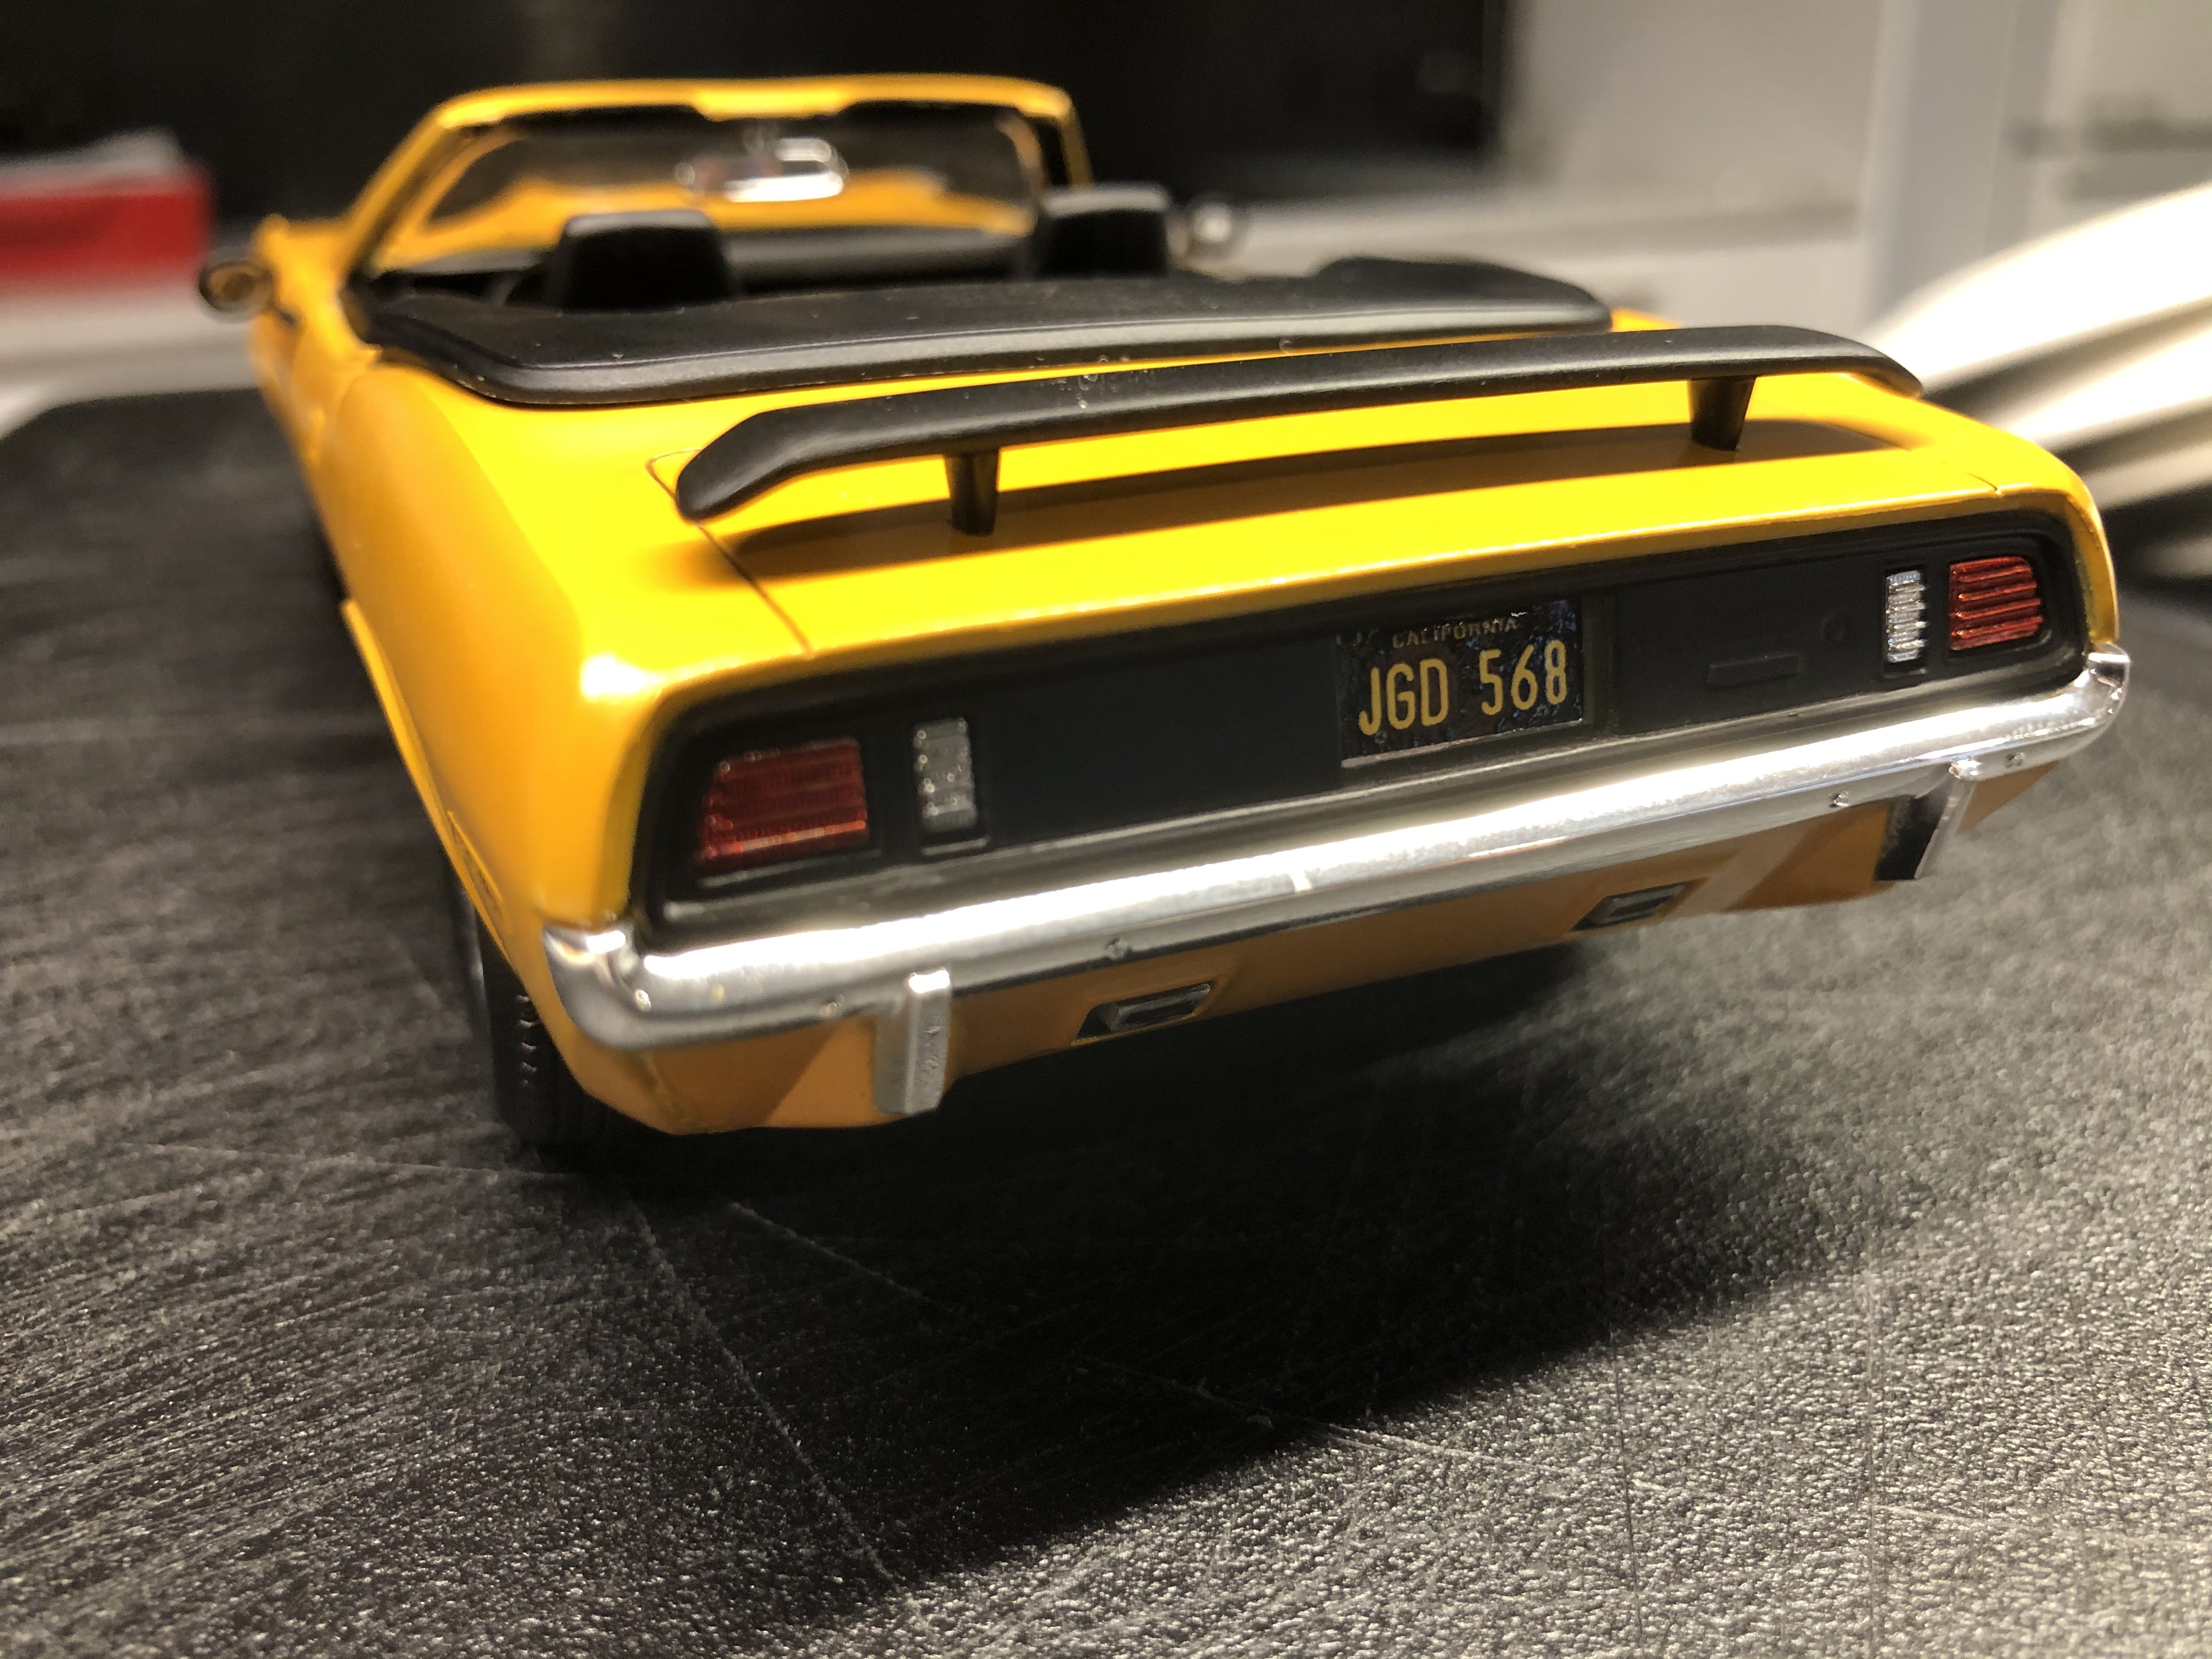
Side mirrors and BMF strip were added to either side, and windscreen mirror set in place.
Overall, a very nice kit and I would definitely build it again. A couple of small fit issues that would be easily overcome now that I know what to look for.
I will get some better photos in daylight and post them in the next couple of days.
One month in and one completed build, I am really hoping to keep up this pace through 2020 and really knock down the WIP list!
Cheers, D
I cleaned up the join on the front clip and painted it, fitted off the front bumper and licence plate decal.
The spoiler and licence plate decal were added to the back end.
Side mirrors and BMF strip were added to either side, and windscreen mirror set in place.
Overall, a very nice kit and I would definitely build it again. A couple of small fit issues that would be easily overcome now that I know what to look for.
I will get some better photos in daylight and post them in the next couple of days.
One month in and one completed build, I am really hoping to keep up this pace through 2020 and really knock down the WIP list!
Cheers, D
 |

WEB HOSTING BY


Copyright ©2021 Auto Modeler and Kitmaker Network, a subsidiary of Silver Star Enterprises
All Rights Reserved. Please read our Conditions of Use and Privacy Policy.
All Rights Reserved. Please read our Conditions of Use and Privacy Policy.