_GOTOBOTTOM
Cars: Muscle Cars
60's & 70's Classics
67 Corvette Large Scale Project
AussieReg
Staff MemberAssociate Editor
AUTOMODELER
#007
_VISITCOMMUNITY
Victoria, Australia
Joined: June 09, 2009
KitMaker: 8,156 posts
Auto Modeler: 2,953 posts
Posted: Monday, June 08, 2020 - 02:07 AM UTC
I started this build probably 25 years ago, when my ambitions far exceeded my abilities both as a builder and painter. Luckily I had the smarts back then to realise this after putting the engine together, and shelved it!

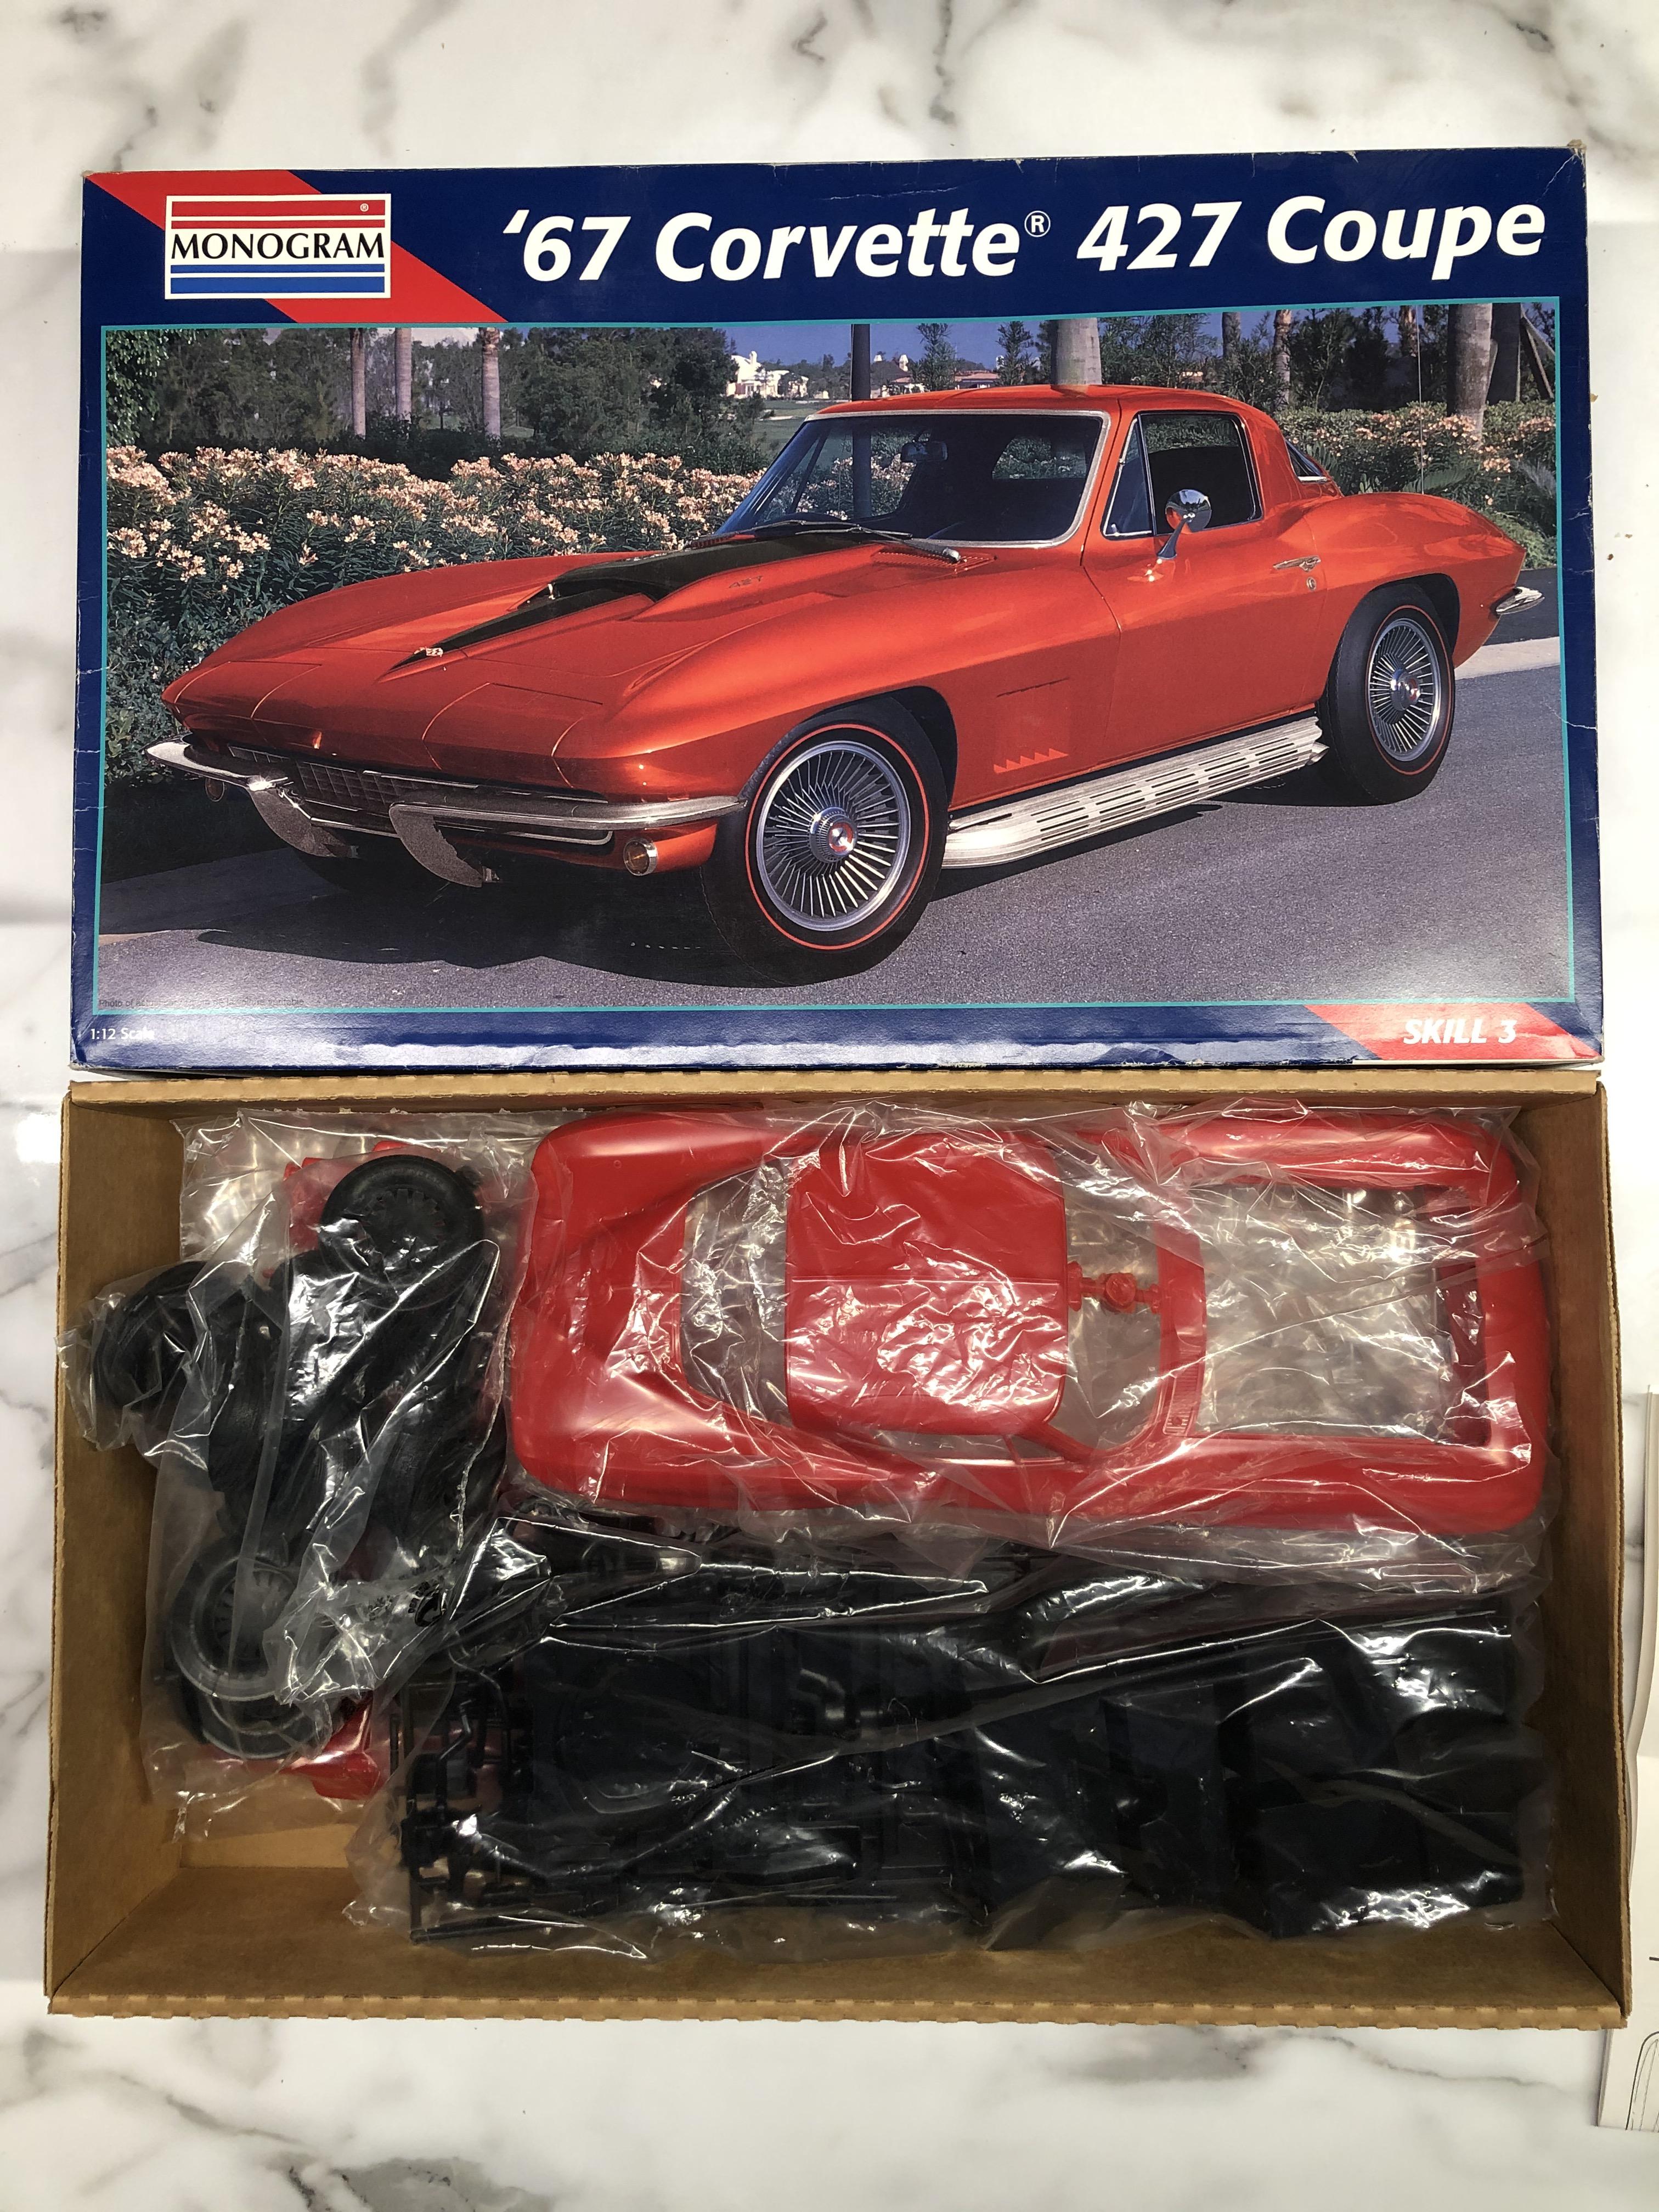
Fast forward 25 (ish) years, and a number of outstanding large scale builds in the threads at the moment has rekindled the fire, so I dragged this one out of hibernation to revisit and tinker as a distraction and relief from the Group Builds.


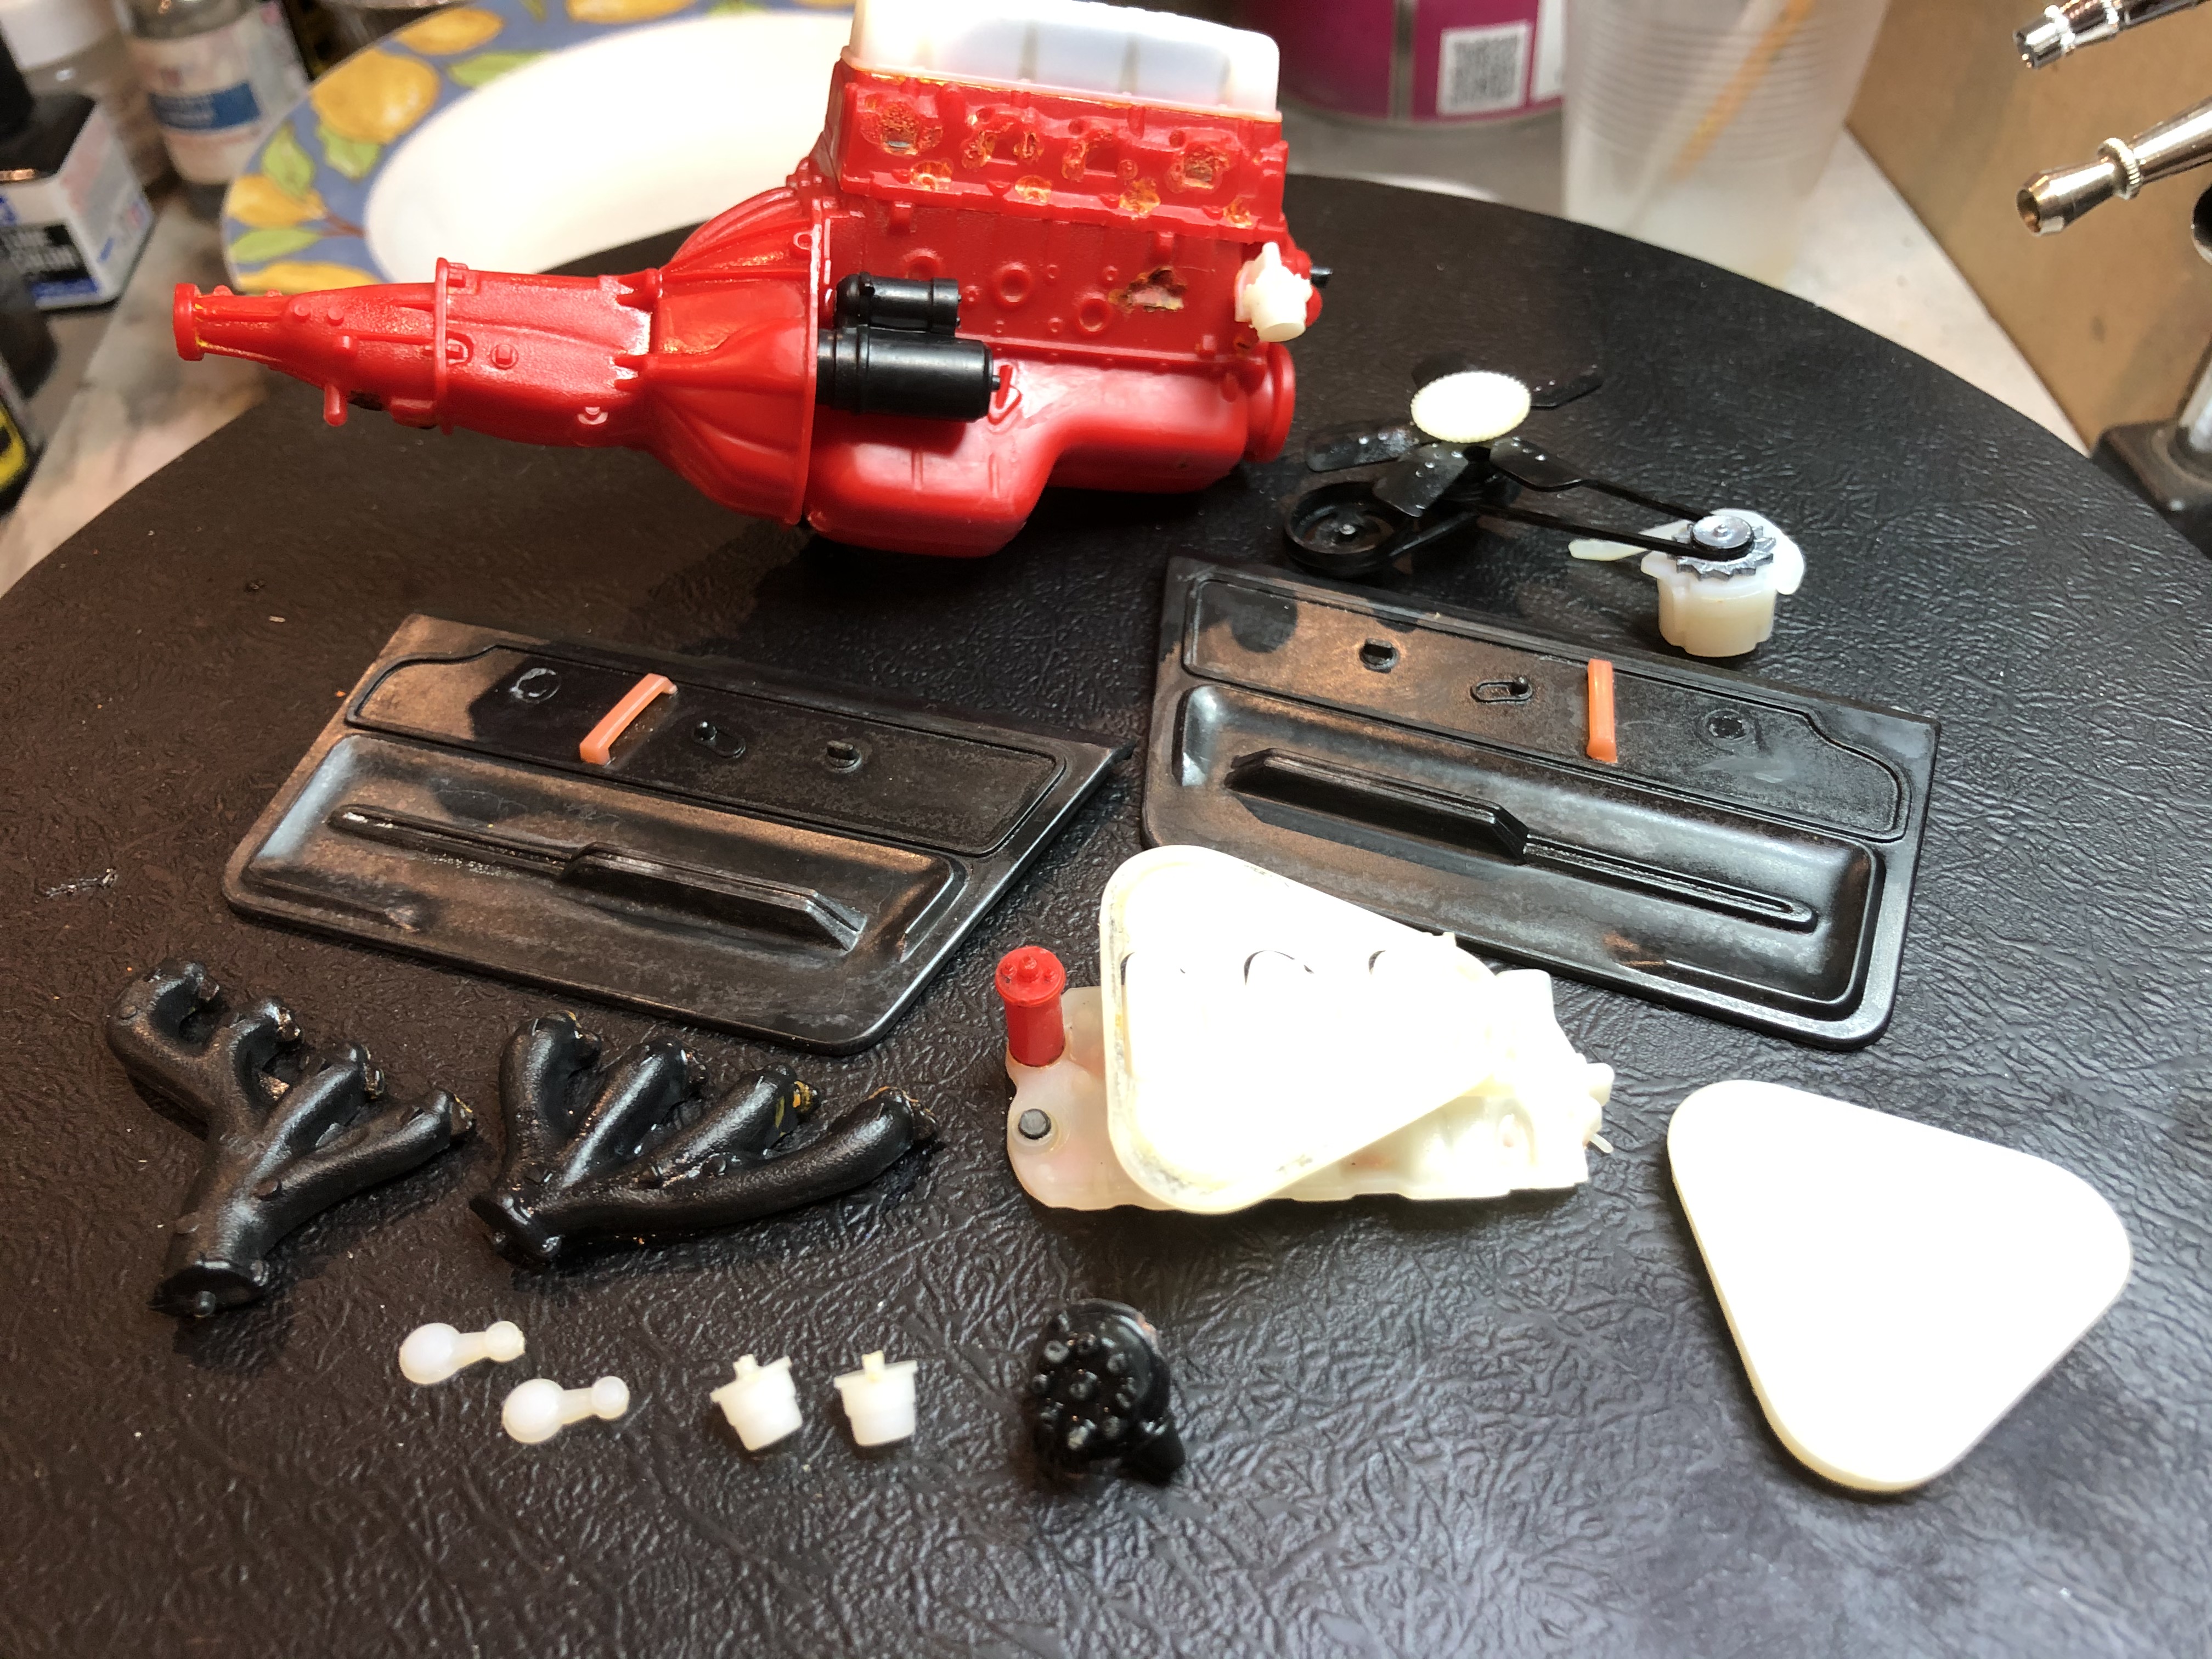
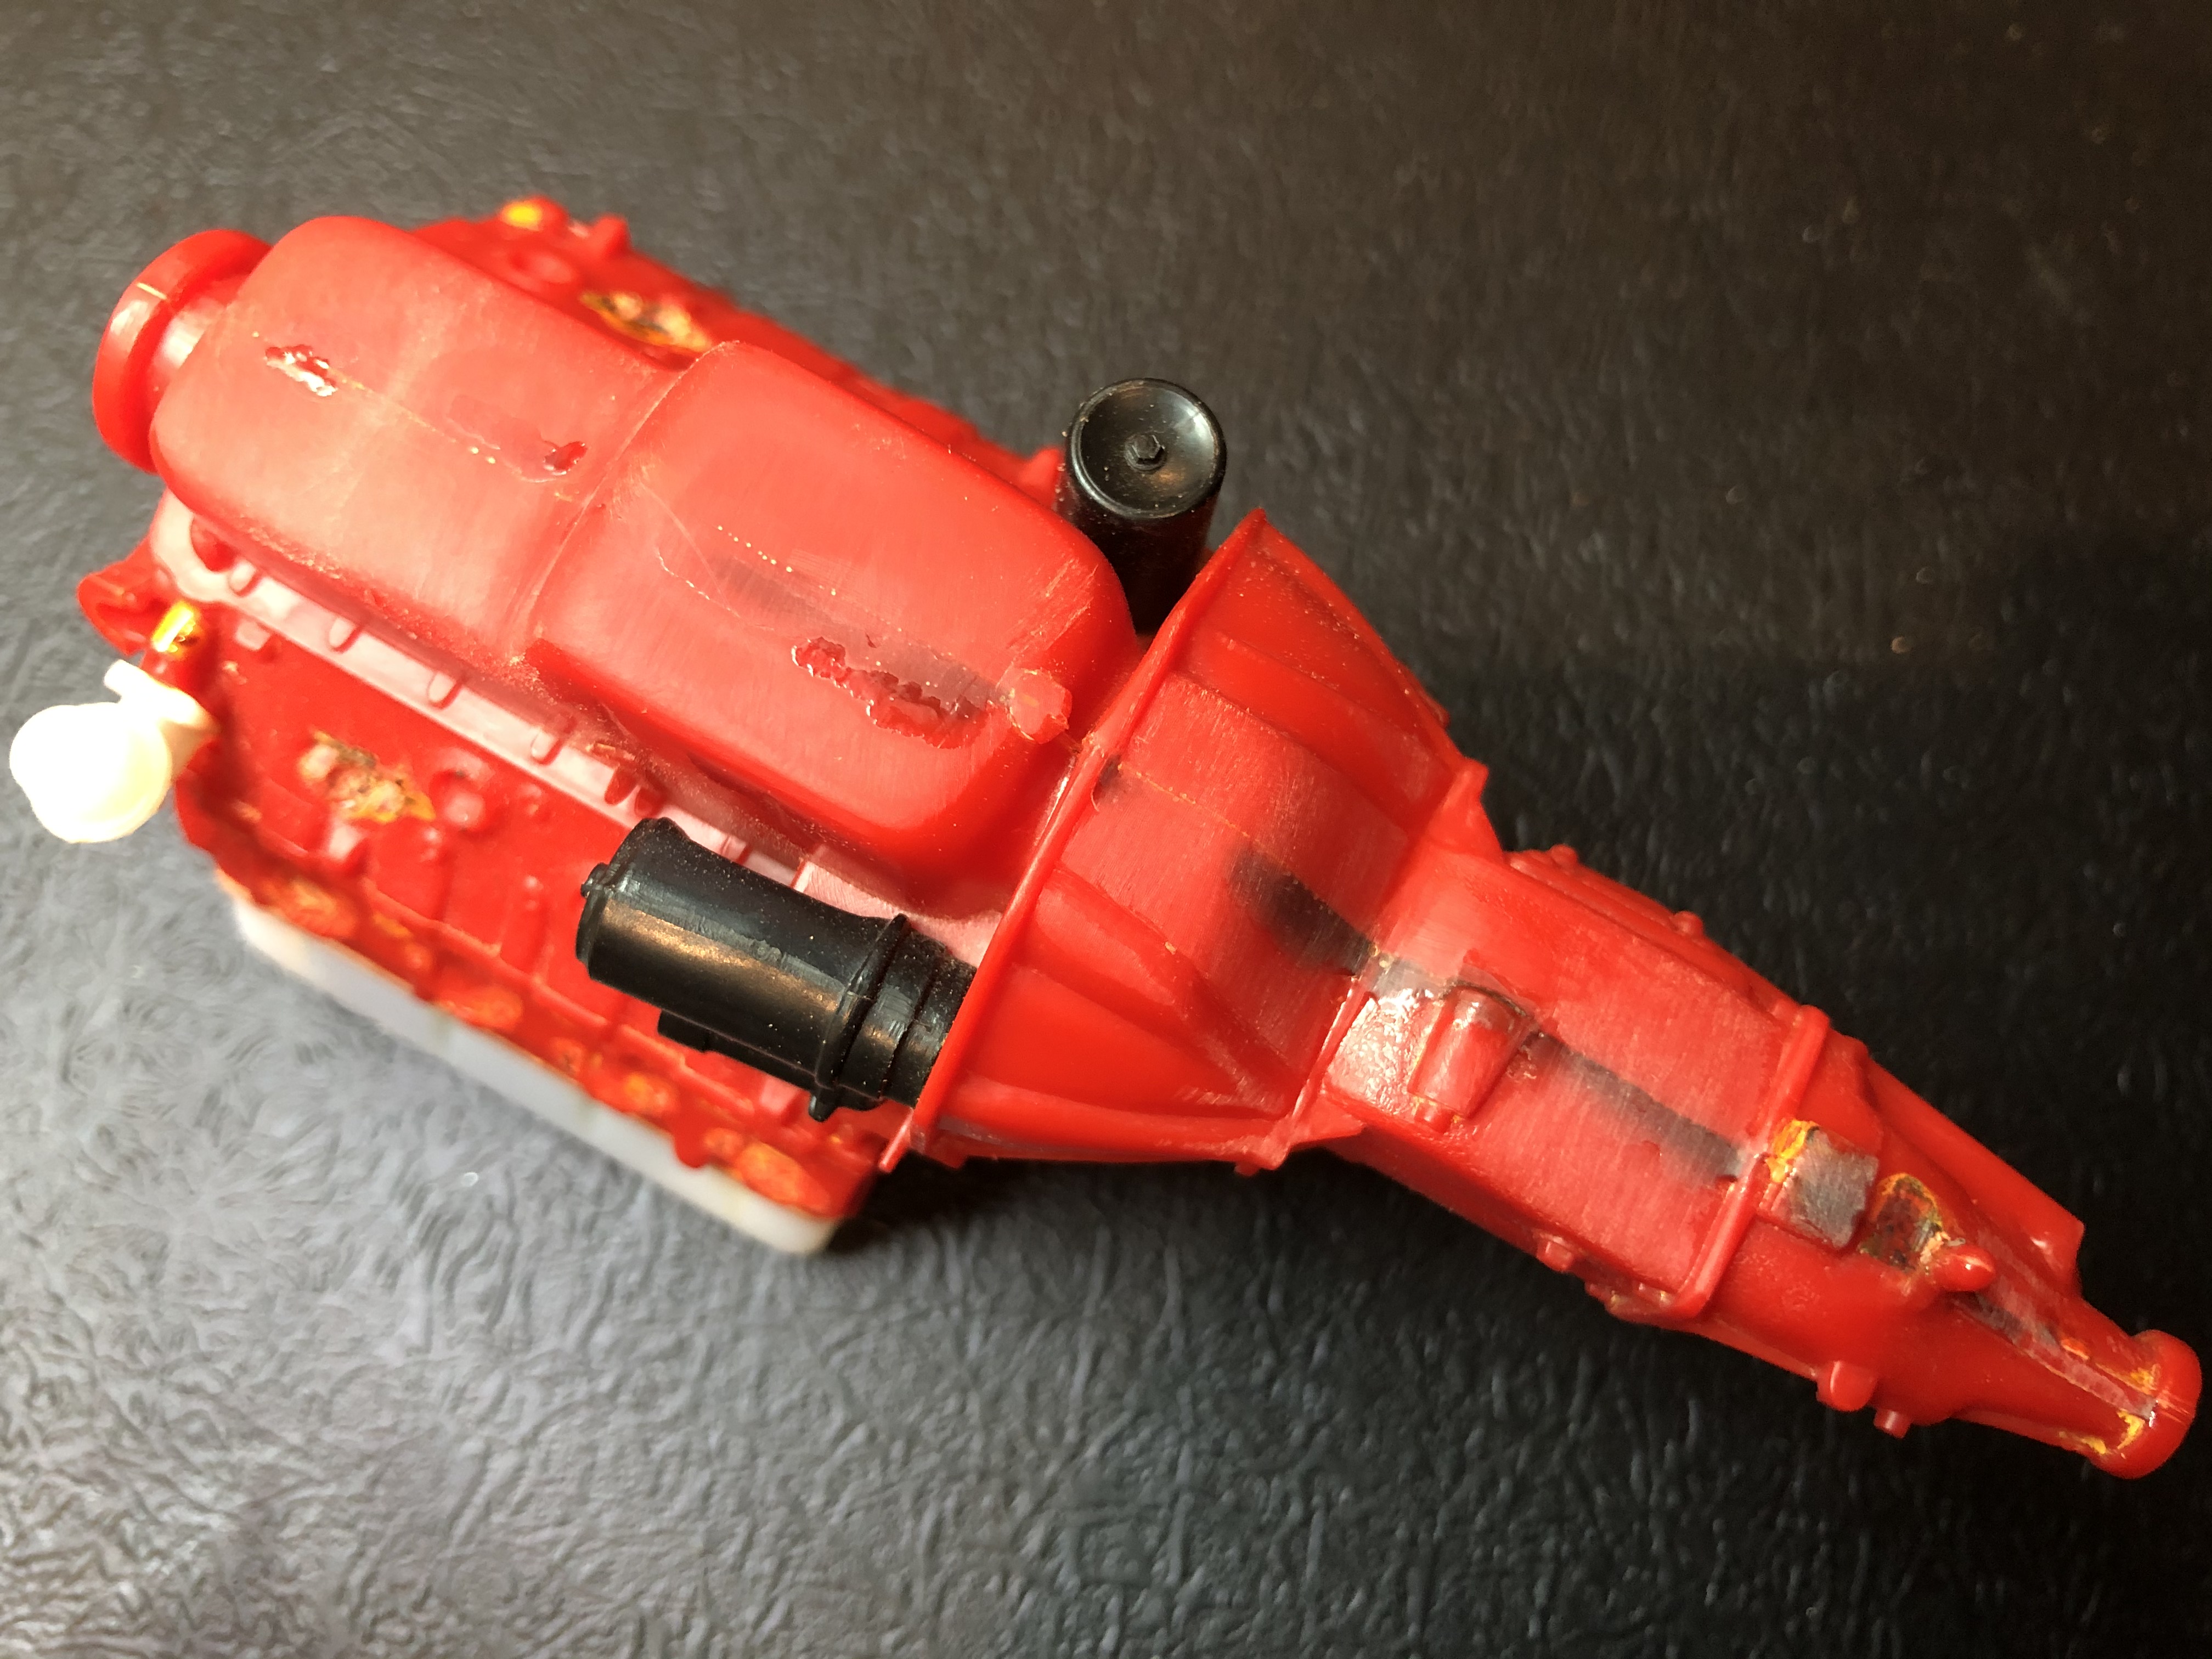
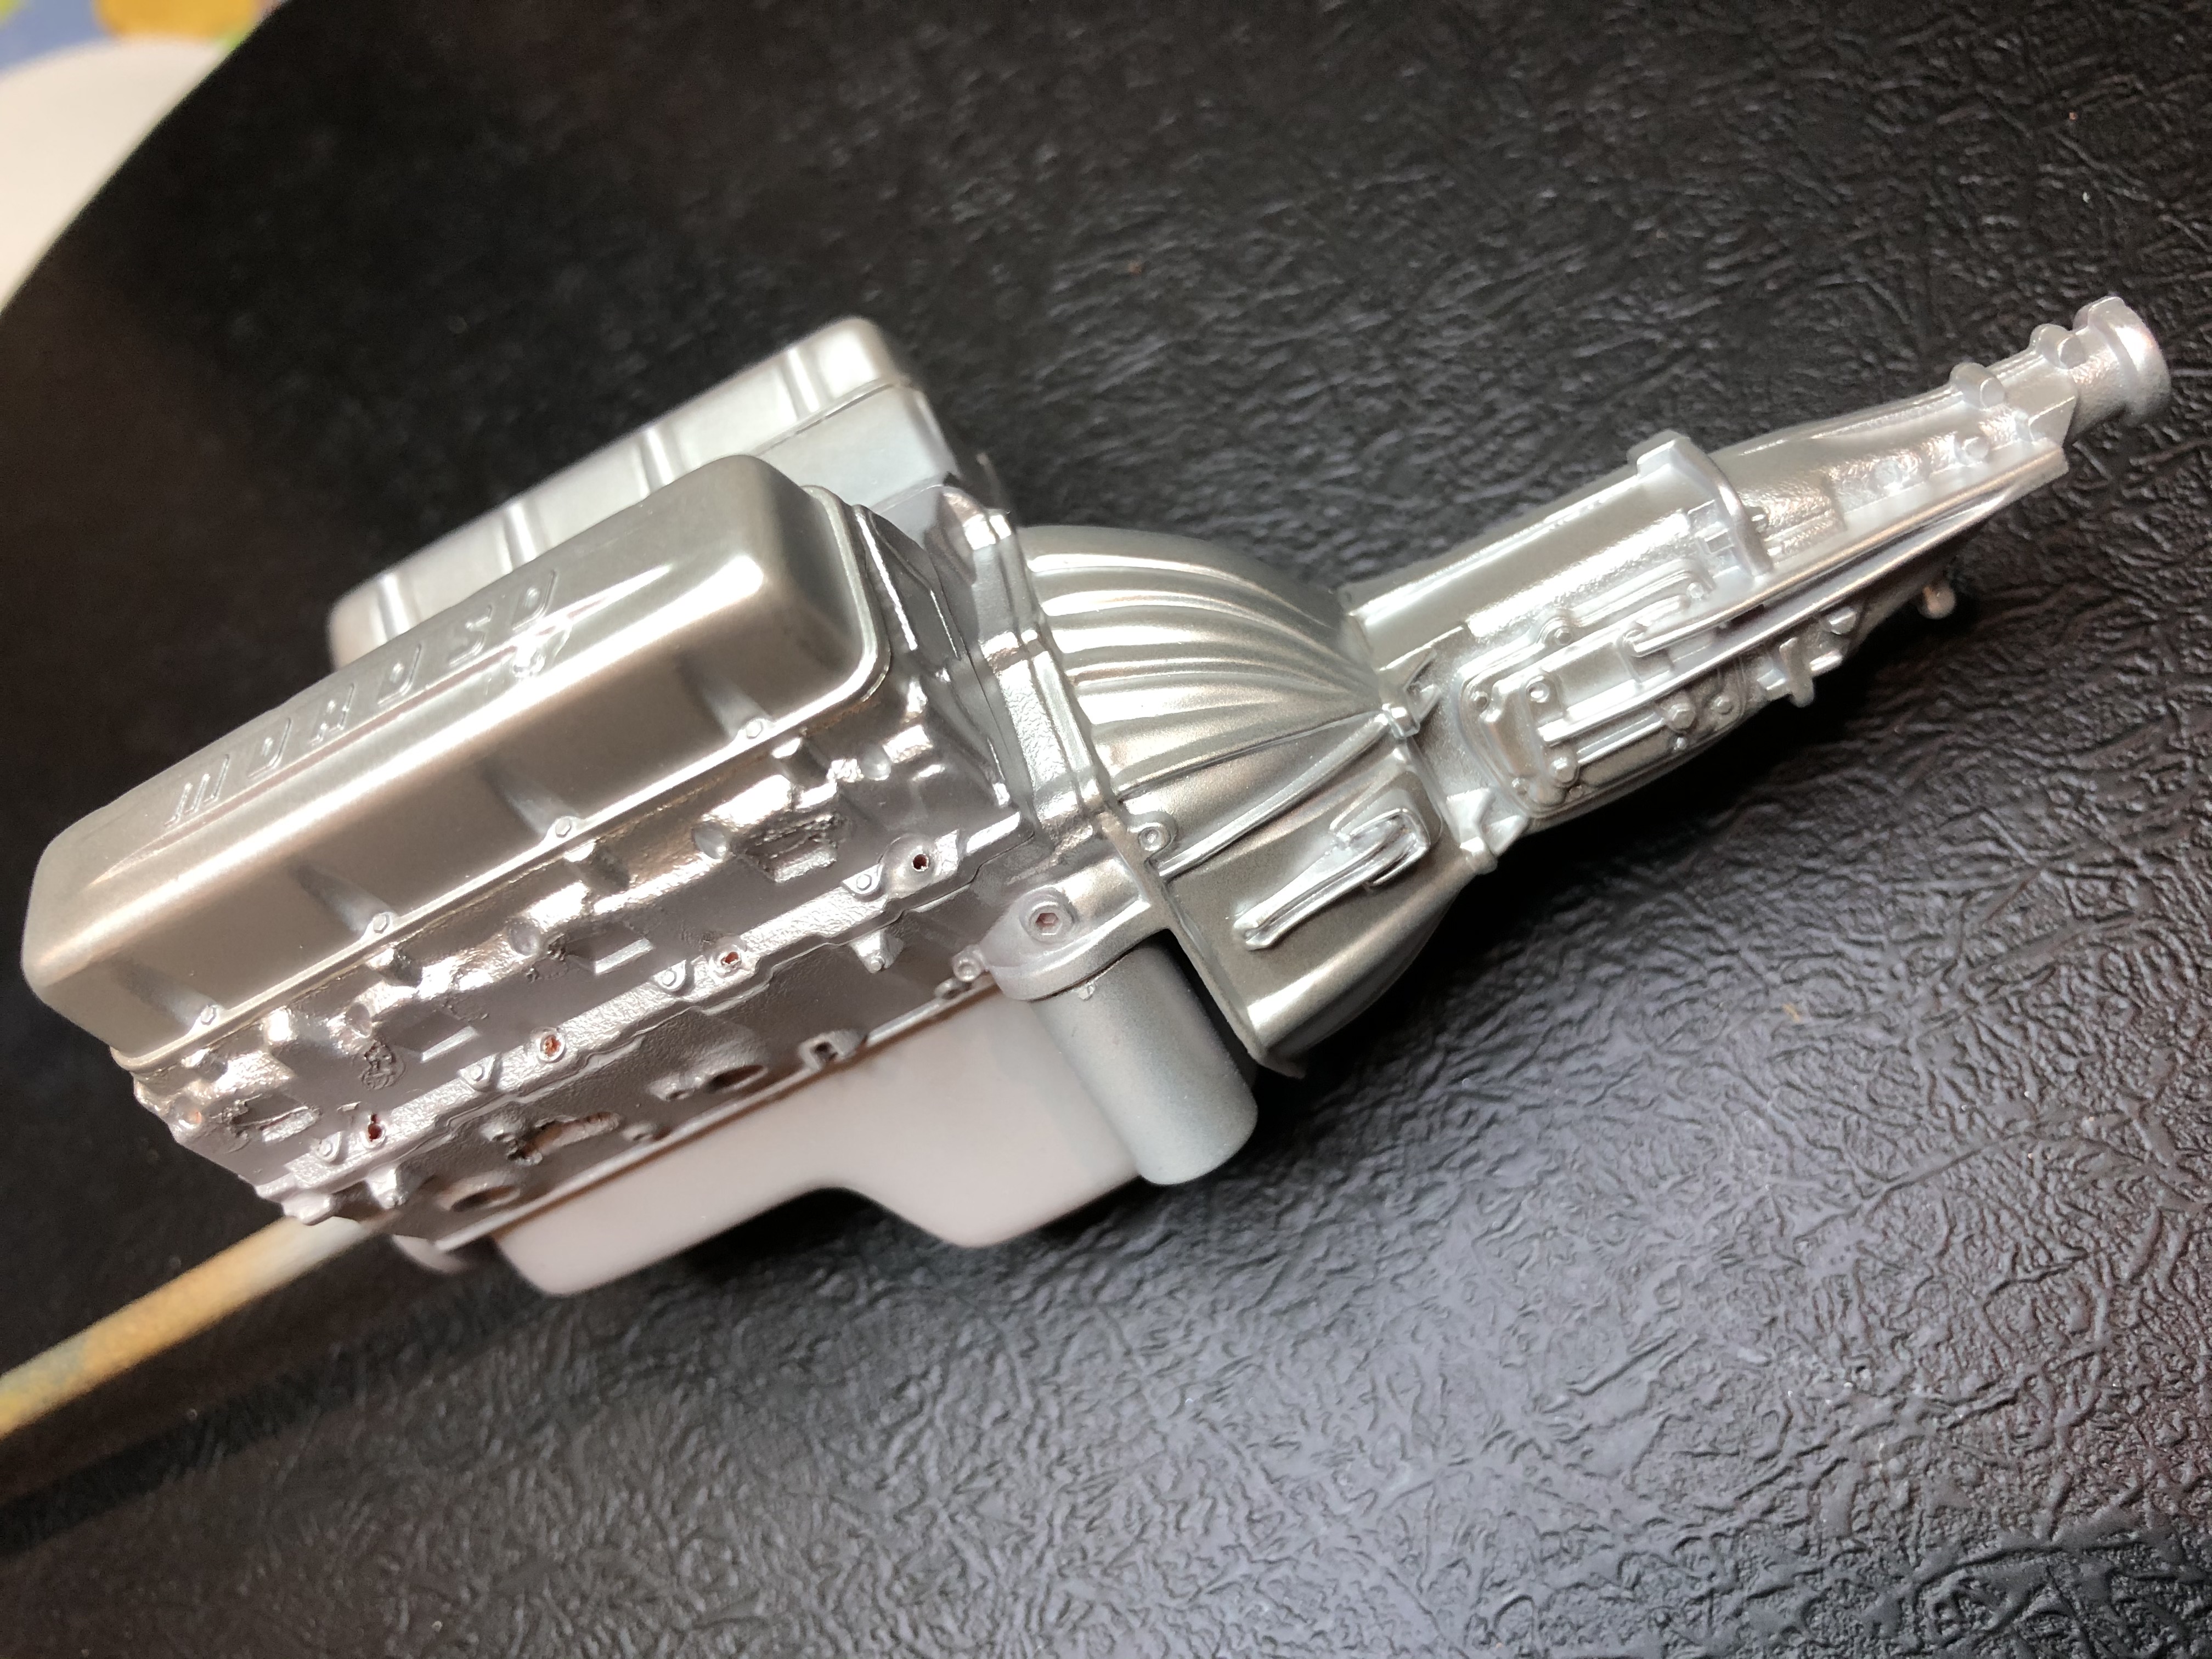
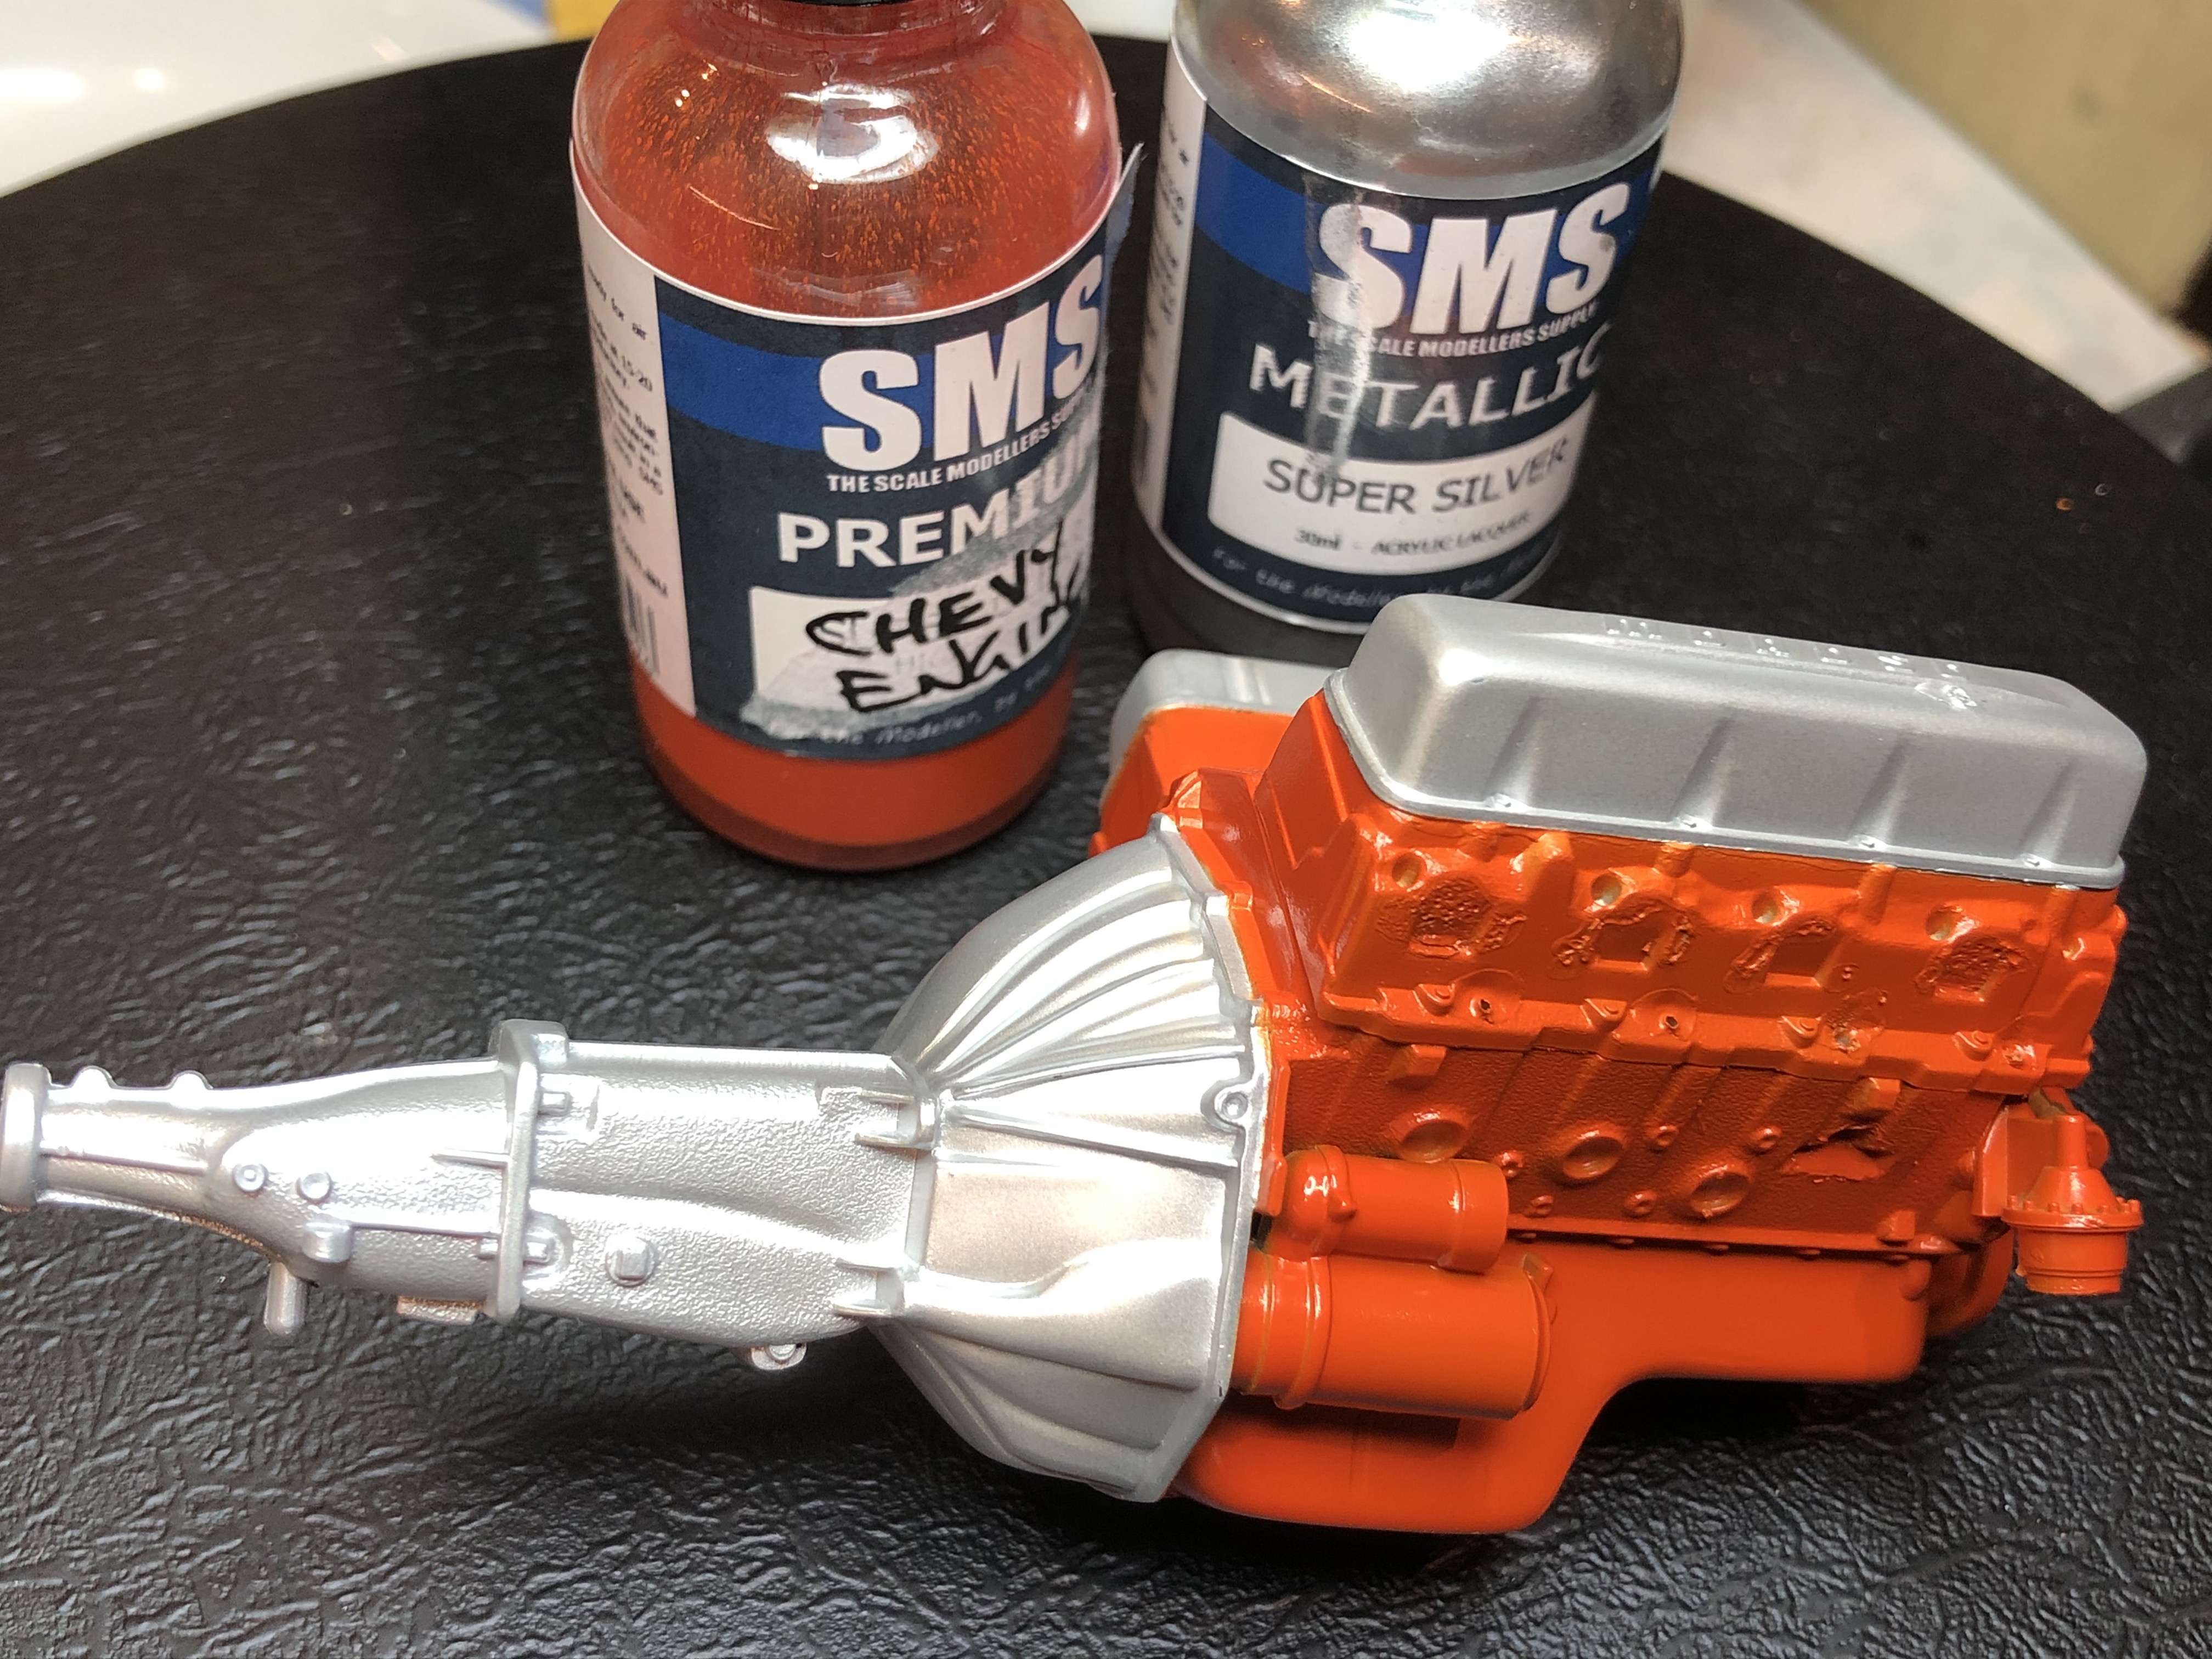
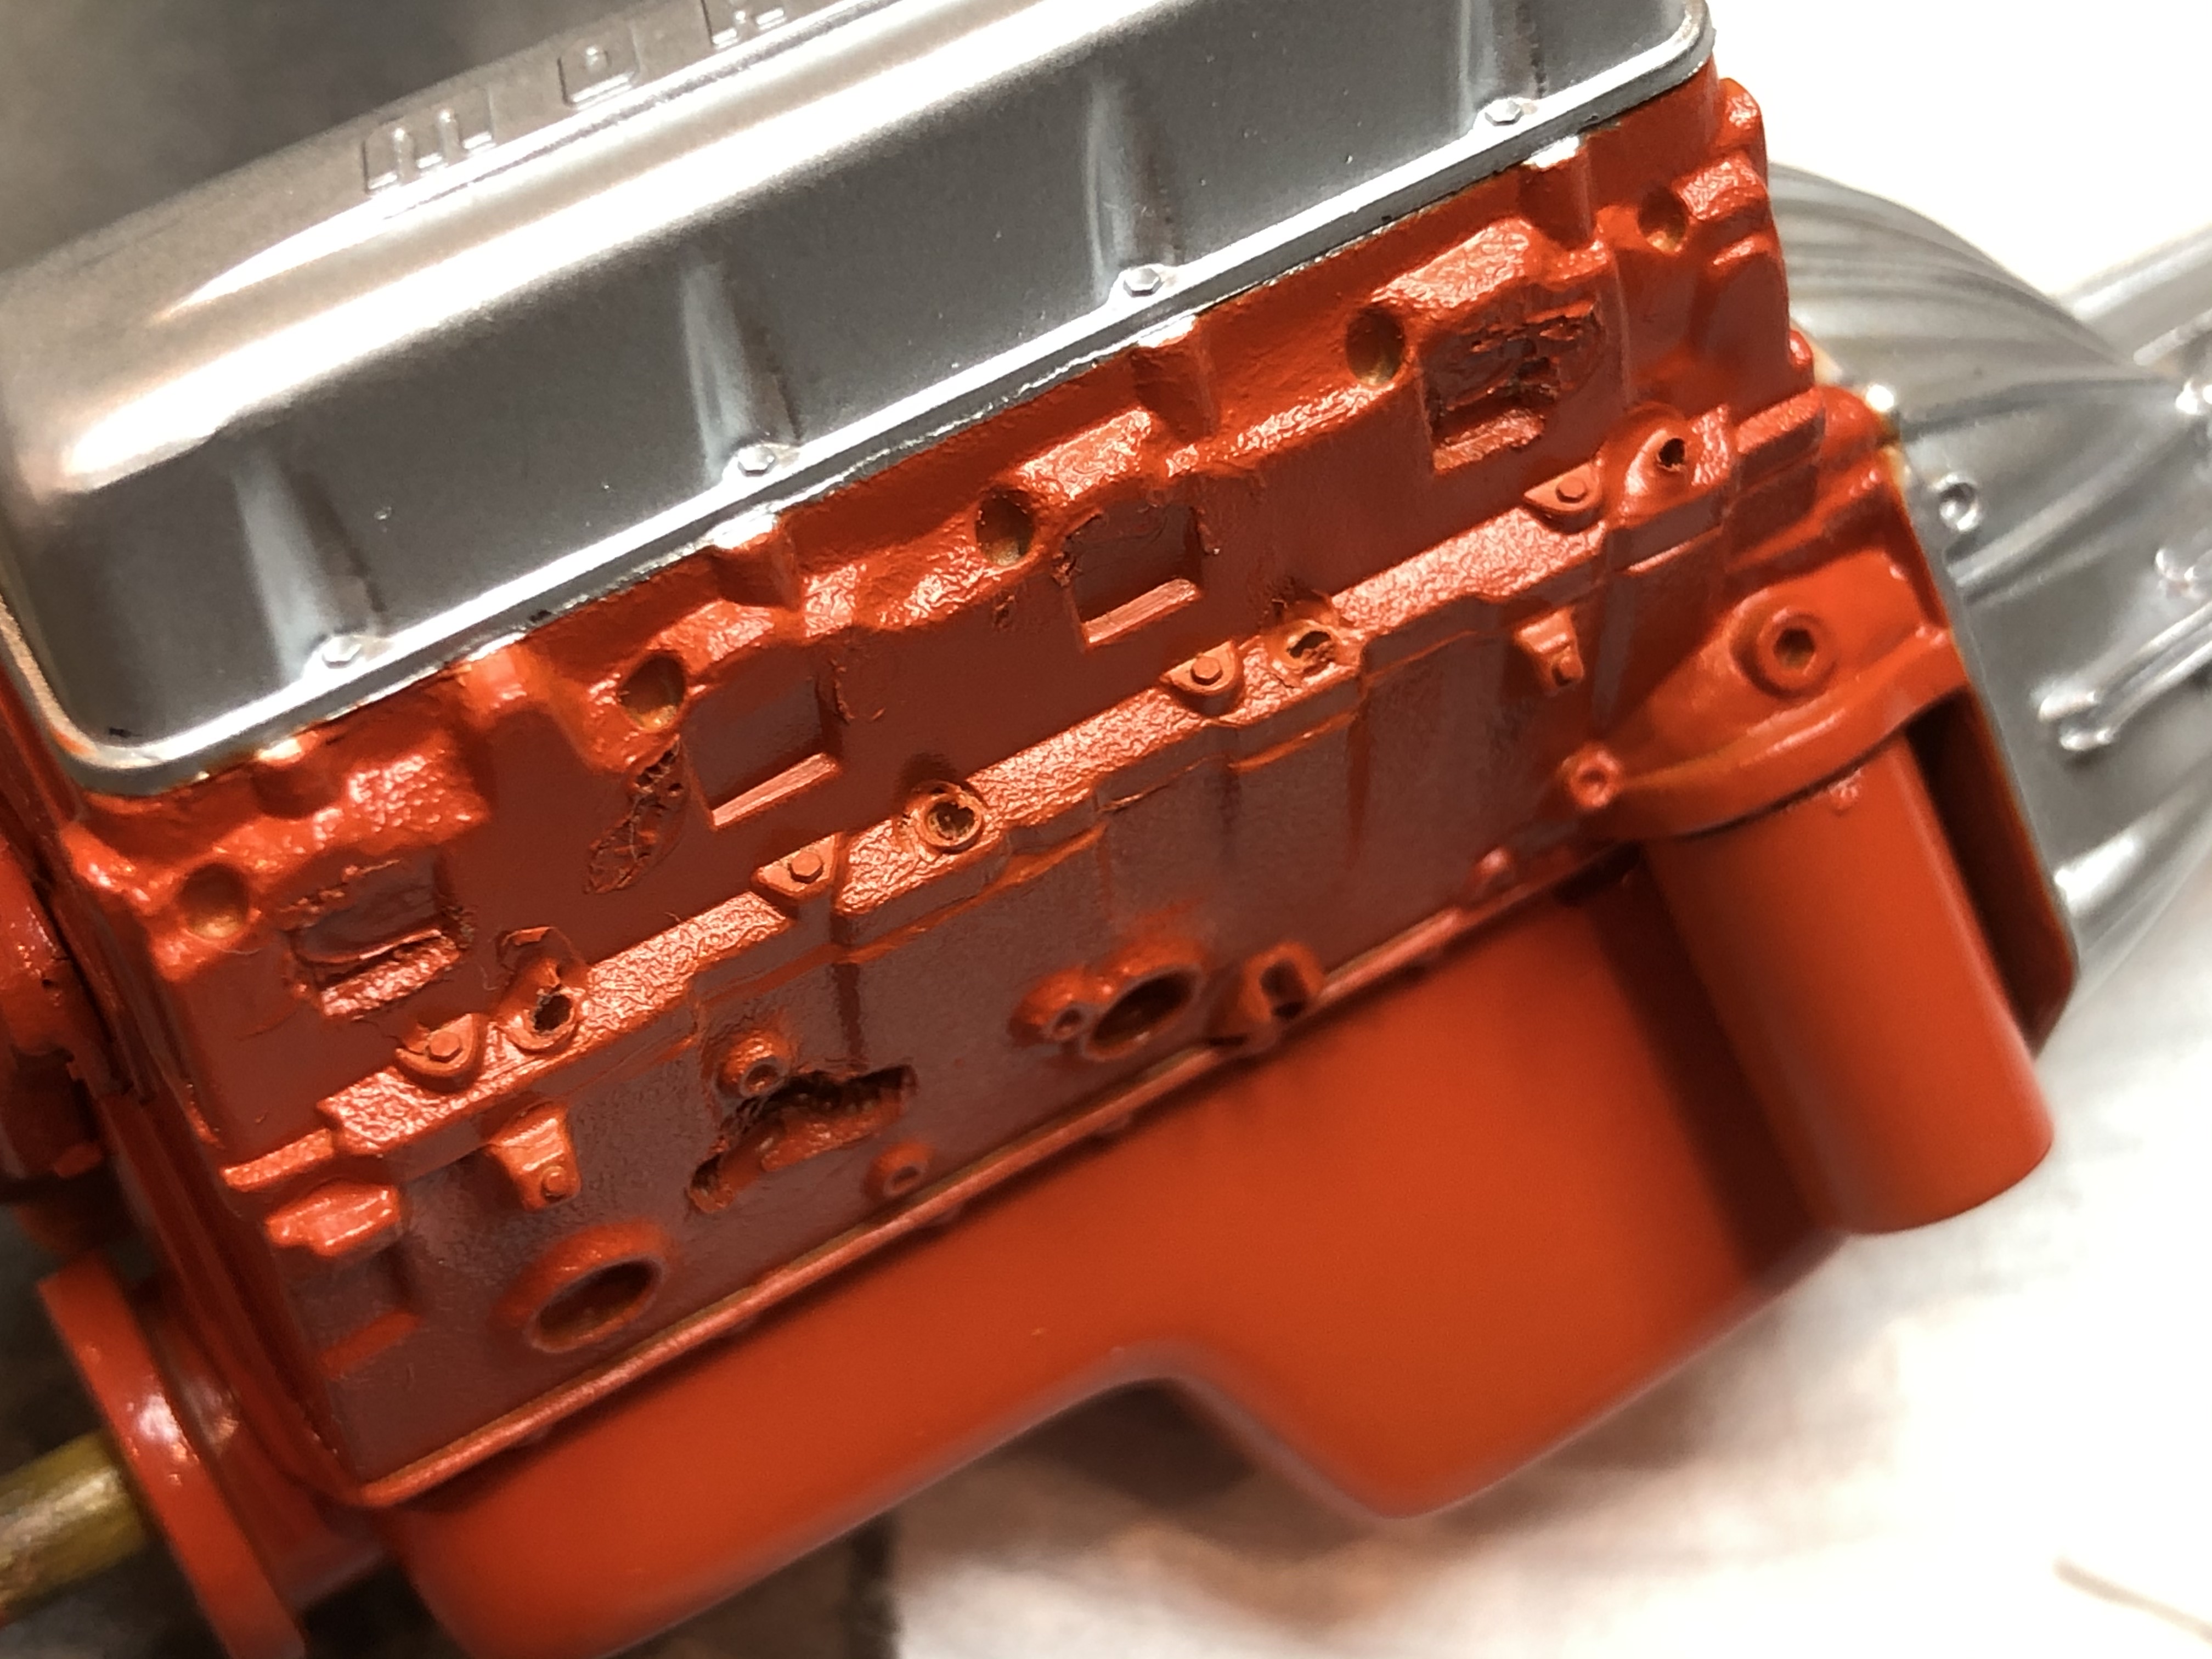
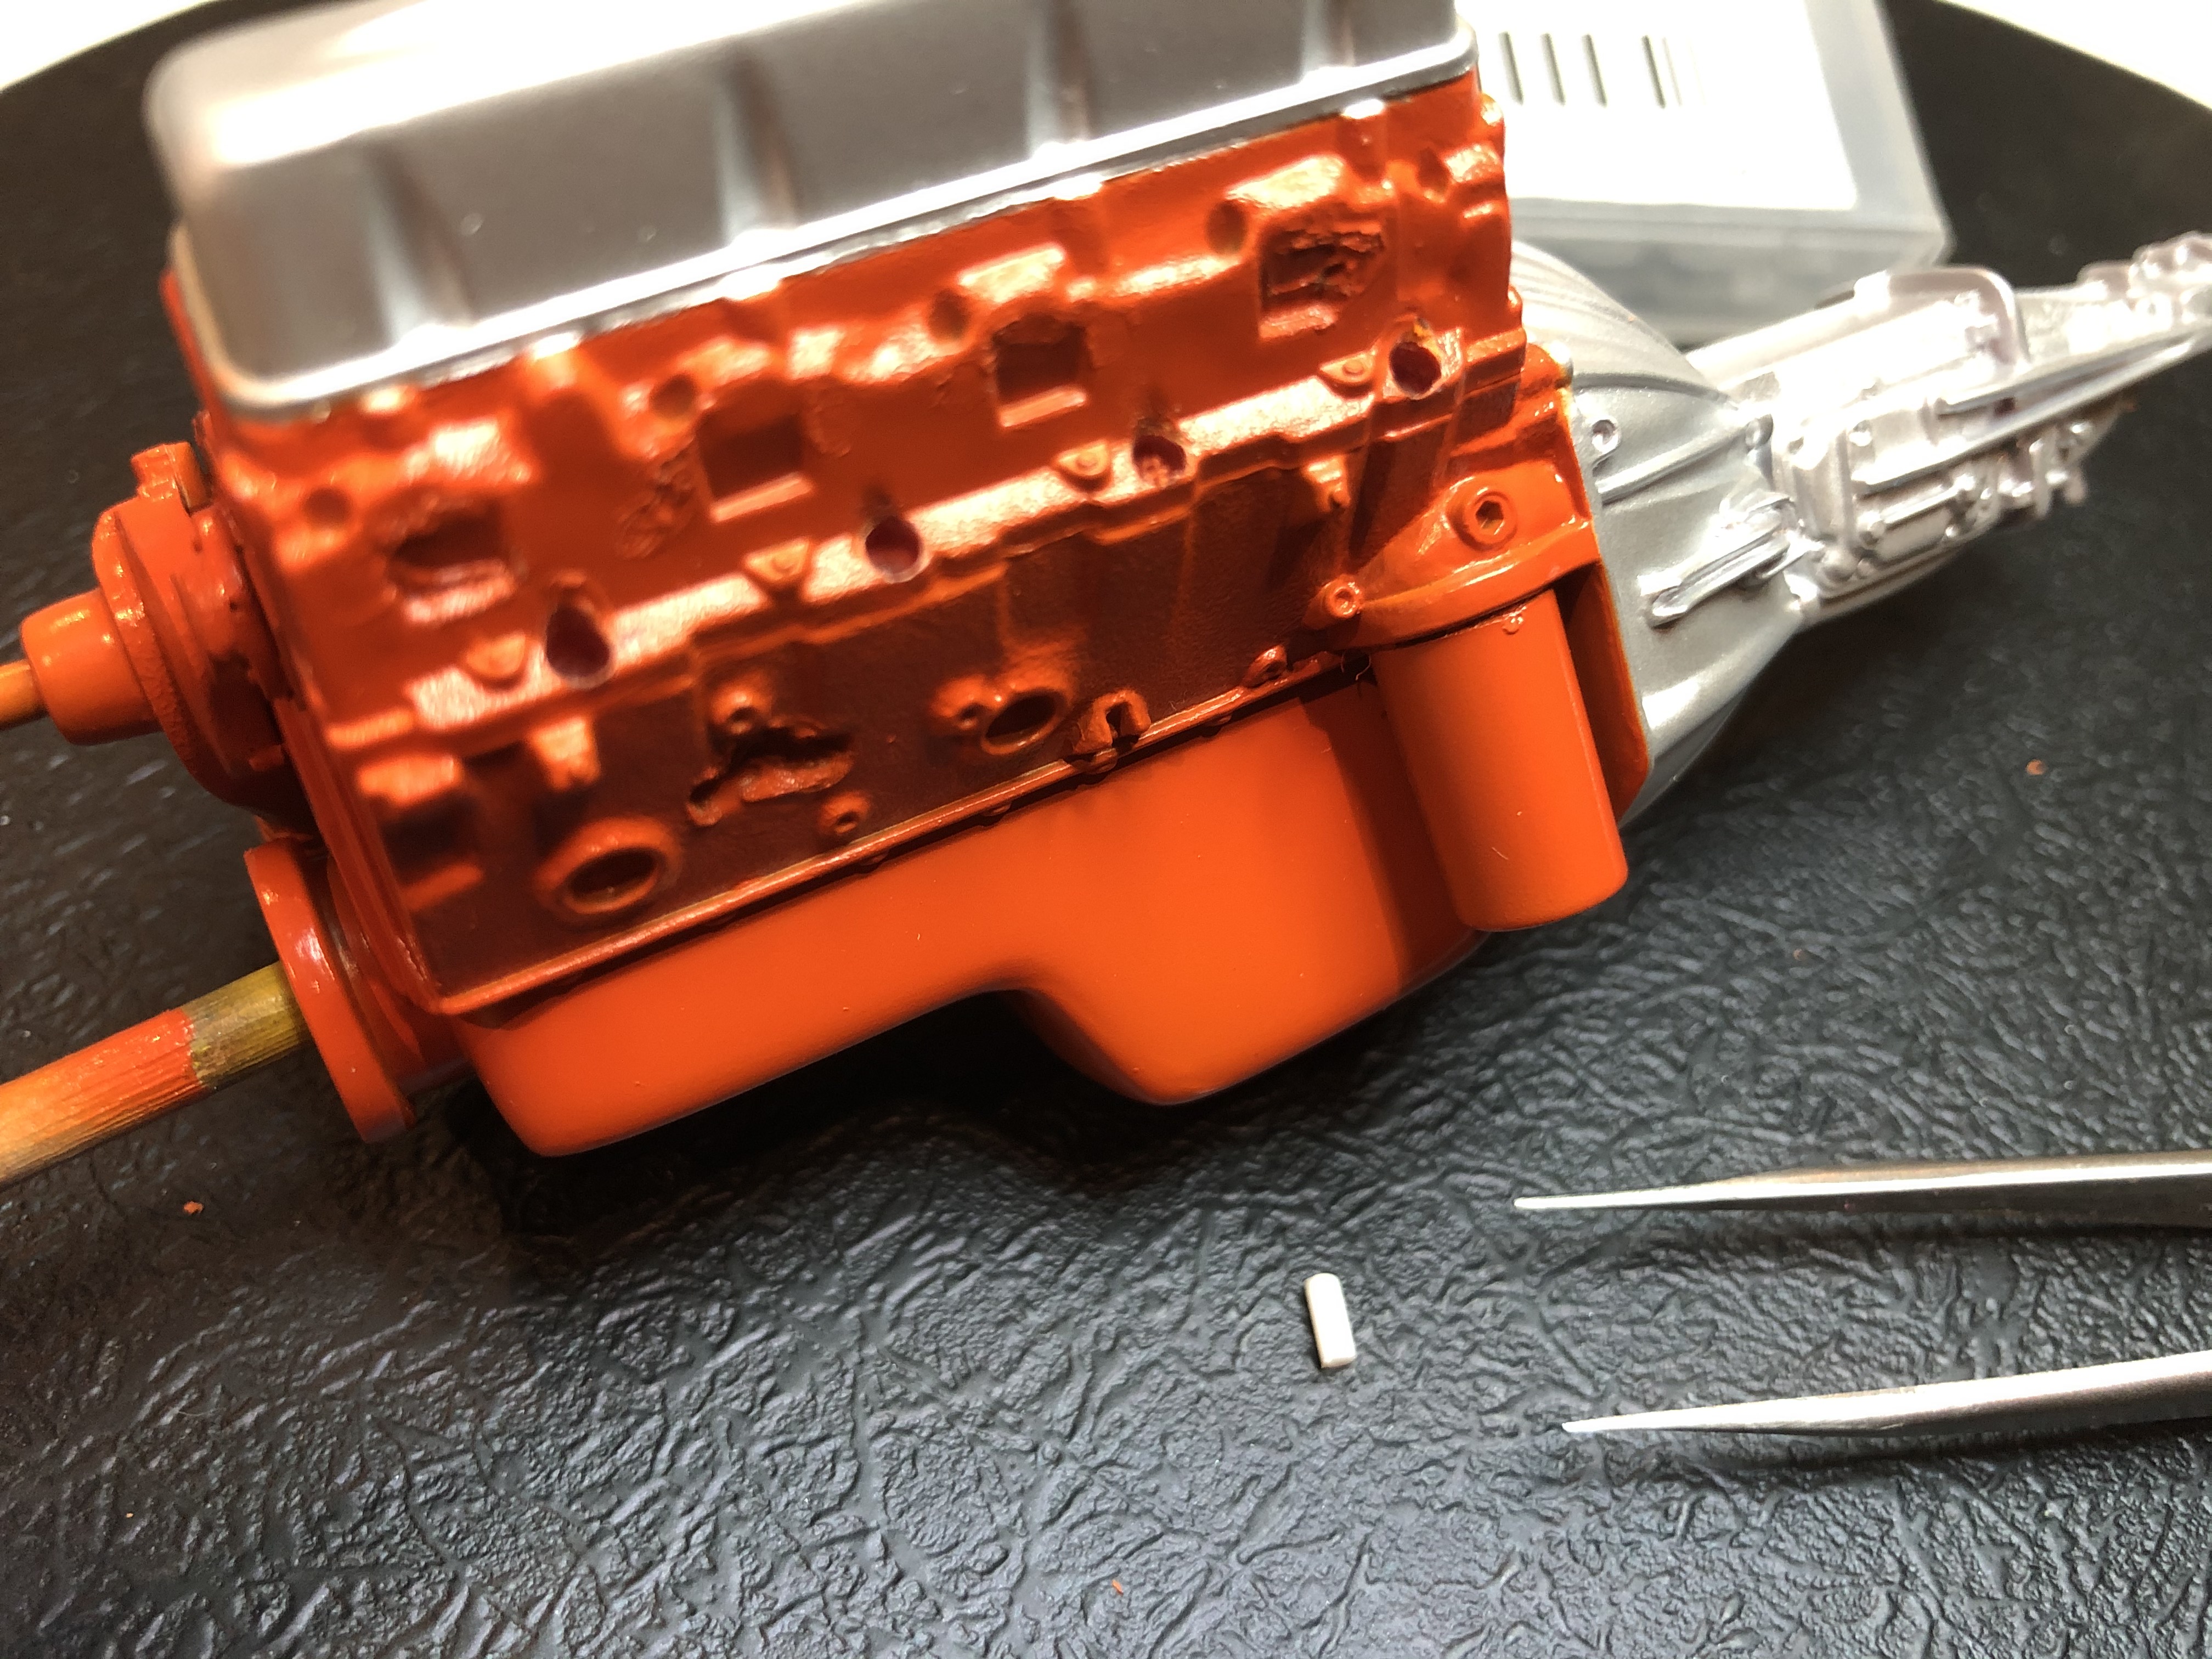
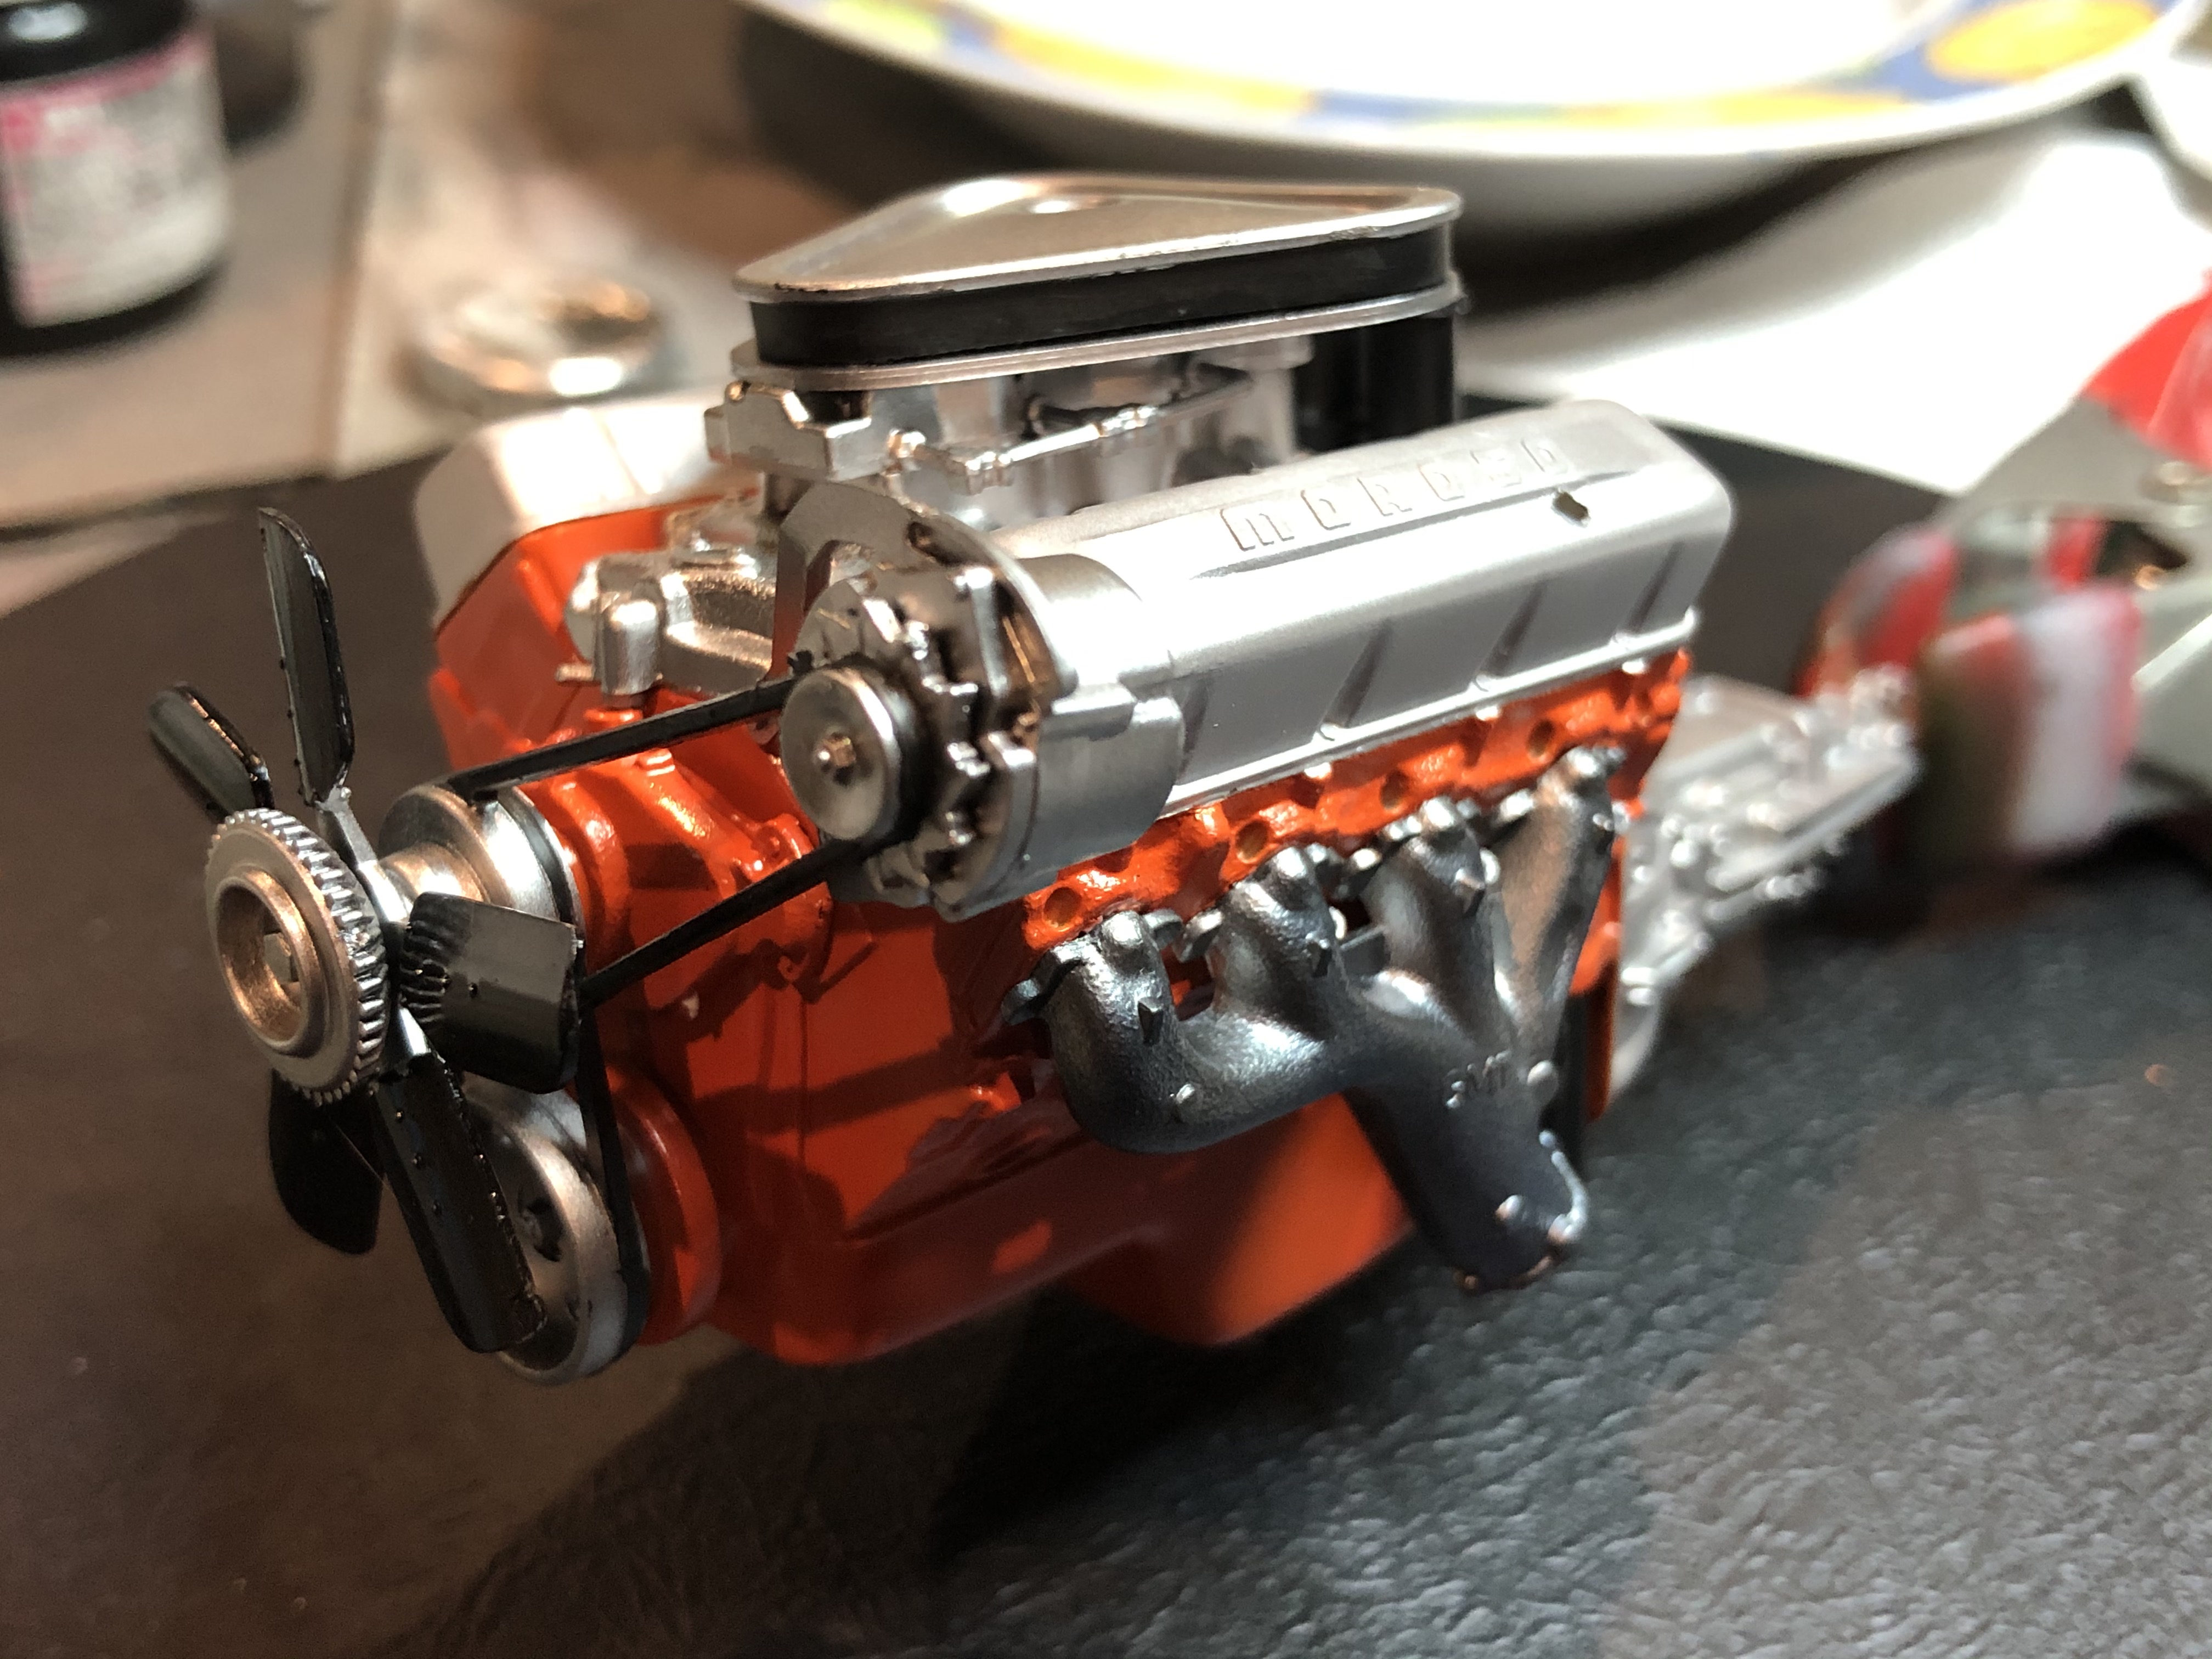
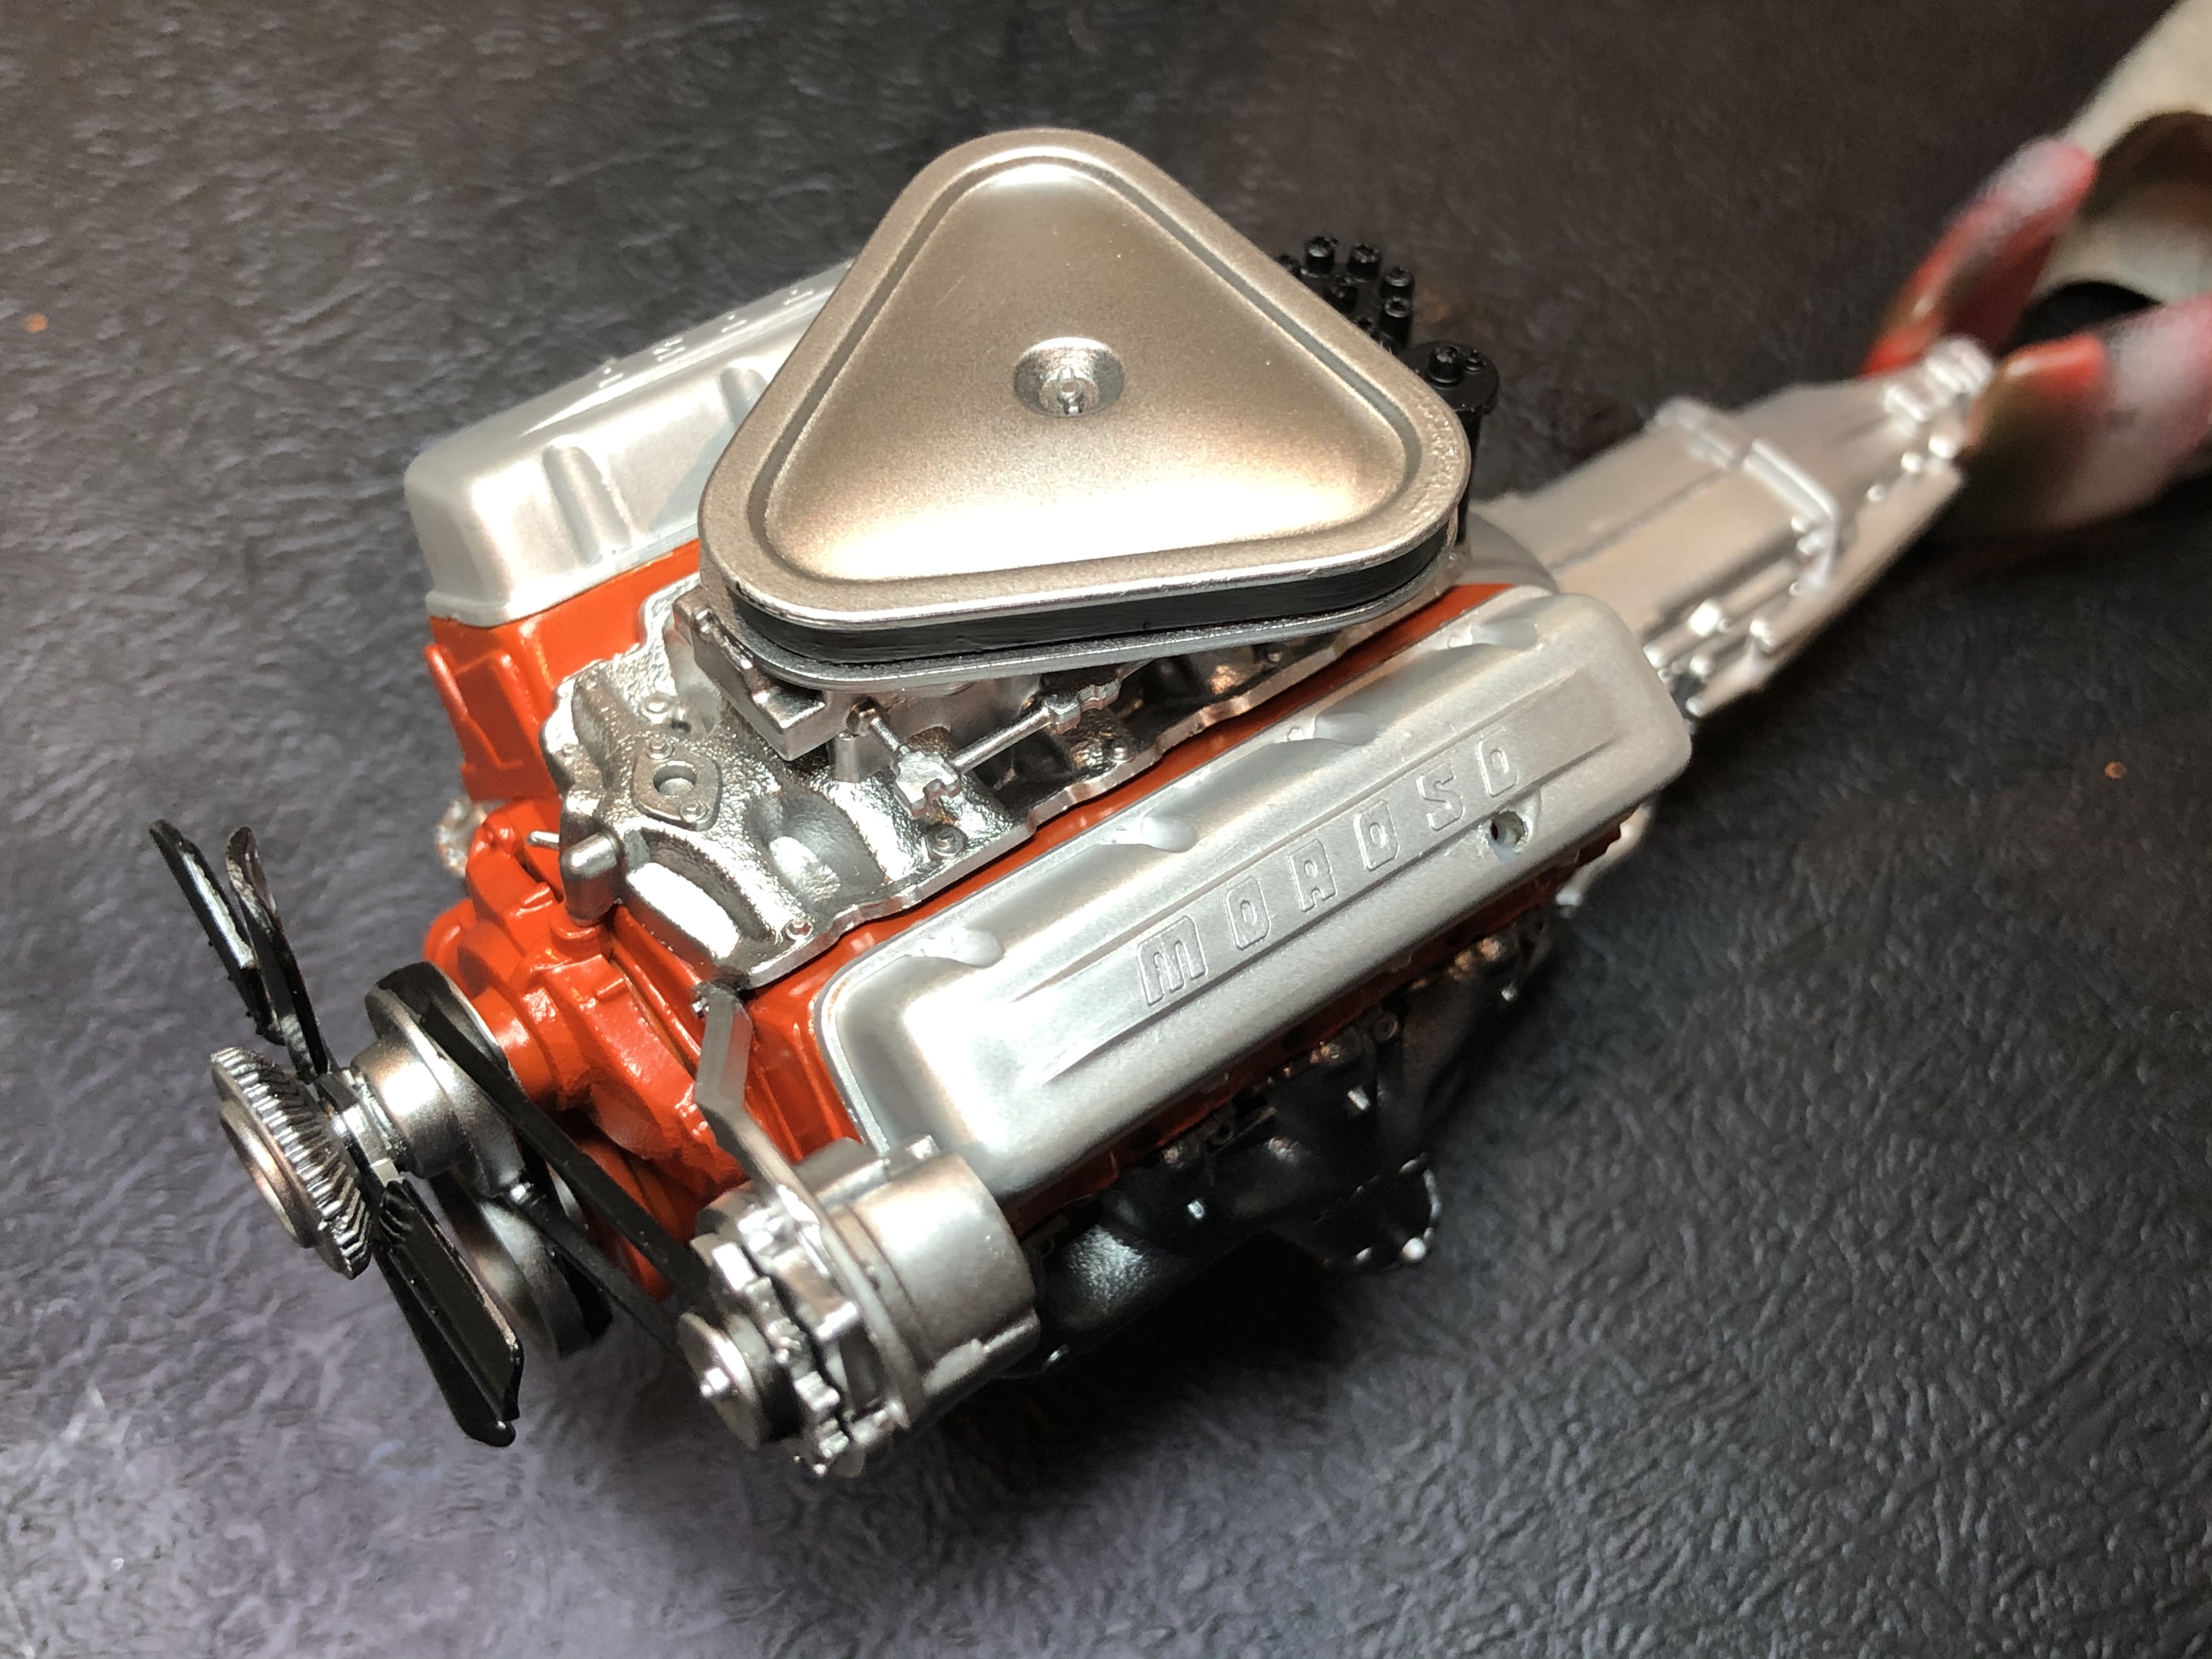
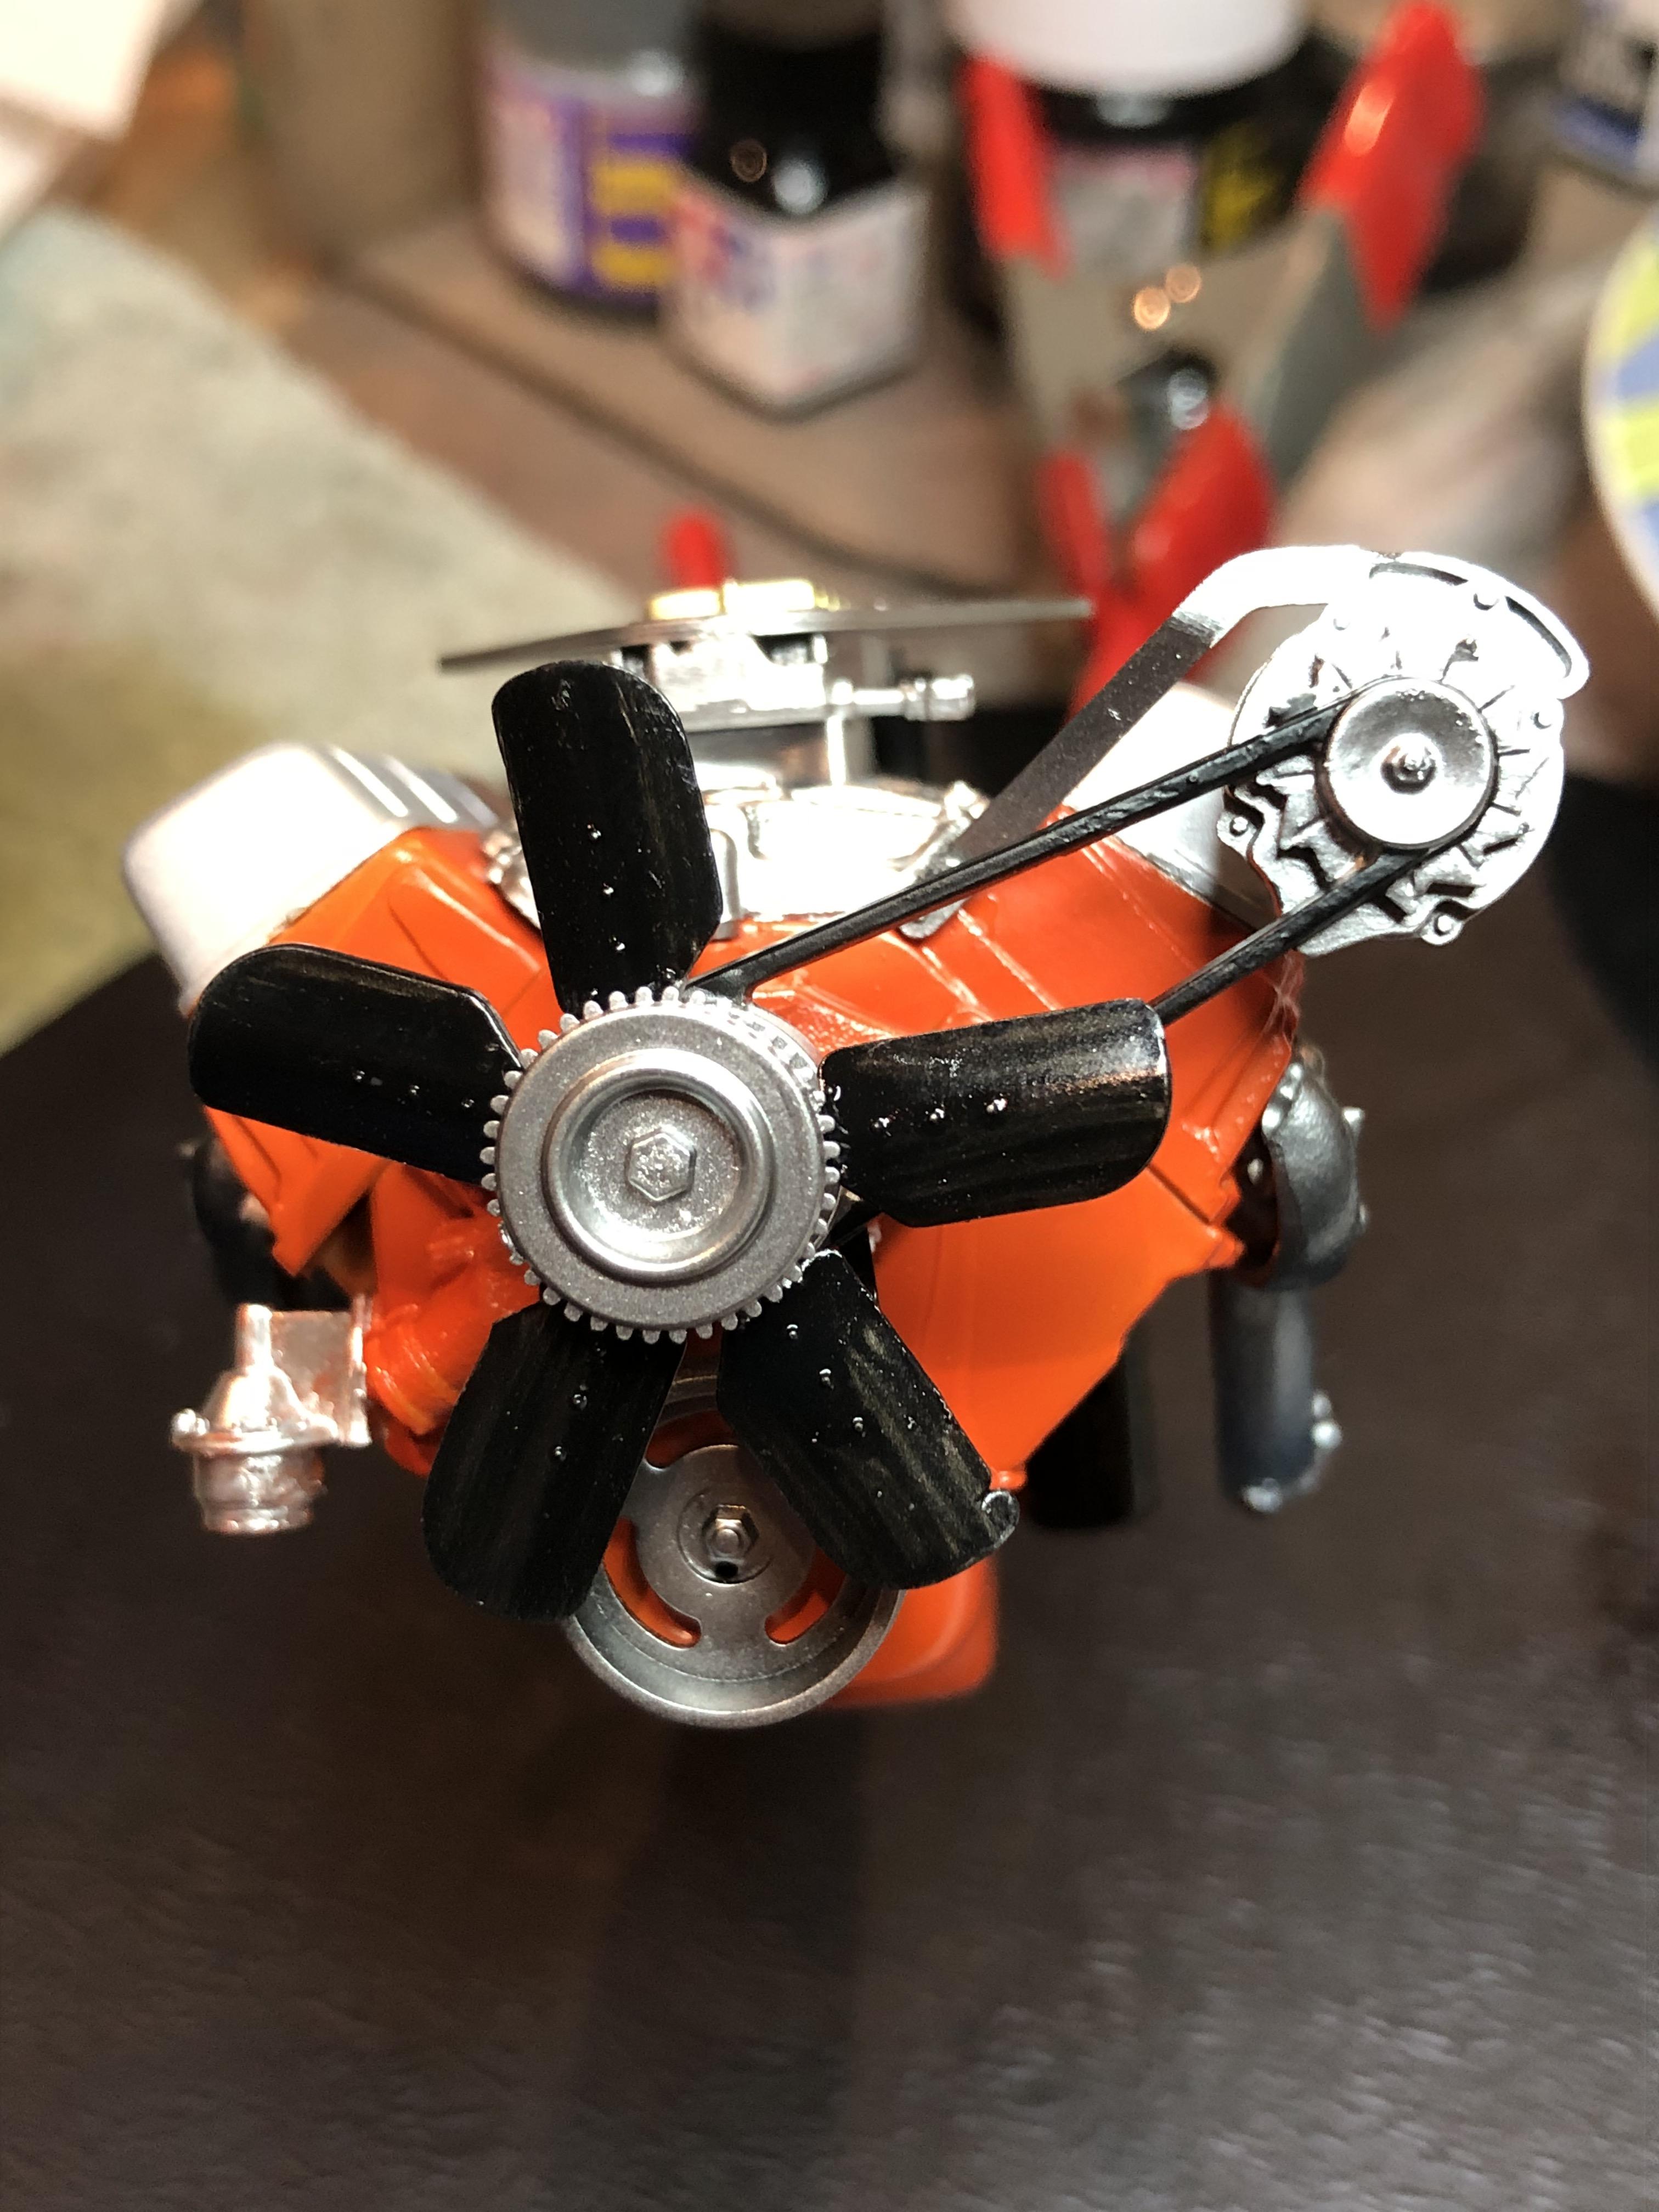
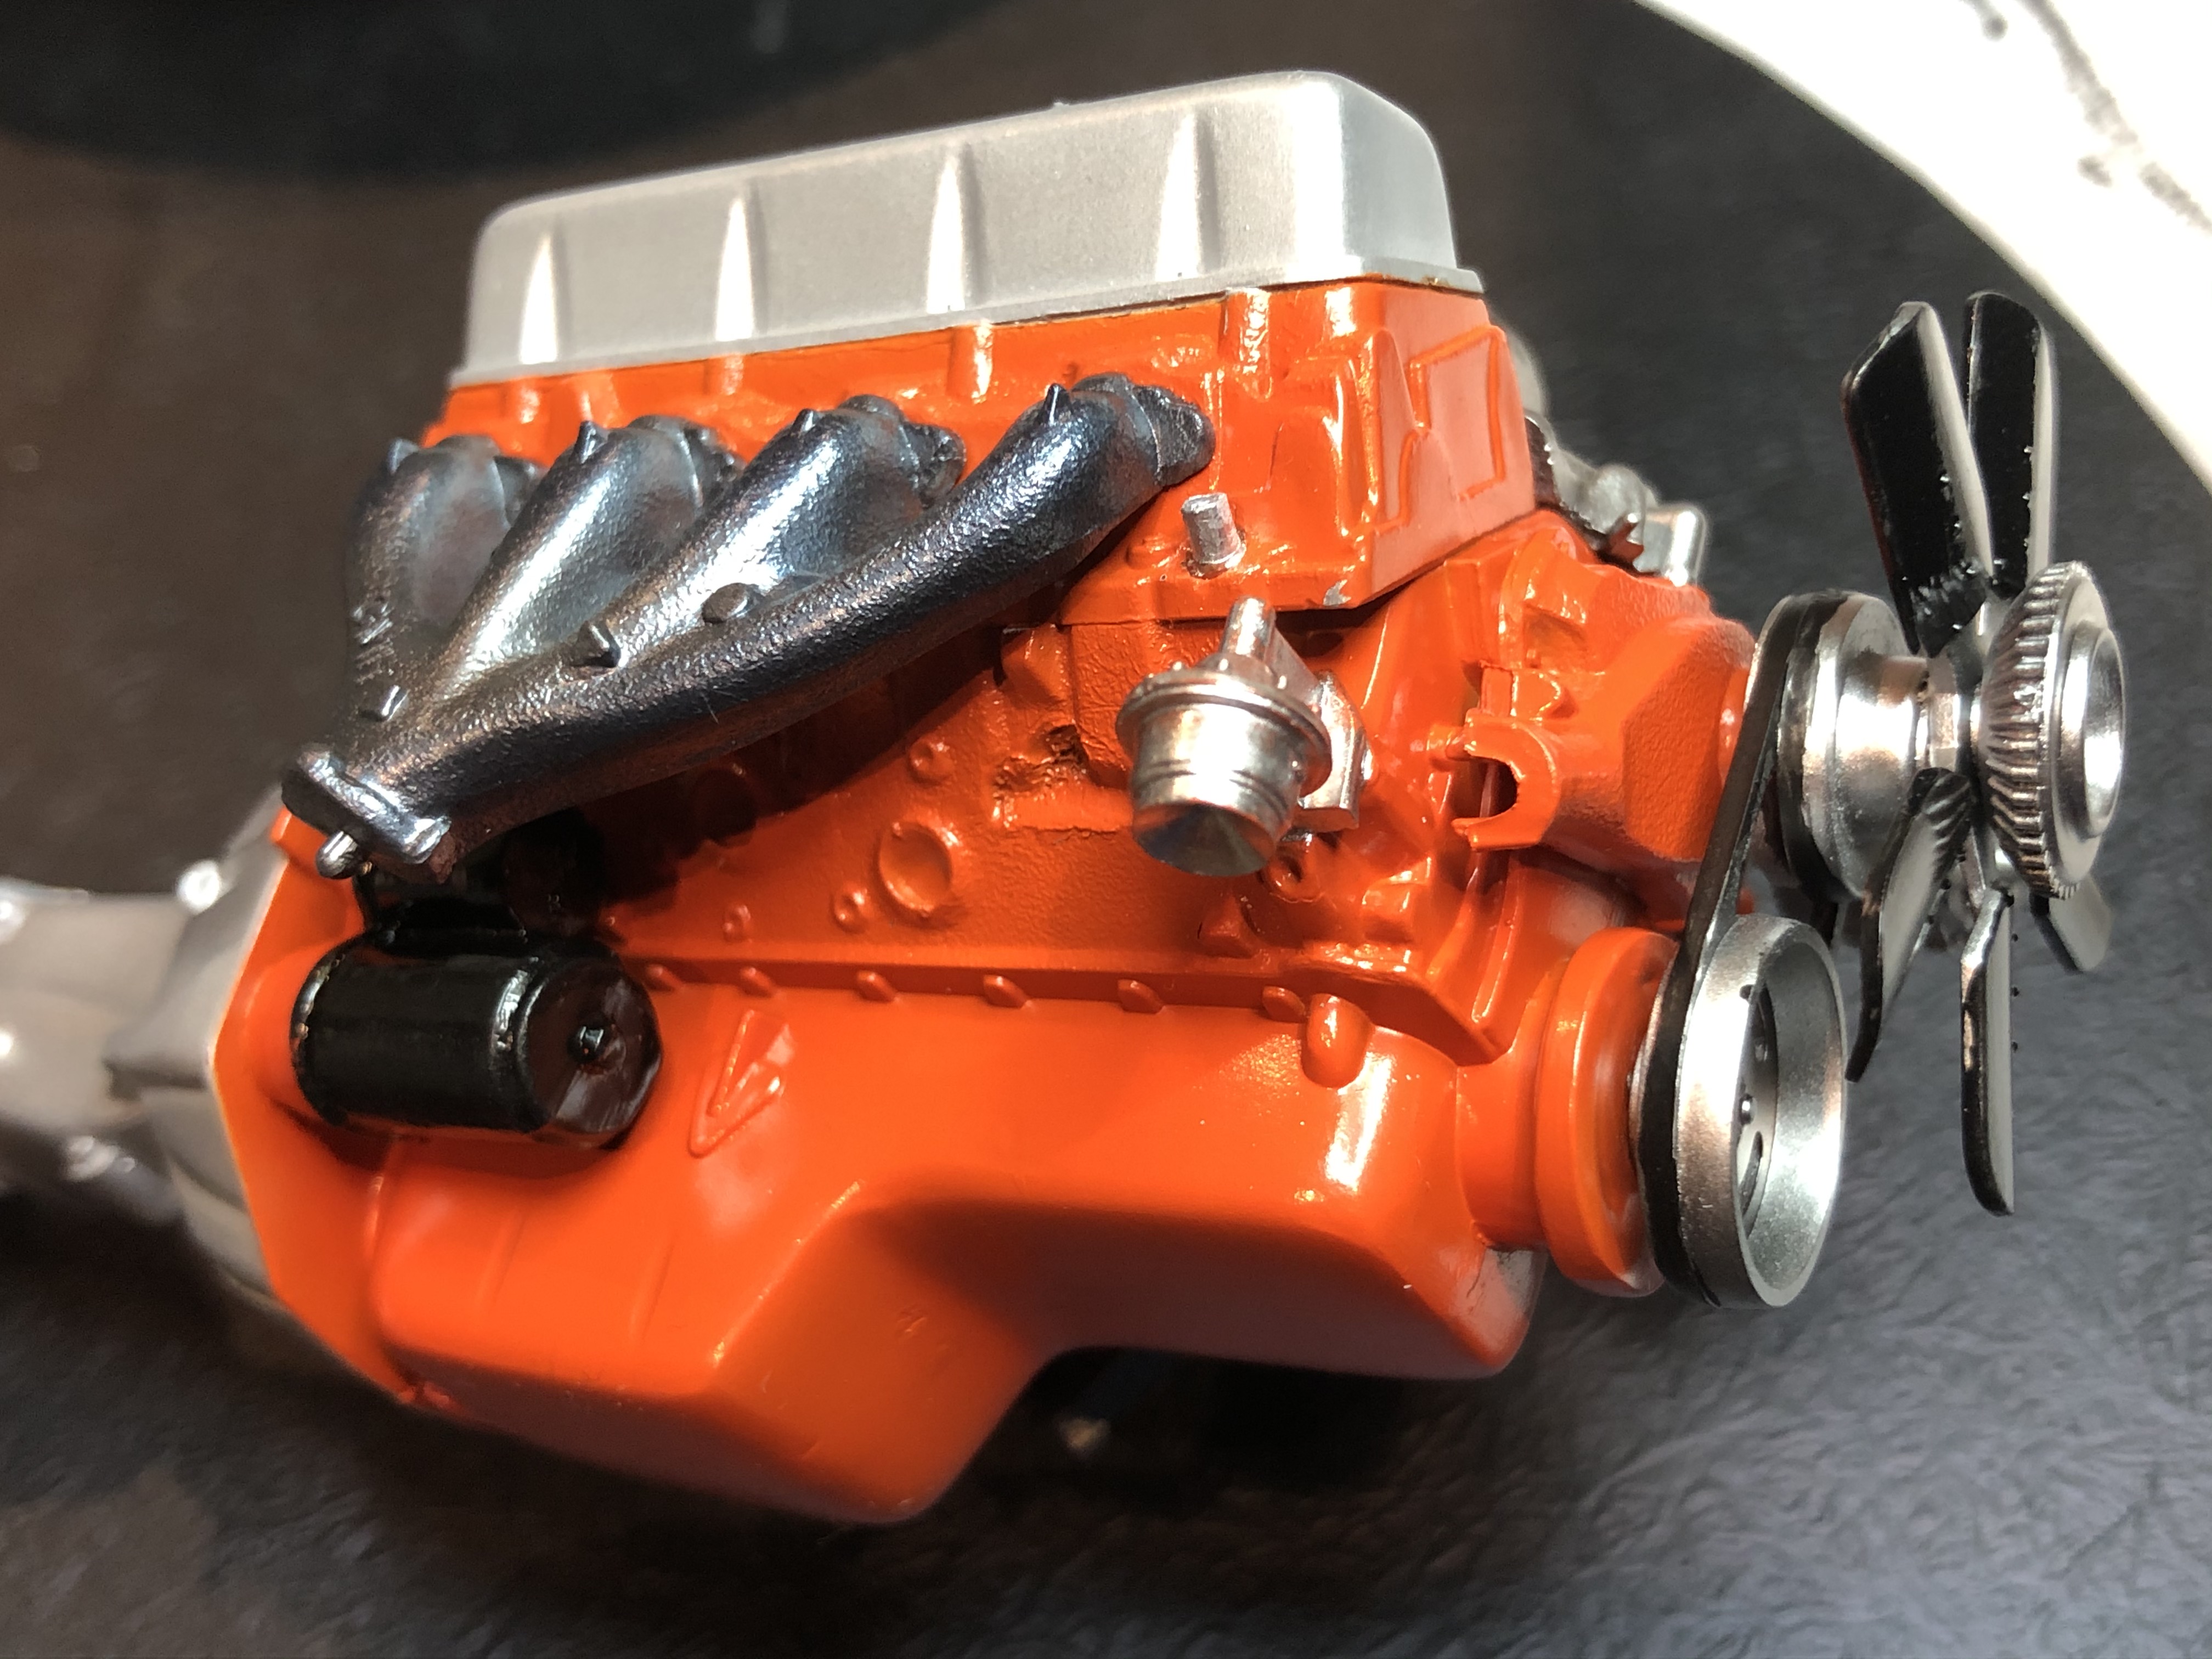
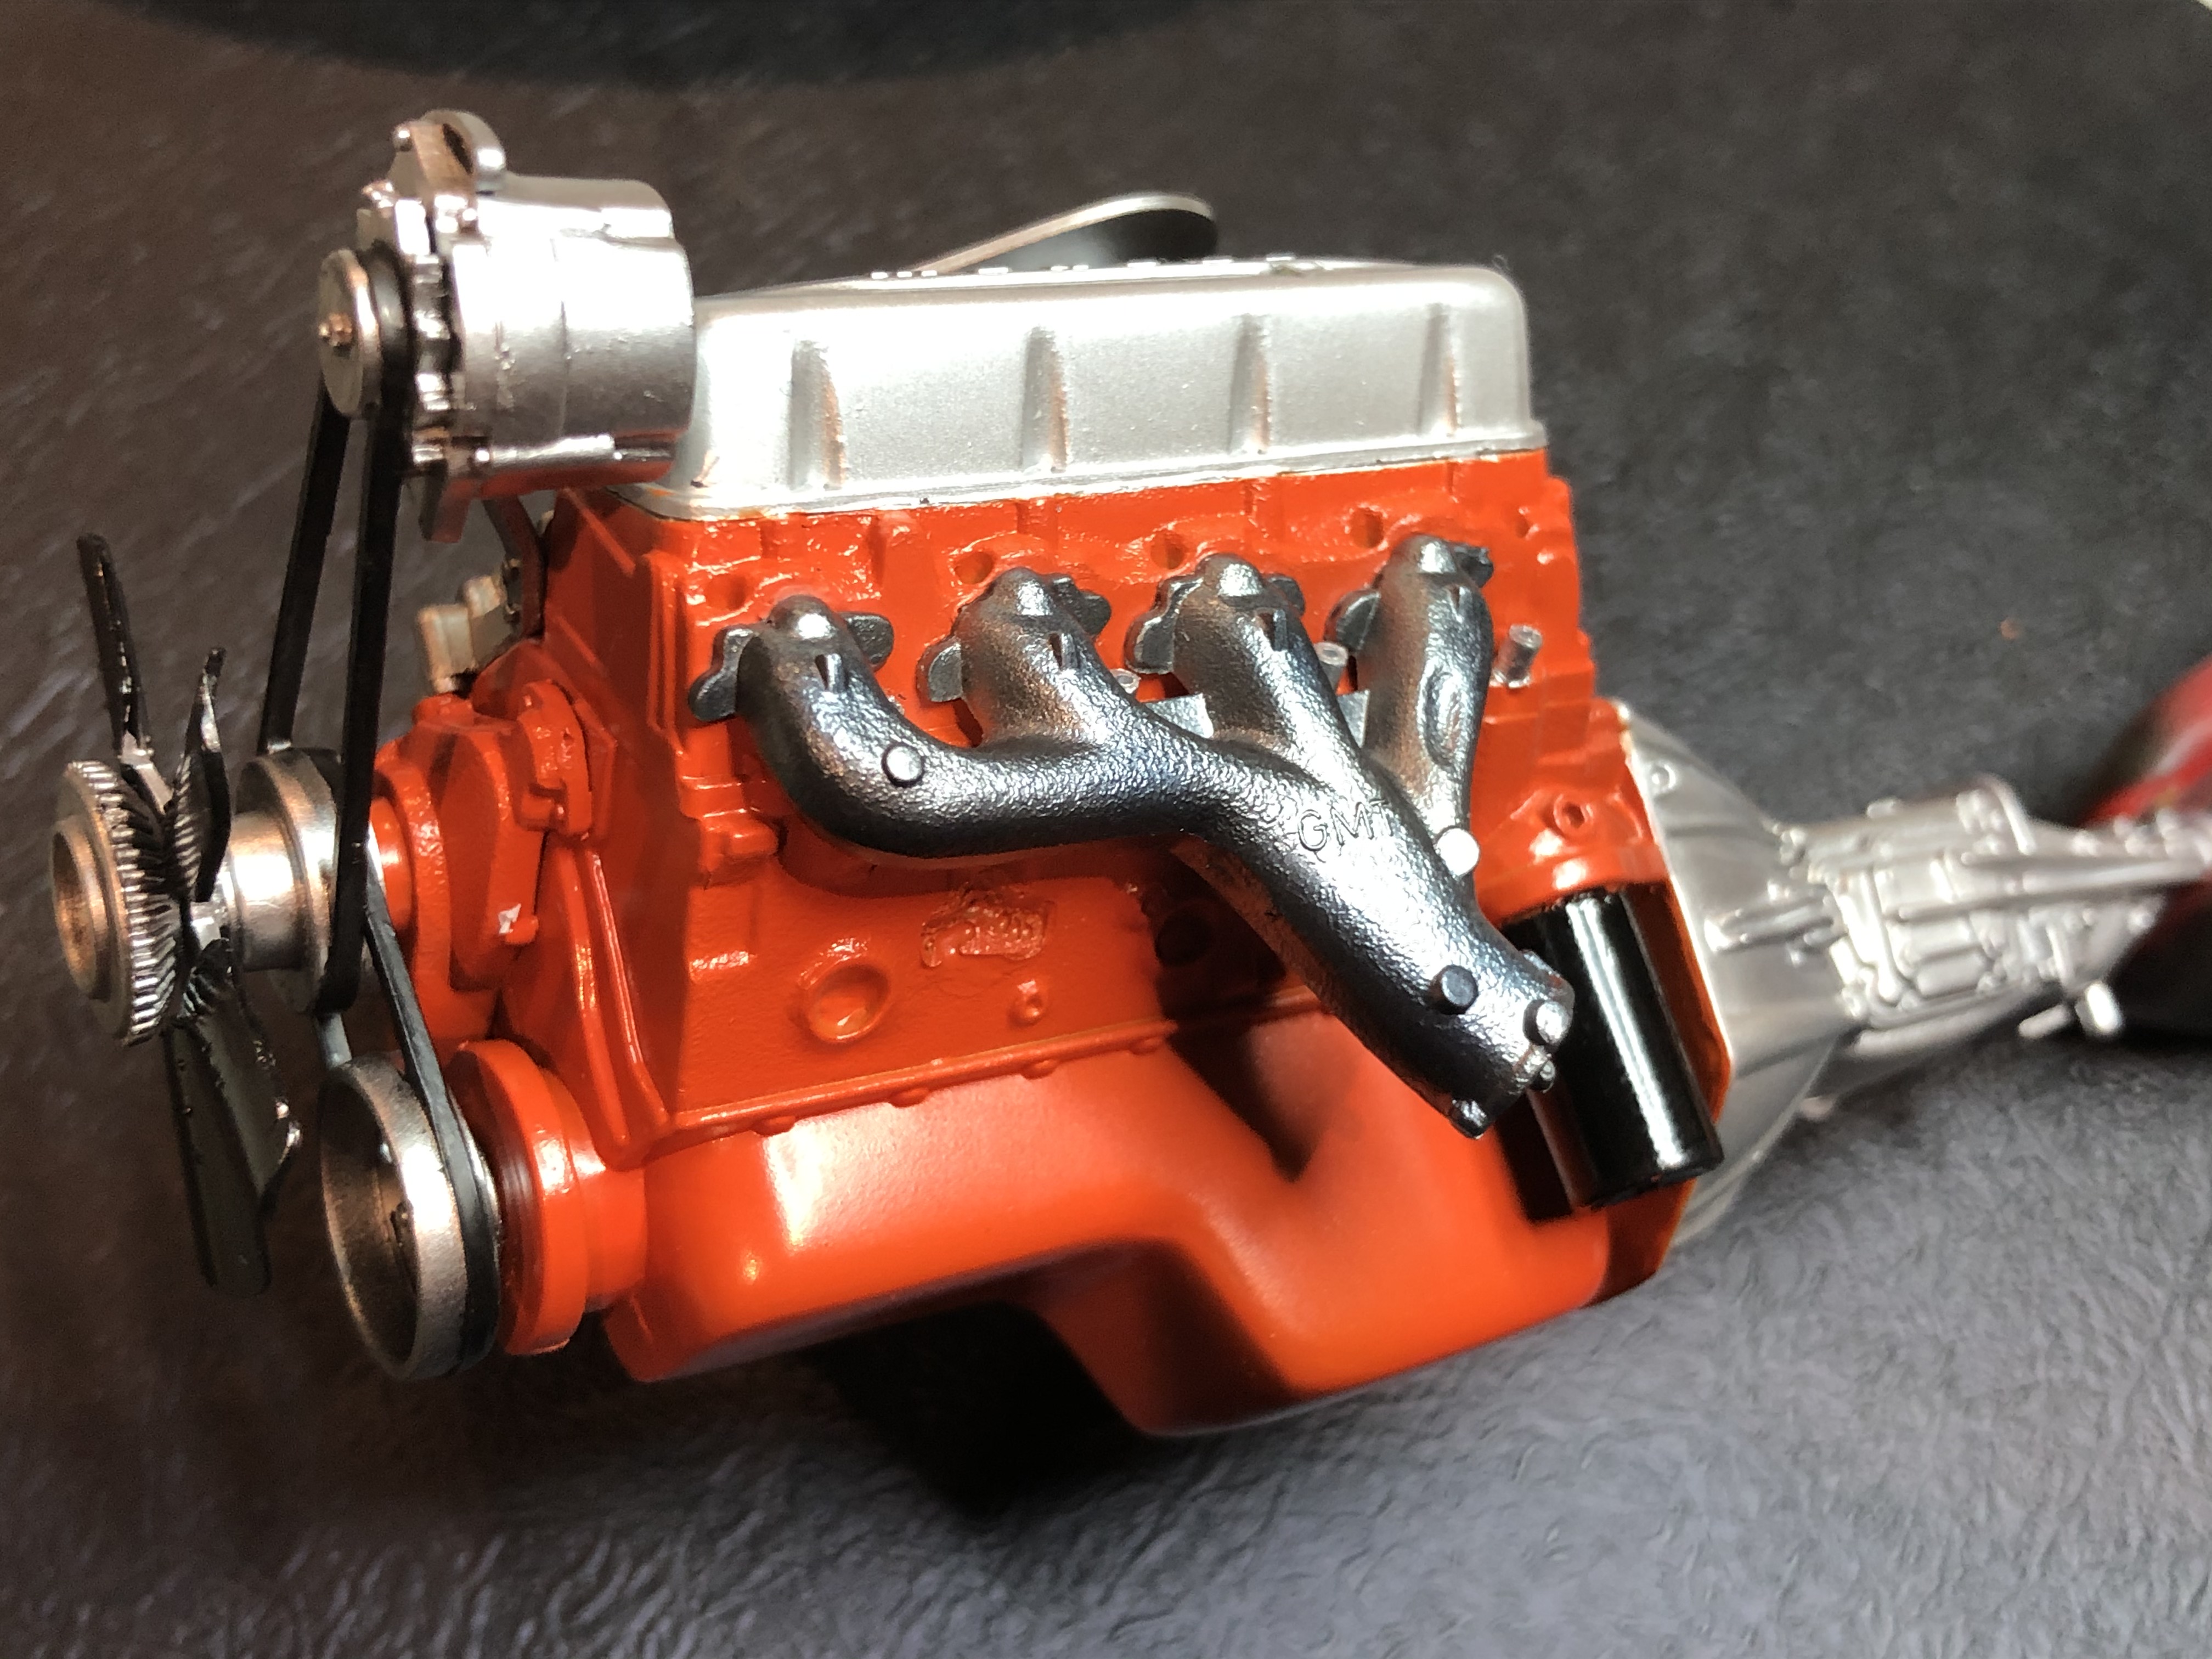
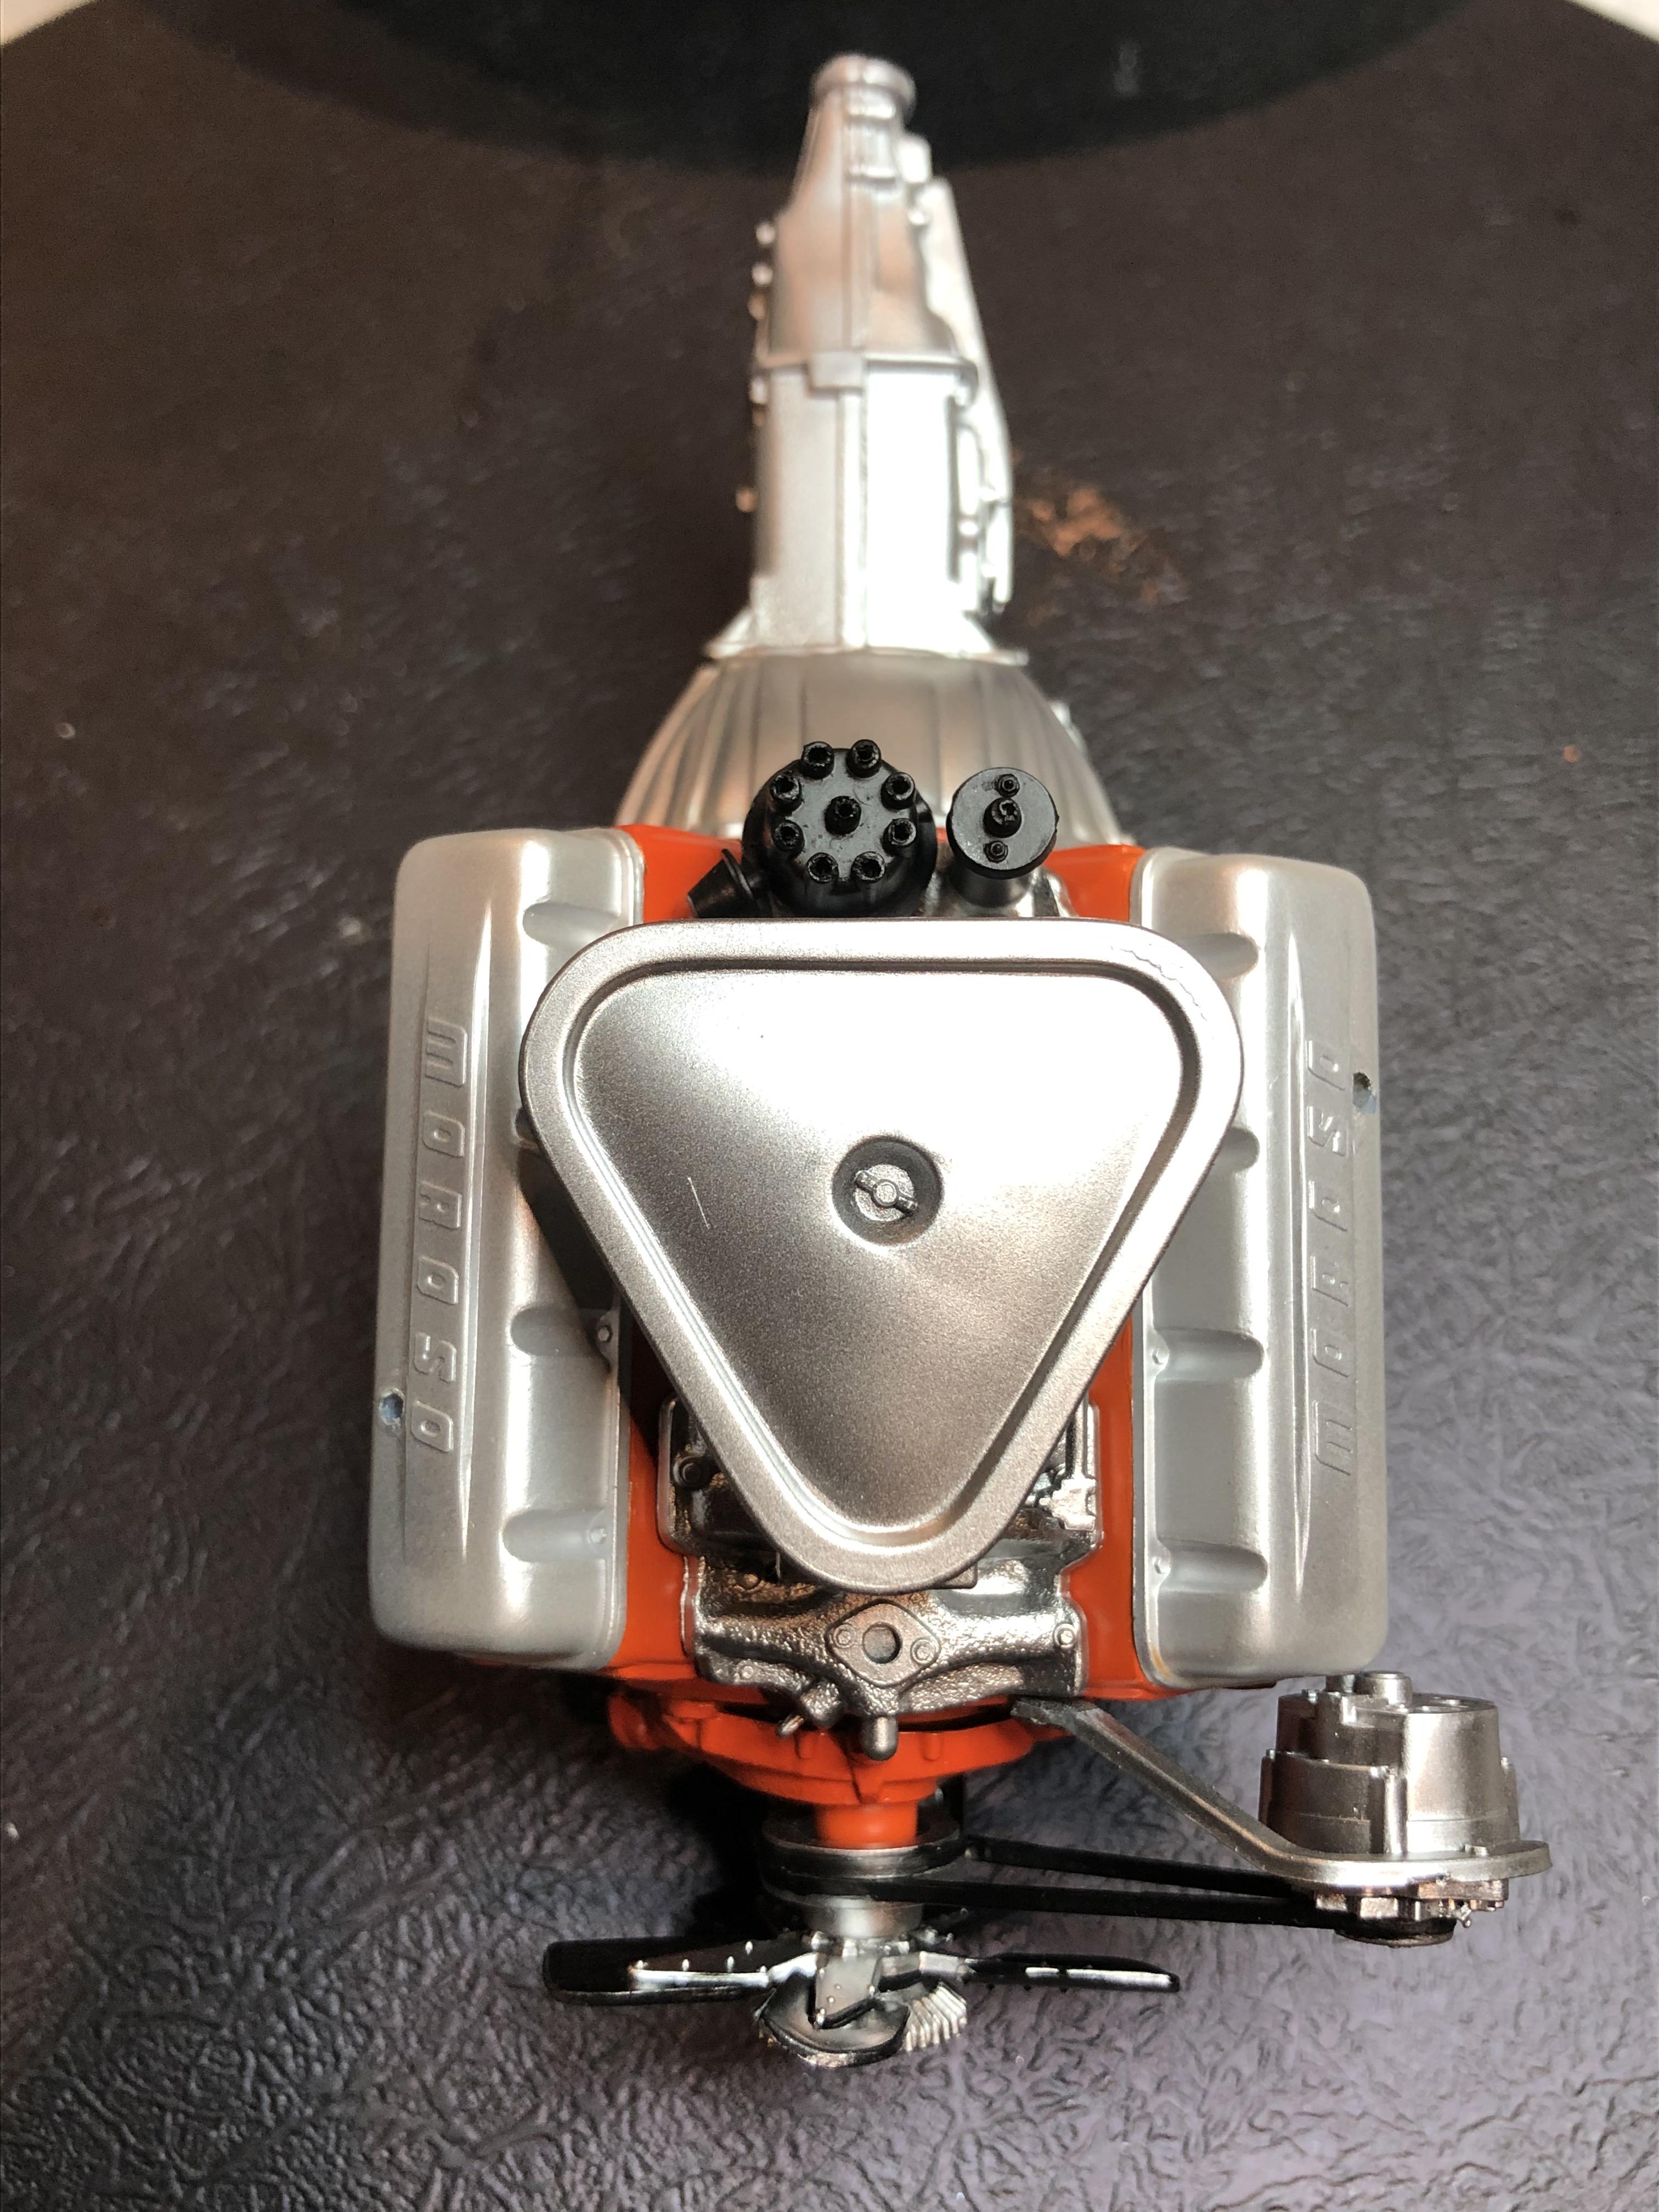
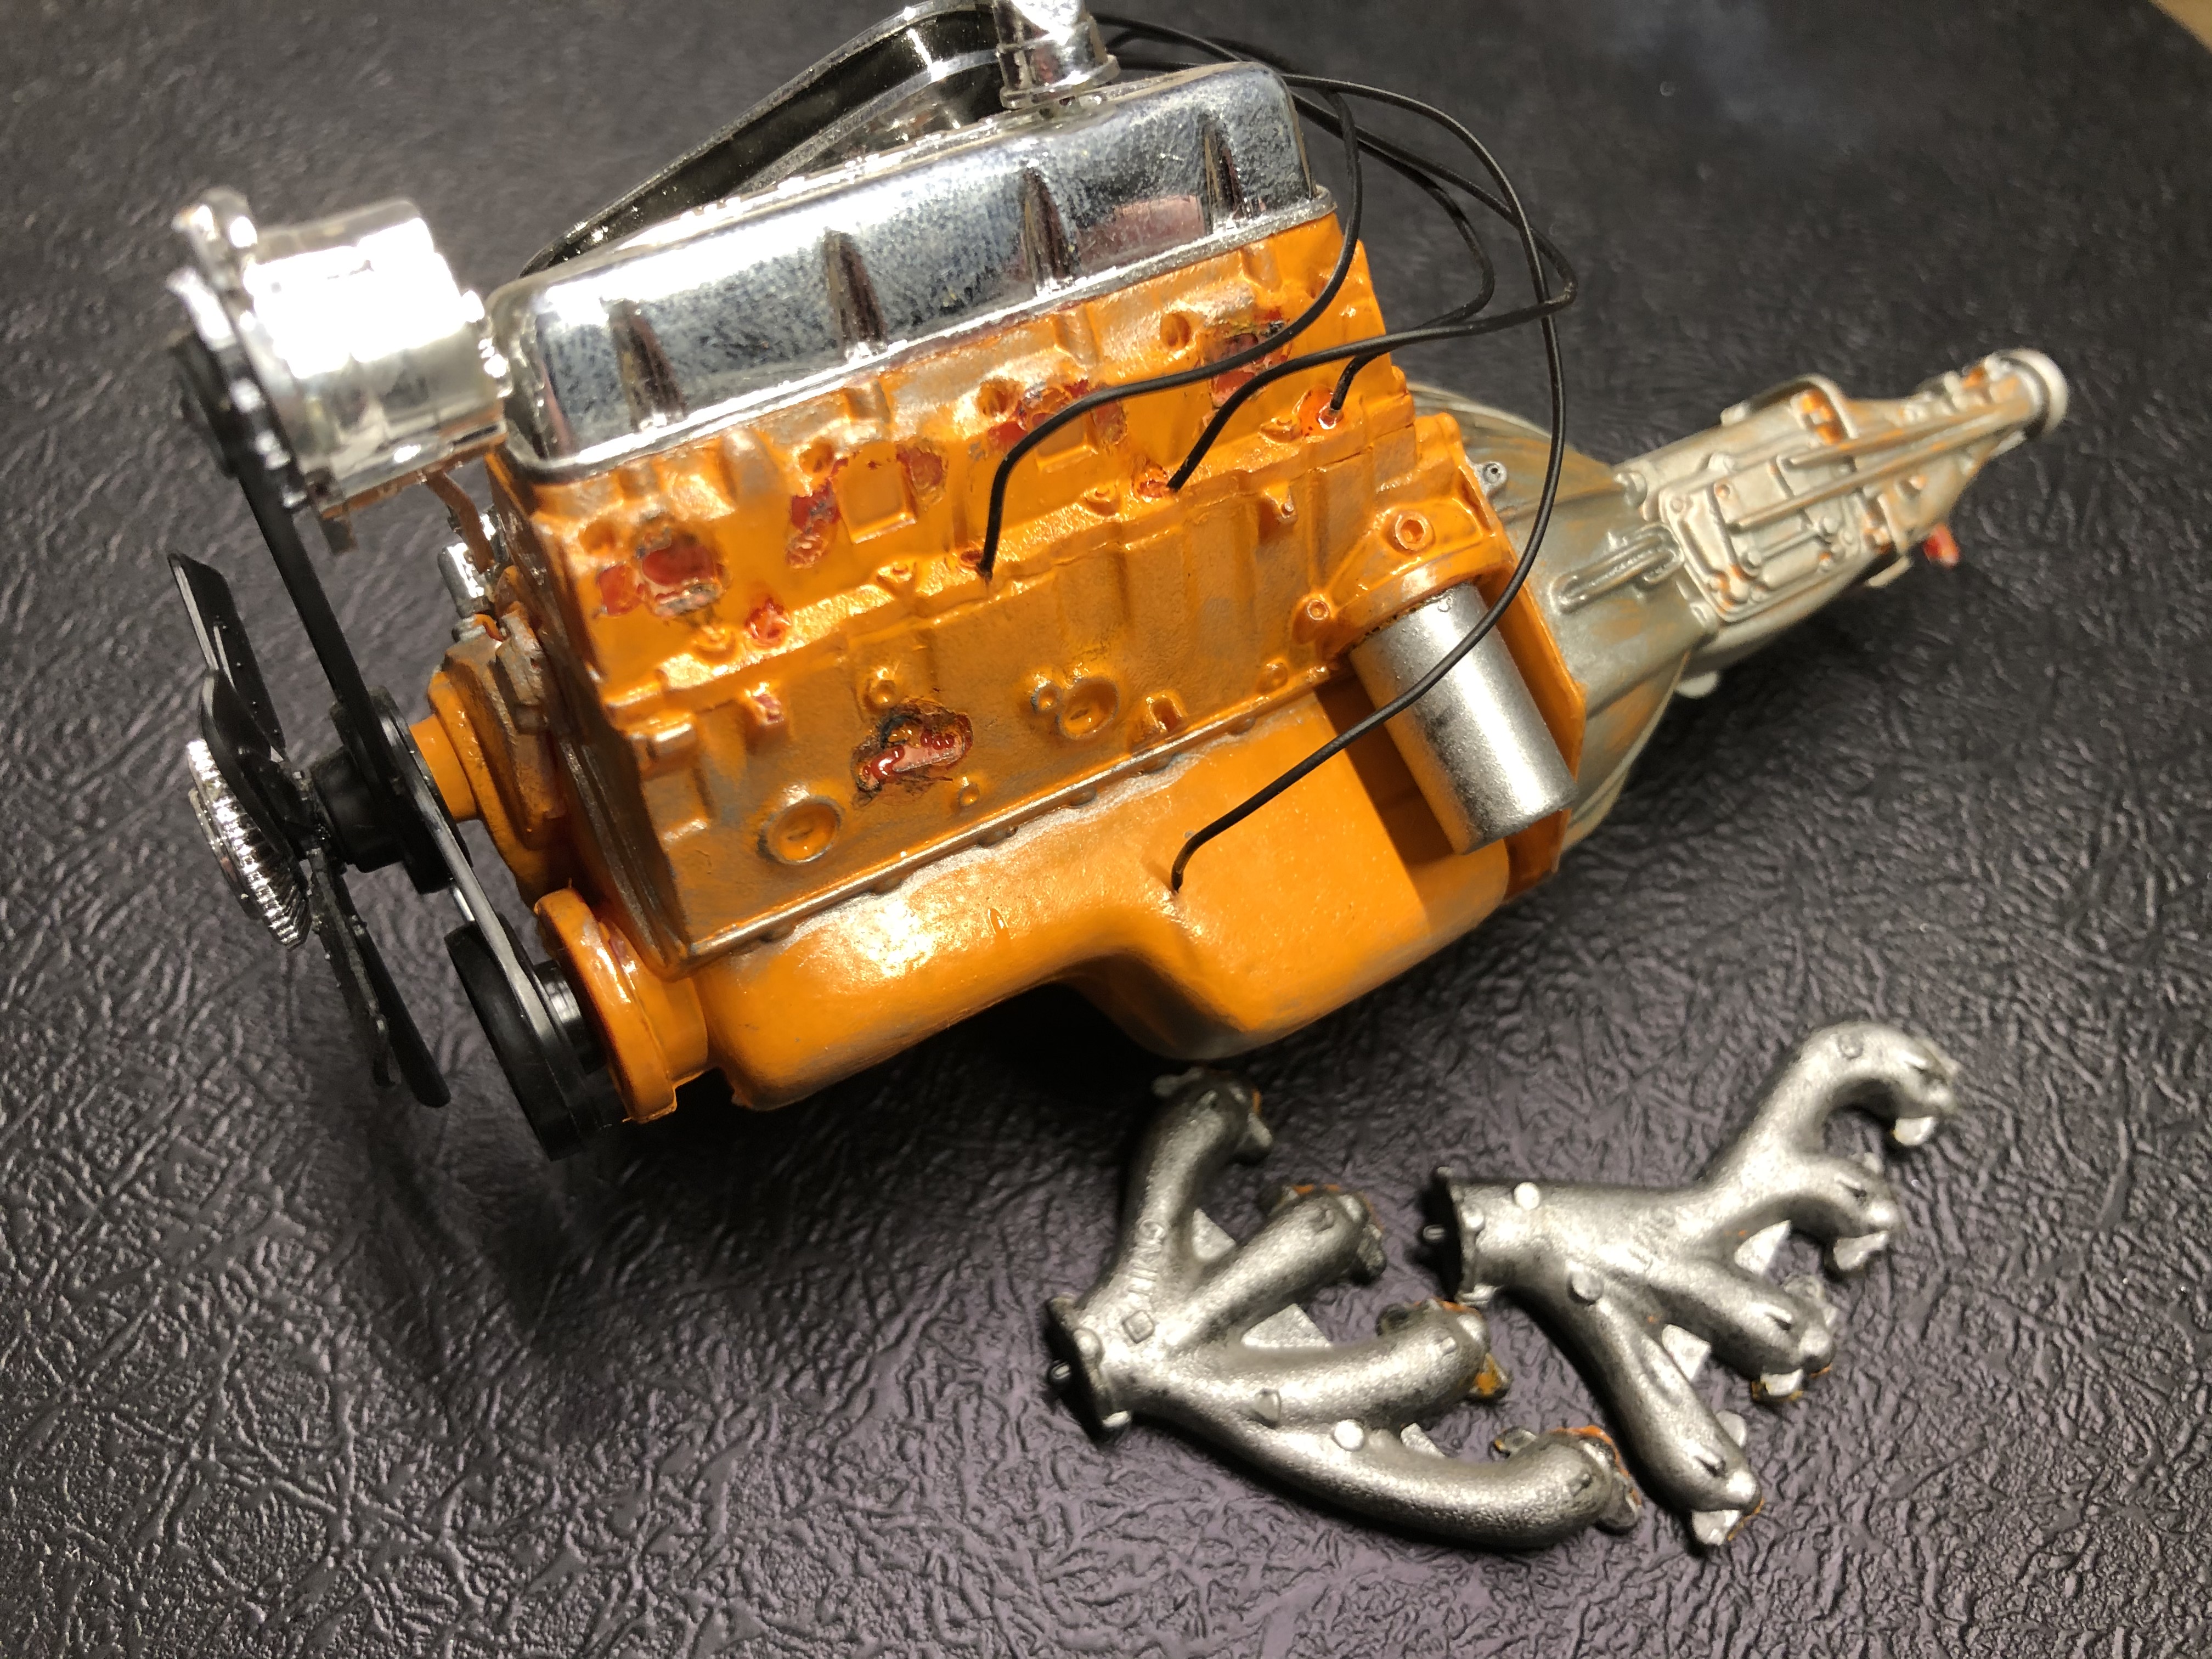
The engine as it was when the build was halted -


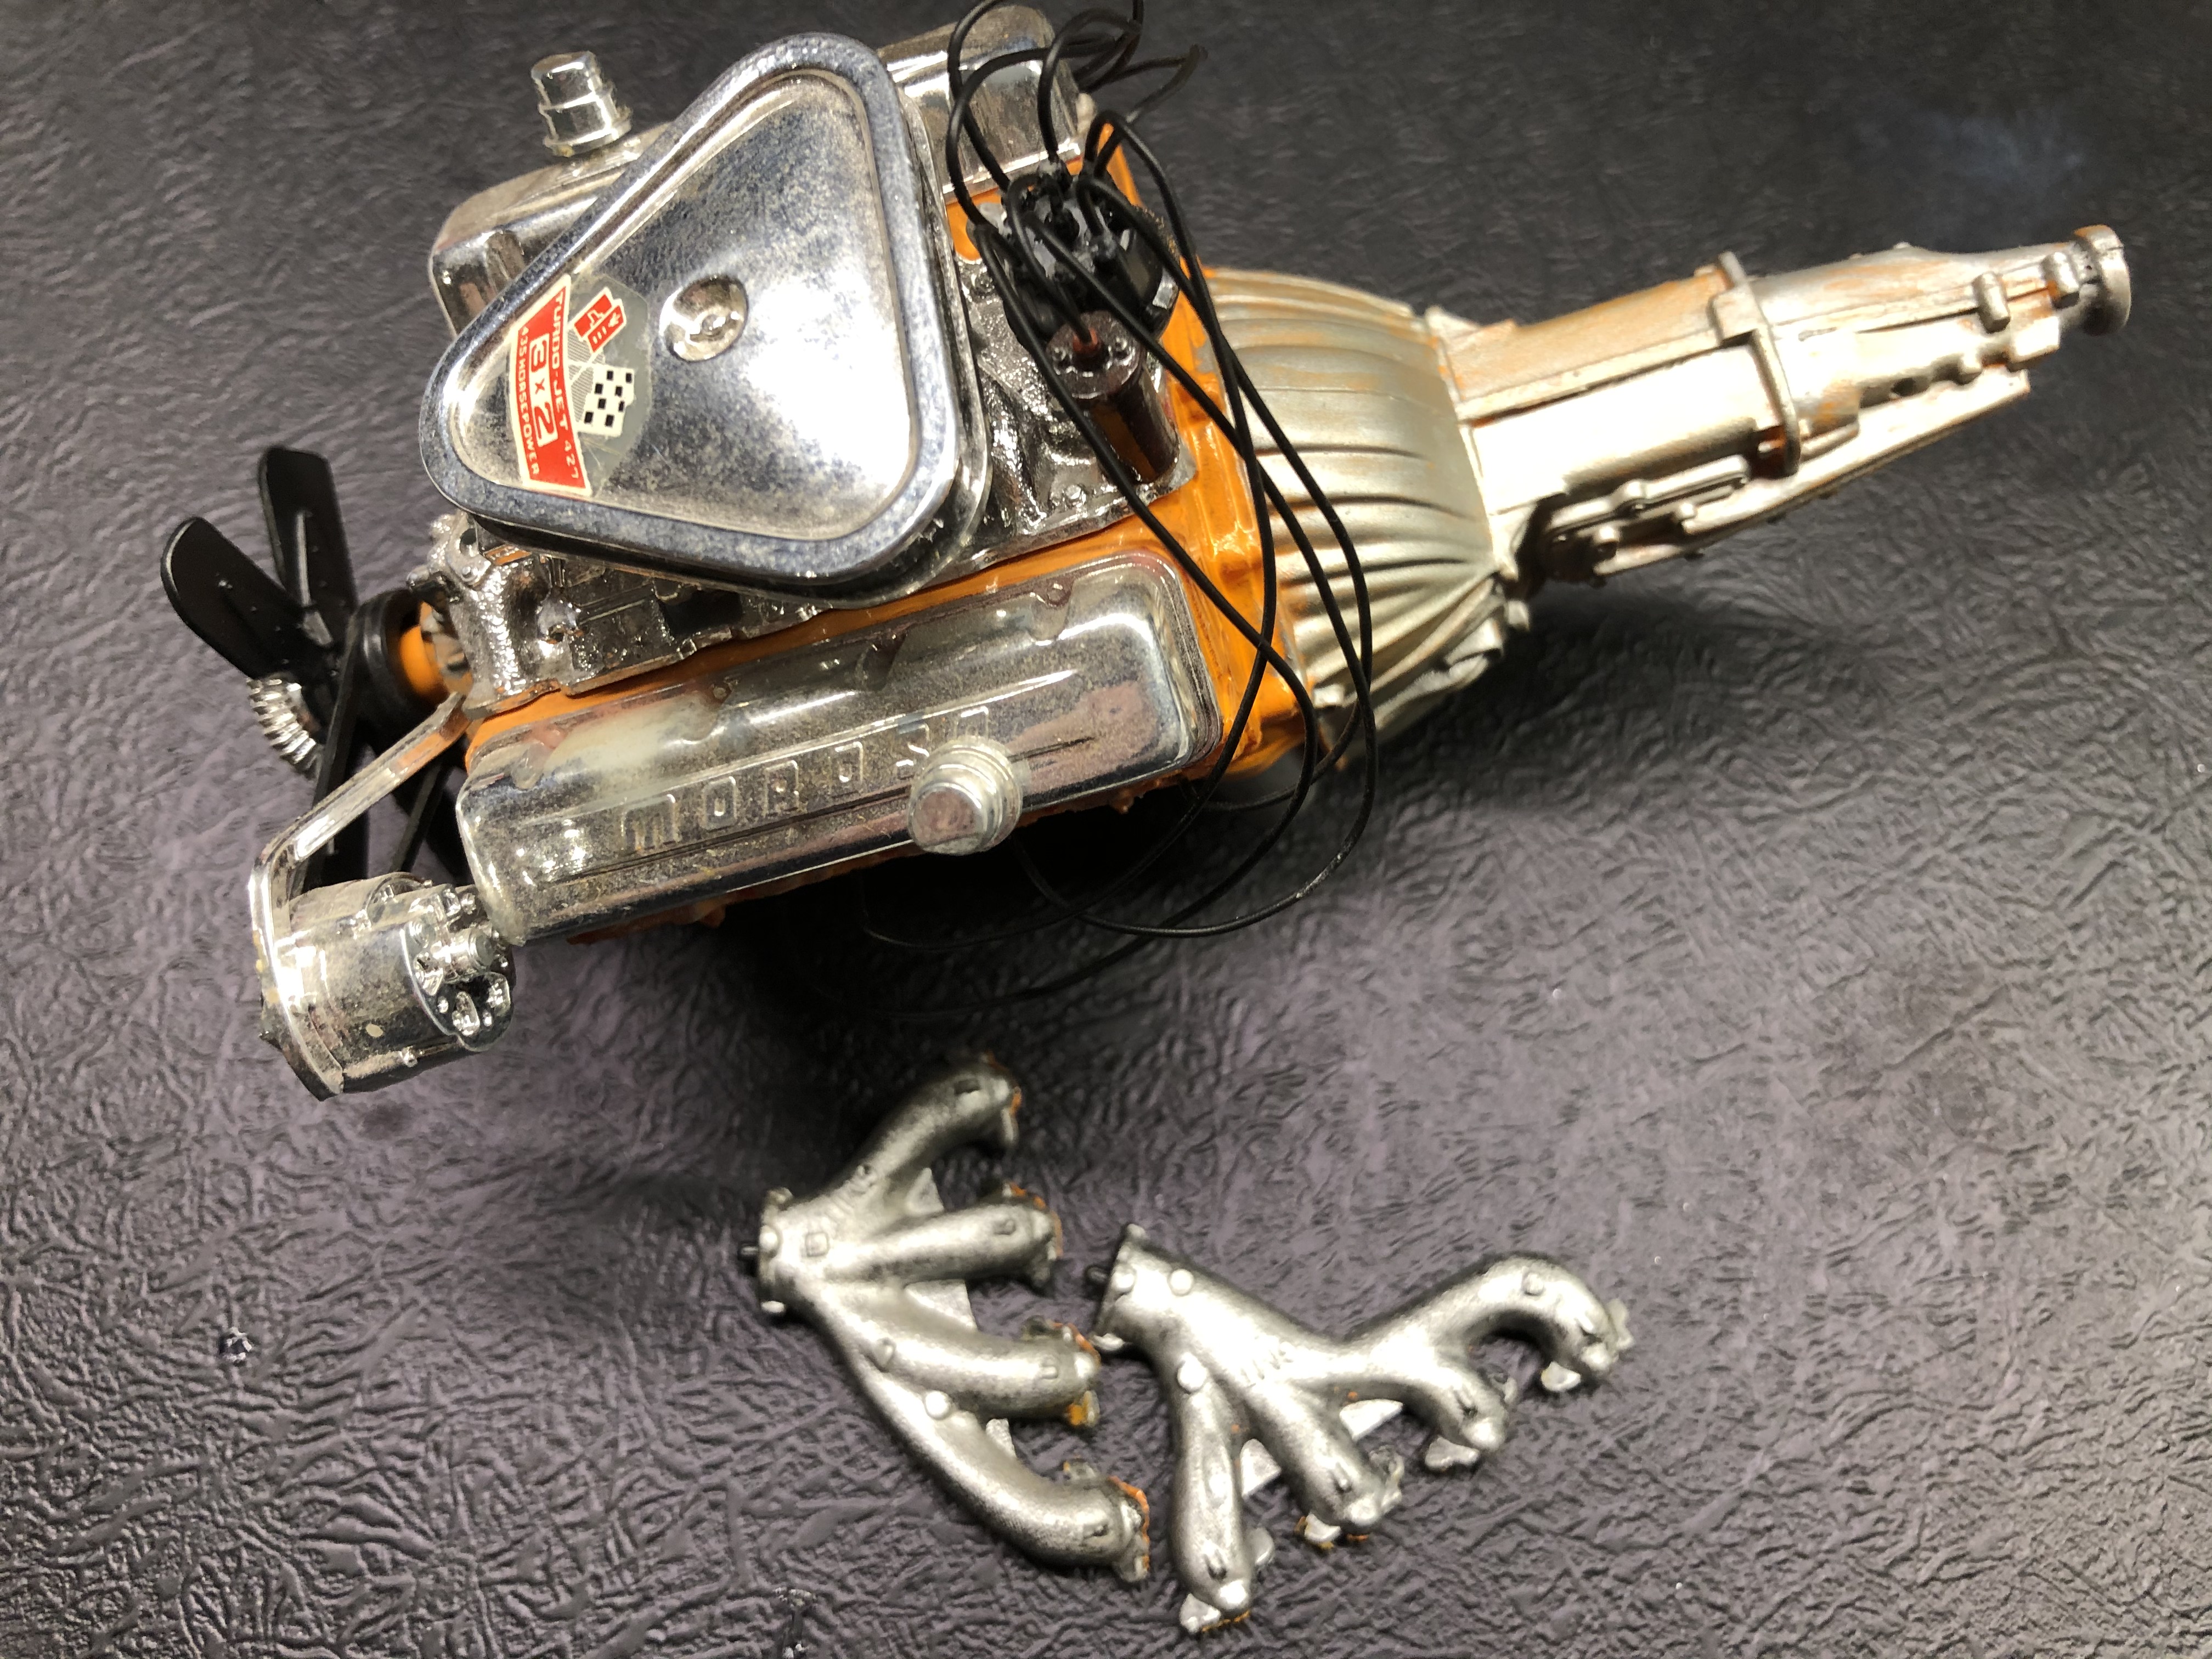
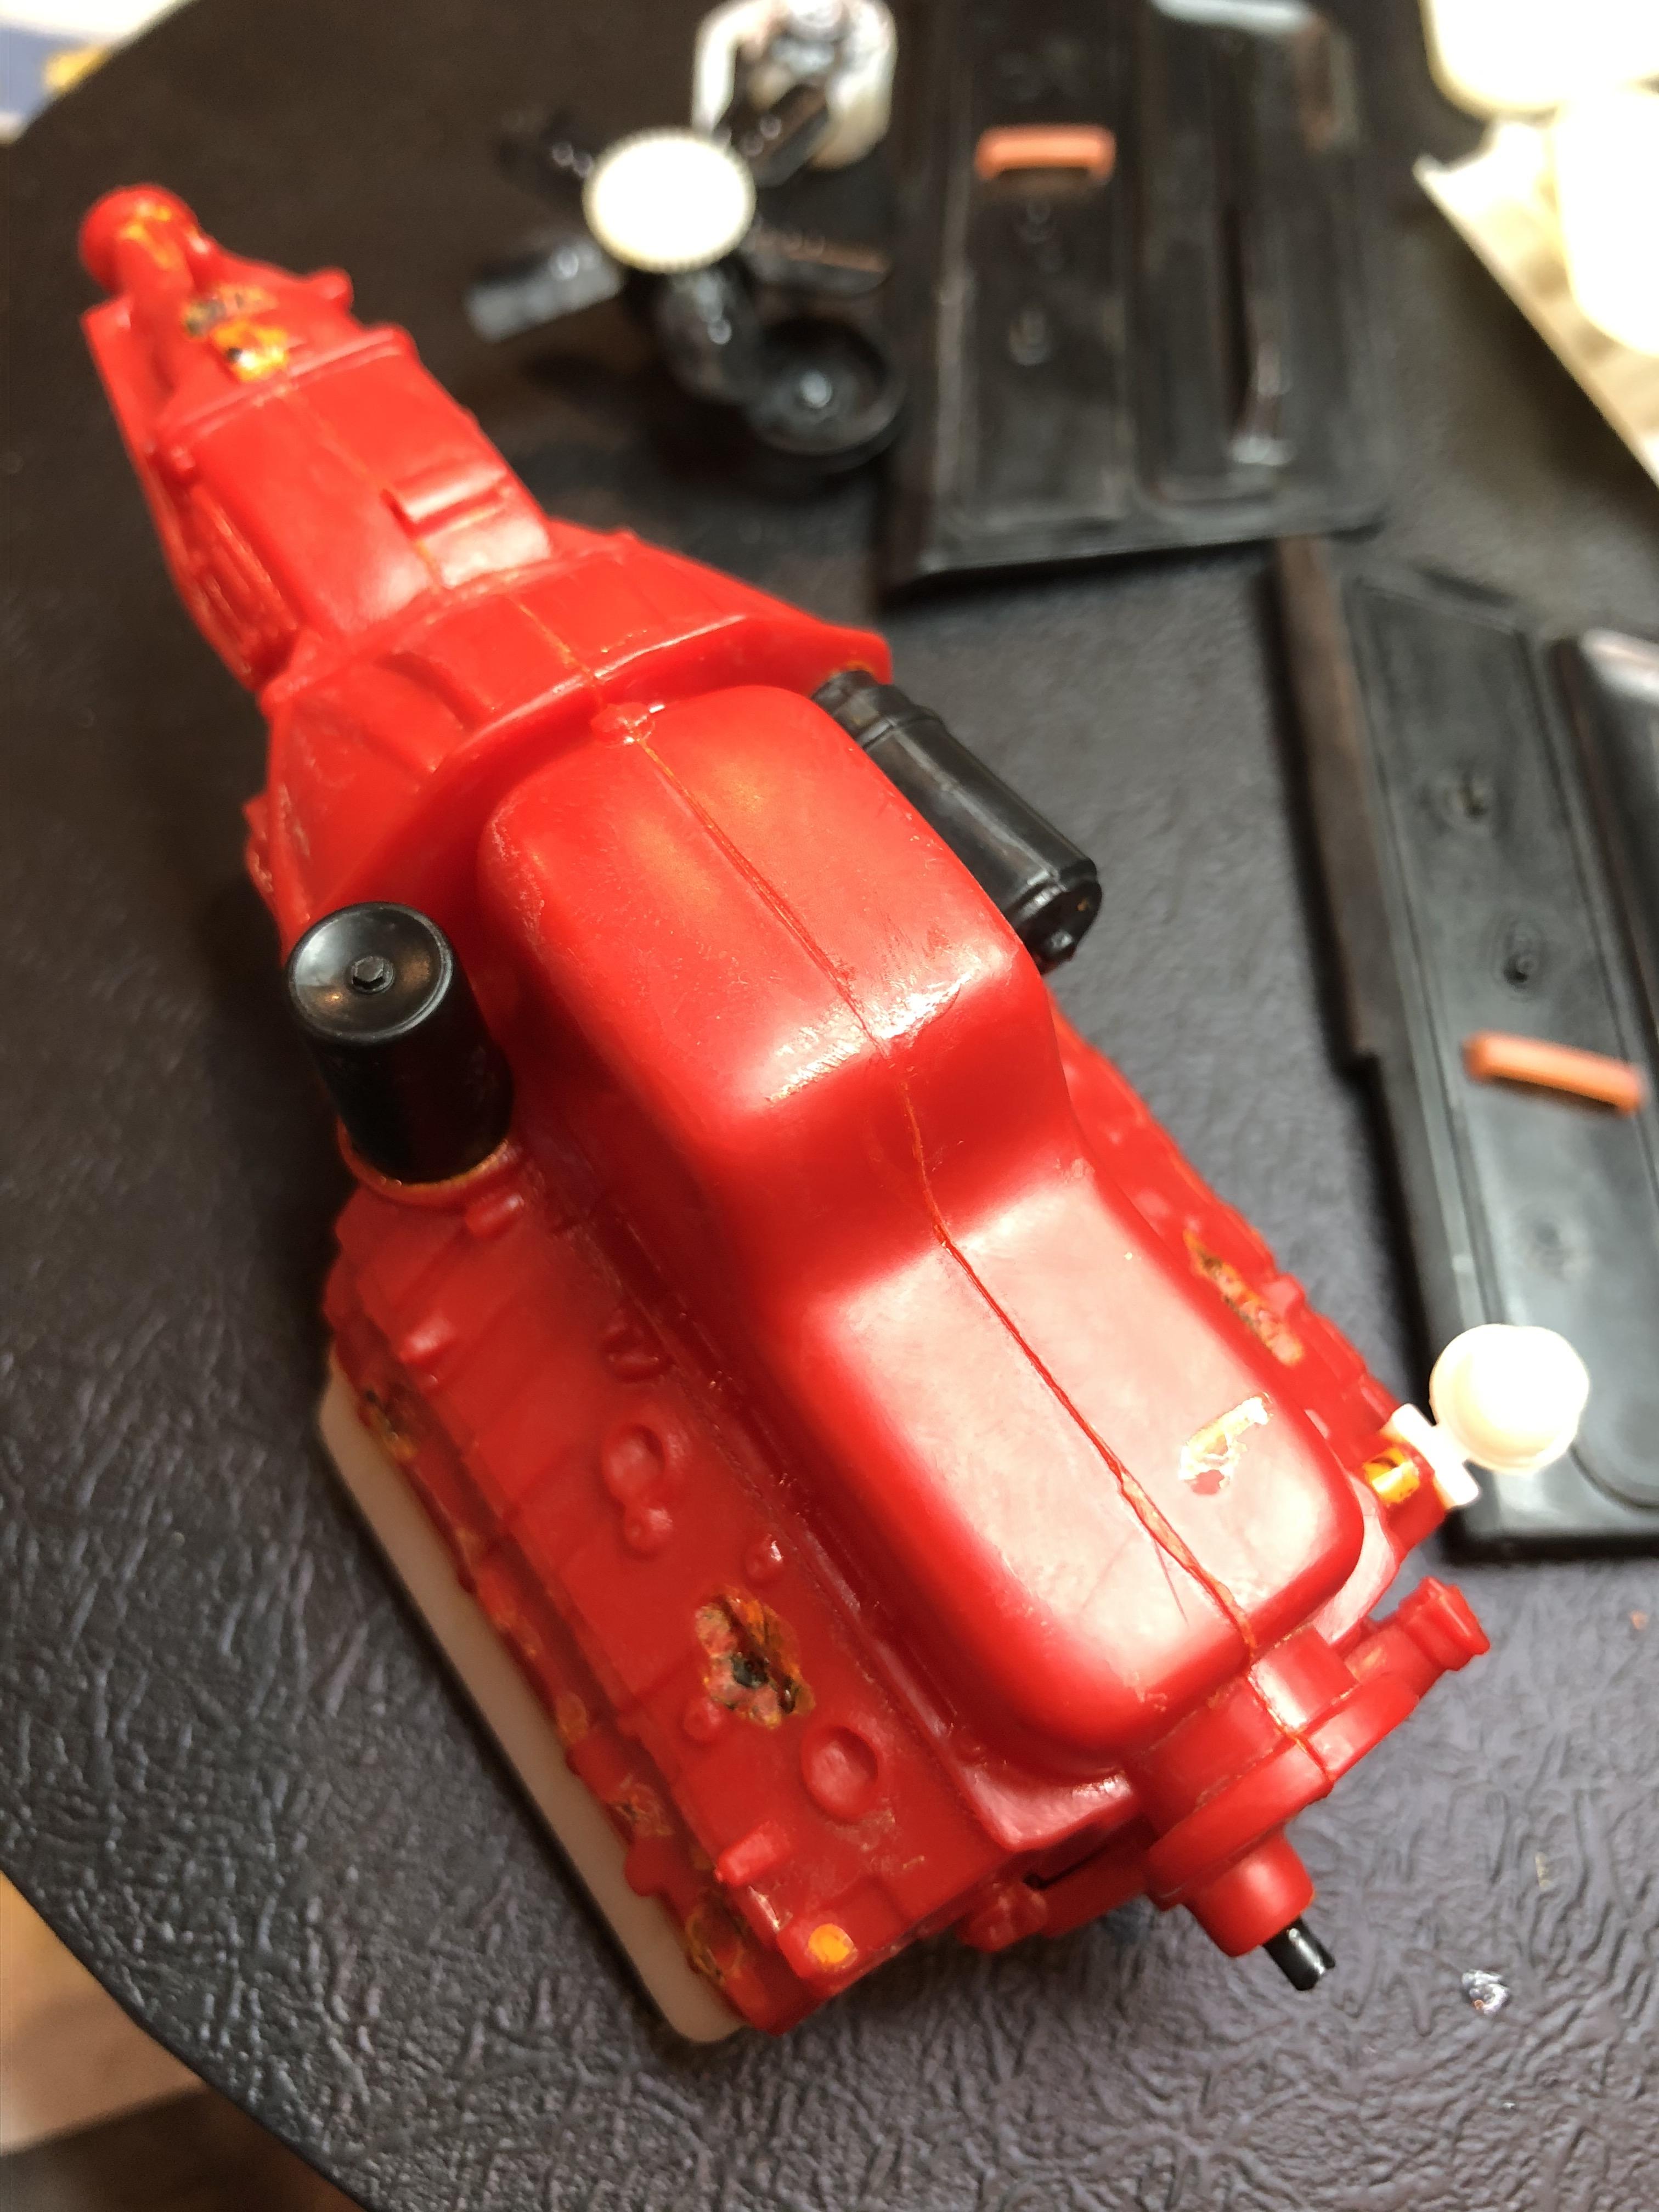
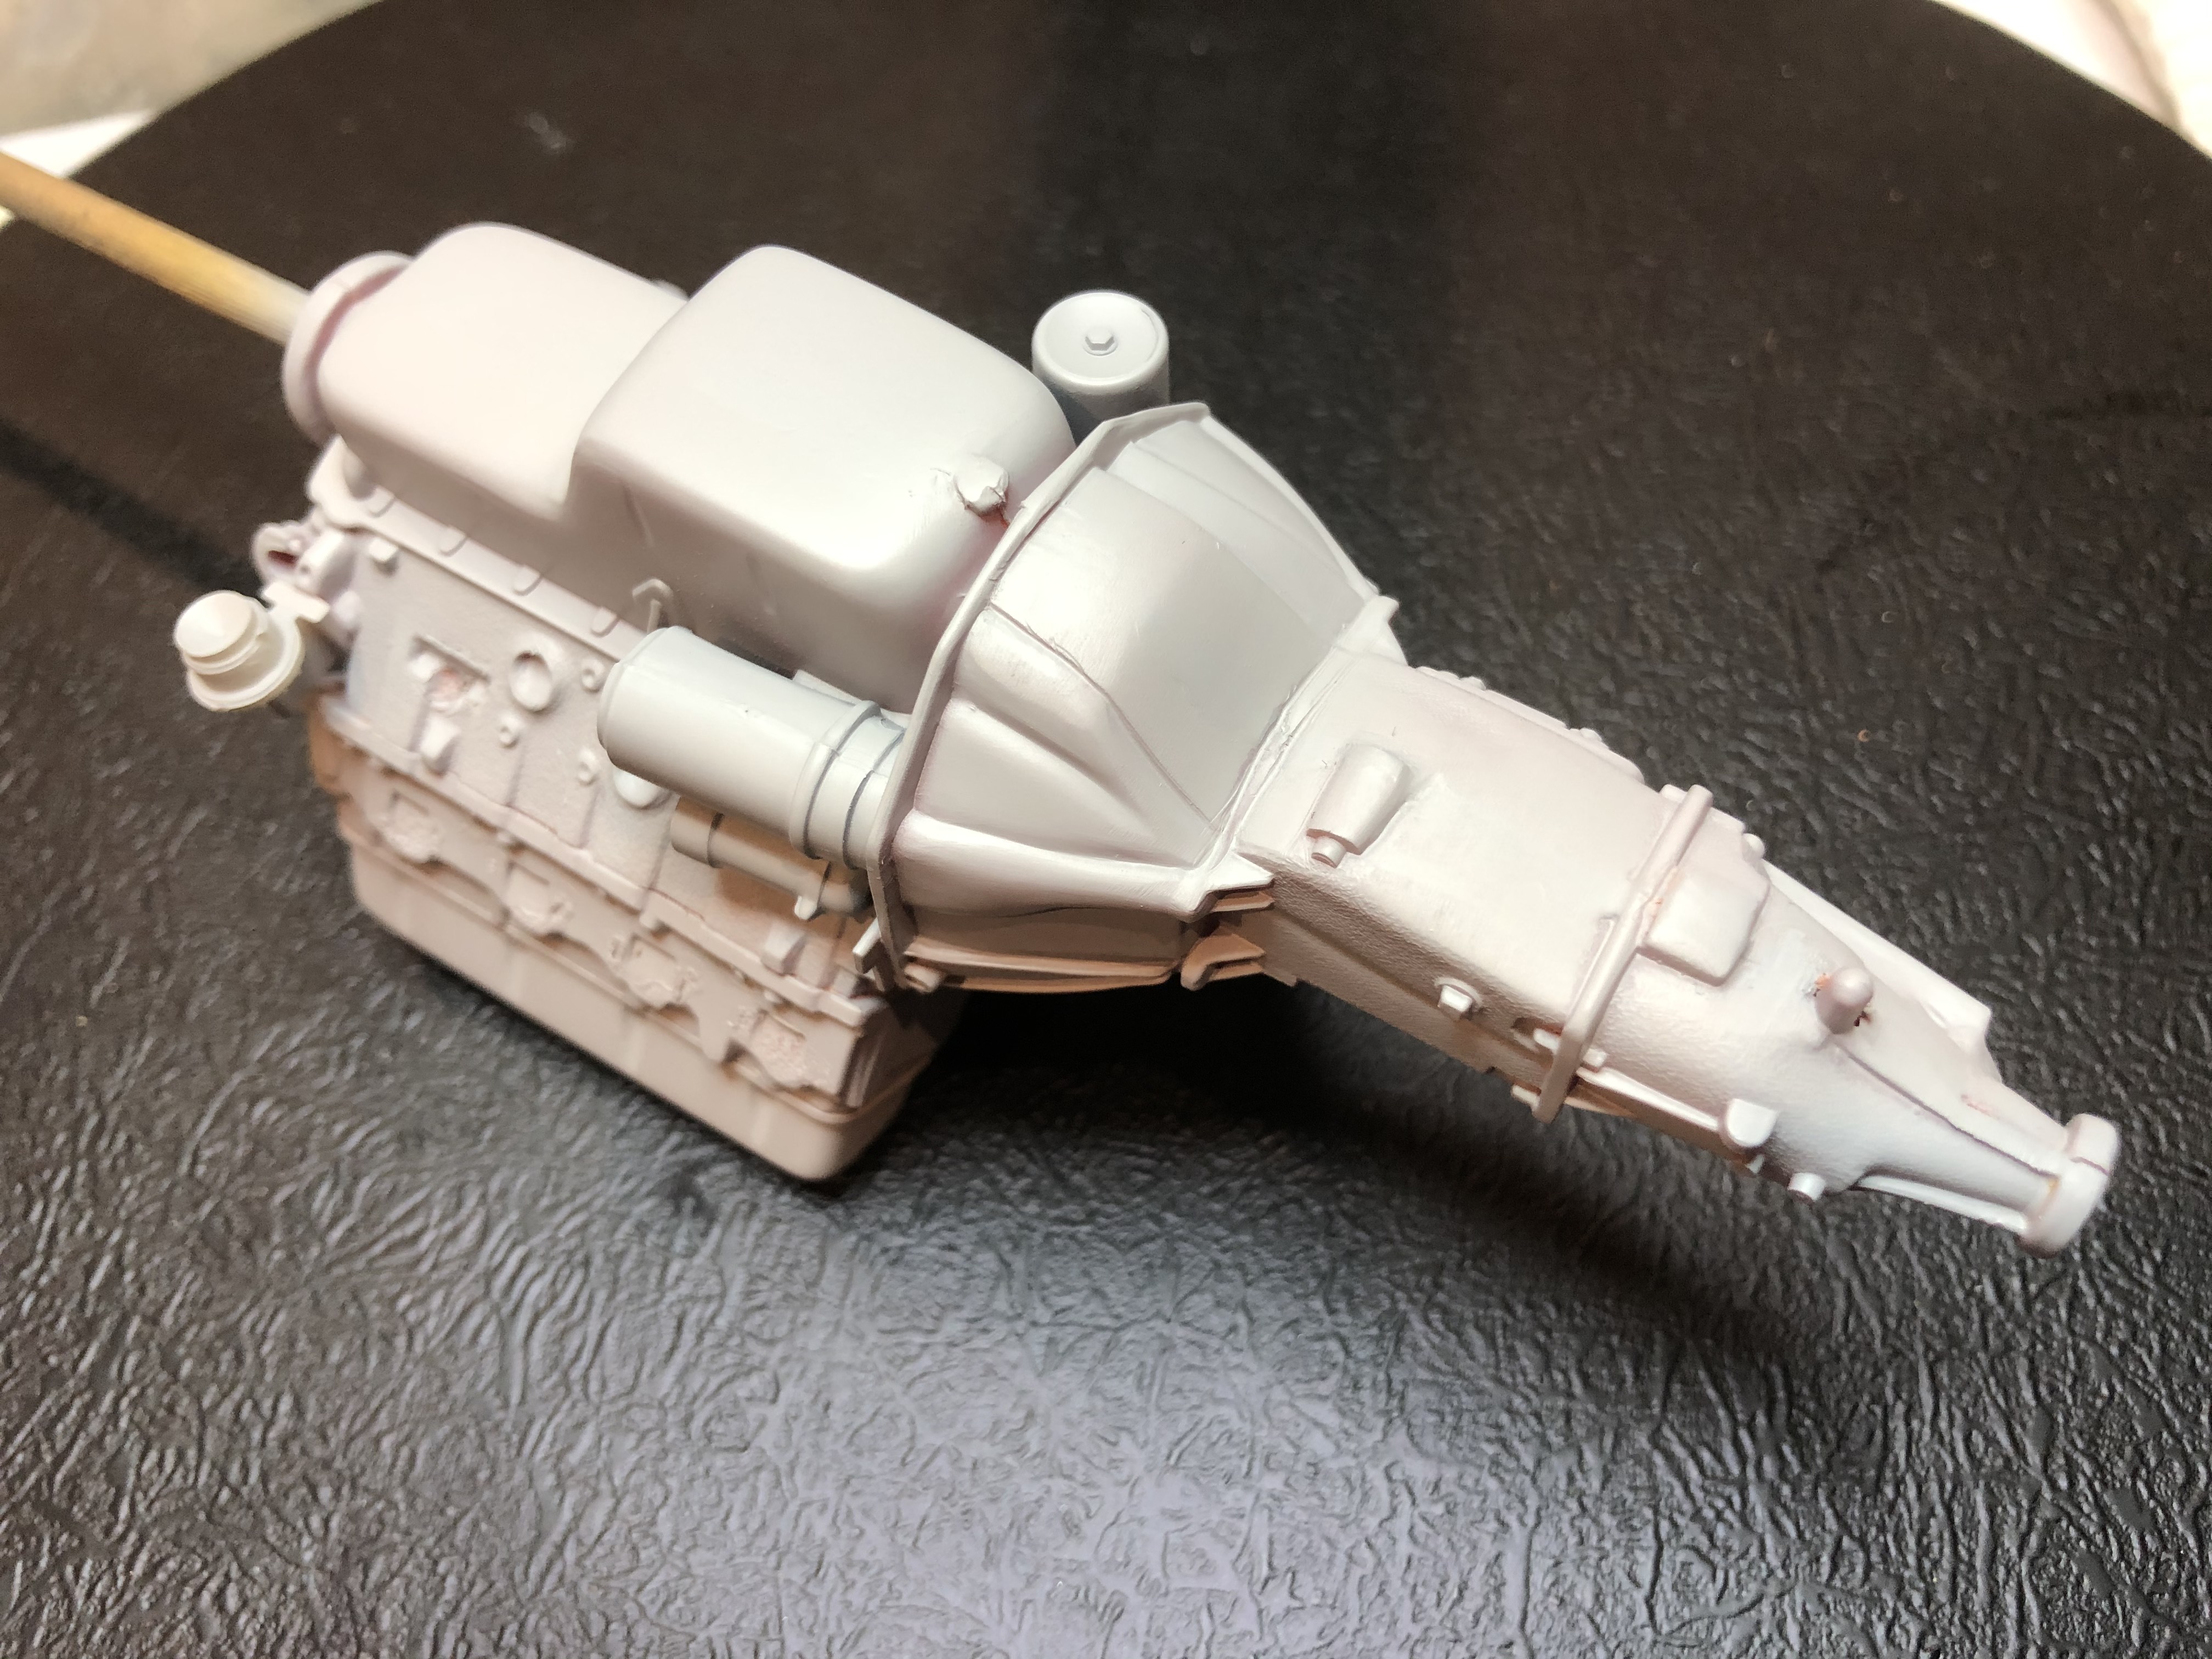
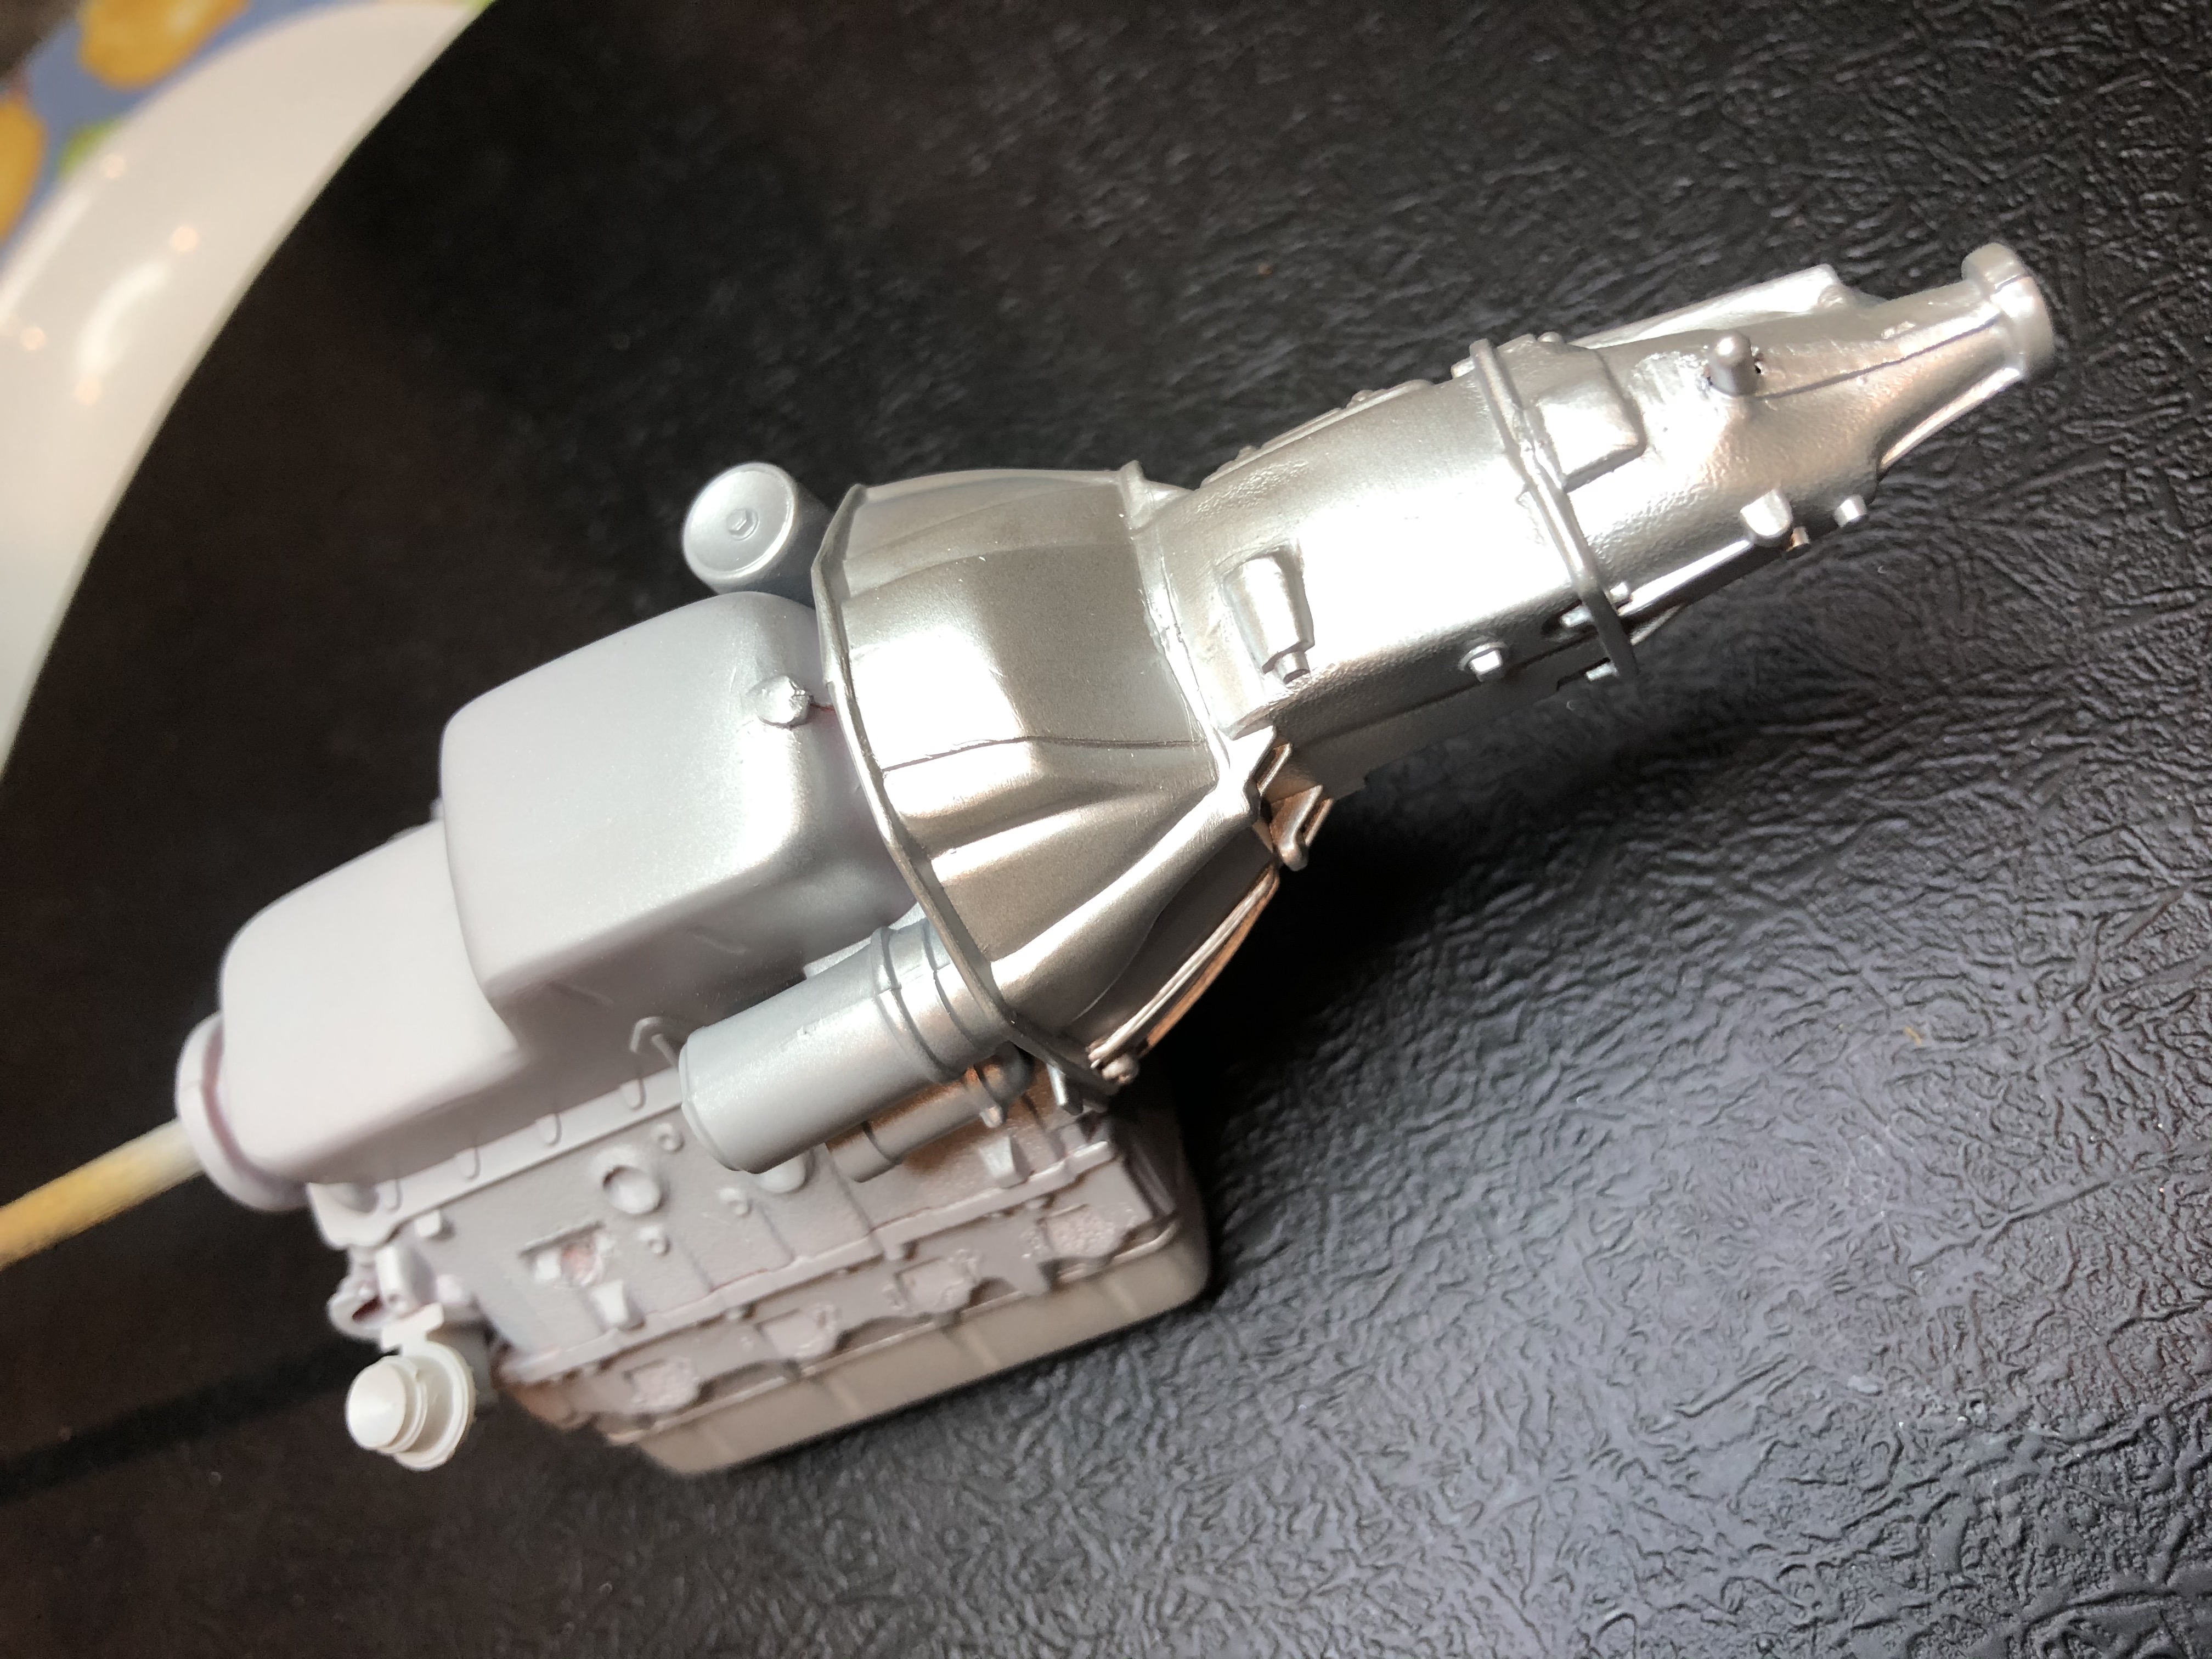
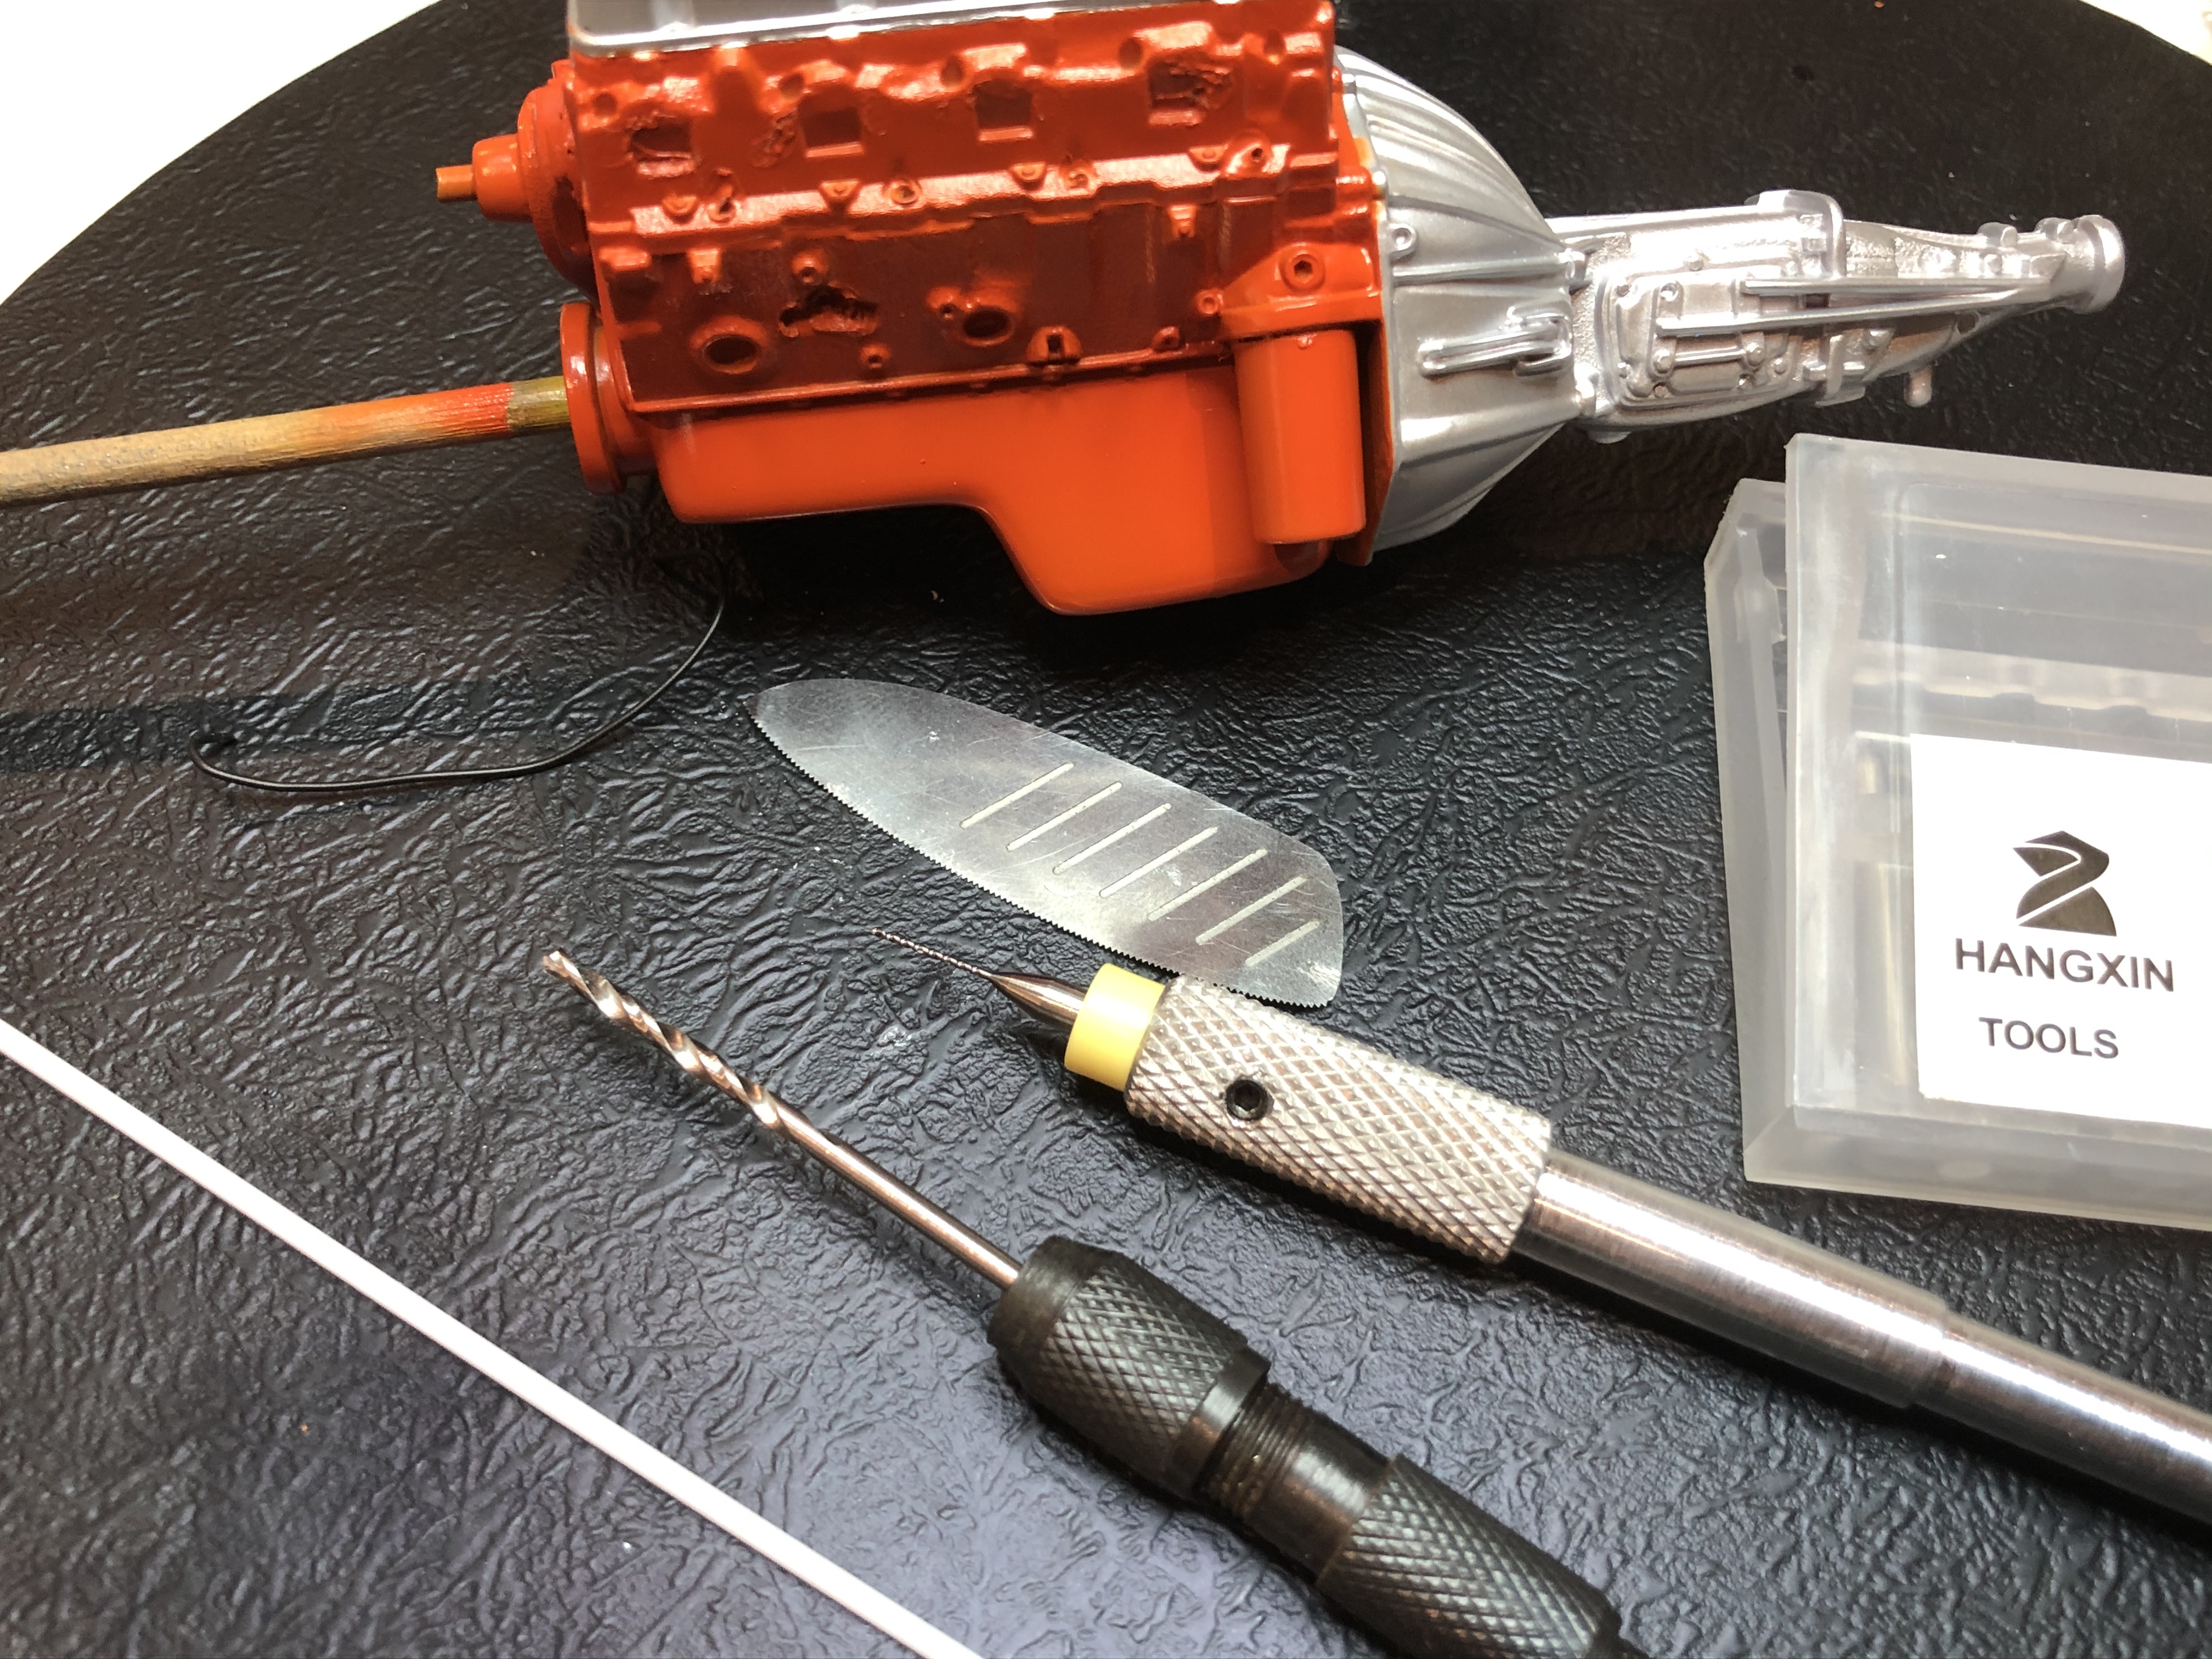
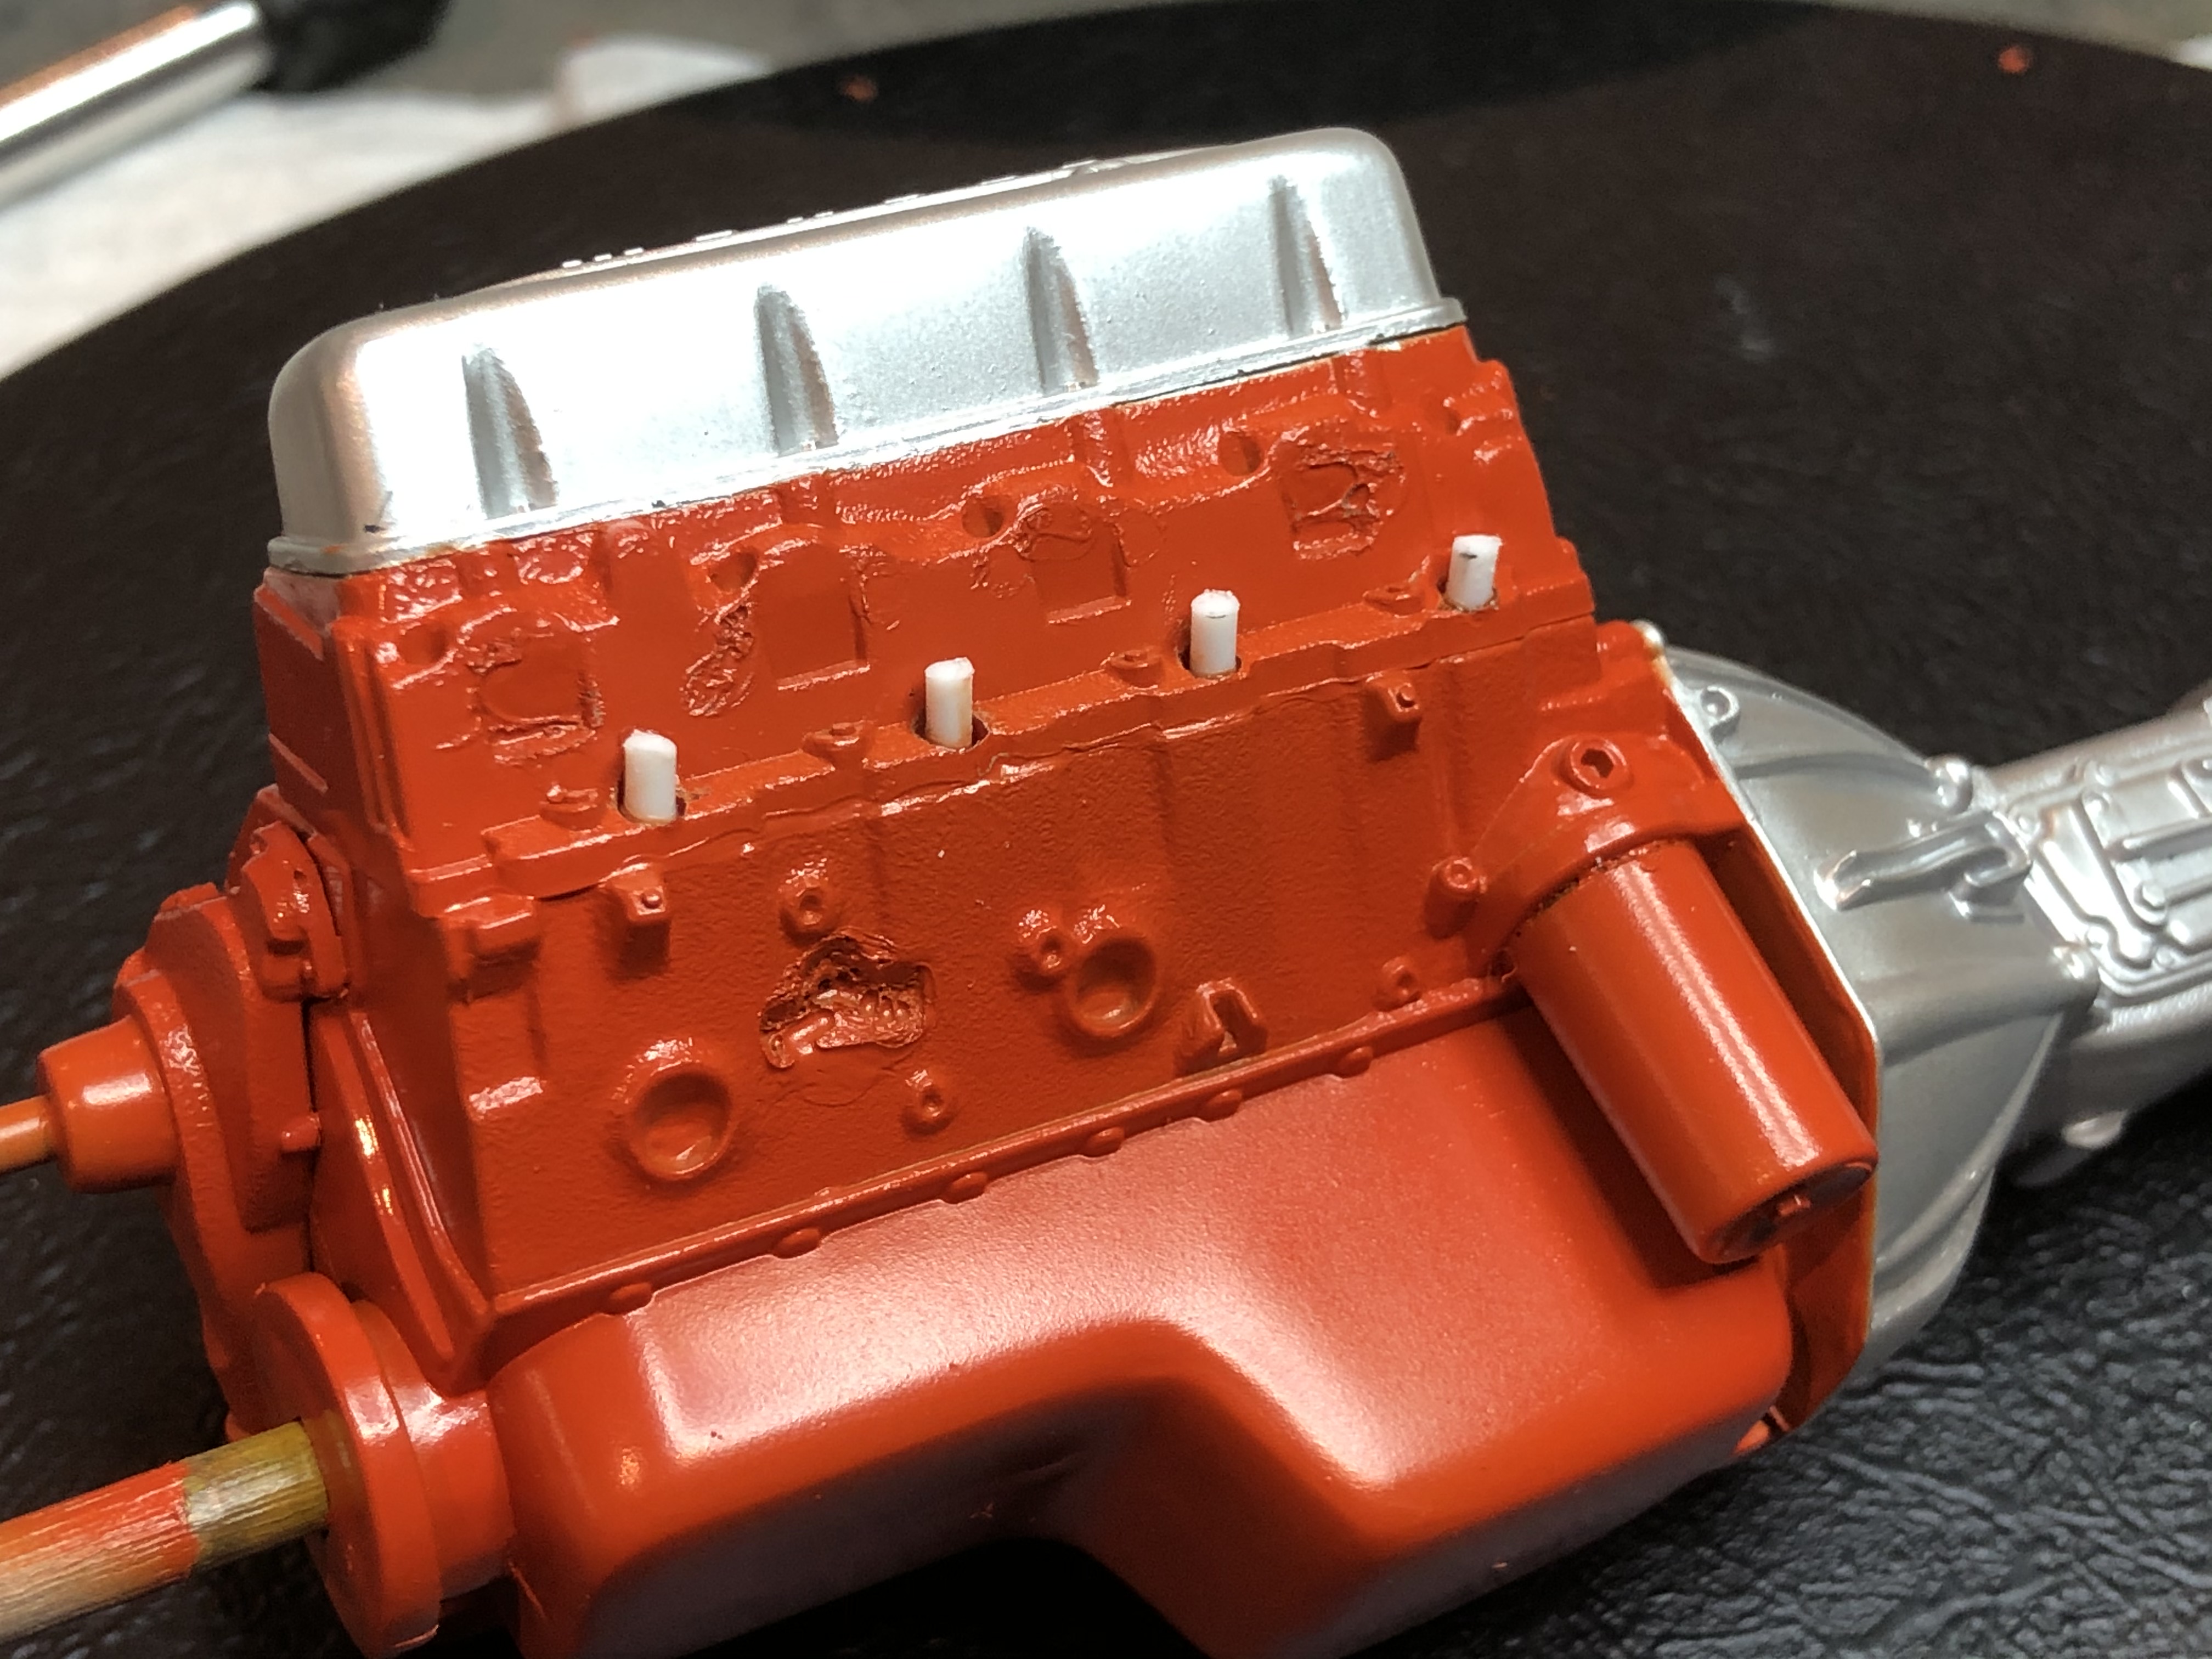
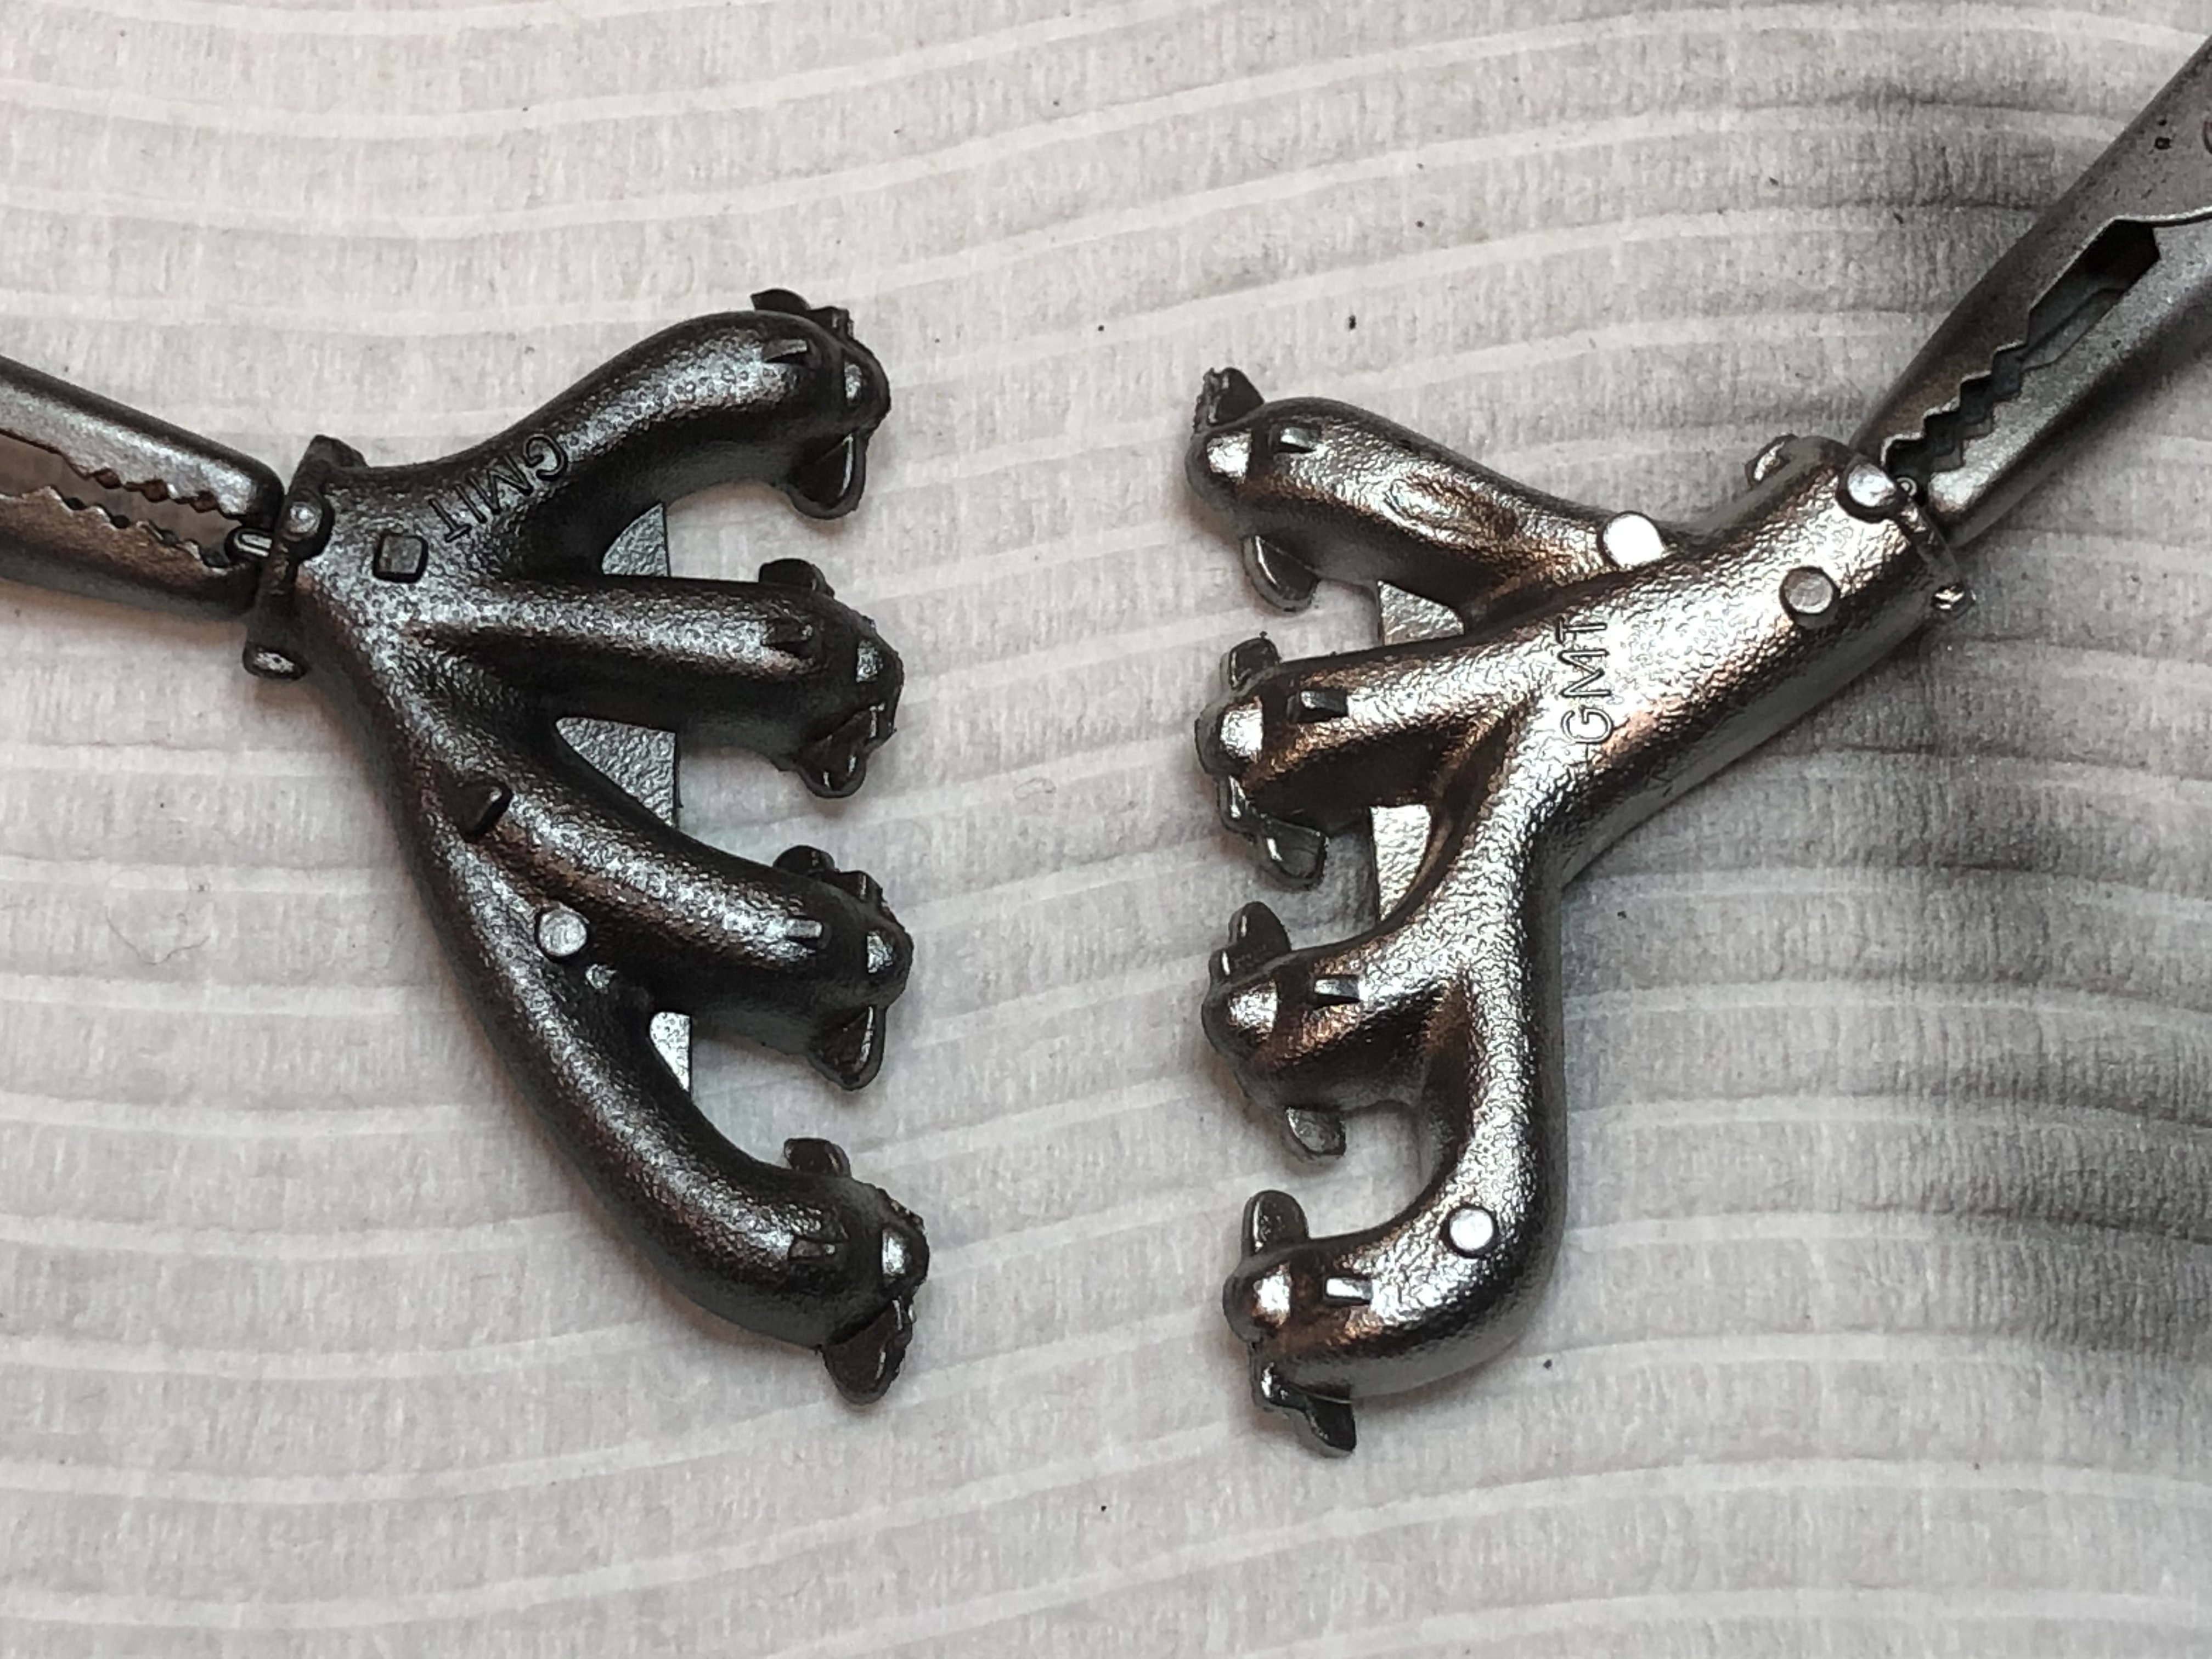
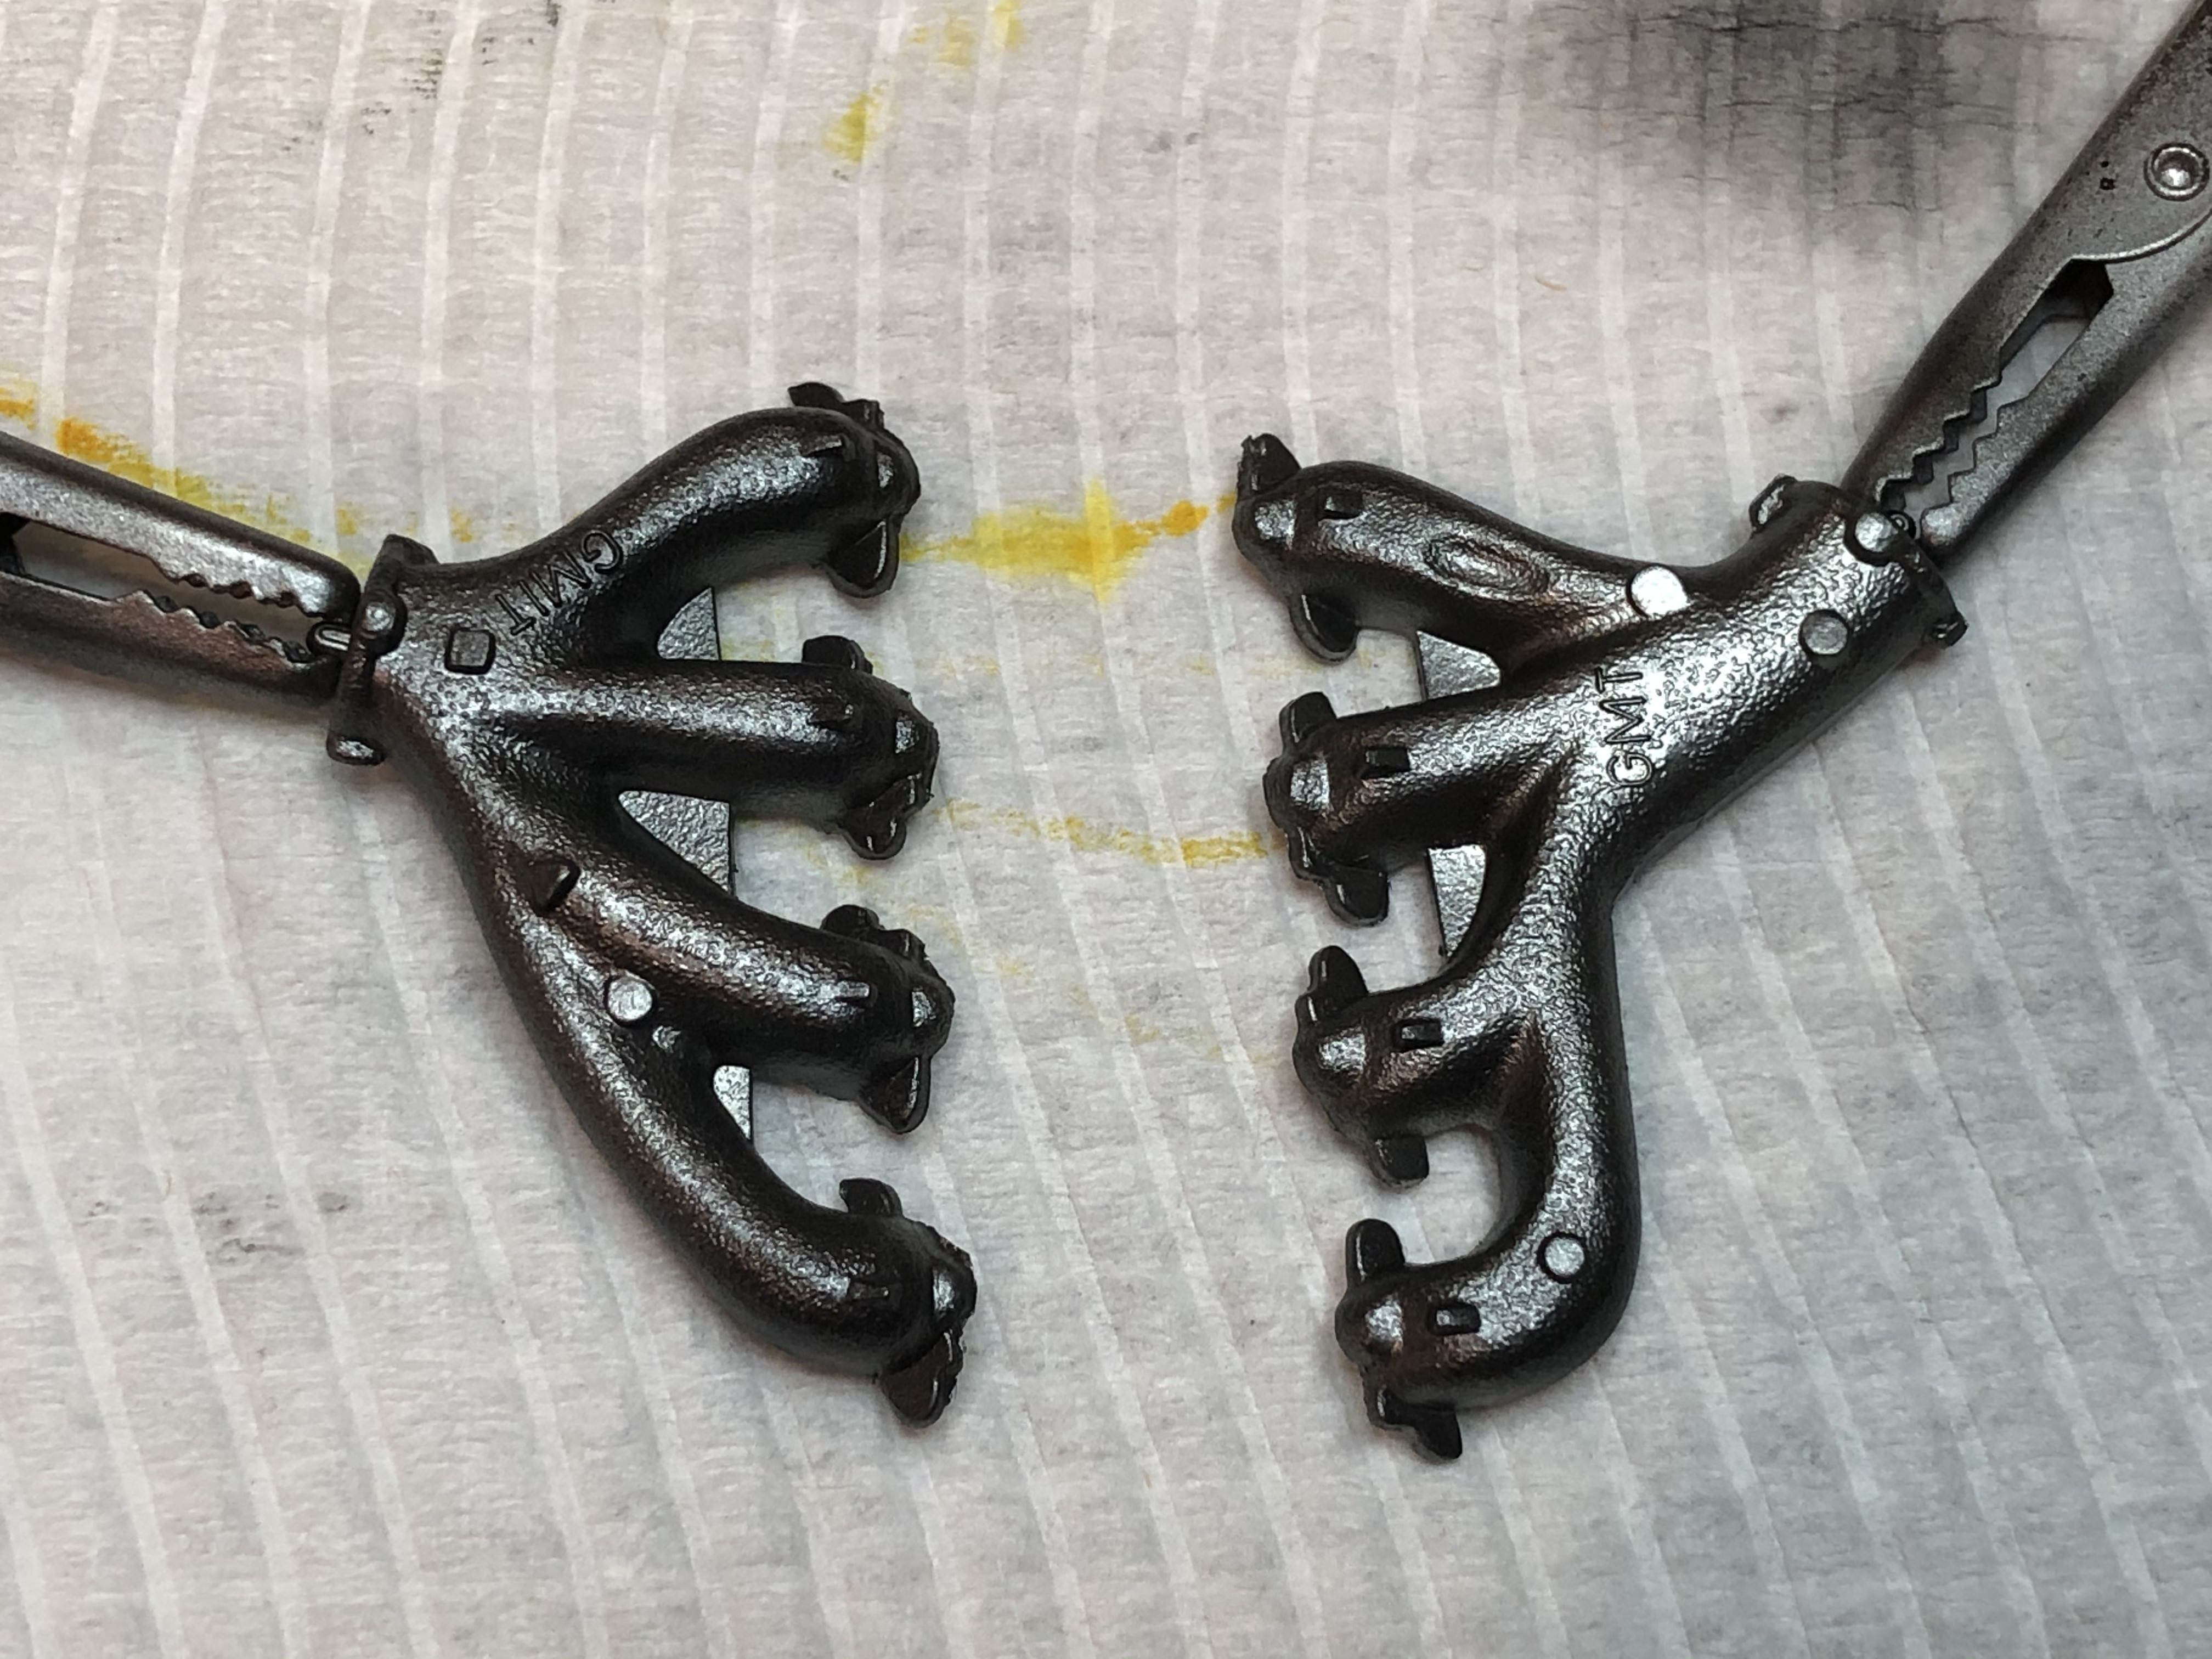
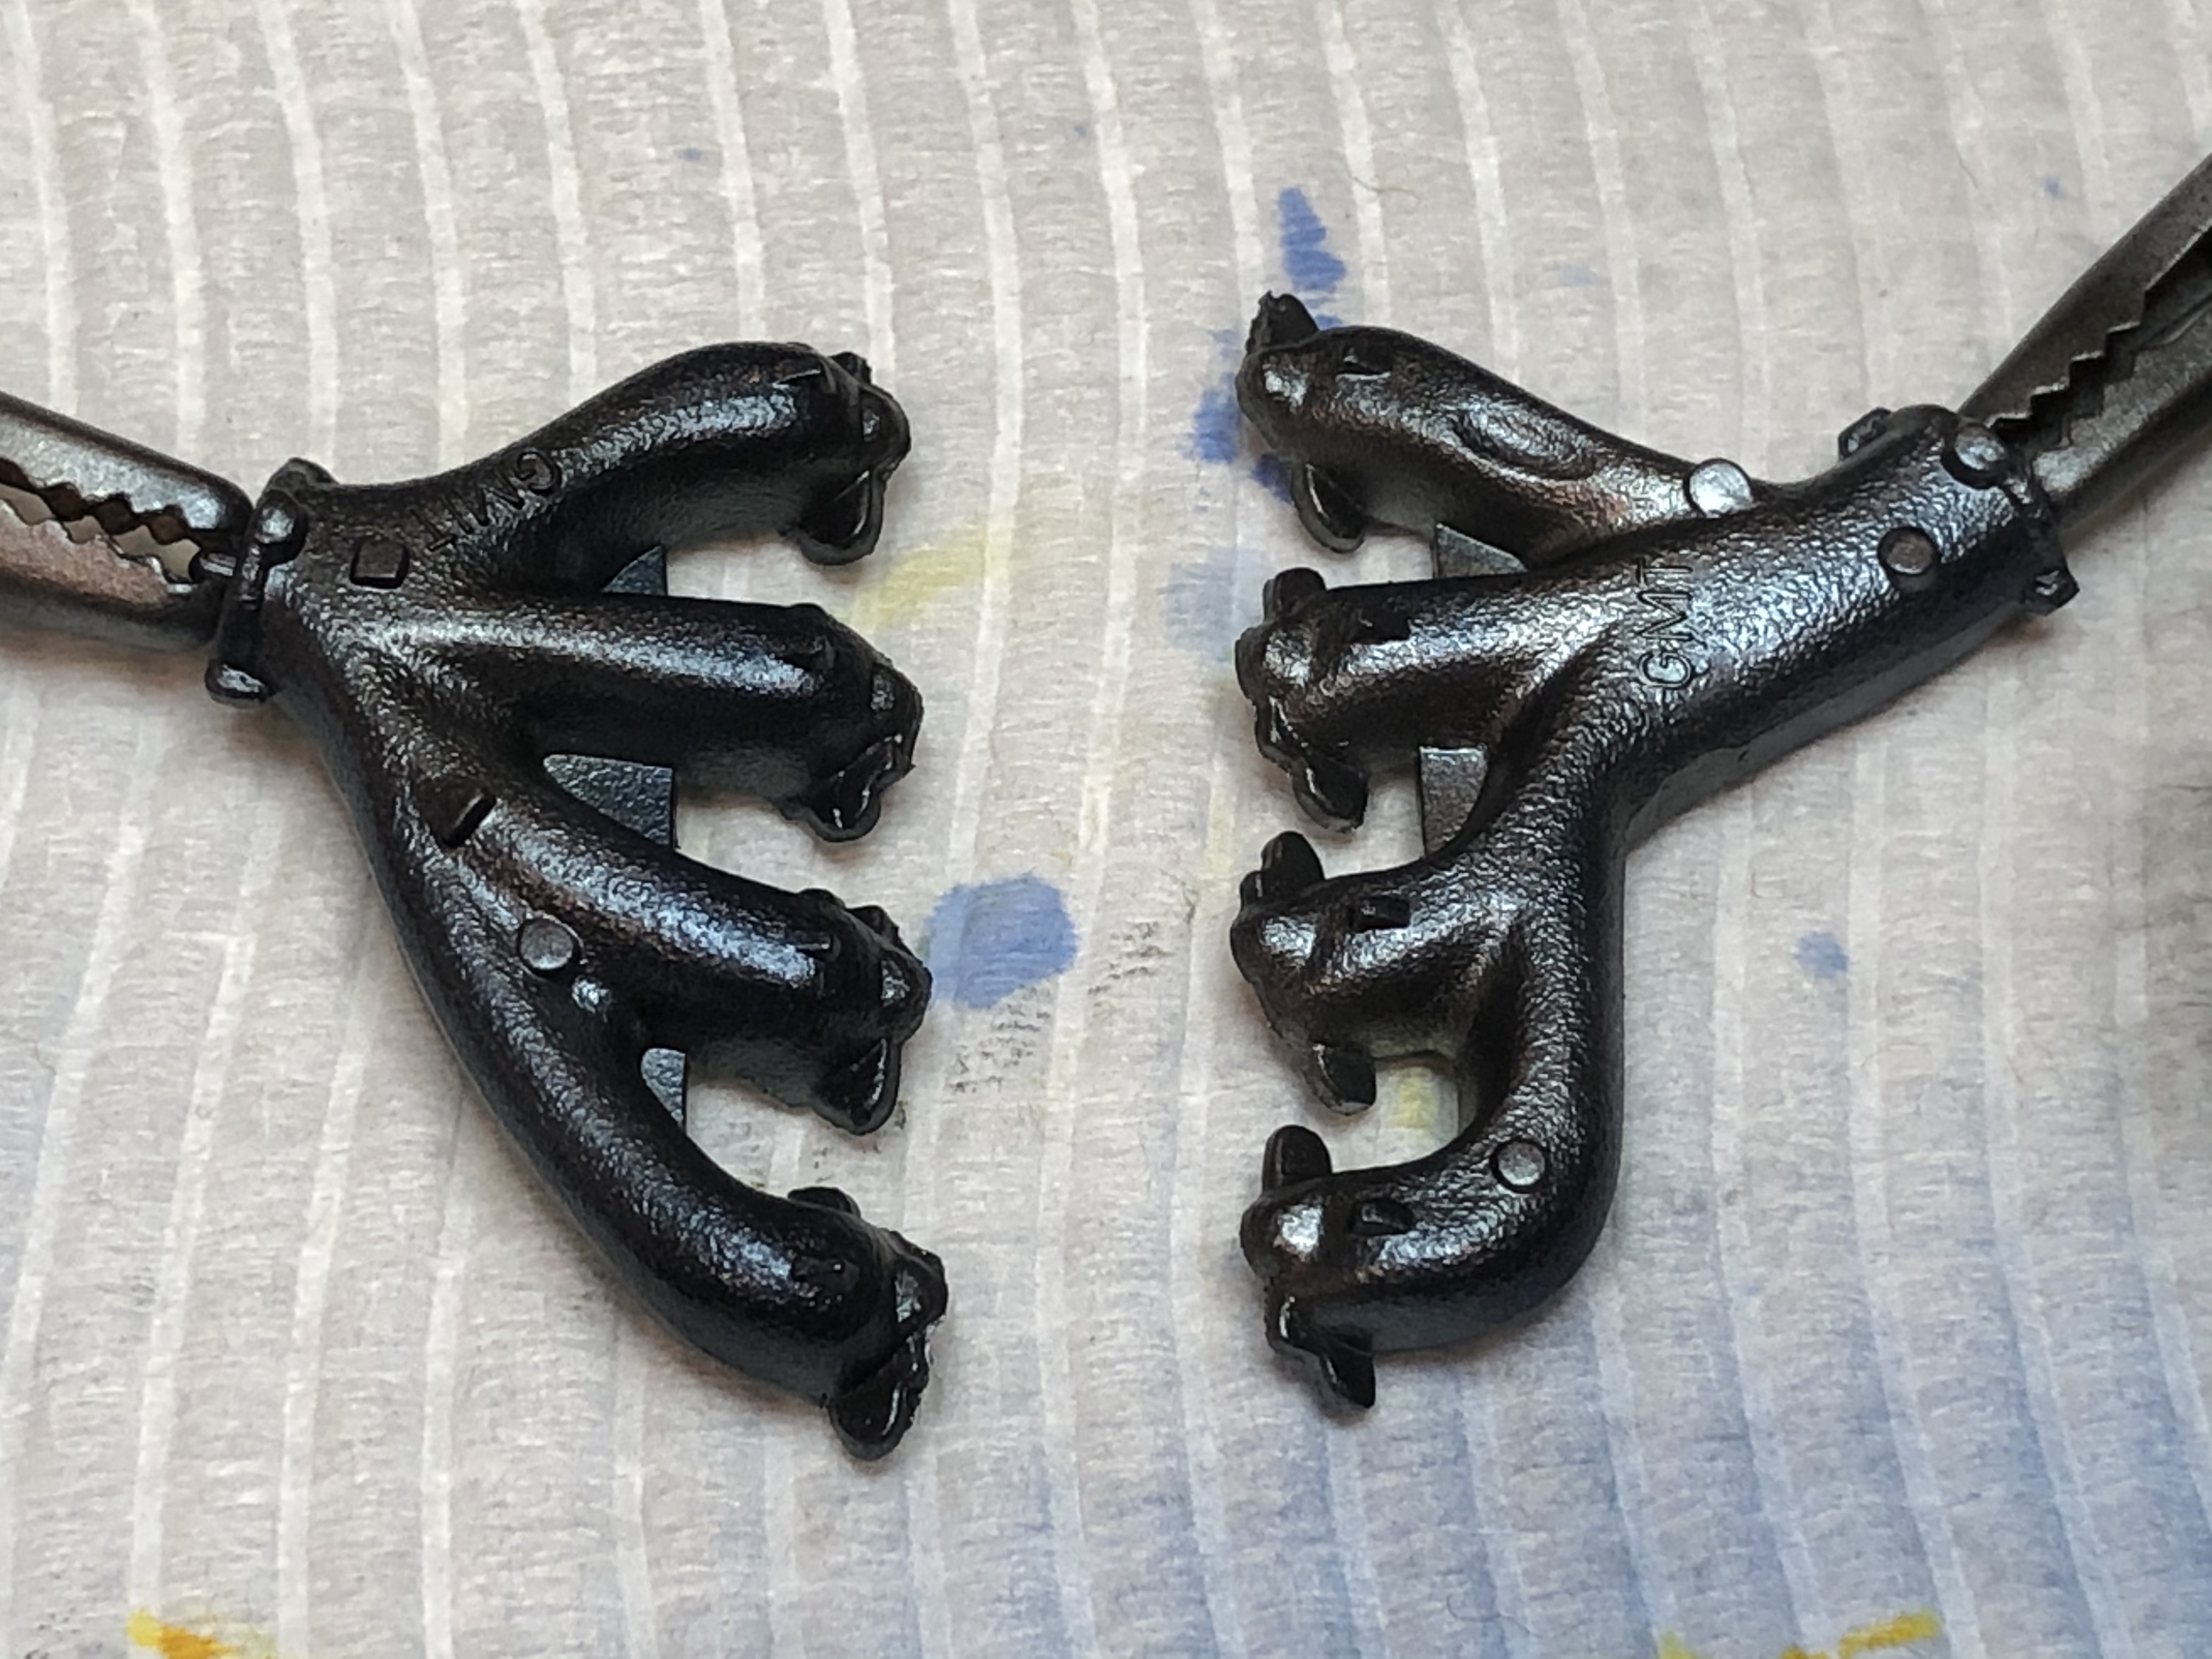
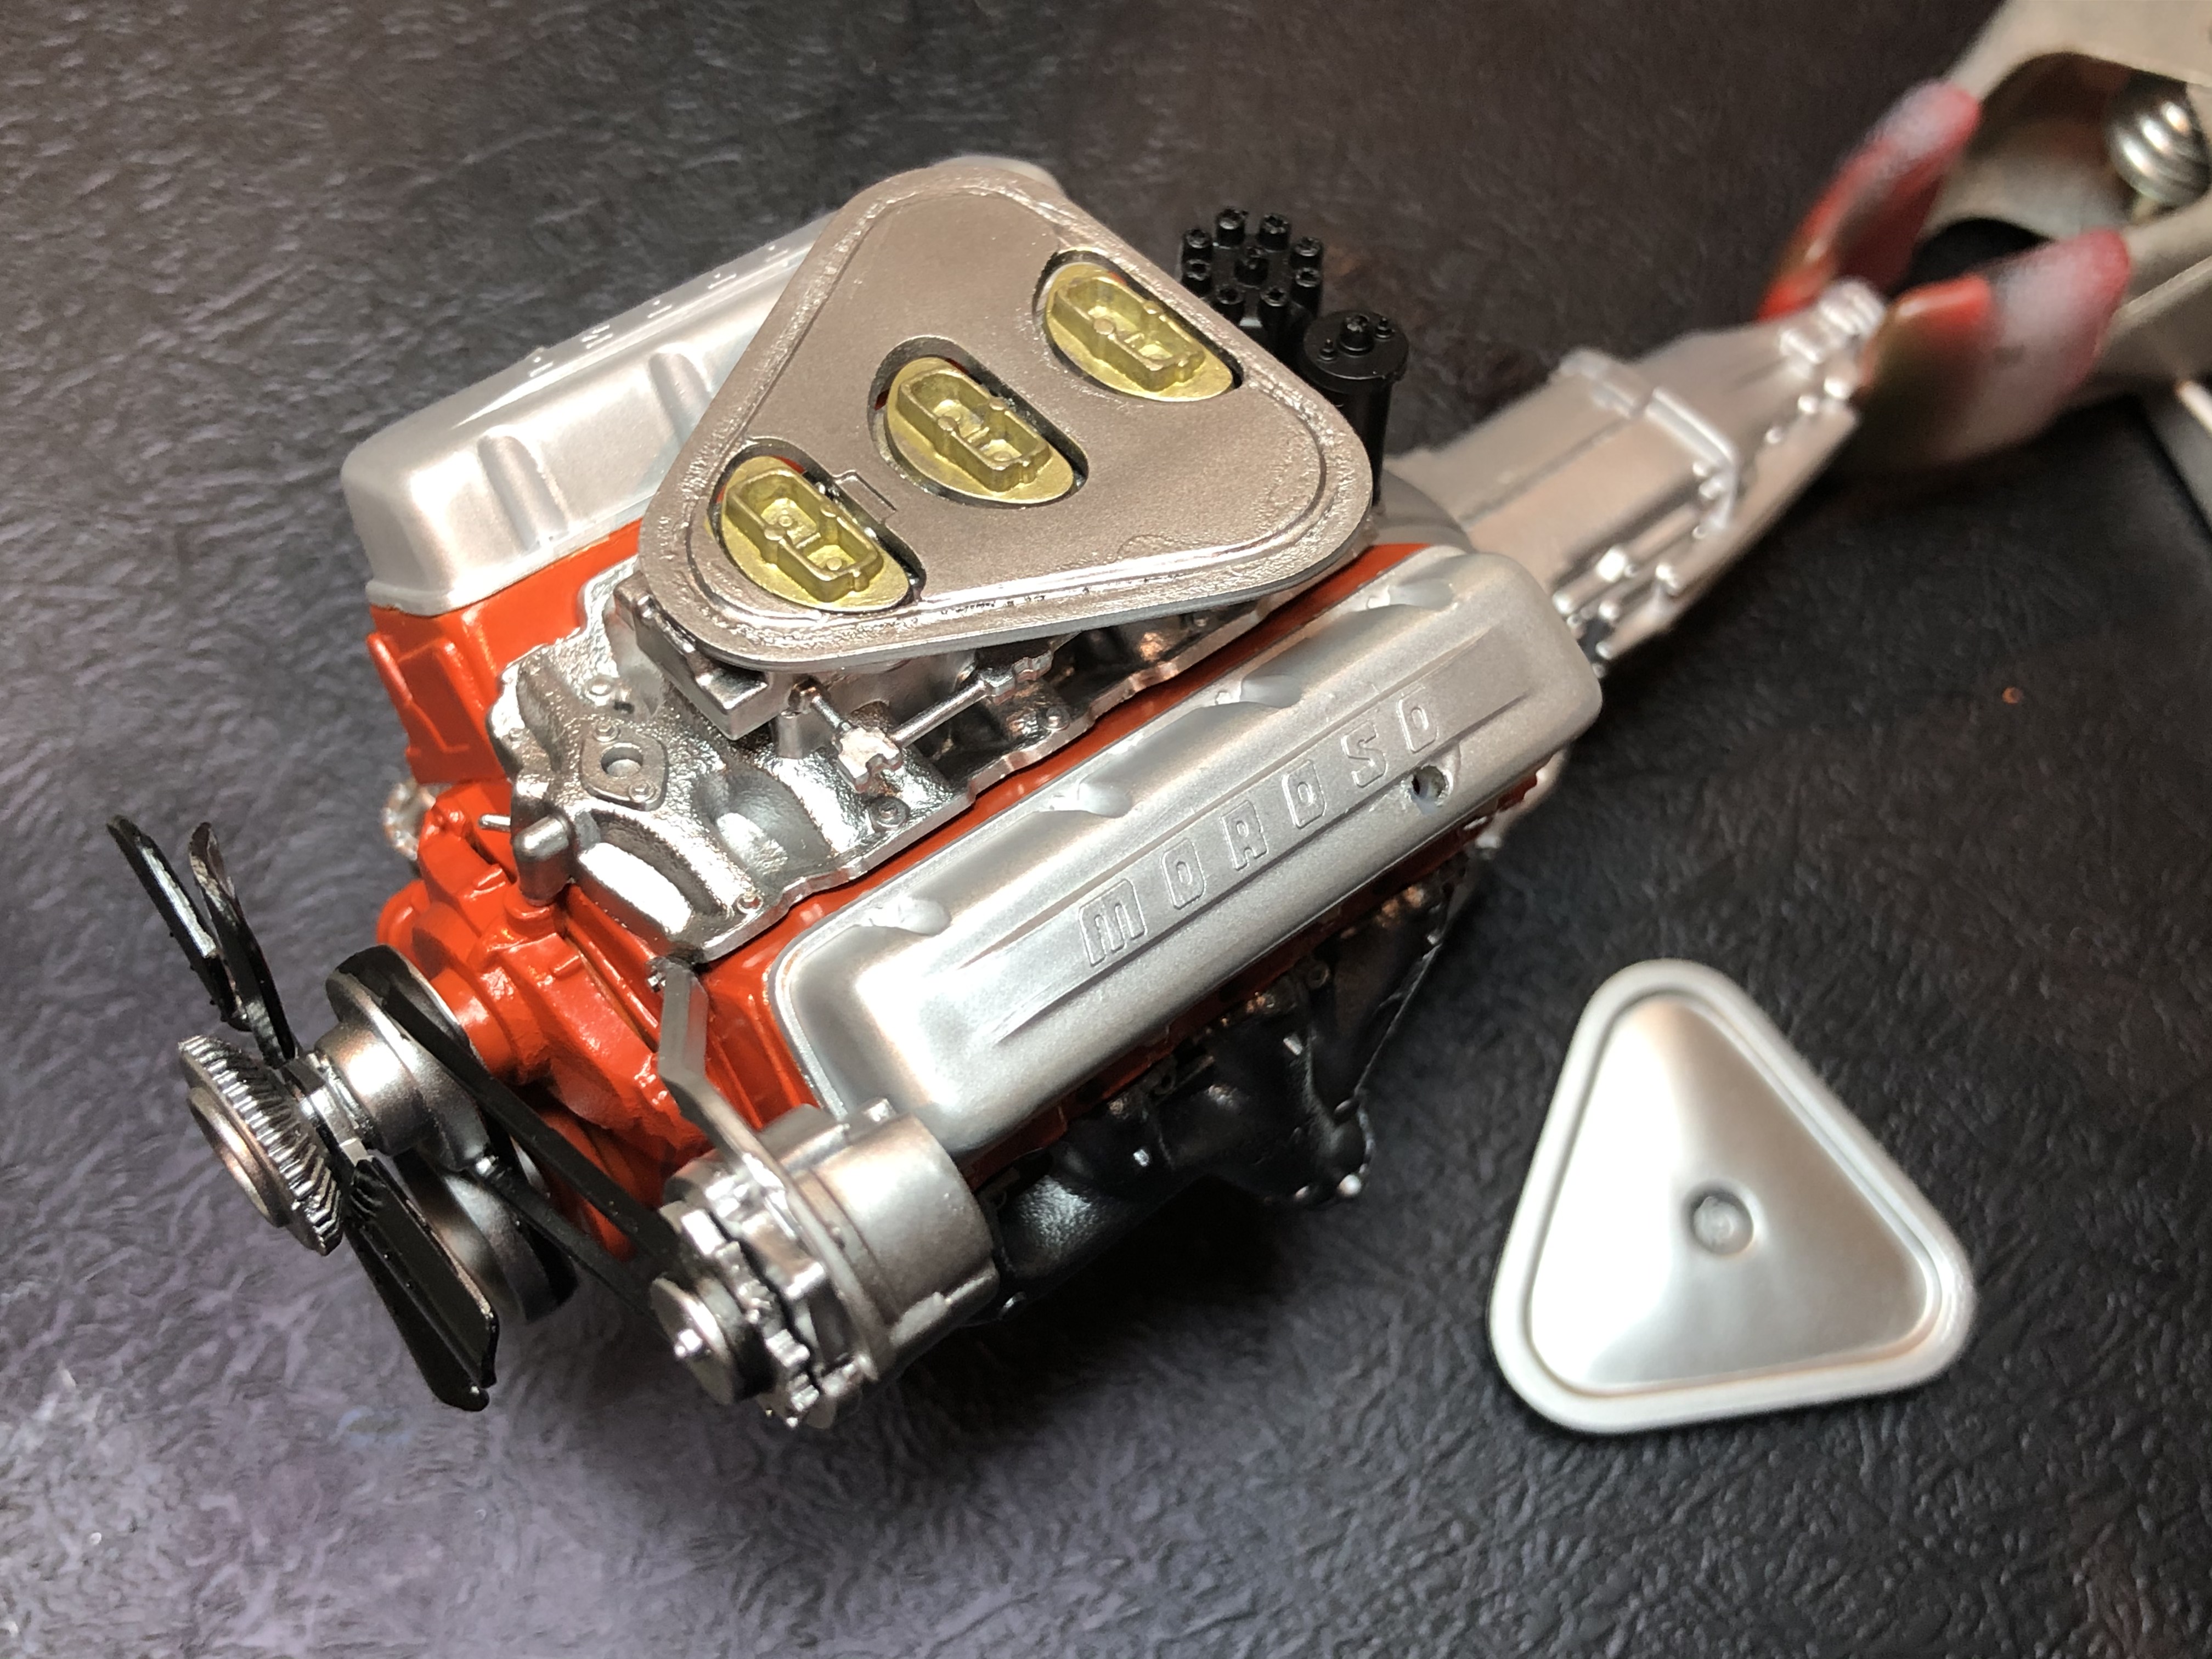
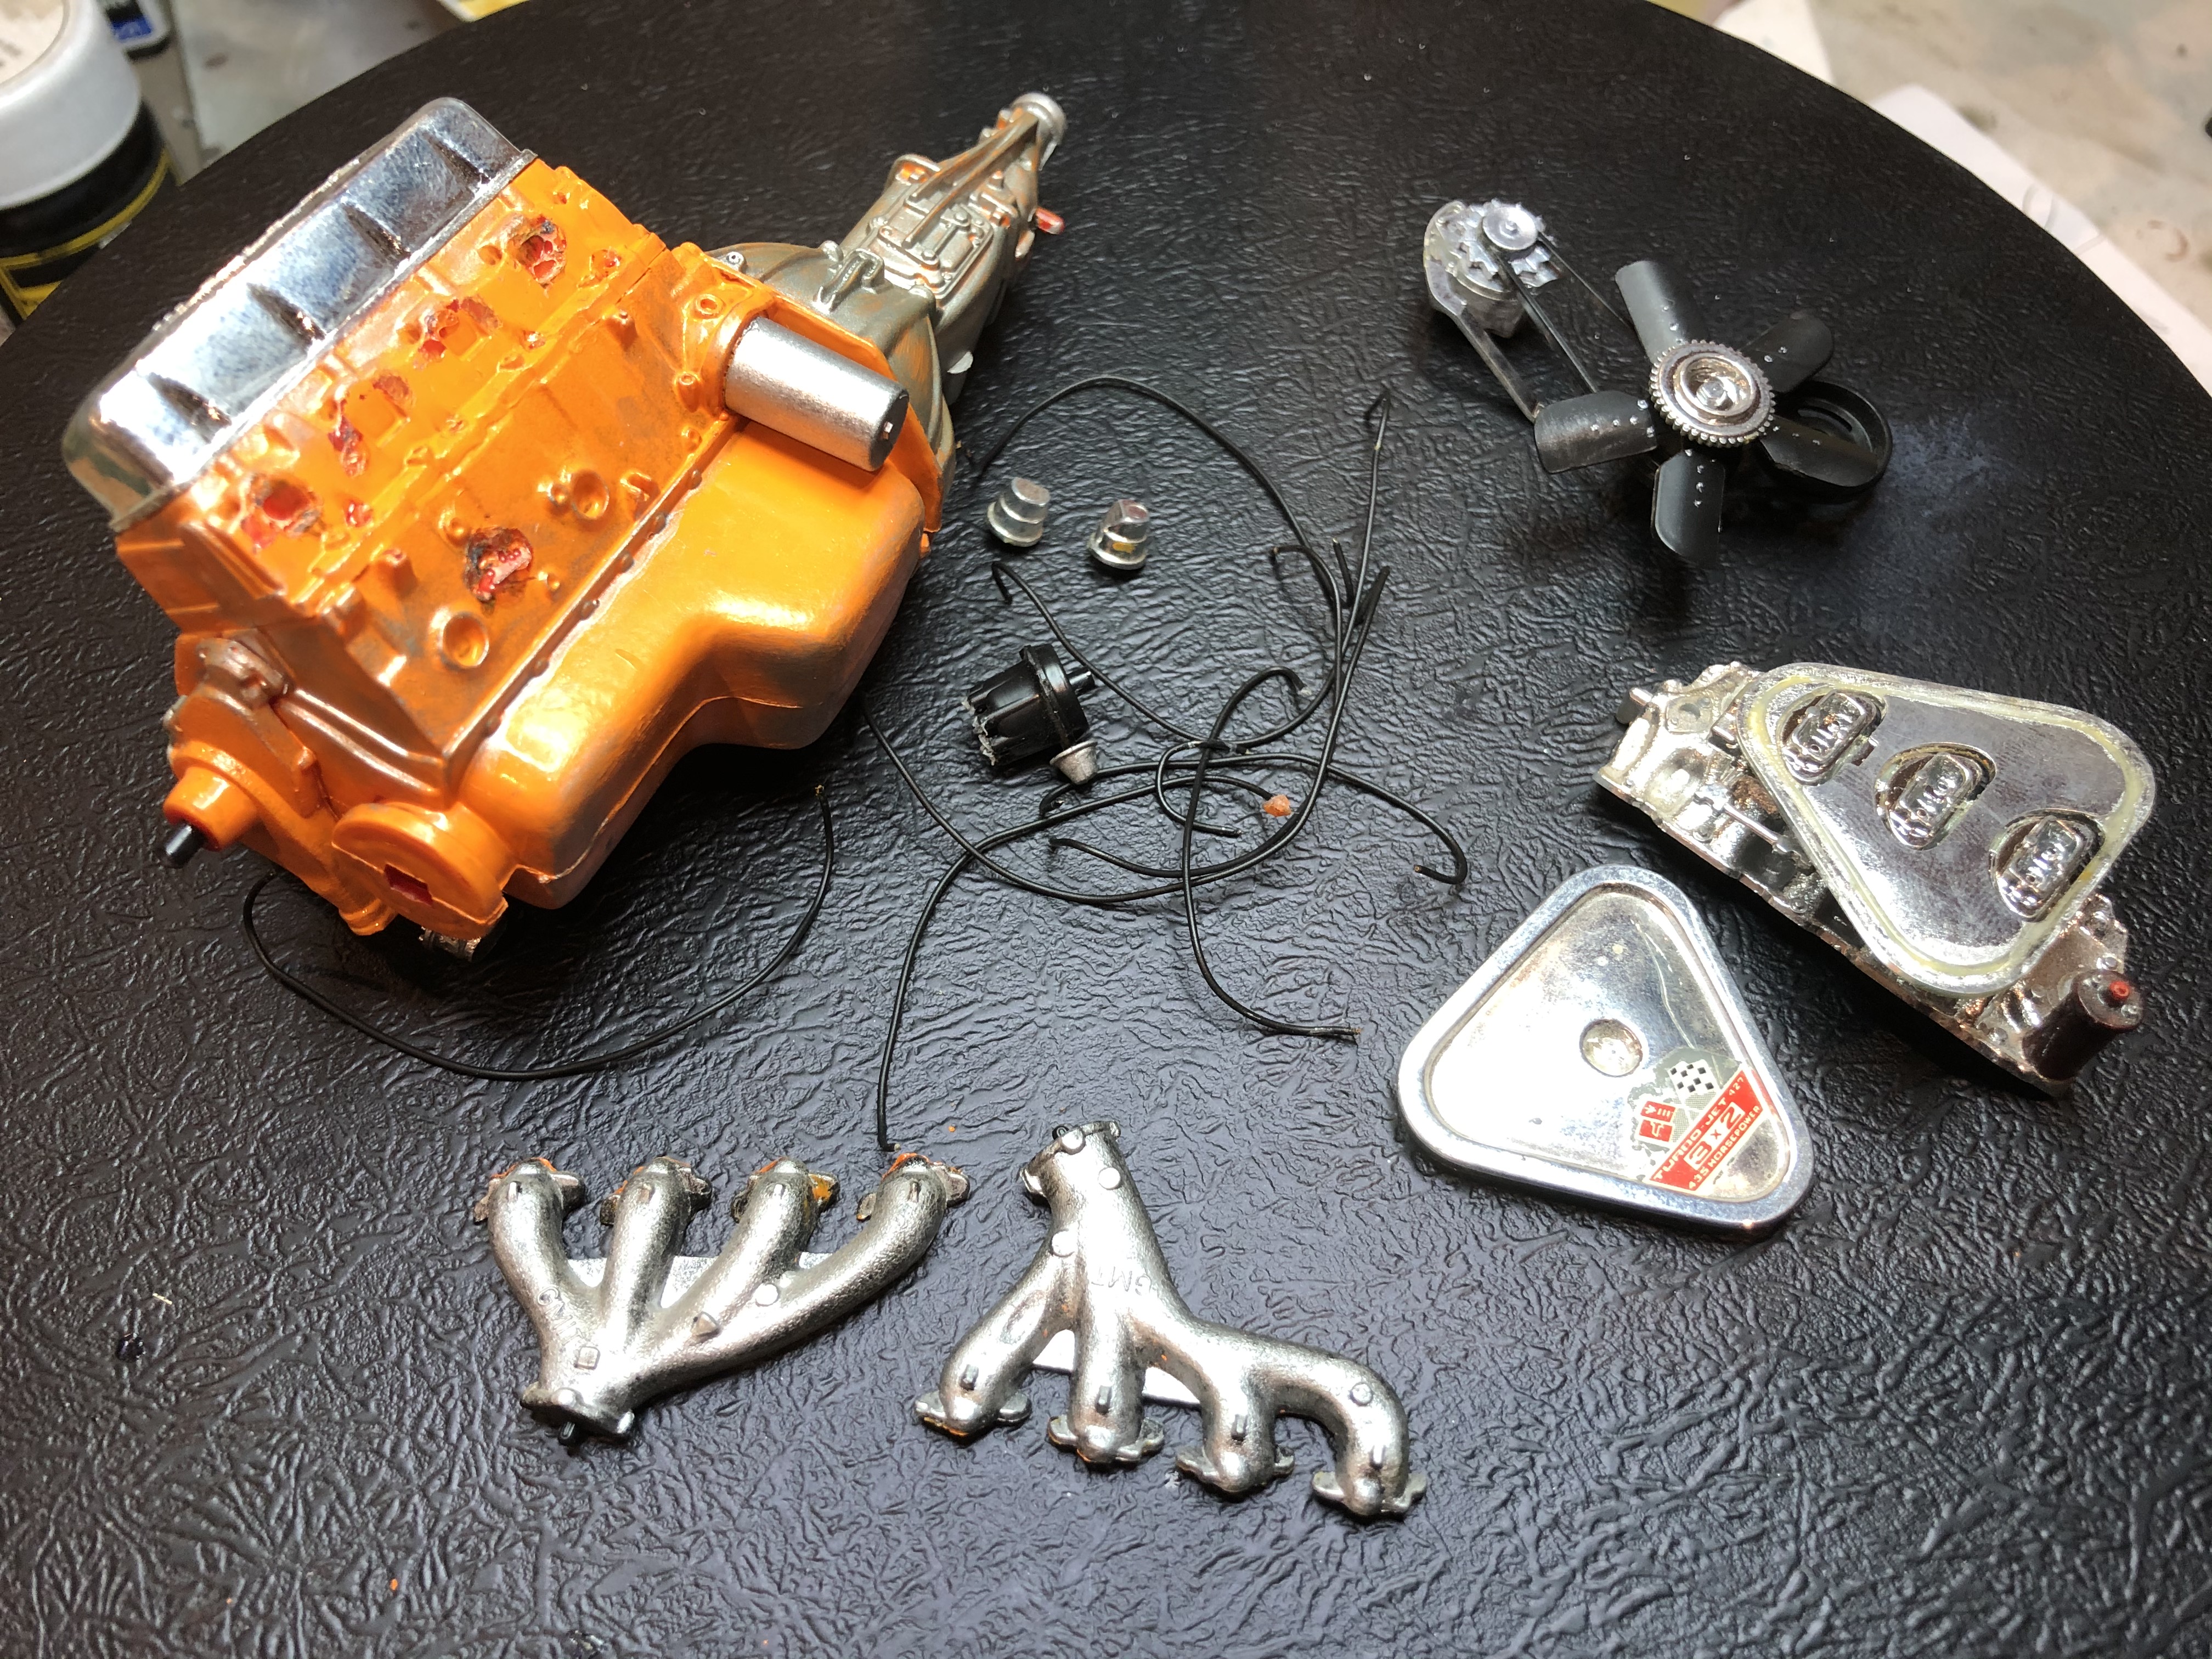
After a few minutes with a razor saw and Xacto -


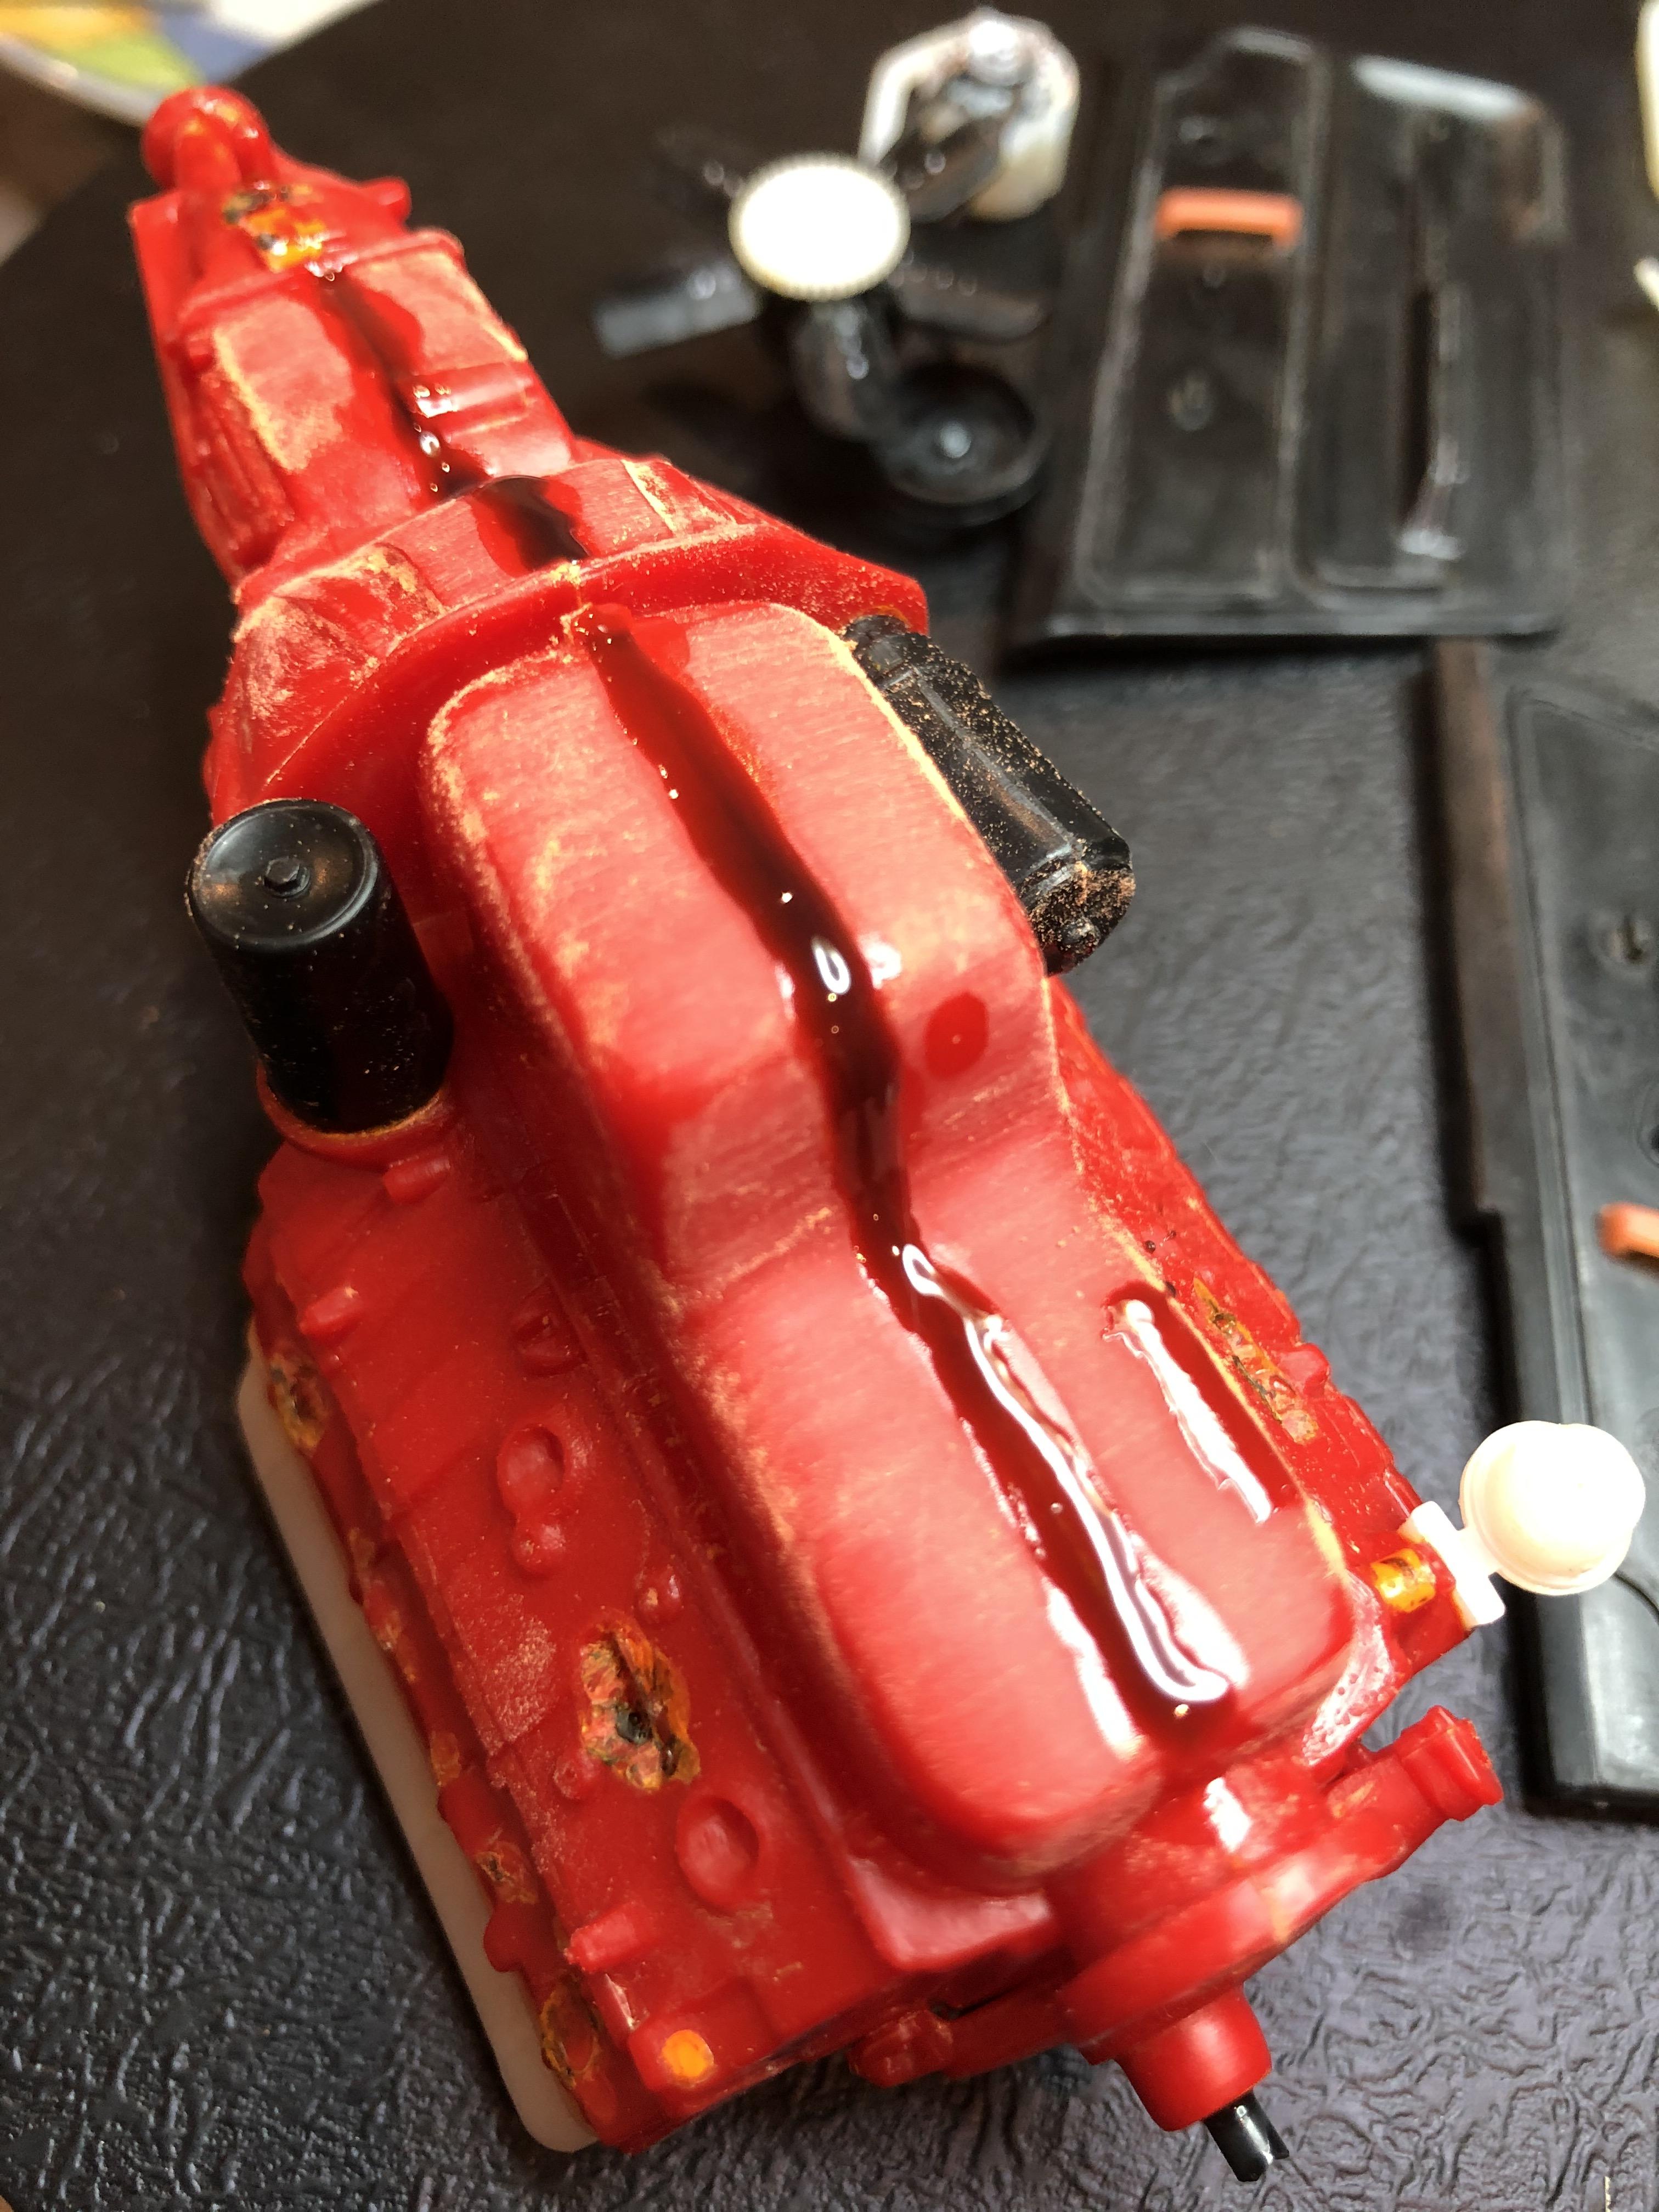
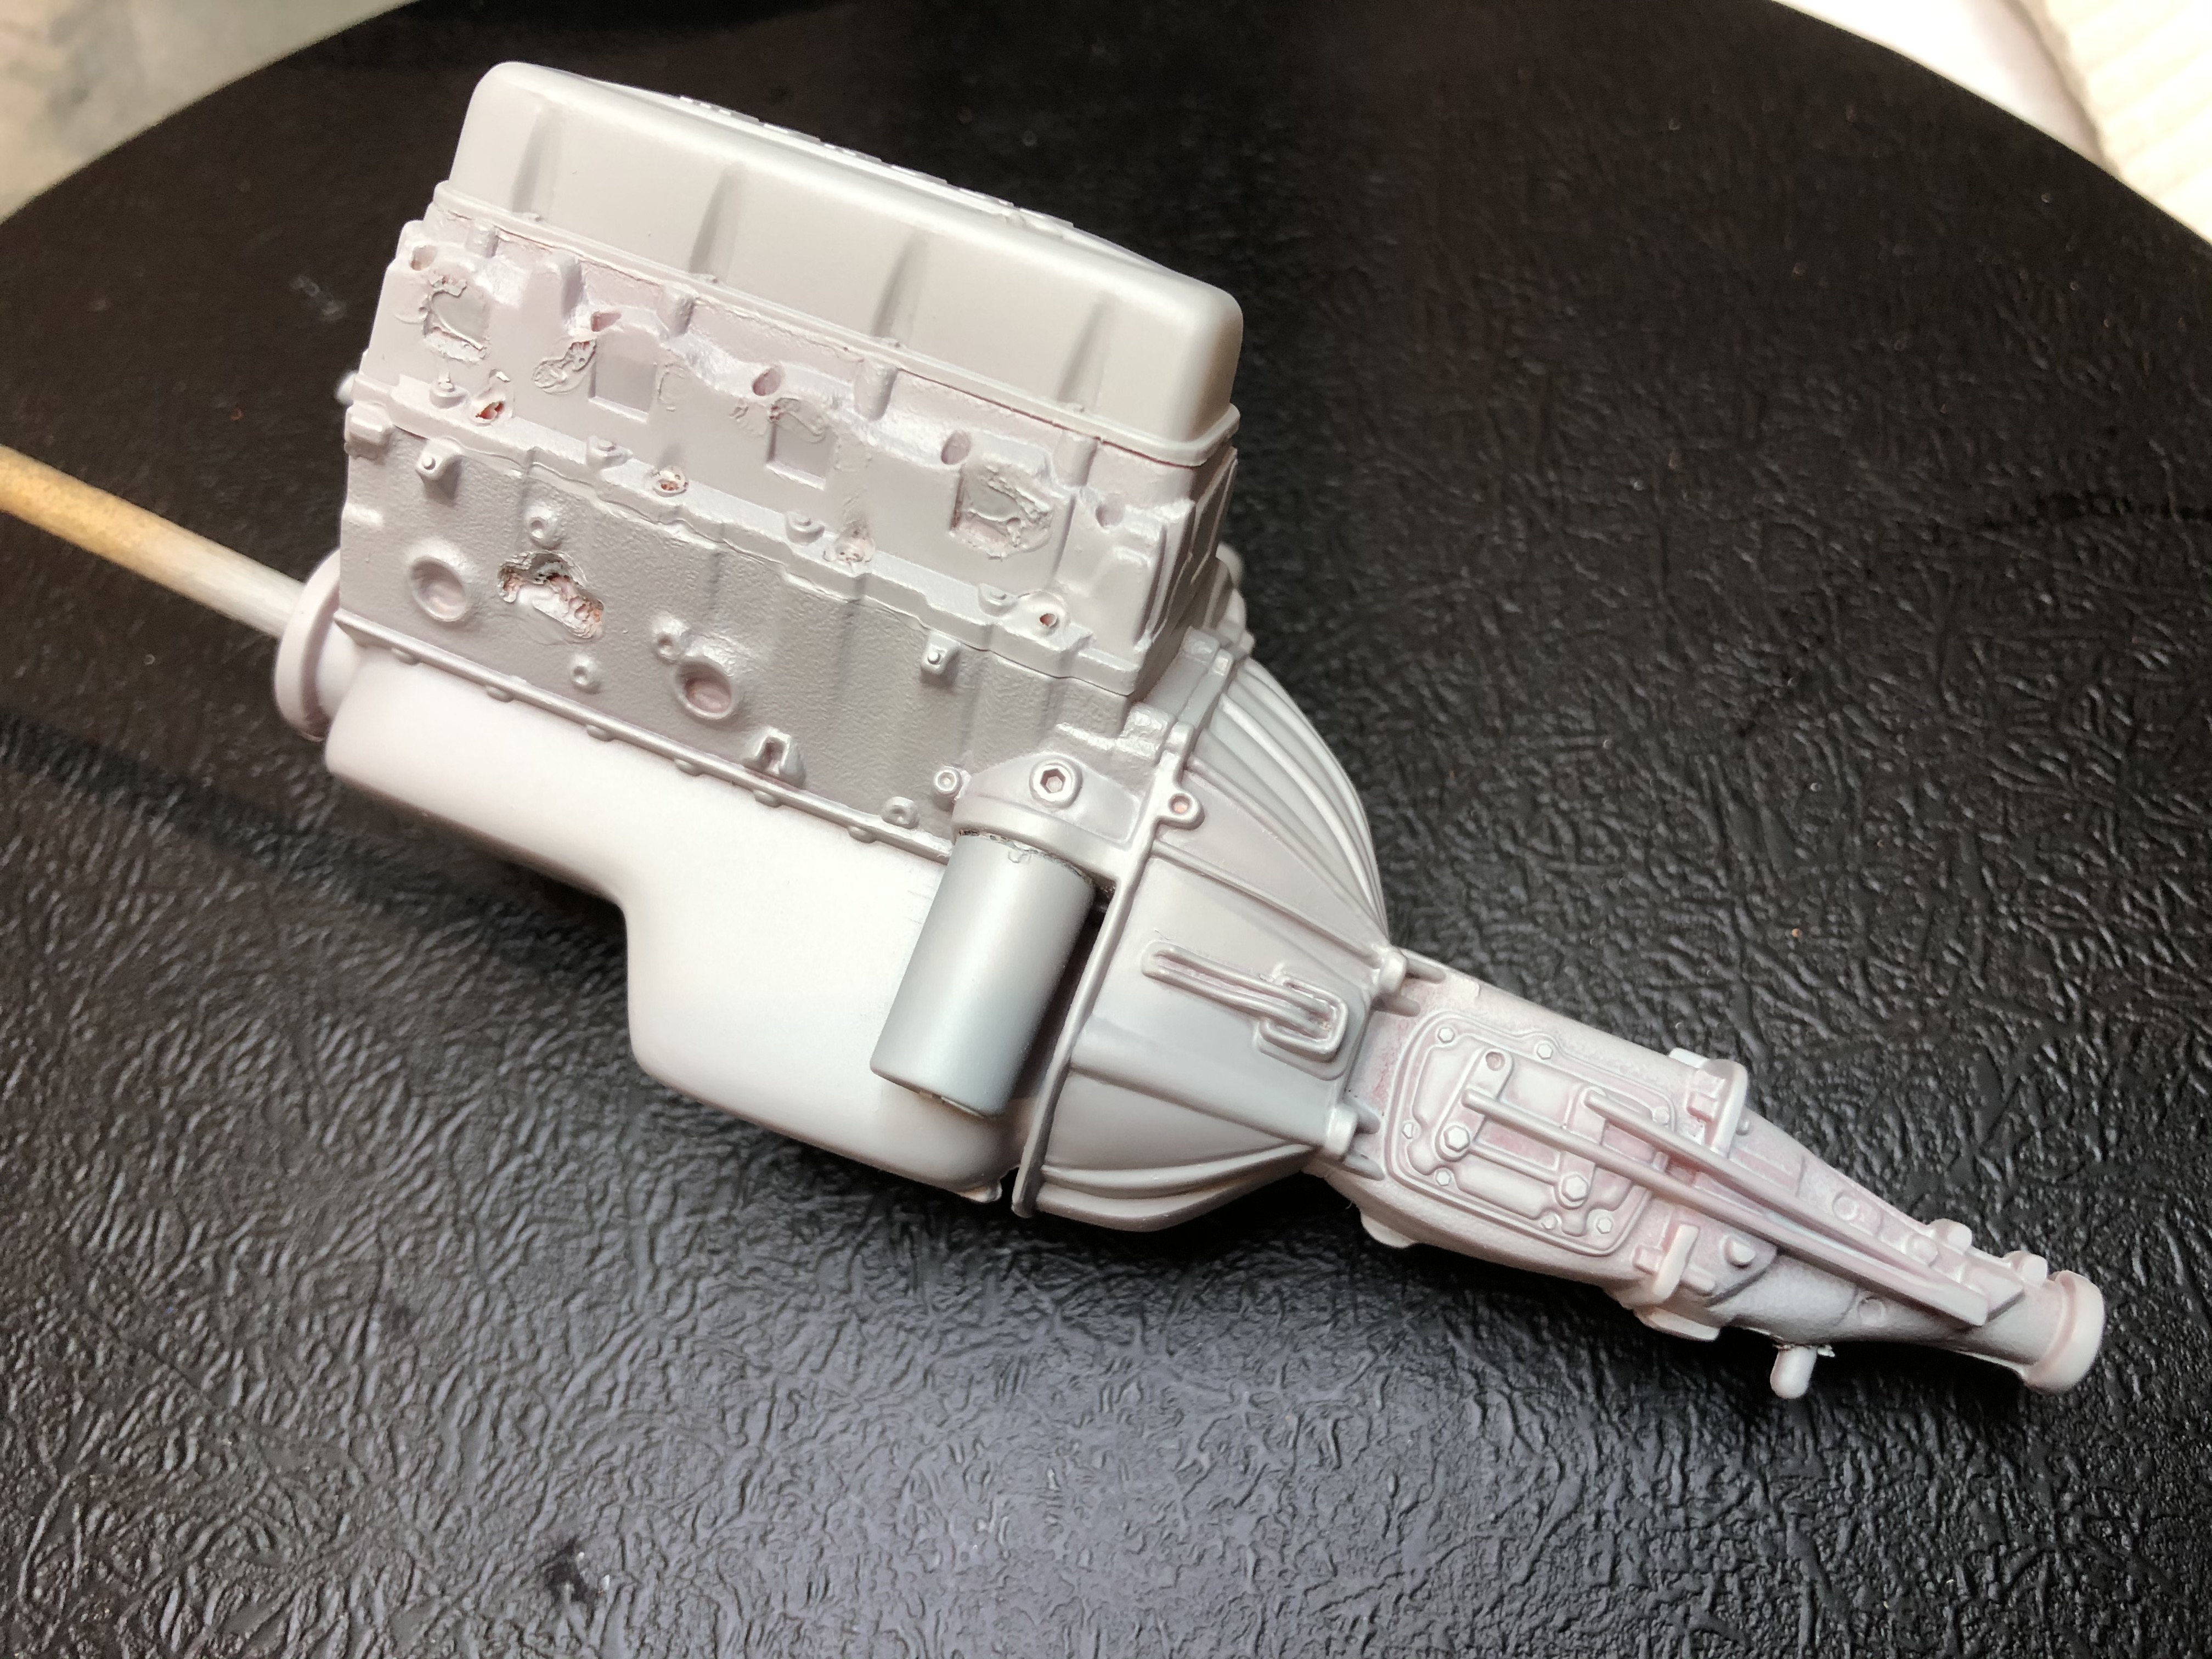
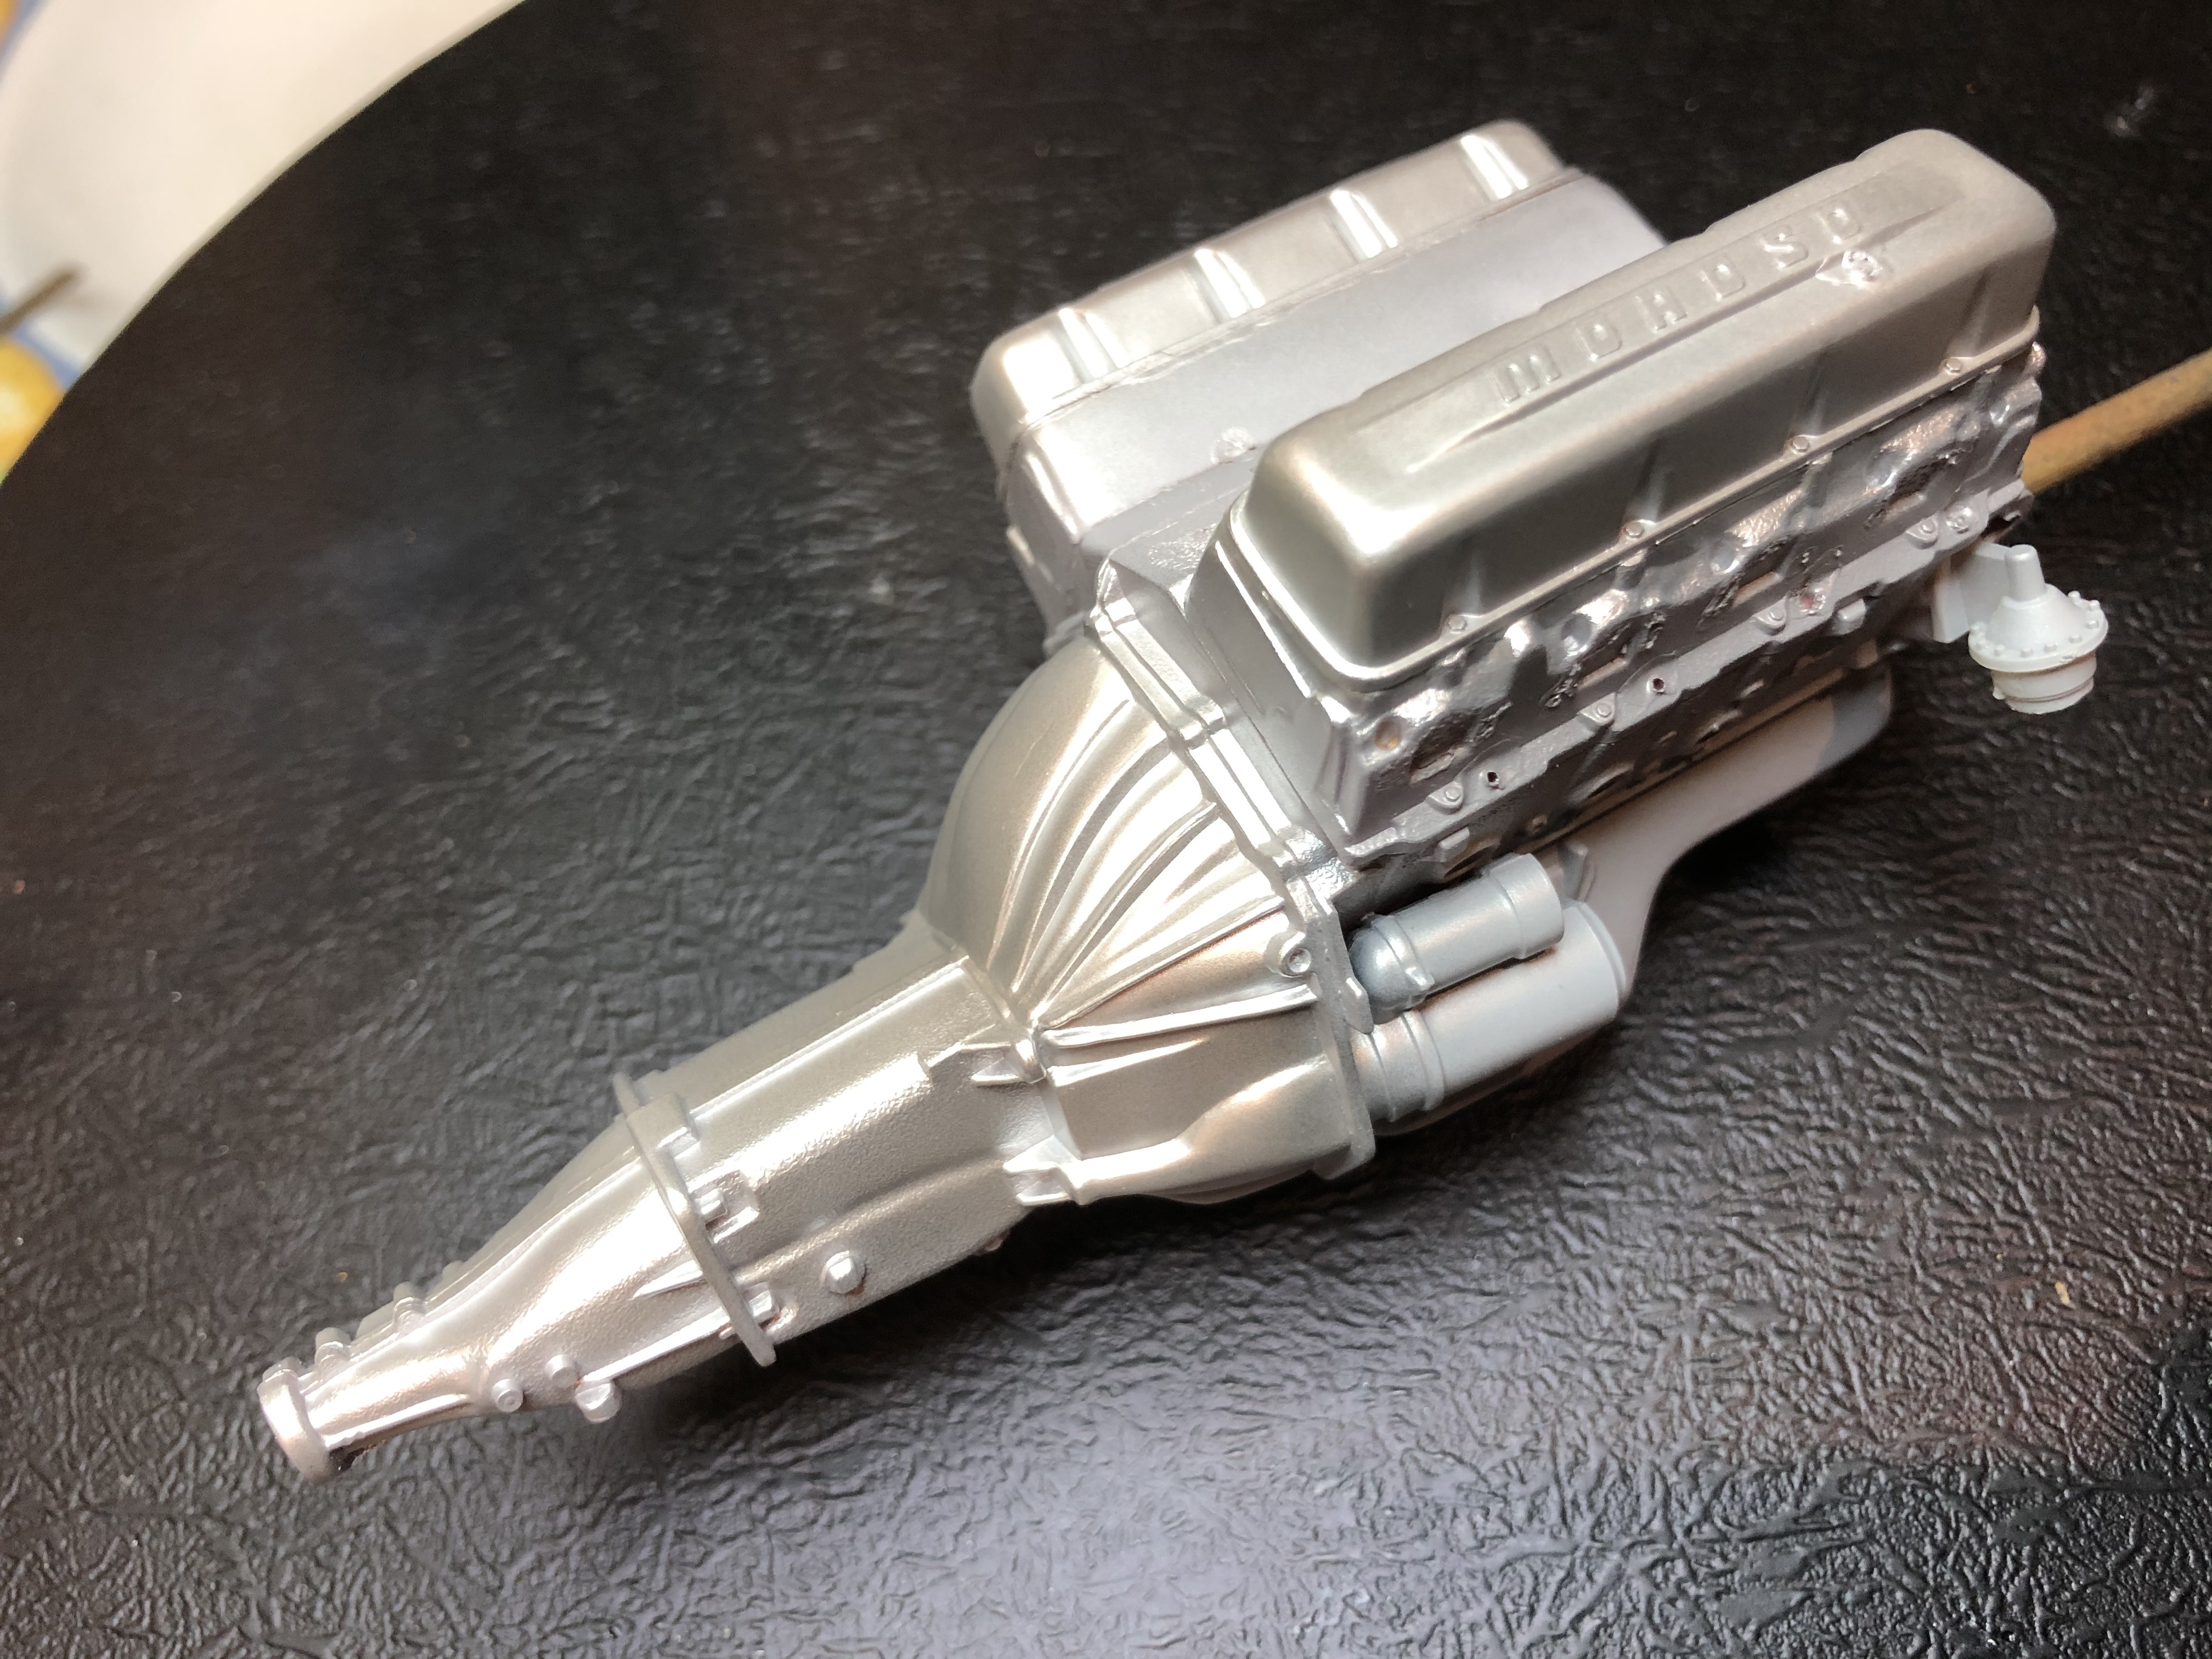
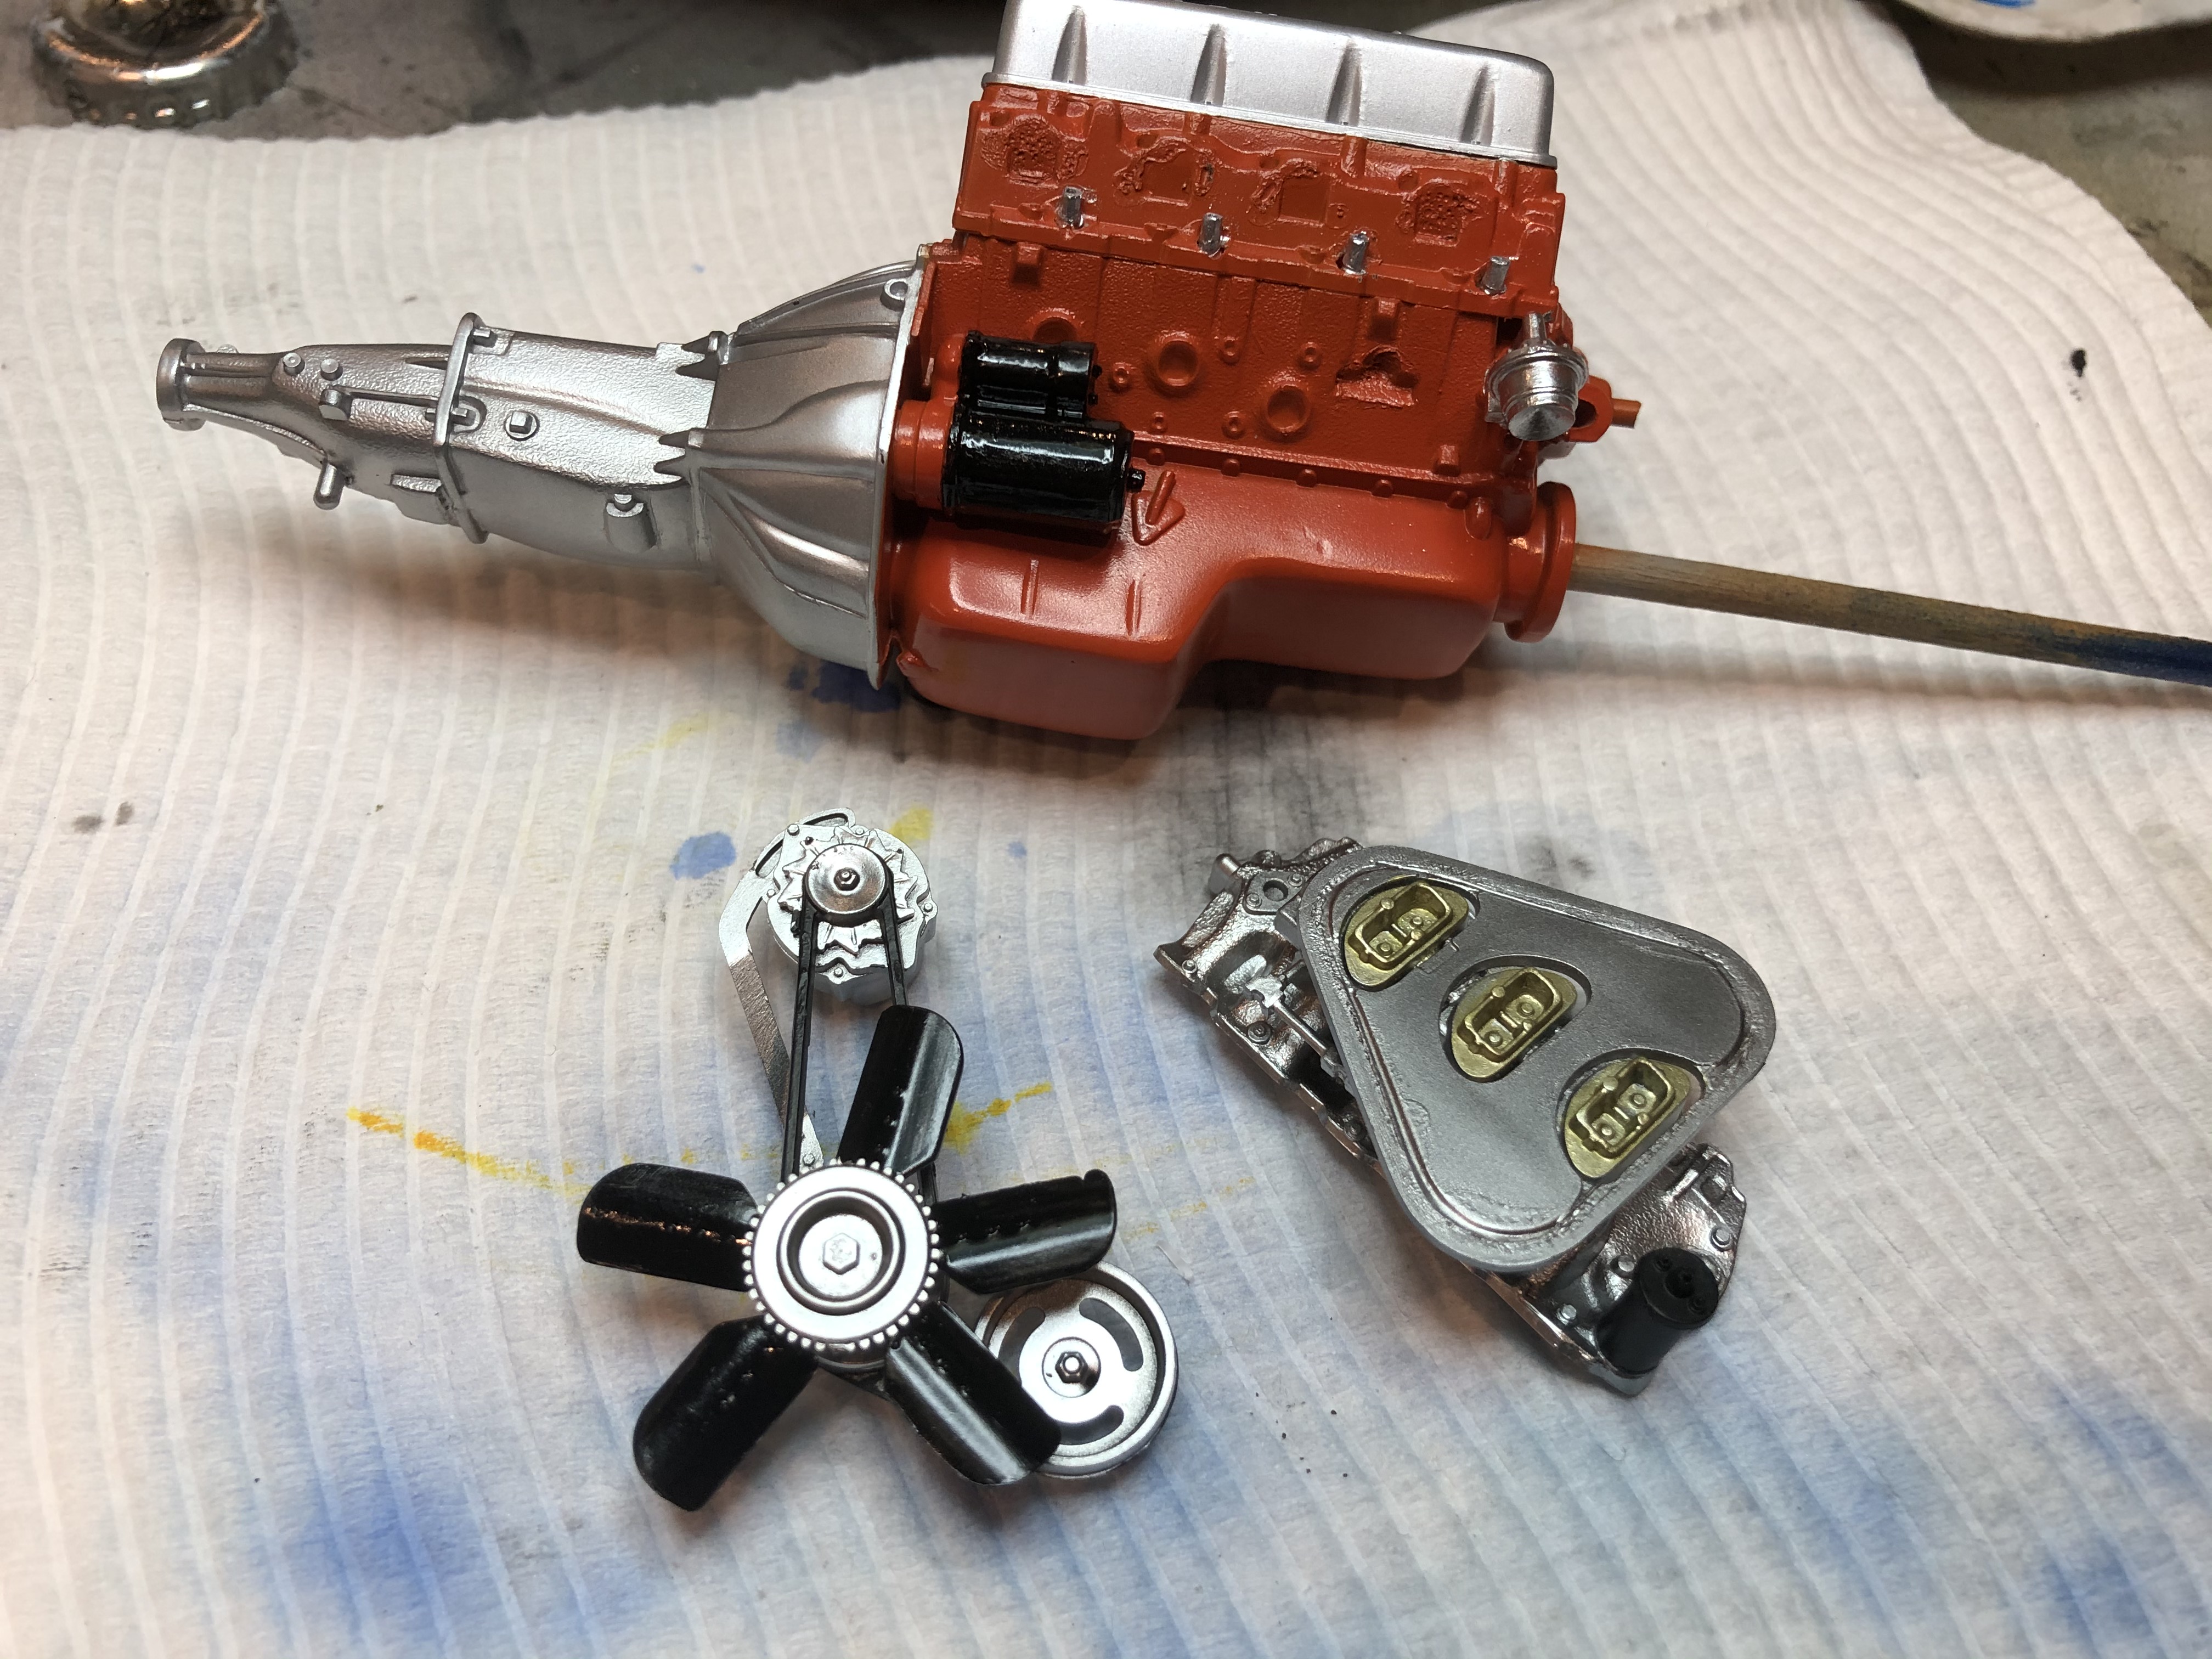
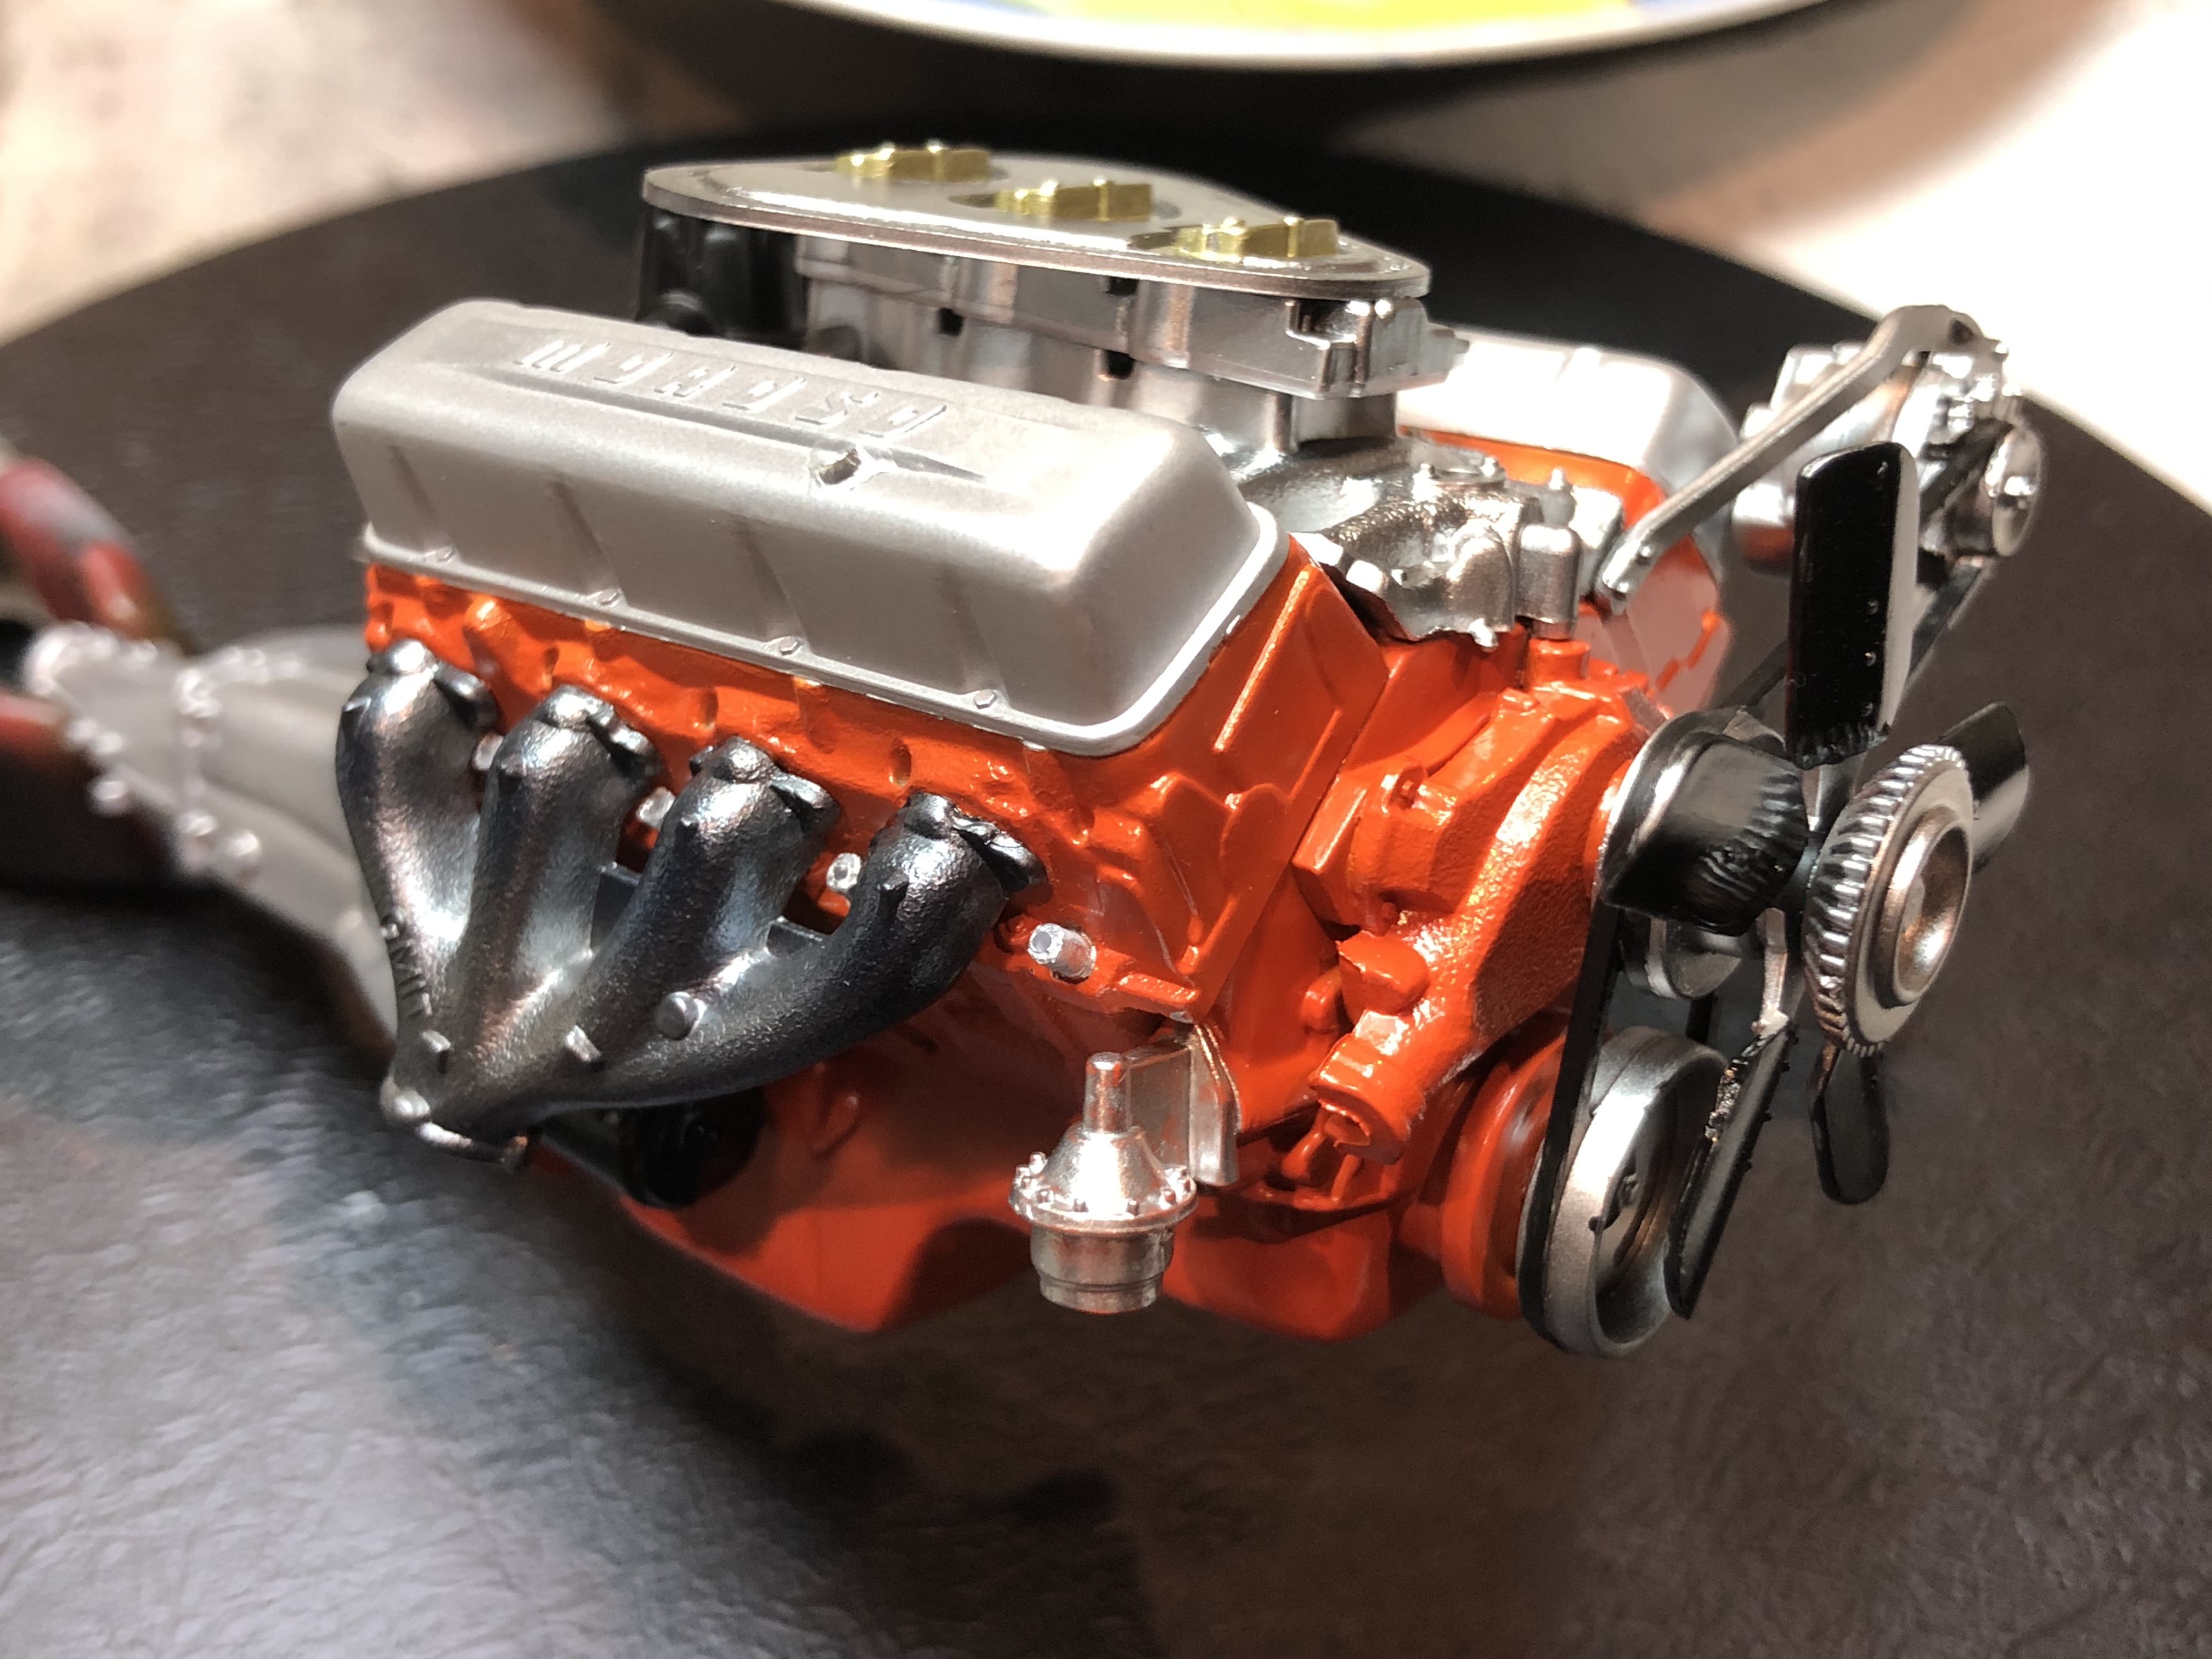
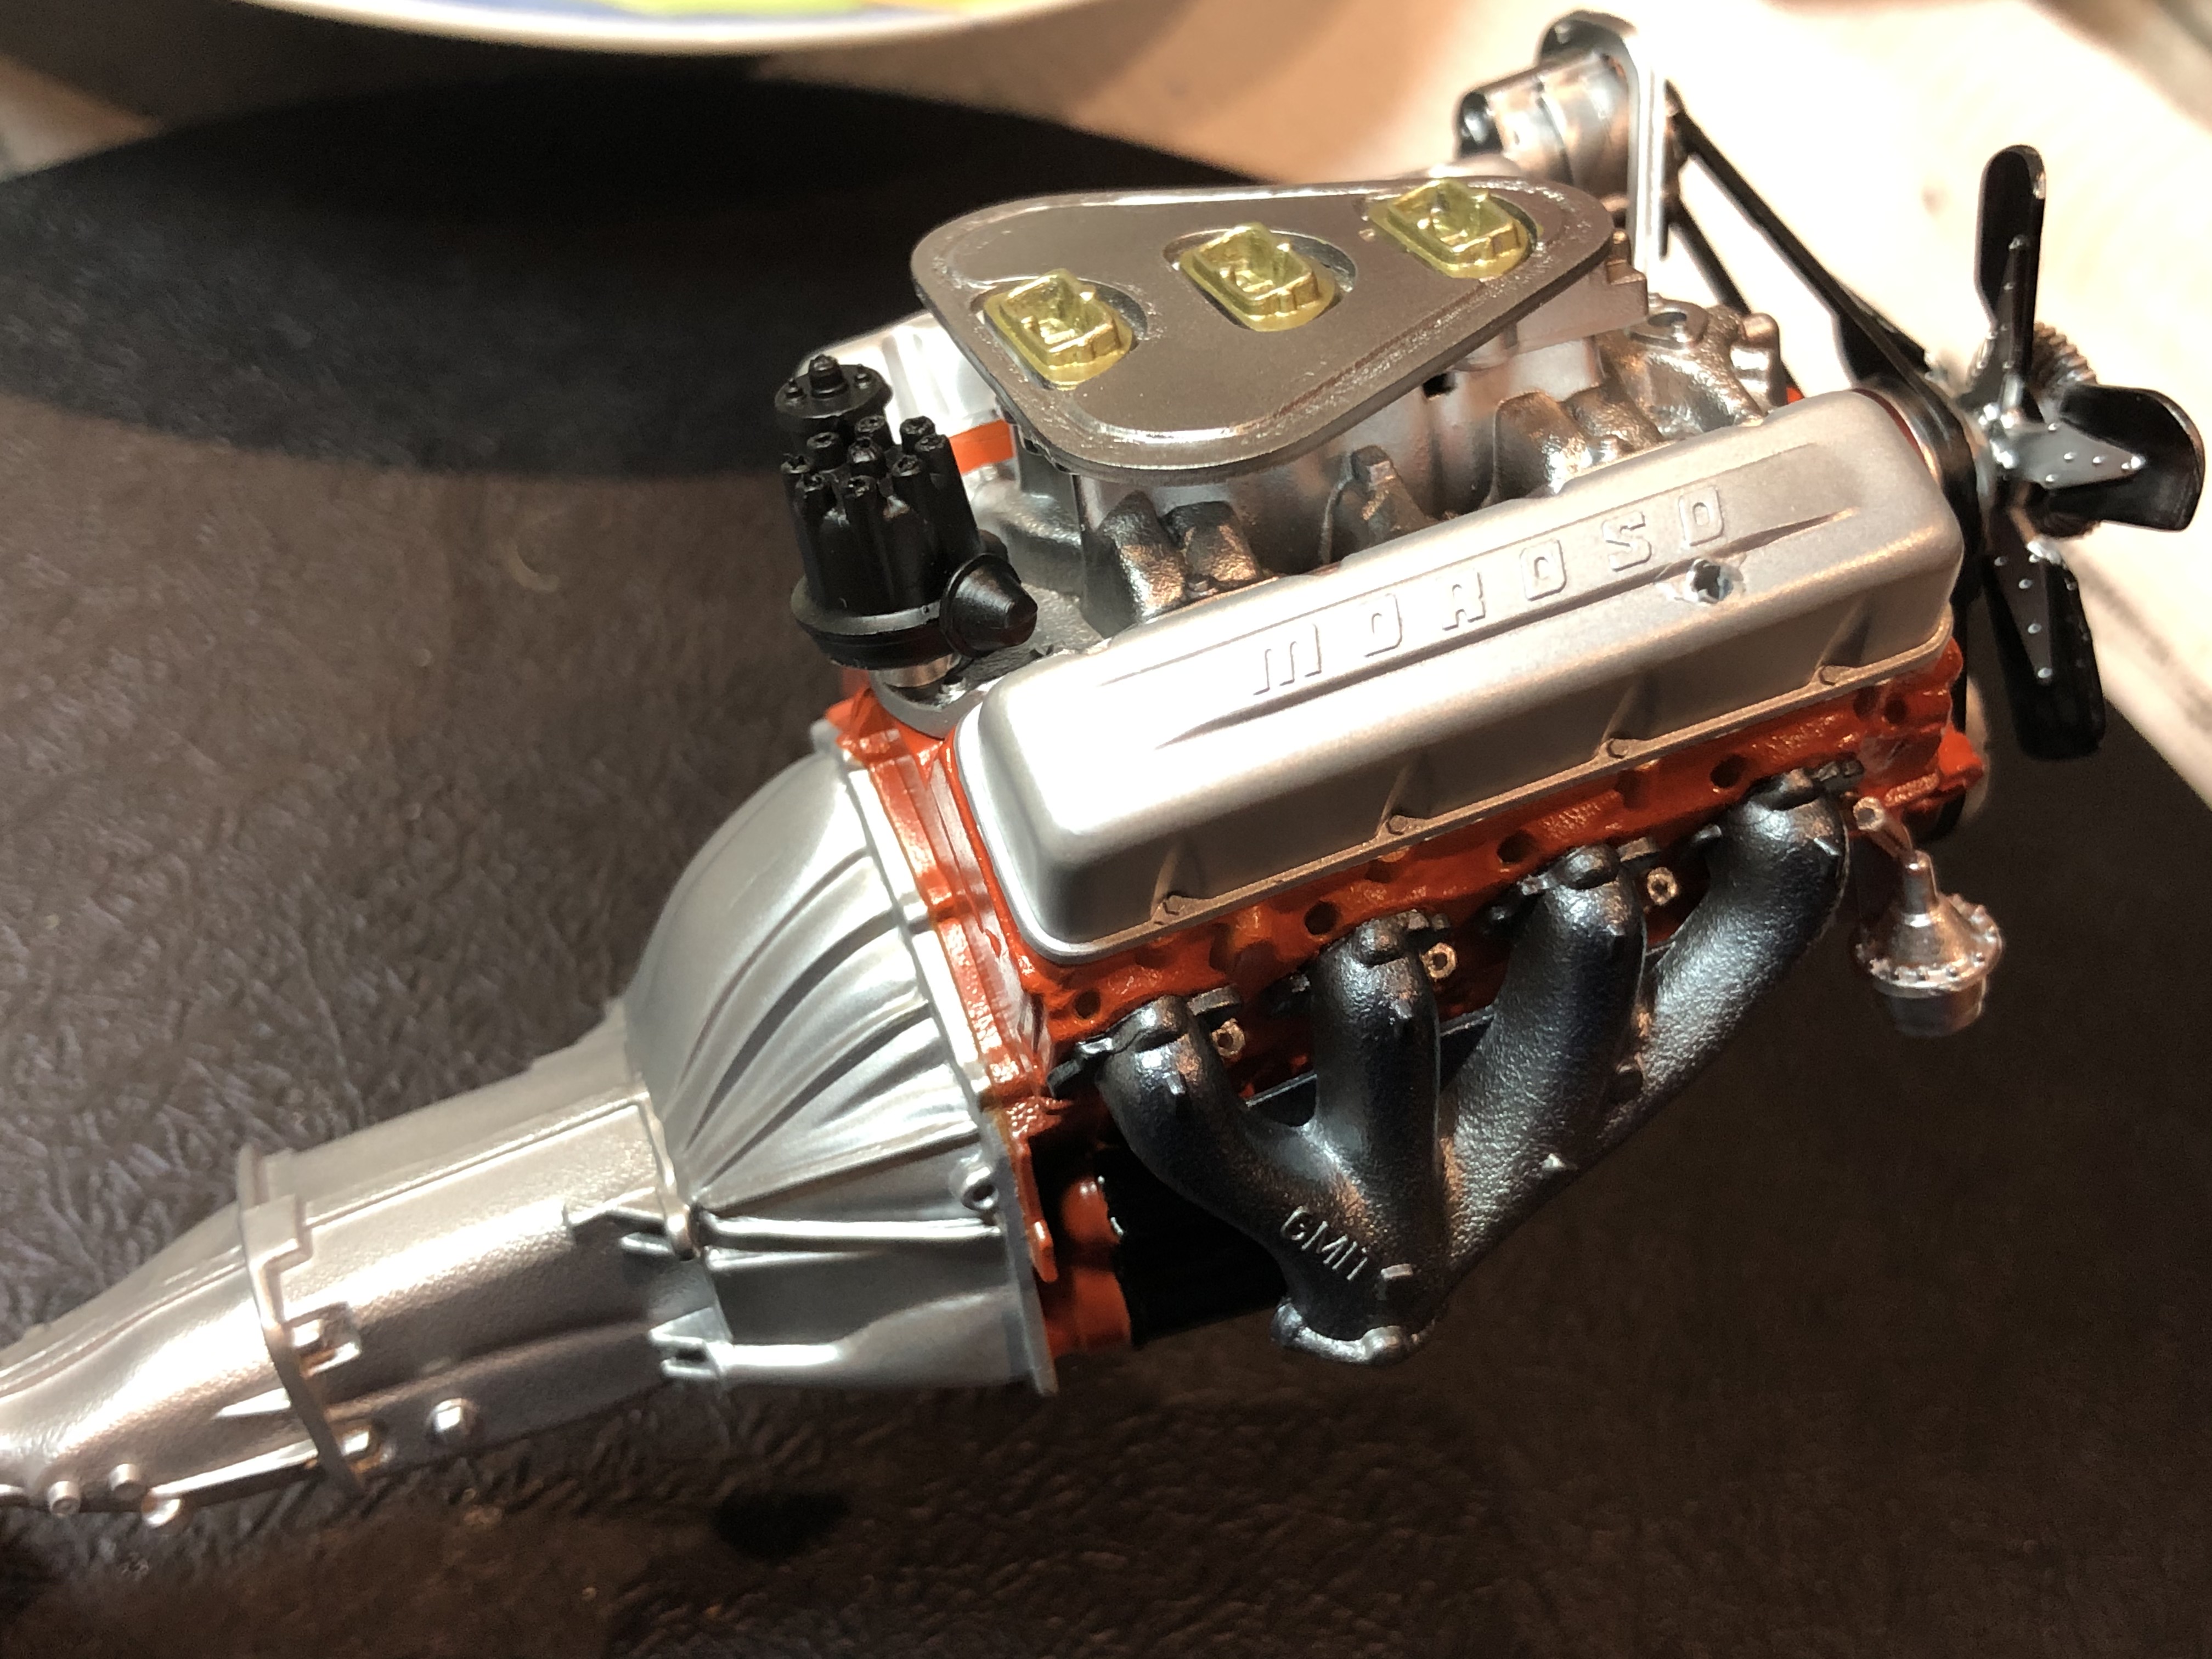
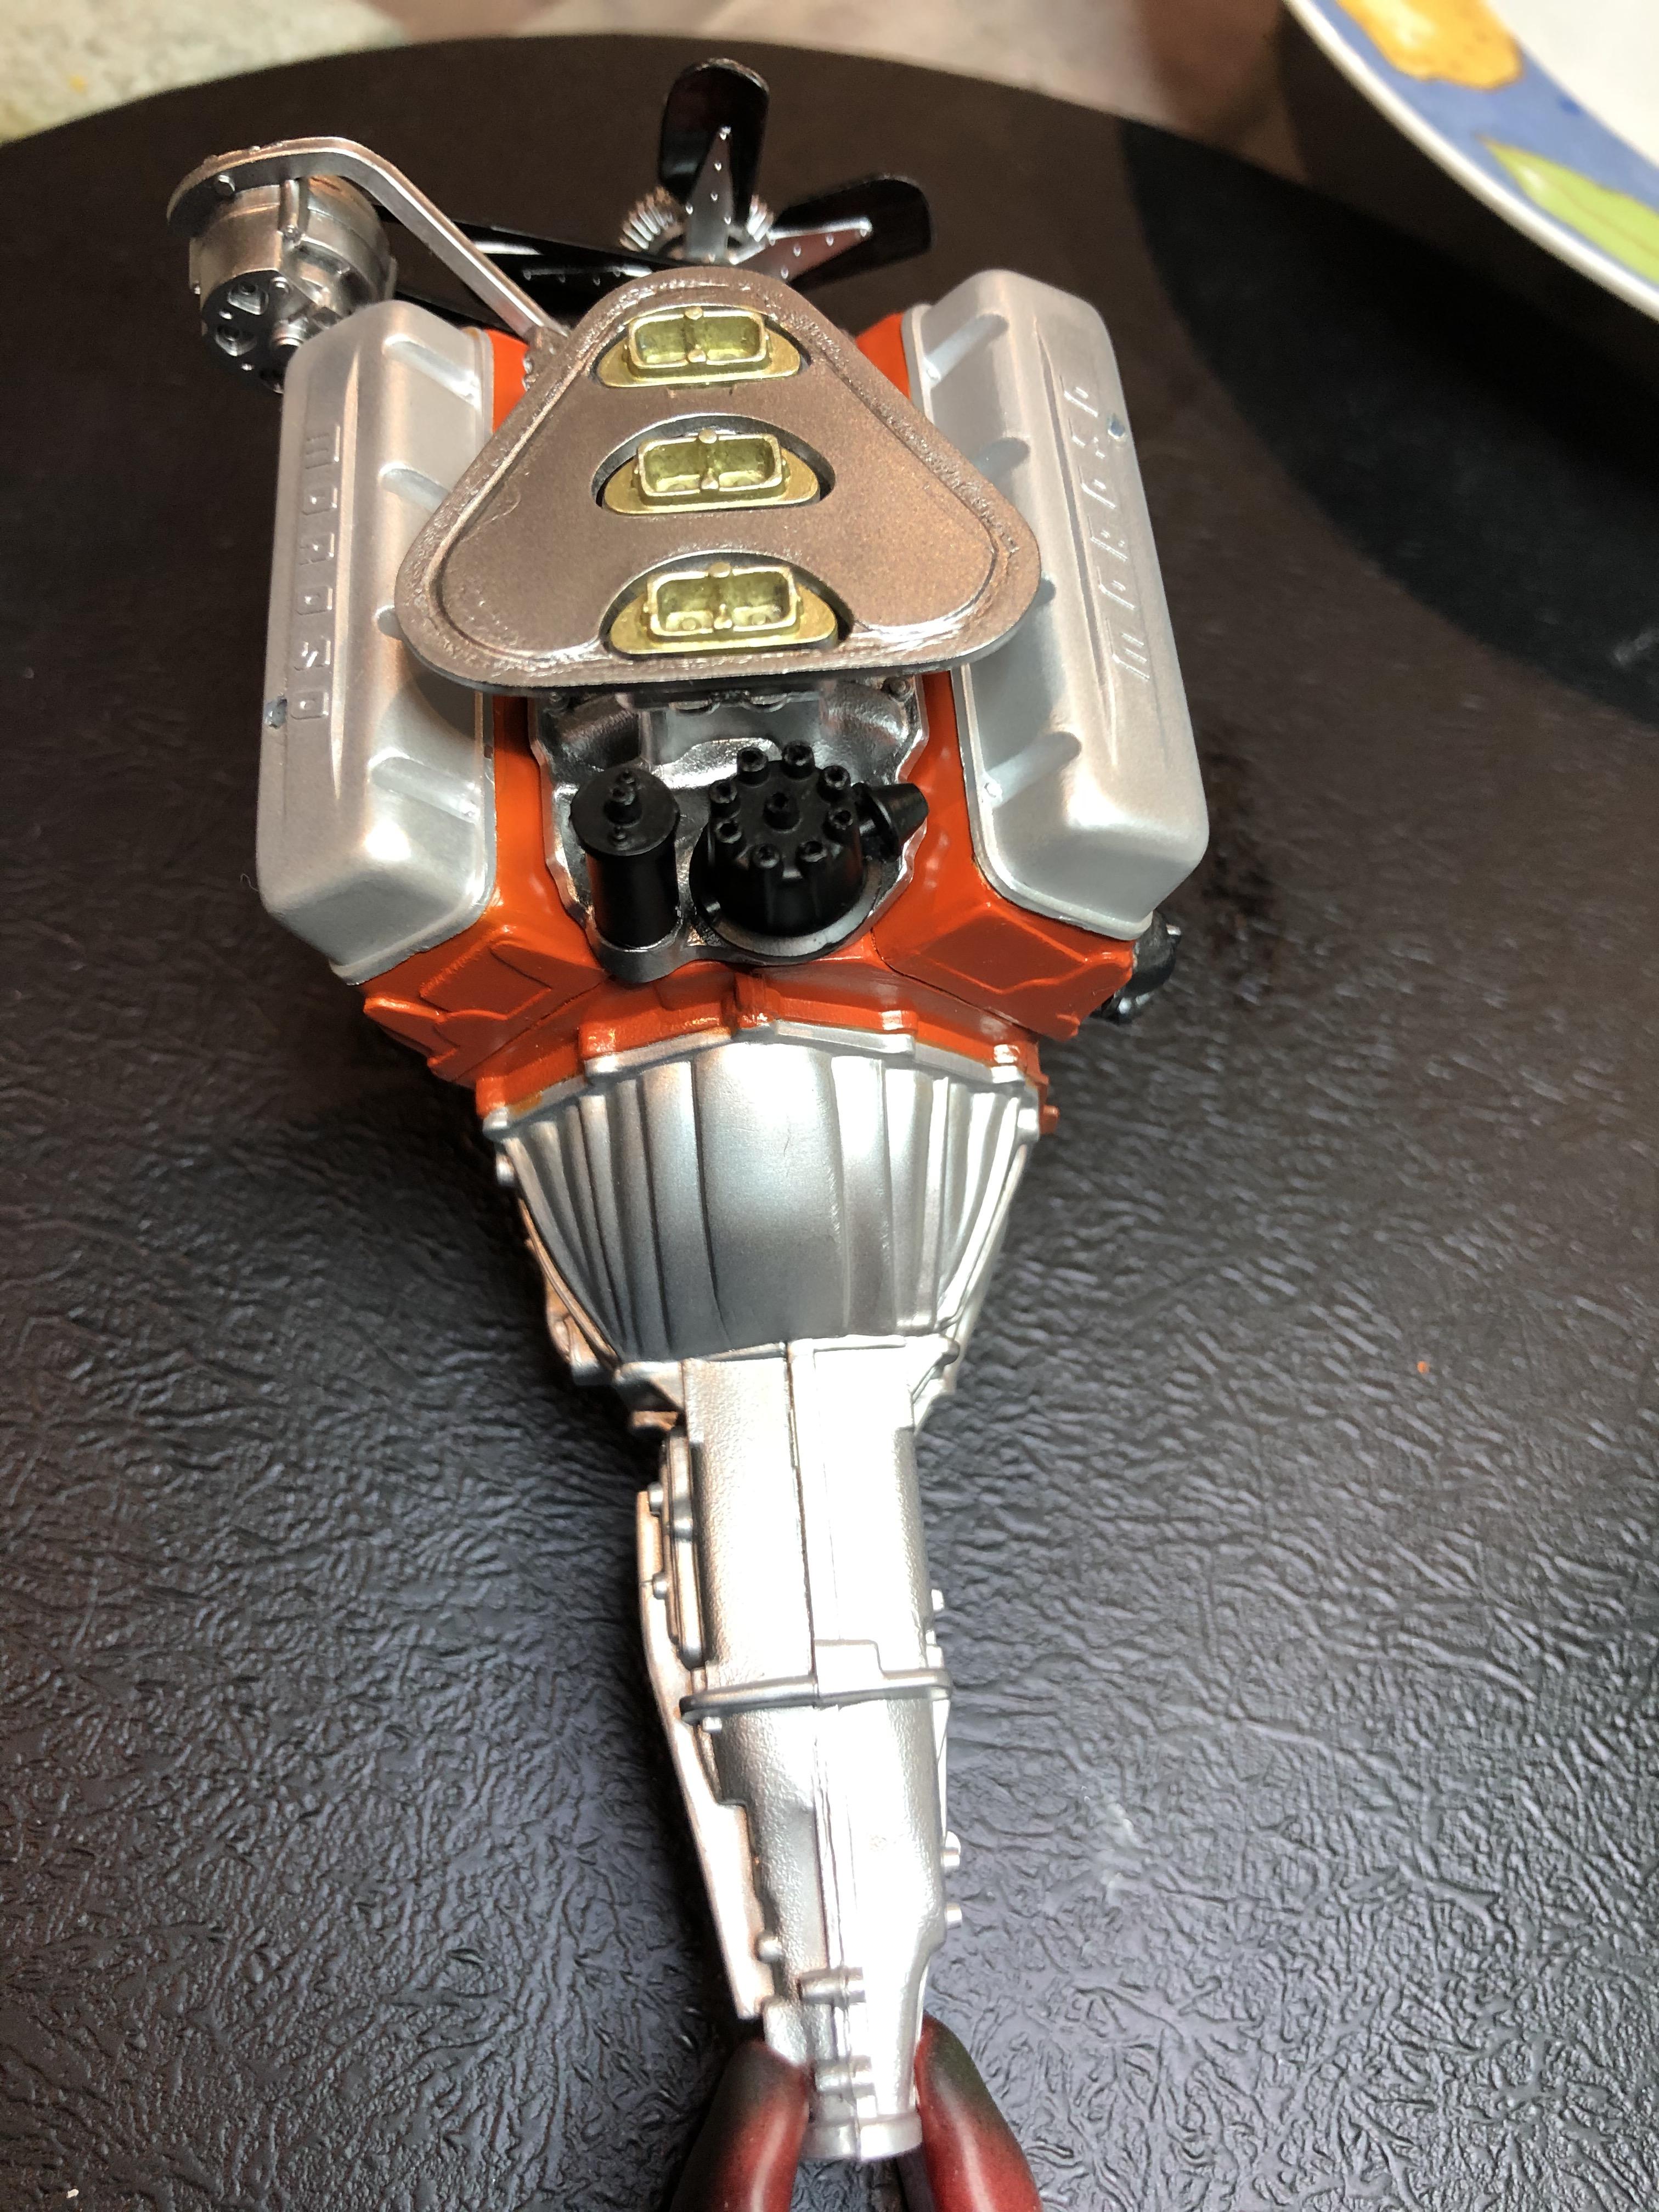
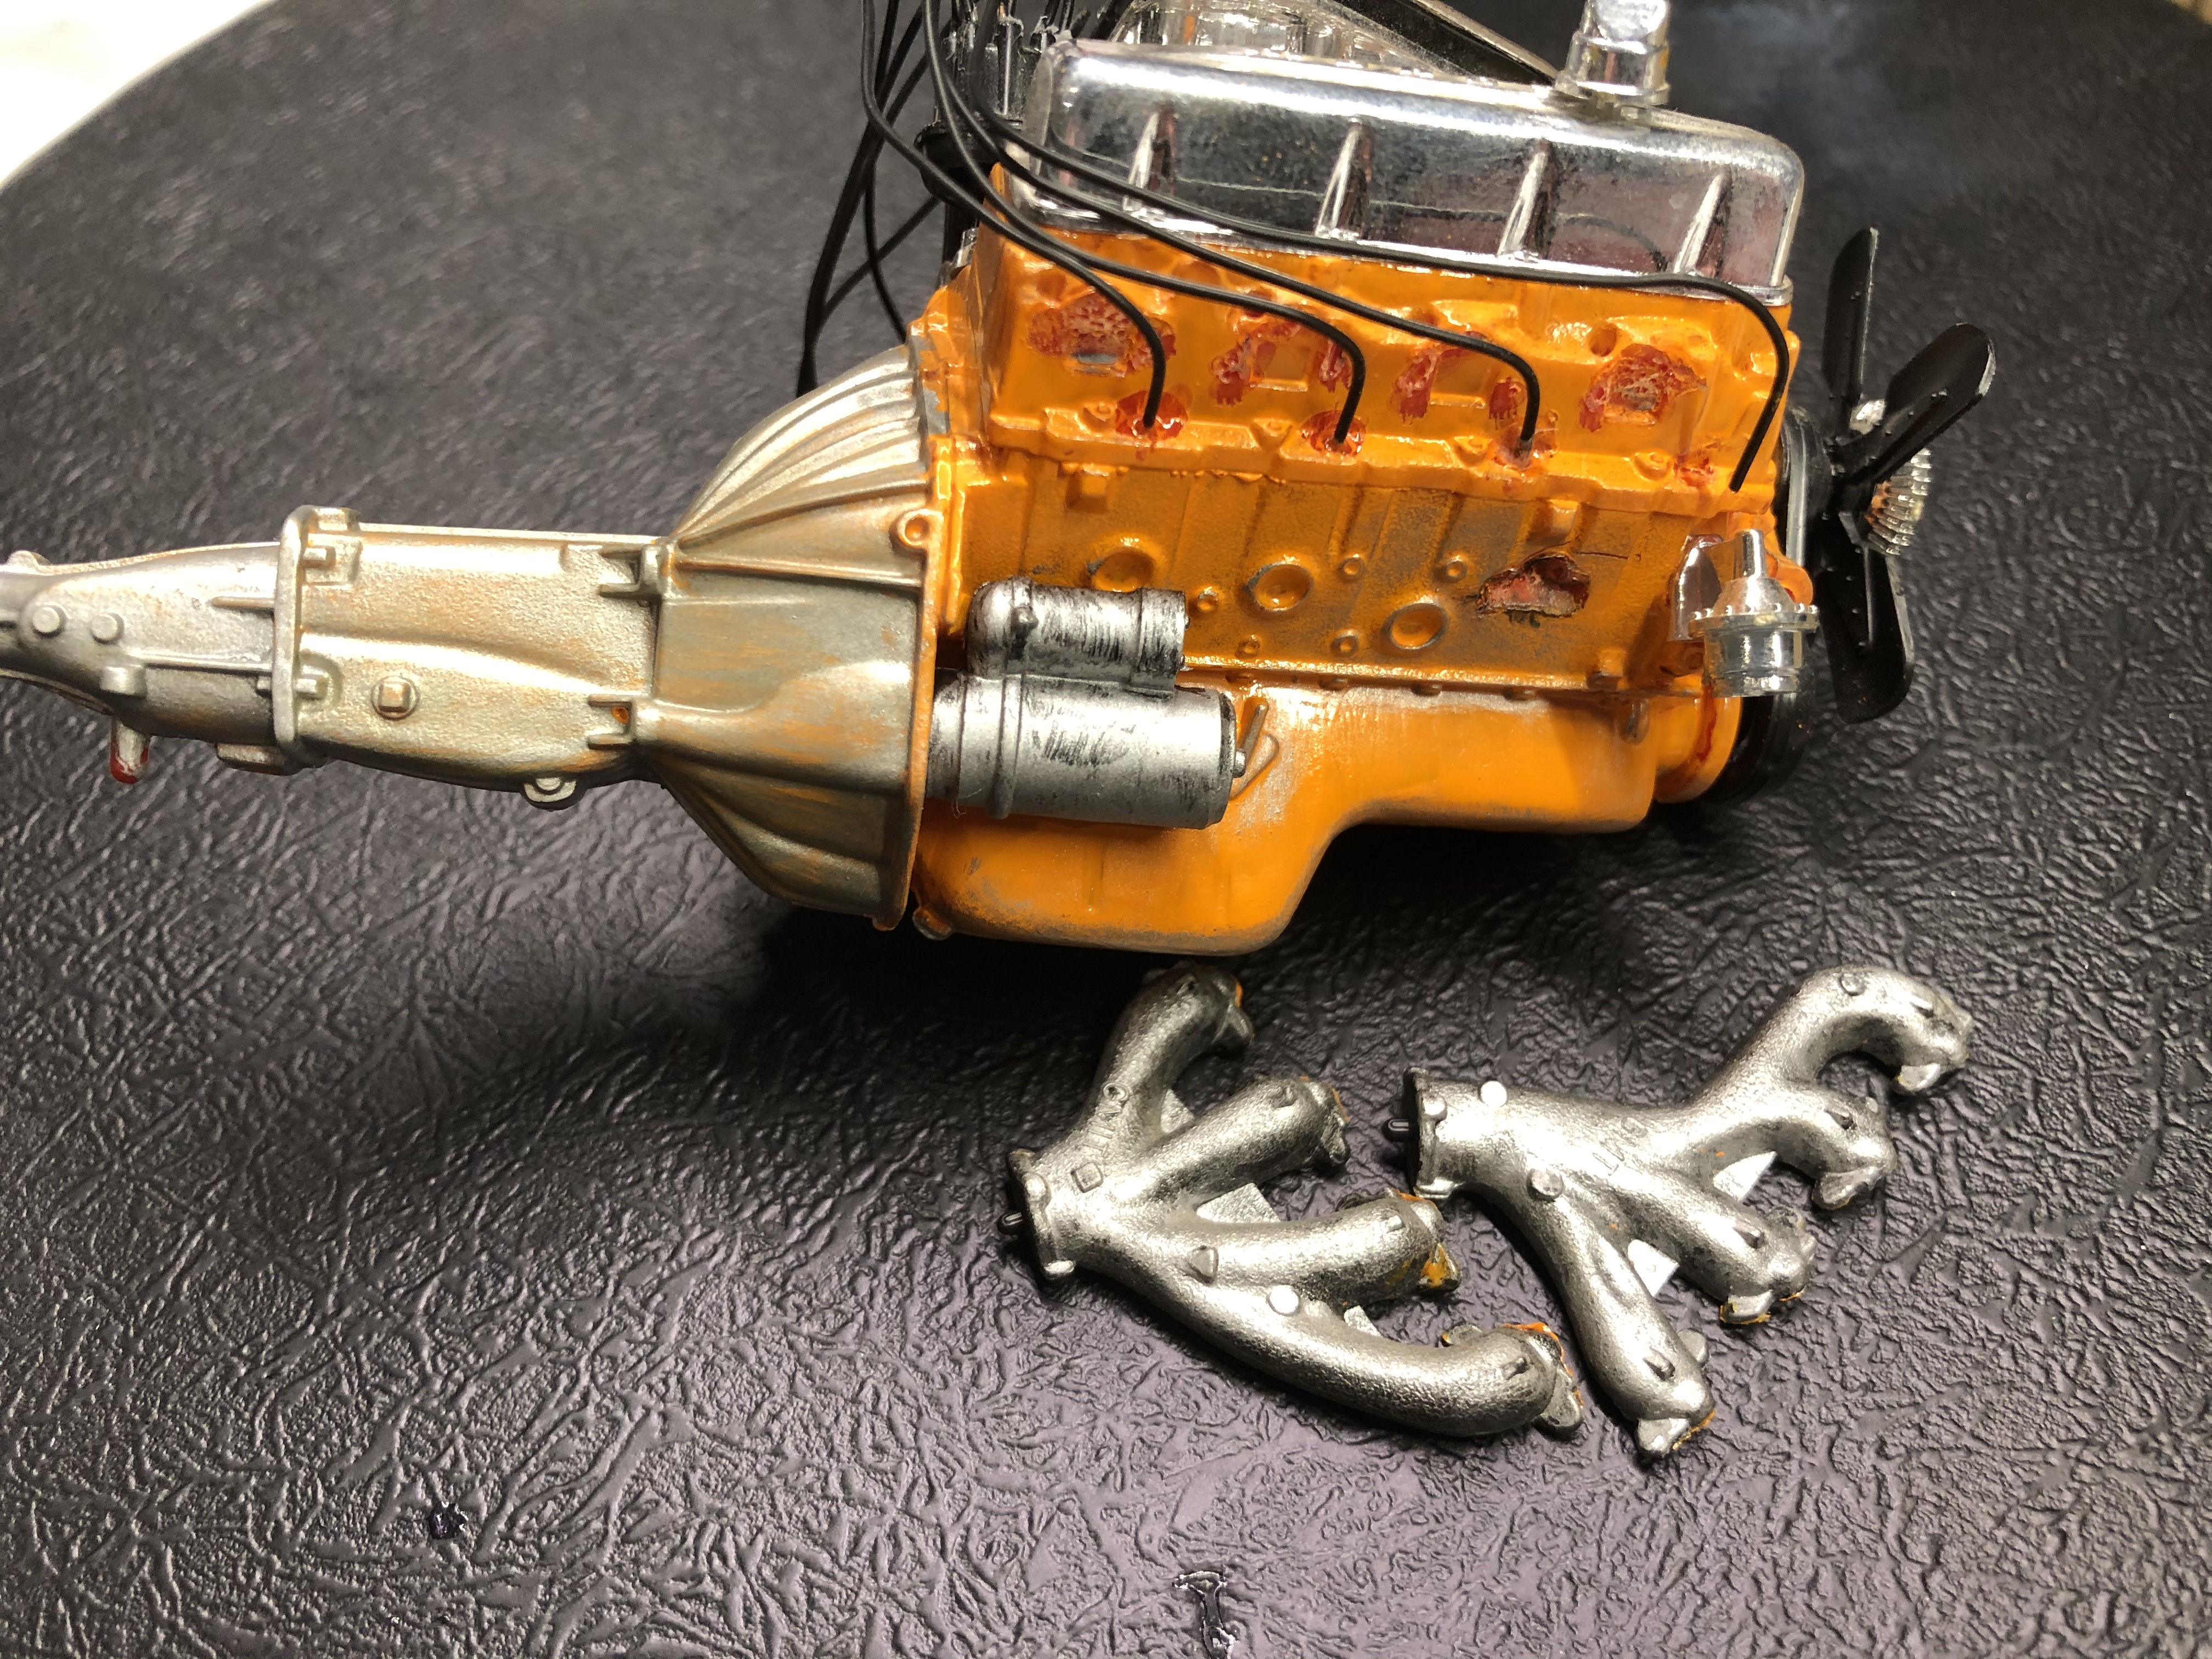
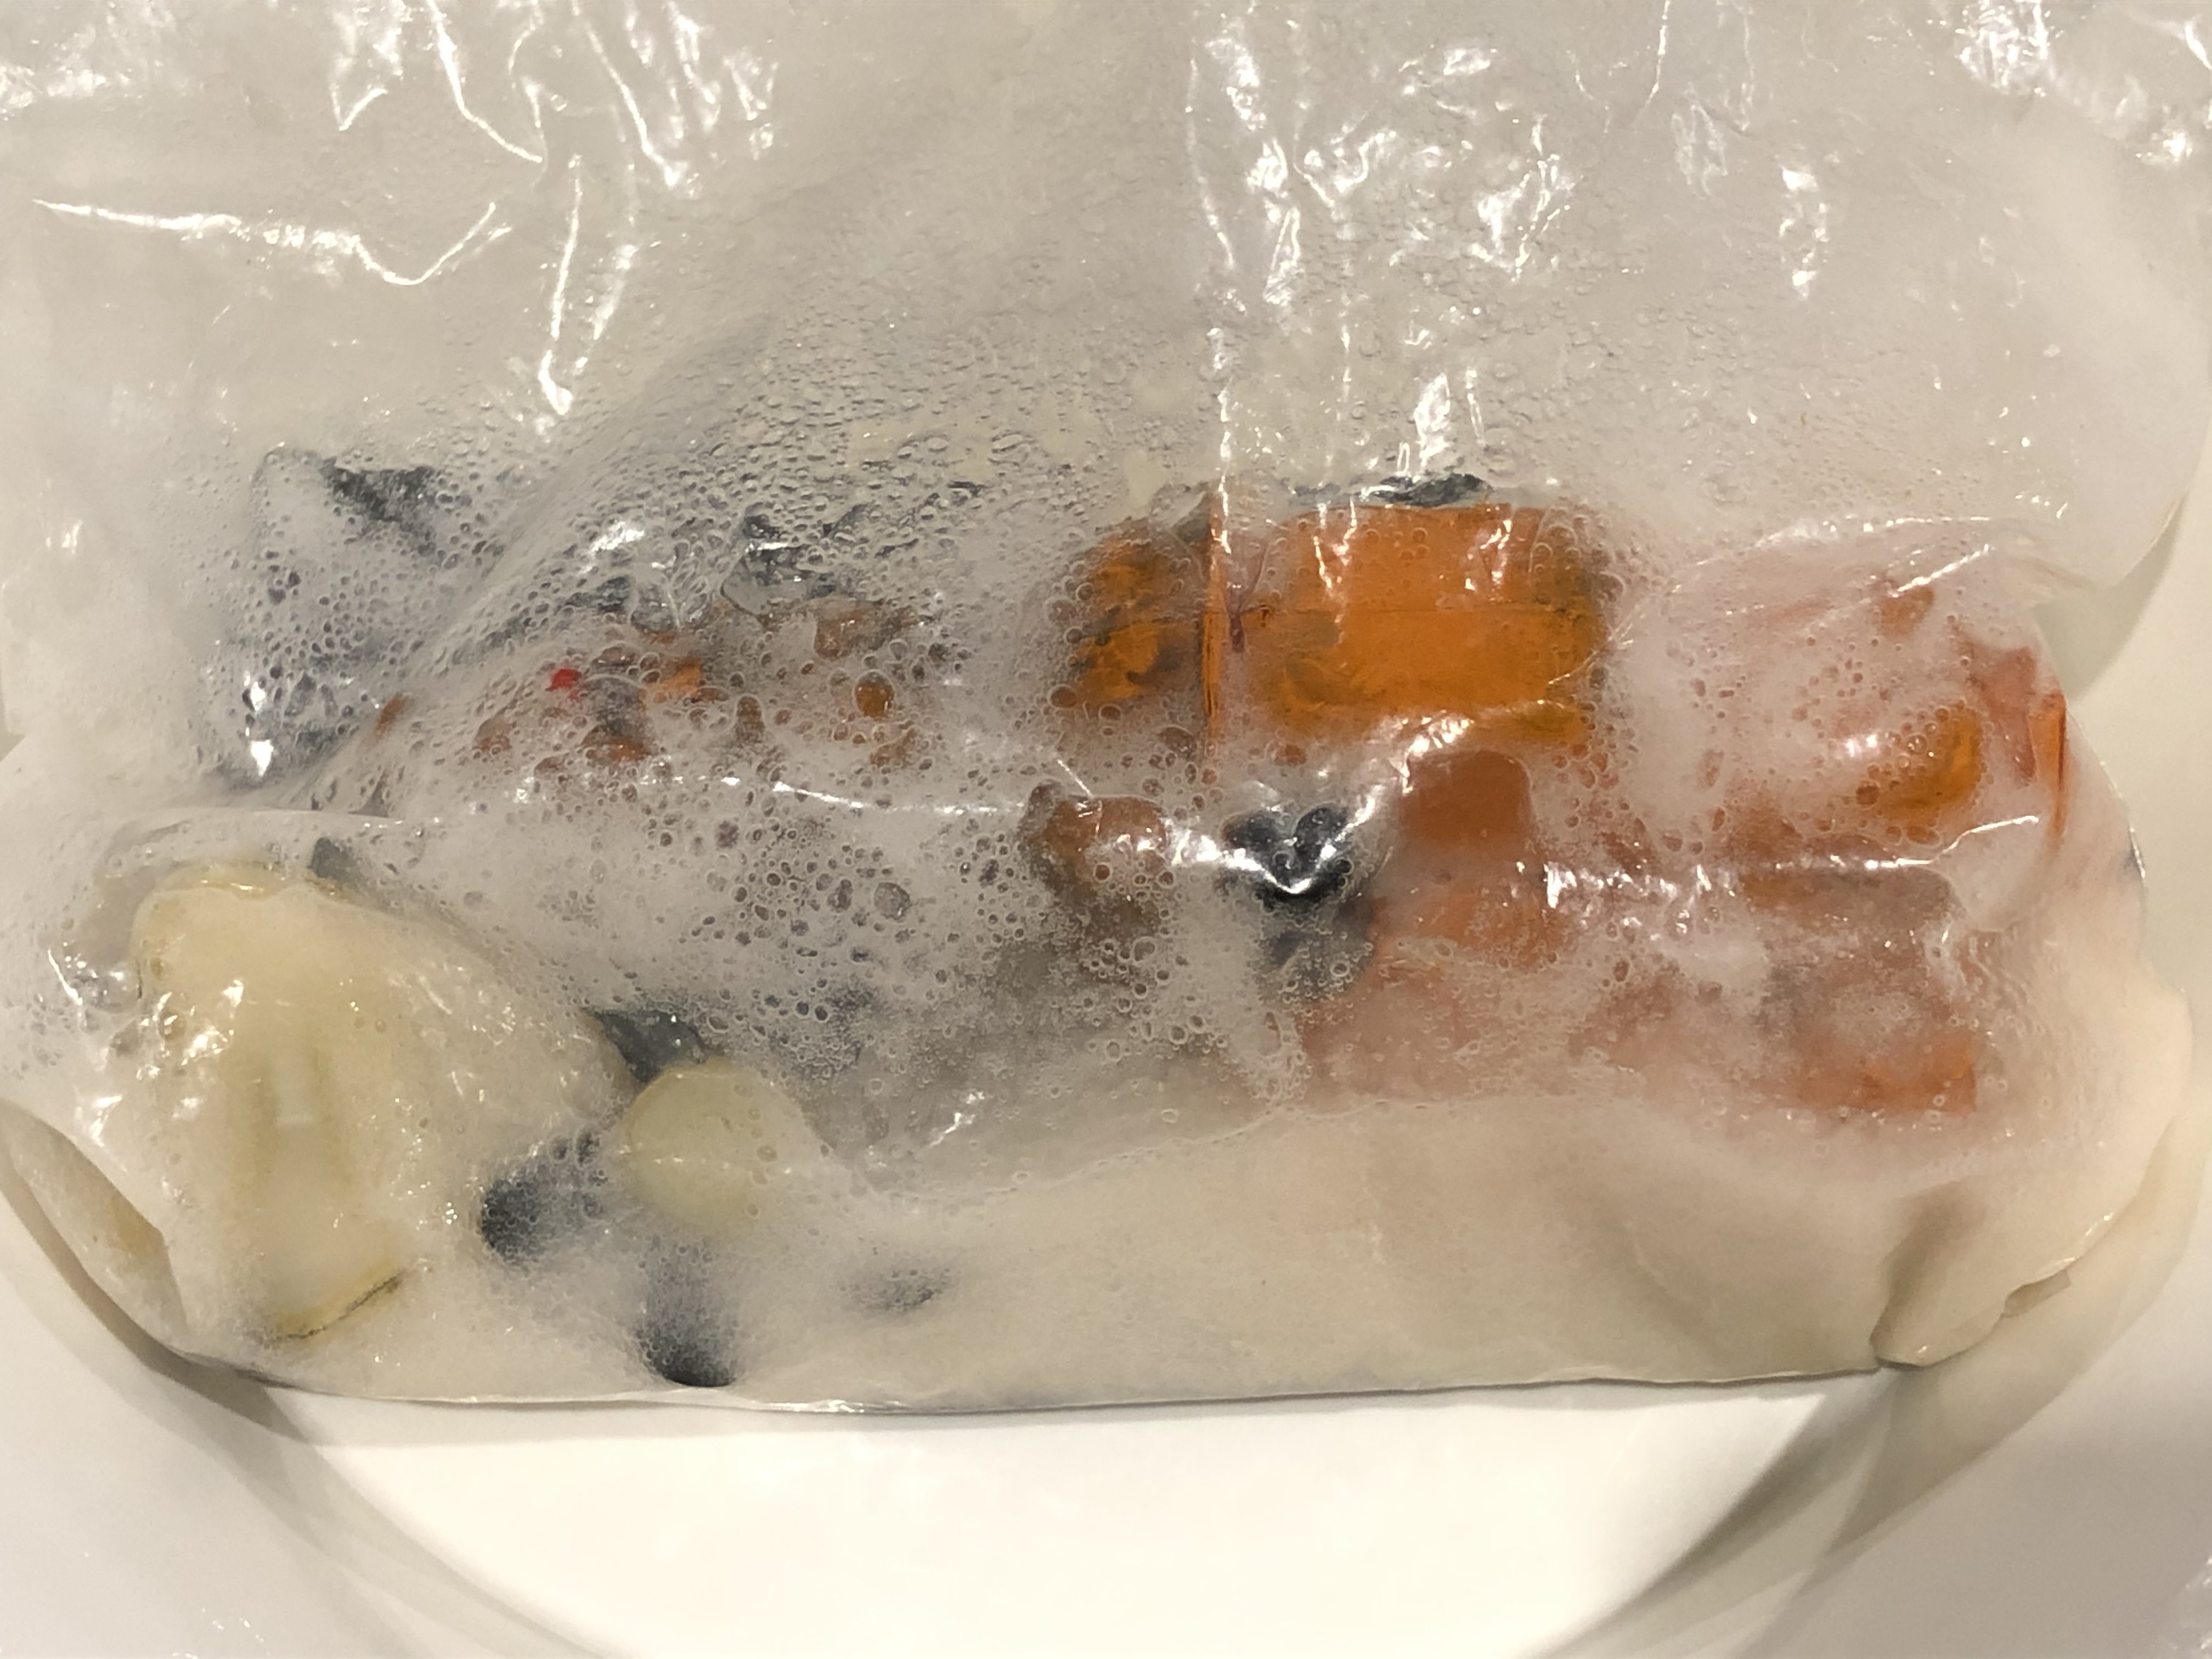
And where it resides now for a day or so -


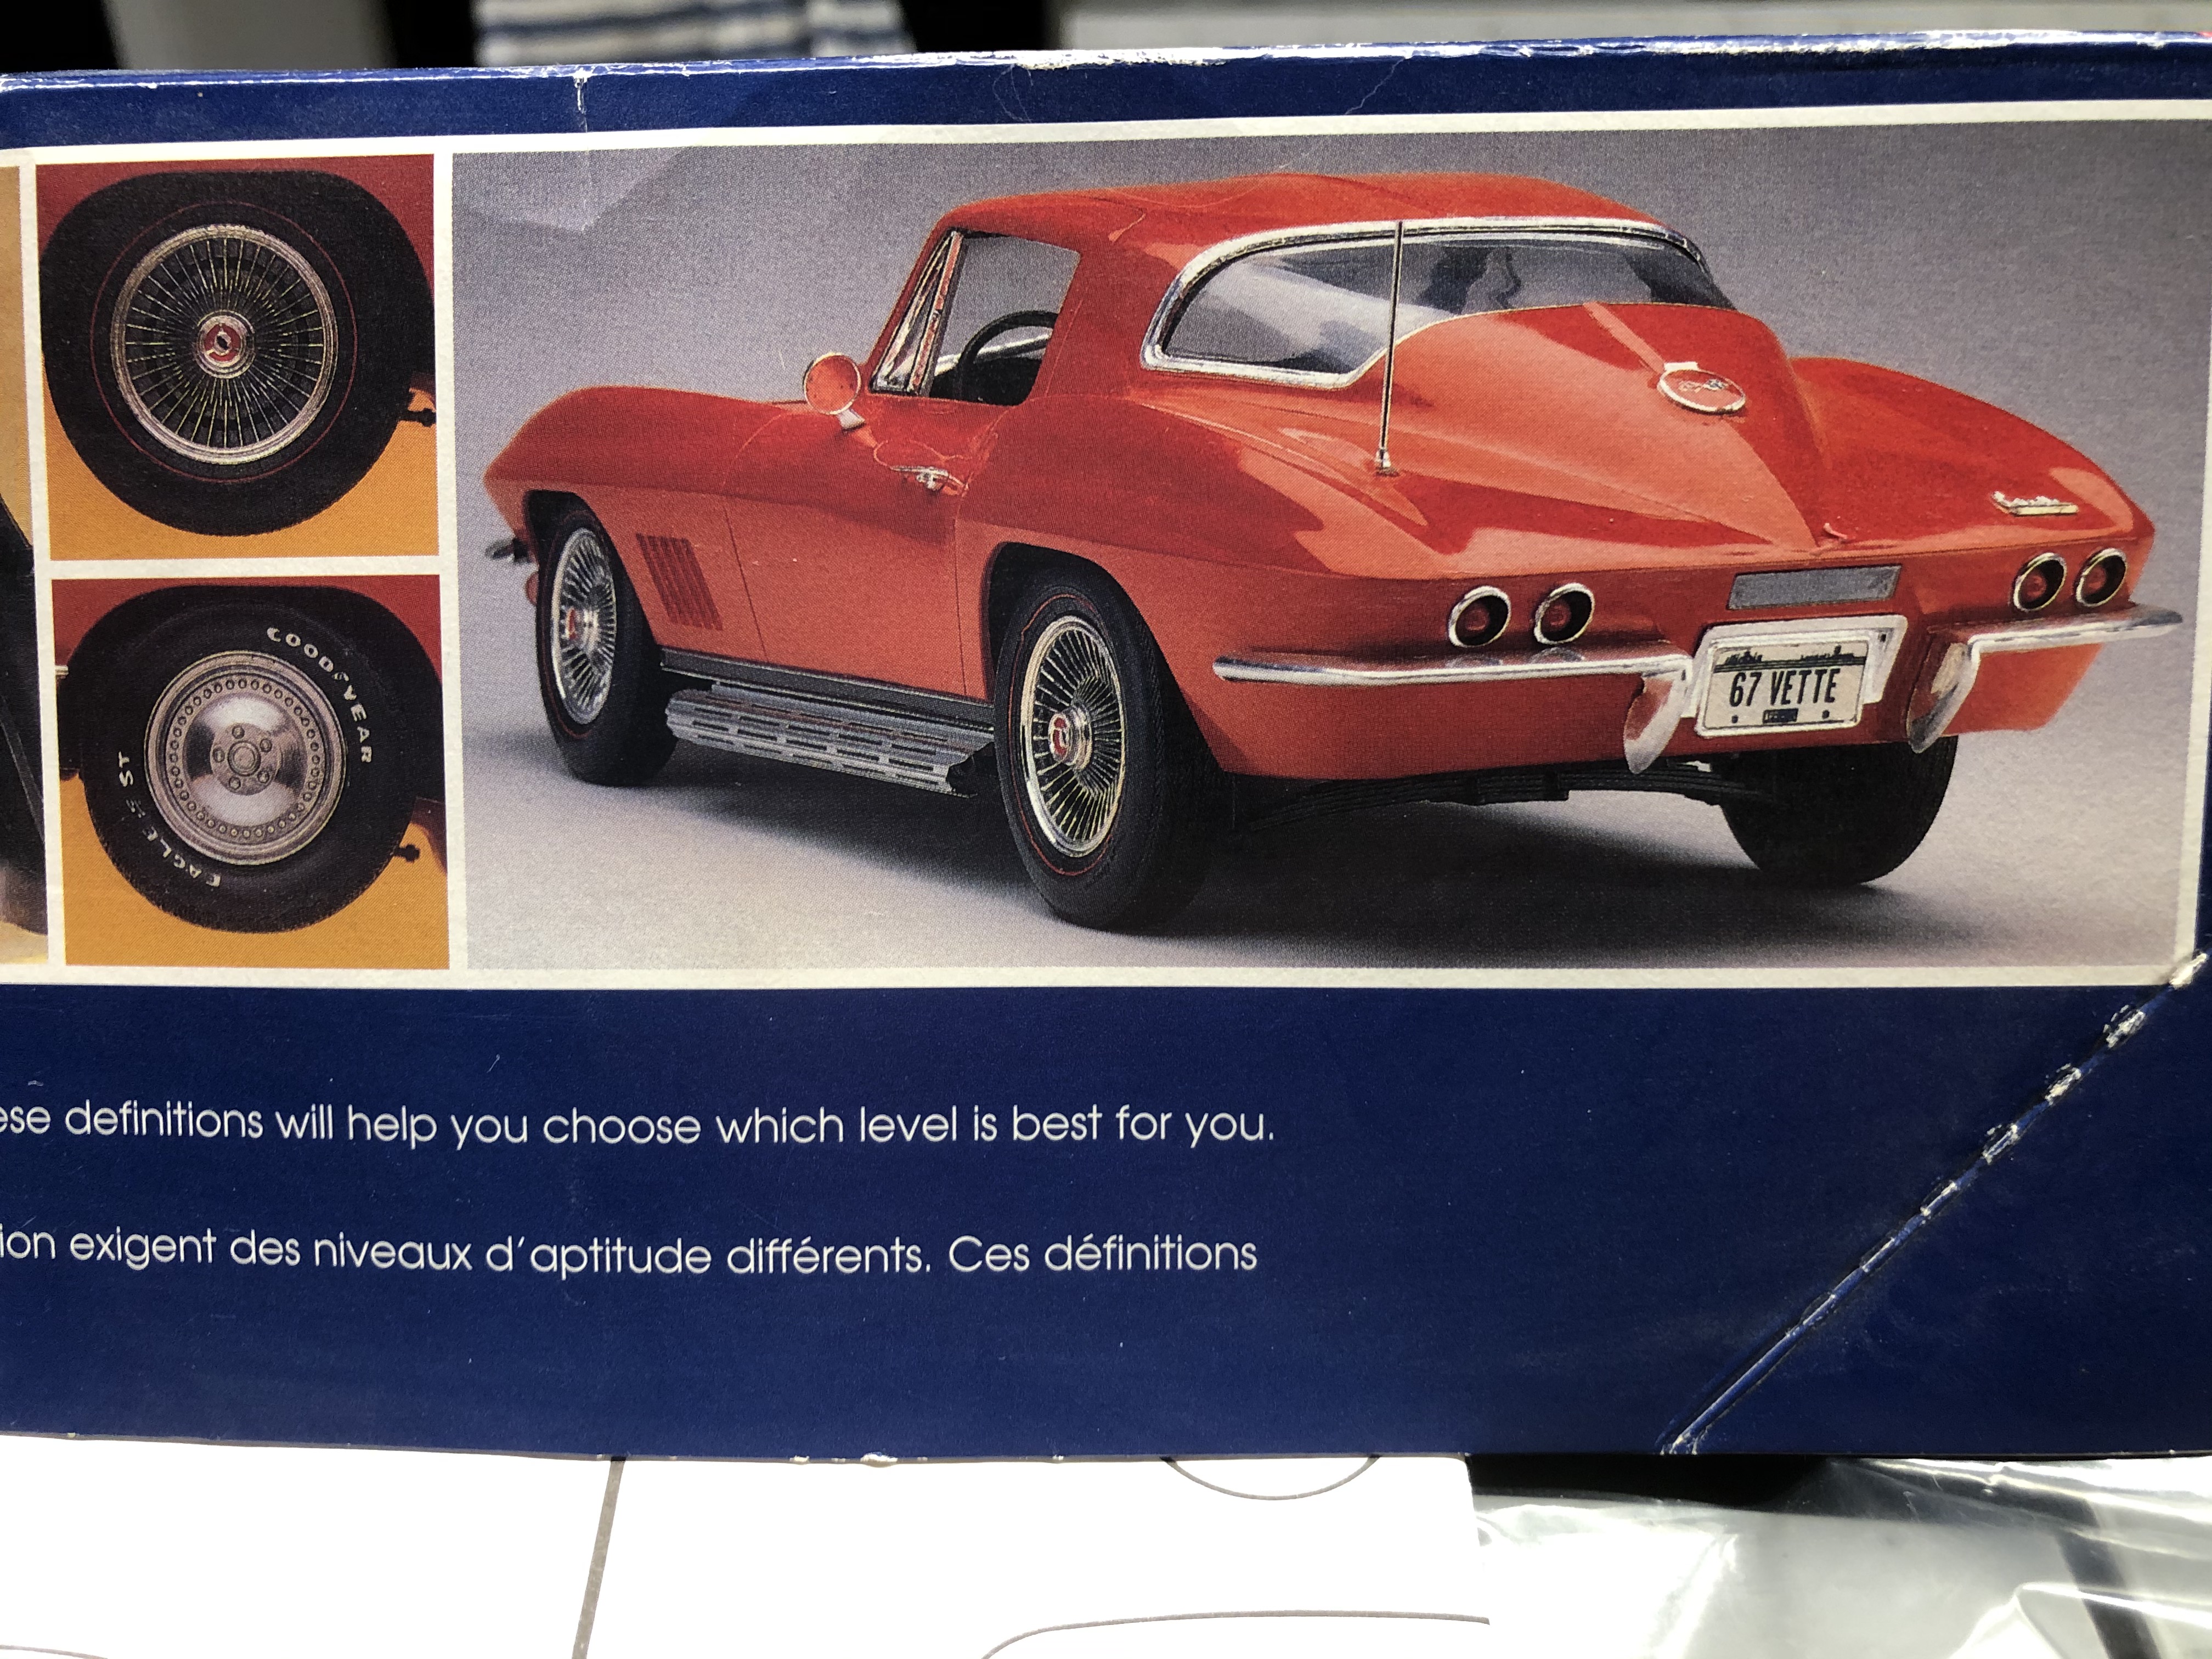
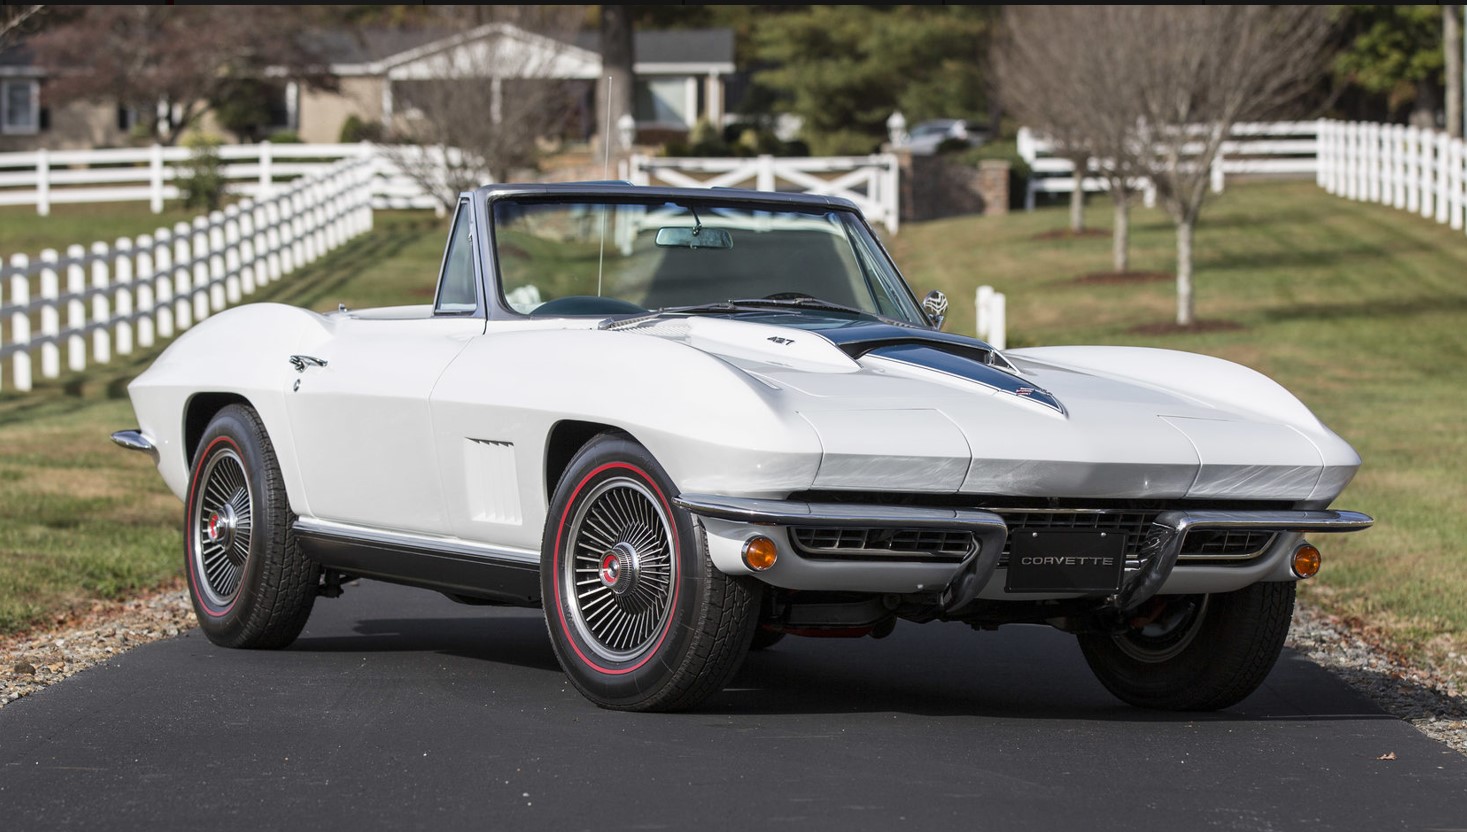
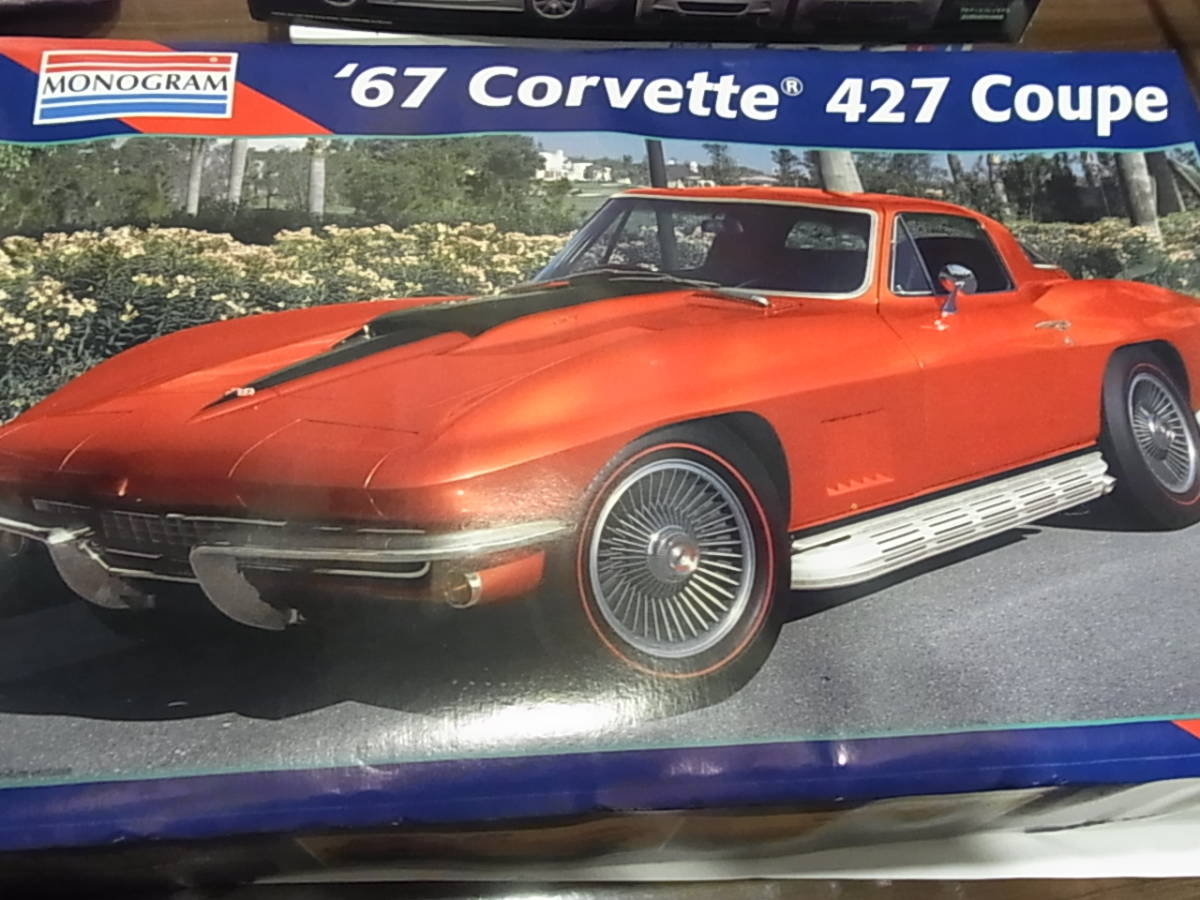
This one will be a stock build, undecided on colour but leaning towards White Pearl with Black trims. As usual for me, I have a second kit hiding away in the stash to build up as a modified street version.


Don't expect regular updates on this one, I'm taking my time and fitting small sessions between other builds. As always, feedback, comments and constructive critique are gratefully accepted.

Cheers, D
Joel_W
Staff MemberAssociate Editor
AUTOMODELER
_VISITCOMMUNITY
New York, United States
Joined: December 04, 2010
KitMaker: 11,666 posts
Auto Modeler: 2,974 posts
Posted: Monday, June 08, 2020 - 02:51 AM UTC
D,
I'm really looking forward to following your adventures with this kit, especially since it's 1/12 scale. I've thought about buying a few 1/12 scale F1 kits, but still haven't gotten up the nerve. Not even sure that I can build one as they're super detailed to the nth degree.

Joel
Hwa-Rang
_VISITCOMMUNITY
Kobenhavn, Denmark
Joined: June 29, 2004
KitMaker: 6,760 posts
Auto Modeler: 2,182 posts
Posted: Monday, June 08, 2020 - 04:17 AM UTC
Bring out the big boys

The engine definitely needs to be redone. Your "25 years later" skills are way better than that.
Cosimodo
#335
_VISITCOMMUNITY
Auckland, New Zealand
Joined: September 03, 2013
KitMaker: 1,808 posts
Auto Modeler: 701 posts
Posted: Monday, June 08, 2020 - 12:28 PM UTC
25 years! That's impressive. I do like the version with the blower, which looks pretty impressive. I always wondered how people saw past them.
Does the kit come with plenty of detail or are you going to have to scratch up your own? Anyways, looking forward to the restoration work on the engine.

cheers
Michael
AussieReg
Staff MemberAssociate Editor
AUTOMODELER
#007
_VISITCOMMUNITY
Victoria, Australia
Joined: June 09, 2009
KitMaker: 8,156 posts
Auto Modeler: 2,953 posts
Posted: Monday, June 08, 2020 - 01:01 PM UTC
Thanks for the encouragement guys, much appreciated.

Michael, the kit comes with ignition wiring and a couple of flexible tubes for heater hoses, but that's it. I will be having a go at adding some cables and linkages and fuel lines etc myself.
The second build will definitely be using the blower set-up!

This image is of a '66, at the Wellborn Museum, but this is the interior I will try to replicate. Classy!


Cheers, D
brekinapez
_VISITCOMMUNITY
Georgia, United States
Joined: July 26, 2013
KitMaker: 2,272 posts
Auto Modeler: 49 posts
Posted: Monday, June 08, 2020 - 01:46 PM UTC
So strange to realize a car I used to ride in the trunk with my brother when my mom and dad went to the drive-in is now a museum display.
AussieReg
Staff MemberAssociate Editor
AUTOMODELER
#007
_VISITCOMMUNITY
Victoria, Australia
Joined: June 09, 2009
KitMaker: 8,156 posts
Auto Modeler: 2,953 posts
Posted: Tuesday, June 09, 2020 - 02:04 AM UTC
A 15 minute session with a toothbrush and some warm soapy water thismorning before I headed out to work, then tonight I hit it with a flat stiff paintbrush and some 90% IPA to get me back to this.


I started work on the nasty step on the bottom of the oil pan and transmission, where I failed to line the halves up properly. I took it back a bit with a sanding stick, then gave it a hit with some TET and a good drop of Sprue Goo to build up the low side.


This will get a day to cure then another hit with the sanding stick.

Cheers, D

rv1963
_VISITCOMMUNITY
New York, United States
Joined: December 07, 2004
KitMaker: 1,888 posts
Auto Modeler: 806 posts
Posted: Tuesday, June 09, 2020 - 08:36 AM UTC
Damian. Well that was fast the engine looks better already, what did you use to strip the paint?
AussieReg
Staff MemberAssociate Editor
AUTOMODELER
#007
_VISITCOMMUNITY
Victoria, Australia
Joined: June 09, 2009
KitMaker: 8,156 posts
Auto Modeler: 2,953 posts
Posted: Tuesday, June 09, 2020 - 11:15 AM UTC

Quoted Text

Damian. Well that was fast the engine looks better already, what did you use to strip the paint?


Hi Robert. I use caustic oven cleaner in a ziplock bag.


It strips the chrome clean off in a few minutes, and given a few hours it softens the acrylic paint to the point where it can be easily and cleanly removed with a soft toothbrush. I don't generally use enamels, so I don't know how it performs there. Interestingly, the silver paint is intact on the pulley on the front of the alternator. I can't remember what I used there, but suspect that it might have been an old tin of Humbrol enamel from my dad's stash.

Cheers, D
rv1963
_VISITCOMMUNITY
New York, United States
Joined: December 07, 2004
KitMaker: 1,888 posts
Auto Modeler: 806 posts
Posted: Tuesday, June 09, 2020 - 12:12 PM UTC
Thanks i use oven cleaner for chrome also doesn't work to well on enamel paint as i remember.
AussieReg
Staff MemberAssociate Editor
AUTOMODELER
#007
_VISITCOMMUNITY
Victoria, Australia
Joined: June 09, 2009
KitMaker: 8,156 posts
Auto Modeler: 2,953 posts
Posted: Wednesday, June 10, 2020 - 12:36 AM UTC
I dug through the stash cupboard tonight out of interest and dragged out the other, older boxing of this kit. After all of these years I have managed to resist temptation, and this one is still in sealed bags and the decals look very good. A few images from the box top:


Cheers, D
AussieReg
Staff MemberAssociate Editor
AUTOMODELER
#007
_VISITCOMMUNITY
Victoria, Australia
Joined: June 09, 2009
KitMaker: 8,156 posts
Auto Modeler: 2,953 posts
Posted: Friday, June 12, 2020 - 02:42 AM UTC
A couple of sanding sessions and a little more sprue goo, then tonight was repaint time for the 427 c.i. block.

Grey primer is MS1500, engine orange/red is an eyeballed mix of orange and red.


Cheers, D
Dixon66
_VISITCOMMUNITY
New Hampshire, United States
Joined: December 12, 2002
KitMaker: 1,500 posts
Auto Modeler: 645 posts
Posted: Friday, June 12, 2020 - 04:39 AM UTC
Nice color mix up Damian, looks the part quite well.

How far are you taking it? An engine that big screams to be hosed and wired.
AussieReg
Staff MemberAssociate Editor
AUTOMODELER
#007
_VISITCOMMUNITY
Victoria, Australia
Joined: June 09, 2009
KitMaker: 8,156 posts
Auto Modeler: 2,953 posts
Posted: Friday, June 12, 2020 - 12:48 PM UTC

Quoted Text

Nice color mix up Damian, looks the part quite well.
How far are you taking it? An engine that big screams to be hosed and wired.


Thanks David! I will definitely be adding as much detail as I can on these large-scale builds. The kit comes with ignition wires and flexible tube for the heater hoses, but I want to add fuel lines and linkages and other electrical where I can.


Cheers, D
Cosimodo
#335
_VISITCOMMUNITY
Auckland, New Zealand
Joined: September 03, 2013
KitMaker: 1,808 posts
Auto Modeler: 701 posts
Posted: Friday, June 12, 2020 - 06:48 PM UTC
Great colour on that engine block Damian. A big improvement. I'm sure in that scale the more detail you can add the better it will look and least with Corvettes there must be a million pictures.

cheers
Michael
AussieReg
Staff MemberAssociate Editor
AUTOMODELER
#007
_VISITCOMMUNITY
Victoria, Australia
Joined: June 09, 2009
KitMaker: 8,156 posts
Auto Modeler: 2,953 posts
Posted: Saturday, June 13, 2020 - 02:17 PM UTC
Thanks Michael!

And yes, no shortage of reference material for me here! This is the one I'm using for the body and engine reference, but I'm not a big fan of the blue interior.


I will definitely go with the red/brown scheme.


The ignition wires are shown to be inserted into a simple hole in the block, beside the head bolts. Tonights mission is to clear out the holes and glue in some 1.75mm styrene rod to give some semblance of a spark plug/lead cap. They will be hidden down between the exhaust manifold ports and barely visible, and I am planning to use some silver grey braid over the ignition wires to add some bling to the engine bay. I will also route the ignition leads over the top of the rocker covers as per the reference image, instead of around under the headers as per the instructions.


Cheers, D

rv1963
_VISITCOMMUNITY
New York, United States
Joined: December 07, 2004
KitMaker: 1,888 posts
Auto Modeler: 806 posts
Posted: Wednesday, June 17, 2020 - 06:11 AM UTC
Damian, Nice work on that rather large engine, i like how the instruction sheet gives you the firing order pretty cool.
RussellE
#306
_VISITCOMMUNITY
Victoria, Australia
Joined: June 27, 2010
KitMaker: 3,959 posts
Auto Modeler: 495 posts
Posted: Monday, June 22, 2020 - 03:36 PM UTC
you had me at Corvette, Large Scale Project

Following with interest D
AussieReg
Staff MemberAssociate Editor
AUTOMODELER
#007
_VISITCOMMUNITY
Victoria, Australia
Joined: June 09, 2009
KitMaker: 8,156 posts
Auto Modeler: 2,953 posts
Posted: Thursday, June 25, 2020 - 01:53 AM UTC
Things you find when you're browsing the supplier websites!


AussieReg
Staff MemberAssociate Editor
AUTOMODELER
#007
_VISITCOMMUNITY
Victoria, Australia
Joined: June 09, 2009
KitMaker: 8,156 posts
Auto Modeler: 2,953 posts
Posted: Friday, June 26, 2020 - 01:15 AM UTC
A bit of detail painting tonight waiting for Group Build progress to cure. I hand painted the starter, fuel pump, oil filter and "spark plugs" on the main engine assembly, and the belts, fan blades and carburettors on the other assemblies.


The exhaust manifolds were primed with MS1500 Black, then shot with SMS Stainless Steel, which was a bit too bright (on the RHS here).


I shot some SMS Gunmetal in an uneven thin coat over the Stainless Steel, then some SMS Clear Blue over that on the elbows and joins.


Reassembly soon

Cheers, D
Dixon66
_VISITCOMMUNITY
New Hampshire, United States
Joined: December 12, 2002
KitMaker: 1,500 posts
Auto Modeler: 645 posts
Posted: Friday, June 26, 2020 - 04:10 AM UTC
Looking great mate.

I've never tried pulling one apart and redoing it.
RussellE
#306
_VISITCOMMUNITY
Victoria, Australia
Joined: June 27, 2010
KitMaker: 3,959 posts
Auto Modeler: 495 posts
Posted: Friday, June 26, 2020 - 11:26 AM UTC
Nice recovery on the Engine, D
AussieReg
Staff MemberAssociate Editor
AUTOMODELER
#007
_VISITCOMMUNITY
Victoria, Australia
Joined: June 09, 2009
KitMaker: 8,156 posts
Auto Modeler: 2,953 posts
Posted: Tuesday, June 30, 2020 - 03:09 AM UTC
Well I did a bit of re-assembly tonight and got a bit snap-happy because I'm pretty pleased with how this has turned out so far!


Still plenty to do here but a huge improvement on where I started out.

Cheers, D
Dixon66
_VISITCOMMUNITY
New Hampshire, United States
Joined: December 12, 2002
KitMaker: 1,500 posts
Auto Modeler: 645 posts
Posted: Tuesday, June 30, 2020 - 03:25 AM UTC
That looks great D! It will look even better in the chassis.
Hwa-Rang
_VISITCOMMUNITY
Kobenhavn, Denmark
Joined: June 29, 2004
KitMaker: 6,760 posts
Auto Modeler: 2,182 posts
Posted: Wednesday, July 08, 2020 - 04:17 AM UTC
Killer engine.

I had to Google "Anti fouling" had no clue, what that was Great match for the interior.
 _GOTOTOP