Thanks for the feedback guys, I'm really grateful for the support and glad you are enjoying the work here.
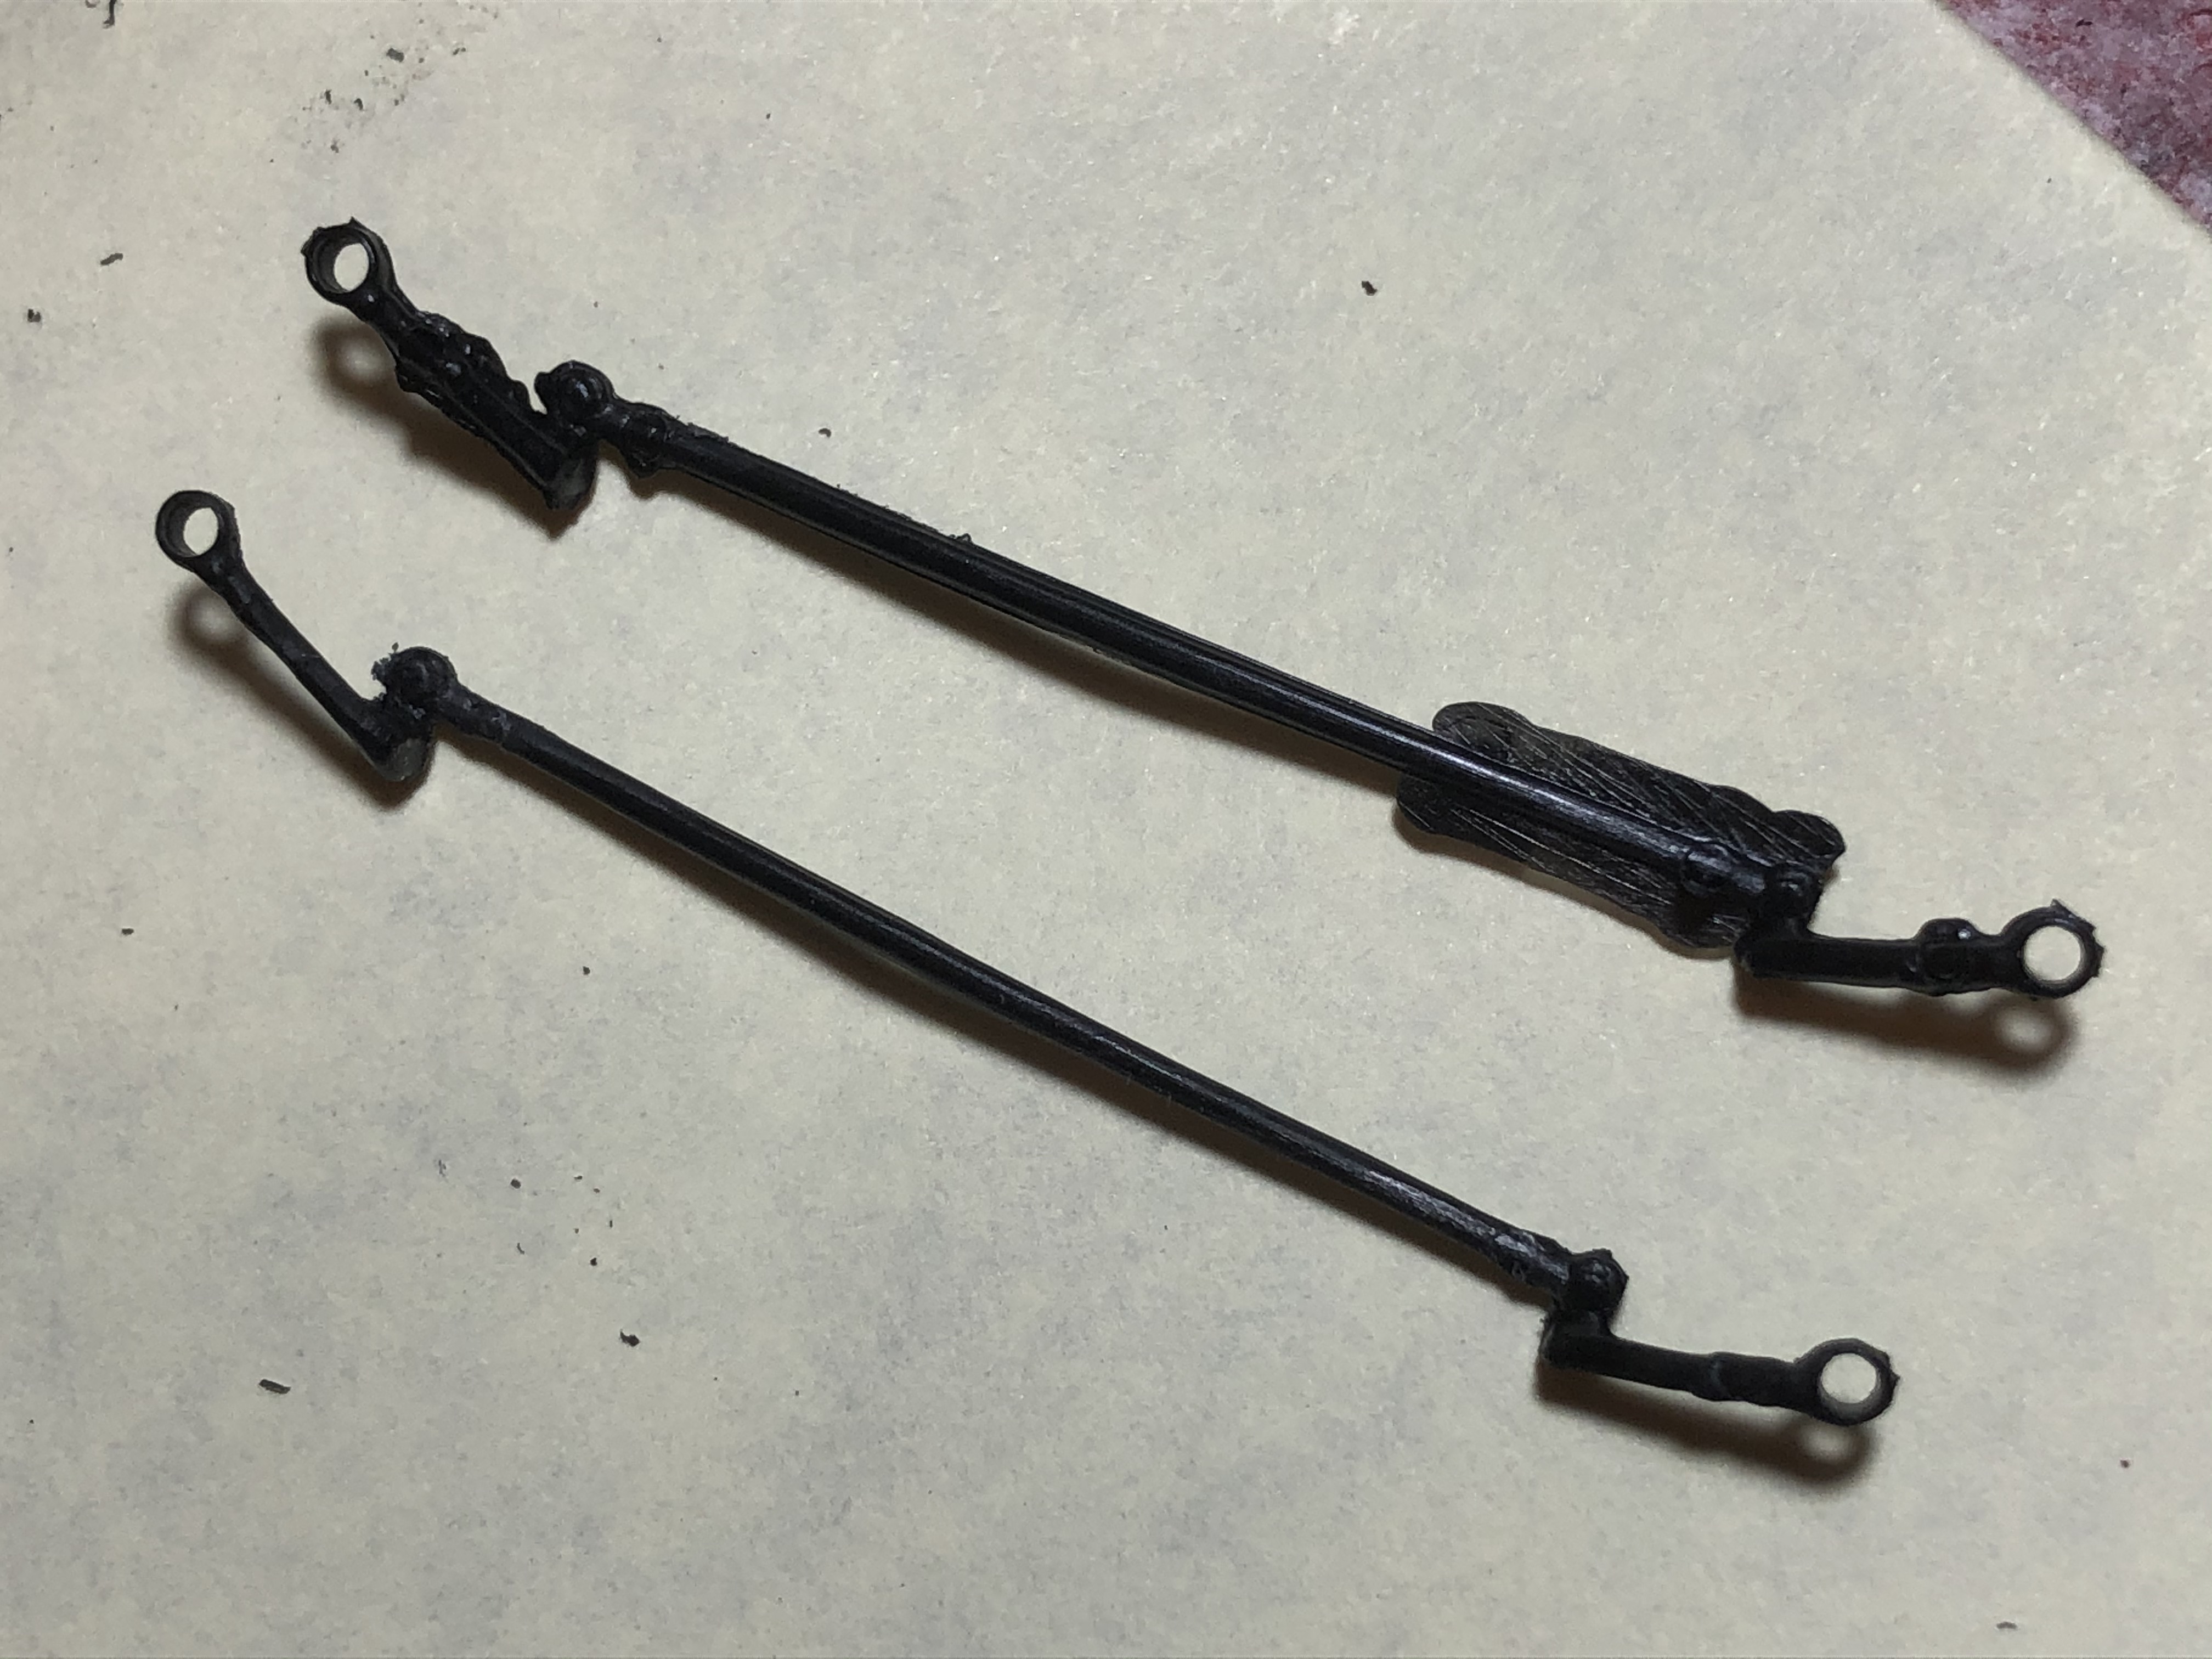
Just a quick note on the kit parts here, even though the fit has been generally quite good, I'm still dealing with a bit of flash and some significant mould seams on the smaller parts. Here is a "before and after" shot of the same part from both kits.
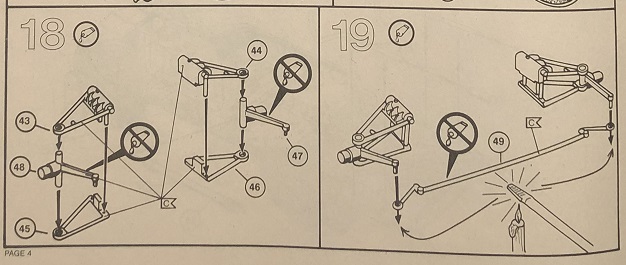
On to the next few steps (18 to 22) which completes the underside.
Firstly, it must be at least 10 years since I used a heated screwdriver to fit a part to keep the steering operational!
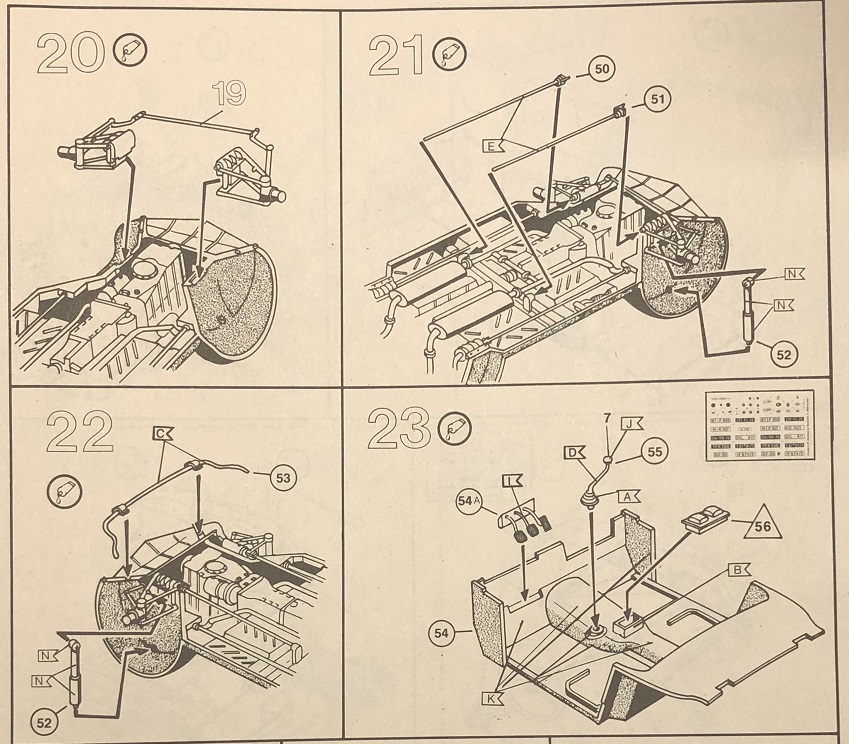
Another quick note, part numbers 50 and 51 are reversed in the instructions (Step 21).
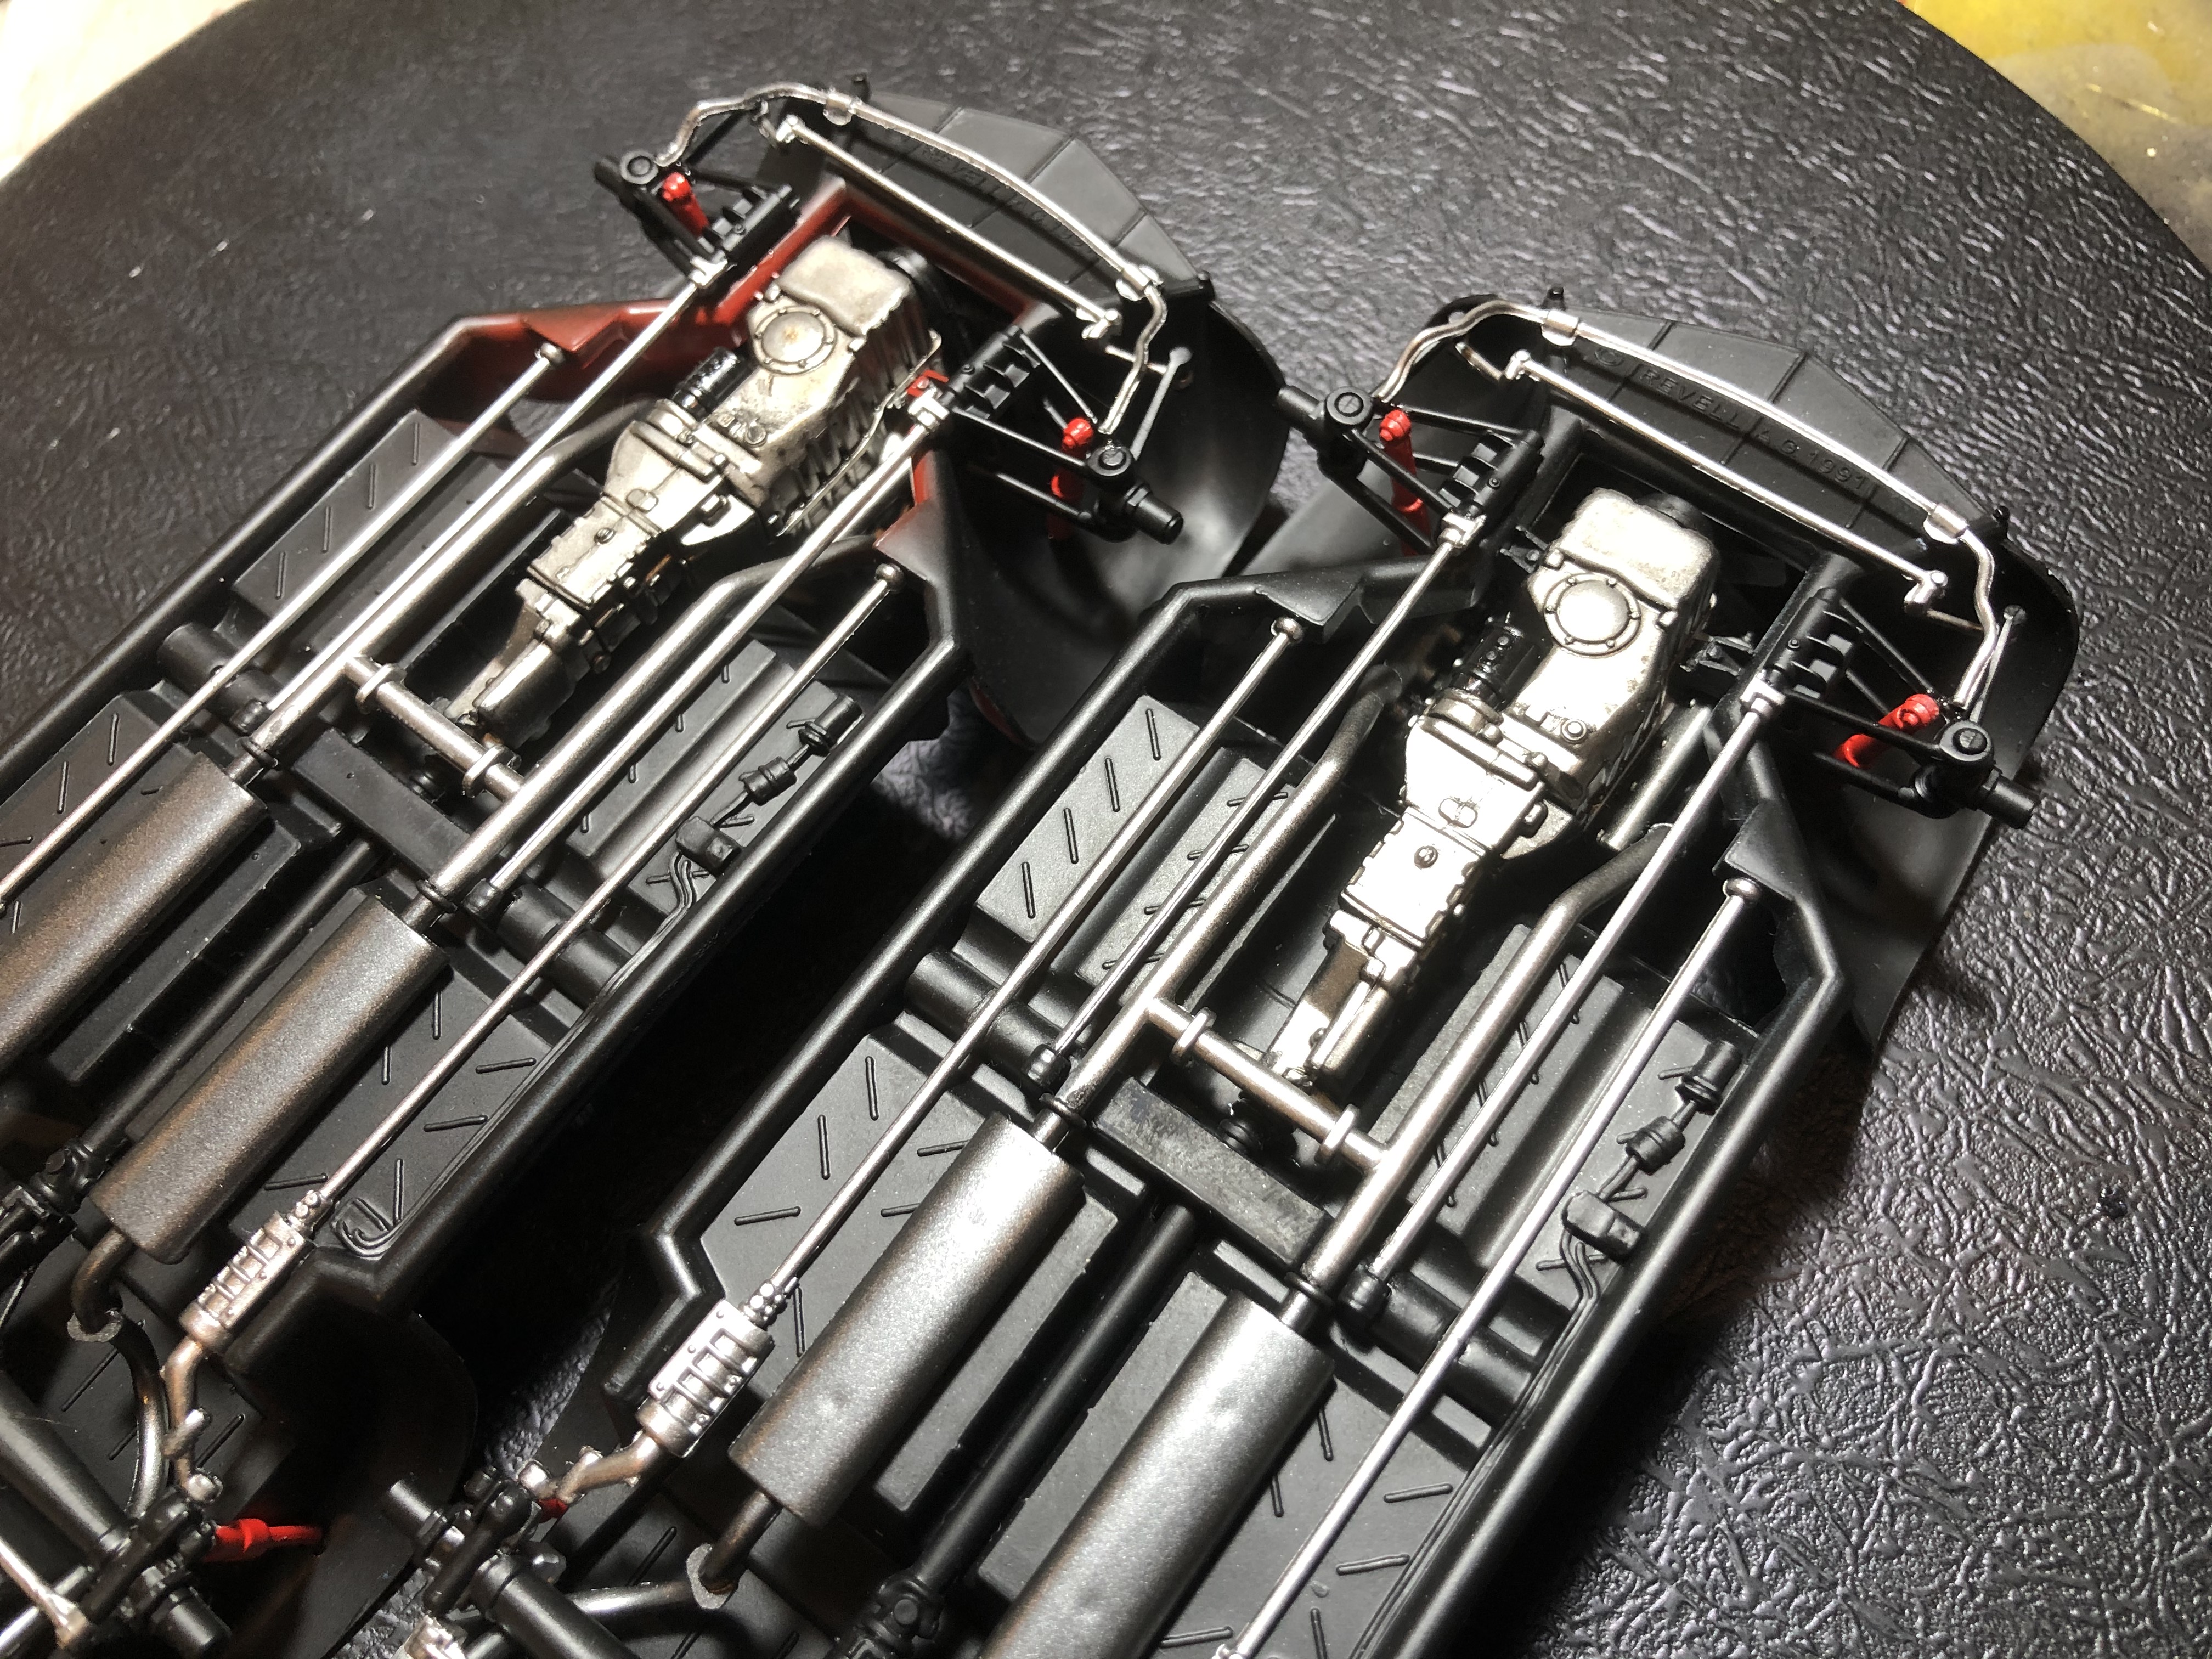
Once again, I decided to go against the colour call-outs (silver instead of black) and add some more bling to the underside on a few parts. The underside assembly is now complete on both kits, just some touch-ups, detail paint and weathering to do, then on to the interior.
Cheers, D
You are viewing the archived version of the site.
Go to automodeler.com for the current dynamic site!
Cars
Discuss all types of automotive modeling here.
Hosted by Jim Starkweather
BMW 507 Coupe and Cabrio Dual Build
Posted: Wednesday, September 30, 2020 - 01:52 AM UTC
Joel_W
Associate Editor
New York, United States
Joined: December 04, 2010
KitMaker: 11,666 posts
Auto Modeler: 2,974 posts
Joined: December 04, 2010
KitMaker: 11,666 posts
Auto Modeler: 2,974 posts
Posted: Wednesday, September 30, 2020 - 02:34 AM UTC
D,
the undersides are looking exceptional. I believe that the use of the various shades of Black by various manufactures was to protect the parts from oxidation and road damage, but our models really don't have those issues.
Joel
the undersides are looking exceptional. I believe that the use of the various shades of Black by various manufactures was to protect the parts from oxidation and road damage, but our models really don't have those issues.
Joel