


UPDATE - Charlie is not alone
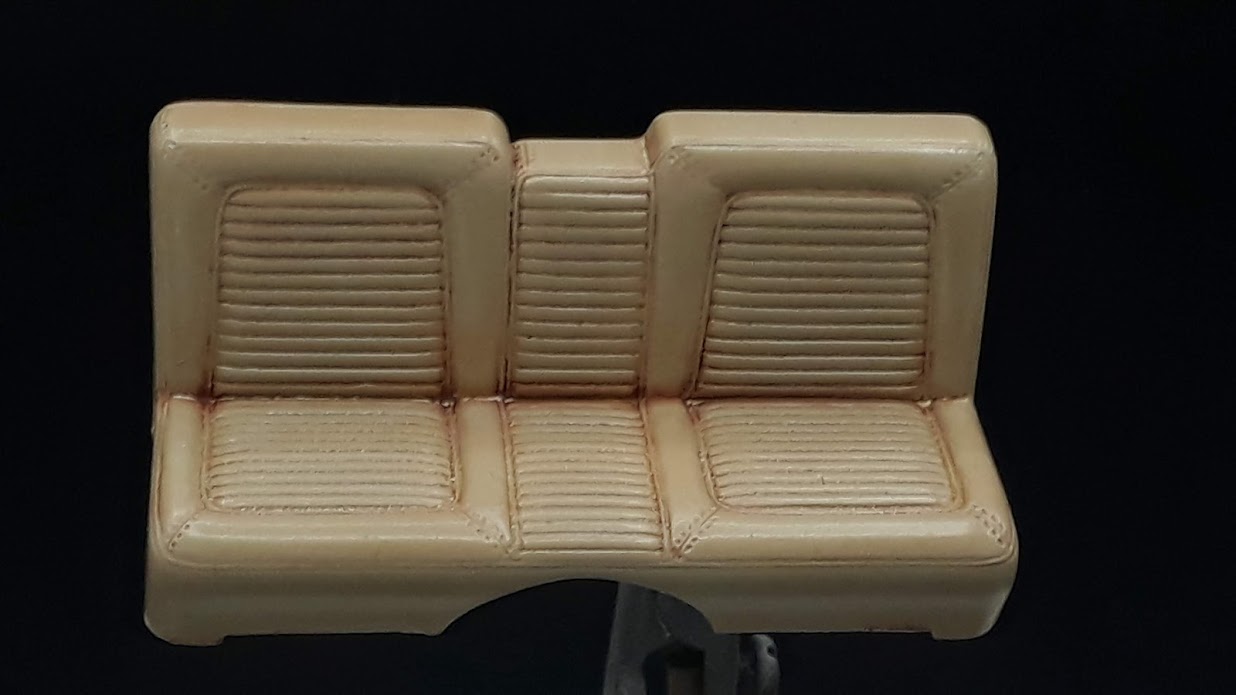
First on the seats: I applied a filter as Joel suggested, but a "rejuvenation filter", as Jesper suggested. I mixed the base color with satin clear and IPA to create a filter and sprayed it selectively over the benches. I am very pleased with the result, and I think I have to fill in for a "new patent": oil wash pre-shading technique. The front bench needs another filter application to my taste, but the rear bench looked exactly as I wanted to from the beginning:

Yet another experiment: using xylene as enamel thinner. That answers pretty much to my secret desire to poison myself, but with benefits in modeling world. A while ago I discarded the paint thinner for lacquer thinner. It was a good step, but I'm never happy kind of lunatic. And I tried acetone. This one worked too; the acetone is a better thinner than the lacquer thinner but very "dry" and never gave me impeccable results with gloss colors because has a tendency to dry too fast. I bought some xylene some weeks ago to experiment as reducer for urethane (2K), but I noticed last night that the sticker claims: "thins lacquers and urethanes" and that was the spark (in my experience whatever goes for lacquers, goes for enamels too!). So I tried it! I still have a big smile on my creepy face: is slightly better than anything else: stronger than lacquer thinner, milder and "greasier" than acetone! Aha-aha! I have a new favorite princess! The gloss black base coat for Alclad went so smooth, that I achieved probably the best chrome ever - very hard to tell from the one on the plated parts:
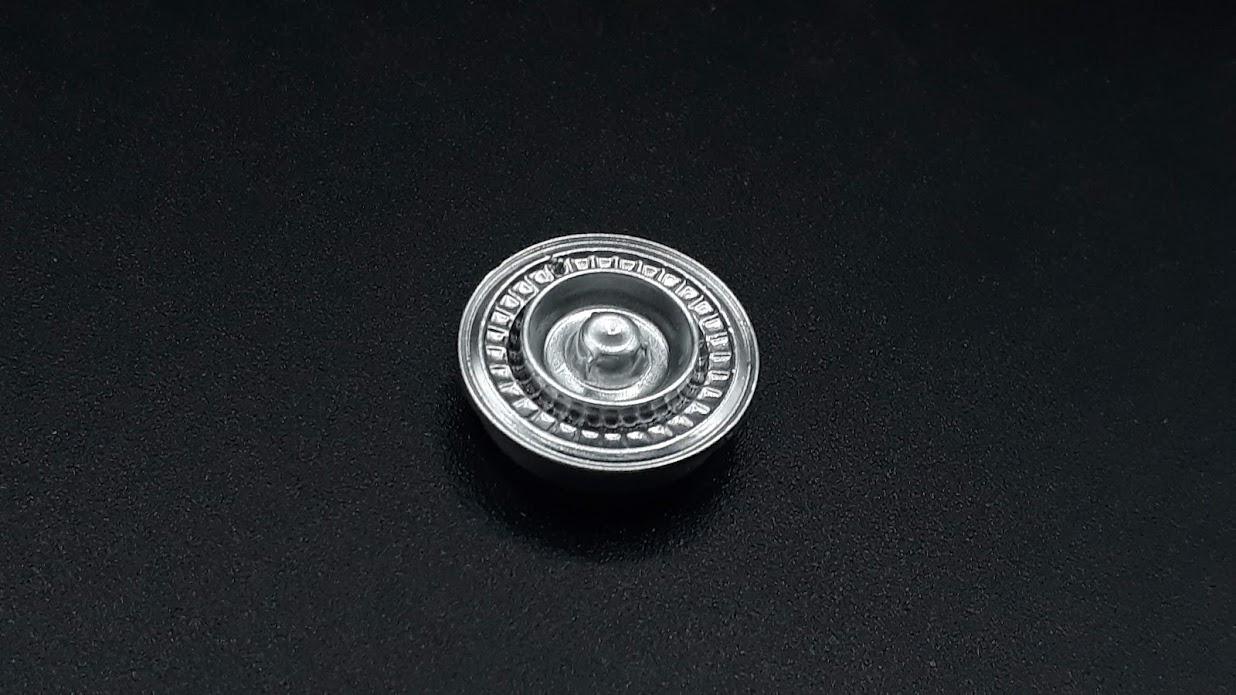
Encouraged, I have used it for almond enamel on the tire inserts. And look at that! (White Challende anyone?
 ):
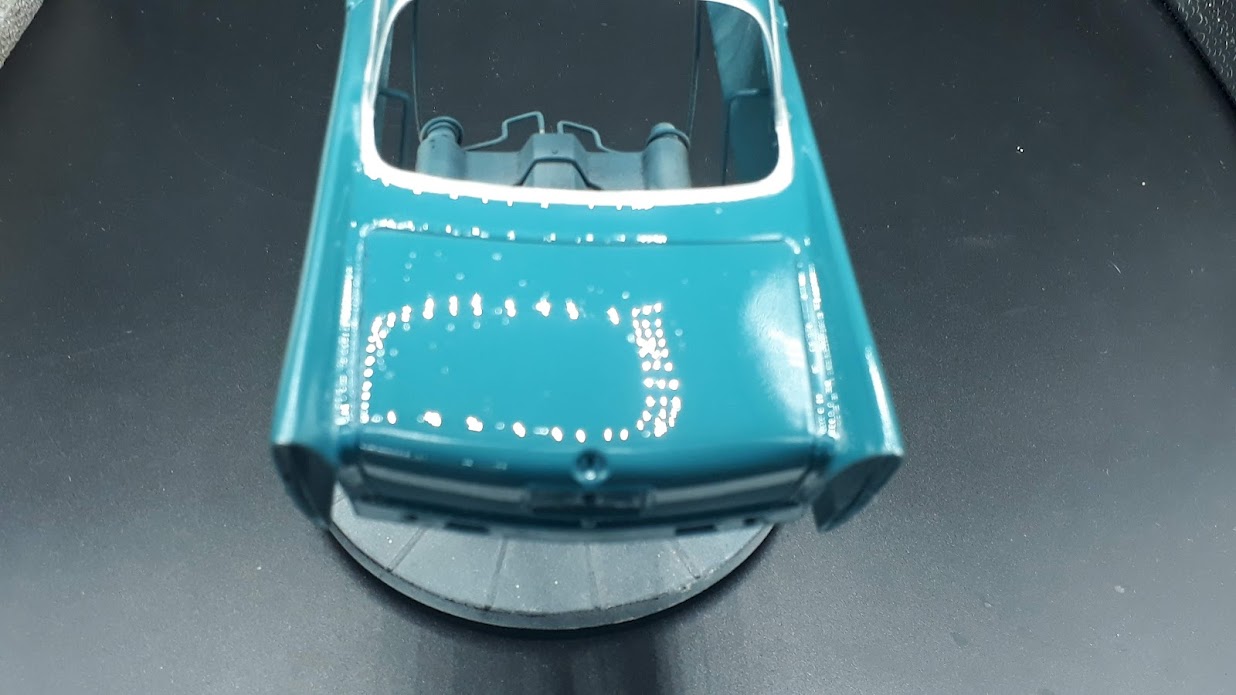
):And now the bad news: I went to clear coat my hood that was left behind... and there was something in the resin (lint, a dirty mixing cup, air bubbles?). Not sure what was it, but this is the result:

The bad thing about the resin is that the process is irreversible. One cannot just stop mid-way. So I had to carry on!
So I had to carry on. In this occasion I have noticed and the very first resin run

I have applied the side badges on the body as well, and I thought it will be nice to cover them in resin as well. Just it doesn't work like that!

2K doesn't like the "intermediary" or semi-wet coats. With 2K one has to be a real man: to do it or else! Eventually it went good, but the trunk is as bad looking as the hood (from sympathy to each other I guess):
So, Charlie, you are not alone, my friend! Let us do some sanding while the fellows read the thread, shall we?
P.S. The damage is superficial on the body, so no real worries - 2K stands sanding as a champ!
Gabriel


