Heller 1/8. Traction Avant
United Kingdom
Joined: December 20, 2013
KitMaker: 1,179 posts
Auto Modeler: 647 posts
Posted: Saturday, November 14, 2015 - 09:57 PM UTC
United Kingdom
Joined: December 20, 2013
KitMaker: 1,179 posts
Auto Modeler: 647 posts
Posted: Monday, November 16, 2015 - 11:29 PM UTC
United Kingdom
Joined: December 20, 2013
KitMaker: 1,179 posts
Auto Modeler: 647 posts
Posted: Wednesday, November 18, 2015 - 01:32 AM UTC
United Kingdom
Joined: December 20, 2013
KitMaker: 1,179 posts
Auto Modeler: 647 posts
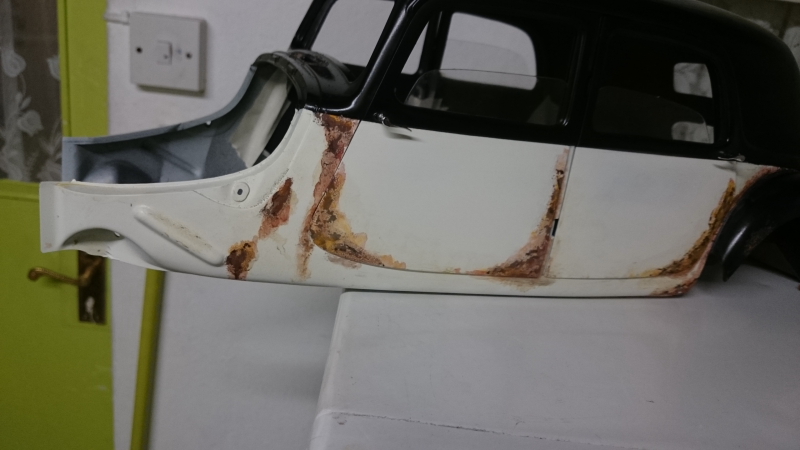
Posted: Wednesday, November 18, 2015 - 11:48 PM UTC
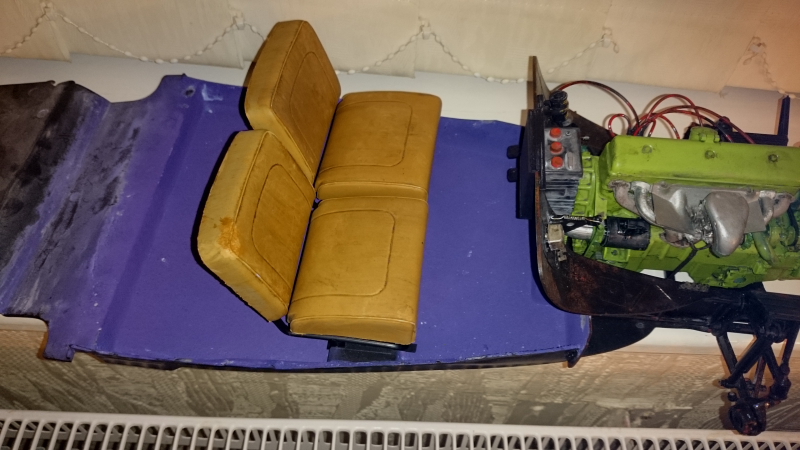
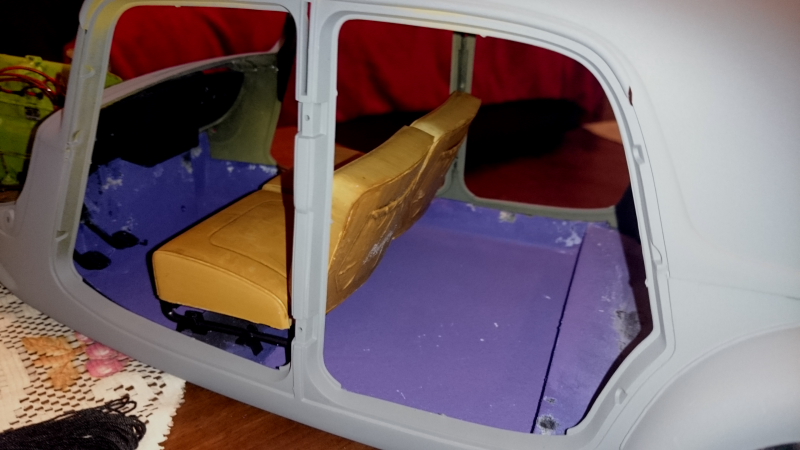
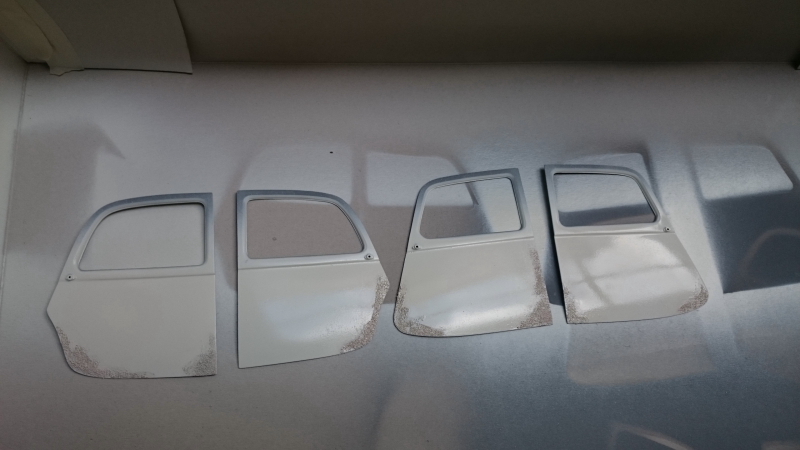
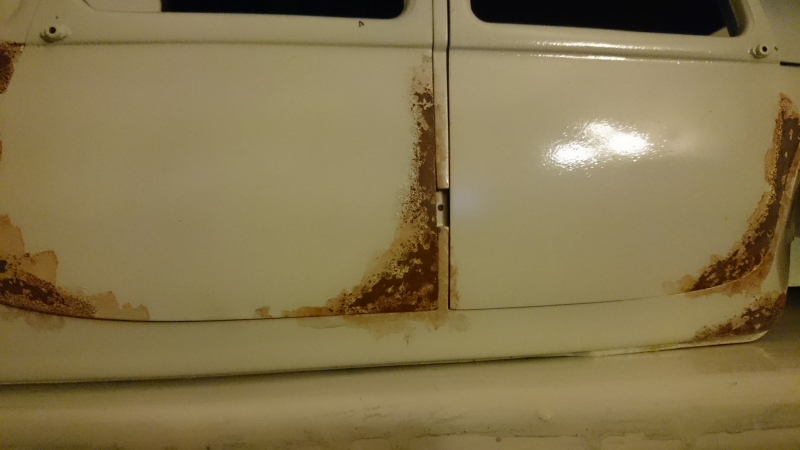
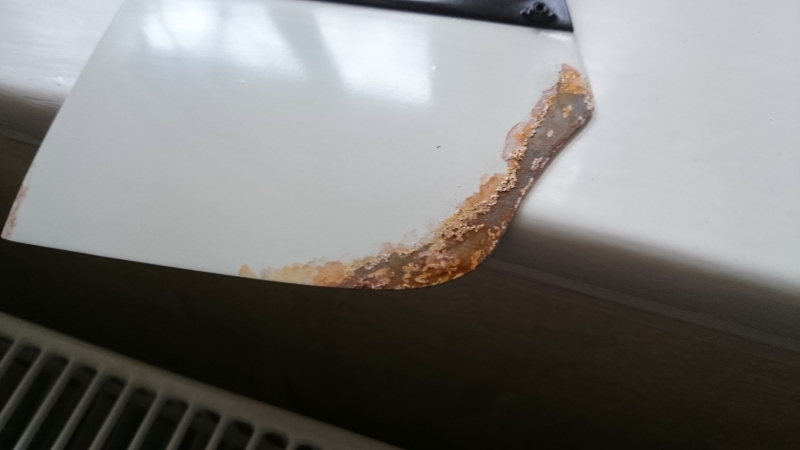
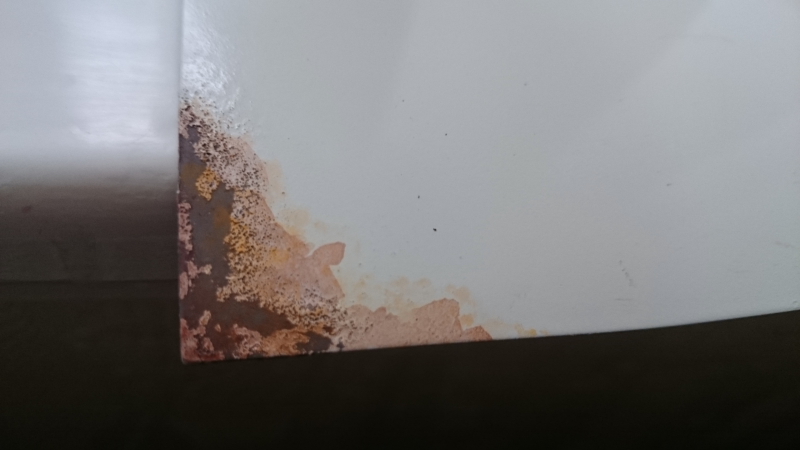
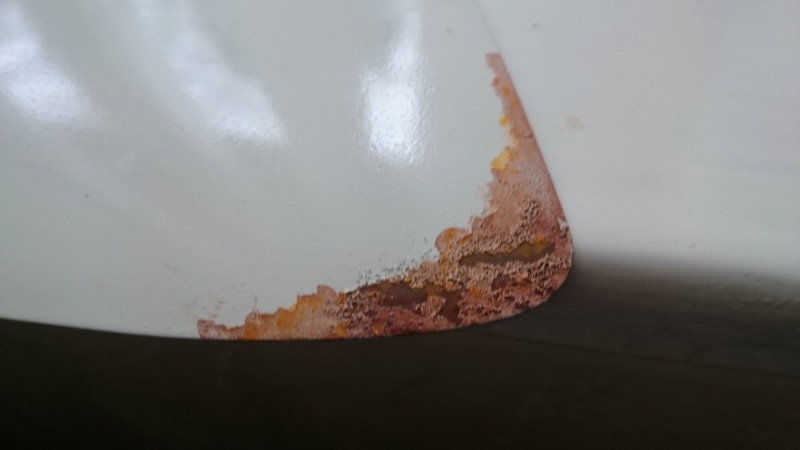
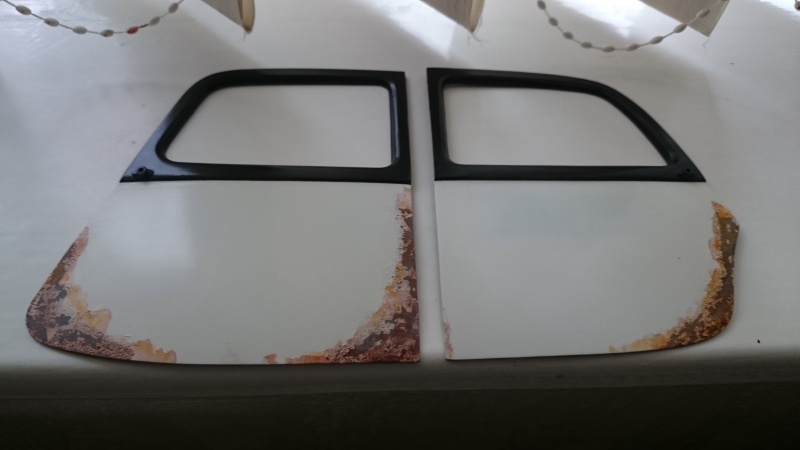
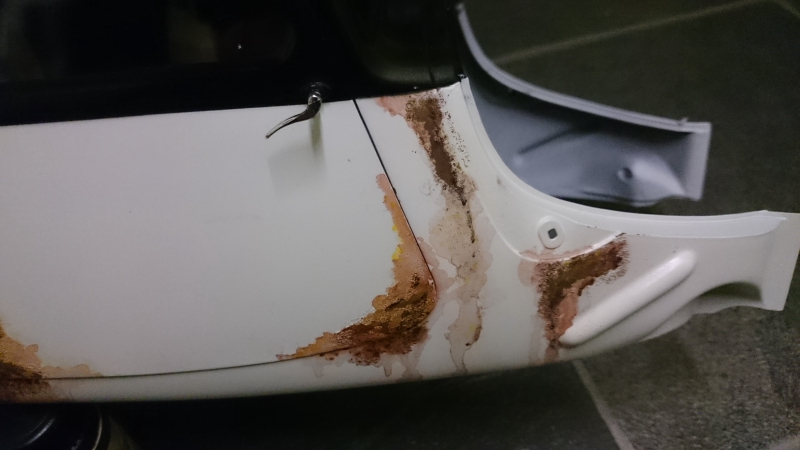
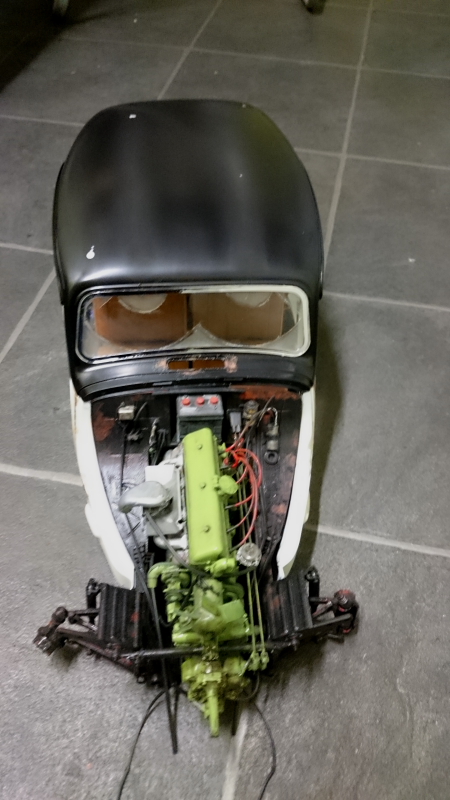
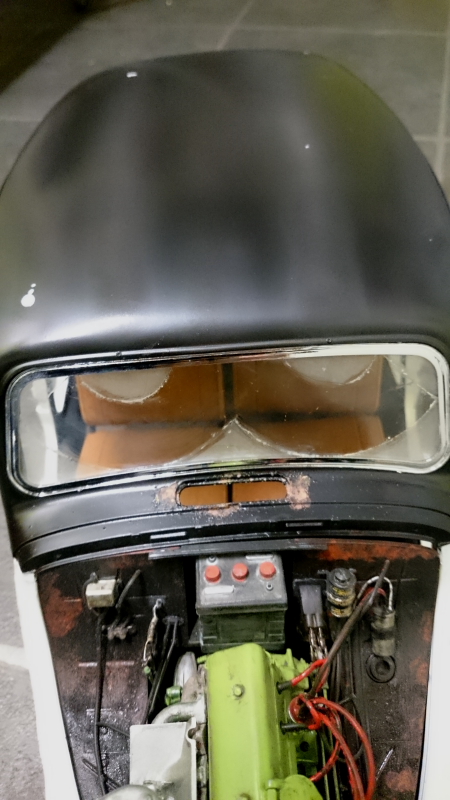
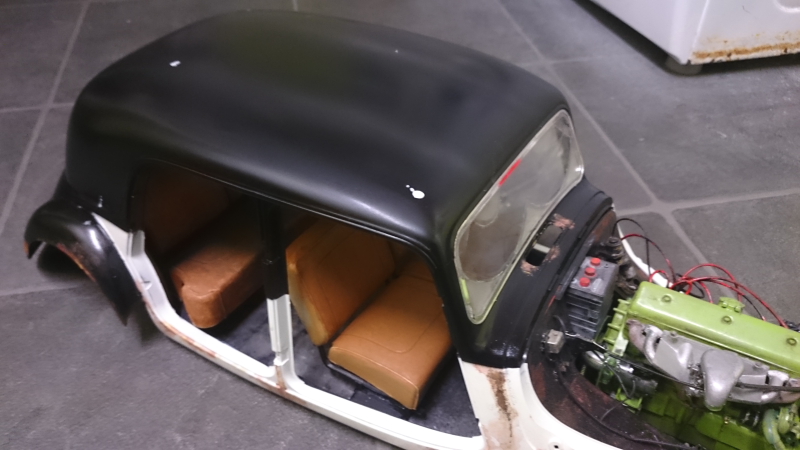
Test fit of the doors.
the doors have working hinges and door handles (Yep they have working latches)

#362
California, United States
Joined: December 01, 2013
KitMaker: 1,661 posts
Auto Modeler: 431 posts
Posted: Thursday, November 19, 2015 - 10:18 AM UTC
Hi Ken,
Your project looks great - nice work on the engine. I have to ask, at this scale are the parts warped at all, or are you generally getting a clean fit?
Keep up the great work -
Cheers
Nick
United Kingdom
Joined: December 20, 2013
KitMaker: 1,179 posts
Auto Modeler: 647 posts
Posted: Friday, November 20, 2015 - 04:04 AM UTC
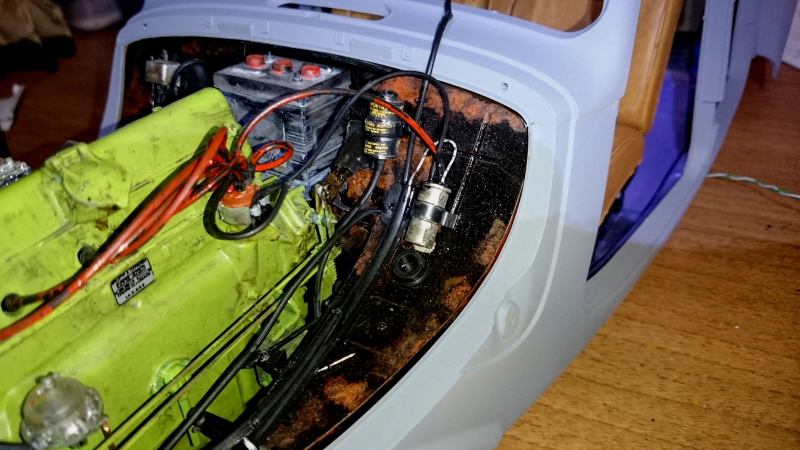
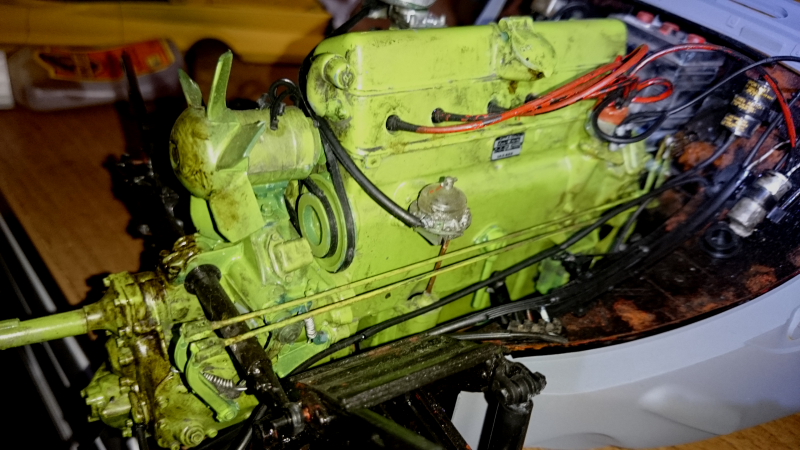
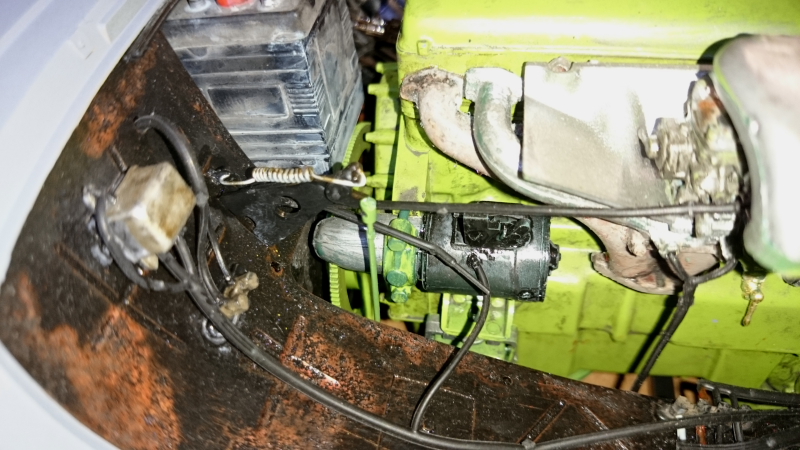
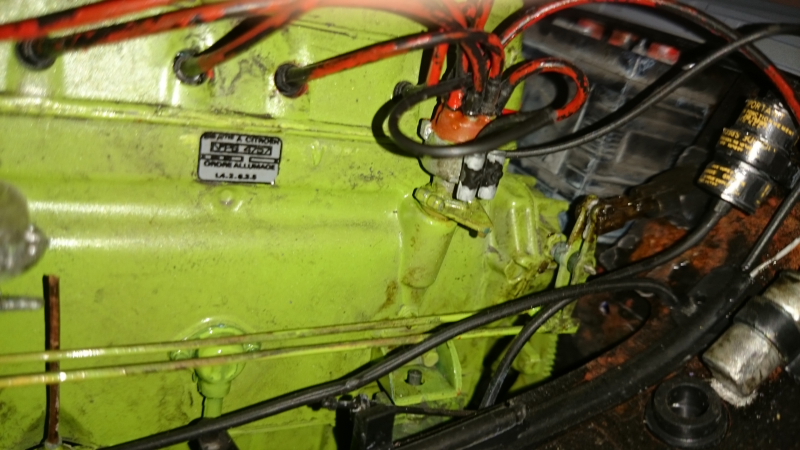
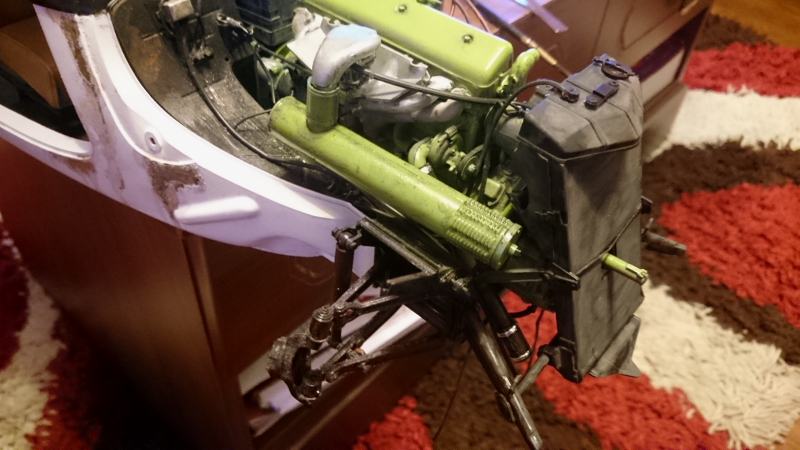
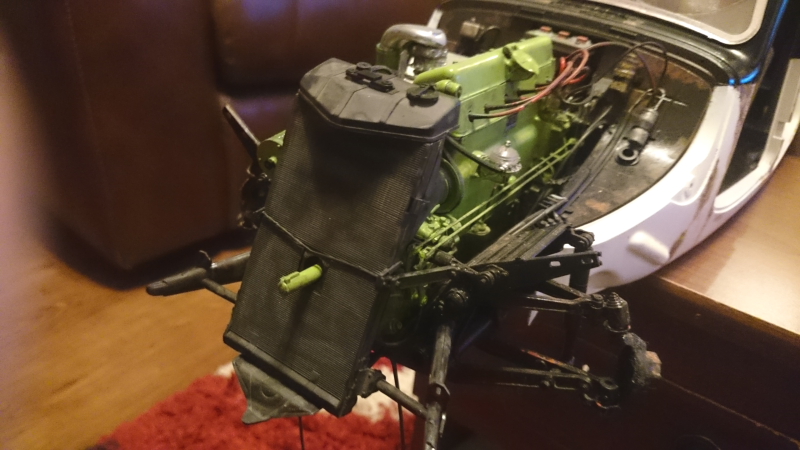
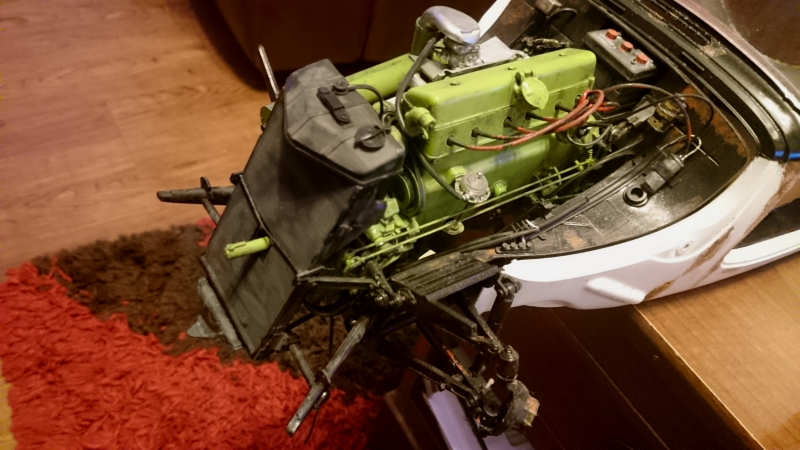
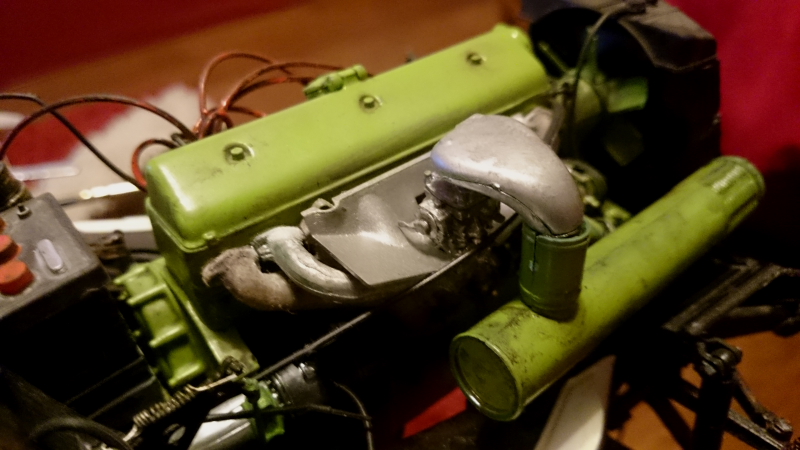
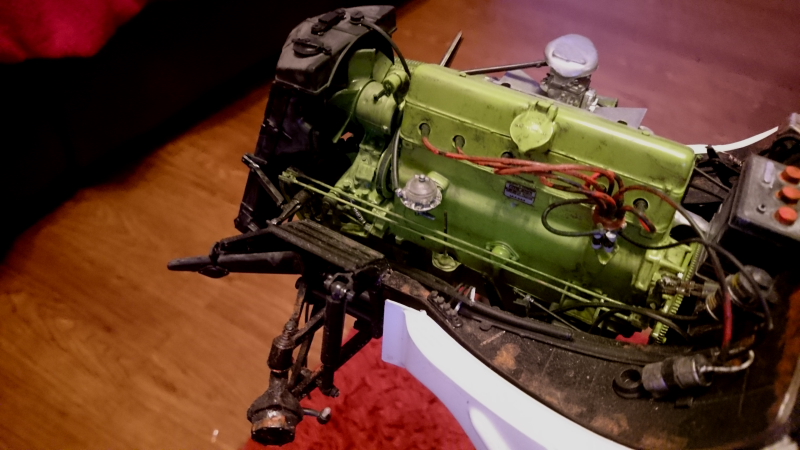
I have heard and seen horror story's on this kit especially the engine, but I have to say everything has fitted like a glove (so far, touch wood) I will deffo be getting another (assuming I can find one) I already have plans for it and I'm not halfway through this one yet
United Kingdom
Joined: December 20, 2013
KitMaker: 1,179 posts
Auto Modeler: 647 posts
Posted: Tuesday, November 24, 2015 - 01:19 AM UTC
United Kingdom
Joined: December 20, 2013
KitMaker: 1,179 posts
Auto Modeler: 647 posts
Posted: Wednesday, November 25, 2015 - 12:14 AM UTC
United Kingdom
Joined: December 20, 2013
KitMaker: 1,179 posts
Auto Modeler: 647 posts
Posted: Saturday, November 28, 2015 - 10:09 PM UTC
United Kingdom
Joined: December 20, 2013
KitMaker: 1,179 posts
Auto Modeler: 647 posts
Posted: Sunday, November 29, 2015 - 11:50 PM UTC
United Kingdom
Joined: December 20, 2013
KitMaker: 1,179 posts
Auto Modeler: 647 posts
Posted: Tuesday, December 01, 2015 - 01:04 AM UTC
#362
California, United States
Joined: December 01, 2013
KitMaker: 1,661 posts
Auto Modeler: 431 posts
Posted: Tuesday, December 01, 2015 - 04:53 AM UTC
Hi Ken -
well, I'm not bored - in fact, I find your mega scale project pretty interesting. Wow! that's a BIG model!
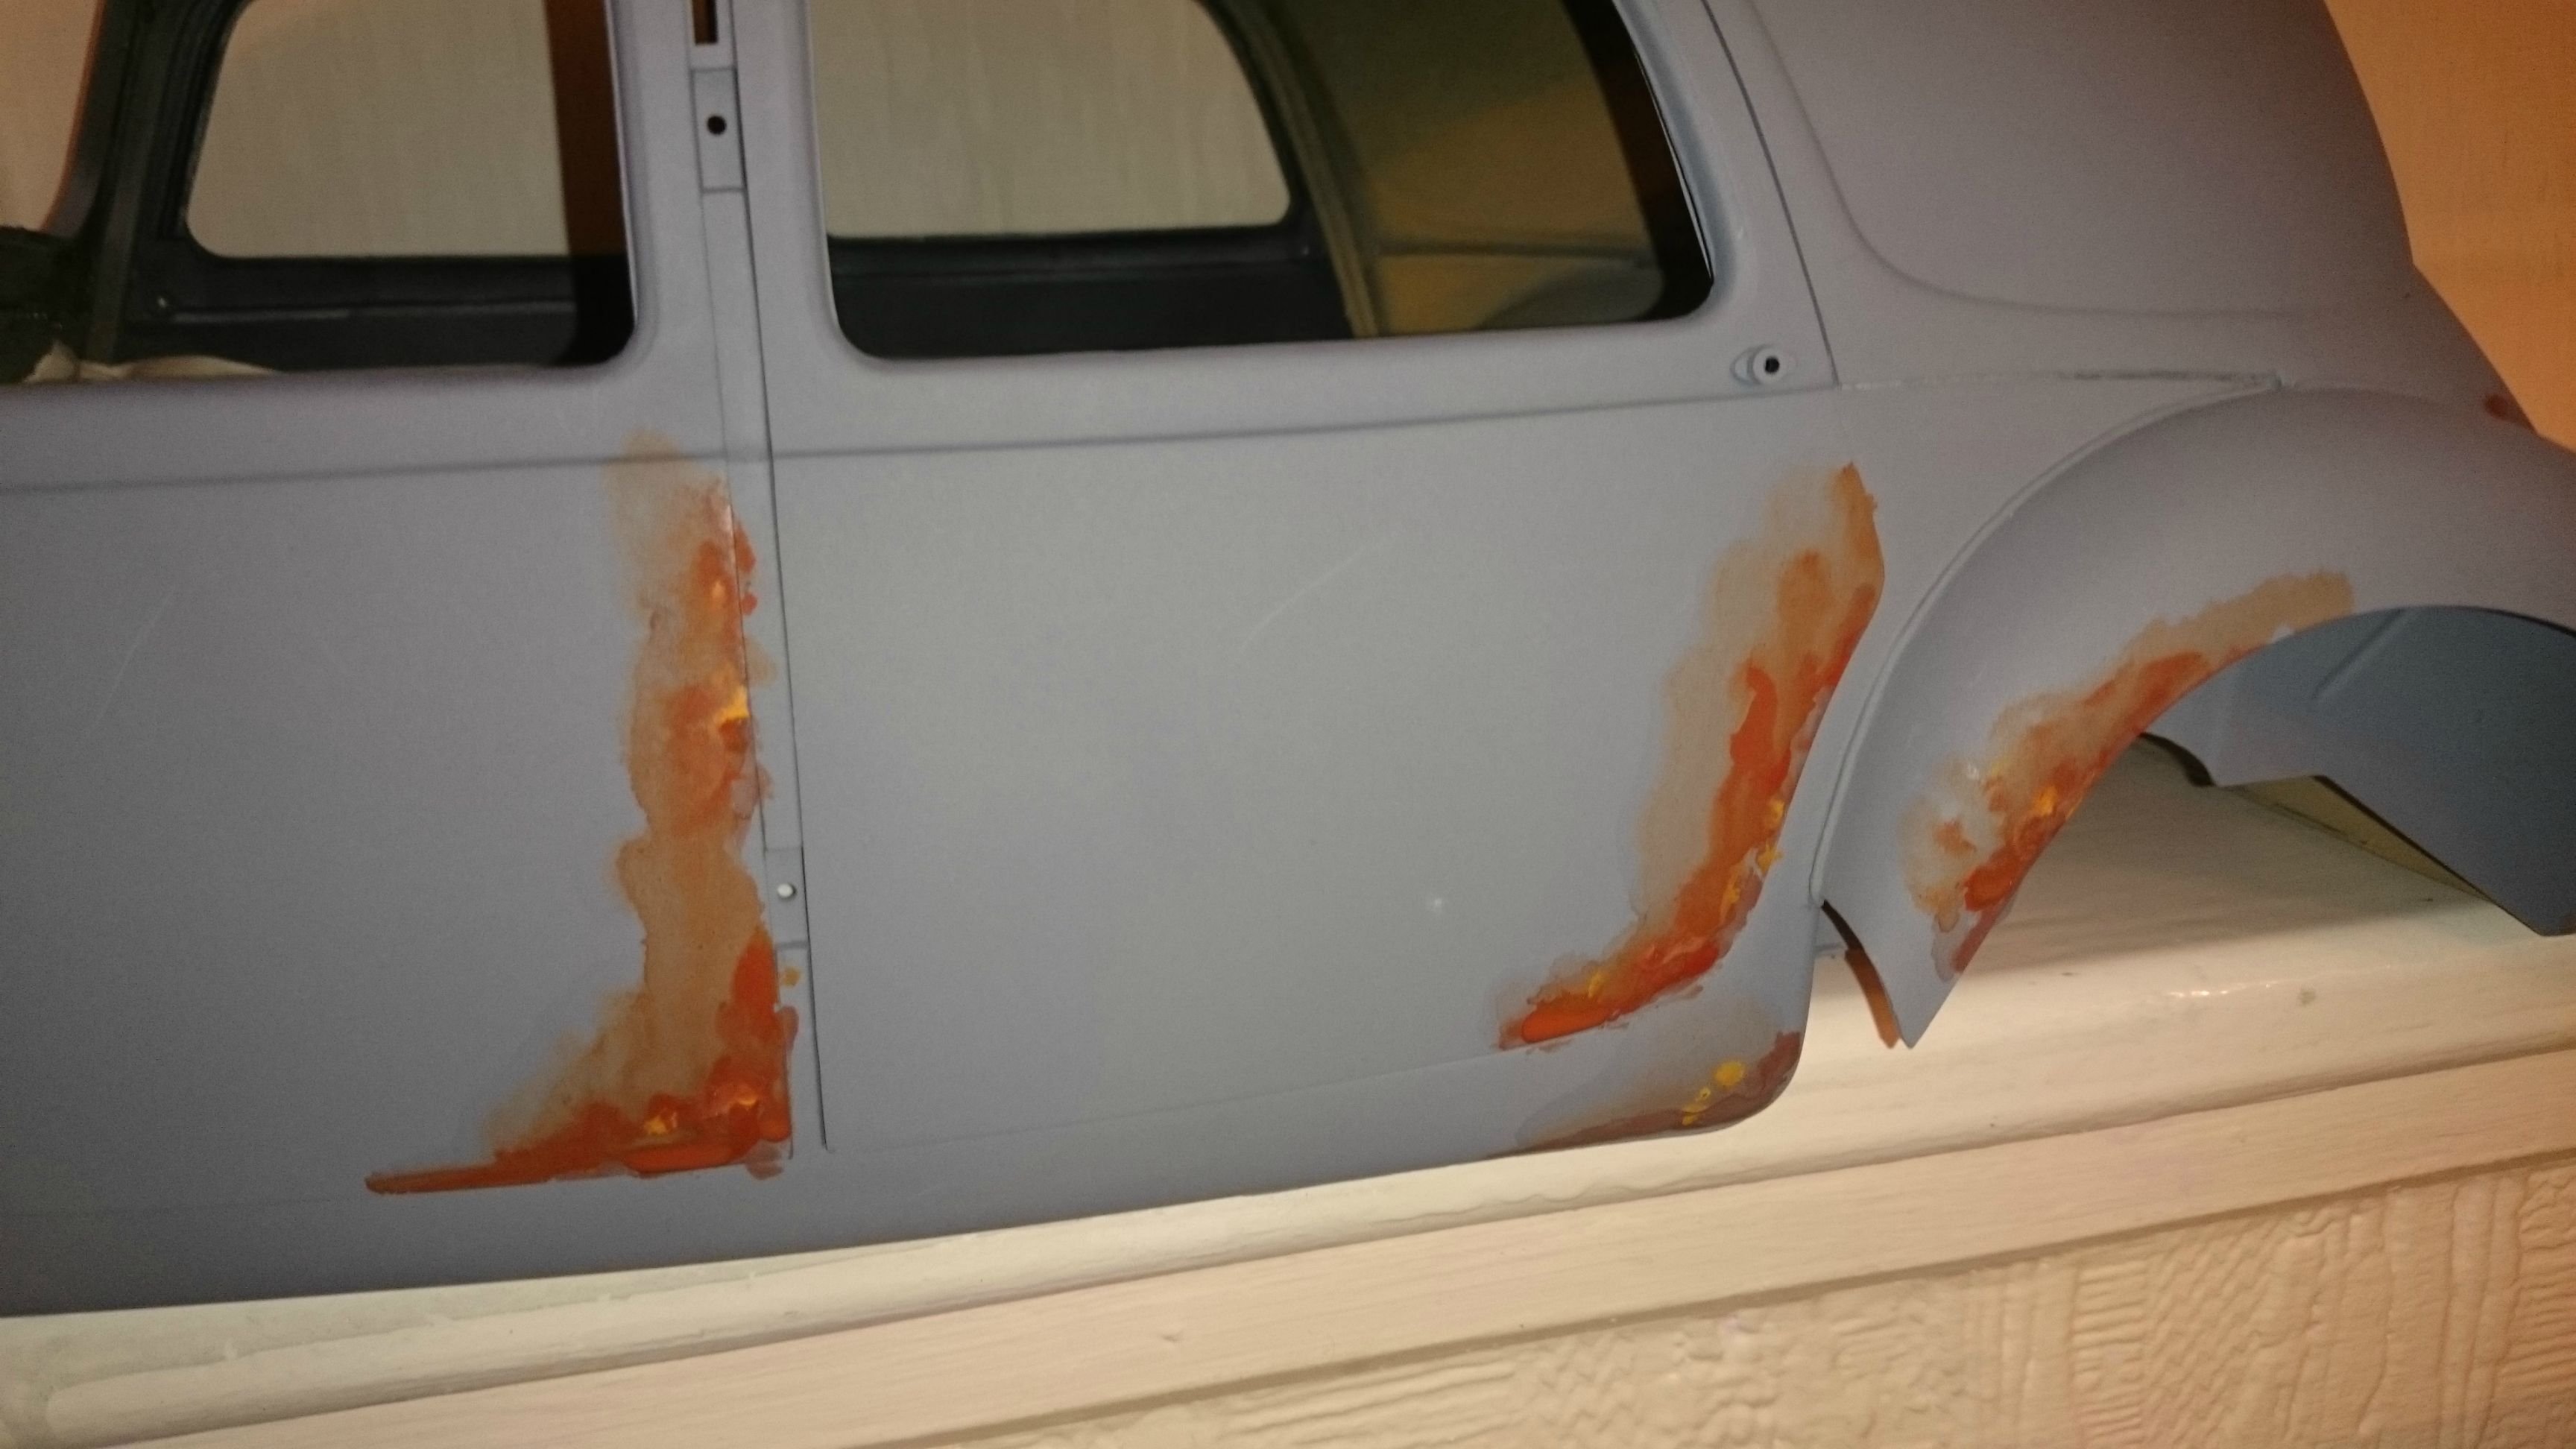
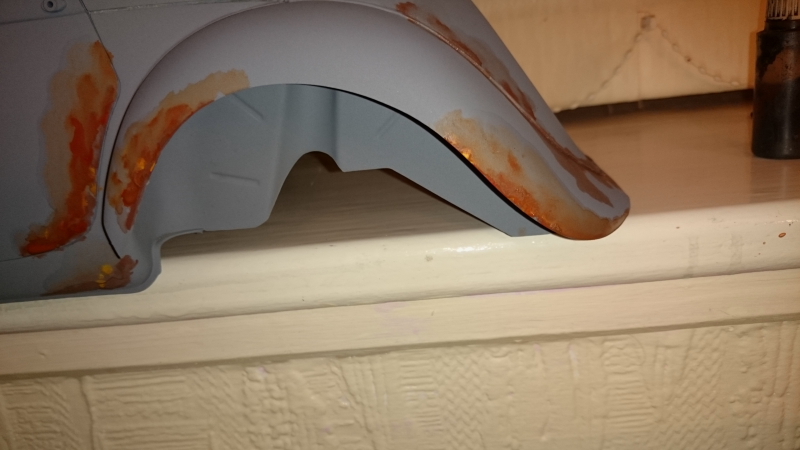
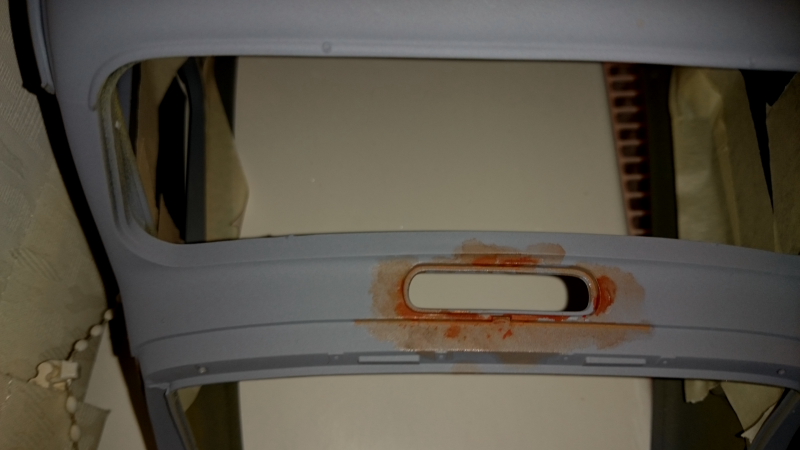
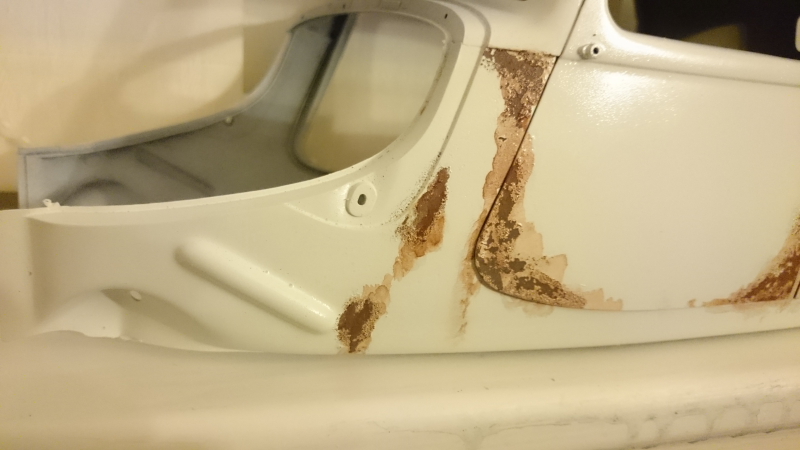
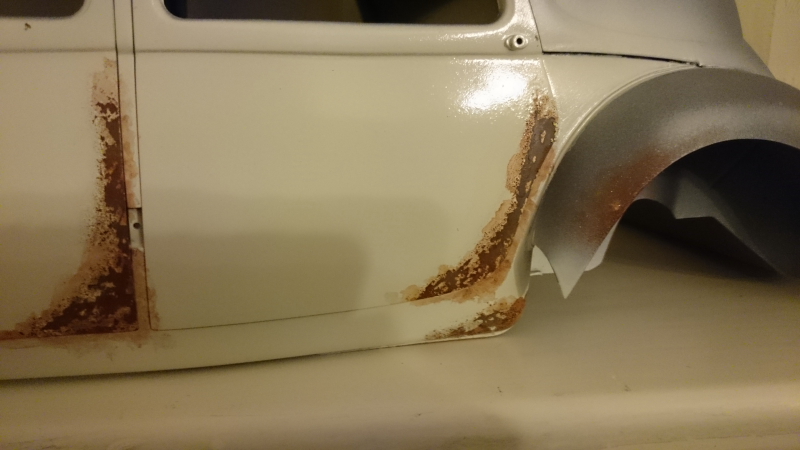
As for your question about adding some grime/dust to the windows, I use highly diluted "Life Color" Dust I or II.
This is an acrylic paint that sets up to be almost flat. I'm not sure if you use acrylics or other paints? If you don't use acrylics, experiment on something else first!
I brush this wash onto windows in several layers, with the thickness varying depending on my intent. For example only a bit dusty a light even wash, or heavily built up and even some paint dabbed on so you can't see through it at all, like along edges.
You can use masking tape to block off clean areas (where wiper blades have passed, or someone has cleared dust with a towel etc)
Interestingly, as this is an acrylic, once it sets up, you can hit corners or other places with an enamel wash for streaking and it won't bleed.
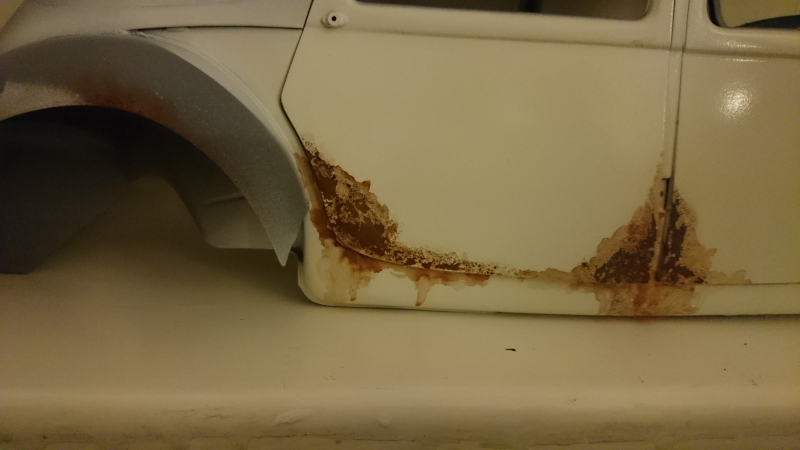
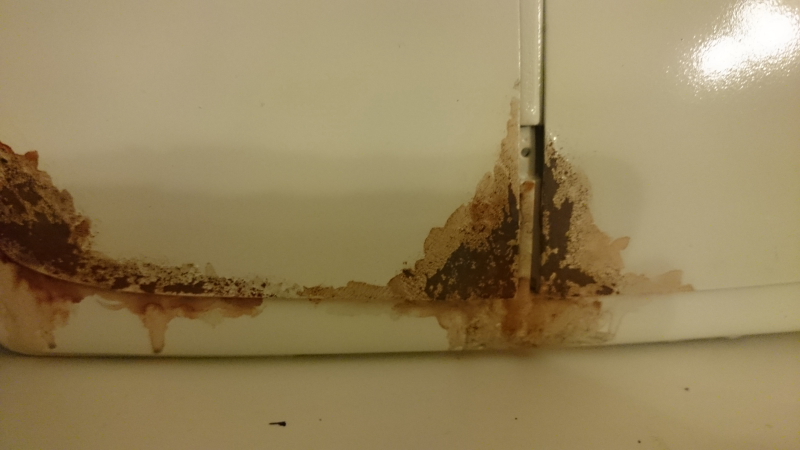
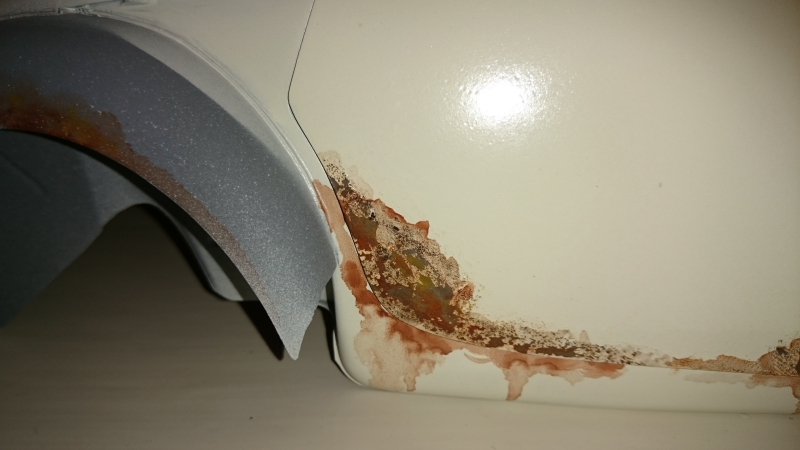
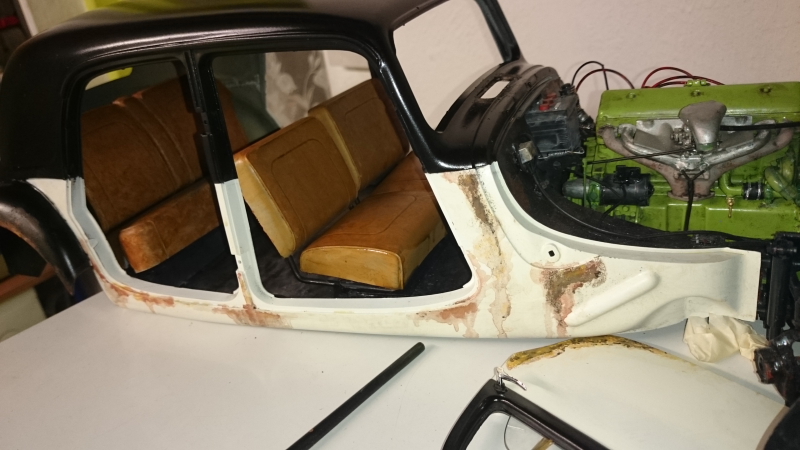
The acrylic wash might also be useful to help you blend the perimeter of your rusted areas with the adjacent white paint. I typically build armor - and always dust everything with this method - and, while there isn't usually much rust, I often have concentrated areas of chipping or focused rust - the wash does a very good job making all the colors "live" together harmoniously - and can tone back areas that could otherwise look like brush strokes or unnatural edges.
Or, not! clearly your moving right along and hope this is of some use!
Cheers
Nick
United Kingdom
Joined: December 20, 2013
KitMaker: 1,179 posts
Auto Modeler: 647 posts
Posted: Tuesday, December 01, 2015 - 12:06 PM UTC
Thanks very much for the tips (personally I can't get on with acrylics) but I will experiment on some scrap and see what I can come up with.
United Kingdom
Joined: December 20, 2013
KitMaker: 1,179 posts
Auto Modeler: 647 posts
Posted: Tuesday, December 01, 2015 - 11:52 PM UTC
United Kingdom
Joined: December 20, 2013
KitMaker: 1,179 posts
Auto Modeler: 647 posts
Posted: Thursday, December 03, 2015 - 01:09 AM UTC
United Kingdom
Joined: March 13, 2015
KitMaker: 252 posts
Auto Modeler: 8 posts
Posted: Thursday, December 03, 2015 - 10:32 PM UTC
United Kingdom
Joined: December 20, 2013
KitMaker: 1,179 posts
Auto Modeler: 647 posts
Posted: Friday, December 04, 2015 - 09:31 PM UTC
United Kingdom
Joined: December 20, 2013
KitMaker: 1,179 posts
Auto Modeler: 647 posts
Posted: Saturday, December 05, 2015 - 12:40 AM UTC
United Kingdom
Joined: December 20, 2013
KitMaker: 1,179 posts
Auto Modeler: 647 posts
Posted: Saturday, December 05, 2015 - 10:32 PM UTC
United Kingdom
Joined: December 20, 2013
KitMaker: 1,179 posts
Auto Modeler: 647 posts
Posted: Monday, December 07, 2015 - 12:16 AM UTC
United Kingdom
Joined: December 20, 2013
KitMaker: 1,179 posts
Auto Modeler: 647 posts
Posted: Tuesday, December 08, 2015 - 01:23 AM UTC
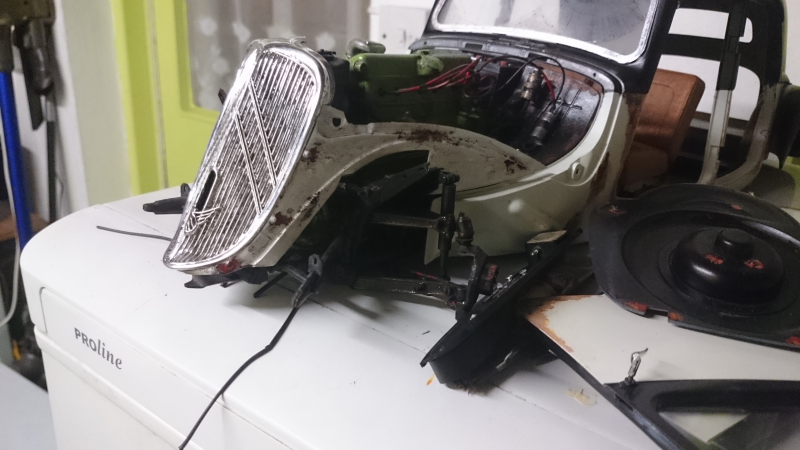
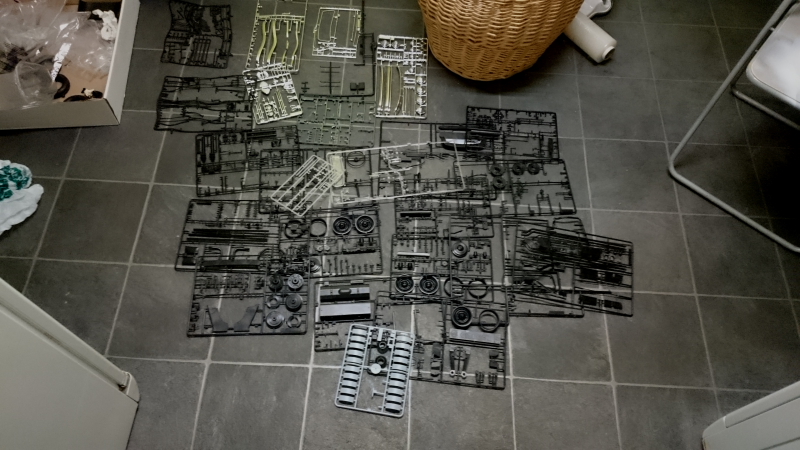
should anyone think this is nearing completion here is a shot of the spures left(I've removed the optional parts) so these all still need to be attatched.
Kobenhavn, Denmark
Joined: June 29, 2004
KitMaker: 6,760 posts
Auto Modeler: 2,182 posts
Posted: Tuesday, December 08, 2015 - 12:17 PM UTC
Looks amazing Ken.
Pigments can also be used for dusting up windows. Either on their own or to add tonal variaty to the paint.
On the workbench:
MPC: 1972 Pontiac GTO
Revell: 1965 Mustang
Verlinden 120mm guard of the marine.
Revell: 2010 Camaro
Monogram: 1931 Rolls Royce
Italeri: LVT2 Amtrac
United Kingdom
Joined: December 20, 2013
KitMaker: 1,179 posts
Auto Modeler: 647 posts
Posted: Wednesday, December 09, 2015 - 01:31 AM UTC
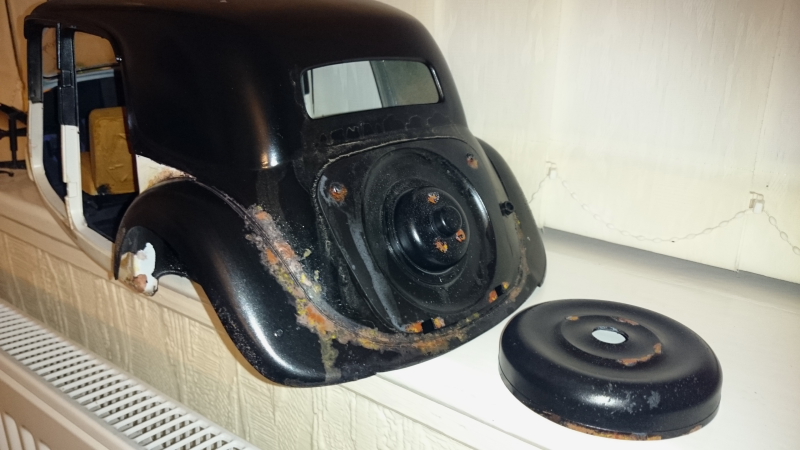
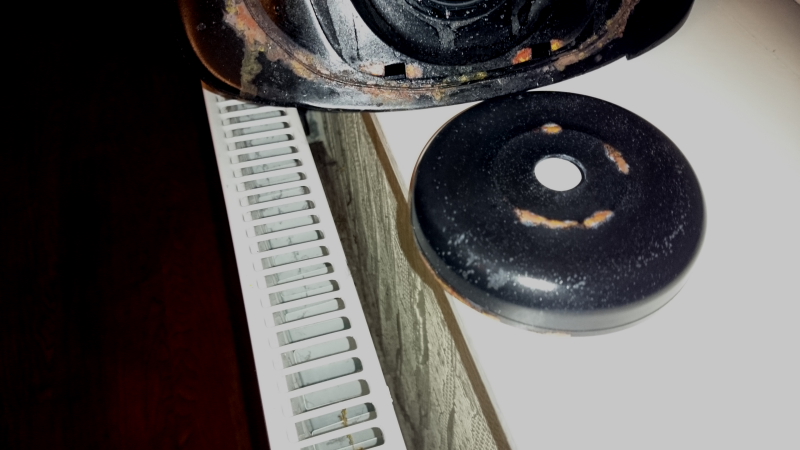
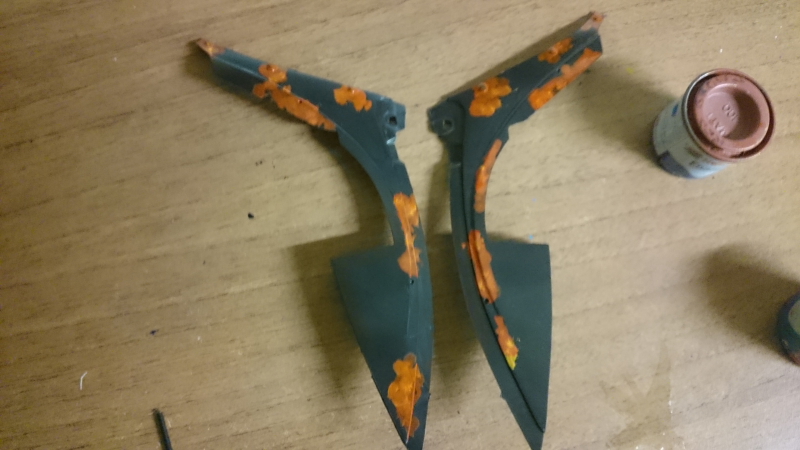
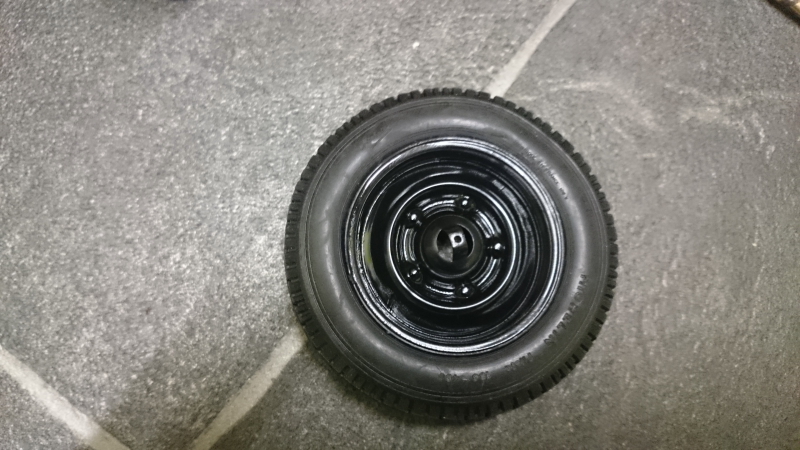
Hi guys weathered the wheels, not done much to the spare as I figure that wouldnt have much weathering

United Kingdom
Joined: December 20, 2013
KitMaker: 1,179 posts
Auto Modeler: 647 posts
Posted: Thursday, December 10, 2015 - 12:58 AM UTC
United Kingdom
Joined: December 20, 2013
KitMaker: 1,179 posts
Auto Modeler: 647 posts
Posted: Friday, December 11, 2015 - 12:52 AM UTC
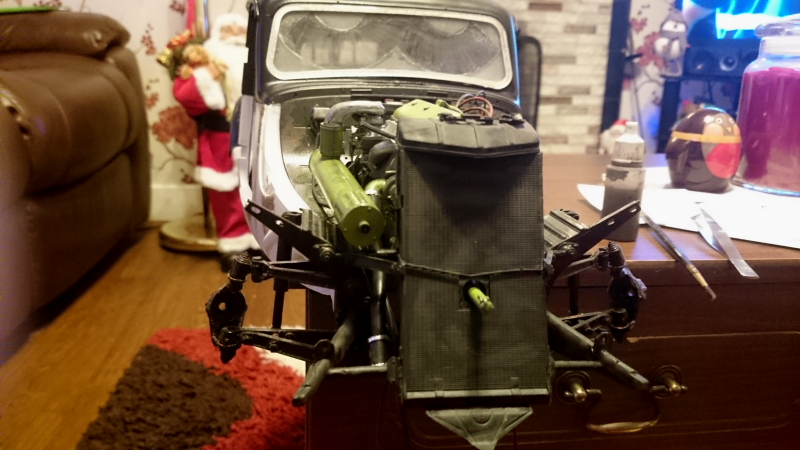
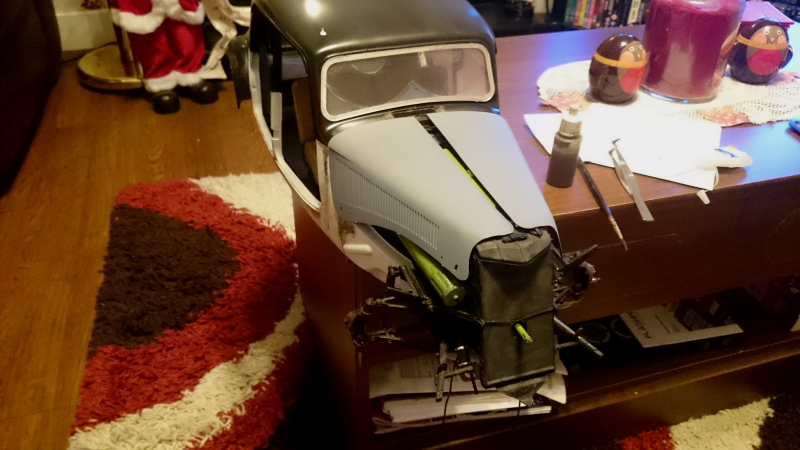
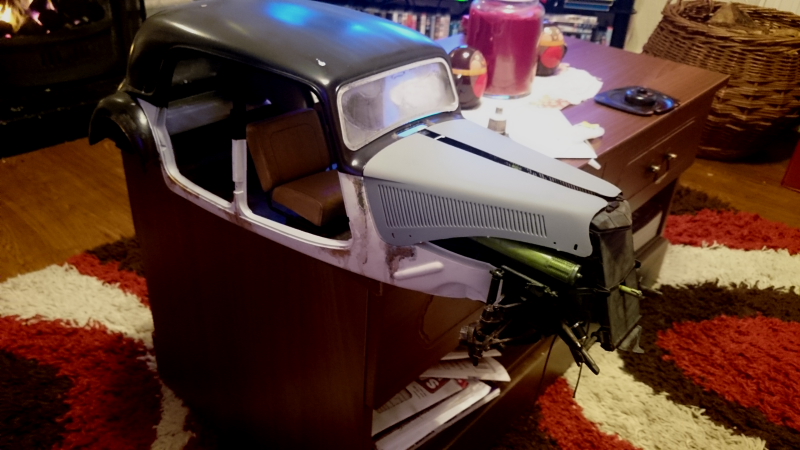
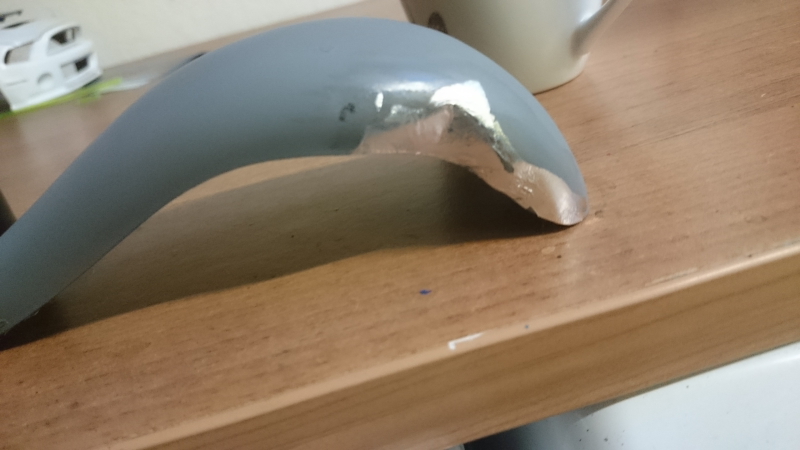
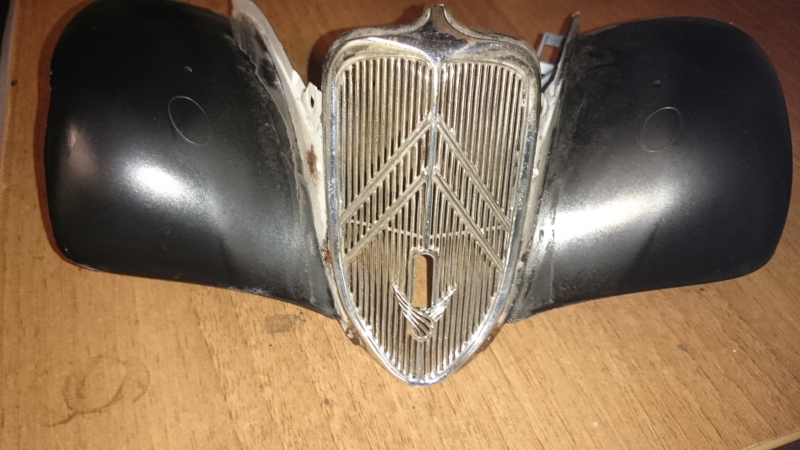
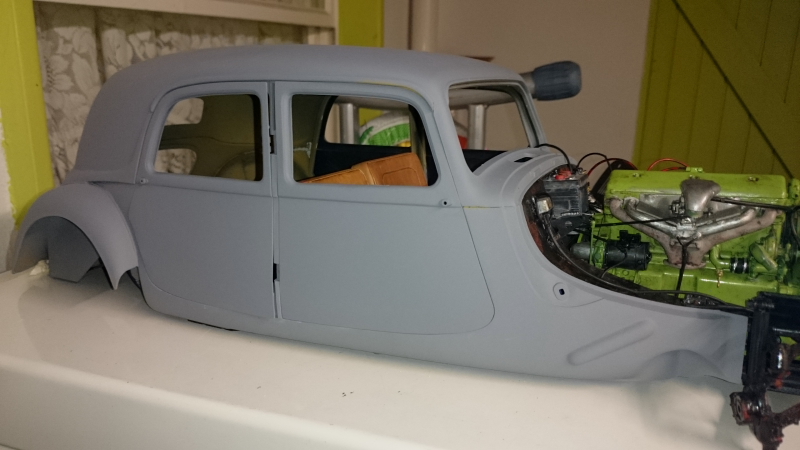
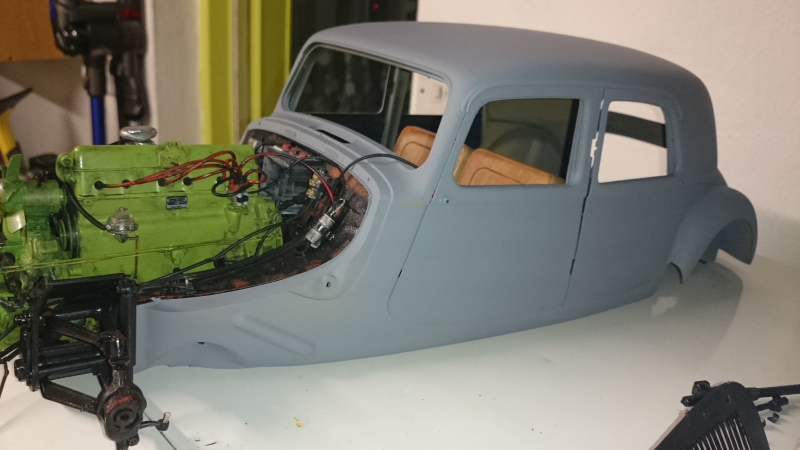
Hi all well this is going on over be left for a while to let me cool off (I came sooooo close to throwing it against the wall) went to fit the wings and complete radiator as you saw I did in the last update and with those in place tried a fit of the bonnet (no chance 6 mill gap at the front, or back depending on where you want the gap) after several minuets of scratching my head I figured out what the problem was there was a gap all around the top of the firewall of about 2 mill, lift the front of the car a bit gap disappears and the bonnet fits perfect (I think the floor pan is bent) (I know the back part is but thought I would sort that when I finally glued it on) so lifted the front of the car glued the firewall to the body let it dry, released the body and the bottom of the firewall came away from where that was glued (too much stress I guess ) after a very fidely application of glue to that area, mahoosive amounts of taping to hold it there, let that dry undo the tape all fits perfect, just start applauding myself for sorting it and ping gap at the top again. How I stopped myself I don't know, but I didn't throw it, I don't want to come that close again so having a break for a little while.