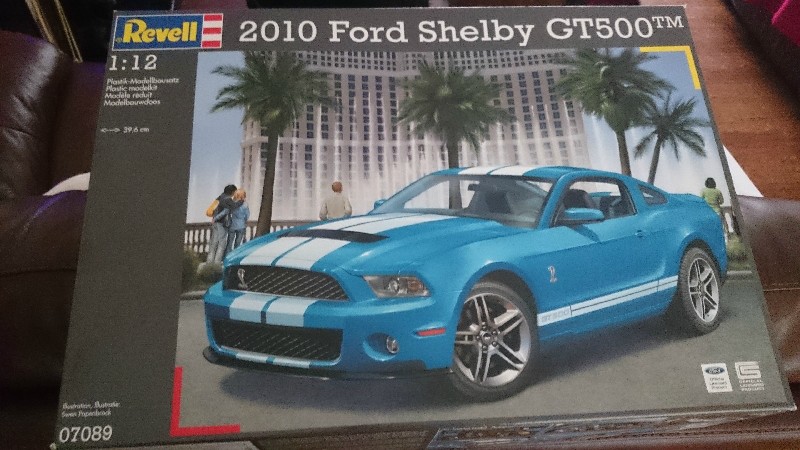
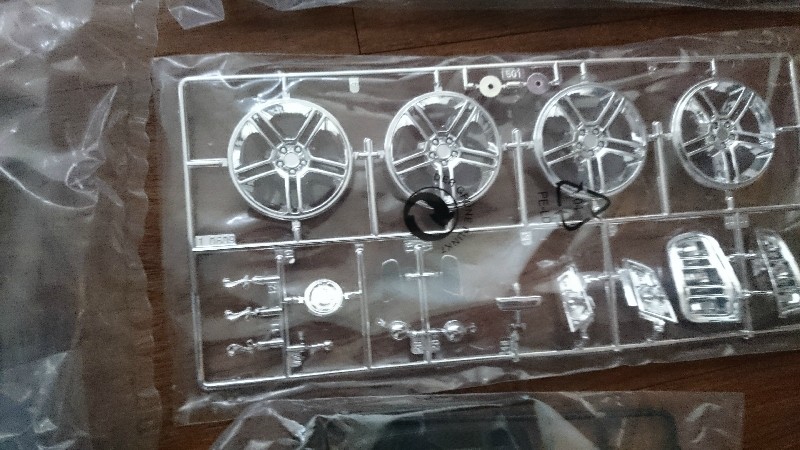
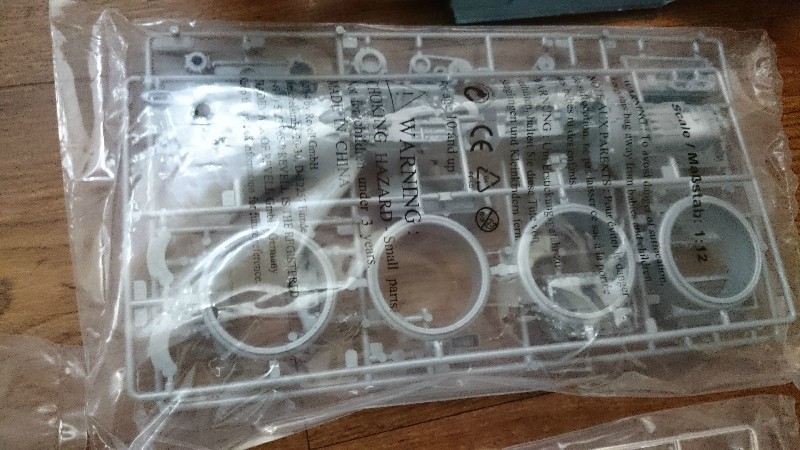
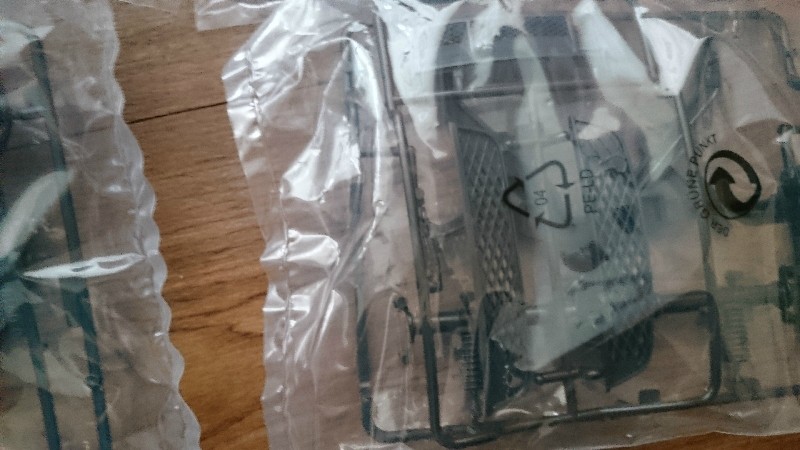
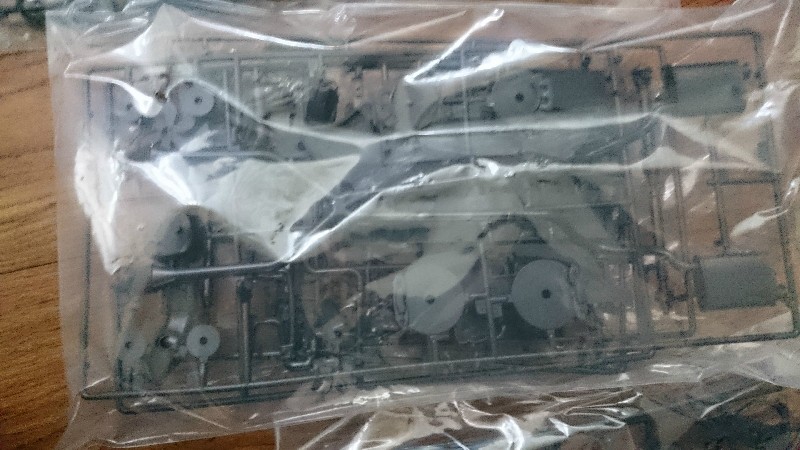
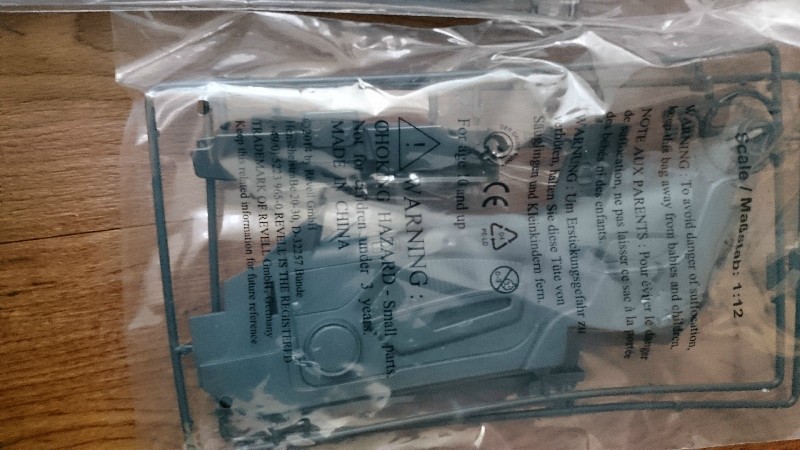
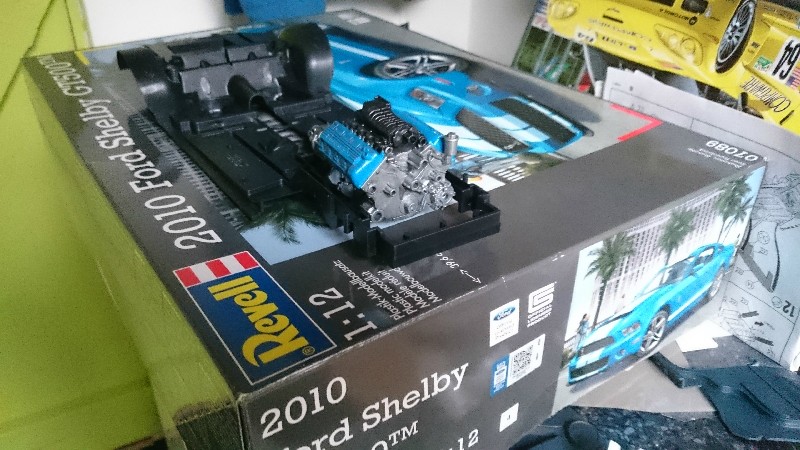
Revell 1/12 Ford Shelby GT 500
United Kingdom
Joined: December 20, 2013
KitMaker: 1,179 posts
Auto Modeler: 647 posts
Posted: Monday, September 07, 2015 - 11:32 PM UTC
New York, United States
Joined: August 25, 2006
KitMaker: 2,539 posts
Auto Modeler: 1,405 posts
Posted: Tuesday, September 08, 2015 - 12:19 AM UTC
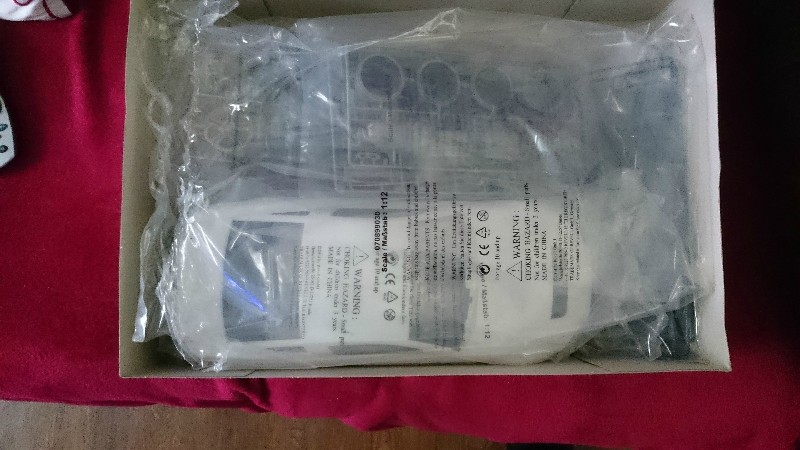
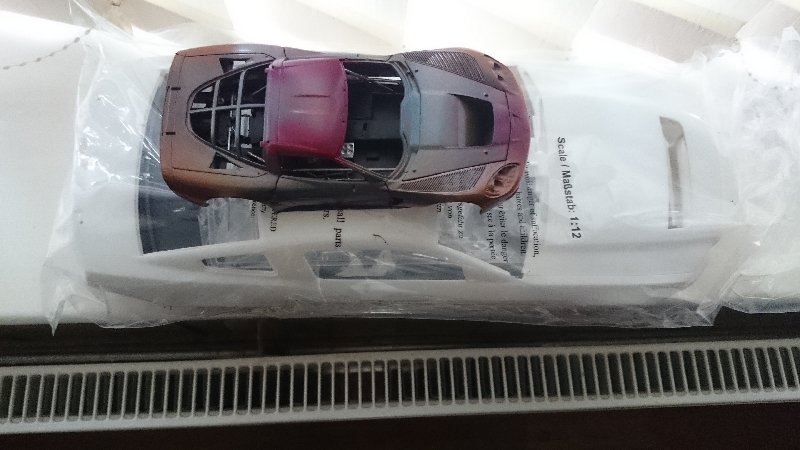
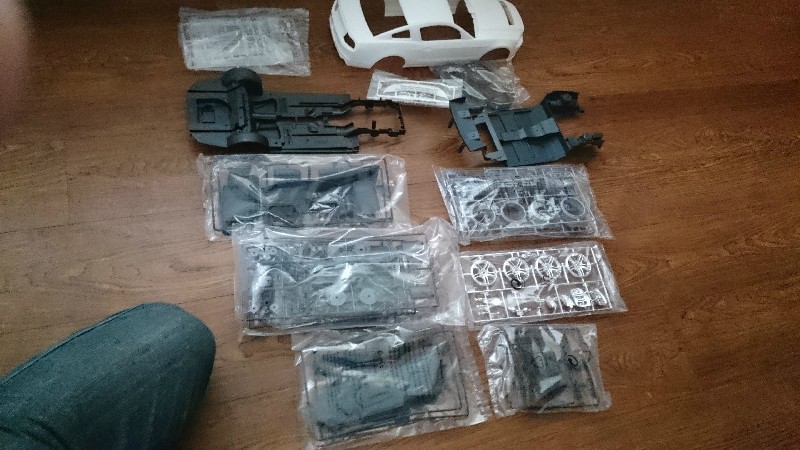
That's a lot of plastic, alright. Looking forward to your build.
Jim
"Socialism is a philosophy of failure, the creed of ignorance, and the gospel of envy, its inherent virtue is the equal sharing of misery." ---- Winston Churchill
England - South East, United Kingdom
Joined: January 11, 2003
KitMaker: 4,307 posts
Auto Modeler: 231 posts
Posted: Tuesday, September 08, 2015 - 12:23 AM UTC
Not only a lot of plastic, but it looks darned good when it's finished too.
Bulldog#3
Grumpy Old Modeller No1
Growing old disgracefully!
AussieReg
 Associate Editor
#007
Victoria, Australia
Joined: June 09, 2009
KitMaker: 8,156 posts
Auto Modeler: 2,953 posts
Posted: Tuesday, September 08, 2015 - 04:54 PM UTC
I've seen some great builds from this kit, and have considered picking one up a couple of times. I will be following your progress here Ken, you might just convince me to add one to the stash.
Cheers, D
ON the bench
Revell 1/24 '53 Corvette (building as '54)
Revell 1/24 BMW 507 Coupe and Cabrio
Italeri 1/48 Me262 B-1a/U1 Nightfighter
Monogram 1/24 '57 Chevy Nomad
Dragon 1/350 USS Frank Knox DD-742
Kobenhavn, Denmark
Joined: June 29, 2004
KitMaker: 6,760 posts
Auto Modeler: 2,182 posts
Posted: Wednesday, September 09, 2015 - 01:24 PM UTC
Cool. Looking forward to seeing more.
On the workbench:
MPC: 1972 Pontiac GTO
Revell: 1965 Mustang
Verlinden 120mm guard of the marine.
Revell: 2010 Camaro
Monogram: 1931 Rolls Royce
Italeri: LVT2 Amtrac
United Kingdom
Joined: December 20, 2013
KitMaker: 1,179 posts
Auto Modeler: 647 posts
Posted: Wednesday, September 09, 2015 - 10:41 PM UTC
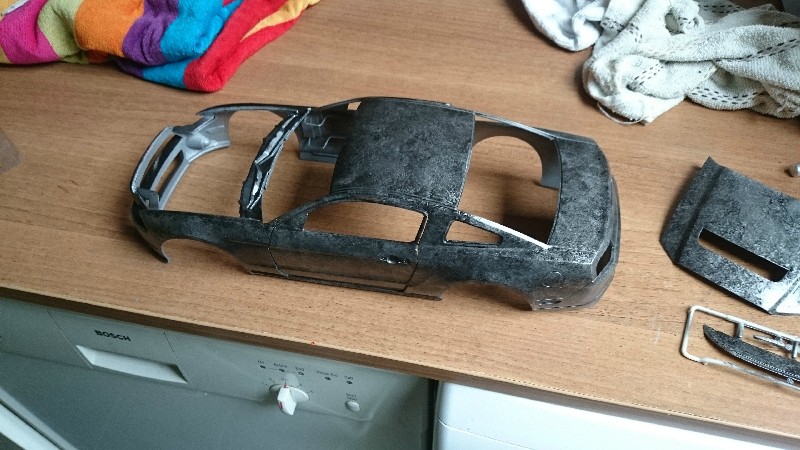
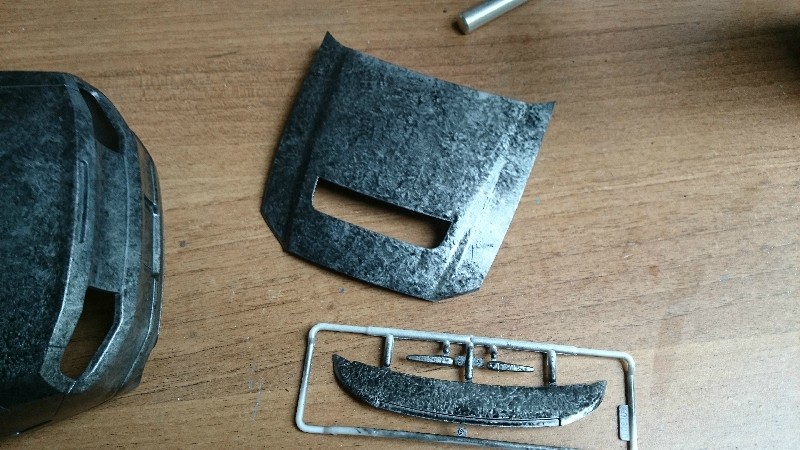
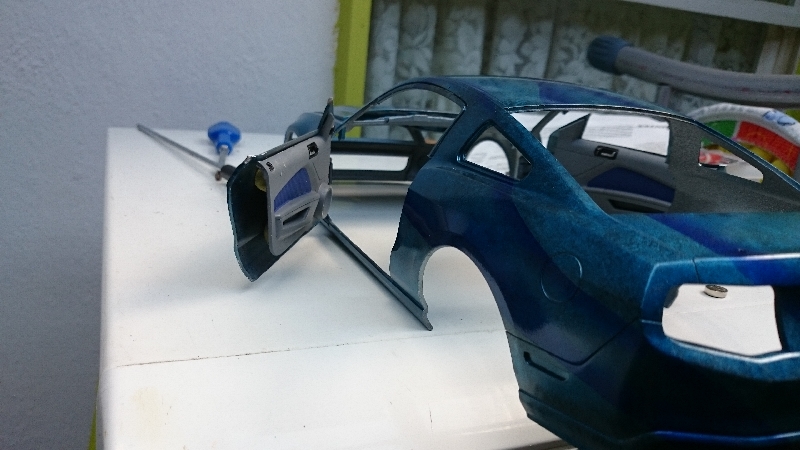
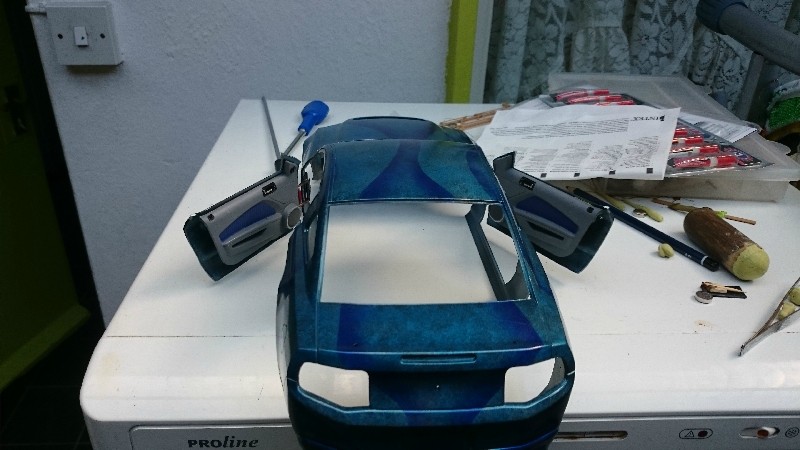
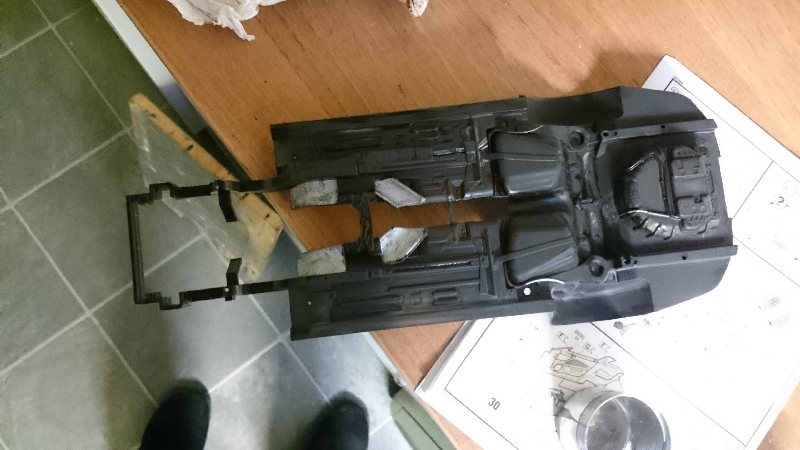
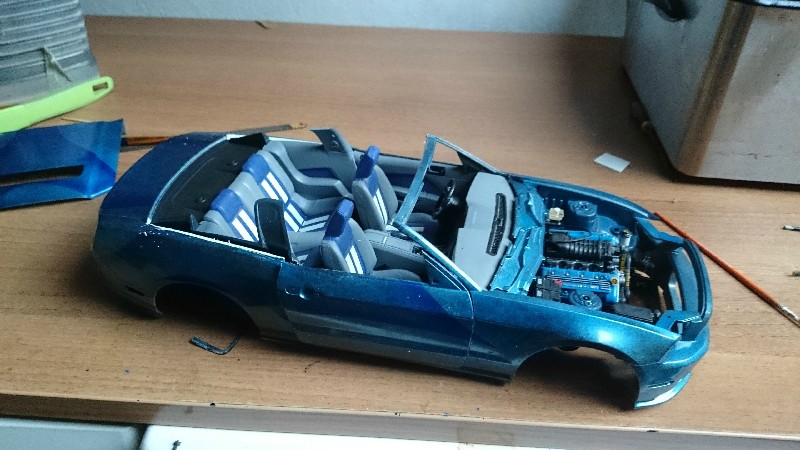
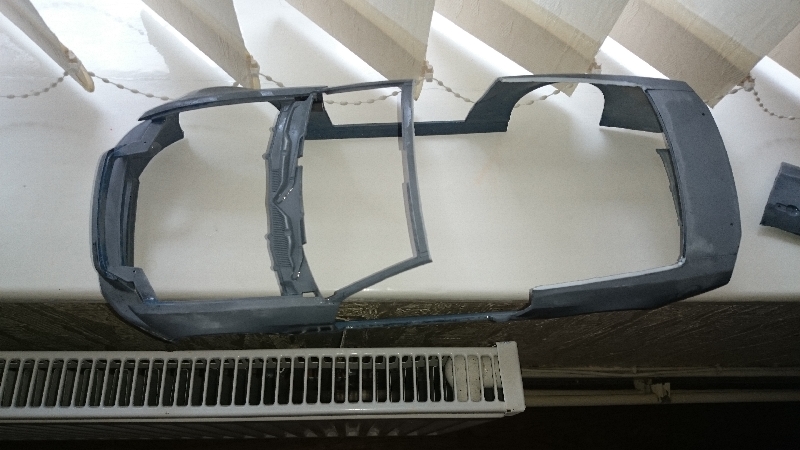
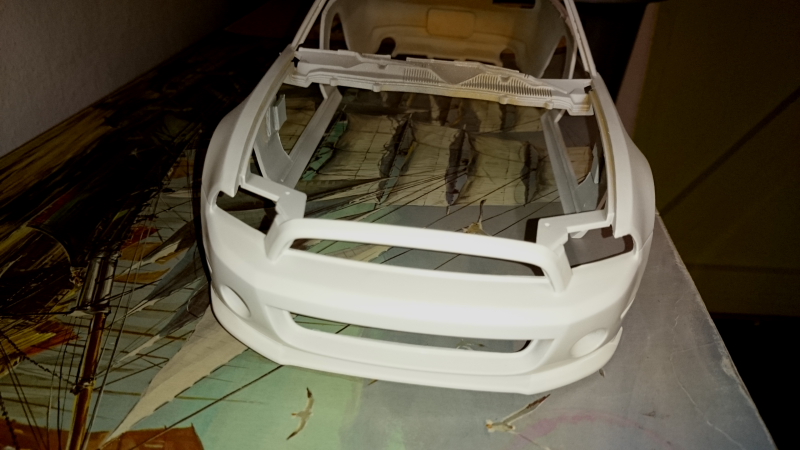
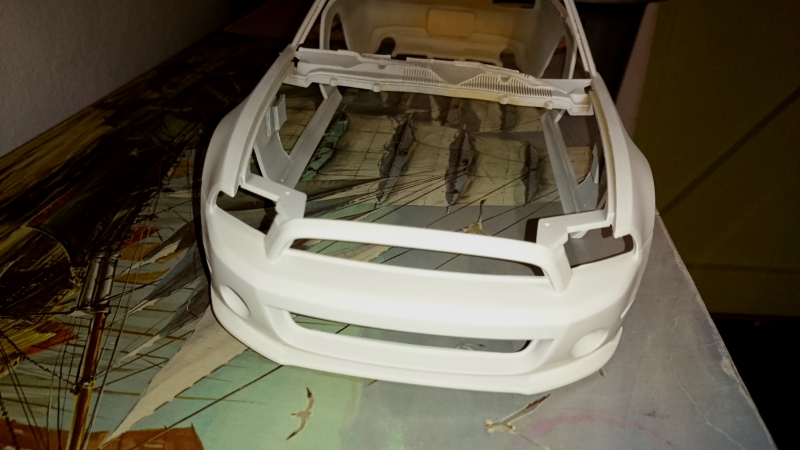
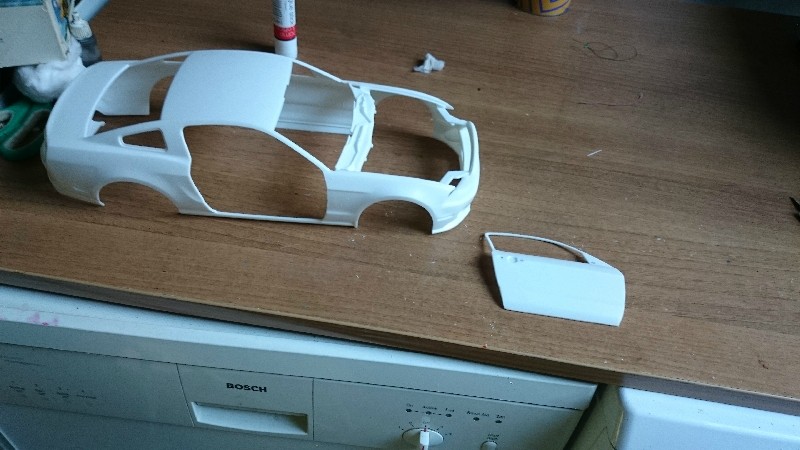
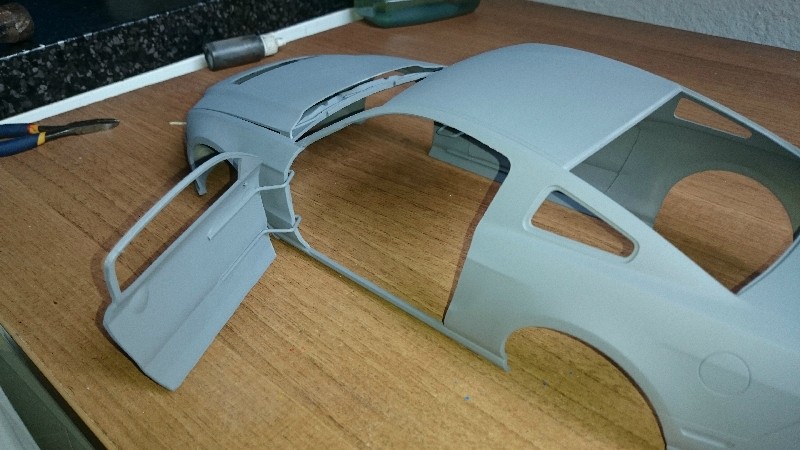
Well I know I shouldn't since we are off on hols in a couple of days but here is a start.
I've cut one of the doors out, just the boot, the other door and the inners to go.
Netherlands
Joined: May 20, 2015
KitMaker: 335 posts
Auto Modeler: 1 posts
Posted: Wednesday, September 09, 2015 - 11:13 PM UTC
Wish Revell did a 1:12 Viper, now that would be something. This one doesn't look bad either.
United Kingdom
Joined: December 20, 2013
KitMaker: 1,179 posts
Auto Modeler: 647 posts
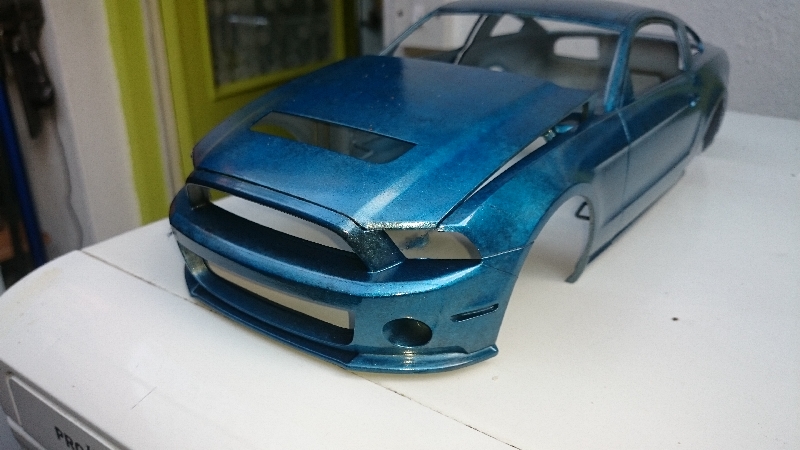
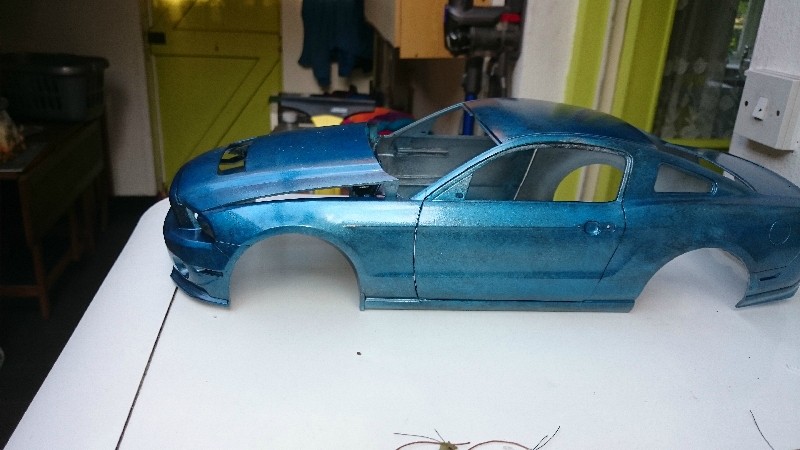
Posted: Saturday, September 12, 2015 - 08:07 PM UTC
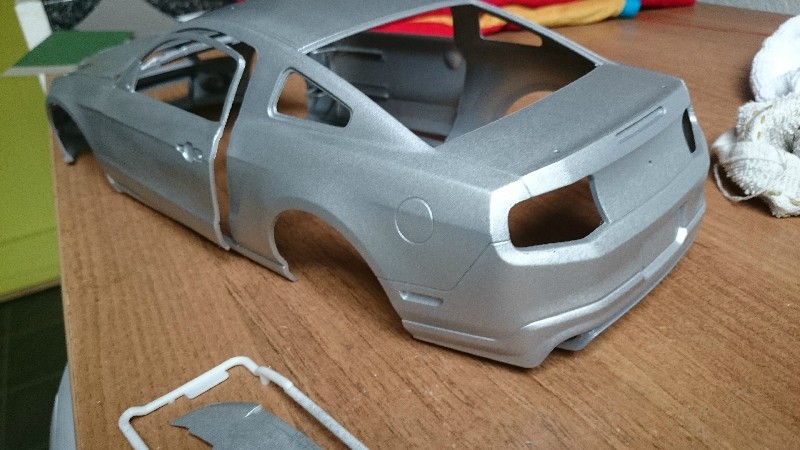
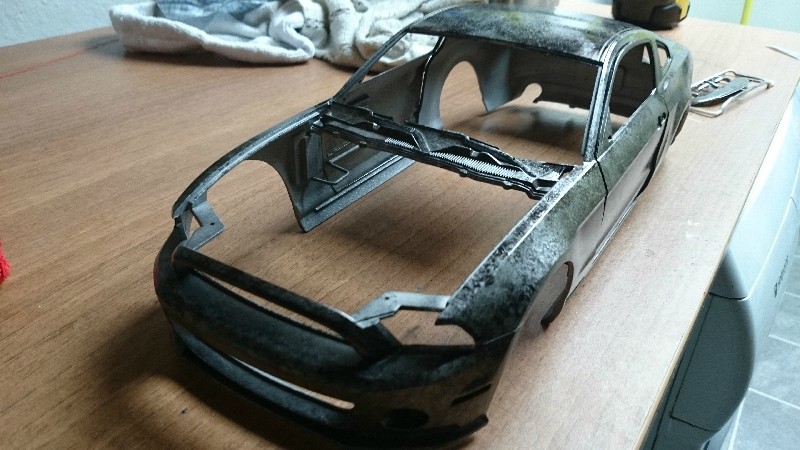
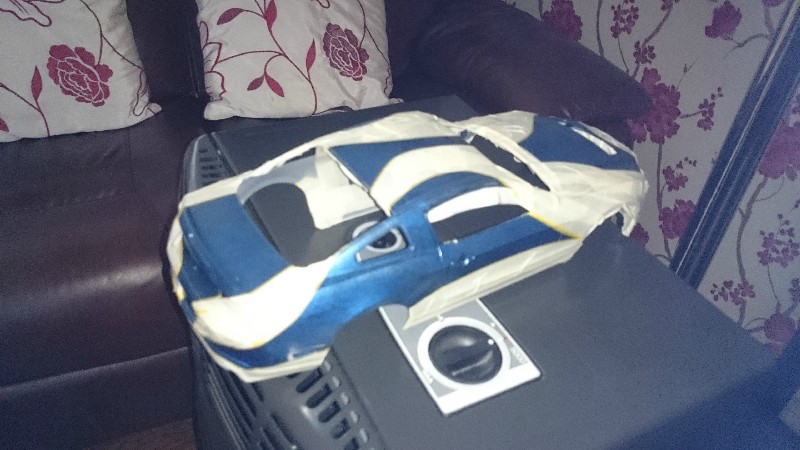
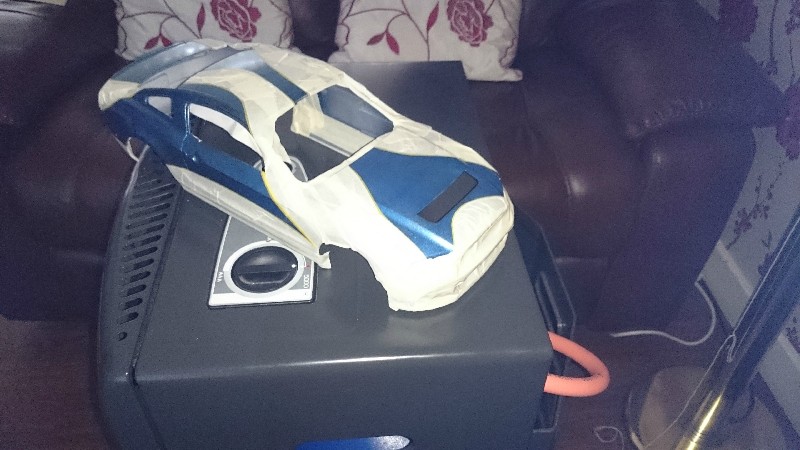
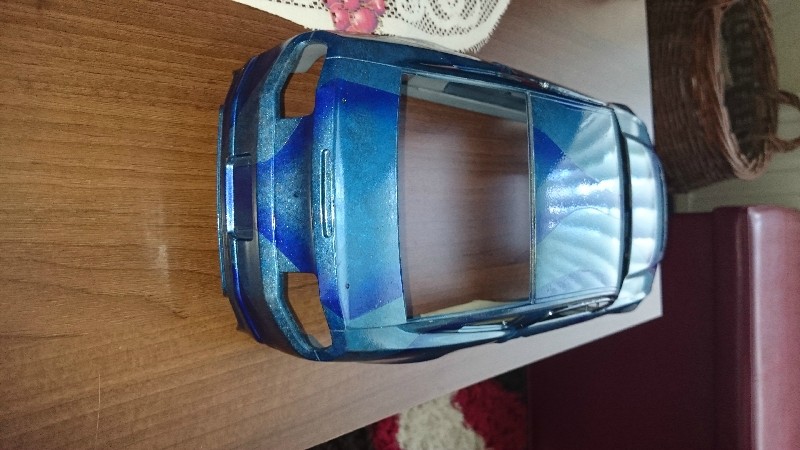
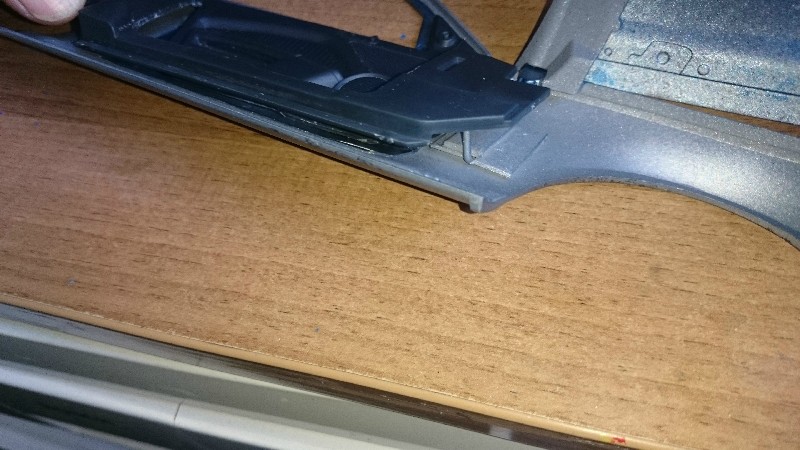
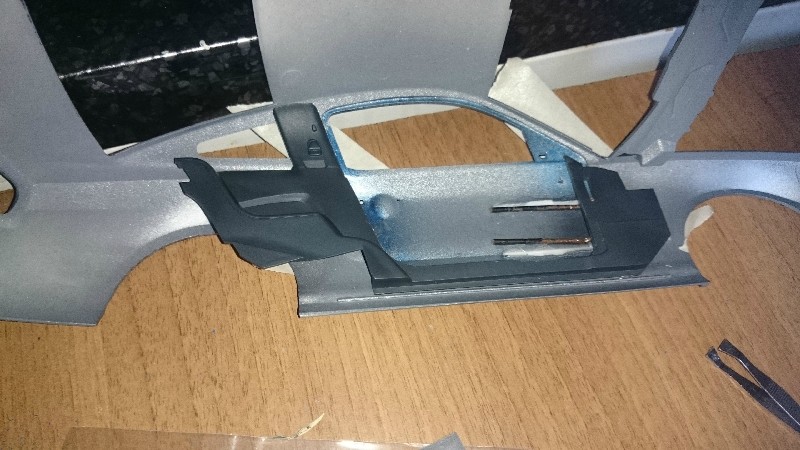
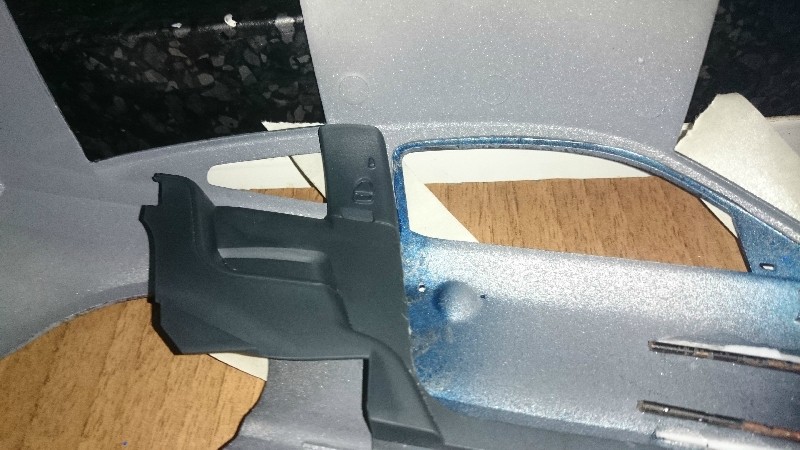
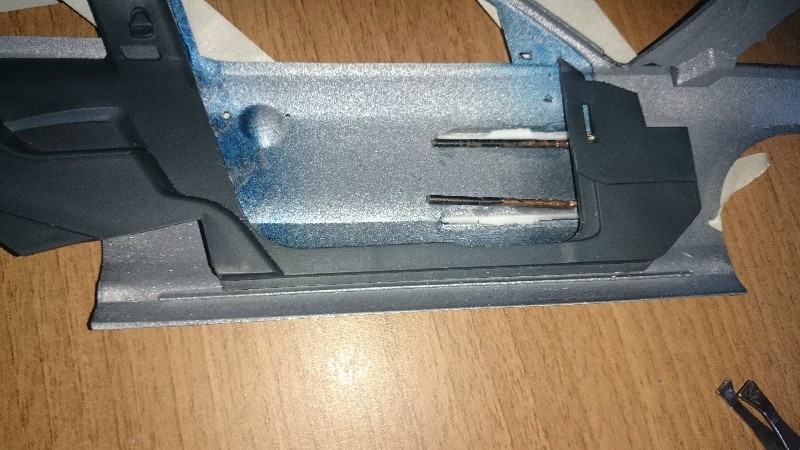
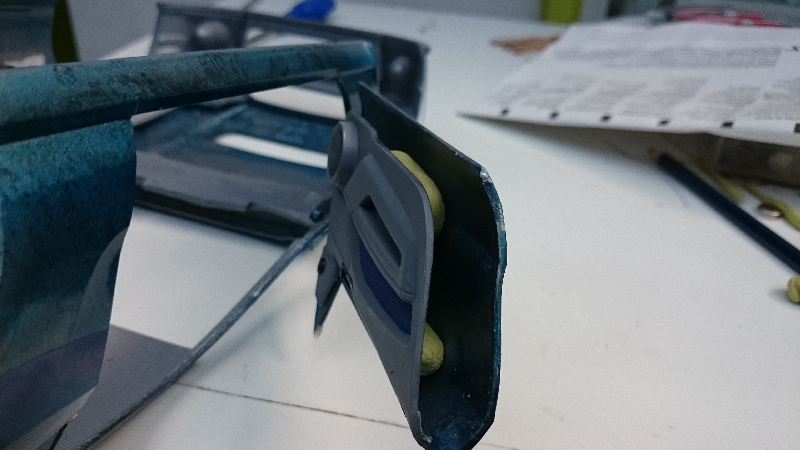
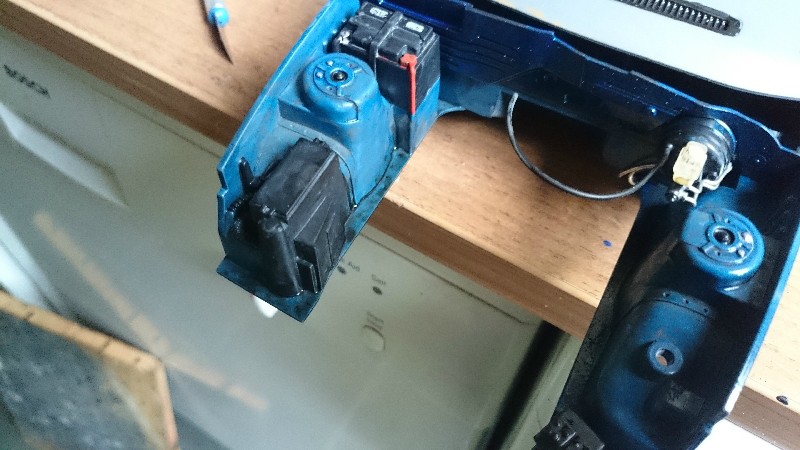
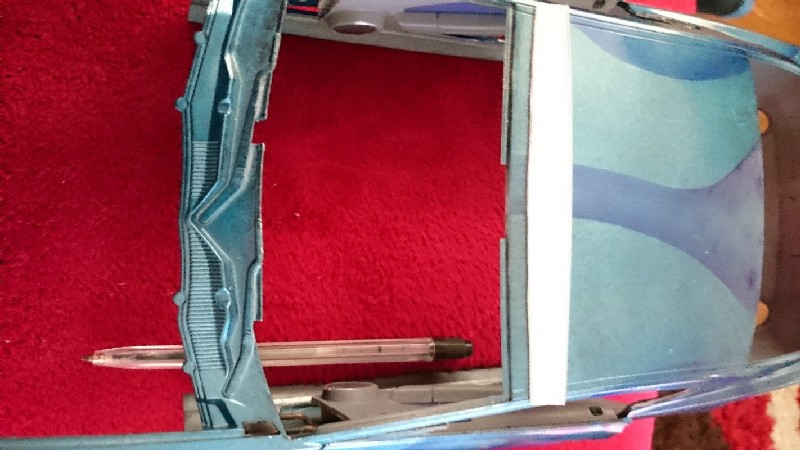
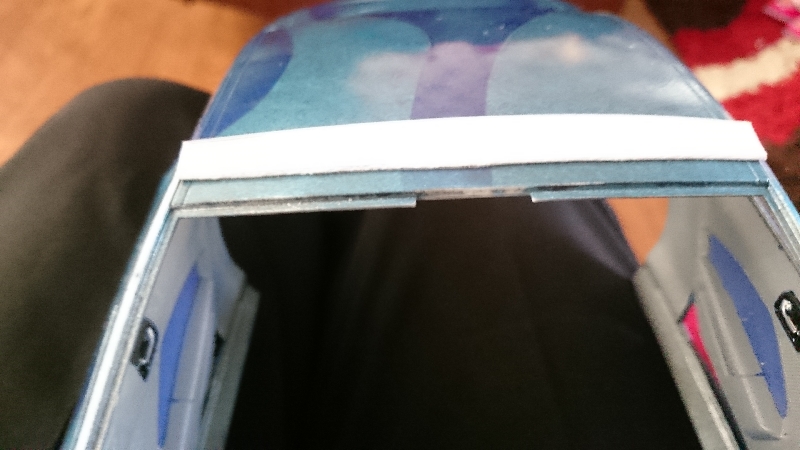
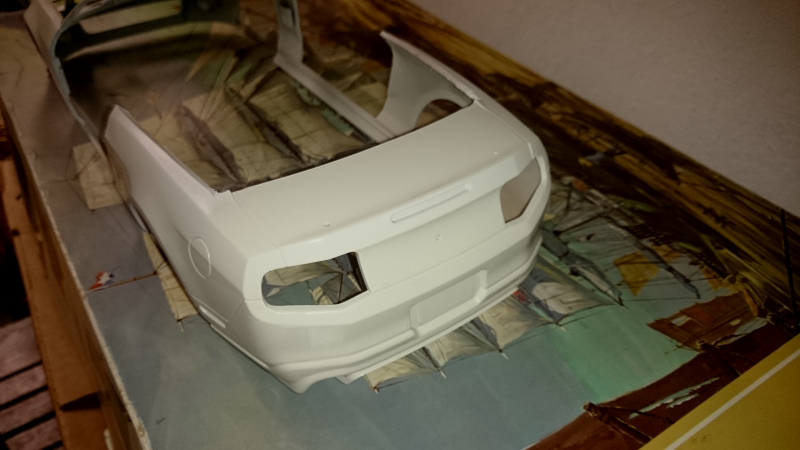
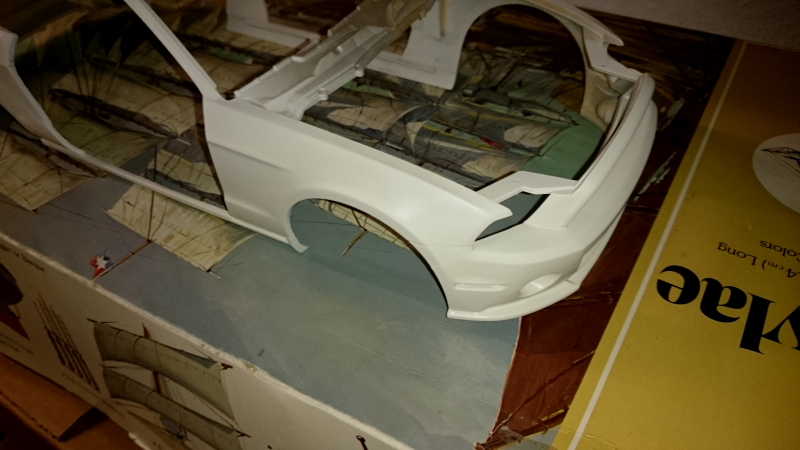
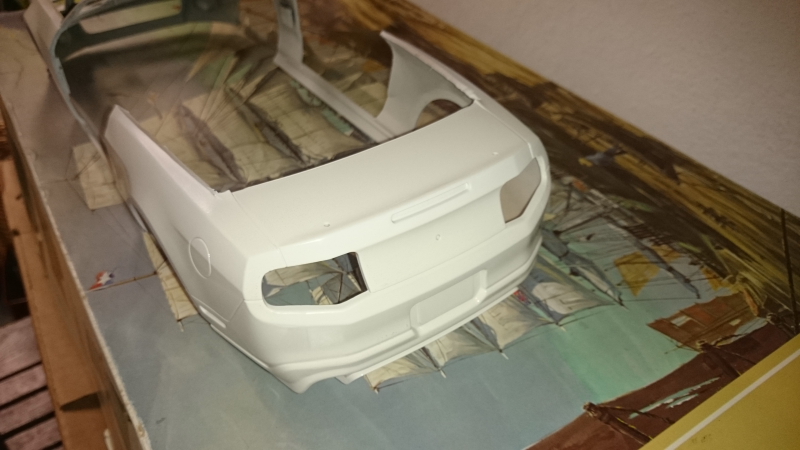
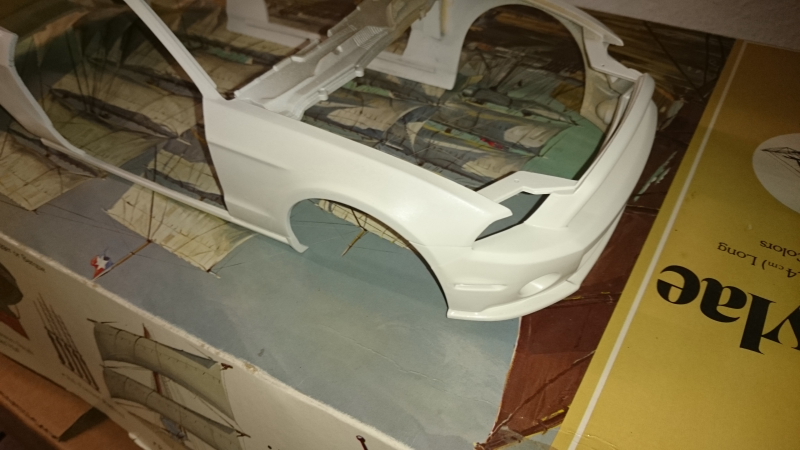
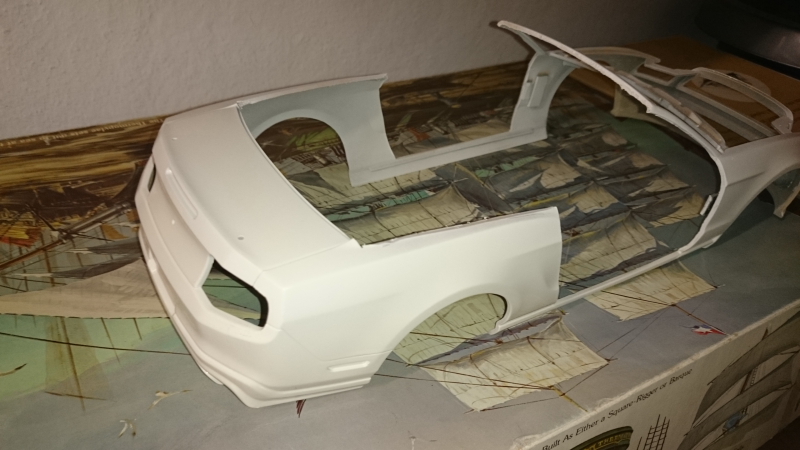
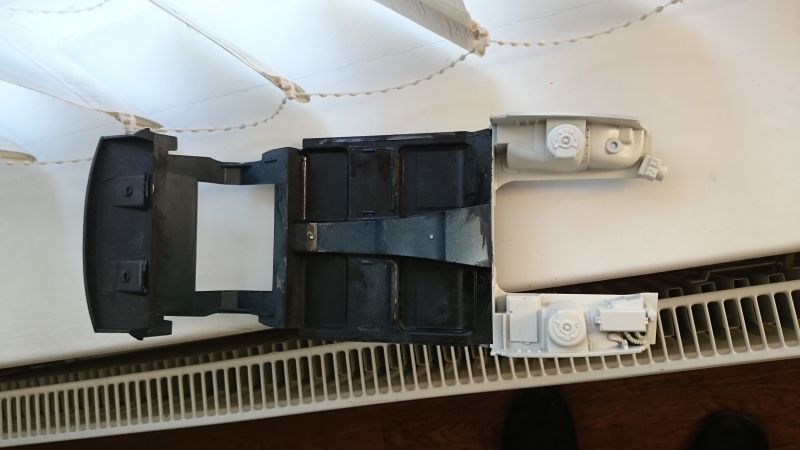
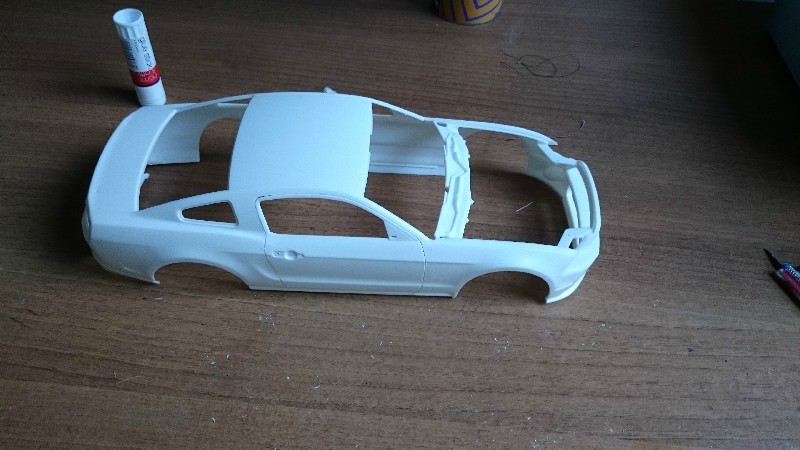
Hi all last update for a week as on hols in the morning

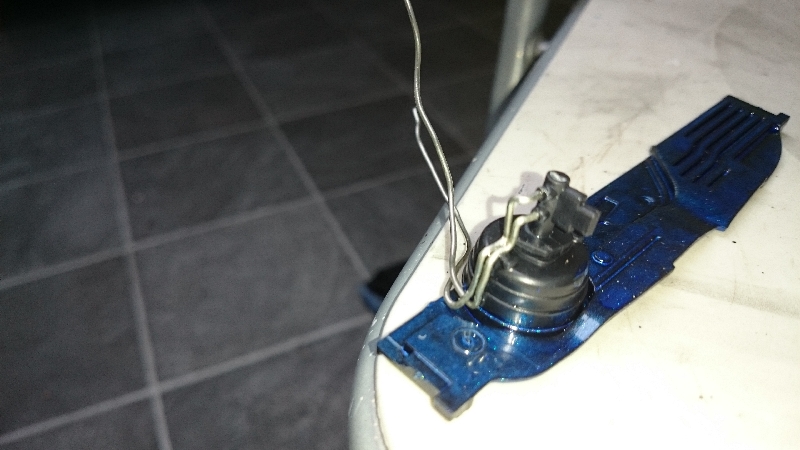
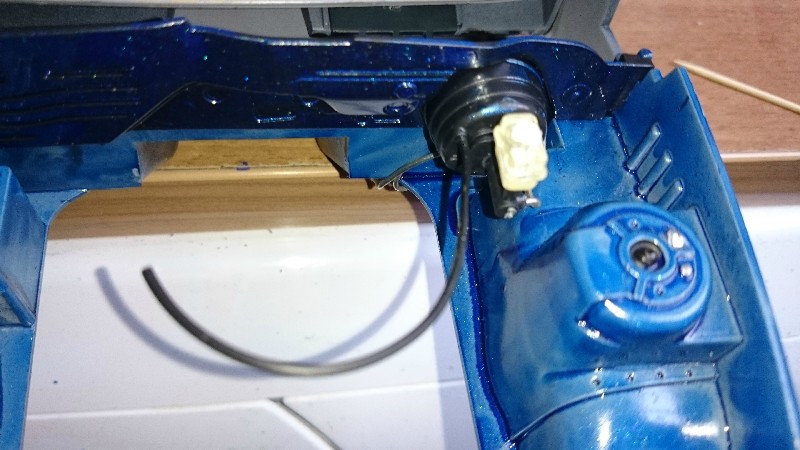
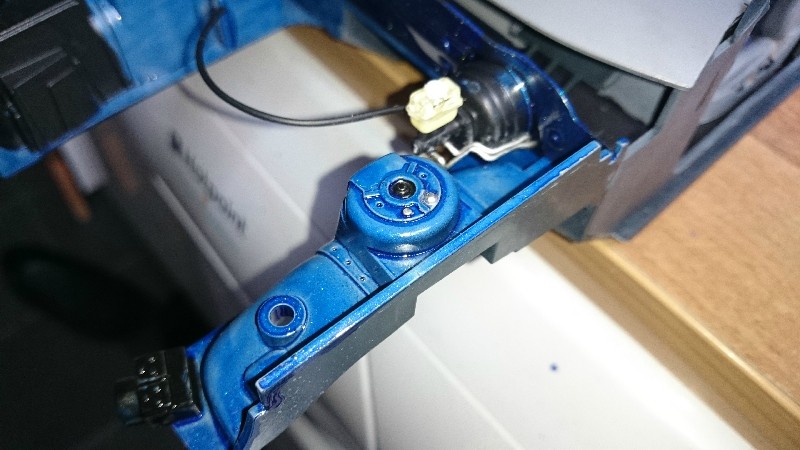
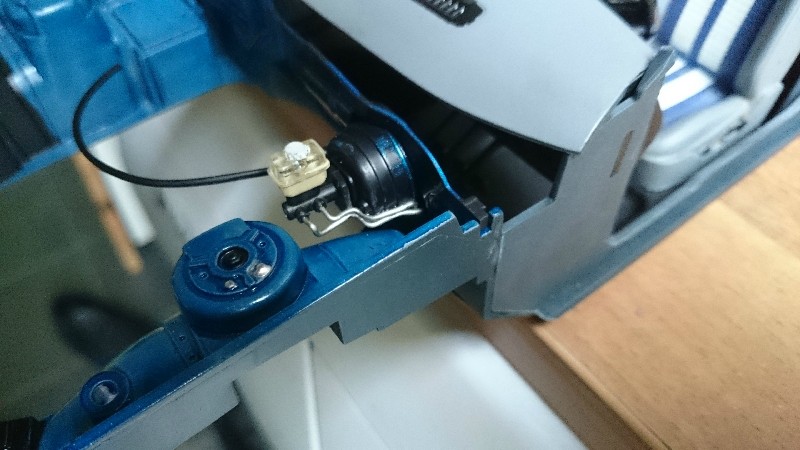
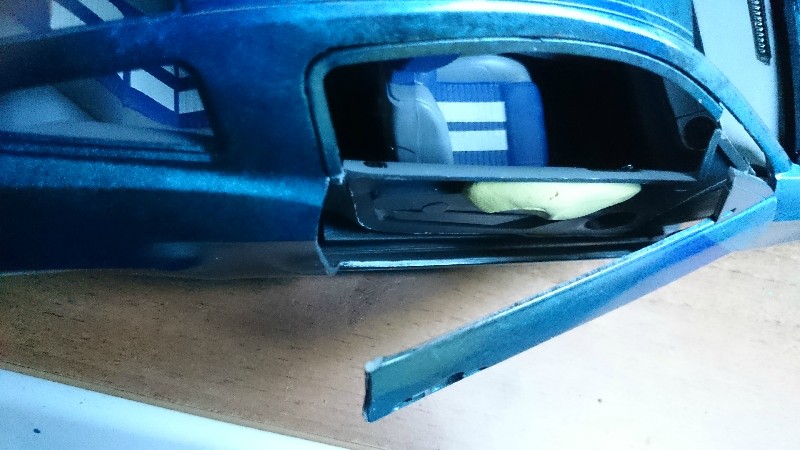
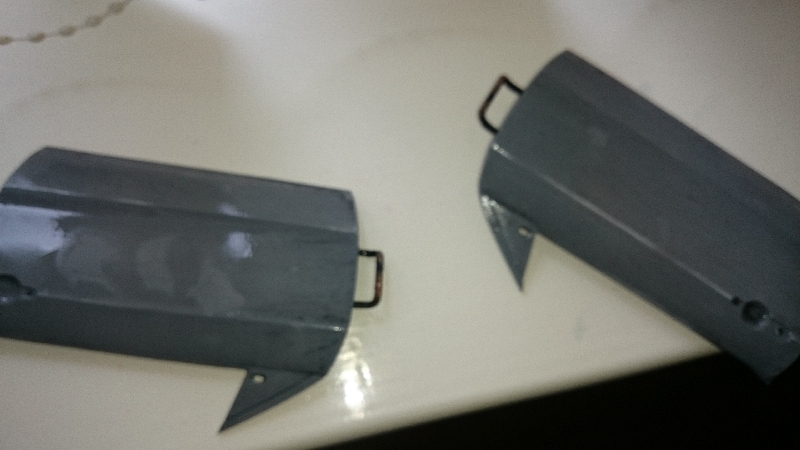
Uprated the door hinges, no sag now
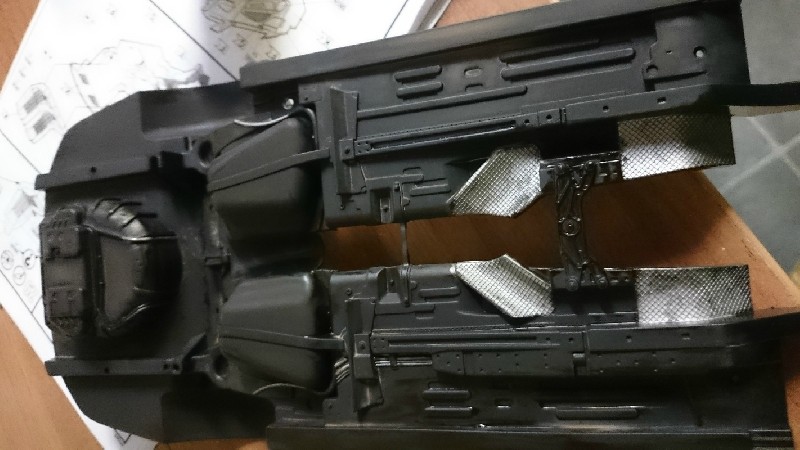
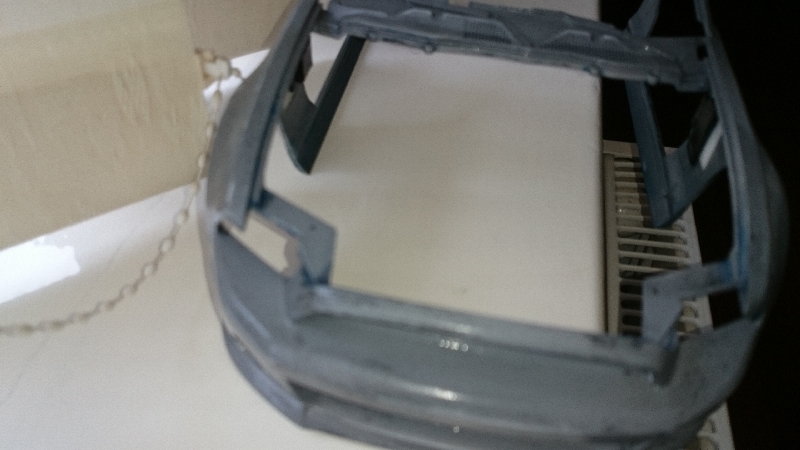
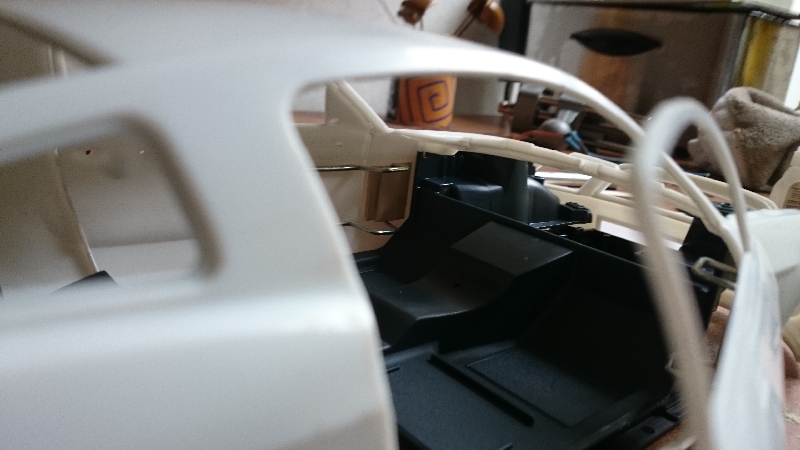
thought I better check clearances with the internals, as you can see only about 1/2 a mill clearance, that's a lucky one.
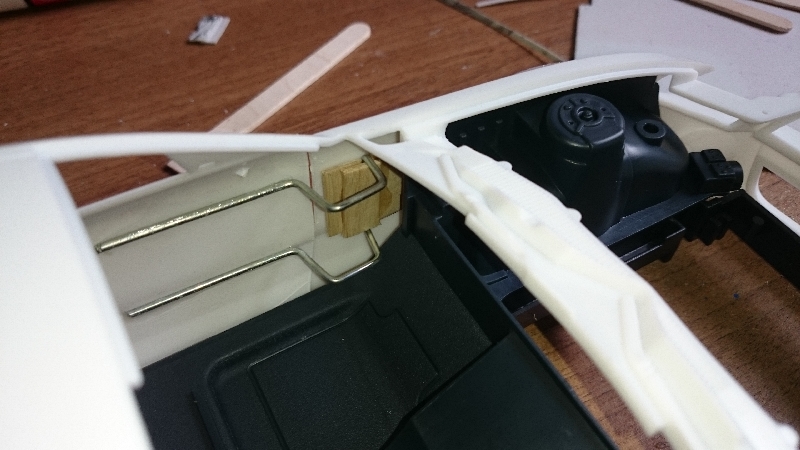
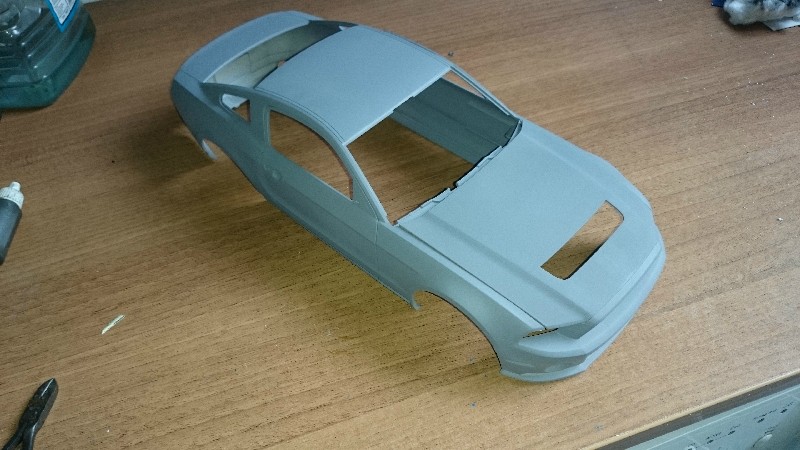
given her a coat of primer so she will have a week for that to fully cure
Kobenhavn, Denmark
Joined: June 29, 2004
KitMaker: 6,760 posts
Auto Modeler: 2,182 posts
Posted: Sunday, September 13, 2015 - 11:00 AM UTC
Very nice work on the doors.
On the workbench:
MPC: 1972 Pontiac GTO
Revell: 1965 Mustang
Verlinden 120mm guard of the marine.
Revell: 2010 Camaro
Monogram: 1931 Rolls Royce
Italeri: LVT2 Amtrac
United Kingdom
Joined: December 20, 2013
KitMaker: 1,179 posts
Auto Modeler: 647 posts
Posted: Tuesday, September 22, 2015 - 12:04 AM UTC
United Kingdom
Joined: December 20, 2013
KitMaker: 1,179 posts
Auto Modeler: 647 posts
Posted: Tuesday, September 22, 2015 - 11:11 PM UTC
Netherlands Antilles
Joined: September 02, 2014
KitMaker: 1,977 posts
Auto Modeler: 1,371 posts
Posted: Wednesday, September 23, 2015 - 12:34 AM UTC
So far so good. Eagerly waiting.
Cheers,
Gabriel
Gabriel
Many of my builds can be seen on YT in video format. Please check 'Panzergrau Models' Channel.
United Kingdom
Joined: December 20, 2013
KitMaker: 1,179 posts
Auto Modeler: 647 posts
Posted: Wednesday, September 23, 2015 - 09:29 PM UTC
United Kingdom
Joined: December 20, 2013
KitMaker: 1,179 posts
Auto Modeler: 647 posts
Posted: Thursday, September 24, 2015 - 11:51 PM UTC
United Kingdom
Joined: December 20, 2013
KitMaker: 1,179 posts
Auto Modeler: 647 posts
Posted: Sunday, September 27, 2015 - 11:44 PM UTC
United Kingdom
Joined: December 20, 2013
KitMaker: 1,179 posts
Auto Modeler: 647 posts
Posted: Tuesday, September 29, 2015 - 11:46 PM UTC
AussieReg
Associate Editor #007
Victoria, Australia
Joined: June 09, 2009
KitMaker: 8,156 posts
Auto Modeler: 2,953 posts
Posted: Wednesday, September 30, 2015 - 08:13 PM UTC
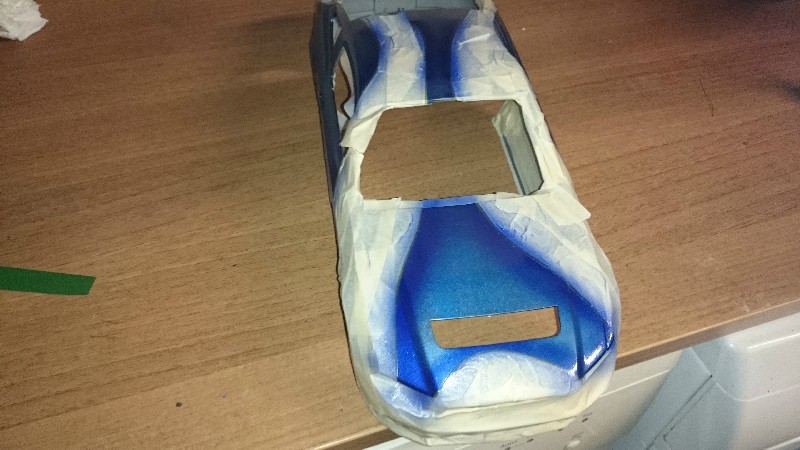
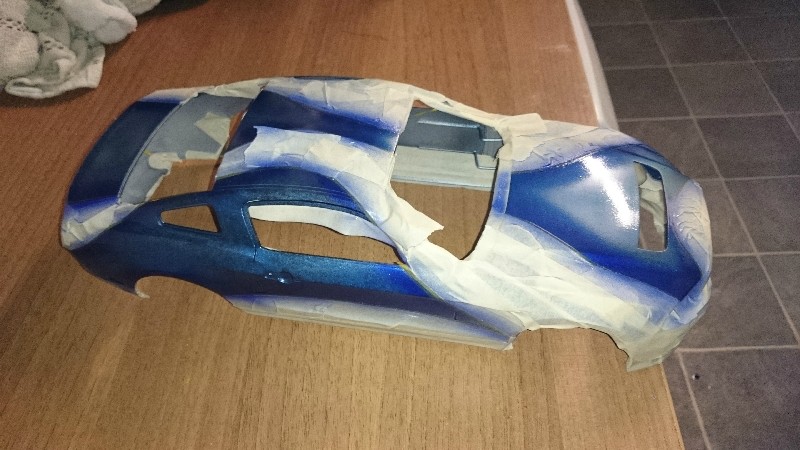
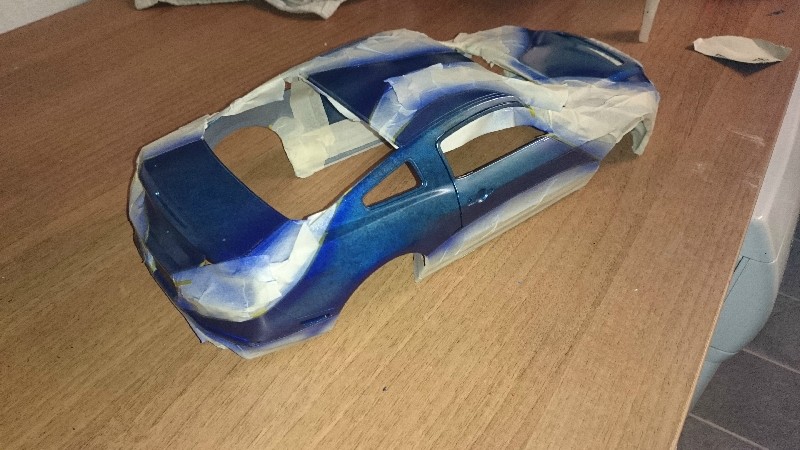
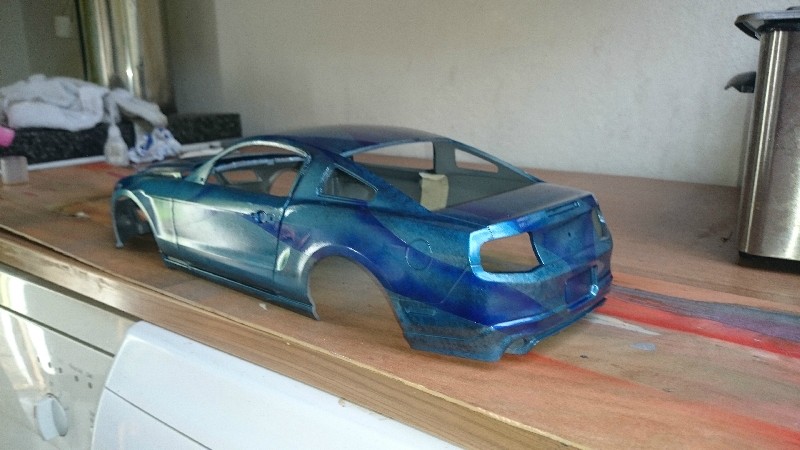
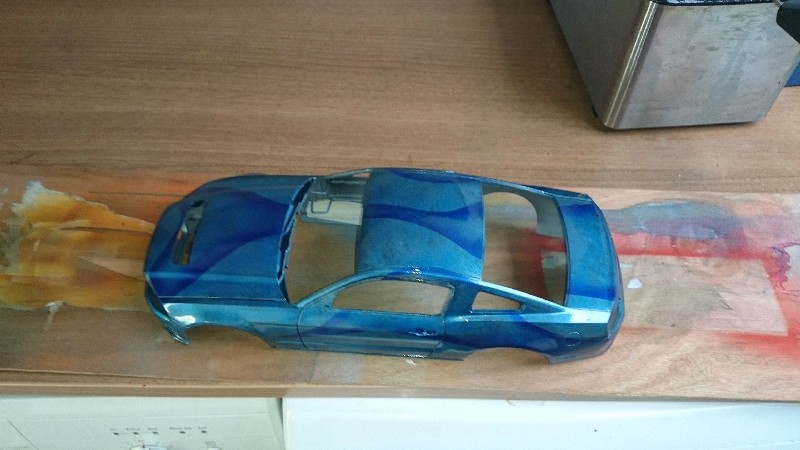
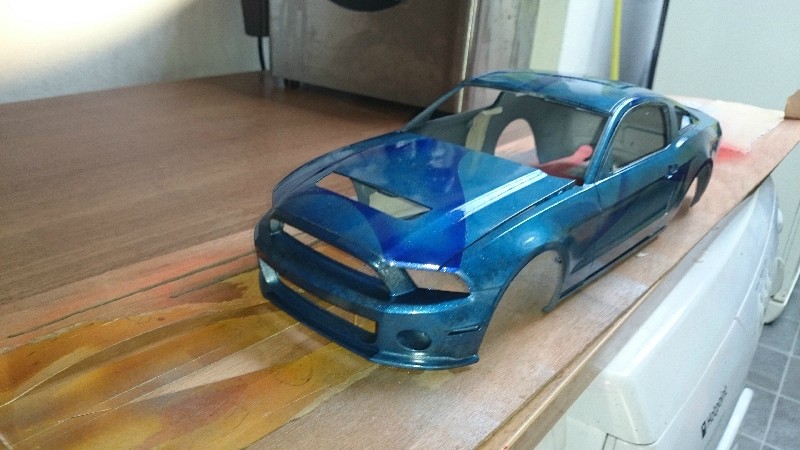
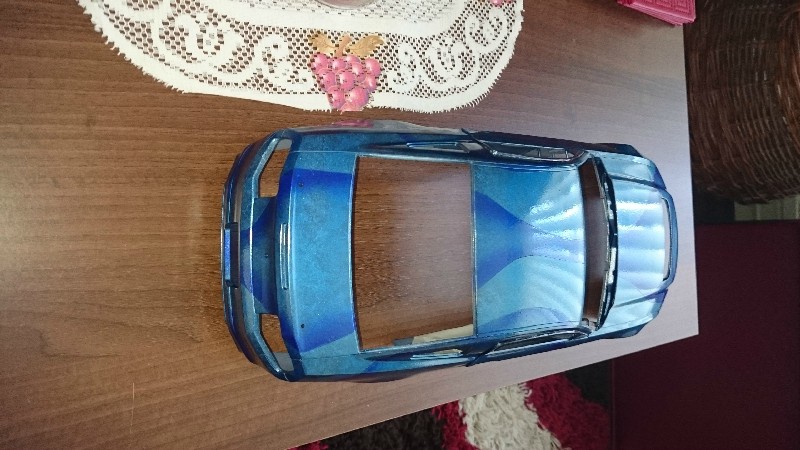
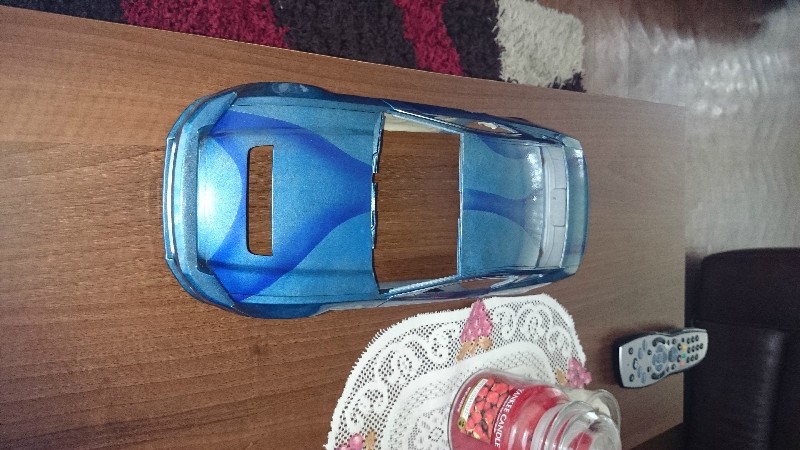
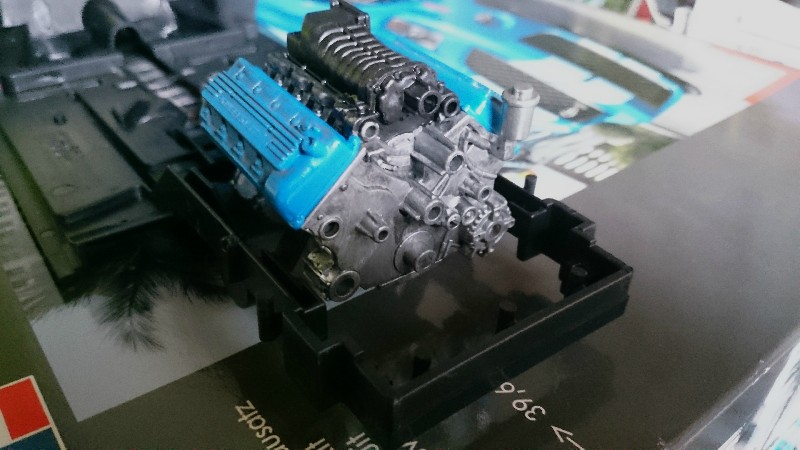
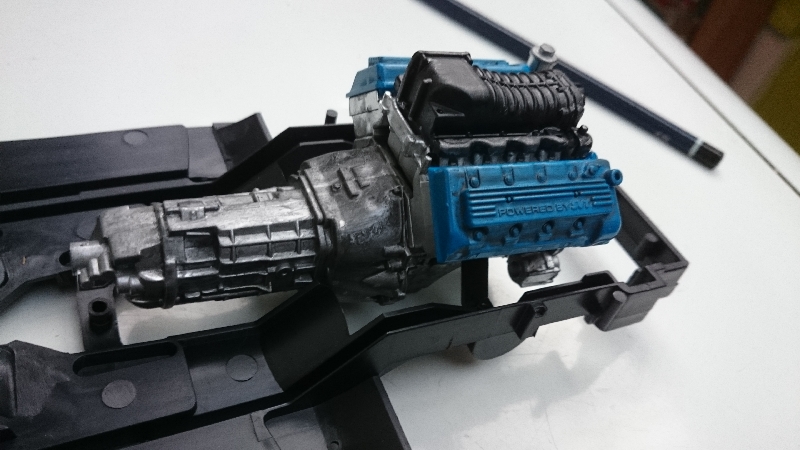
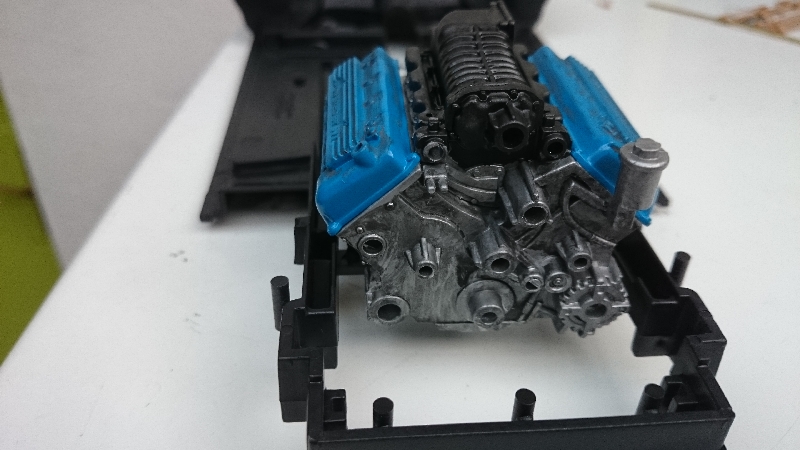
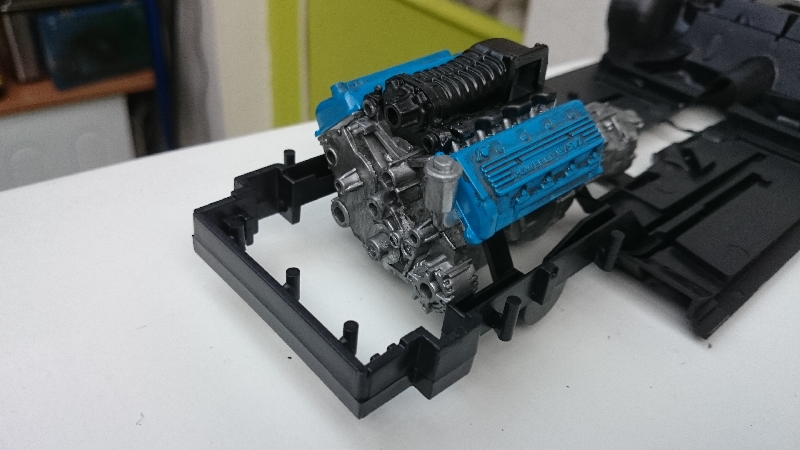
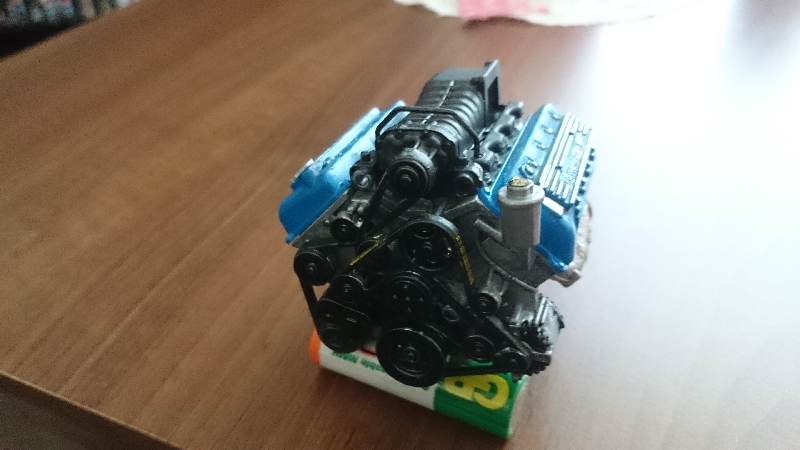
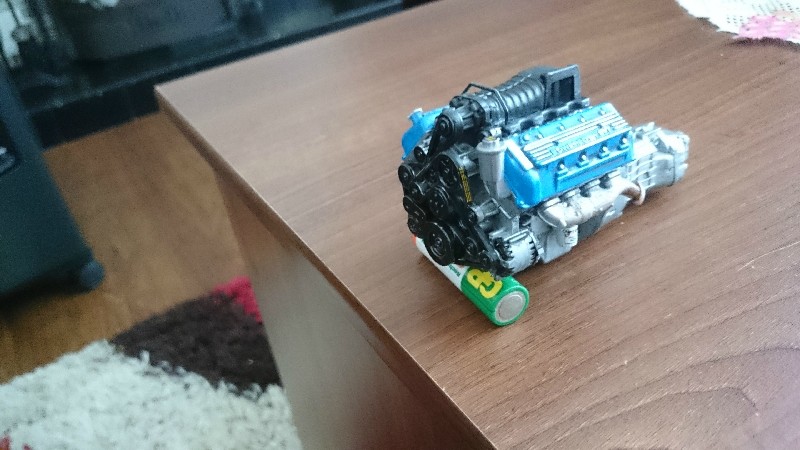
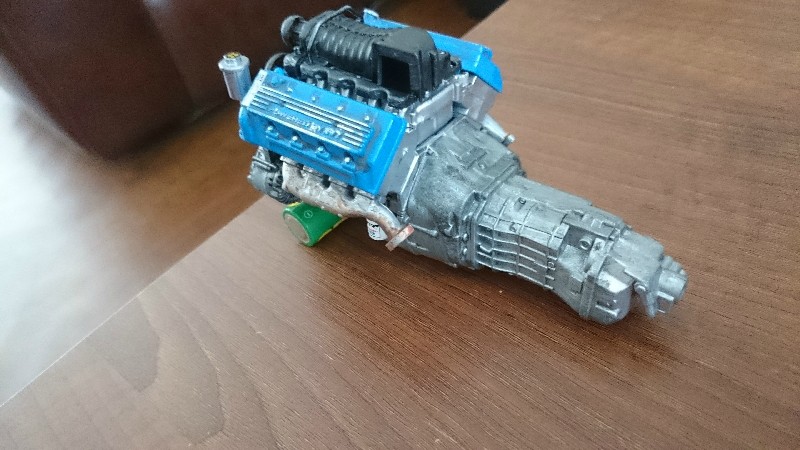
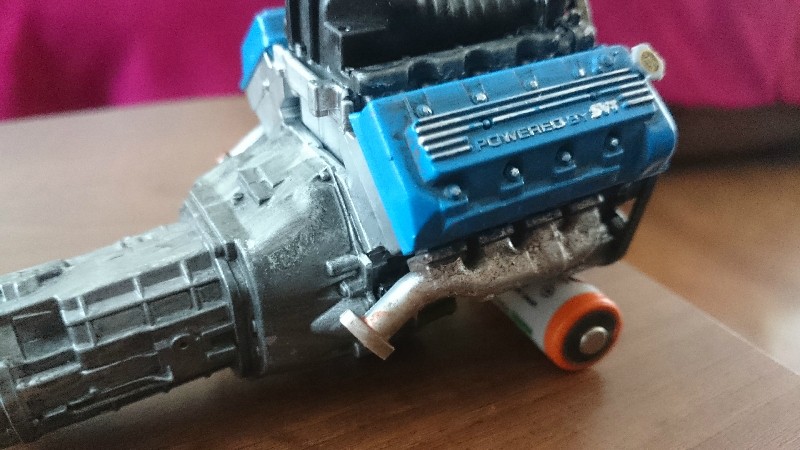
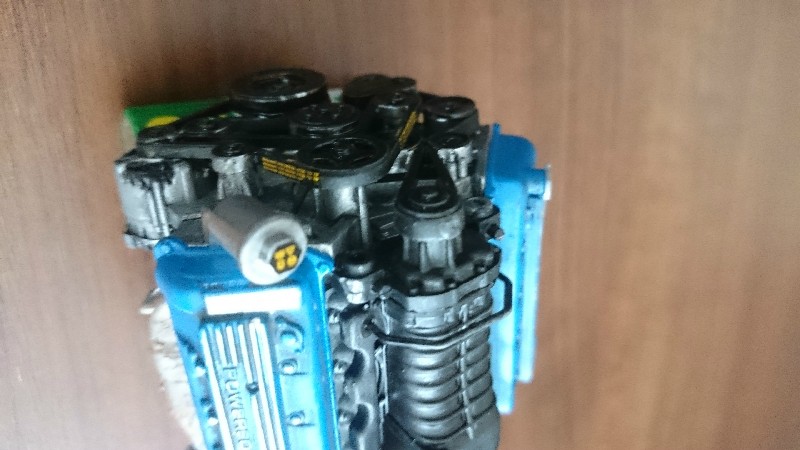
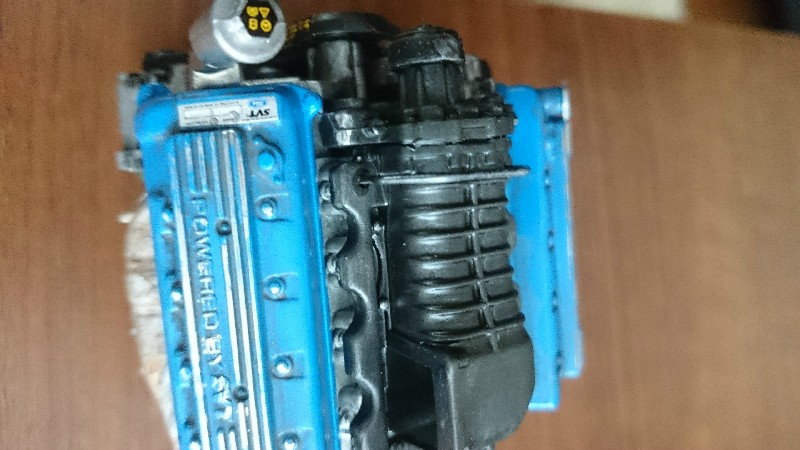
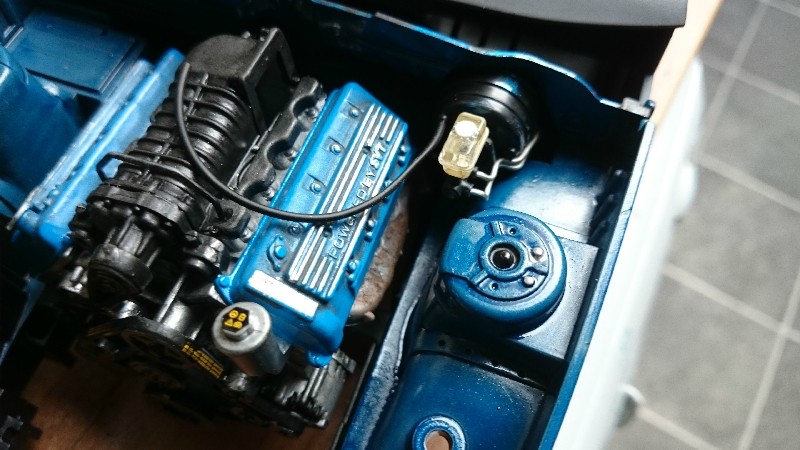
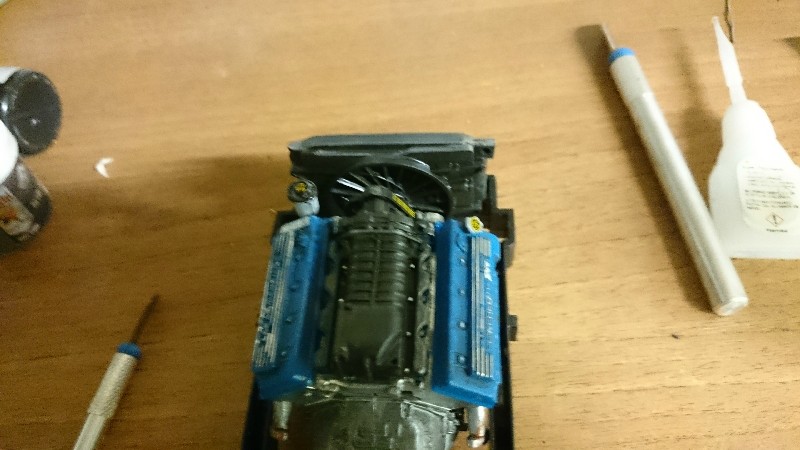
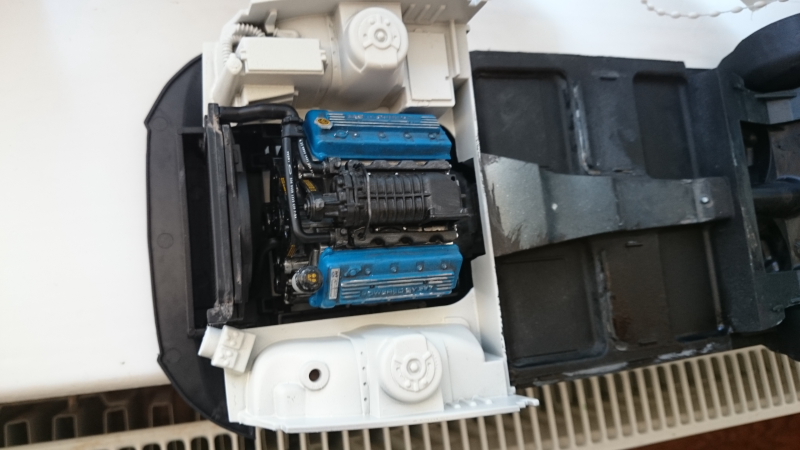
Very nice work on the powerplant, and that paintwork looks great. Unique concept, is it from a real car or just your own idea?
Cheers, D
ON the bench
Revell 1/24 '53 Corvette (building as '54)
Revell 1/24 BMW 507 Coupe and Cabrio
Italeri 1/48 Me262 B-1a/U1 Nightfighter
Monogram 1/24 '57 Chevy Nomad
Dragon 1/350 USS Frank Knox DD-742
United Kingdom
Joined: December 20, 2013
KitMaker: 1,179 posts
Auto Modeler: 647 posts
Posted: Tuesday, October 06, 2015 - 12:41 AM UTC
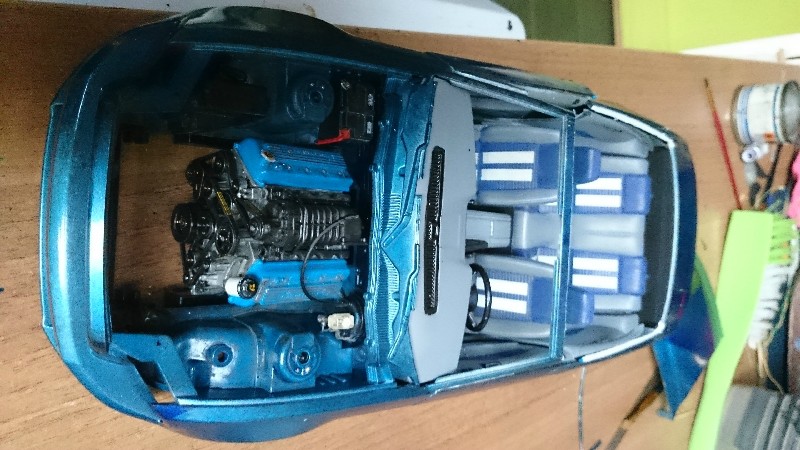
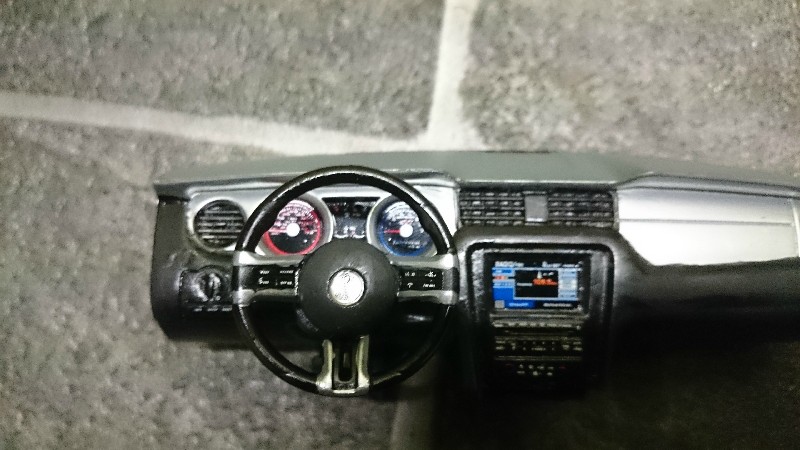
Hi D my own design.
Here is possibly the last update not one of my better efforts TBH I'm thinking bin time.

United Kingdom
Joined: December 20, 2013
KitMaker: 1,179 posts
Auto Modeler: 647 posts
Posted: Tuesday, October 06, 2015 - 09:24 PM UTC
AussieReg
Associate Editor #007
Victoria, Australia
Joined: June 09, 2009
KitMaker: 8,156 posts
Auto Modeler: 2,953 posts
Posted: Wednesday, October 07, 2015 - 01:14 AM UTC
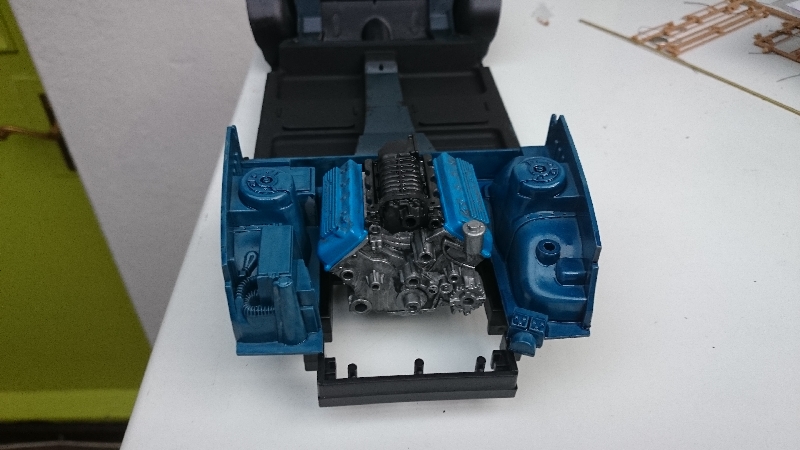
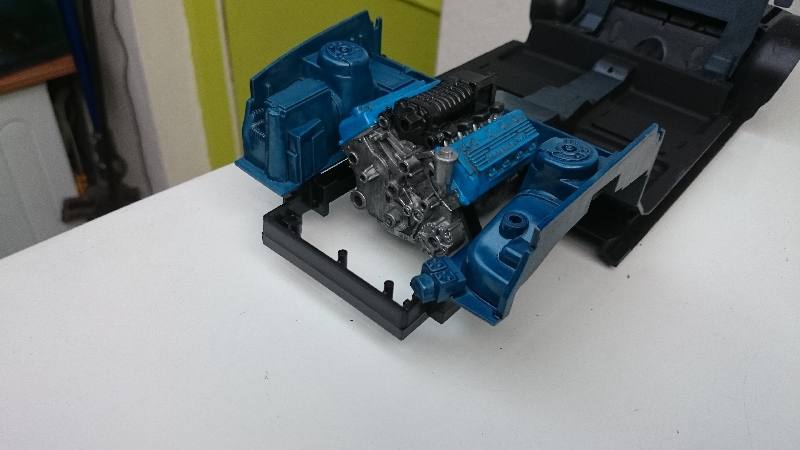
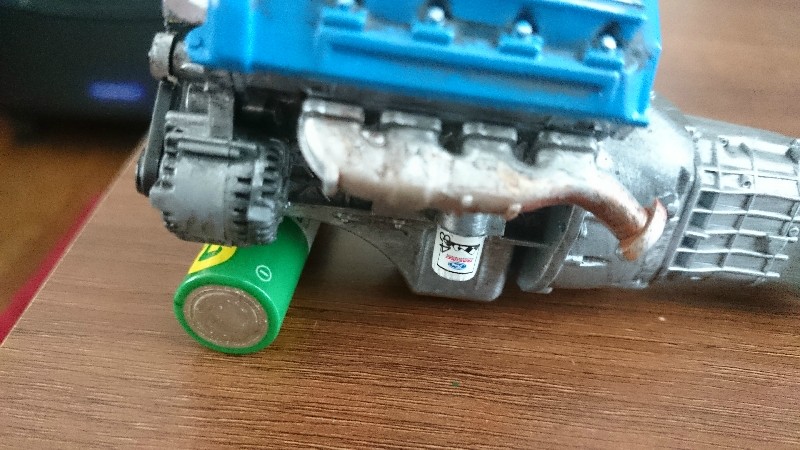
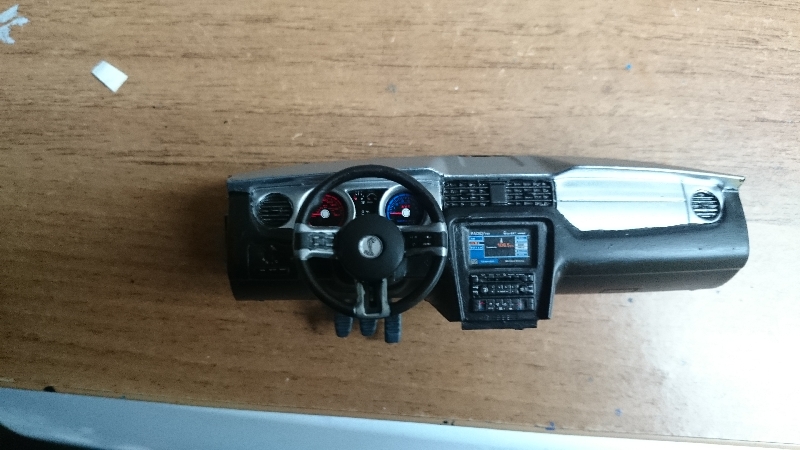
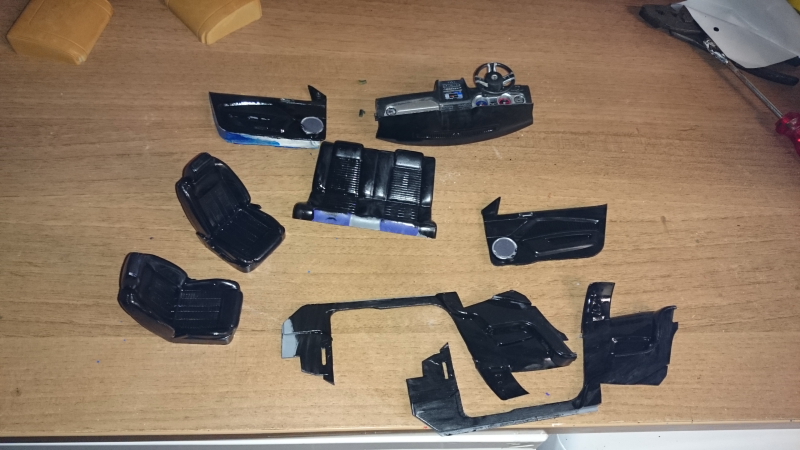
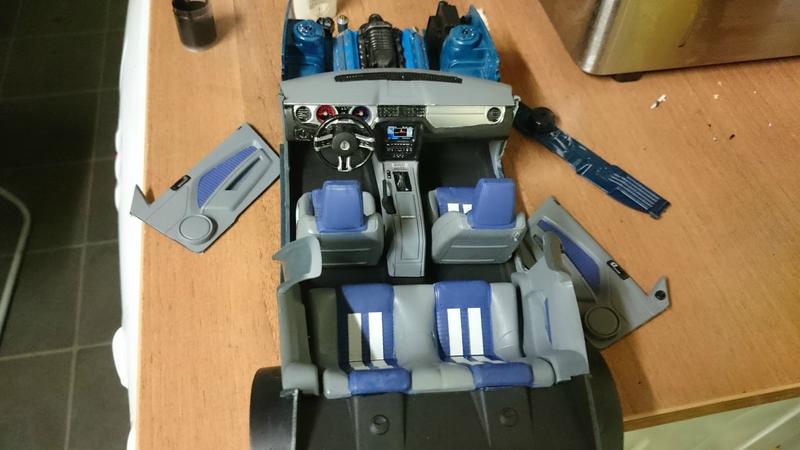
The dash looks great Ken, those touch ups really cleaned it up nicely. Great work in the engine bay as well, the extra detail sets it off really well.
Cheers, D
ON the bench
Revell 1/24 '53 Corvette (building as '54)
Revell 1/24 BMW 507 Coupe and Cabrio
Italeri 1/48 Me262 B-1a/U1 Nightfighter
Monogram 1/24 '57 Chevy Nomad
Dragon 1/350 USS Frank Knox DD-742
United Kingdom
Joined: December 20, 2013
KitMaker: 1,179 posts
Auto Modeler: 647 posts
Posted: Thursday, October 08, 2015 - 12:09 AM UTC
United Kingdom
Joined: December 20, 2013
KitMaker: 1,179 posts
Auto Modeler: 647 posts
Posted: Saturday, October 31, 2015 - 05:33 PM UTC
United Kingdom
Joined: December 20, 2013
KitMaker: 1,179 posts
Auto Modeler: 647 posts
Posted: Sunday, November 08, 2015 - 01:05 AM UTC
United Kingdom
Joined: December 20, 2013
KitMaker: 1,179 posts
Auto Modeler: 647 posts
Posted: Friday, November 13, 2015 - 11:23 PM UTC
United Kingdom
Joined: December 20, 2013
KitMaker: 1,179 posts
Auto Modeler: 647 posts
Posted: Saturday, November 14, 2015 - 10:19 PM UTC