UPDATE - model finished
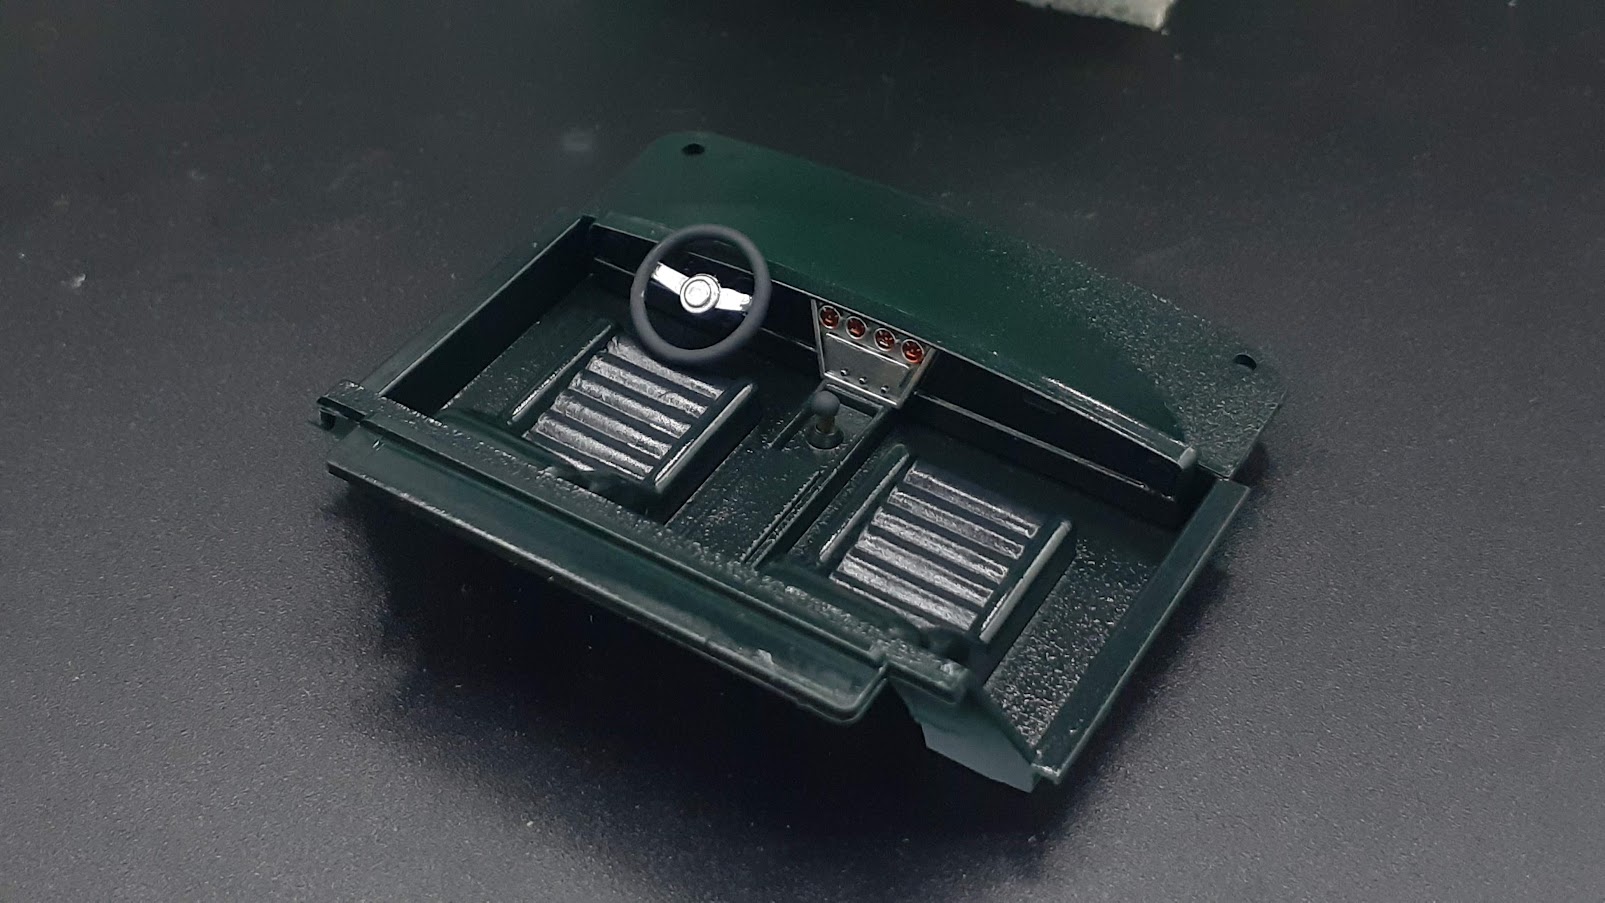
I finished detailing the dash with some Tamiya Panel Liner Black on the main dials and Tamiya Clear Red on the secondary dials:
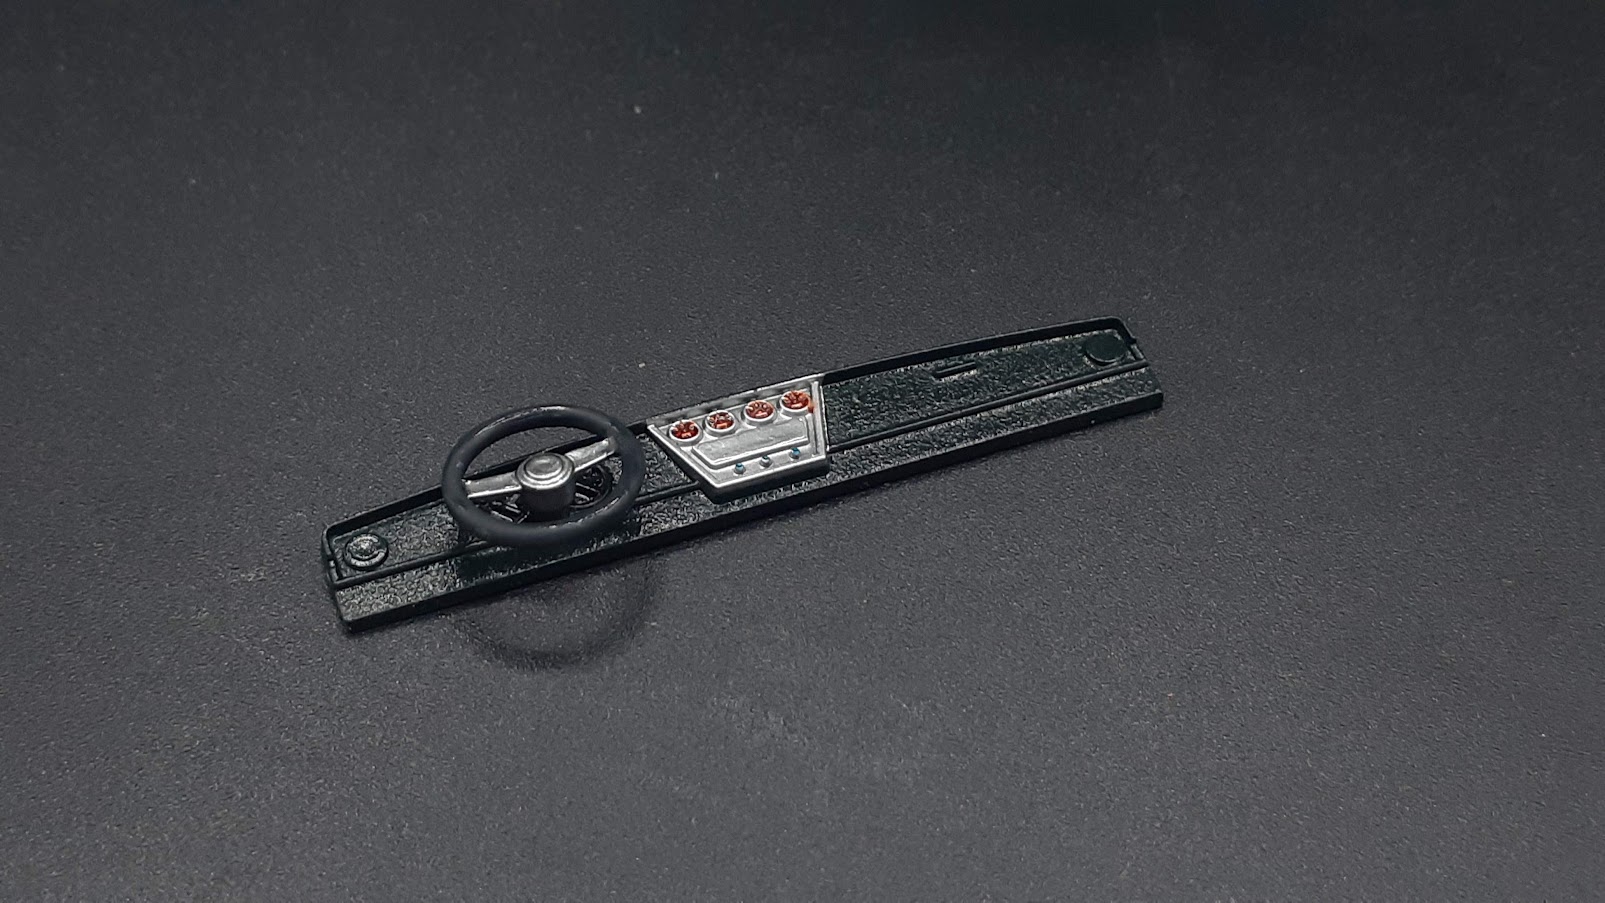
...just to find out after installation that the steering wheel doesn't fit properly and the dials are totally hidden
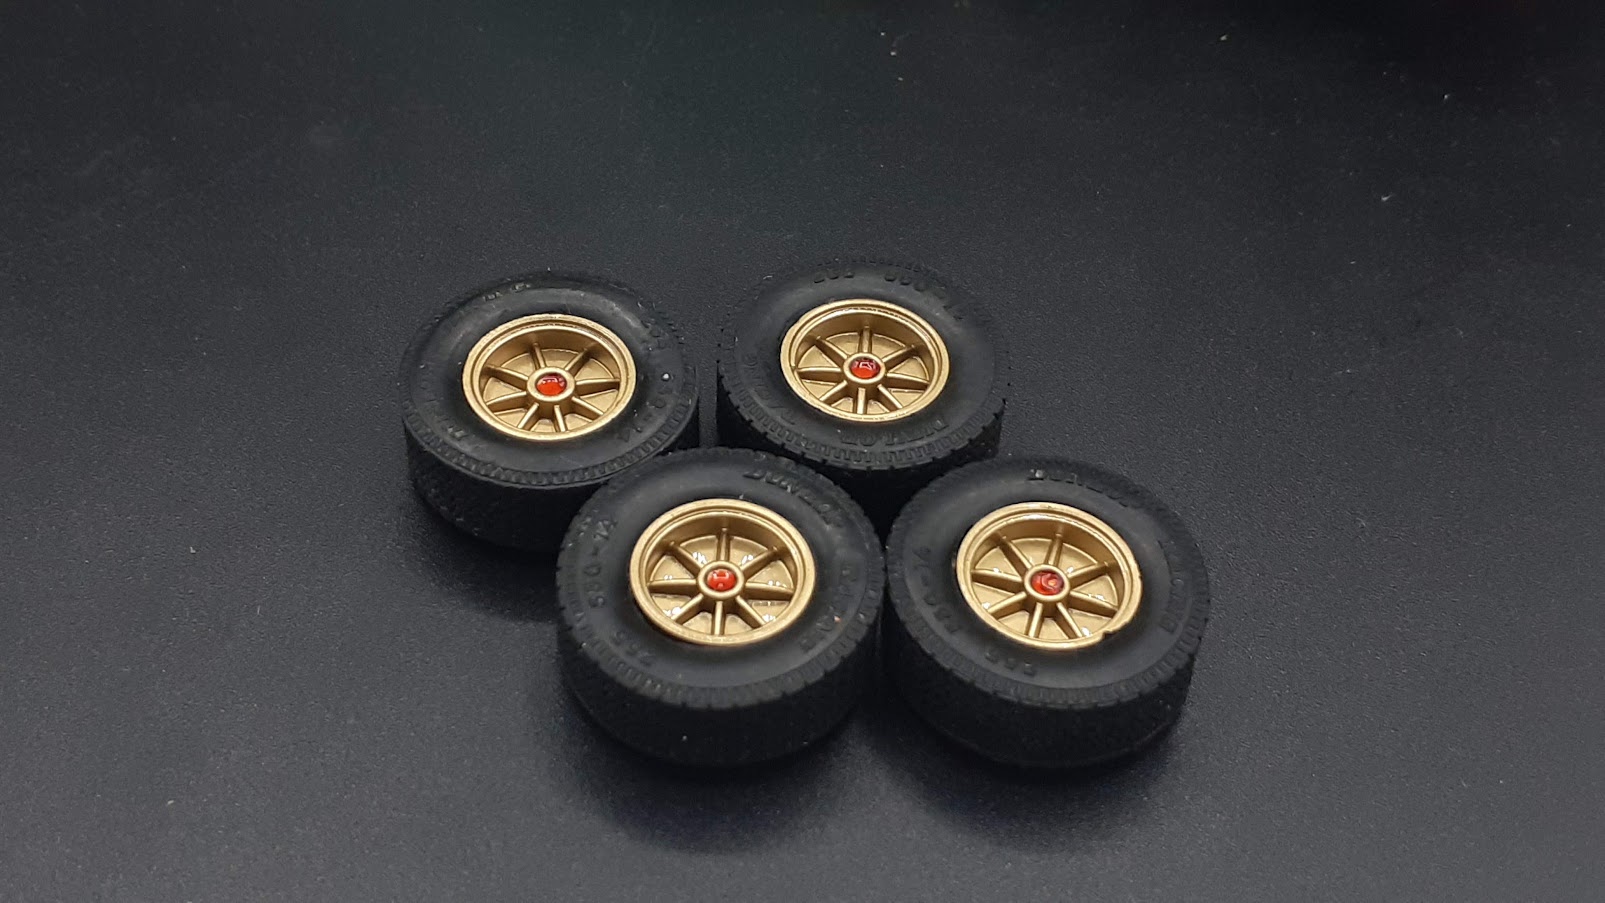
The tires aren't all that bad, but the rims are horrible. I did the best I could. The 2K saved the day - the fit is very tight and any other clear wouldn't resist under the pressure needed to fit the tires (they re intended to run into dirt for true):
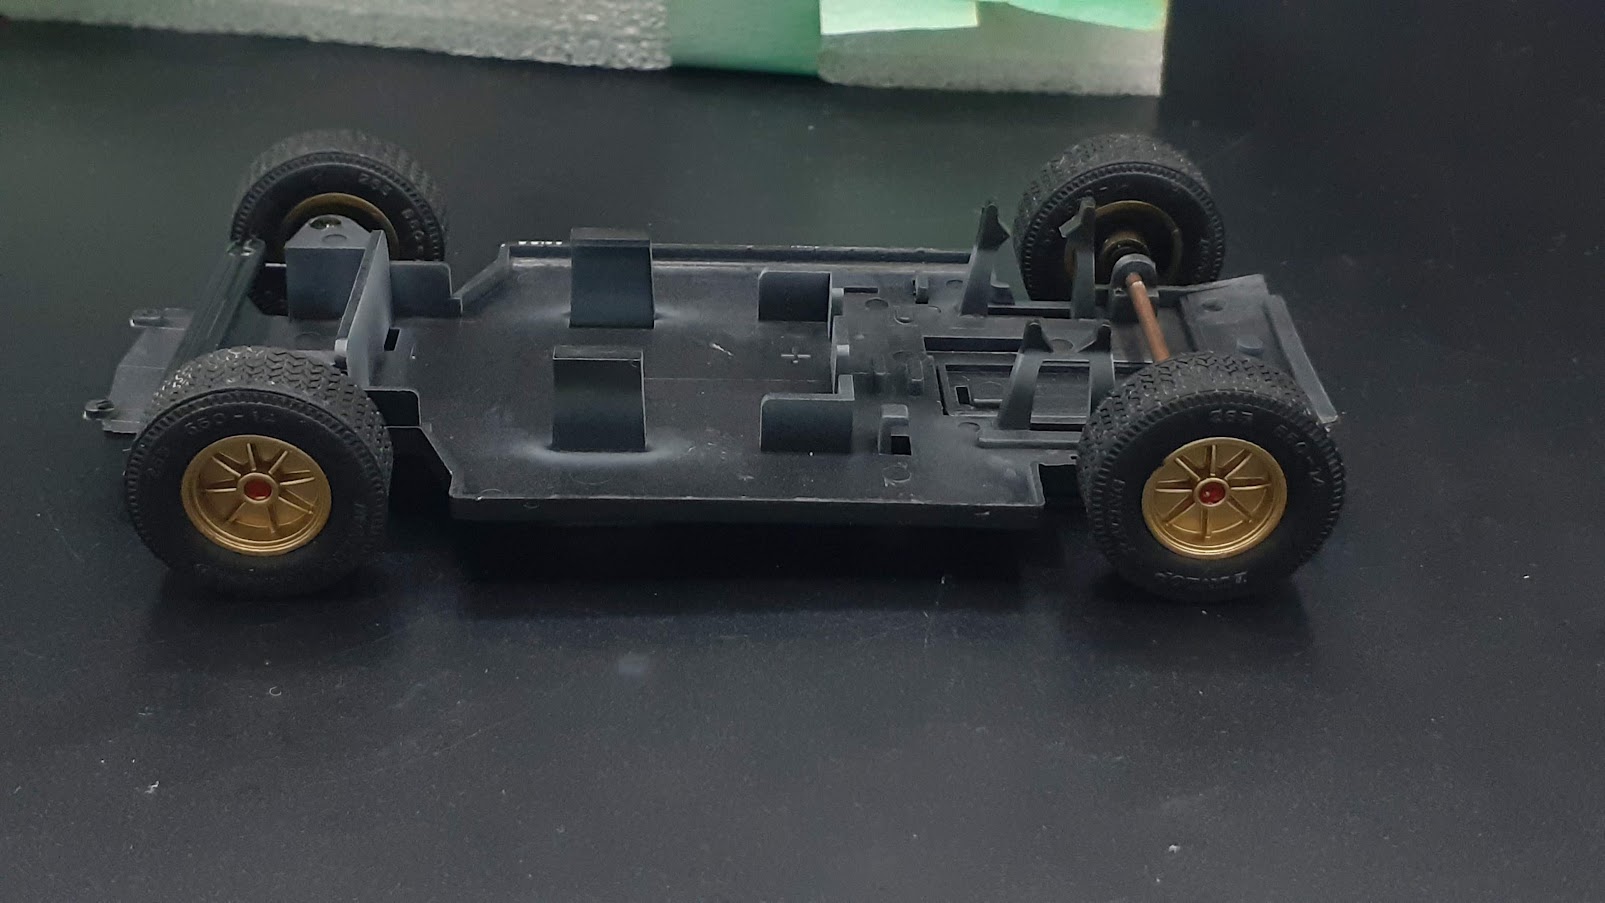
Rolling chassis complete - that's all I've got from Yodel
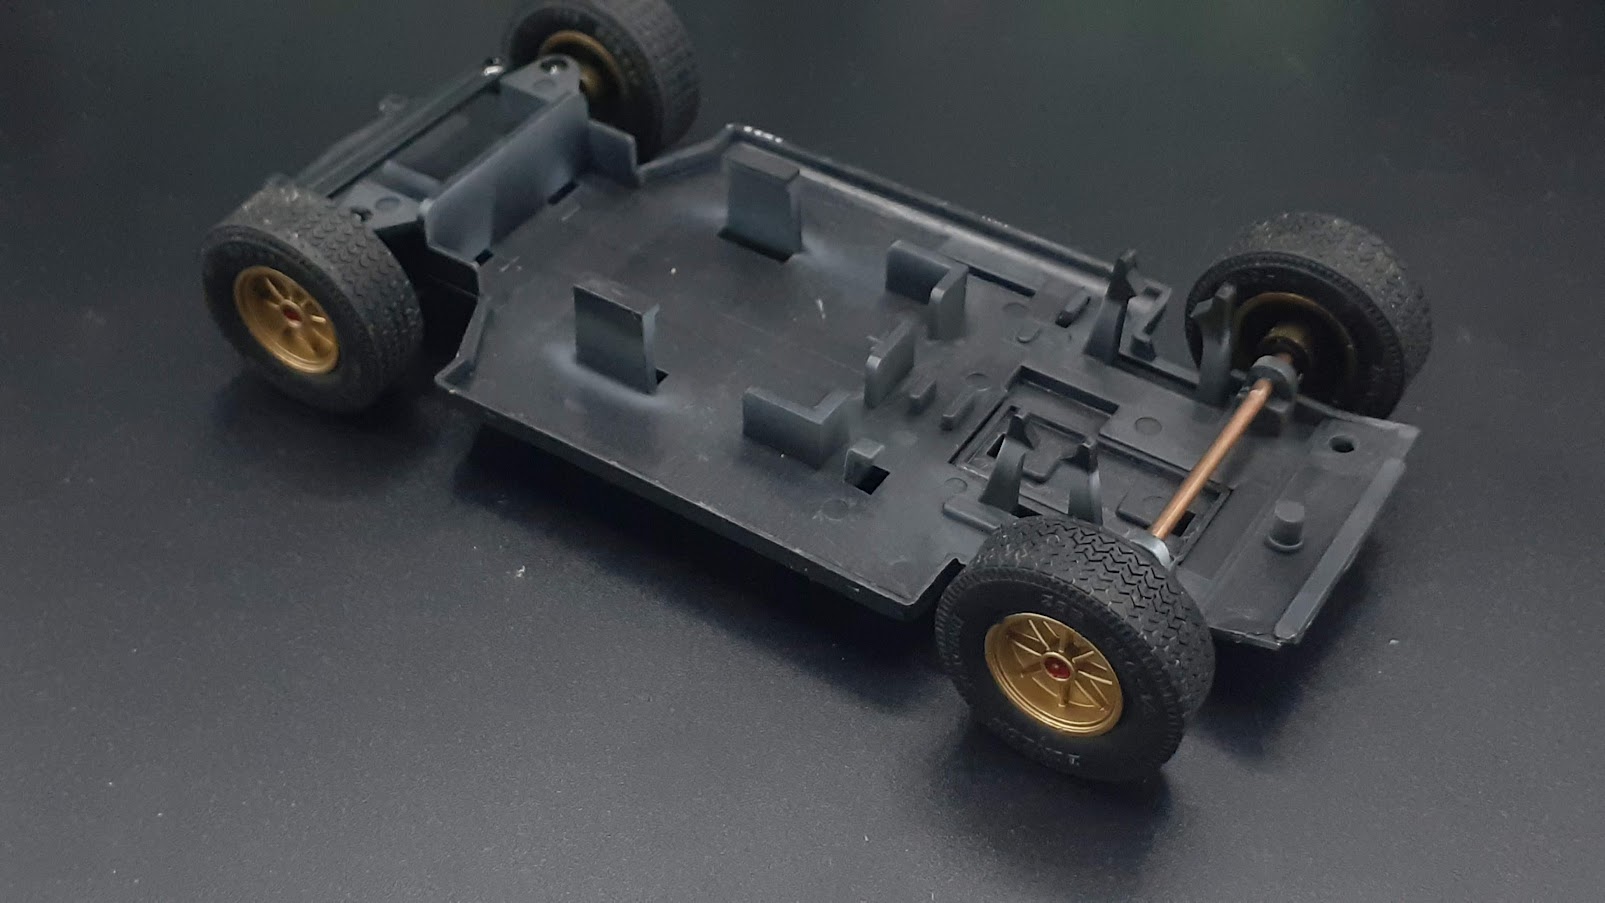
The assembly is rock solid though, since even the front wheels are on aluminum pins and polycarbonate bushings:
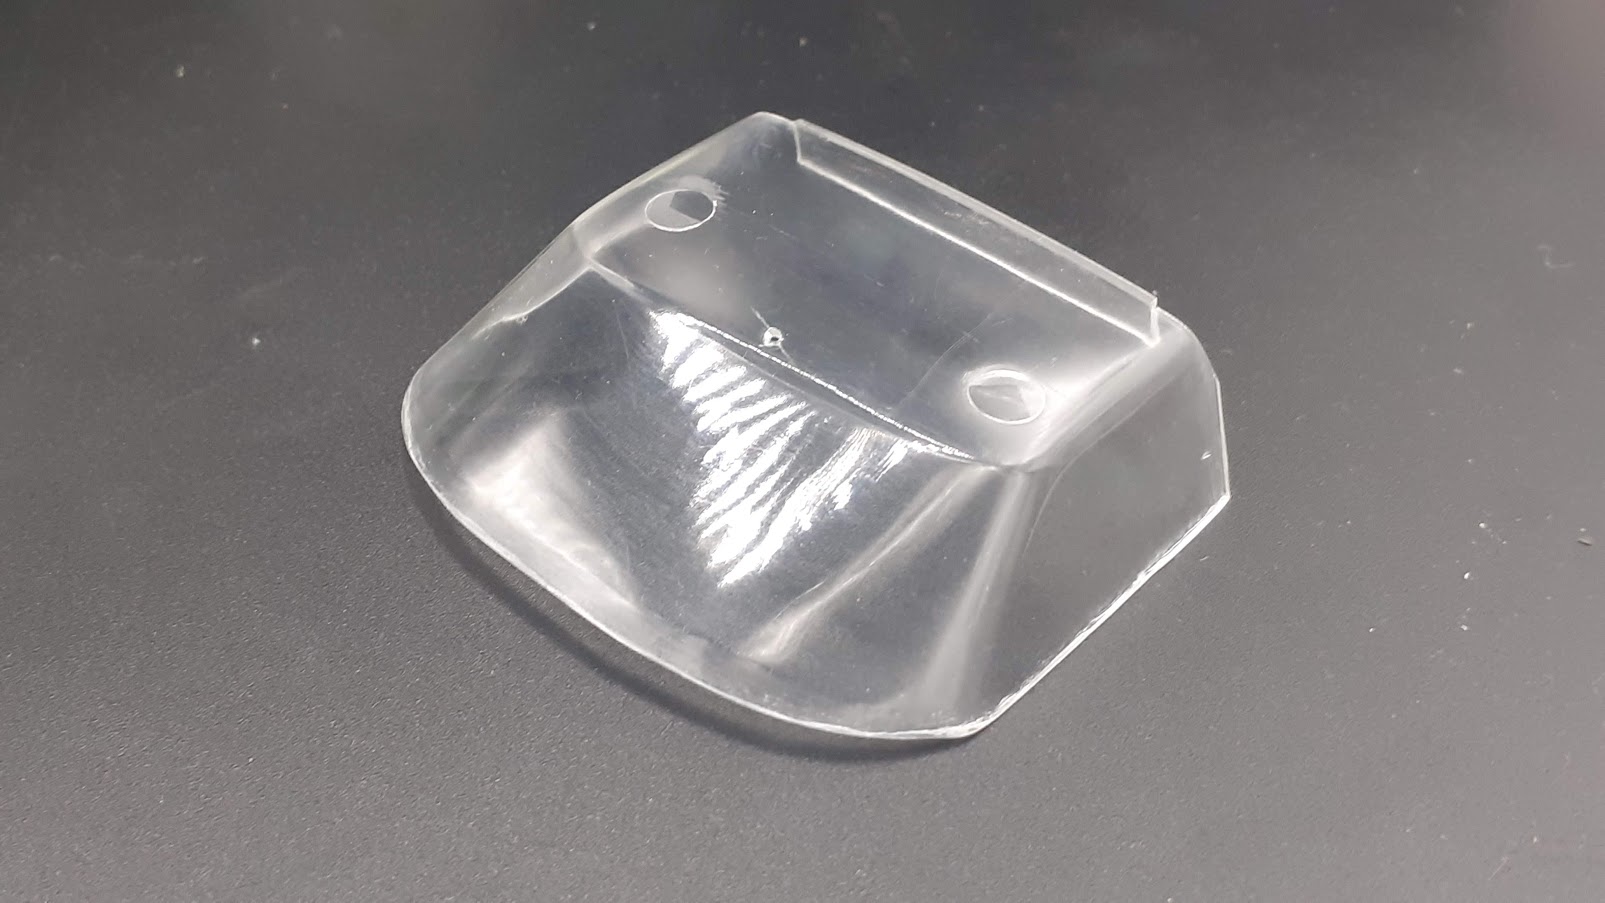
The windows are molded as a single piece, from a weird softish plastic that was full of minor scratched and a couple of deep ones in my example:
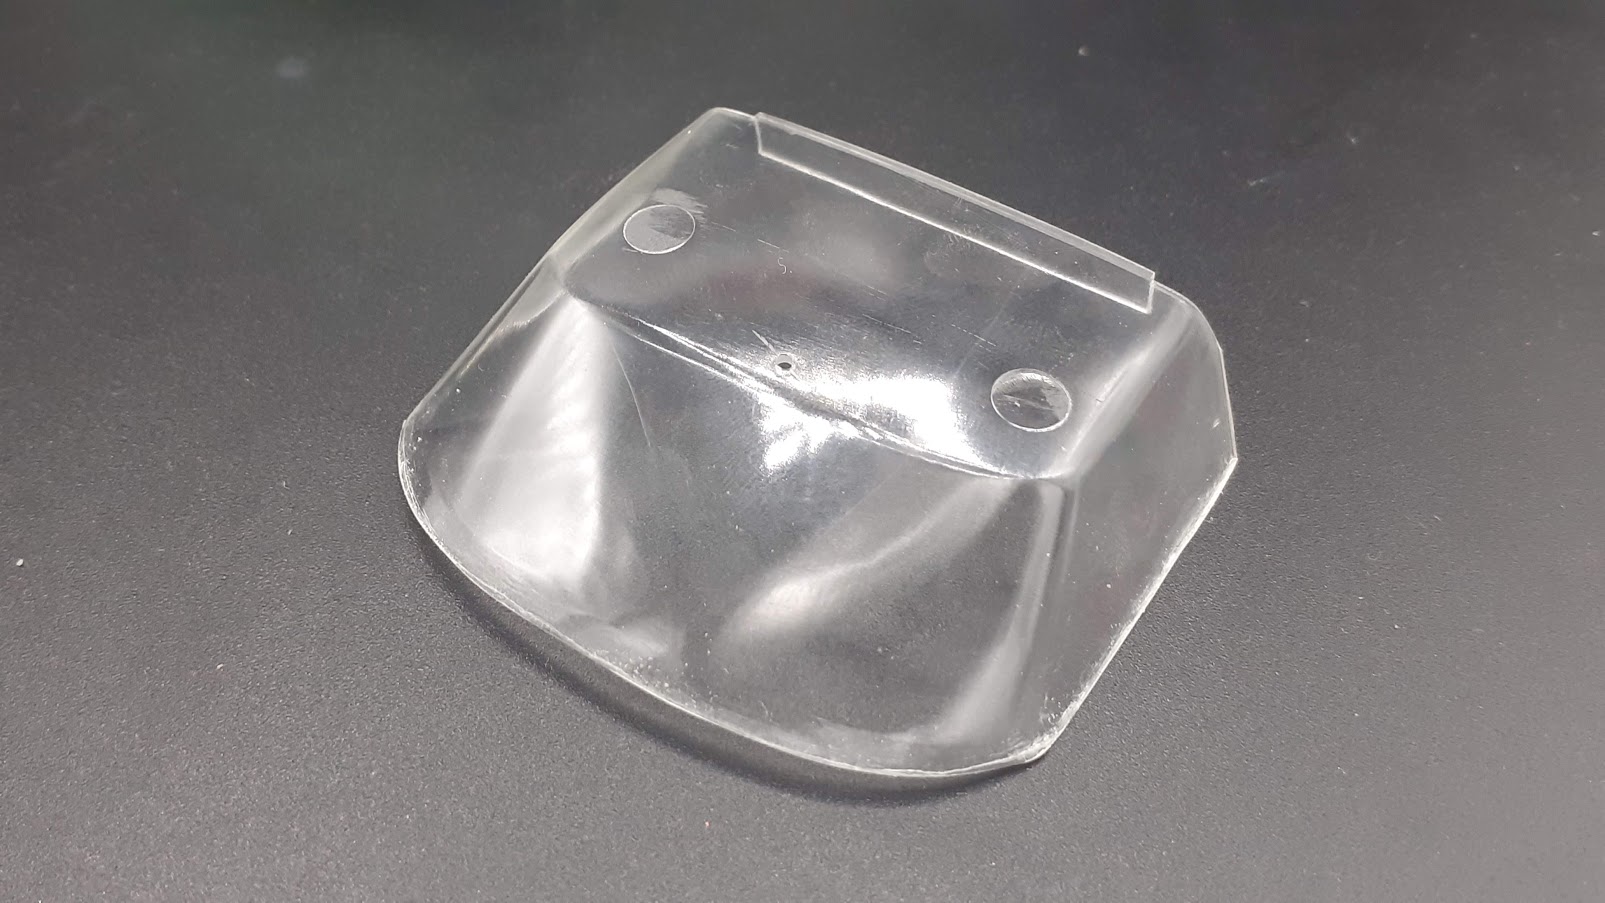
Not sure if the picture shows the improvement, but there was some consistent one after sanding and polishing:
And, finally, a small gallery with the completed model:
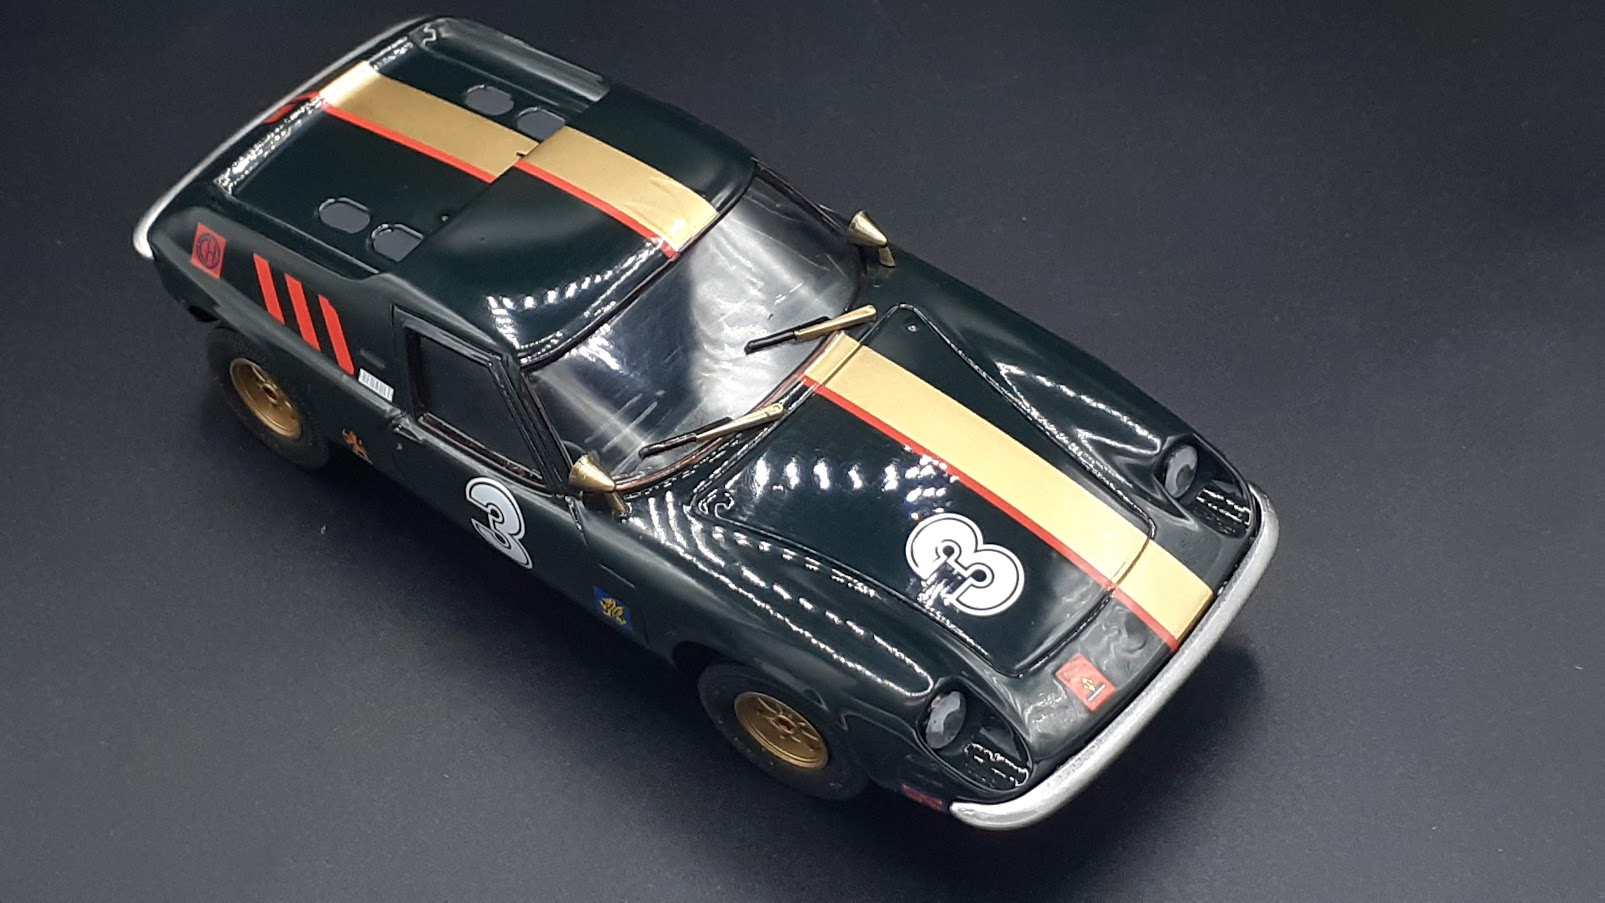
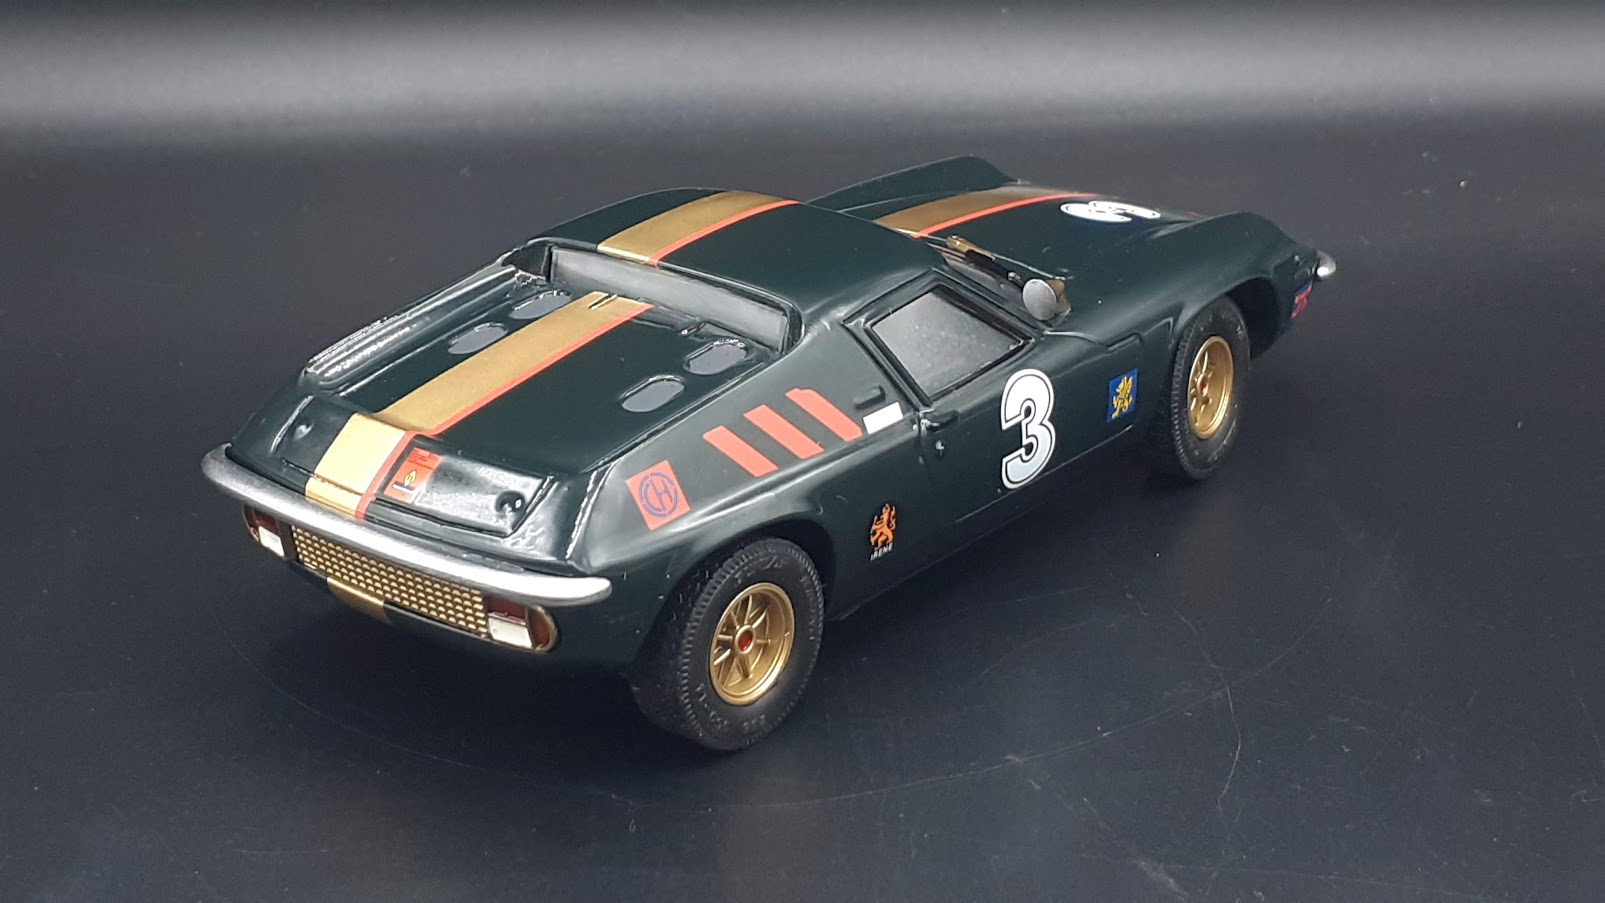
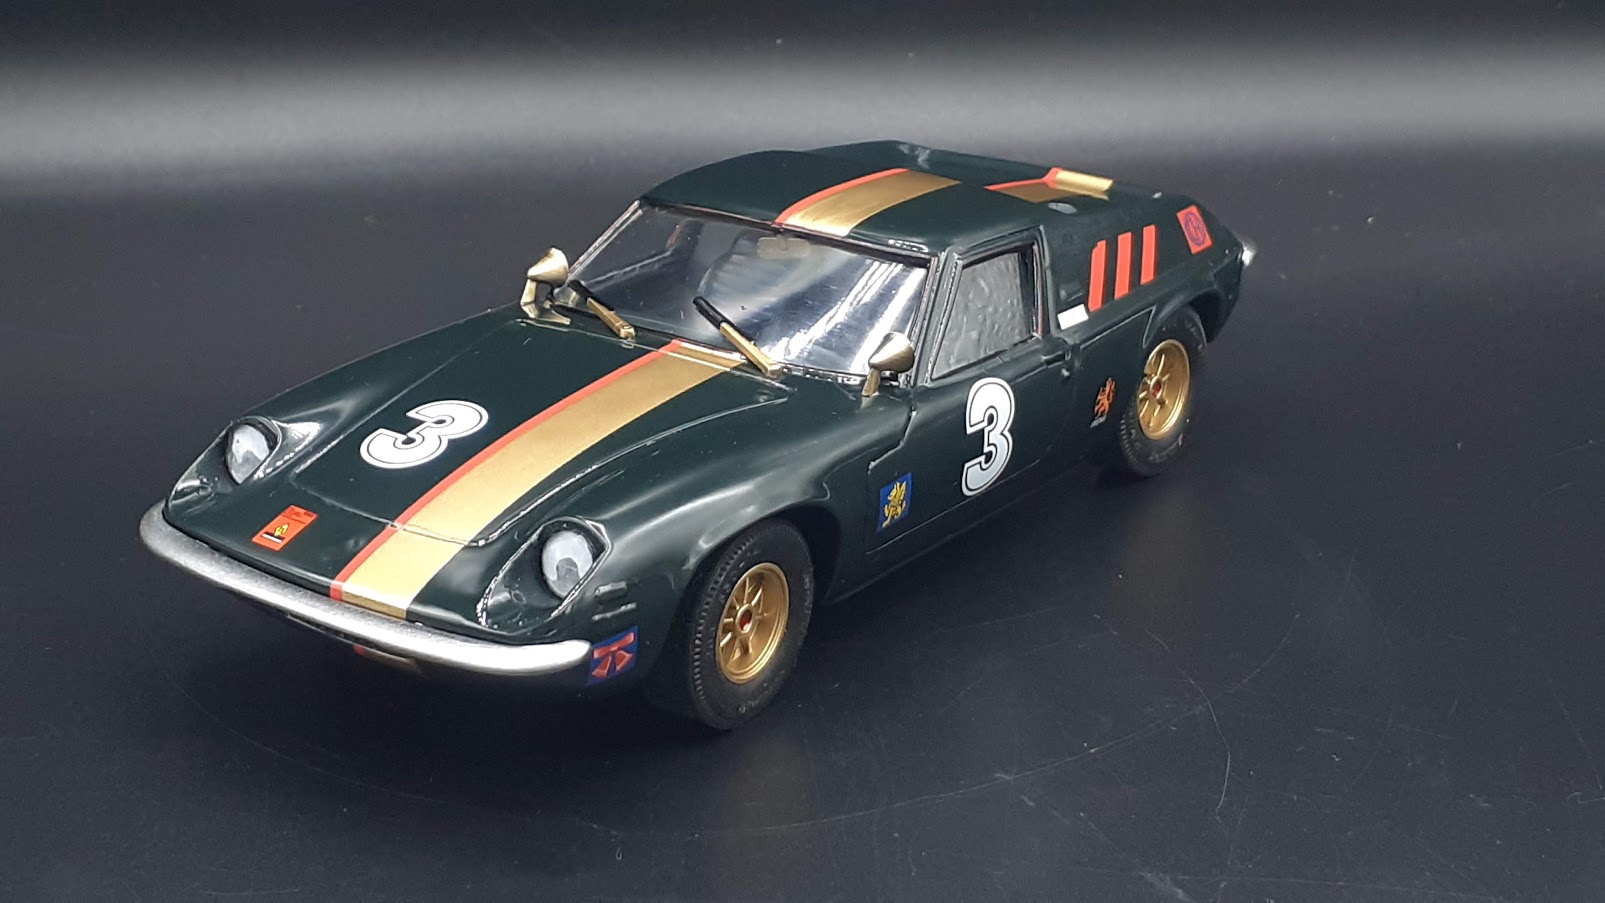
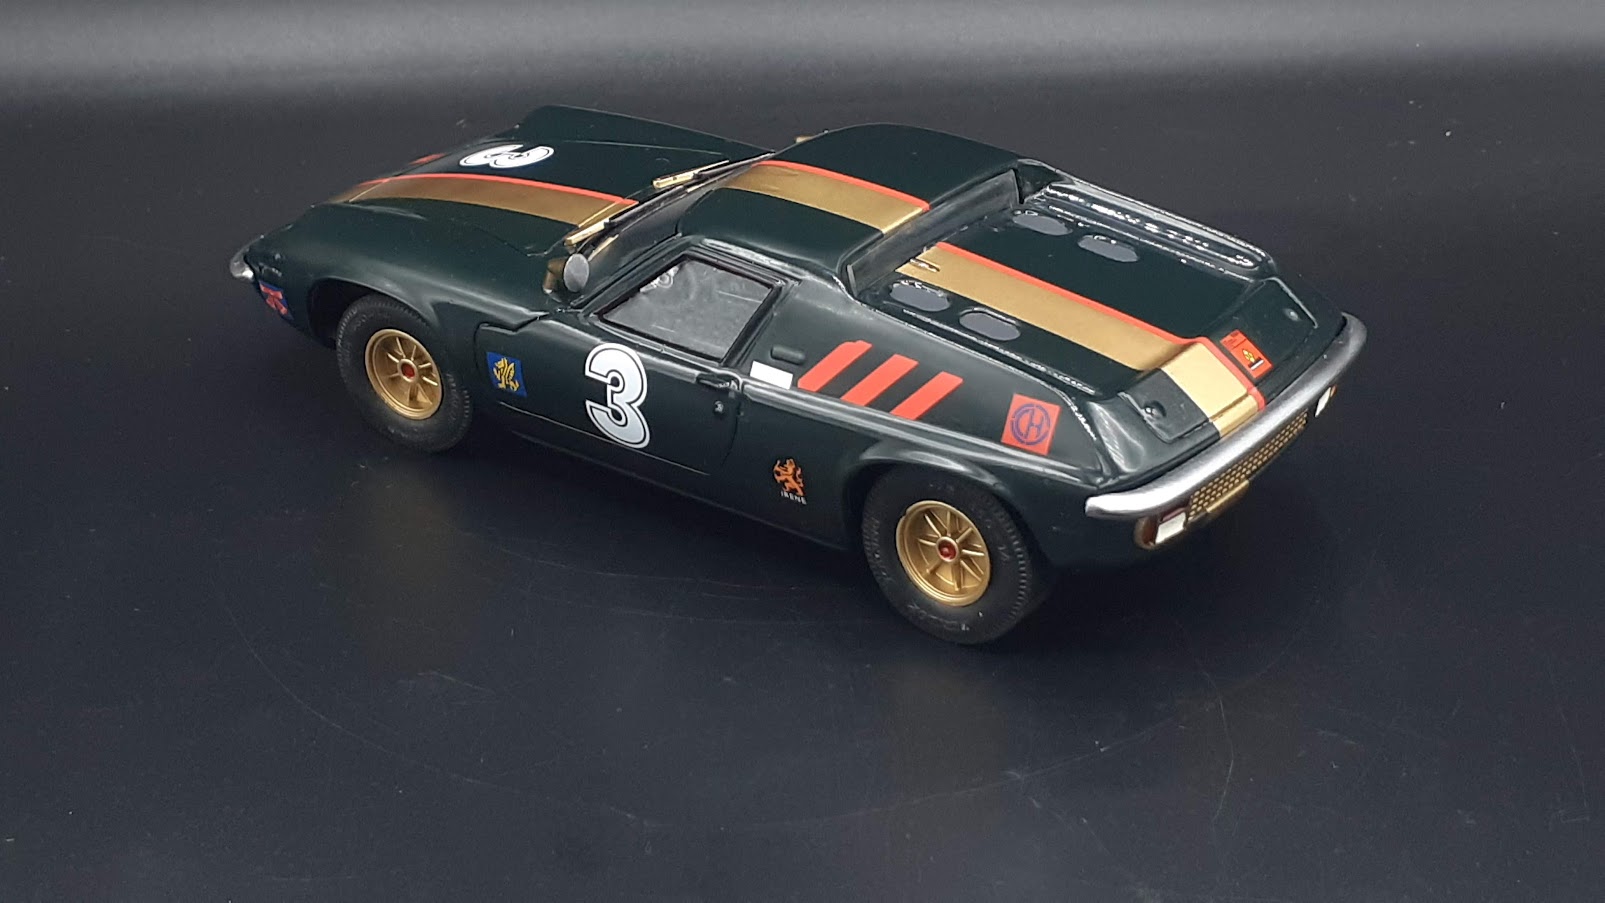
There is still place for a few improvements and touch ups: a waxing and re-doing the side reflectors for instance - but the glue was still wet under the bumpers and I didn't want to ruin everything right at the end. I would probably do these cosmetic improvements before the plain air photo session.
Gabriel
You are viewing the archived version of the site.
Go to automodeler.com for the current dynamic site!
Hosted by Jim Starkweather
Lotus Europa (Wing?) by Yodel
Szmann
Netherlands Antilles
Joined: September 02, 2014
KitMaker: 1,977 posts
Auto Modeler: 1,371 posts
Joined: September 02, 2014
KitMaker: 1,977 posts
Auto Modeler: 1,371 posts
Posted: Thursday, August 27, 2020 - 02:38 PM UTC
Posted: Thursday, August 27, 2020 - 04:23 PM UTC
Wow! That was fast, and as always, finish looks great!
Glad you’re back posting
Cheers
Nick
Glad you’re back posting
Cheers
Nick
Szmann
Netherlands Antilles
Joined: September 02, 2014
KitMaker: 1,977 posts
Auto Modeler: 1,371 posts
Joined: September 02, 2014
KitMaker: 1,977 posts
Auto Modeler: 1,371 posts
Posted: Friday, August 28, 2020 - 12:15 AM UTC
Quoted Text
Wow! That was fast, and as always, finish looks great!
Glad you’re back posting
Cheers
Nick
Thanks, Nick. Well, the model is a "toy" and comprises just a few parts. Yet it served well its purpose to testing new (to me) modelling products. Both the putty and 2K are keepers.
Gabriel
Biggles2
Quebec, Canada
Joined: January 01, 2004
KitMaker: 7,600 posts
Auto Modeler: 35 posts
Joined: January 01, 2004
KitMaker: 7,600 posts
Auto Modeler: 35 posts
Posted: Friday, August 28, 2020 - 03:54 AM UTC
I only occasionally build car models (mostly ships, armour, and figures), so could you explain to me how you did your chrome? I've used Molotow Chrome but I realize it's only good for small parts or touch-ups on pre-chromed pieces - doesn't look good at all for bumpers, etc.
Szmann
Netherlands Antilles
Joined: September 02, 2014
KitMaker: 1,977 posts
Auto Modeler: 1,371 posts
Joined: September 02, 2014
KitMaker: 1,977 posts
Auto Modeler: 1,371 posts
Posted: Friday, August 28, 2020 - 04:52 AM UTC
Quoted Text
I only occasionally build car models (mostly ships, armour, and figures), so could you explain to me how you did your chrome? I've used Molotow Chrome but I realize it's only good for small parts or touch-ups on pre-chromed pieces - doesn't look good at all for bumpers, etc.
Sure, no problem!
The metrod I use comprises 3 essential steps:
1. Priming - smooth application of primer - my all time favourites are Mr.Surfacer 1500 Gray and Black
2. Black Base - any black gloss enamel or lacquer - my all time favourites are Krylon enamel with Testor's lacquer as runner-up
3. Alclad II (or any other fine metallic lacquer or enamel) sprayed sparingly, more like dusted over with fine setting AB
I have achieved best results when steps 2 and 3 were competed in a single session; that way the metallic dust "sinks" into the still wet base coat, achieve superior bond and looks smoother.
Step 4 (optional): clear coating with Alclad Aqua Gloss, one wet coat.
Intermediate step 2/3 (optional) - an yet better finish but more time consuming takes a clear coat between the black base and the metallic paint, but it request one extra day, as the clear has to be well dry when applying metallics.
Here a few more examples using the recommended method:
Rust-oleum (tin can, not spray) enamel over black base + 2K
Rust-oleum (tin can, not spray) enamel over gloss black + 2K
Various Alclads and enamels over MS1500 black + Alclad Aqua Gloss:
Same as above:
Gabriel
Hwa-Rang
Kobenhavn, Denmark
Joined: June 29, 2004
KitMaker: 6,760 posts
Auto Modeler: 2,182 posts
Joined: June 29, 2004
KitMaker: 6,760 posts
Auto Modeler: 2,182 posts
Posted: Friday, August 28, 2020 - 07:21 AM UTC
Excellent work, my friend. Love those personal touches, which gives it...well more personality
Szmann
Netherlands Antilles
Joined: September 02, 2014
KitMaker: 1,977 posts
Auto Modeler: 1,371 posts
Joined: September 02, 2014
KitMaker: 1,977 posts
Auto Modeler: 1,371 posts
Posted: Friday, August 28, 2020 - 09:21 AM UTC
Quoted Text
Excellent work, my friend. Love those personal touches, which gives it...well more personality
Thank you, Jesper!
Well, in this case I had to gamble anything on the shell, since there is no interior to speak of and no undersides. I built on Lotus legacy (the famous green / yellow livery), but I also had a look at the JPS elegant livery. I've tried to meet the two somewhat in the middle. The red pinstripe was just a fluke
Gabriel