


Go to automodeler.com for the current dynamic site!
Motorcycles
Scale motorcycle modeling topics.
Scale motorcycle modeling topics.
Hosted by Jim Starkweather
HARLEY HILLCLIMBER

Namabiiru

#399

Joined: March 05, 2014
KitMaker: 2,888 posts
Auto Modeler: 32 posts

Posted: Saturday, June 18, 2016 - 03:27 PM UTC
What a drag! That was really coming together nicely. Love this build.

krow113

Joined: March 16, 2010
KitMaker: 473 posts
Auto Modeler: 257 posts

Posted: Saturday, June 18, 2016 - 09:01 PM UTC
Thanks Mark.
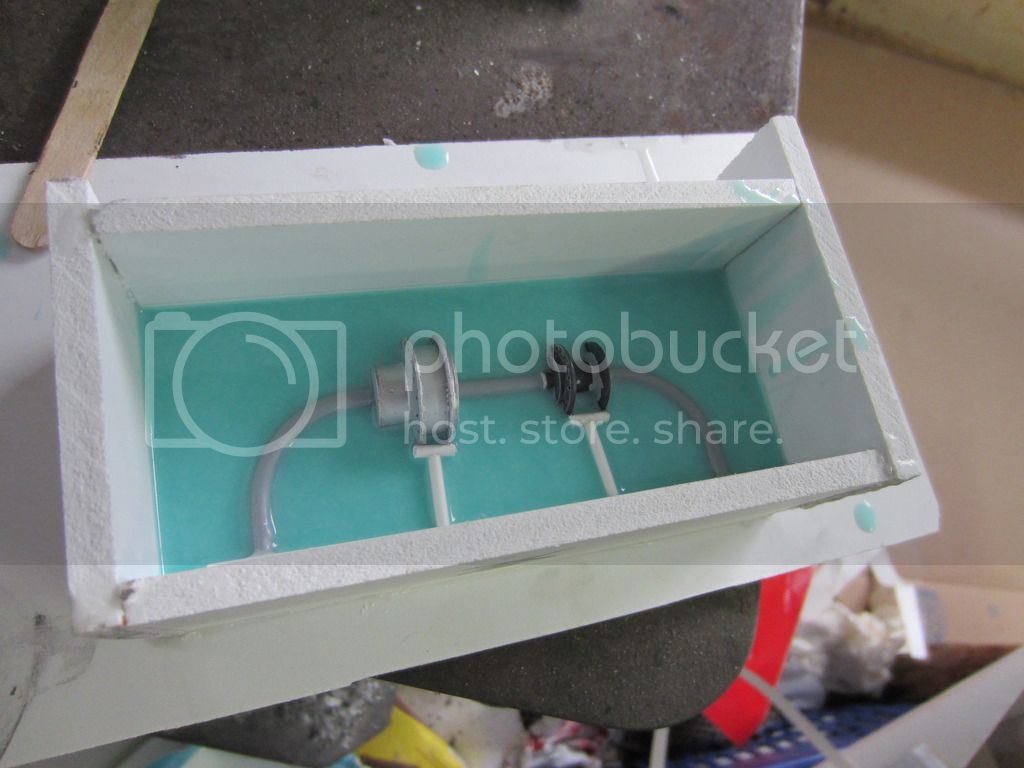
Not entirely unforeseen , so thinking had been put onto the masters . Immediately after hub failure I went to the fabrication of the masters, a late night session results in some workable items. I hope to pour the first half of the silicone tonight:
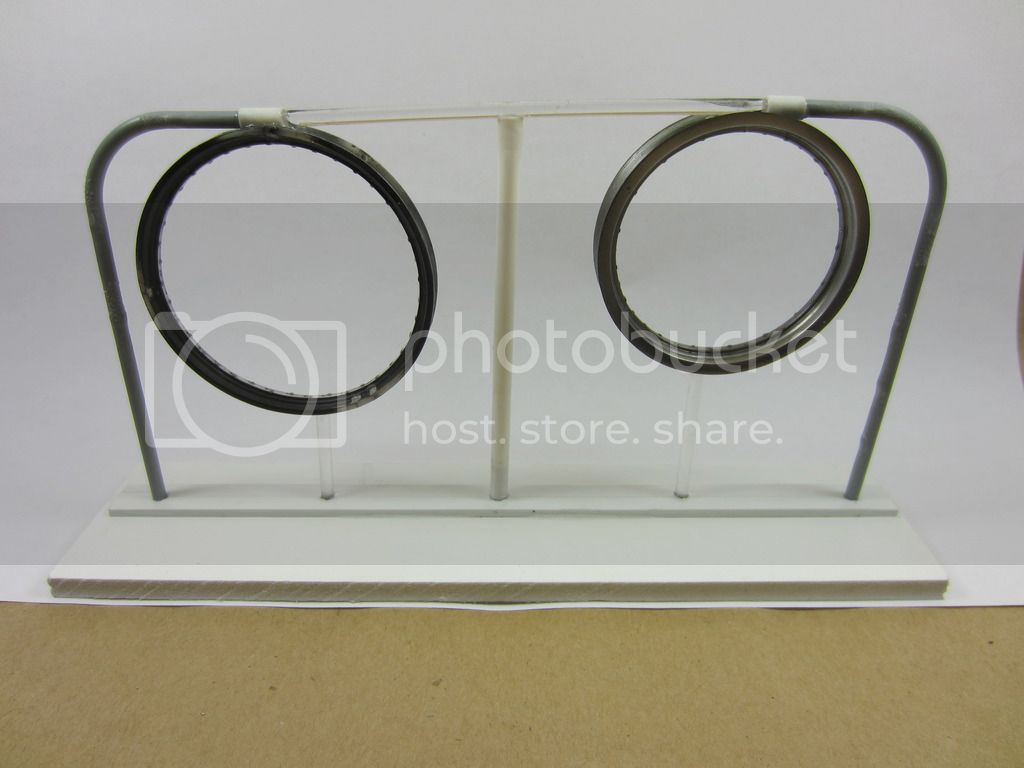
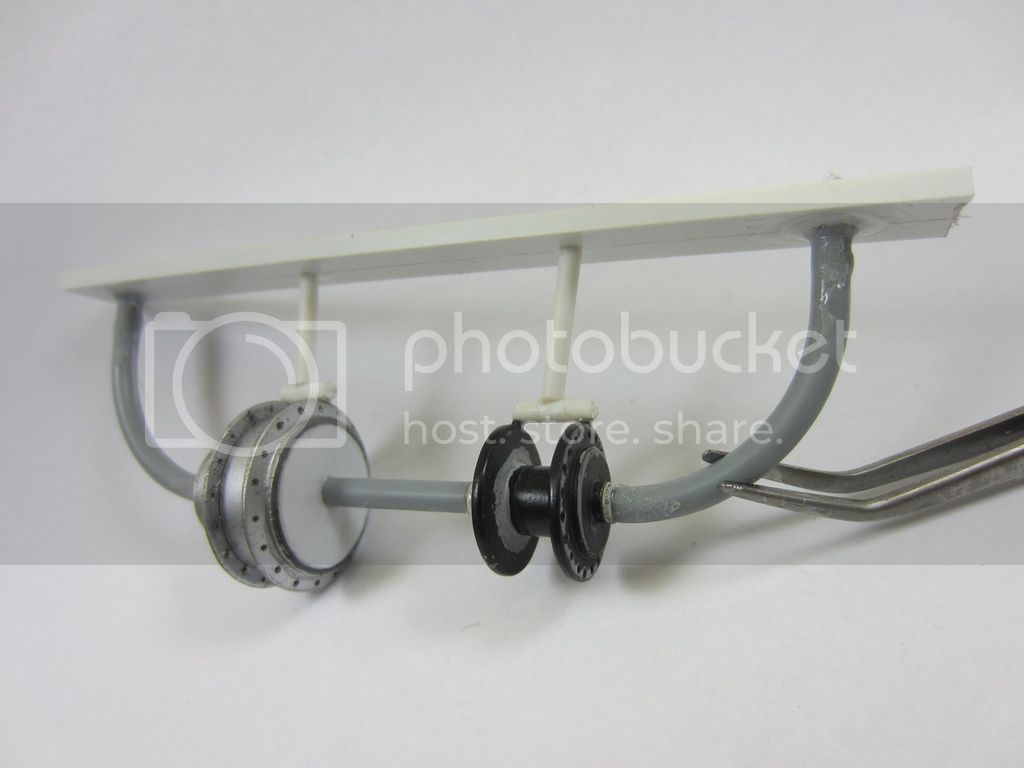
Not entirely unforeseen , so thinking had been put onto the masters . Immediately after hub failure I went to the fabrication of the masters, a late night session results in some workable items. I hope to pour the first half of the silicone tonight:


krow113
Joined: March 16, 2010
KitMaker: 473 posts
Auto Modeler: 257 posts
Posted: Saturday, June 18, 2016 - 11:16 PM UTC
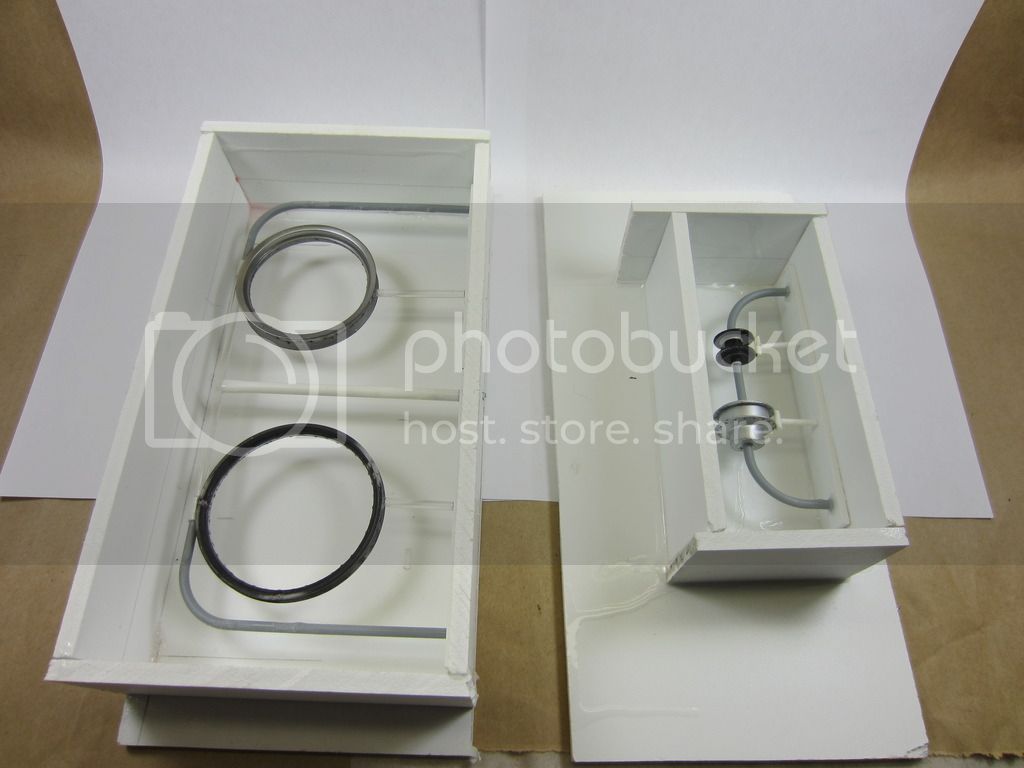
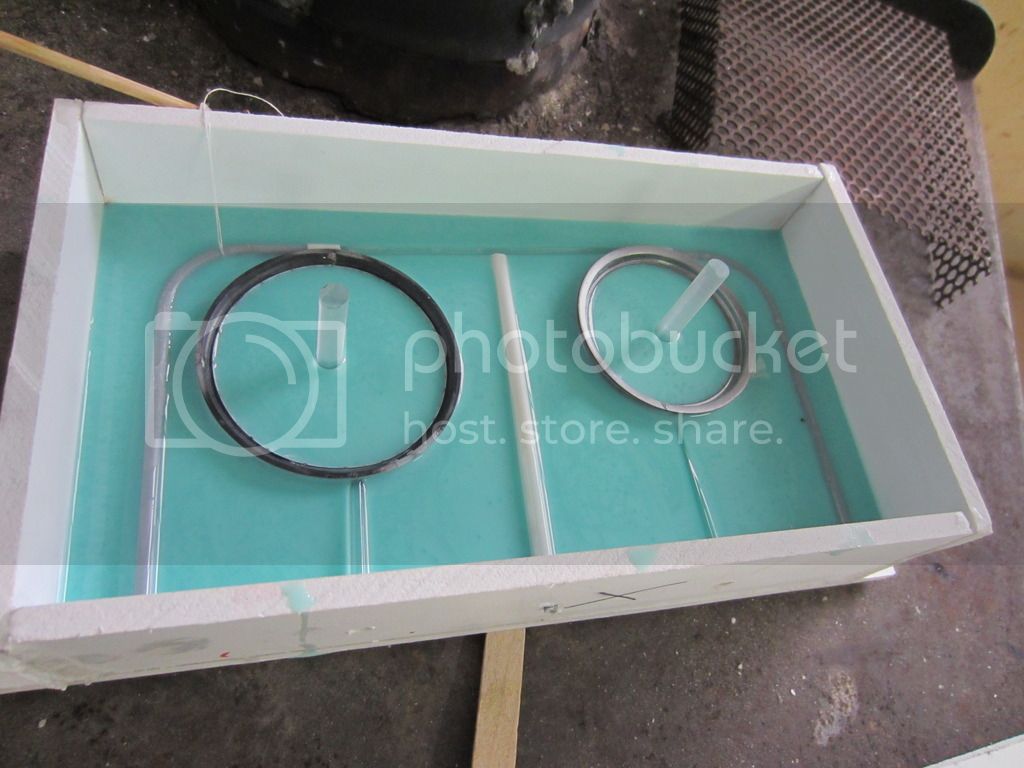
Mould boxes ready to go , I'll let the ca cure all day and pour tonight.

krow113
Joined: March 16, 2010
KitMaker: 473 posts
Auto Modeler: 257 posts
Posted: Monday, June 20, 2016 - 11:50 PM UTC
My little tourism shop/business has gotten busy in the last few days, been catching up on that.
Also pondering pour procedure for this as well as the 1/32 scale 4 bladed Gotha prop.
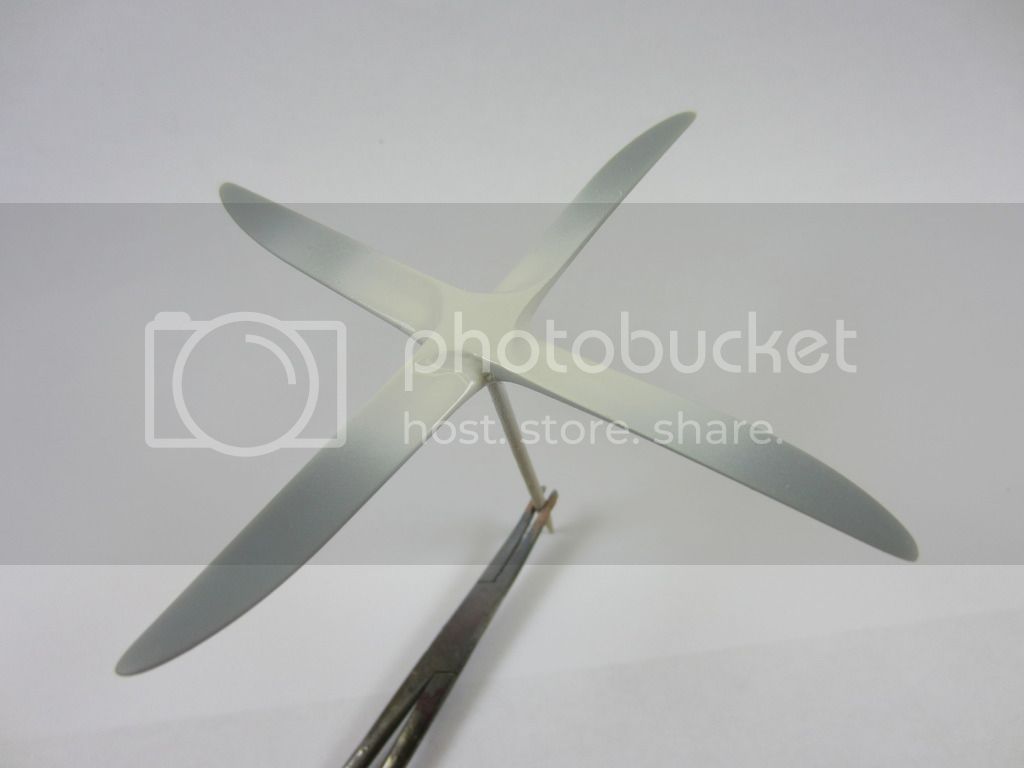
Also pondering pour procedure for this as well as the 1/32 scale 4 bladed Gotha prop.

krow113
Joined: March 16, 2010
KitMaker: 473 posts
Auto Modeler: 257 posts
Posted: Friday, June 24, 2016 - 11:32 PM UTC
Struggling with the prop is one thing...
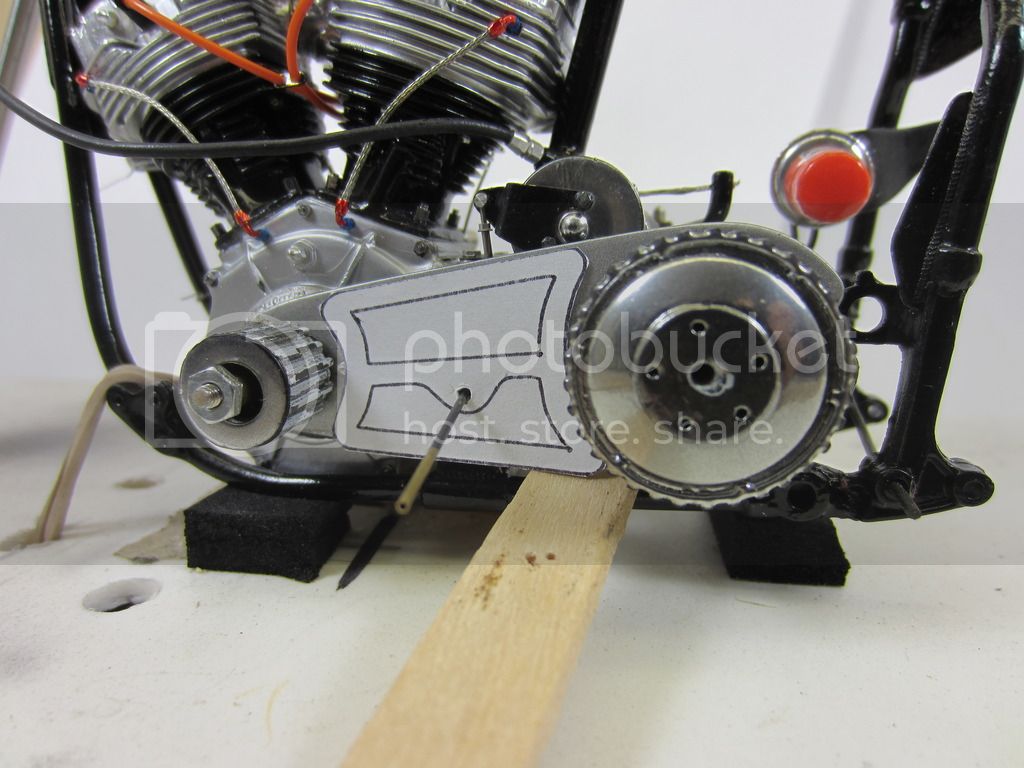
Getting back to this looking for the finish line. The left side needs some work, starting with clearance for the drive chain. A little is ground away, the sprocket left loose , in order to feed the chain down through as one of the last things installed:
Getting back to this looking for the finish line. The left side needs some work, starting with clearance for the drive chain. A little is ground away, the sprocket left loose , in order to feed the chain down through as one of the last things installed:

krow113
Joined: March 16, 2010
KitMaker: 473 posts
Auto Modeler: 257 posts
Posted: Saturday, June 25, 2016 - 02:16 AM UTC
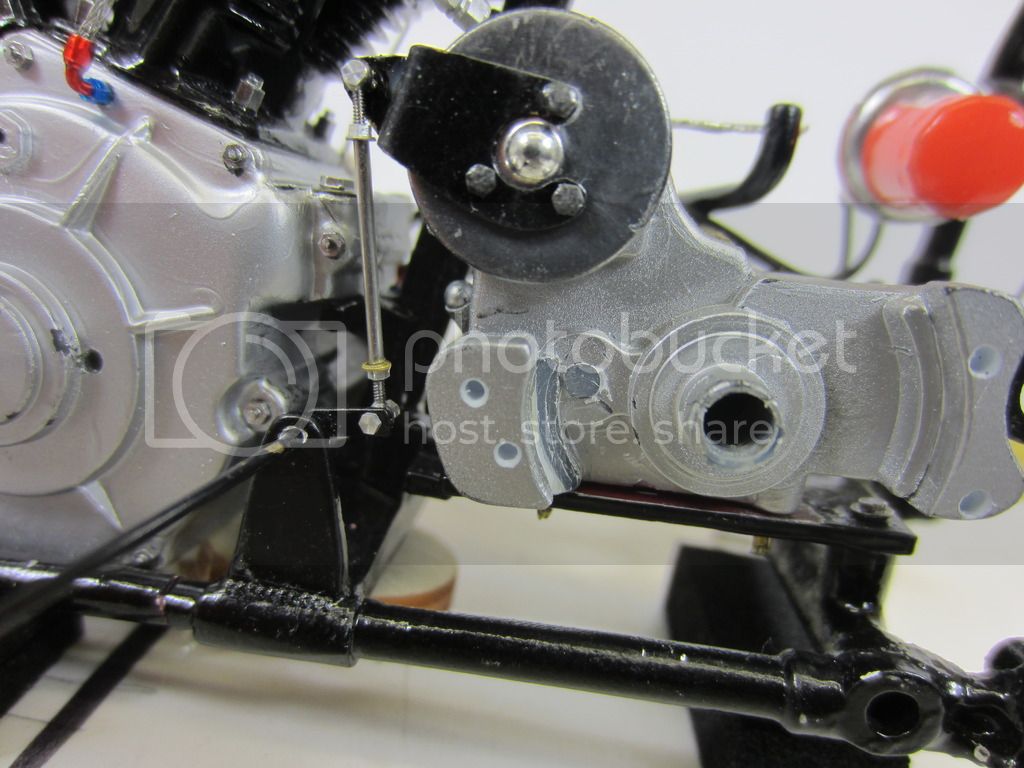
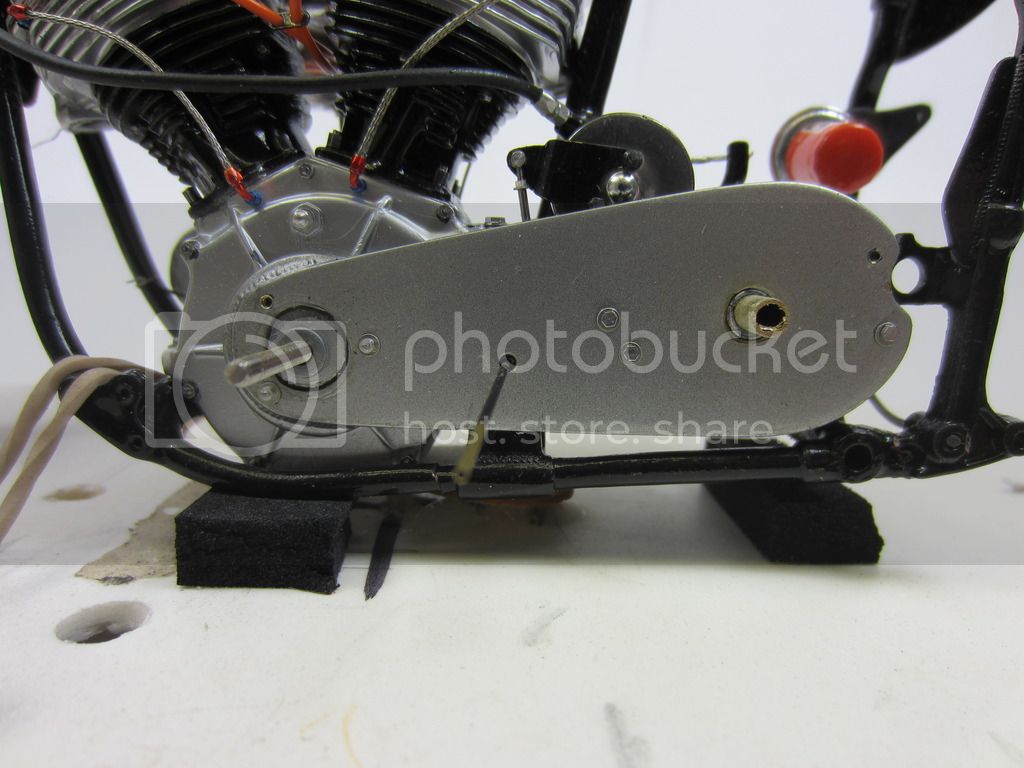
Primary drive support plate gets final fitting, I am asking myself why this cant stay on :

krow113
Joined: March 16, 2010
KitMaker: 473 posts
Auto Modeler: 257 posts
Posted: Saturday, June 25, 2016 - 08:19 AM UTC
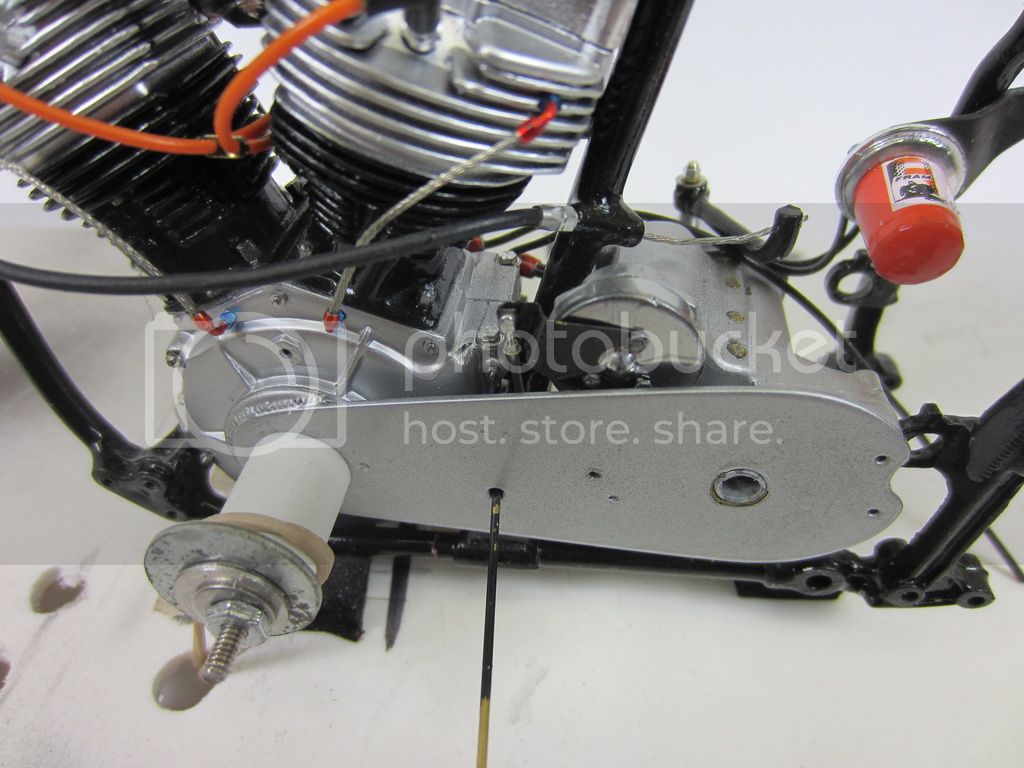
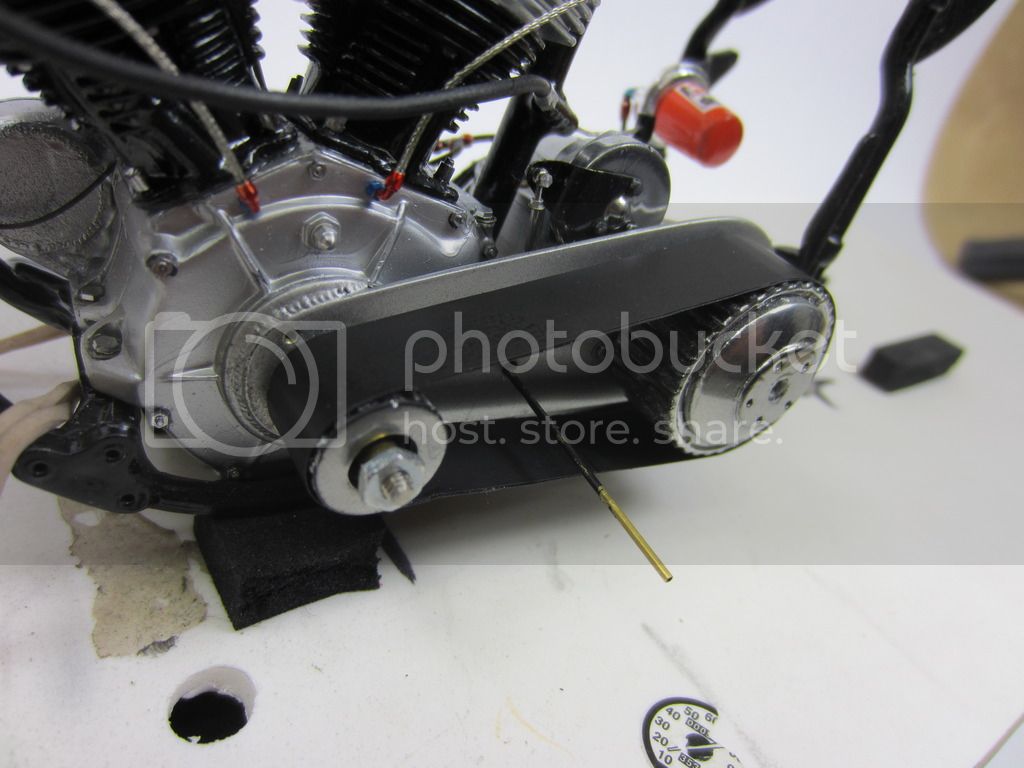
No reason it cant get glued , and the primary pulleys and clutch get mounted:
Engine pulley is mounted here temporarily with a collar and nut.

Engine pulley is mounted here temporarily with a collar and nut.
Namabiiru
#399
Joined: March 05, 2014
KitMaker: 2,888 posts
Auto Modeler: 32 posts
Posted: Saturday, June 25, 2016 - 04:36 PM UTC
And the awesomeness keeps on coming!
krow113
Joined: March 16, 2010
KitMaker: 473 posts
Auto Modeler: 257 posts
Posted: Saturday, June 25, 2016 - 08:41 PM UTC
Thanks Mark , getting down to it that's for sure. I'm gonna try and get the prop done today then onto the 'Big Pour'.
krow113
Joined: March 16, 2010
KitMaker: 473 posts
Auto Modeler: 257 posts
Posted: Thursday, July 14, 2016 - 09:57 AM UTC
No work on this , tourist season has hit and I am behind on my attraction. Today I managed to get a showcase sorted:


krow113
Joined: March 16, 2010
KitMaker: 473 posts
Auto Modeler: 257 posts
Posted: Saturday, July 23, 2016 - 07:46 AM UTC
As well as some other work ,I find myself working on this again. Footpeg mounts and footpegs beginning:
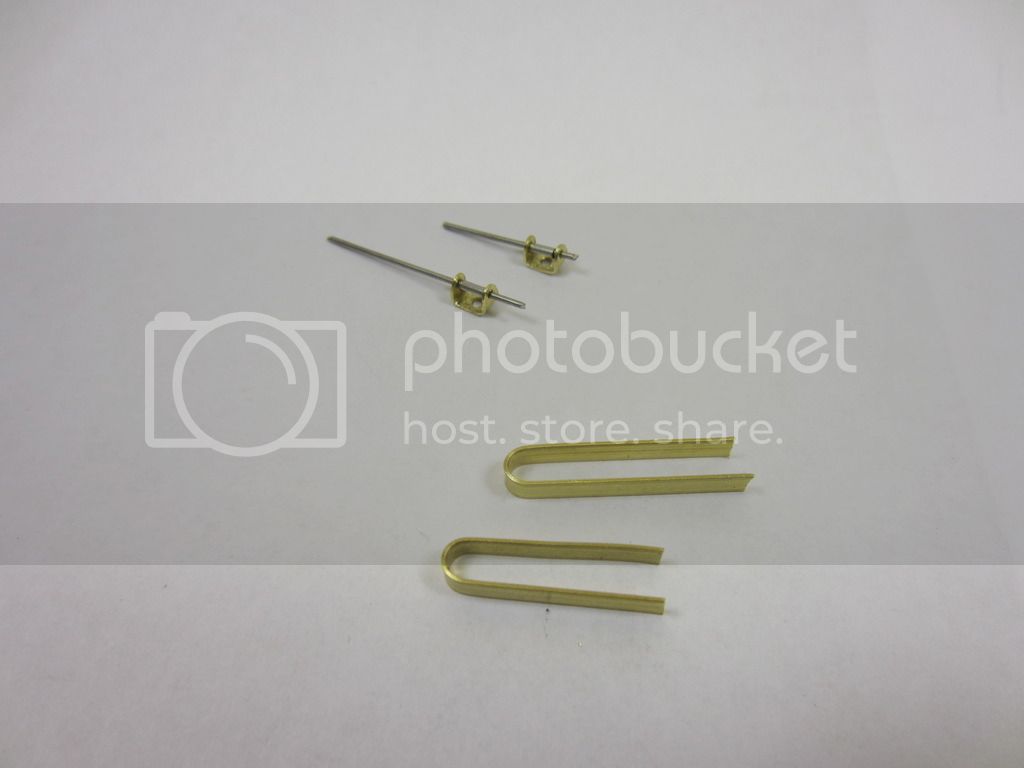
Footpeg shape emerges. With thrill packed realistic folding action!!!:
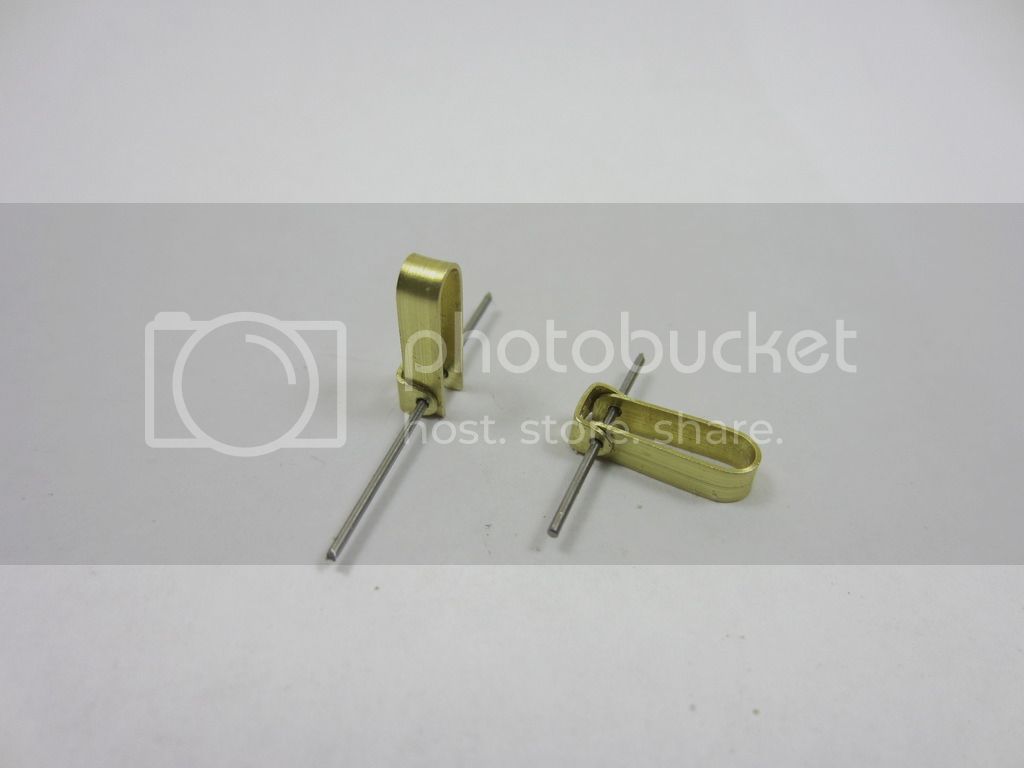


Footpeg shape emerges. With thrill packed realistic folding action!!!:

Namabiiru
#399
Joined: March 05, 2014
KitMaker: 2,888 posts
Auto Modeler: 32 posts
Posted: Saturday, July 23, 2016 - 03:50 PM UTC
Kewl.
krow113
Joined: March 16, 2010
KitMaker: 473 posts
Auto Modeler: 257 posts
Posted: Sunday, July 24, 2016 - 12:27 AM UTC
Thanks Mark.
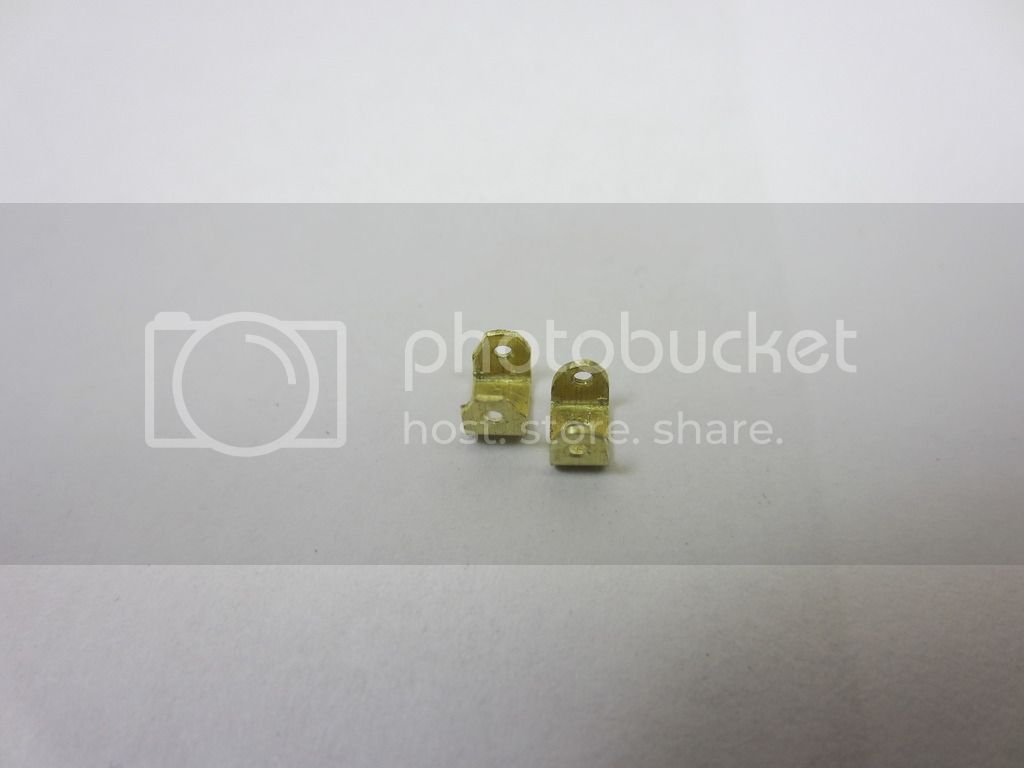
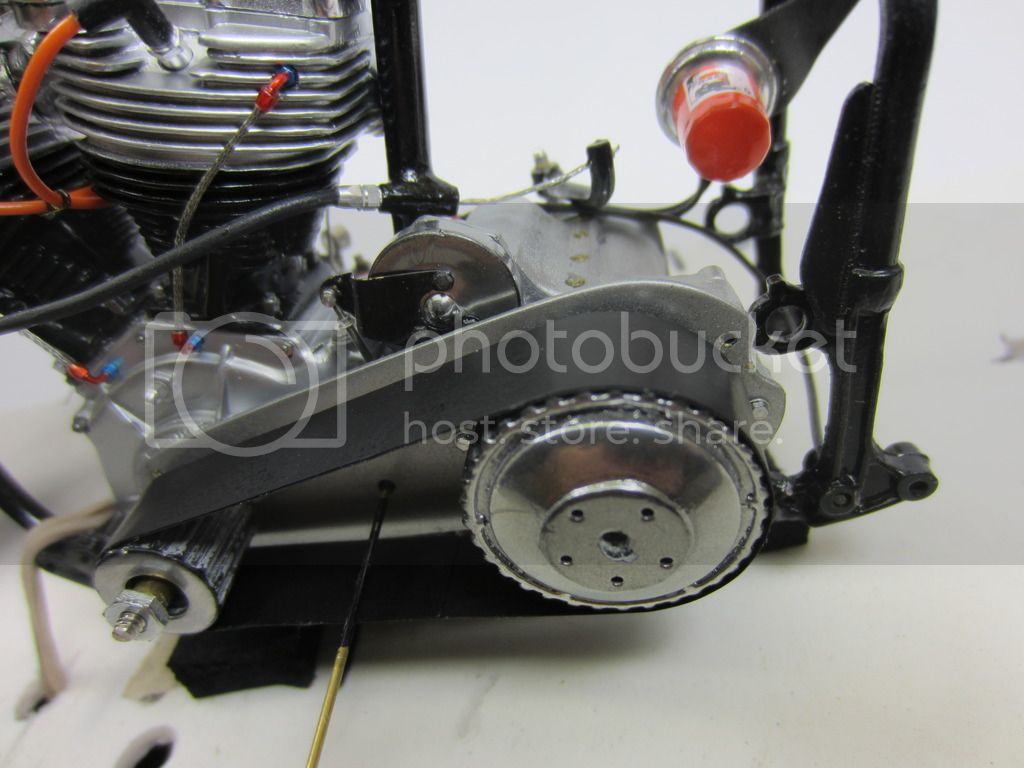
Staying on the primary side , bolts and socket heads with washers hardware is added . The 2 empty hole will have the belt guard mounts:
All of this hardware will be getting pinwashed at the end of fabrication , with different shades of greys and blacks.
Staying on the primary side , bolts and socket heads with washers hardware is added . The 2 empty hole will have the belt guard mounts:

All of this hardware will be getting pinwashed at the end of fabrication , with different shades of greys and blacks.
krow113
Joined: March 16, 2010
KitMaker: 473 posts
Auto Modeler: 257 posts
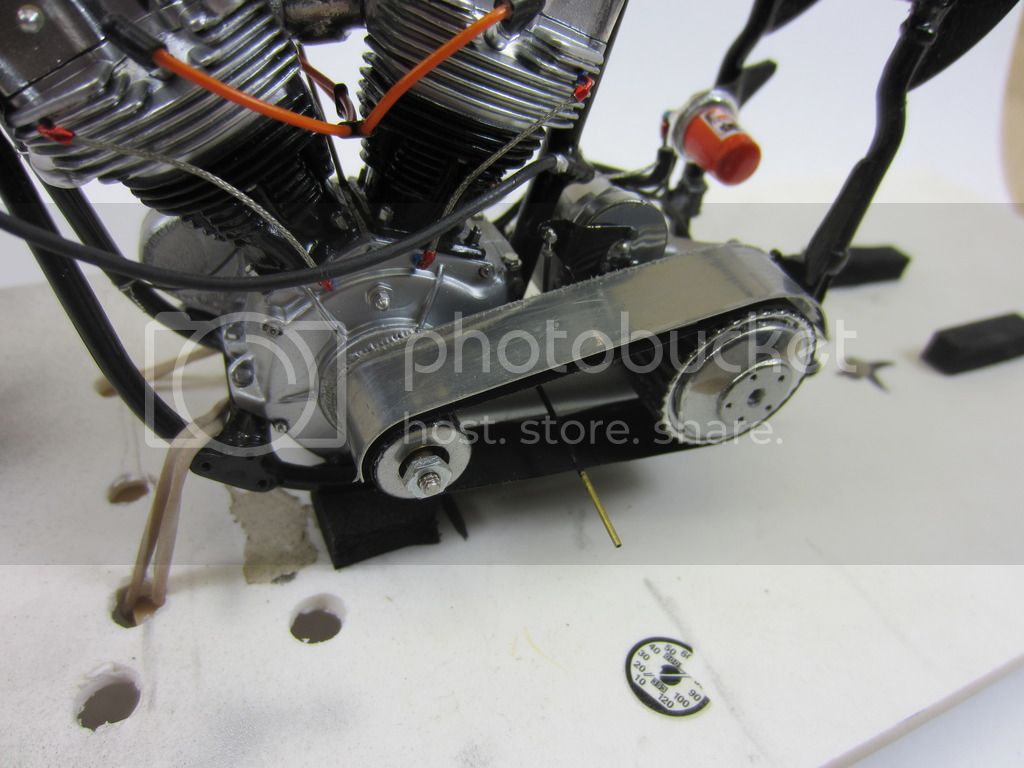
Posted: Sunday, July 24, 2016 - 06:17 AM UTC
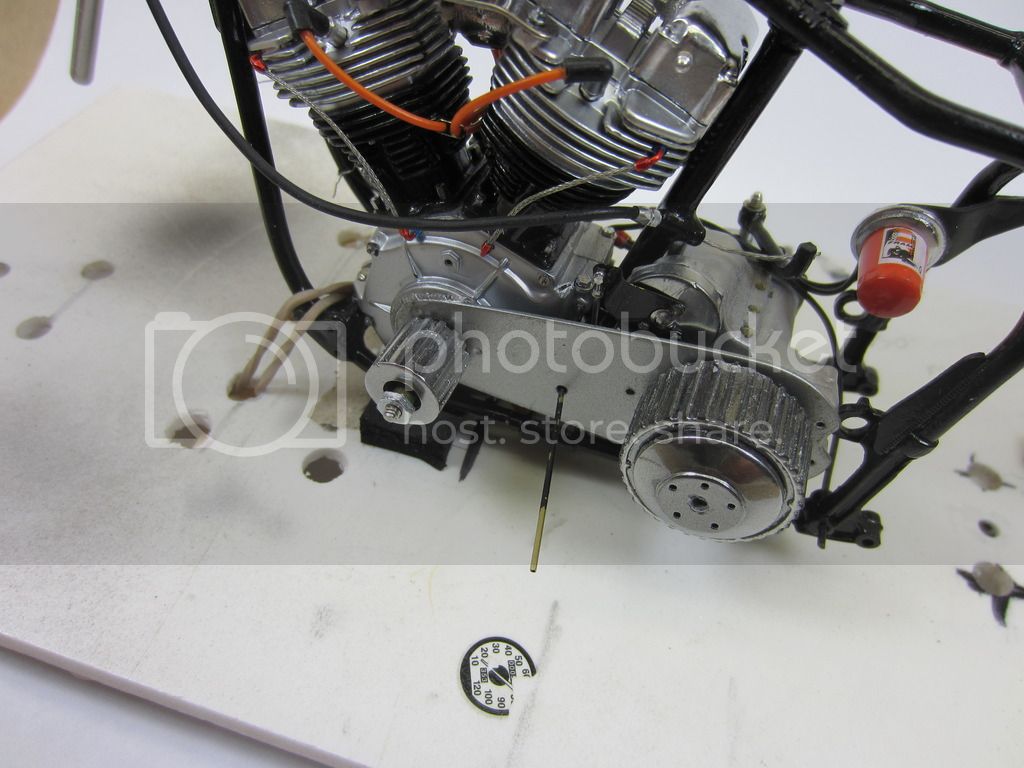
I first began laying out the belt drive pullies and belts long ago , 2011 if I remember correctly. Pullies mounted , belt as configured was too short. Went int othe file and with some messing around was able to come up with a more correct belt length. The rear pully is drilled slightly off center, this allows loose/tight spots .Install the belt in the loose spot, rotate to the tight spot:
The goal is to offer these sets to upgrade your 1/8 Revell Harley kit. However this may be getting too much for the average modeller to handle, we'll see.

The goal is to offer these sets to upgrade your 1/8 Revell Harley kit. However this may be getting too much for the average modeller to handle, we'll see.
krow113
Joined: March 16, 2010
KitMaker: 473 posts
Auto Modeler: 257 posts
Posted: Saturday, July 30, 2016 - 10:55 AM UTC
Raw belt. Has no tooth detail inside. And will need another layer :
7500

7500

KoSprueOne

Joined: March 05, 2004
KitMaker: 4,011 posts
Auto Modeler: 851 posts

Posted: Wednesday, August 03, 2016 - 08:55 PM UTC
Do you plan to add, inside tooth detail?

krow113
Joined: March 16, 2010
KitMaker: 473 posts
Auto Modeler: 257 posts
Posted: Wednesday, August 03, 2016 - 09:36 PM UTC
[quote]Do you plan to add, inside tooth detail?
yes this pic shows the vinyl sheet with the teeth. The belt needs one more layer and teeth applied:

This was one of the items I thought would be too much for the average modeller to handle, working out to not be the case.
yes this pic shows the vinyl sheet with the teeth. The belt needs one more layer and teeth applied:

This was one of the items I thought would be too much for the average modeller to handle, working out to not be the case.
krow113
Joined: March 16, 2010
KitMaker: 473 posts
Auto Modeler: 257 posts
Posted: Saturday, August 06, 2016 - 11:04 PM UTC
Finally to the pouring of the mould:


krow113
Joined: March 16, 2010
KitMaker: 473 posts
Auto Modeler: 257 posts
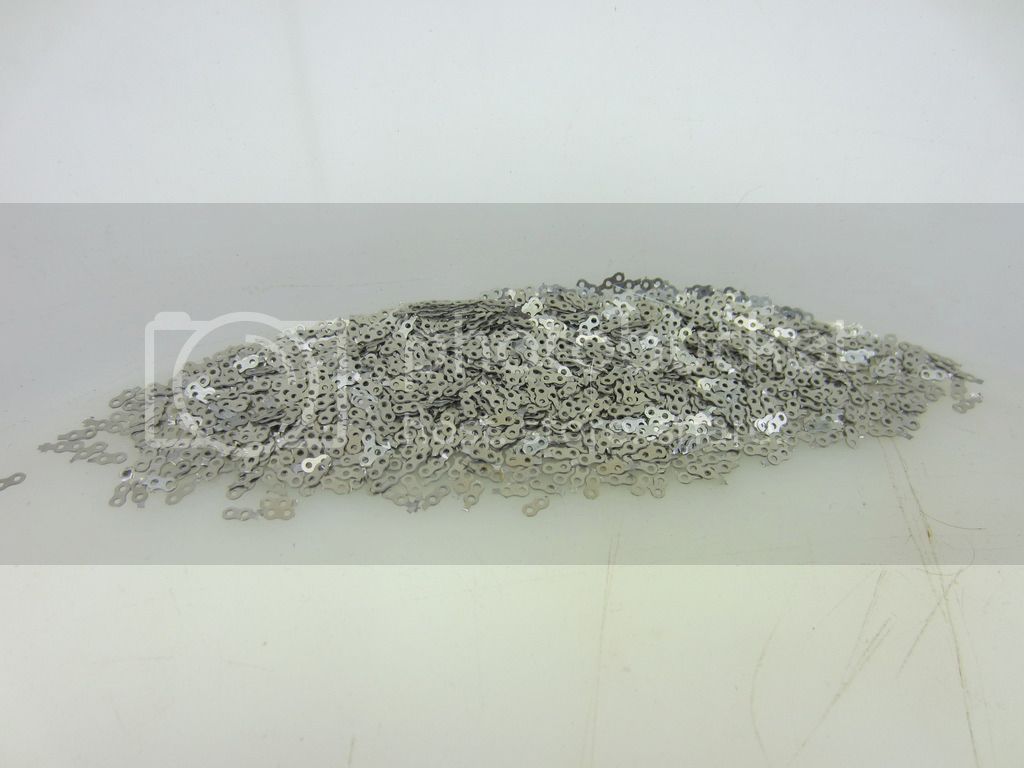
Posted: Tuesday, August 16, 2016 - 12:40 PM UTC
Godfather 1 & 2 watching results in approximately 2000 links cut from frets. Final trim and cleanup still to go:


krow113
Joined: March 16, 2010
KitMaker: 473 posts
Auto Modeler: 257 posts
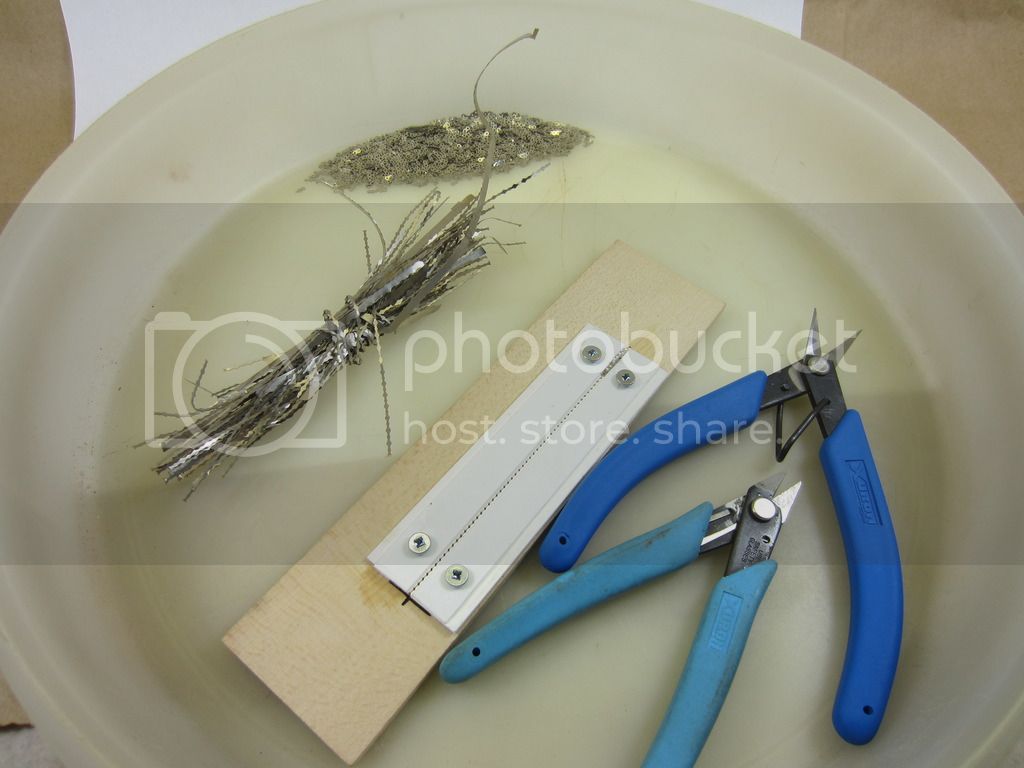
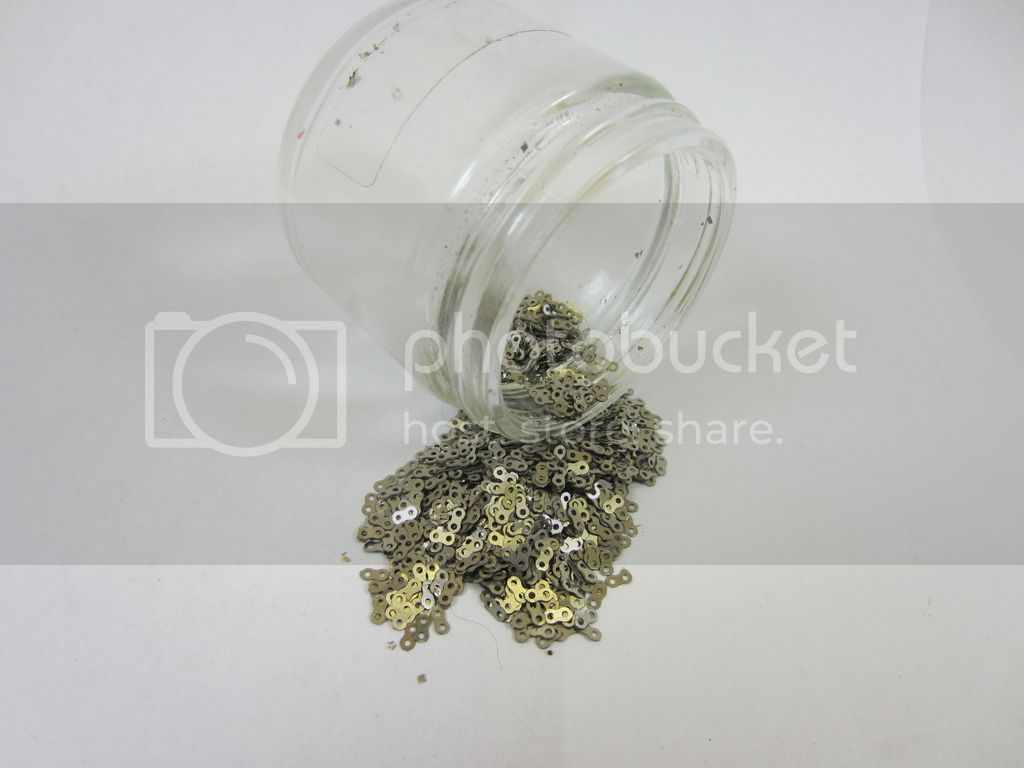
Posted: Sunday, August 21, 2016 - 12:47 PM UTC
3 Godfathers and 6 Bond's gives us all the links cleaned:
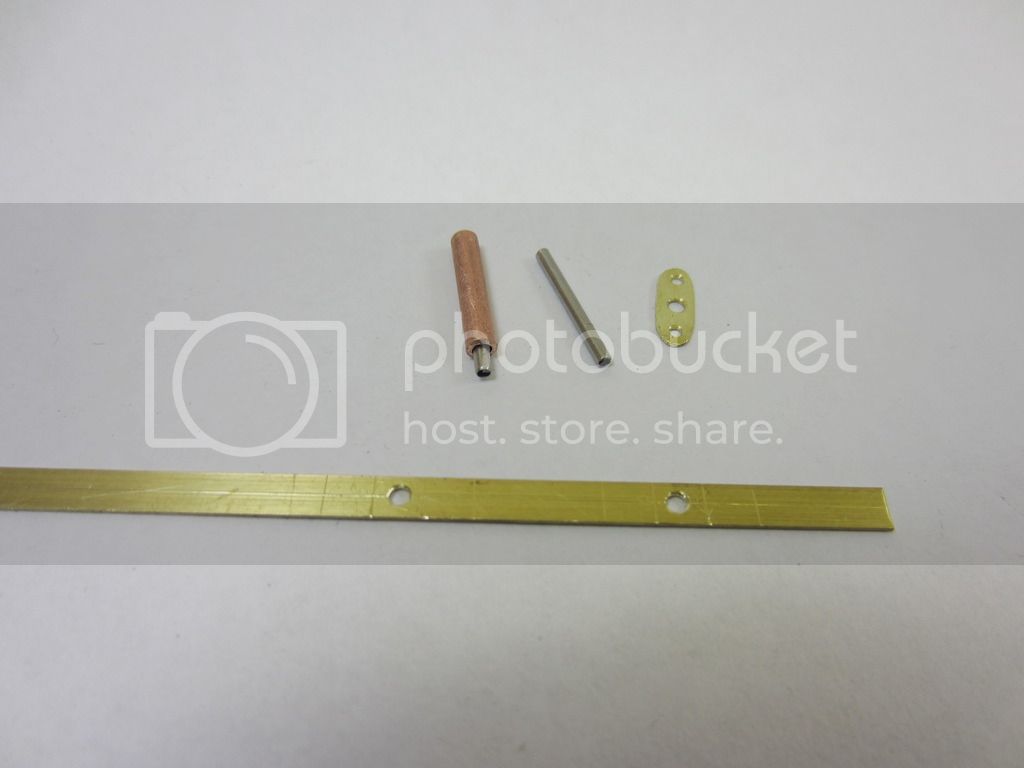
Next up : The cutting of the pins Clarisse...

Next up : The cutting of the pins Clarisse...
krow113
Joined: March 16, 2010
KitMaker: 473 posts
Auto Modeler: 257 posts
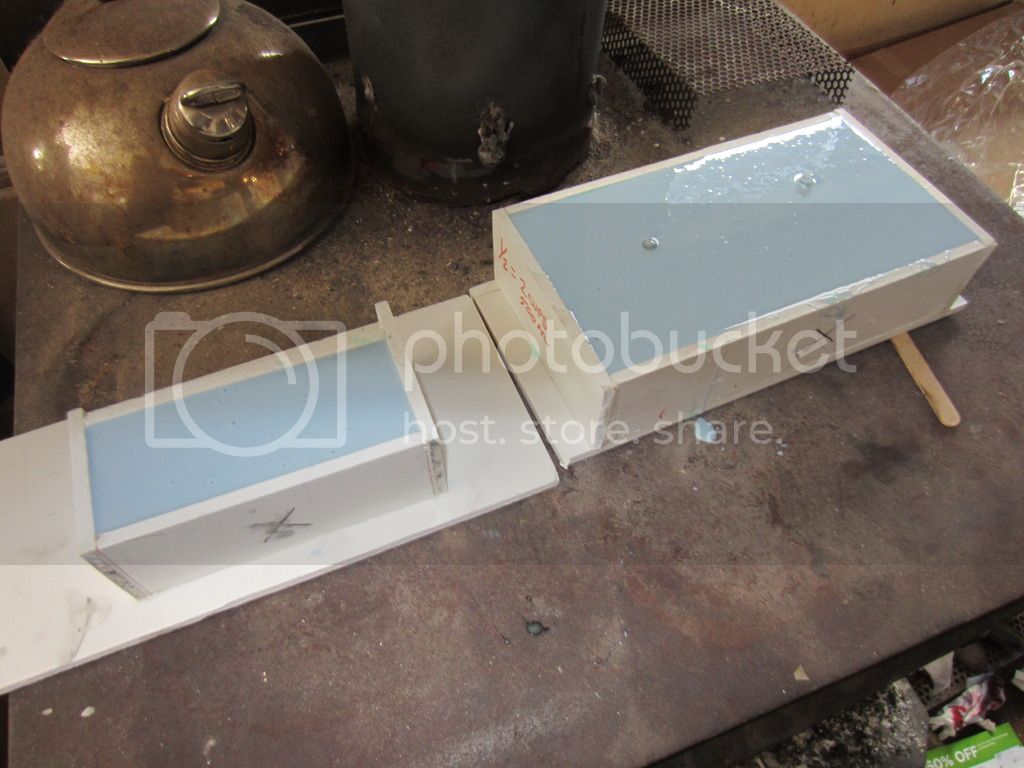
Posted: Monday, August 22, 2016 - 01:49 AM UTC
Last half of the silicone poured:

krow113
Joined: March 16, 2010
KitMaker: 473 posts
Auto Modeler: 257 posts
Posted: Monday, August 22, 2016 - 05:58 AM UTC
Stainless steel strip is fabbed into a belt cover:

krow113
Joined: March 16, 2010
KitMaker: 473 posts
Auto Modeler: 257 posts
Posted: Monday, August 22, 2016 - 09:40 PM UTC
Outer belt cover begins to take shape:
And cut out:

And cut out:

krow113
Joined: March 16, 2010
KitMaker: 473 posts
Auto Modeler: 257 posts
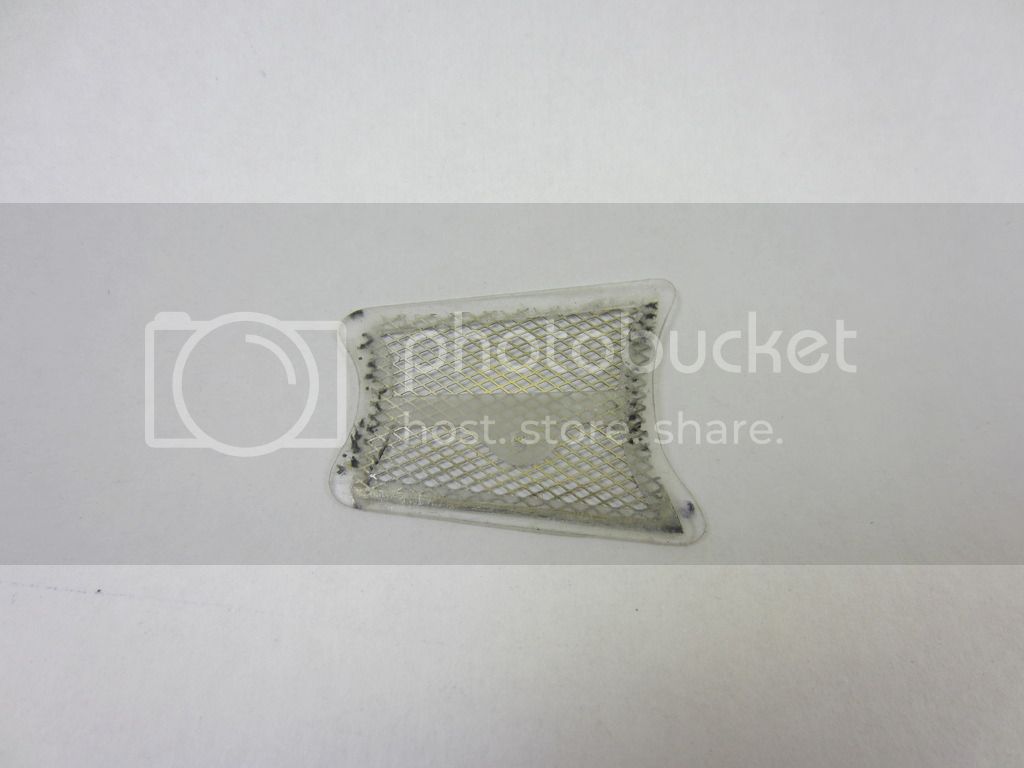
Posted: Monday, August 22, 2016 - 11:17 PM UTC
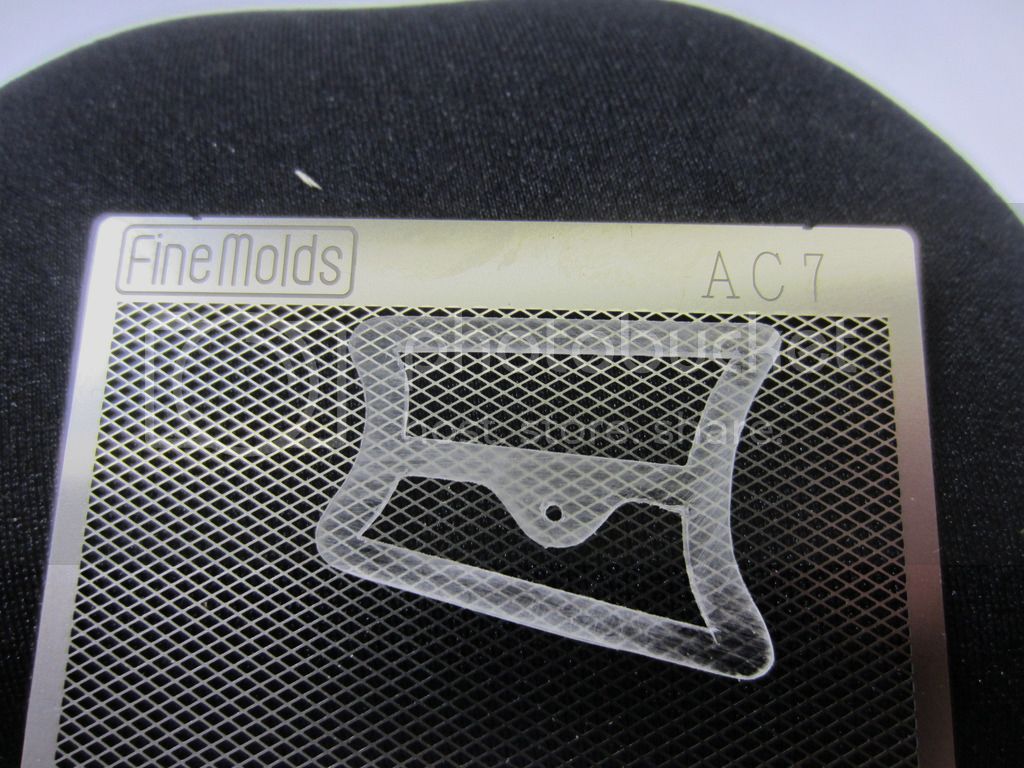
Screening:

krow113
Joined: March 16, 2010
KitMaker: 473 posts
Auto Modeler: 257 posts
Posted: Tuesday, August 23, 2016 - 08:03 AM UTC
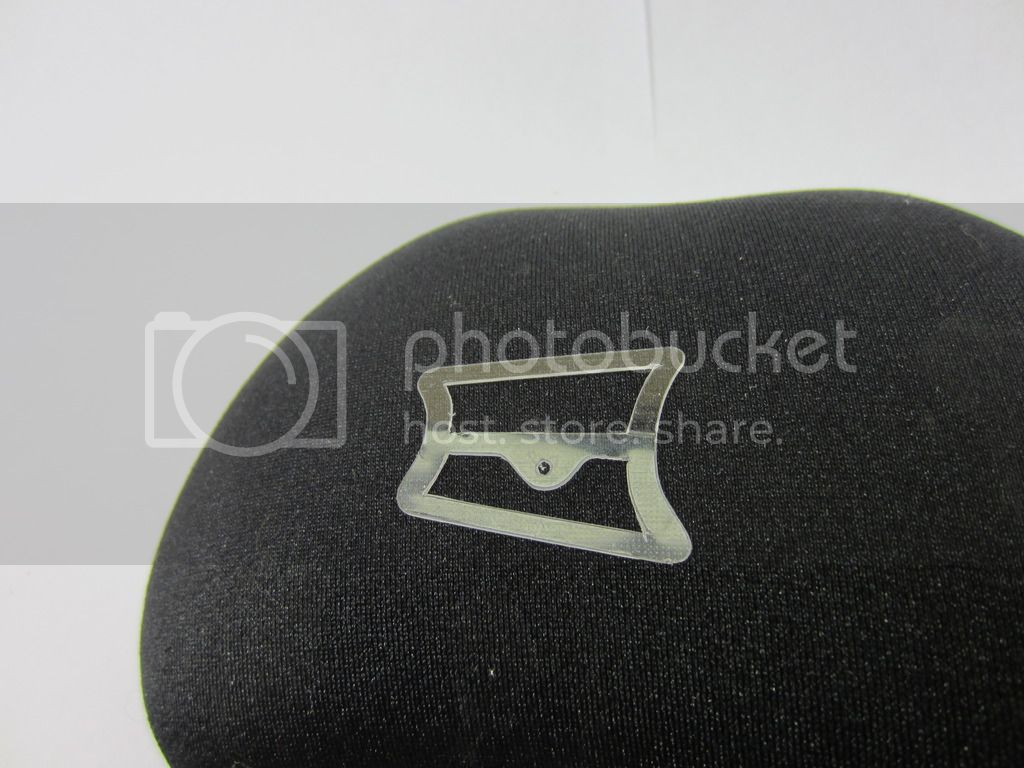
Ready for paint:

 |

WEB HOSTING BY


Copyright ©2021 Auto Modeler and Kitmaker Network, a subsidiary of Silver Star Enterprises
All Rights Reserved. Please read our Conditions of Use and Privacy Policy.
All Rights Reserved. Please read our Conditions of Use and Privacy Policy.