


Go to automodeler.com for the current dynamic site!
Motorcycles
Scale motorcycle modeling topics.
Scale motorcycle modeling topics.
Hosted by Jim Starkweather
HARLEY HILLCLIMBER

krow113

Joined: March 16, 2010
KitMaker: 473 posts
Auto Modeler: 257 posts

Posted: Thursday, August 25, 2016 - 12:00 AM UTC
Front mud guard for the frame takes shape ,to match the primary drive cover:
Removed by original poster on 08/25/16 - 19:38:33 (GMT).
krow113
Joined: March 16, 2010
KitMaker: 473 posts
Auto Modeler: 257 posts
Posted: Thursday, August 25, 2016 - 11:04 PM UTC
Footpegs ongoing:


Namabiiru

#399

Joined: March 05, 2014
KitMaker: 2,888 posts
Auto Modeler: 32 posts

Posted: Friday, August 26, 2016 - 04:47 AM UTC
I've been away for awhile, but I see you're still going strong. Fantastic work!

krow113
Joined: March 16, 2010
KitMaker: 473 posts
Auto Modeler: 257 posts
Posted: Friday, August 26, 2016 - 08:39 AM UTC
Thanks Mark, stay tuned for the grand finale , show in October.
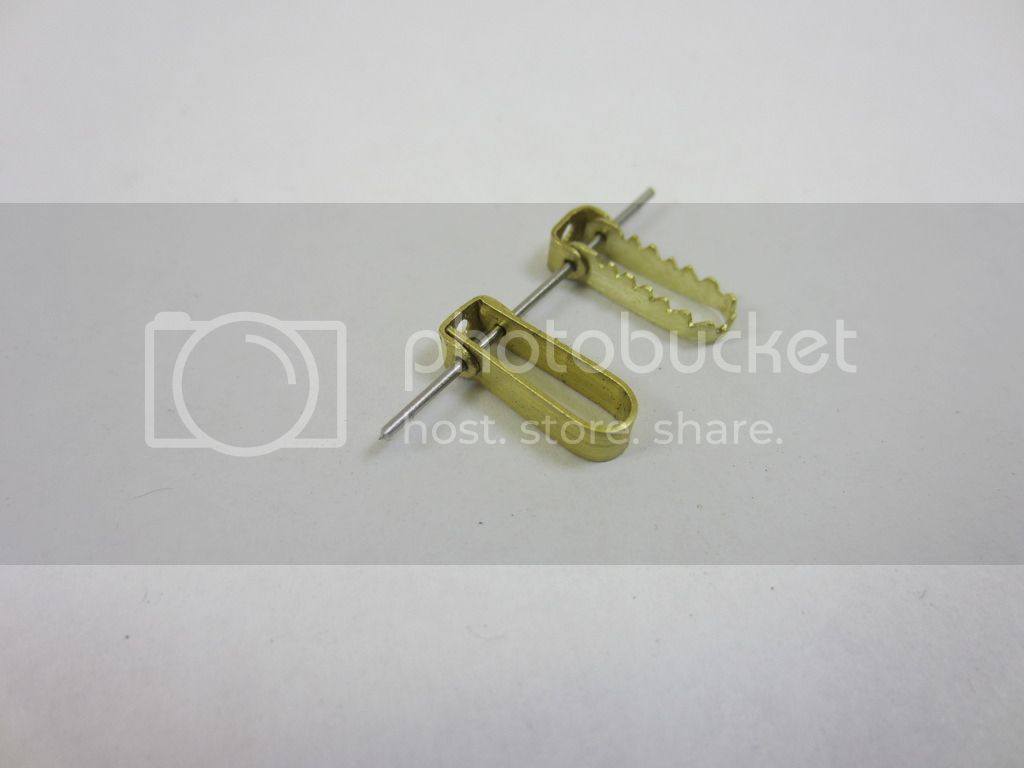
Didn't like the footpegs so I redid them:
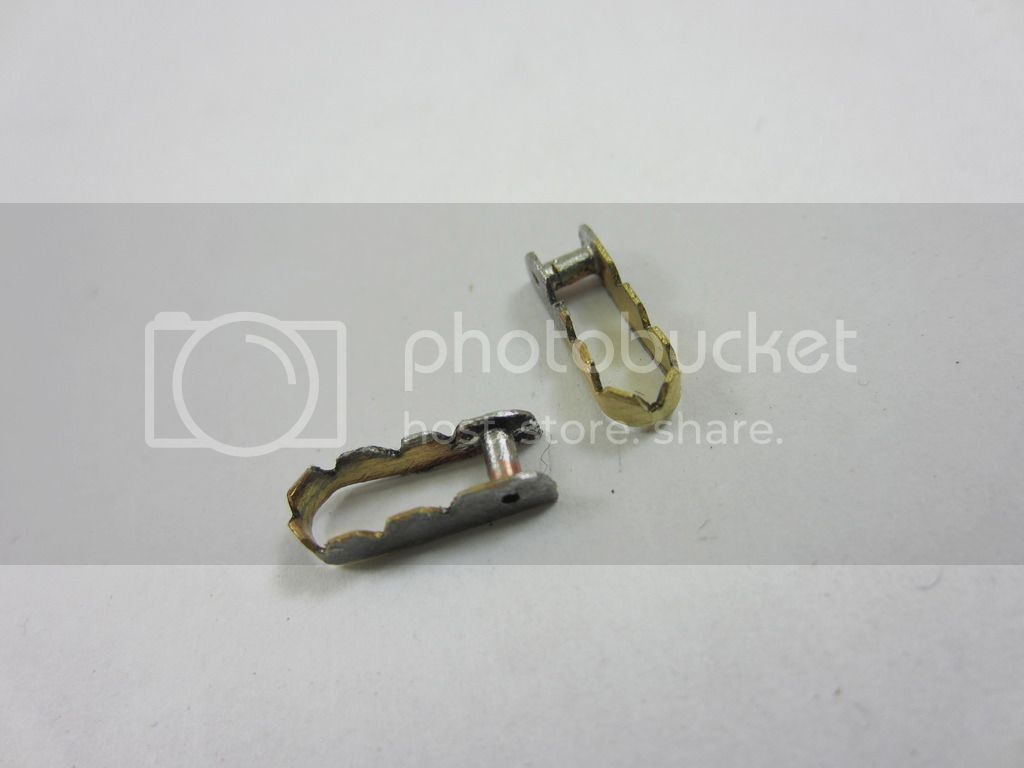
Didn't like the footpegs so I redid them:

krow113
Joined: March 16, 2010
KitMaker: 473 posts
Auto Modeler: 257 posts
Posted: Sunday, August 28, 2016 - 12:36 AM UTC
...and in for finishing:

krow113
Joined: March 16, 2010
KitMaker: 473 posts
Auto Modeler: 257 posts
Posted: Sunday, August 28, 2016 - 01:50 AM UTC
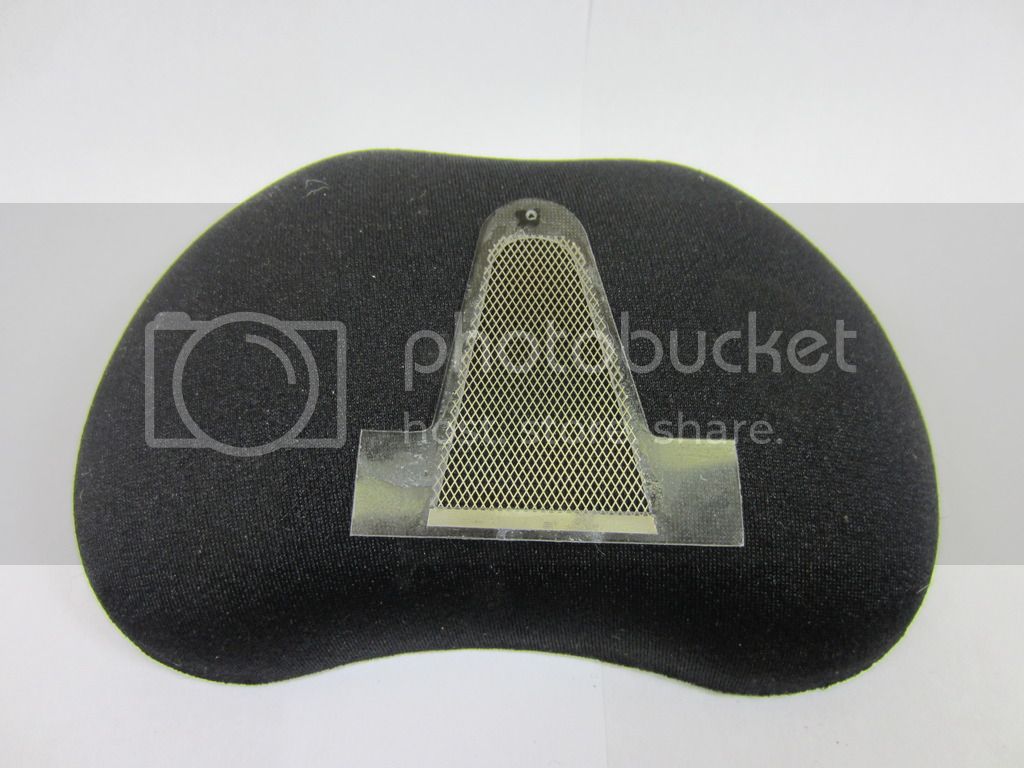
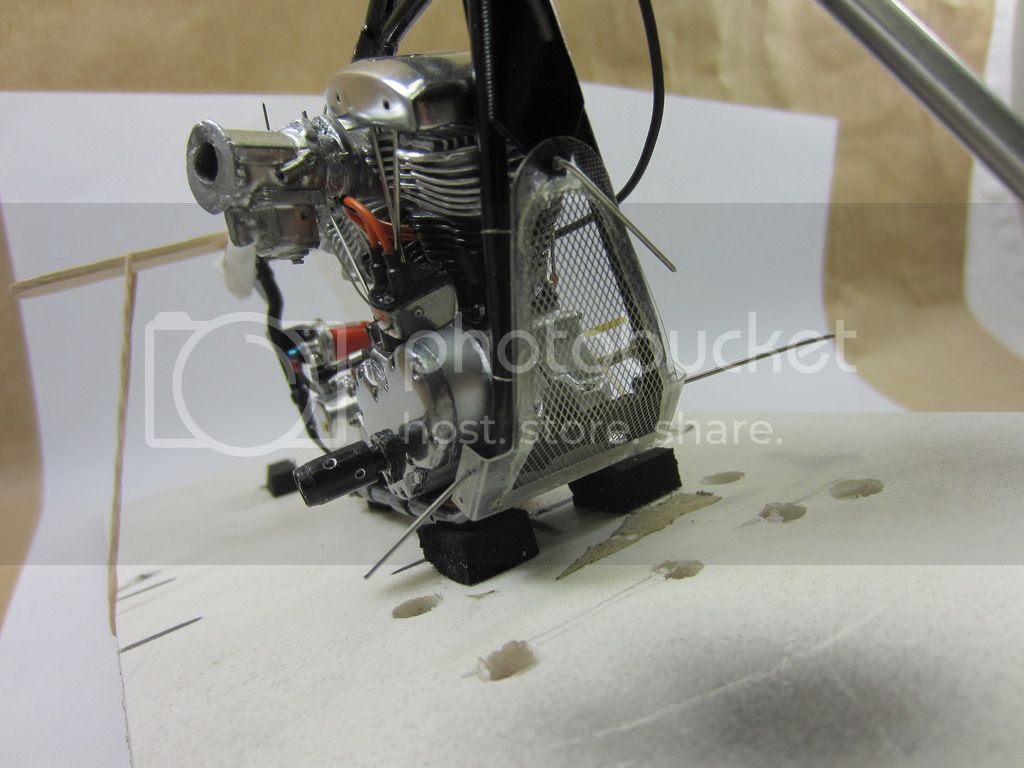
Front mudscreen gets fitted:

krow113
Joined: March 16, 2010
KitMaker: 473 posts
Auto Modeler: 257 posts
Posted: Sunday, August 28, 2016 - 10:45 AM UTC
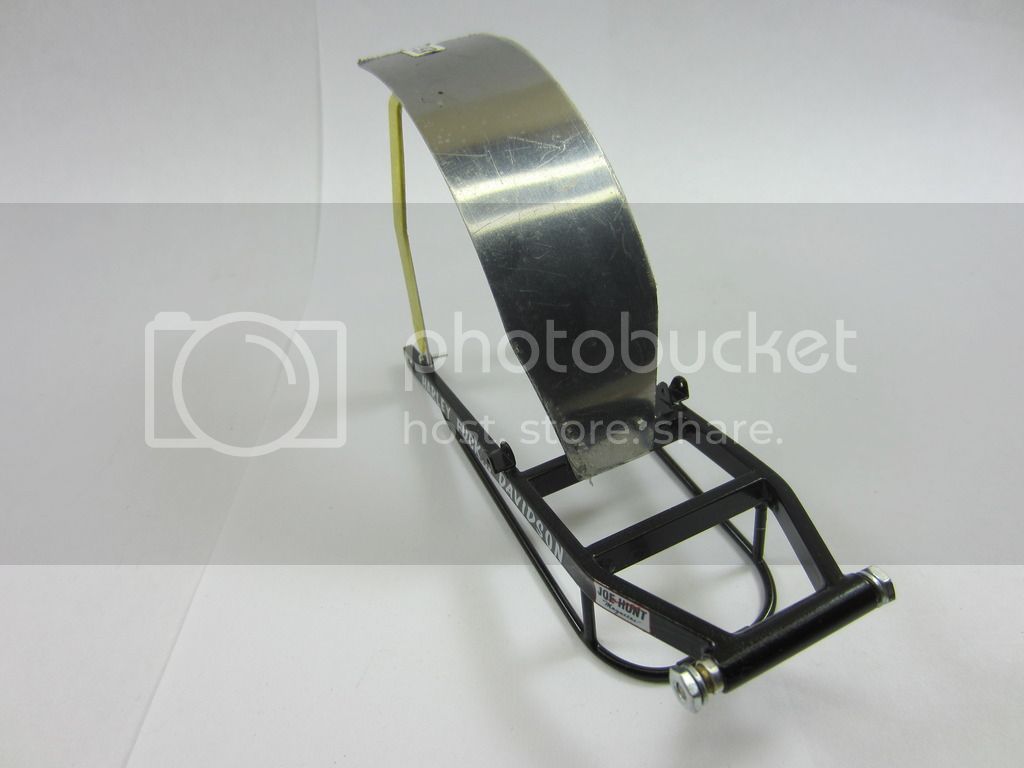
Rear fender and strut get going:
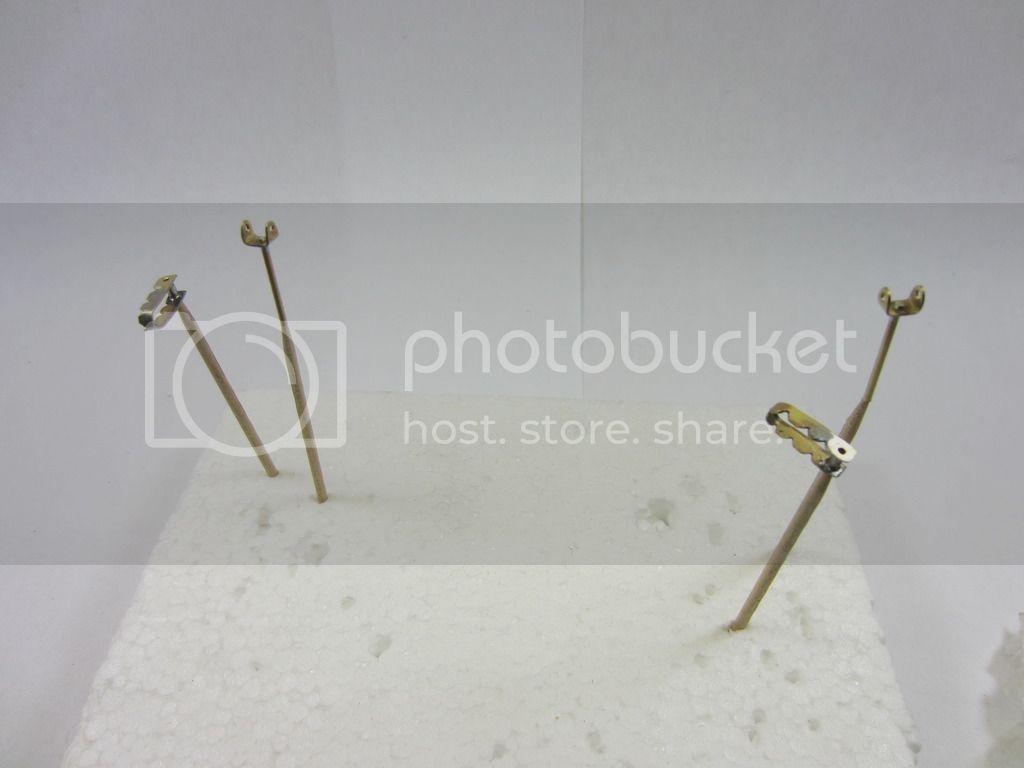
And these into black:
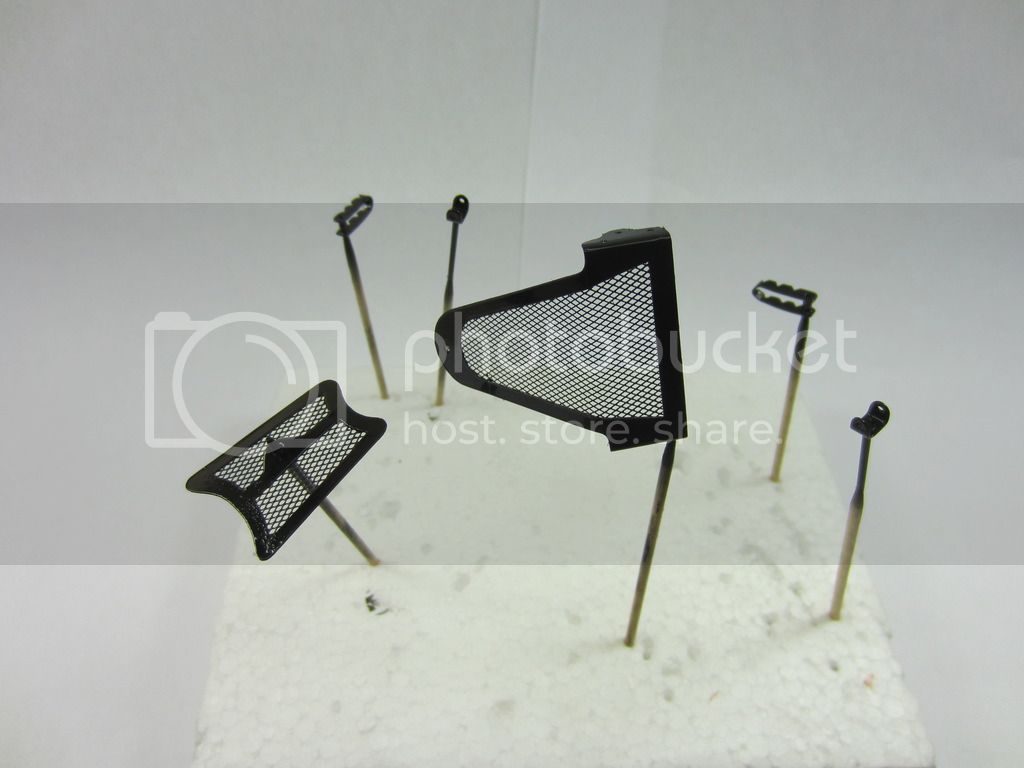

And these into black:

krow113
Joined: March 16, 2010
KitMaker: 473 posts
Auto Modeler: 257 posts
Posted: Sunday, August 28, 2016 - 08:38 PM UTC
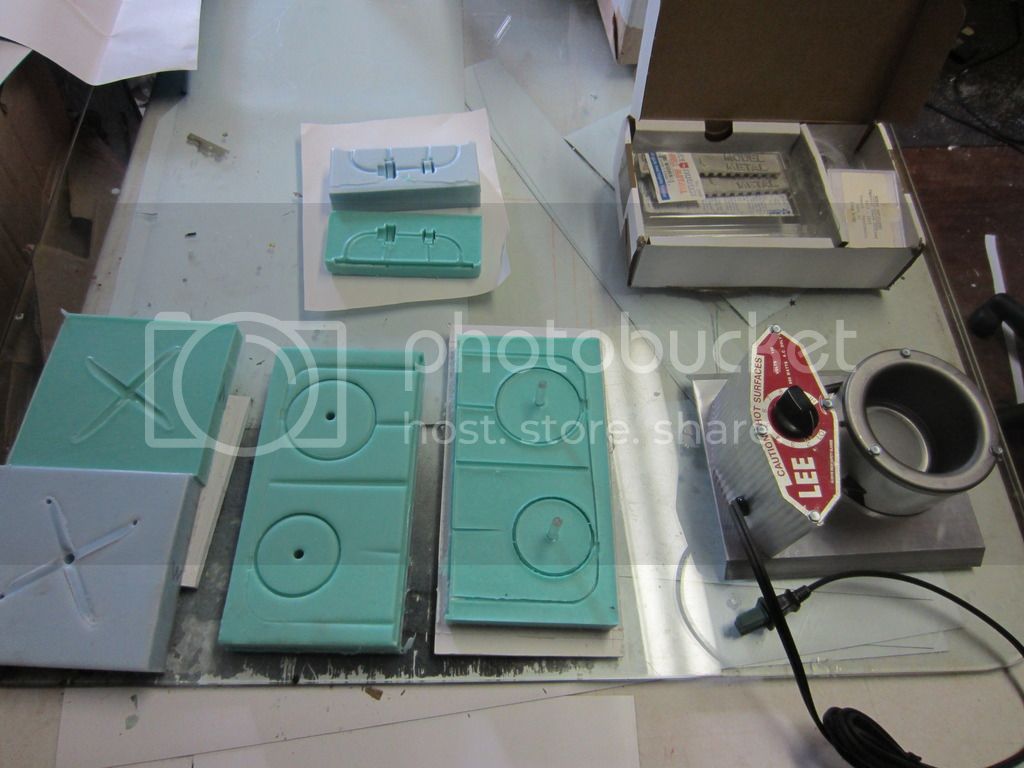
Moulds cleared and some cleanup to do , but I will be moving towards pouring the metal today:

krow113
Joined: March 16, 2010
KitMaker: 473 posts
Auto Modeler: 257 posts
Posted: Tuesday, August 30, 2016 - 02:44 AM UTC
All day effort results in the rims and hubs getting done. I need a break before tackling cleanup and finishing of the wheels:
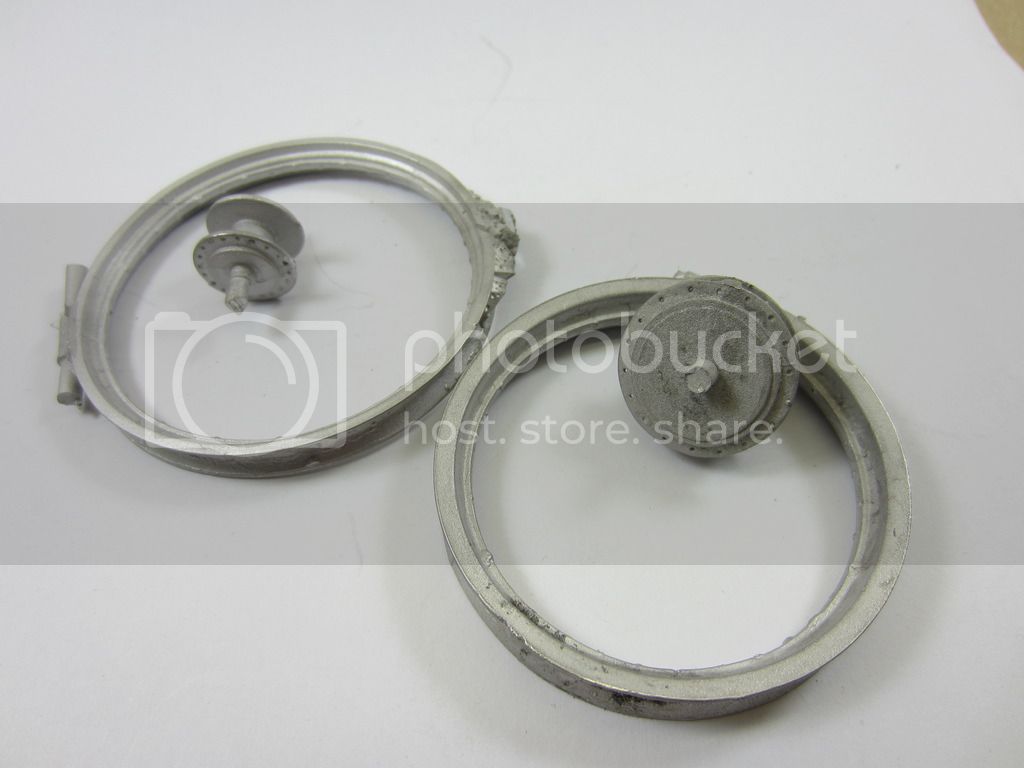
One of the best reasons for this work is that the kit tires fit my cast wheels nicely:
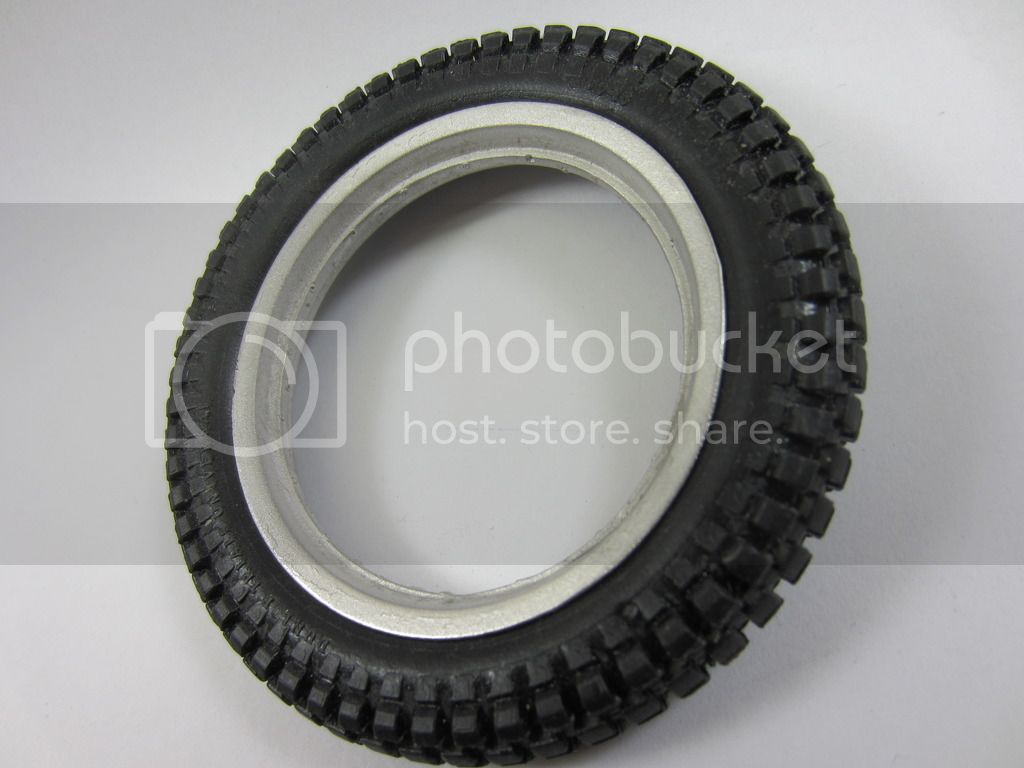

One of the best reasons for this work is that the kit tires fit my cast wheels nicely:

krow113
Joined: March 16, 2010
KitMaker: 473 posts
Auto Modeler: 257 posts
Posted: Tuesday, August 30, 2016 - 07:12 AM UTC
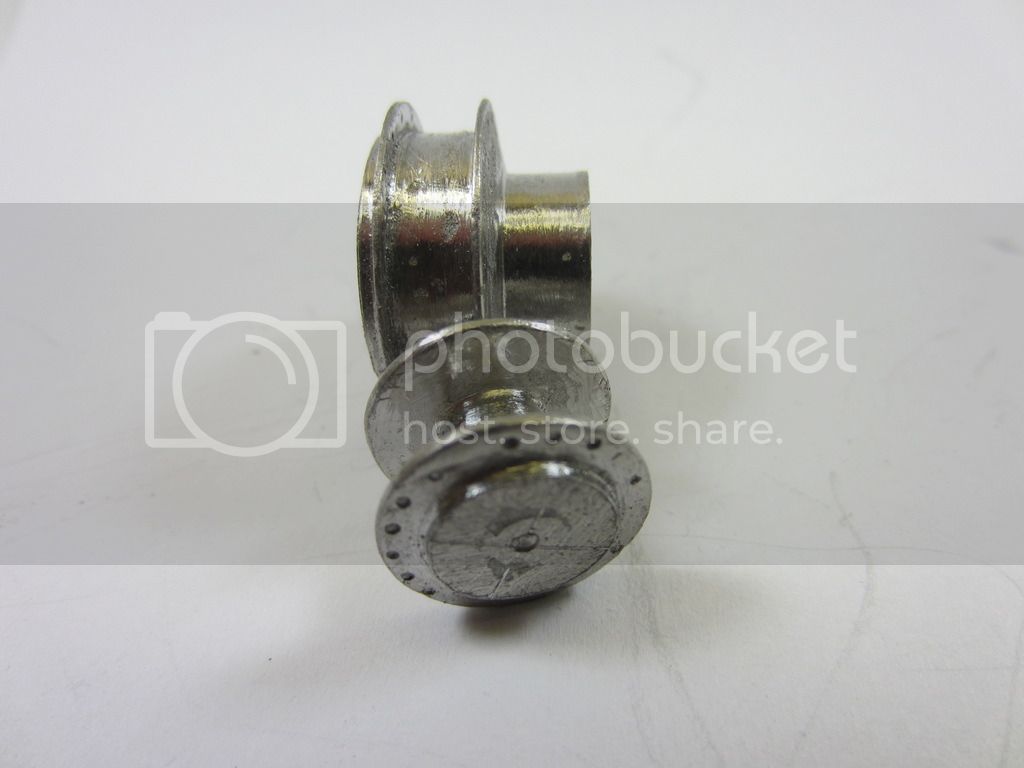
Hubs cleaning up nicely, I need these first to set wheel spacing and chain run:

krow113
Joined: March 16, 2010
KitMaker: 473 posts
Auto Modeler: 257 posts
Posted: Thursday, September 01, 2016 - 02:07 AM UTC
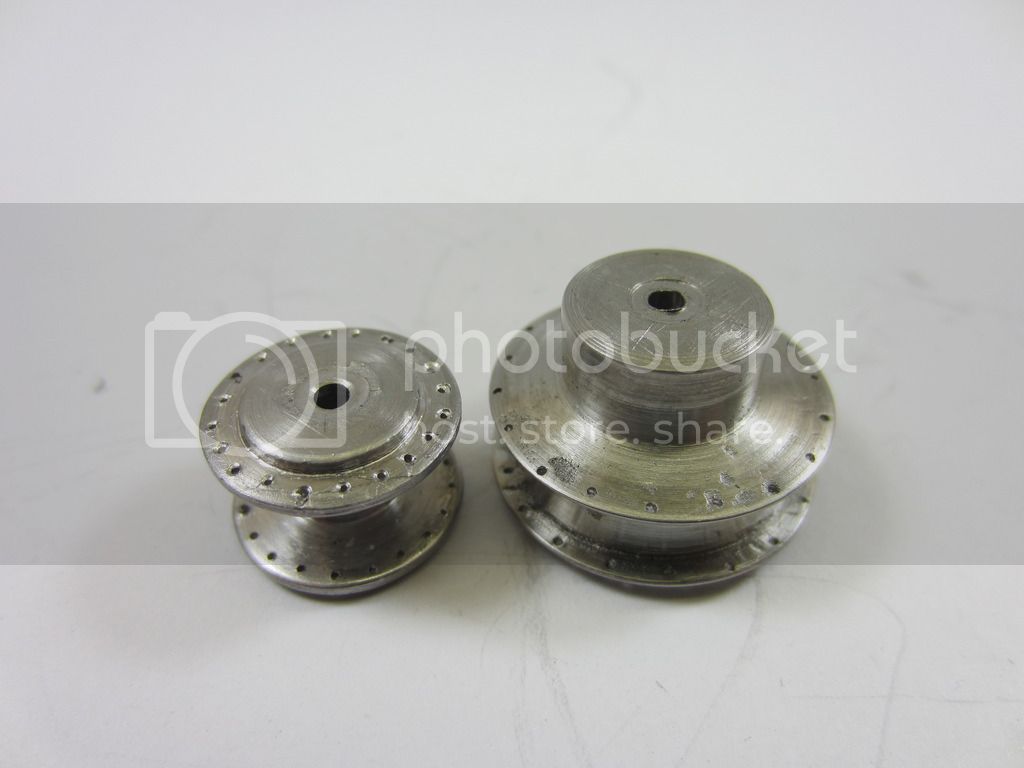
Hubs. They aint the best , and could be improved on, but they will work on the killer hillclimber.
Cleaned up and into finish:
And some flat black primer filler from Alclad, sprayed dry to get a grainy effect , this can dry a while then cast aluminum from the same manufacturer:

Cleaned up and into finish:

And some flat black primer filler from Alclad, sprayed dry to get a grainy effect , this can dry a while then cast aluminum from the same manufacturer:

Namabiiru
#399
Joined: March 05, 2014
KitMaker: 2,888 posts
Auto Modeler: 32 posts
Posted: Friday, September 02, 2016 - 04:43 PM UTC
Tres kewl!
krow113
Joined: March 16, 2010
KitMaker: 473 posts
Auto Modeler: 257 posts
Posted: Friday, September 02, 2016 - 11:26 PM UTC
Thanks Mark.
Here the hubs are sprayed with Alclad white aluminum , they retain the grainy look desired, a brushing will remove most of the grain.

On to the rims now...
Here the hubs are sprayed with Alclad white aluminum , they retain the grainy look desired, a brushing will remove most of the grain.

On to the rims now...
krow113
Joined: March 16, 2010
KitMaker: 473 posts
Auto Modeler: 257 posts
Posted: Saturday, September 03, 2016 - 09:24 PM UTC
Rims cleaned polished drilled and cleaned again then into Alclad gloss black base:

krow113
Joined: March 16, 2010
KitMaker: 473 posts
Auto Modeler: 257 posts
Posted: Monday, September 05, 2016 - 10:58 AM UTC
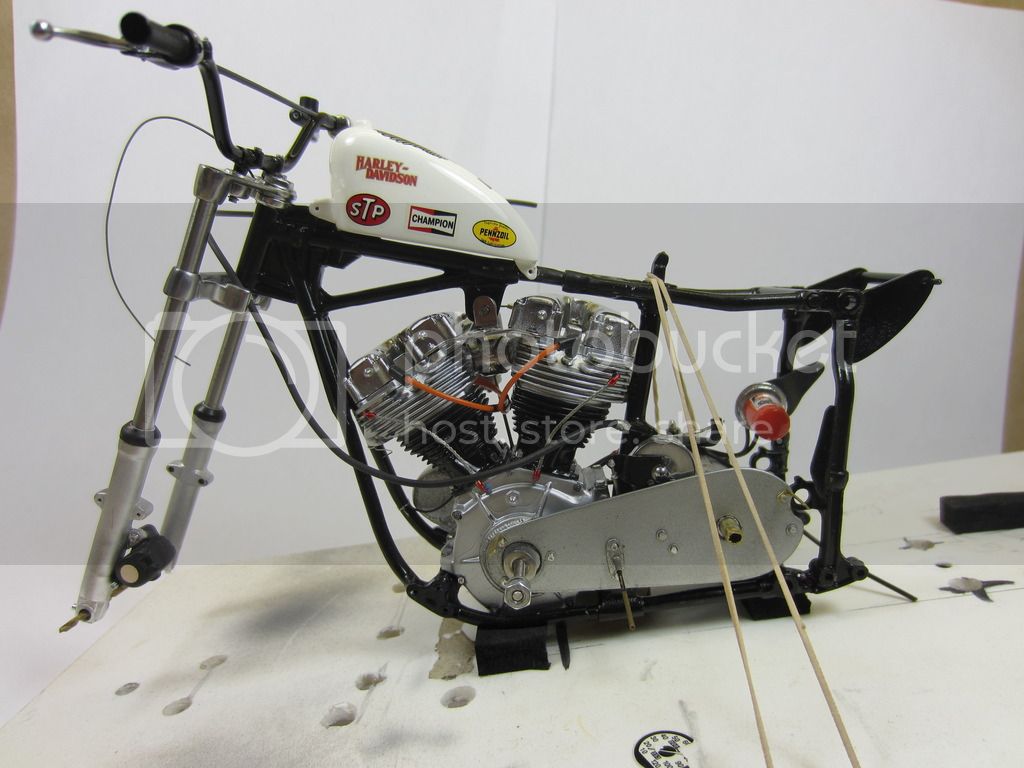
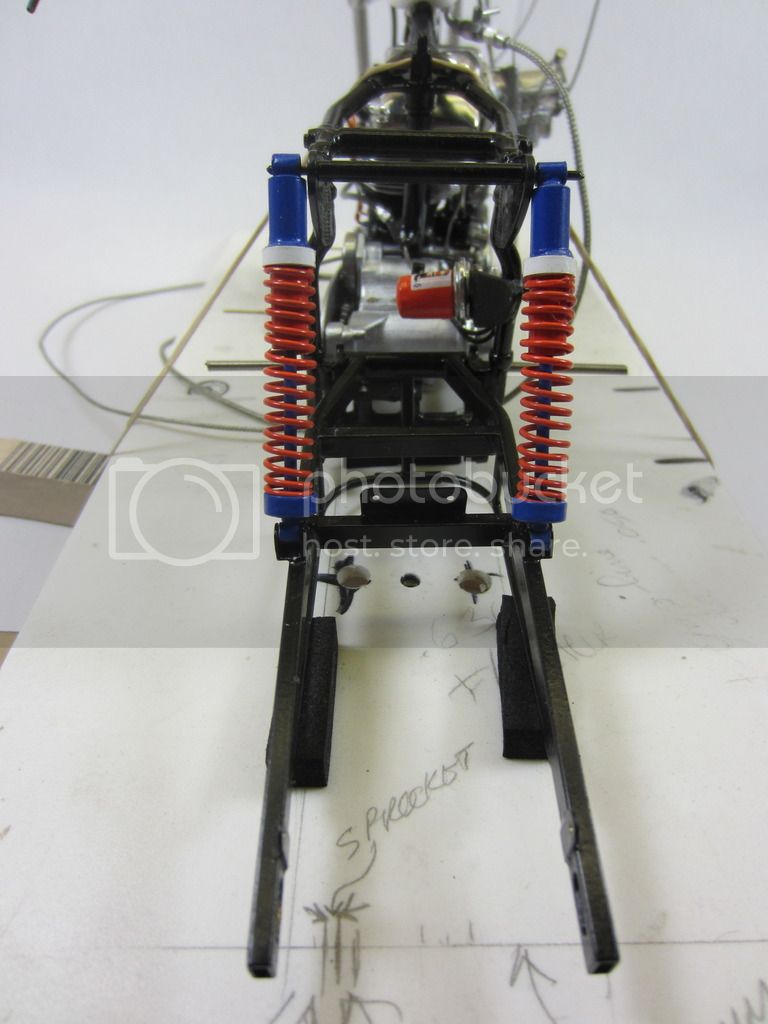
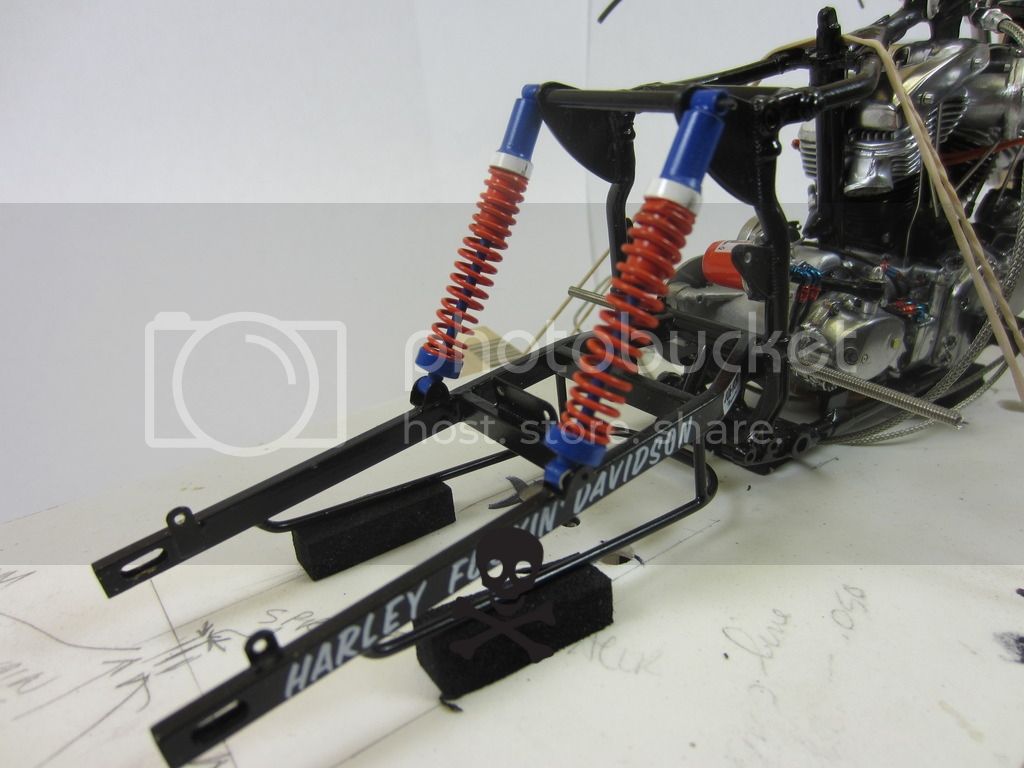
Some parts going on. I wouldn't normally attach the tank at this point but it has numerous fuel lines emanating from it so some epoxy will hold it tight. Front fork sliders get their initial fitting. I dunno , looks pretty cool to me:


krow113
Joined: March 16, 2010
KitMaker: 473 posts
Auto Modeler: 257 posts
Posted: Wednesday, September 07, 2016 - 11:19 PM UTC
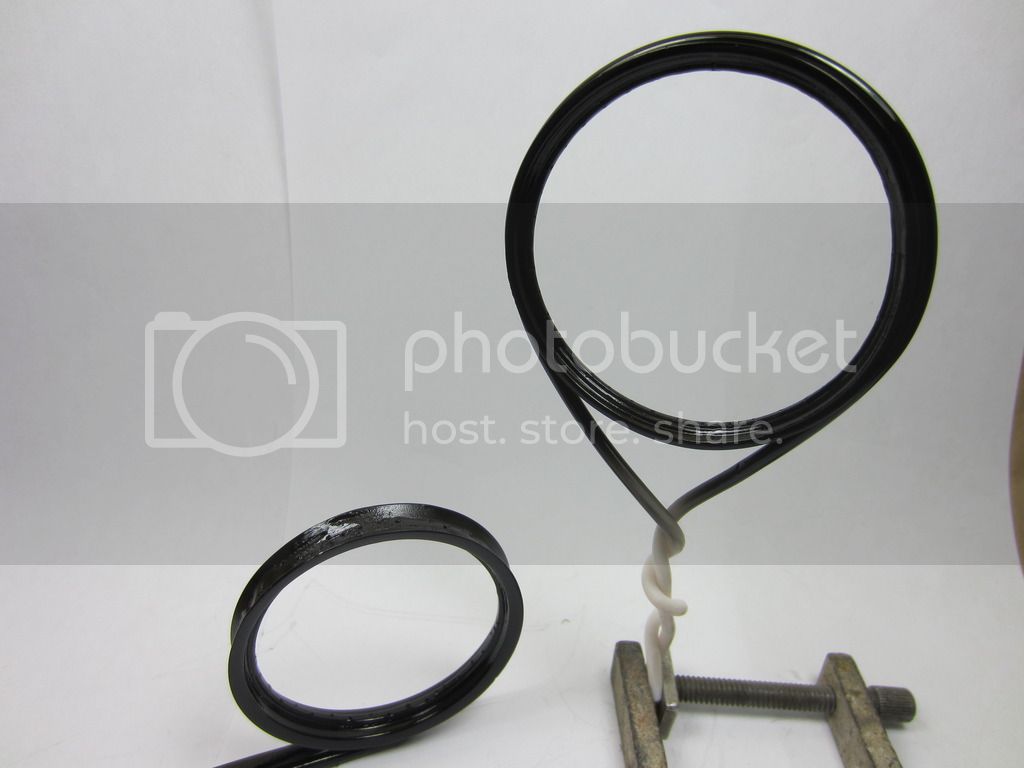
Fuel lines begin:

krow113
Joined: March 16, 2010
KitMaker: 473 posts
Auto Modeler: 257 posts
Posted: Thursday, September 08, 2016 - 12:23 AM UTC
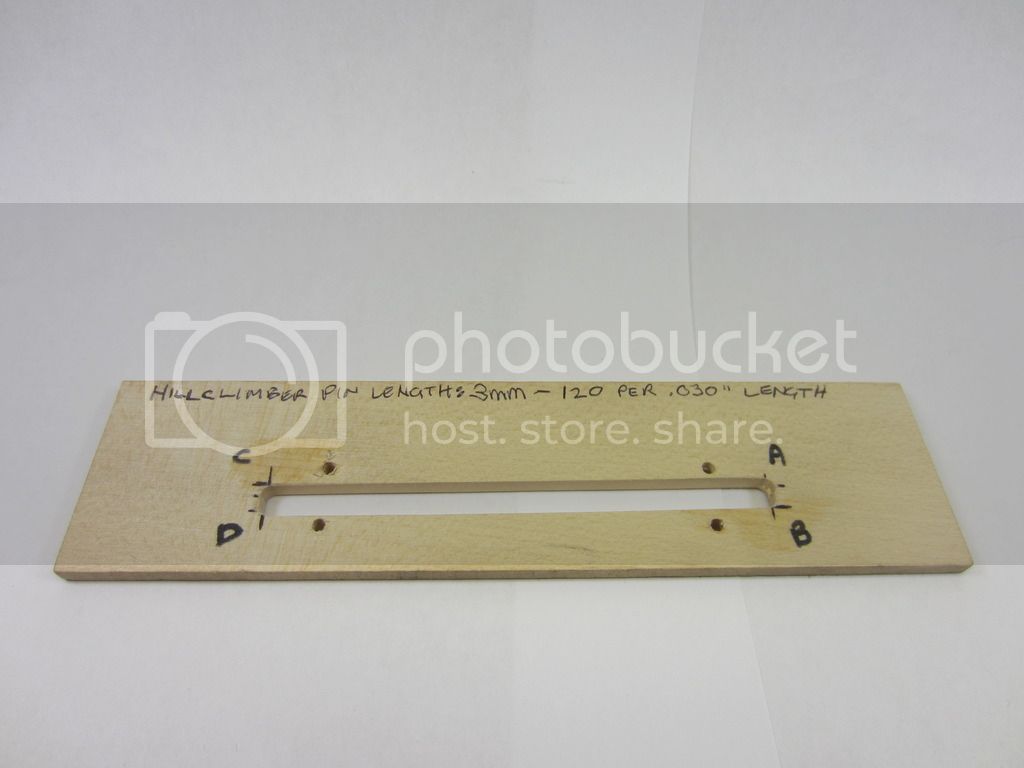
And the chain assy tool gets a viewing/access slot milled:

krow113
Joined: March 16, 2010
KitMaker: 473 posts
Auto Modeler: 257 posts
Posted: Thursday, September 08, 2016 - 04:06 AM UTC
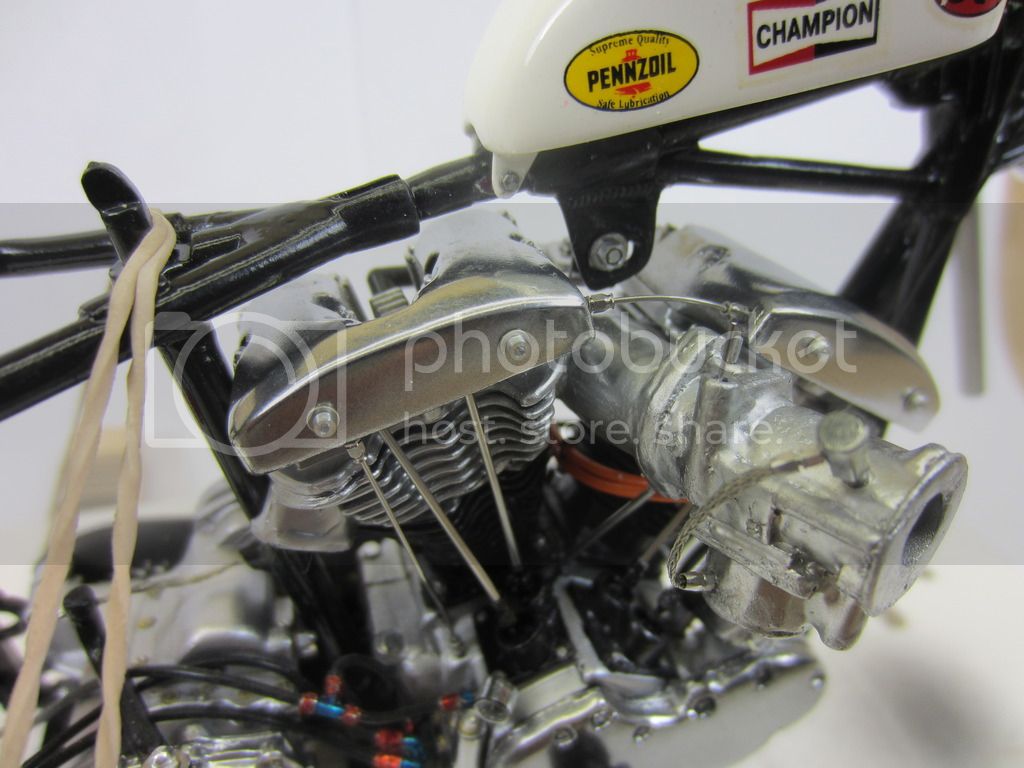
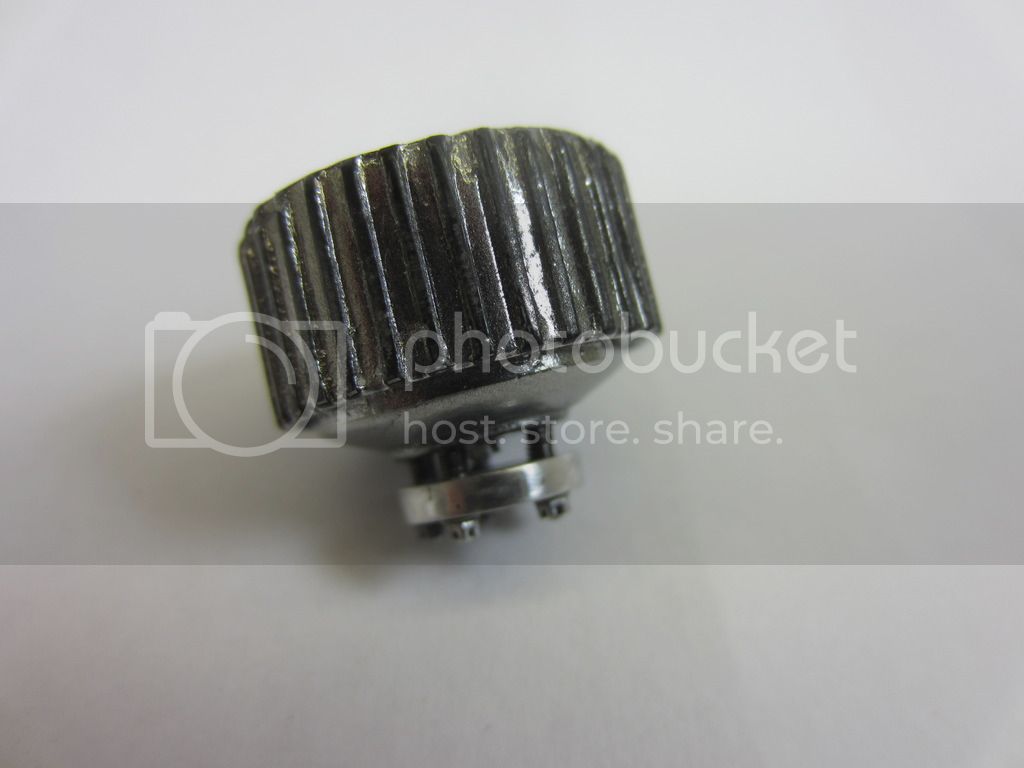
Detail piling up today. Carb gets its first line, the high-speed auxiliary jet gets plumbed from the bowl. The rocker shafts get their socket heads, the top motor mount gets bolted and the tank gets its bolts and washers.

krow113
Joined: March 16, 2010
KitMaker: 473 posts
Auto Modeler: 257 posts
Posted: Thursday, September 08, 2016 - 07:10 AM UTC
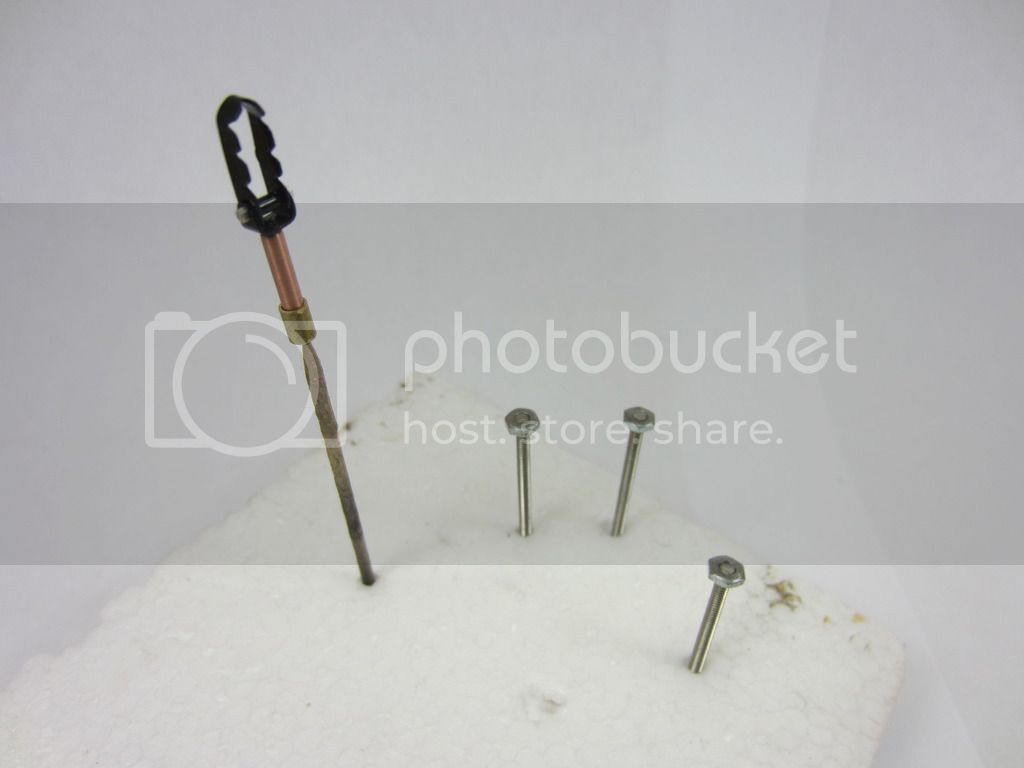
Nightly paint sessions will be the norm until this mother is finished. Tonight the right footpeg assy and the axles and rear fork pivot bolt get theirs:

krow113
Joined: March 16, 2010
KitMaker: 473 posts
Auto Modeler: 257 posts
Posted: Friday, September 09, 2016 - 09:39 PM UTC
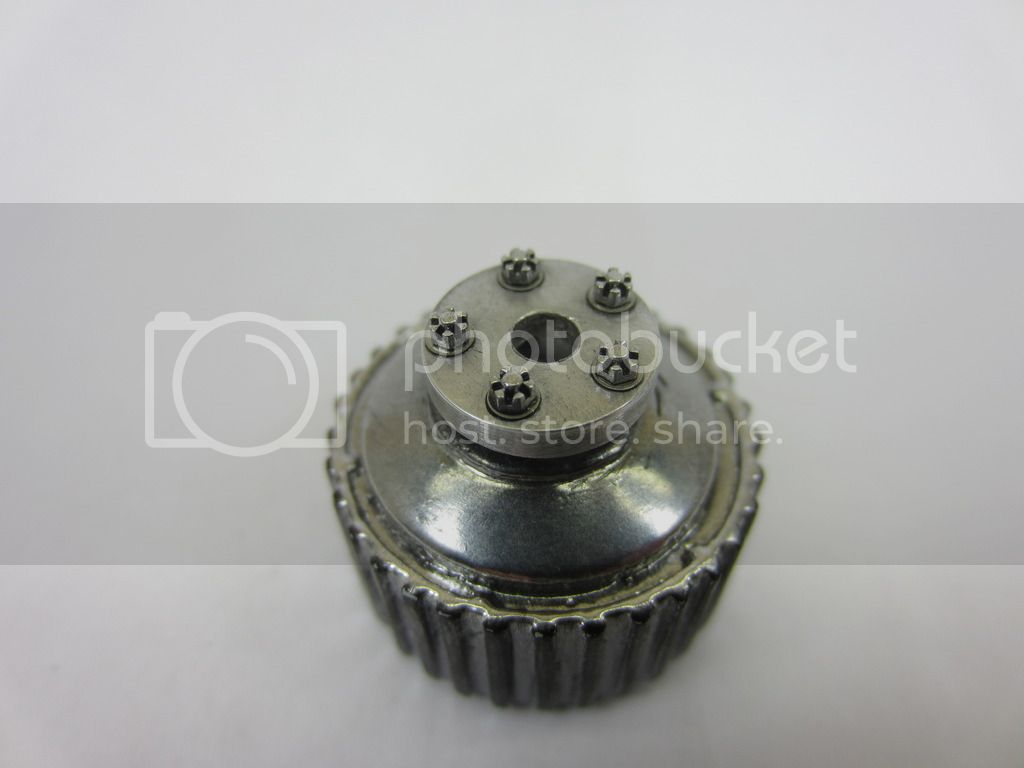
Clutch pack gets detailed:


krow113
Joined: March 16, 2010
KitMaker: 473 posts
Auto Modeler: 257 posts
Posted: Saturday, September 10, 2016 - 02:44 AM UTC
Fuel feed and return lines get attached:


The_Snowman

Joined: August 26, 2015
KitMaker: 92 posts
Auto Modeler: 57 posts

Posted: Saturday, September 10, 2016 - 02:49 AM UTC
Dude, your are setting the standard! Amazing master class build!
krow113
Joined: March 16, 2010
KitMaker: 473 posts
Auto Modeler: 257 posts
Posted: Saturday, September 10, 2016 - 06:59 AM UTC
Thanks Snowman.
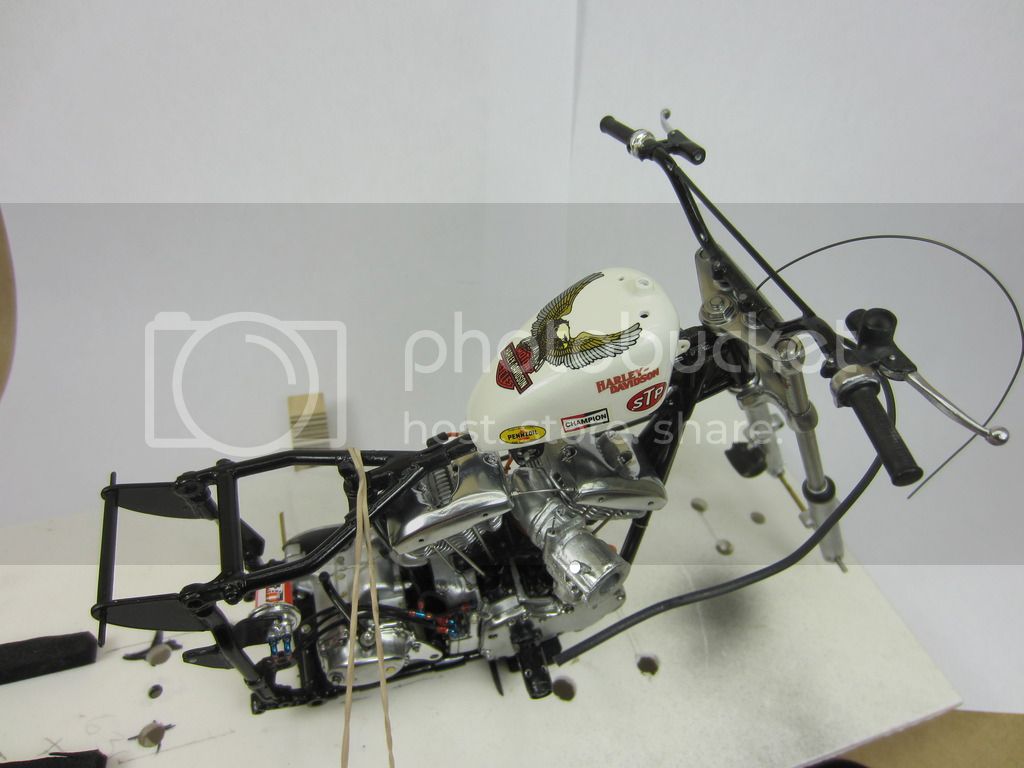
Test fitted so many parts so many times , still testing and everything , so far , has fallen into place:
Test fitted so many parts so many times , still testing and everything , so far , has fallen into place:


krow113
Joined: March 16, 2010
KitMaker: 473 posts
Auto Modeler: 257 posts
Posted: Friday, September 16, 2016 - 11:13 PM UTC
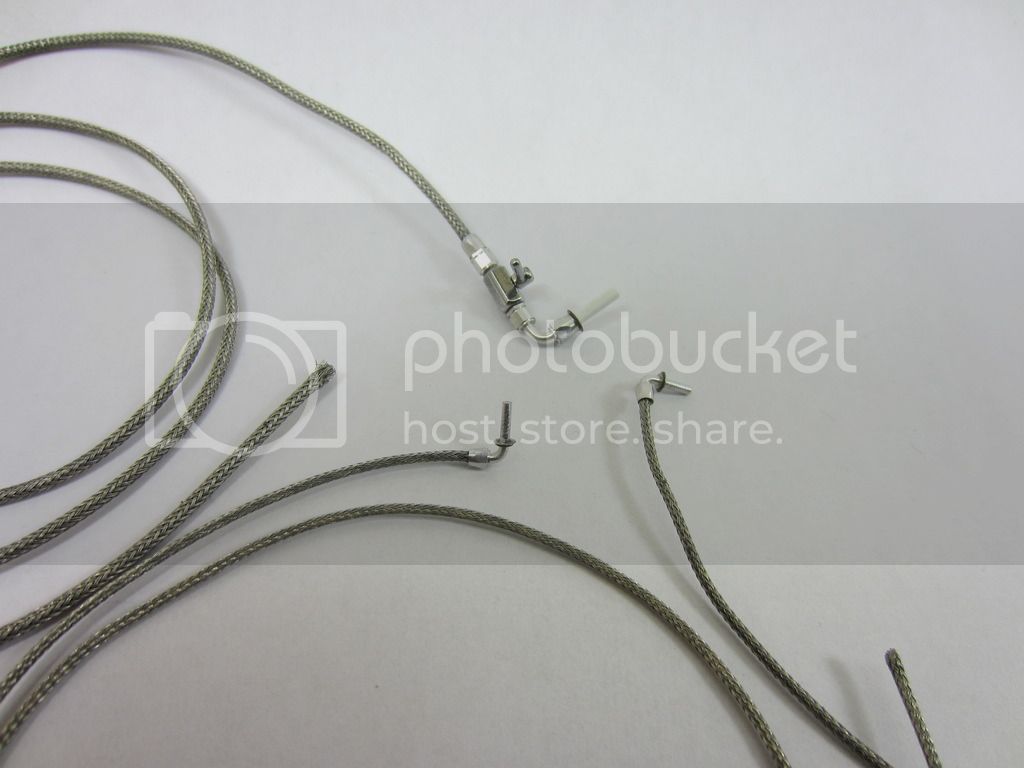
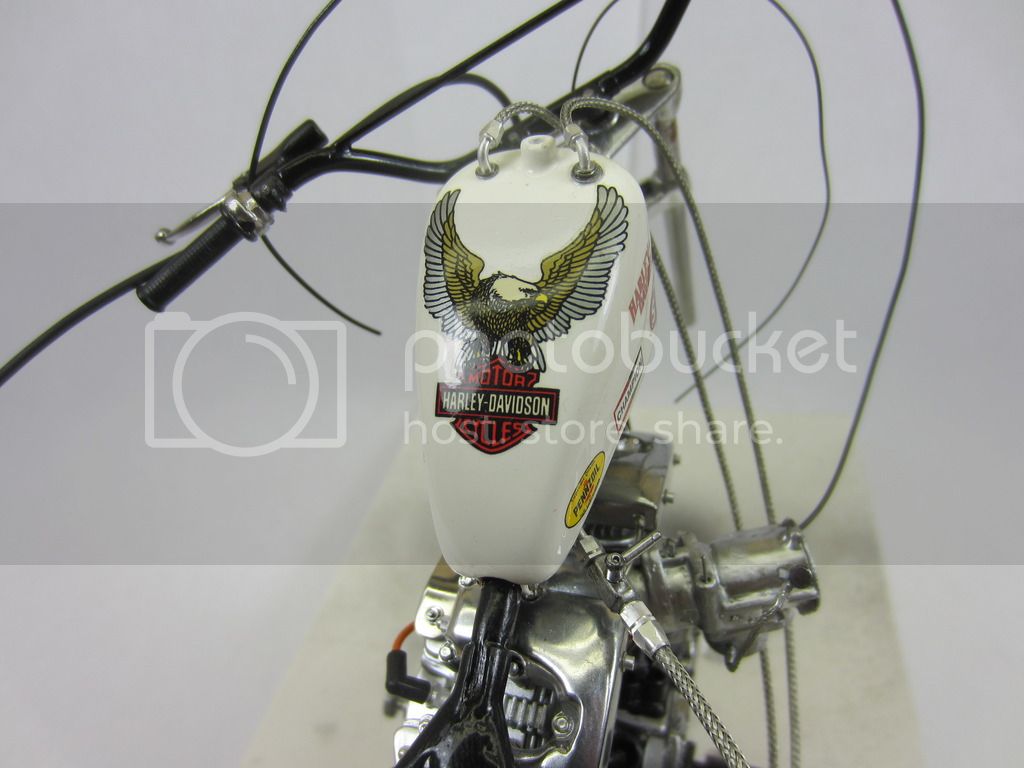
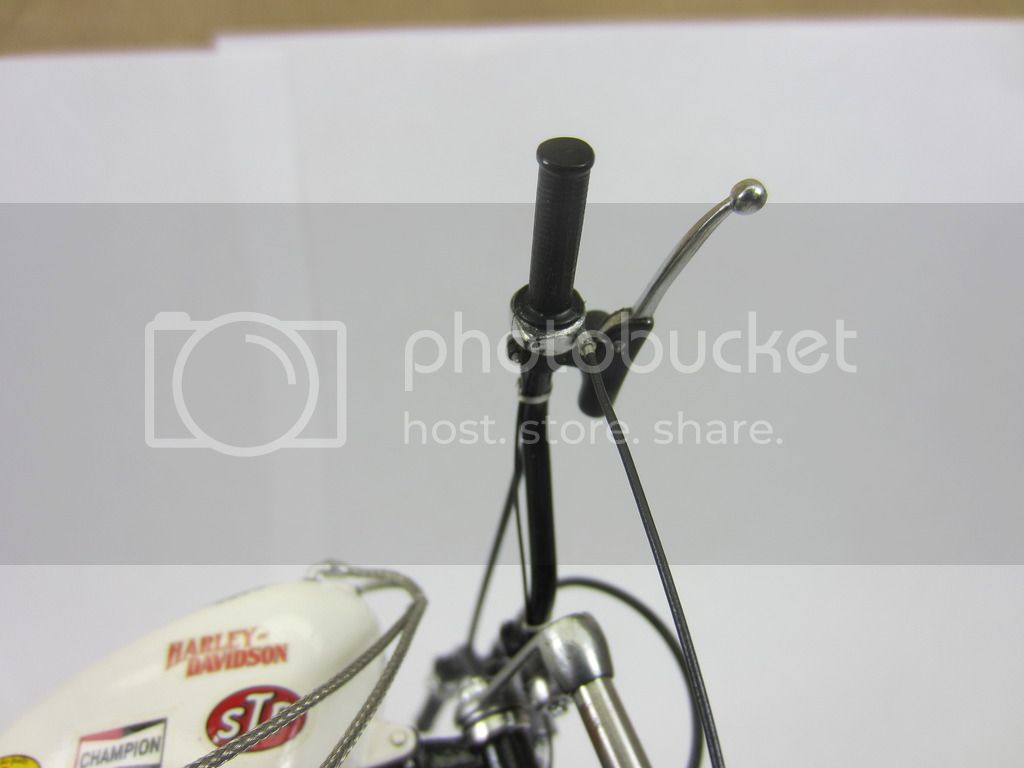
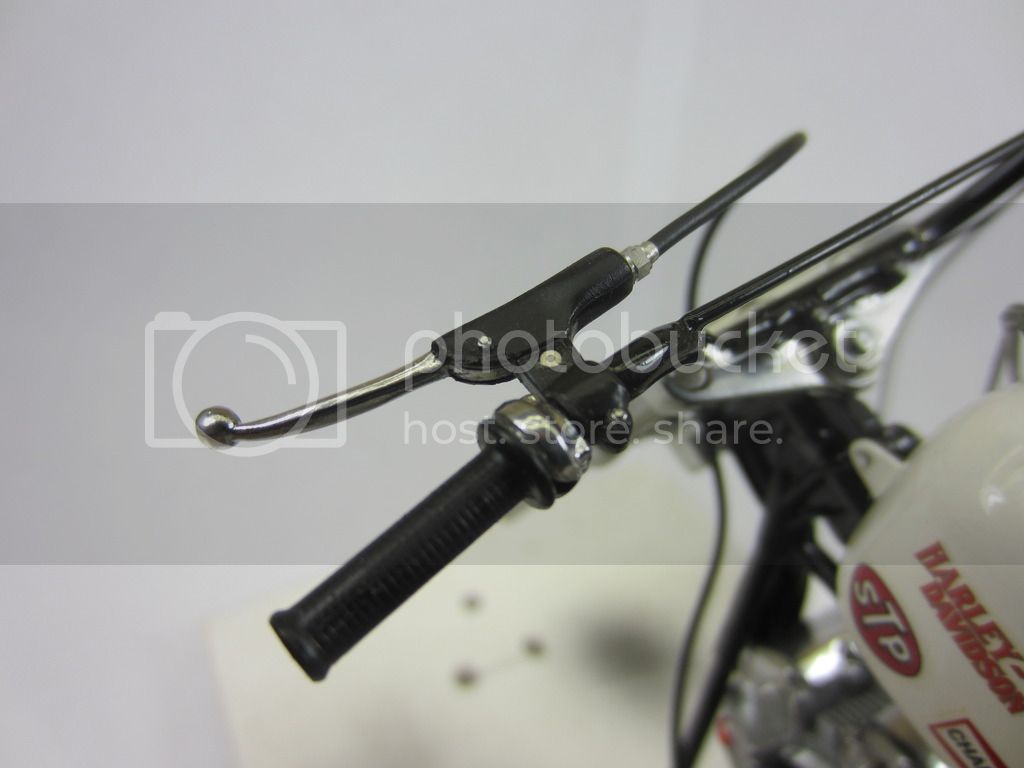
Handlebar work to start the weekend sessions , clutch cable , kill wire , and throttle cable attachment:


 |

WEB HOSTING BY


Copyright ©2021 Auto Modeler and Kitmaker Network, a subsidiary of Silver Star Enterprises
All Rights Reserved. Please read our Conditions of Use and Privacy Policy.
All Rights Reserved. Please read our Conditions of Use and Privacy Policy.