

 Still a lot of little things to do and figuring out how I'll attach the fenders. Tried to mount them to the sides of the frame and that just didn't quite work ("hidden" mounts). Now I'll try "exposed" mounts. We'll see.
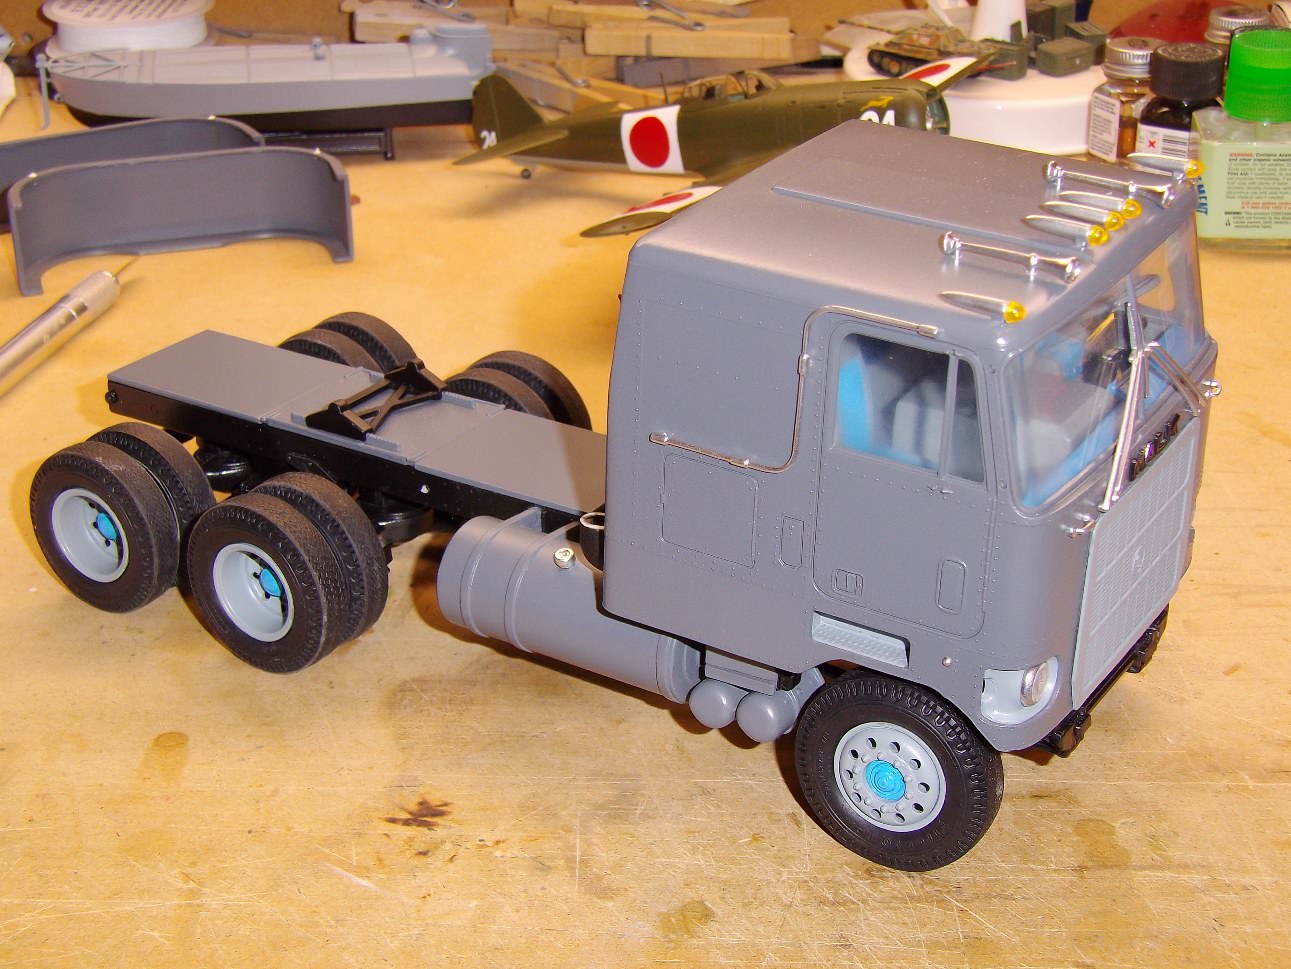
Mike


 Still a lot of little things to do and figuring out how I'll attach the fenders. Tried to mount them to the sides of the frame and that just didn't quite work ("hidden" mounts). Now I'll try "exposed" mounts. We'll see.


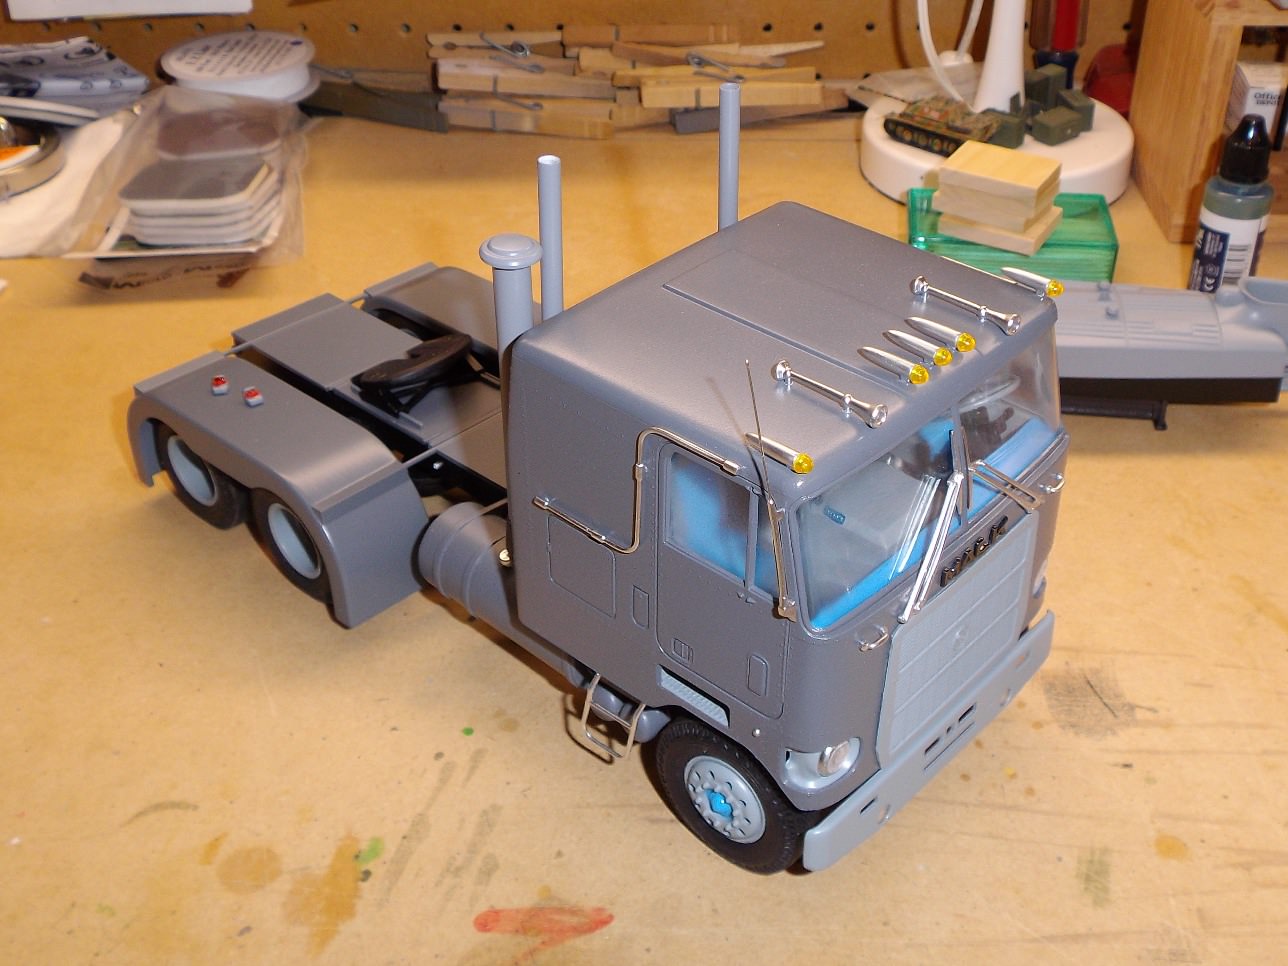
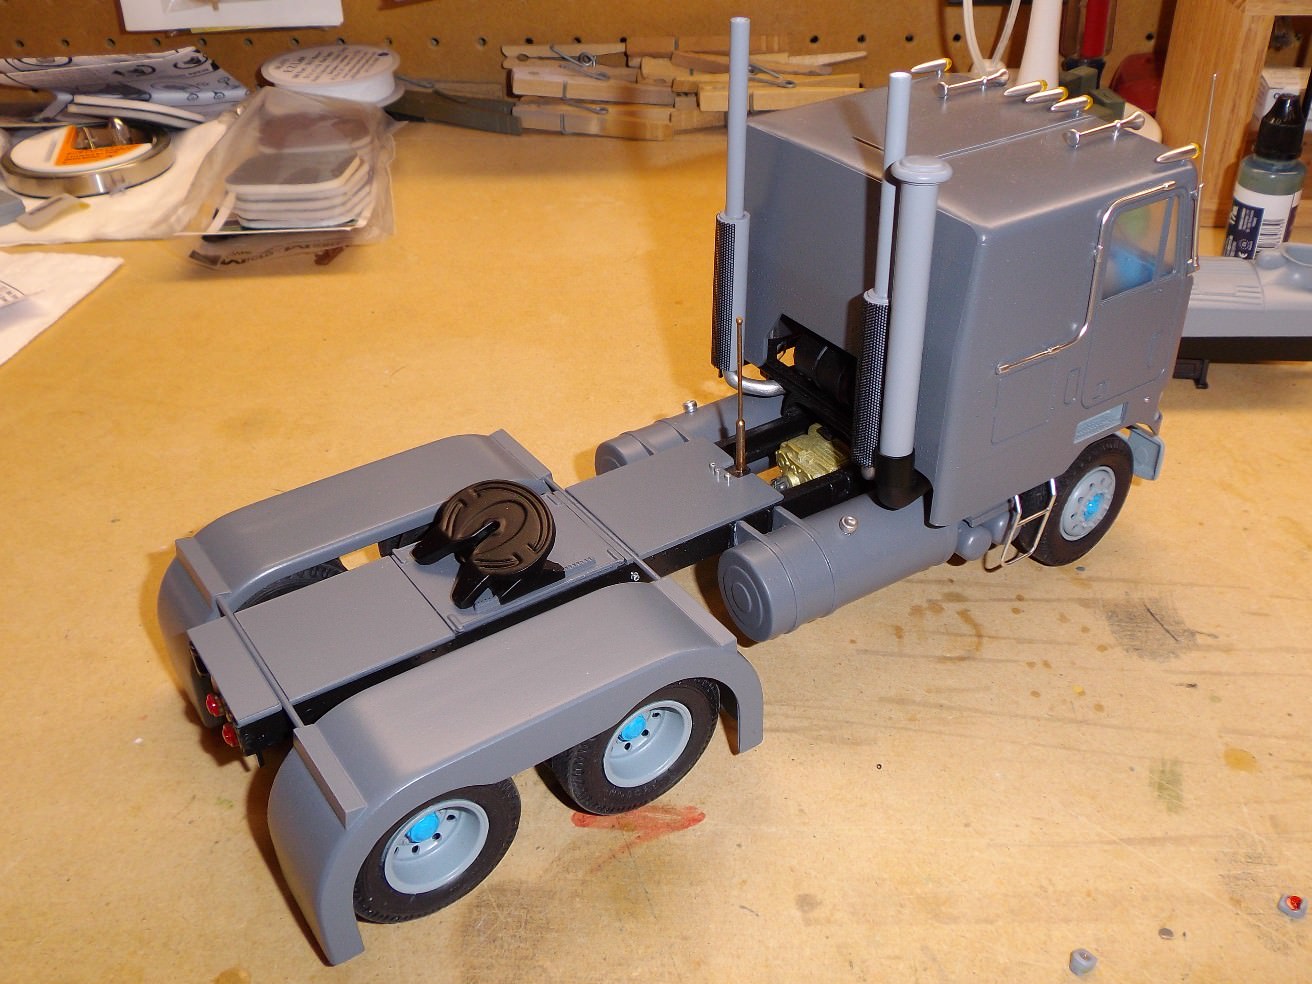
 Then I touched up the chrome.


 will see how much damage when dry.


 will have to take care of that still.
 . I had to drop the airbrush yesterday after I botched twice the same simple part (the under-dash engine cover on passenger side). Also I had to strip the air filter


 |


