

Quoted Text
Andrew

What paint did you use on the engine here, it's awesome tone and sheen !!
Cheers, D


Andrew

Hi Andrew,
What paint did you use on the engine here, it's awesome tone and sheen !!
Cheers, D


 Recently ordered some of the TS paints and will be giving your method a try, thank you very much for the SBS on that.


Bob, my kit is the 1/24 scale Fujimi Ferrari Koennig Special. Just a beefed up Testerosa basically.
Lewis, right now I'm using Tamiya gloss yellow from the bottle. For the body I'm going to get some yellow TS paint and try Andrews technique of using it through my airbrush.
Hermon


Bob - What I mean is the Alclad Under coat on its own with some coats of klear, It has the high gloss shine whihc I cna't seem to get with acrylic spray cans
Cheers
Loobes


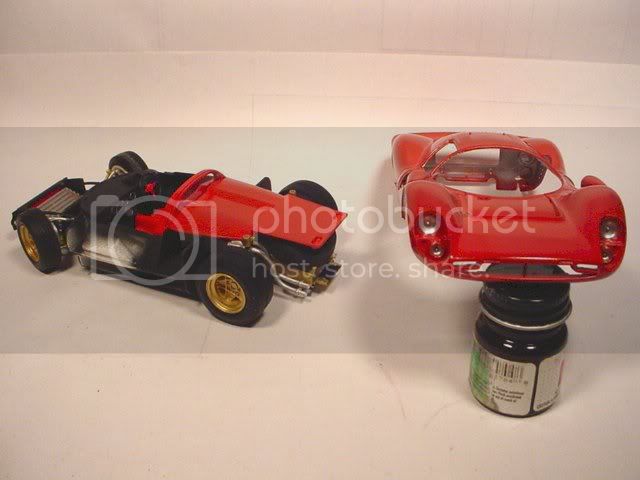
Picture quality isn't the greatest. The pic's were taken on my front porch and it's about 30' F outside right now so I was a bit shakey.
Hermon

 OK, busted.
 )
)- are those 4 small pieces supposed to be in the clear engine cover's open slats?
You're right about the 4 small divider pieces Bob. But they aren't like the little thin pieces at the edge of a windshield. These are really thick, I was afraid I'd really screw up the glass engine cover if I tried to cut them out. I actually buggered up one of the headlight covers doing the exact same thing. Ahhh.......good enough for government work.
Hermon
 |


