_GOTOBOTTOM
The Garage
For general automotive modeling or non-modeling topics.
Official Demolition Derby Group Build Thread
VonCuda
_VISITCOMMUNITY
North Carolina, United States
Joined: November 28, 2005
KitMaker: 2,216 posts
Auto Modeler: 522 posts
Posted: Saturday, July 31, 2010 - 01:16 PM UTC
OK ladies, I know this is a few hours early but I figured since we had at least one member in Australia I'd go ahead and put up this thread for everyone to post their progress pictures on. I'll be starting my build later in the month but here is the kit I'll be working with.


Being a Chebby, I'll no doubt have to do something about the weak factory engine. Oh yeah, Damian, I'm gonna need to borrow your pink paint in a couple of months so this beast will have some color.

Hermon
AussieReg
Staff MemberAssociate Editor
AUTOMODELER
#007
_VISITCOMMUNITY
Victoria, Australia
Joined: June 09, 2009
KitMaker: 8,156 posts
Auto Modeler: 2,953 posts
Posted: Saturday, July 31, 2010 - 02:21 PM UTC
MAN THAT THREAD TITLE IS LOUD HERMON, ARE YOU WORKING OUT IN THE SHED OR SOMETHING ???

Front and centre and reporting for duty boss. Oh, hold on, no guns in this build. Cool.

Seriously, Hermon you can have all of the pink paint I have left over after I restore the original factory finish on this . . . . .


Probably won't be much left after I do the complete interior, engine bay, underside as well as the body. That's how they were, yeah ?

I'm about a month away from starting as well, a couple of Campaigns to tidy up first (like most of us now),

Fire 'em up fella's. Lets mangle some plastic !!!

Cheers, D
VonCuda
_VISITCOMMUNITY
North Carolina, United States
Joined: November 28, 2005
KitMaker: 2,216 posts
Auto Modeler: 522 posts
Posted: Saturday, July 31, 2010 - 03:59 PM UTC
I'M NOT YELLING, THE CAPS BUTTON WAS STUCK!!!

OK, as was suggested to me by an anal retentive member whos name I will not mention (Damian) here is a re-post of the rules.

The Rules and Regs
The rules are simple:
1- The battery must be relocated and mounted to the floor.
2- The shifter may be relocated on the floor.
3- Exhaust stacks may be installed.
4- Car must be completely gutted with the exception of the driver’s seat and all glass must be removed with the exception of the windshield. Windshield may be replaced with chain link fence.
5- Seat belts are required.
6- The driver’s door must be painted a bright contrasting color (different than the car) and must be padded.
7- Maximum bumper height will be 24 inches, (in scale)....no jacked up suspensions.
8- All cars must have roll bars or roll cage installed.
9- Any car (foreign or domestic) is eligible including 4-6-8 cylinder.
10 Most important HAVE FUN!!! There are no inspectors or judges here. If you want a pink car, build a pink car. If you want to build a modern Corvette or Mustang, go for it. As long as you're having fun building it, then this group build has done it's job.


Now, I'm not a very rule oriented kind of guy typically.......so if you guys can abide by MOST of these rules that'll be fine by me. Like it says in rule #10, this is just for all of us to hang out together and have fun.


Hermon
old-dragon
_VISITCOMMUNITY
Illinois, United States
Joined: August 30, 2005
KitMaker: 3,289 posts
Auto Modeler: 1,620 posts
Posted: Sunday, August 01, 2010 - 06:00 AM UTC
Ok, here's my choices, as I recall, for the demolition derby-

..I had a rollbar for the crawler since I made it as a logging dozer but that was wiped out in the '96 flood and I haven't gotten back to it since...the Tank needs to be buttoned up still...the Renault is an ugly truck{was on sale} so that's an idea...and of course there's the Merc.....hmmmmm, decisions decisions...
VonCuda
_VISITCOMMUNITY
North Carolina, United States
Joined: November 28, 2005
KitMaker: 2,216 posts
Auto Modeler: 522 posts
Posted: Sunday, August 01, 2010 - 08:26 AM UTC
Bob, if you're bringing a tank to the demolition derby then I get an invisible force field.


Hermon
AussieReg
Staff MemberAssociate Editor
AUTOMODELER
#007
_VISITCOMMUNITY
Victoria, Australia
Joined: June 09, 2009
KitMaker: 8,156 posts
Auto Modeler: 2,953 posts
Posted: Sunday, August 01, 2010 - 12:38 PM UTC

Quoted Text

Bob, if you're bringing a tank to the demolition derby then I get an invisible force field.


Hermon


You'll be fine in the Chev Hermon, but I'm worried as hell in the paper thin Hemi
old-dragon
_VISITCOMMUNITY
Illinois, United States
Joined: August 30, 2005
KitMaker: 3,289 posts
Auto Modeler: 1,620 posts
Posted: Sunday, August 01, 2010 - 02:32 PM UTC
Hmmm...dozer it is then...I'll simply bury ya both.....
pastafarian
_VISITCOMMUNITY
United States
Joined: April 10, 2008
KitMaker: 207 posts
Auto Modeler: 66 posts
Posted: Friday, August 06, 2010 - 03:53 PM UTC
I'm in for a Chevy Belle Aire that I'm going to do up as an old NYC taxi. I got the body second hand with no hood, so I'll have to figure up something for that (maybe I'll chain on another hood from the junkyard - it'll add character).

I'll have to sand off the side trim and remove the rear fins. Any suggestions on the checkerboards on the sides? If we can't figure it out, I'm sure there had to be some cabs running around without them.

John
VonCuda
_VISITCOMMUNITY
North Carolina, United States
Joined: November 28, 2005
KitMaker: 2,216 posts
Auto Modeler: 522 posts
Posted: Saturday, August 07, 2010 - 04:17 PM UTC
John, the non-matching hood is a pretty good idea. As for the checkerboards, I have a few checkerboard decals from some aircraft kits and you're more than welcome to them if you want. You could cut out a ribbon section from them and wrap the cab that way. You could even leave a few sections out and scuff it up as battle damage. They're 1/48 scale.


Hermon
pastafarian
_VISITCOMMUNITY
United States
Joined: April 10, 2008
KitMaker: 207 posts
Auto Modeler: 66 posts
Posted: Wednesday, August 11, 2010 - 09:05 AM UTC
Those would work Herman, thanks! I'll send you a pm.

It's not going to be too much of an issue, but my bel aire is a 2 door, so I'll have to fill those and scribe some more doors. Heck, if I mess it up a little, no problem since it's a junker. haha

got some body work to do. hhehehehehehe

John
old-dragon
_VISITCOMMUNITY
Illinois, United States
Joined: August 30, 2005
KitMaker: 3,289 posts
Auto Modeler: 1,620 posts
Posted: Wednesday, August 11, 2010 - 02:26 PM UTC
Alright, here's a question...are we to rid the body of headlights and taillights...grill too? Trim- can this stay or does it have to go as well? I'm trying to find stock steel rims at the moment so I can loose the hubcaps...
pastafarian
_VISITCOMMUNITY
United States
Joined: April 10, 2008
KitMaker: 207 posts
Auto Modeler: 66 posts
Posted: Wednesday, August 11, 2010 - 02:44 PM UTC
1. All glass including windshield, side windows, rear window, head and tail lights. Rolling windows down is not permitted.
2. Auto must be swept clean, No junk tires, wheels, metal parts, broken glass, etc. allowed in car.
3. Chrome moulding strips and the bottom portion of rear seats must be removed. On station wagons all rear seats and deck lids must be removed. All
fi berglass or plastic front header panels must be removed.
4. Any sharp protruding fi ns or dangerous objects (mash down or cut off).
5. No special bumpers, reinforcements or trailer hitches permitted. Fenders and bumper ends may be trimmed to allow for wheel clearance. On late
model vehicles, shock bumpers may be lightly welded or short piece of chain from bolt on bumper to bolt on frame. Bumper skins may not be
welded to the inner core. Solid welded shock mounts will need an inspection hole of some type. No chain or wire allowed around or hooked to
the bumpers and/or frame in any manner.
6. Welded solid or chained down engine mounts are recommended.
7. Radiators must remain in original position or taken off. Comparable replacement radiators are permitted. Radiators and cooling systems must be
fl ushed of anti-freeze and only water added. Transmission coolers are permitted, with offi cials approval.
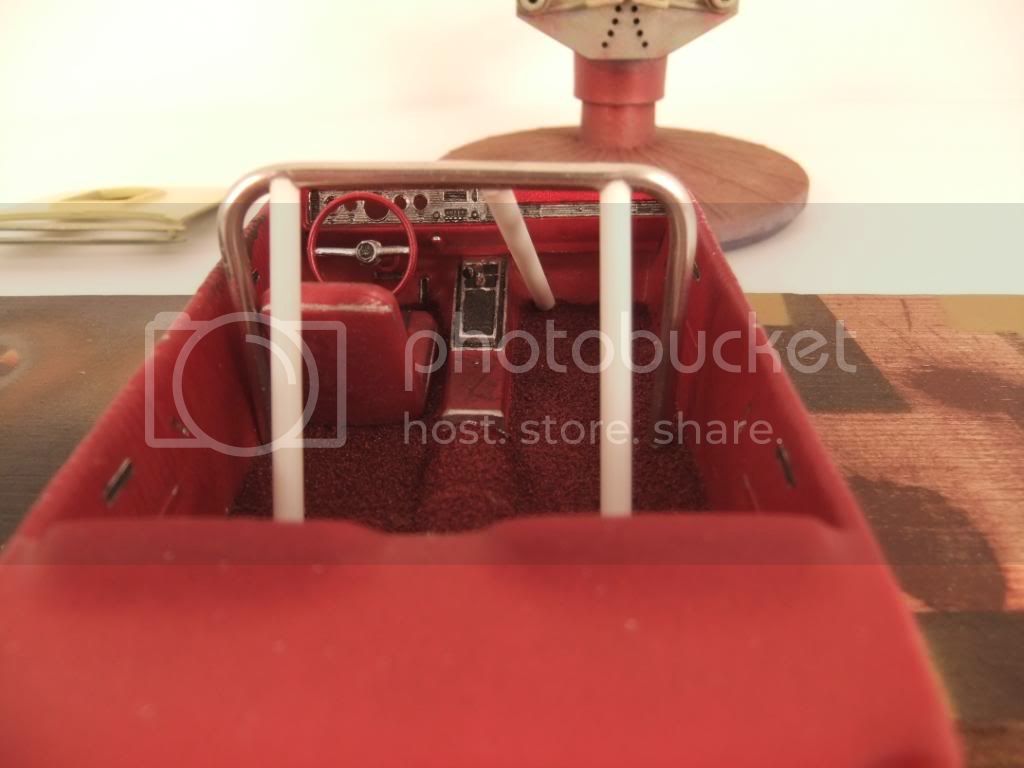
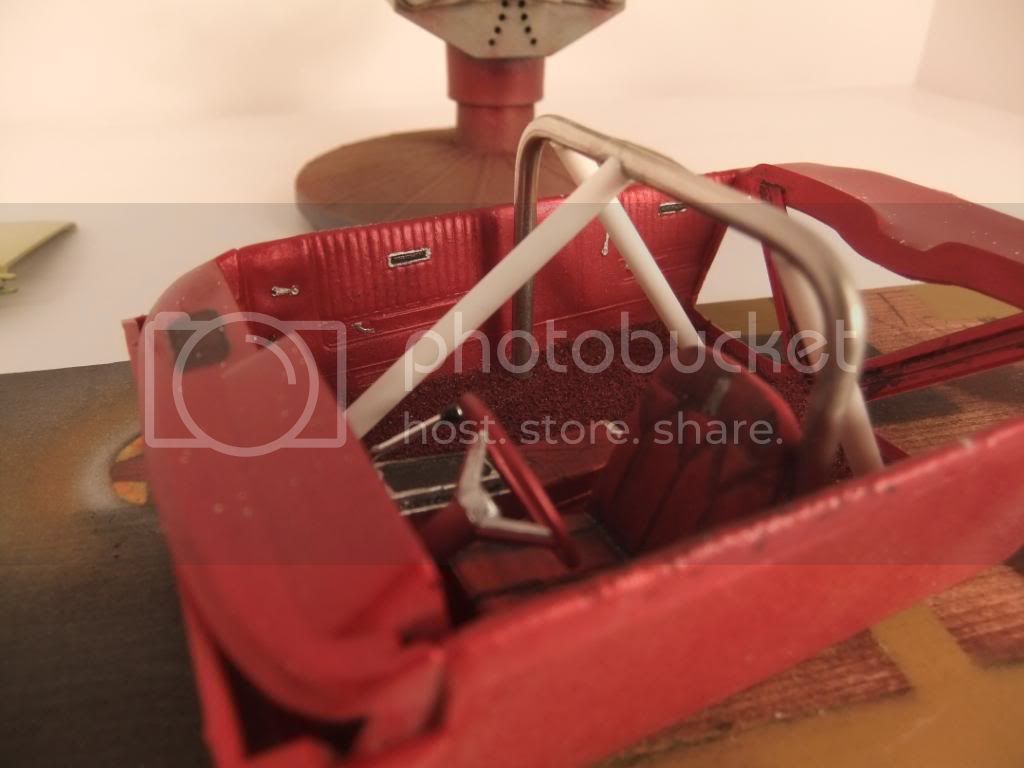
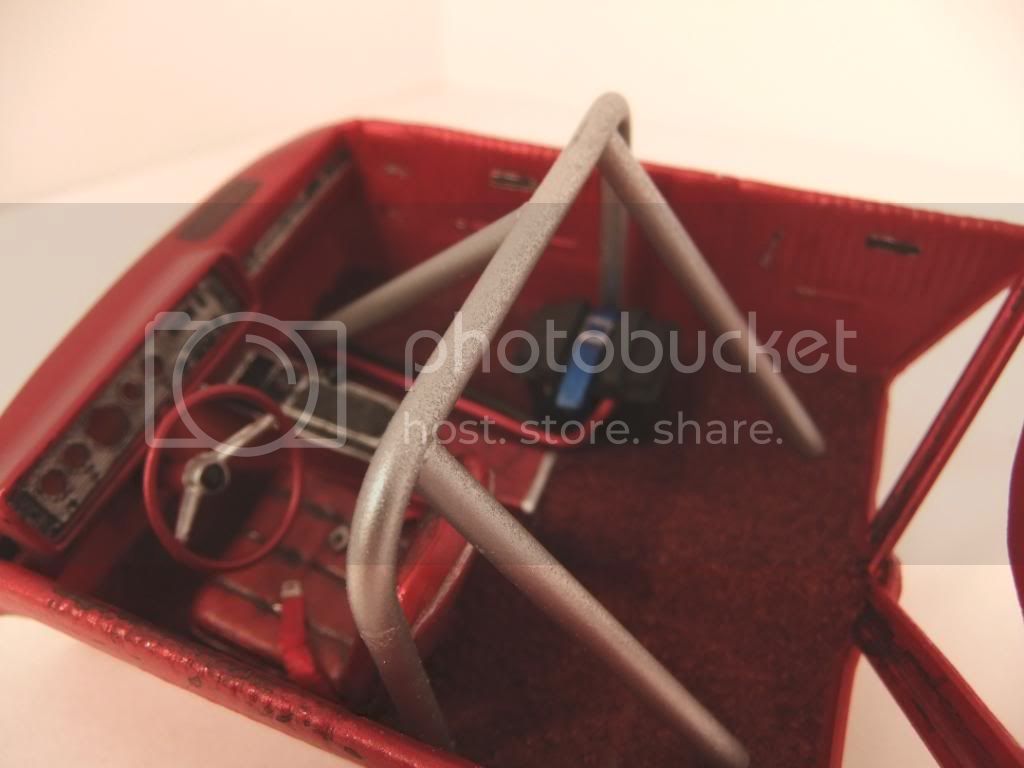
8. All cages must be securely welded to sheet metal only. No frame attachments. Cages must stop at door post/support and not extend outside of vehicle.


Here's what I found at this site (http://www.internationaldemolitionderby.com/).

Nothing about the grill, so I'd assume that's ok. I'm tempted to find something with some huge fins just so I can "beat them down with a hammer." LOL

Found an awesome series on derby car building on youtube:
http://www.youtube.com/watch?v=vD0Ewz-V5FQ
VonCuda
_VISITCOMMUNITY
North Carolina, United States
Joined: November 28, 2005
KitMaker: 2,216 posts
Auto Modeler: 522 posts
Posted: Thursday, August 12, 2010 - 01:43 PM UTC
Yo Bob, I'm gonna say the headlights/tail lights have to go......but I'm not exactly gonna shoot ya if you still put them on your car. Grills can stay as well as trim pieces.
BTW, if you run into any extra stock steel rims give ol' Uncle Hermie a yell. I'd like to have a set as well.

John, I have your decals rounded up and I'll try and get them in the mail if I get a chance tomorrow.


Hermon
Wolfsangel
_VISITCOMMUNITY
Texas, United States
Joined: January 15, 2010
KitMaker: 221 posts
Auto Modeler: 33 posts
Posted: Thursday, August 12, 2010 - 07:22 PM UTC
Hey Bob, From the friends I used to have, they would buy a beater for a few hundred, then strip it of everything non-essential (i.e. interior, glass, trim, AC system, stereo, power goodies, etc.). This stuff would all be sold (usually turning a small profit) and they would get in the derby for no cost. Personally, I hated them. All that good sheetmetal going to waste. Almost as bad as watching a monster truck roll and bounce over rows of cars! The irony is, now I wouldn't mind seeing the majority of modern (post '85) vehicles in Demo-Derbys but they don't work well with thin sheet metal, plastics, and "crumple zones".
Charlie
old-dragon
_VISITCOMMUNITY
Illinois, United States
Joined: August 30, 2005
KitMaker: 3,289 posts
Auto Modeler: 1,620 posts
Posted: Friday, August 13, 2010 - 02:39 AM UTC
Hermon...yeah, I kinda knew the head and tail lights were needing to go, but it was the grill I was wondering about. Maybe I can figure out a way to remove it. I just removed the door handles and will probably remove the trim as well, but, it's the front turns signal lenses that will be interesting to remove since they're set in the front ends of the fenders. I'll figure it out......

Oh, I did find one set of steelies out of all the car kits I have{those suckers are tuff to find I'm seeing!}but they're out of my ford thunderbolt kit and I was kind of wanting to save those for that build...the search continues in hopes to find alternatives.......now for inner and outer color choices!
old-dragon
_VISITCOMMUNITY
Illinois, United States
Joined: August 30, 2005
KitMaker: 3,289 posts
Auto Modeler: 1,620 posts
Posted: Saturday, August 14, 2010 - 03:39 PM UTC
All this talking and no real building...so allow me to be the 1st to start-
Here's my entry, the AMT 1966 Mercury hard top. Power is from a dual quad 427 side oiler motor with a C-6 automatic transmission.
I 1st started off by sanding off all the moldings and drilling holes to simulate they're hasty removal. Then I removed the two wing window vents, the whole inner grill, chopped off the bumper ends for less chance of locking bumpers up, removed the rear seat area in the interior tub and put in the usual crossbars, added some rust holes, put in some dents, radiused the rear wheelwell openings, base coated the body in yellow{far more to do there yet}, nearly finished the interior{roll bar left to paint yet, battery and install the seat belts}, started the chassis painting{not shown-yet} and added a mesh grill, just for laughs. Still need to put the motor together, add the seat belts and the rest of the body painting......here's some pics so far-


Oh, forgot to mention that I drilled out the gauges...but left the tunes! Also forgot to mention adding grime/dirt to the rims. The main section of the roll bar is solder with the white pieces being 1/8" tube stock.
-Do we really have to add padding for the driver?
...am I going to be the only one on the track?!
old-dragon
_VISITCOMMUNITY
Illinois, United States
Joined: August 30, 2005
KitMaker: 3,289 posts
Auto Modeler: 1,620 posts
Posted: Sunday, August 15, 2010 - 11:42 AM UTC
Here's another update....the interior is complete now, I added the seat belts, battery box, rollbar and remote cables.


Here I have the chassis..now, when I raced in the spectator class in real life, the speedway had a policy for all classes..if your car was flipped over{upsidedown} you were done for that race, however, you did get a 6pack of beer and a tiny rollover trophy...and could run in the next race. Given that, there were some colorful sayings undernieth the cars, should they possibly rollover...I did it to mine back then{never did flip her} and I'm doing the same here...

Next up, will be the body secondary colors and stuff...but that's for the next posting.......
Am I all alone here is everyone that afraid of my Merc...yah should be!{that should bring them out!}
old-dragon
_VISITCOMMUNITY
Illinois, United States
Joined: August 30, 2005
KitMaker: 3,289 posts
Auto Modeler: 1,620 posts
Posted: Monday, August 16, 2010 - 12:24 PM UTC
Secondary colors are on and drying...but here's a question...do we need numbers?!...if so I request "9 X"..Rex racer's number{Racer X...speed racer's brother}
VonCuda
_VISITCOMMUNITY
North Carolina, United States
Joined: November 28, 2005
KitMaker: 2,216 posts
Auto Modeler: 522 posts
Posted: Tuesday, August 17, 2010 - 12:47 AM UTC
Bob, that interior is SICK! Rollbar came out great as did the battery. I hope to get started on mine real soon, and my interior is will be plain sheet metal with plenty of rust. Numbers not required but I'll be sporting one as well.

Hermon
pastafarian
_VISITCOMMUNITY
United States
Joined: April 10, 2008
KitMaker: 207 posts
Auto Modeler: 66 posts
Posted: Tuesday, August 17, 2010 - 05:24 AM UTC
WOW Bob~! I may not post any pics if I've got something like that to compete with.

Here's where I am so far. I started with the body of a 57 bel aire (no hood, bumpers, grill, tires). Removed the trim, ripped out the passenger and back seat, rounded off the tail fins, cut off the cowls for the headlights (I need to expand those from 2 lights to 4 still). I was going to use a pickup truck hood, but it covered the whole front end of the car, so I'm going have my pit crew pound a new hood out of sheet metal (any tips on simulating hammer blows on sheet metal?).

I'd also like to either scratch a grill, or put something up front to protect the radiator. Might just have to run with a big bumper.

These pics are prior to removing the trim.


old-dragon
_VISITCOMMUNITY
Illinois, United States
Joined: August 30, 2005
KitMaker: 3,289 posts
Auto Modeler: 1,620 posts
Posted: Tuesday, August 17, 2010 - 12:27 PM UTC
John, my man.......now I finally have some competttion!
Ok, lady's hold onto your hats cause the body colors are happening here...and I ain't done yet- Behold the Wasp...with a sting to match!...


It's hard to see but I swapped out the grill for wire mesh...looks good but I'm sticking with a windshield for the driver - not mesh there.
...the red X is just started - needs trim still and the number "9" added. And of course....let's not forget adding the sponsors! Oh, I need to chain the trunk, hood and doors still too. No padding in the car...real men don't need padding...in the car!
Thanks guys for the kind words...the battery box cover is really just a spare diamond reo battery pack with a section removed to make the length, then top with two caps and a pair of cross pieces for the cable exits...then a strap to hold the lid on{base is bolted to the frame and the battery is clamped to the base - like the real ones}. As you may have seen, the roll bar is nothing more than 1/8" tube front and rear with the main hoop being large solder for easy of bending.
I hope some of your paint jobs are as equally creative.
Come on guys...john and I need some targets..I mean competition!
old-dragon
_VISITCOMMUNITY
Illinois, United States
Joined: August 30, 2005
KitMaker: 3,289 posts
Auto Modeler: 1,620 posts
Posted: Tuesday, August 17, 2010 - 12:42 PM UTC
Oh, almost forgot your question john...hammer blow marks could be easily rendered by taking your dremel and a sanding drum{higher grit} and carving out the hit marks, then sand them smooth in the dish/hit your made.
I heavily comptemplated putting the radiator in the back seat area with an electric fan, but I deemed that as cheating of sorts so it stays in the oem location. I am thinking of pouring scale cement in the fenders though........
md72
#439
_VISITCOMMUNITY
Washington, United States
Joined: November 05, 2005
KitMaker: 4,950 posts
Auto Modeler: 555 posts
Posted: Tuesday, August 17, 2010 - 01:18 PM UTC

Quoted Text

scale cement


Does that mean it's only 1/25th as hard as the full scale stuff?
old-dragon
_VISITCOMMUNITY
Illinois, United States
Joined: August 30, 2005
KitMaker: 3,289 posts
Auto Modeler: 1,620 posts
Posted: Tuesday, August 17, 2010 - 01:58 PM UTC

Quoted Text


Quoted Text

scale cement


Does that mean it's only 1/25th as hard as the full scale stuff?


...it'll be enough!
VonCuda
_VISITCOMMUNITY
North Carolina, United States
Joined: November 28, 2005
KitMaker: 2,216 posts
Auto Modeler: 522 posts
Posted: Wednesday, August 18, 2010 - 12:22 AM UTC
Looking good guys. I'm diggin' that wasp paint job Bob.

I don't have any football practice tonight so I'm hoping I can get started on my bomb and post some pic's. Be prepaired to be amazed.


Hermon
 _GOTOTOP