Running update on builds8 weeks in, 28 pages with almost 14,000 views and 700 posts
21 enlisted (plus 1, Jesper sign in please mate!)
13 builds in progress
5 completed builds
Szmann (Gabriel) -
NASCAR - Chev Monte Carlo (Tony Stewart) - 1/25 AMT/ERTL kit -
COMPLETEDStickframe (Nick) -
ENDURANCE - McLaren F1 GTR Longtail - 1/24 Aoshima kit -
COMPLETEDSzmann (Gabriel) -
NASCAR - Pontiac Grand Prix (Kyle Petty) - 1/24 Revell/Monogram kit -
COMPLETEDrv1963 (Robert) -
STRAIGHTLINE - '37 Chevy Gasser - 1/25 AMT kit-
COMPLETEDjimb (Jim) -
STRAIGHTLINE - '57 Ford Sedan Gasser -
COMPLETEDAussiereg (Damian) -
STRAIGHTLINE - '55 Chev Pro Sportsman (Charles Carpenter) - 1/25 Revell kit -
Engine detailing, body decallingJoel_W (Joel) -
FORMULA 1 - Lotus 99T Honda (Ayrton Senna 1987) - 1/20 Tamiya kit -
Major assembly stageJoel_W (Joel) -
INDY -
enlisted - Lola T-8800 Newman Haas (Mario Andretti 1988) - 1/25 AMT kit
Dixon66 (David) -
ENDURANCE GROUP 5 - Zakspeed Capri - 1/24 Tamiya kit -
Decals on order, body in primer, underside and interior completeDixon66 (David) -
TOURING GROUP 2 -
2006 Mustang GT- 1/25 Revell kit -
Interior modifications, drivetrain assembly. Primer startedtinbanger (Richard) -
GRAND PRIX - 1914 Mercedes Racer - 1/16 Lindberg kit -
Engine and chassis started, major panel works under way, custom milled wheels/tyres and sheetmetal panels startedmd72 (Mark) -
INDY -
enlisted - Target Reynard (Jimmy Vasser) - 1/25 Revell kit
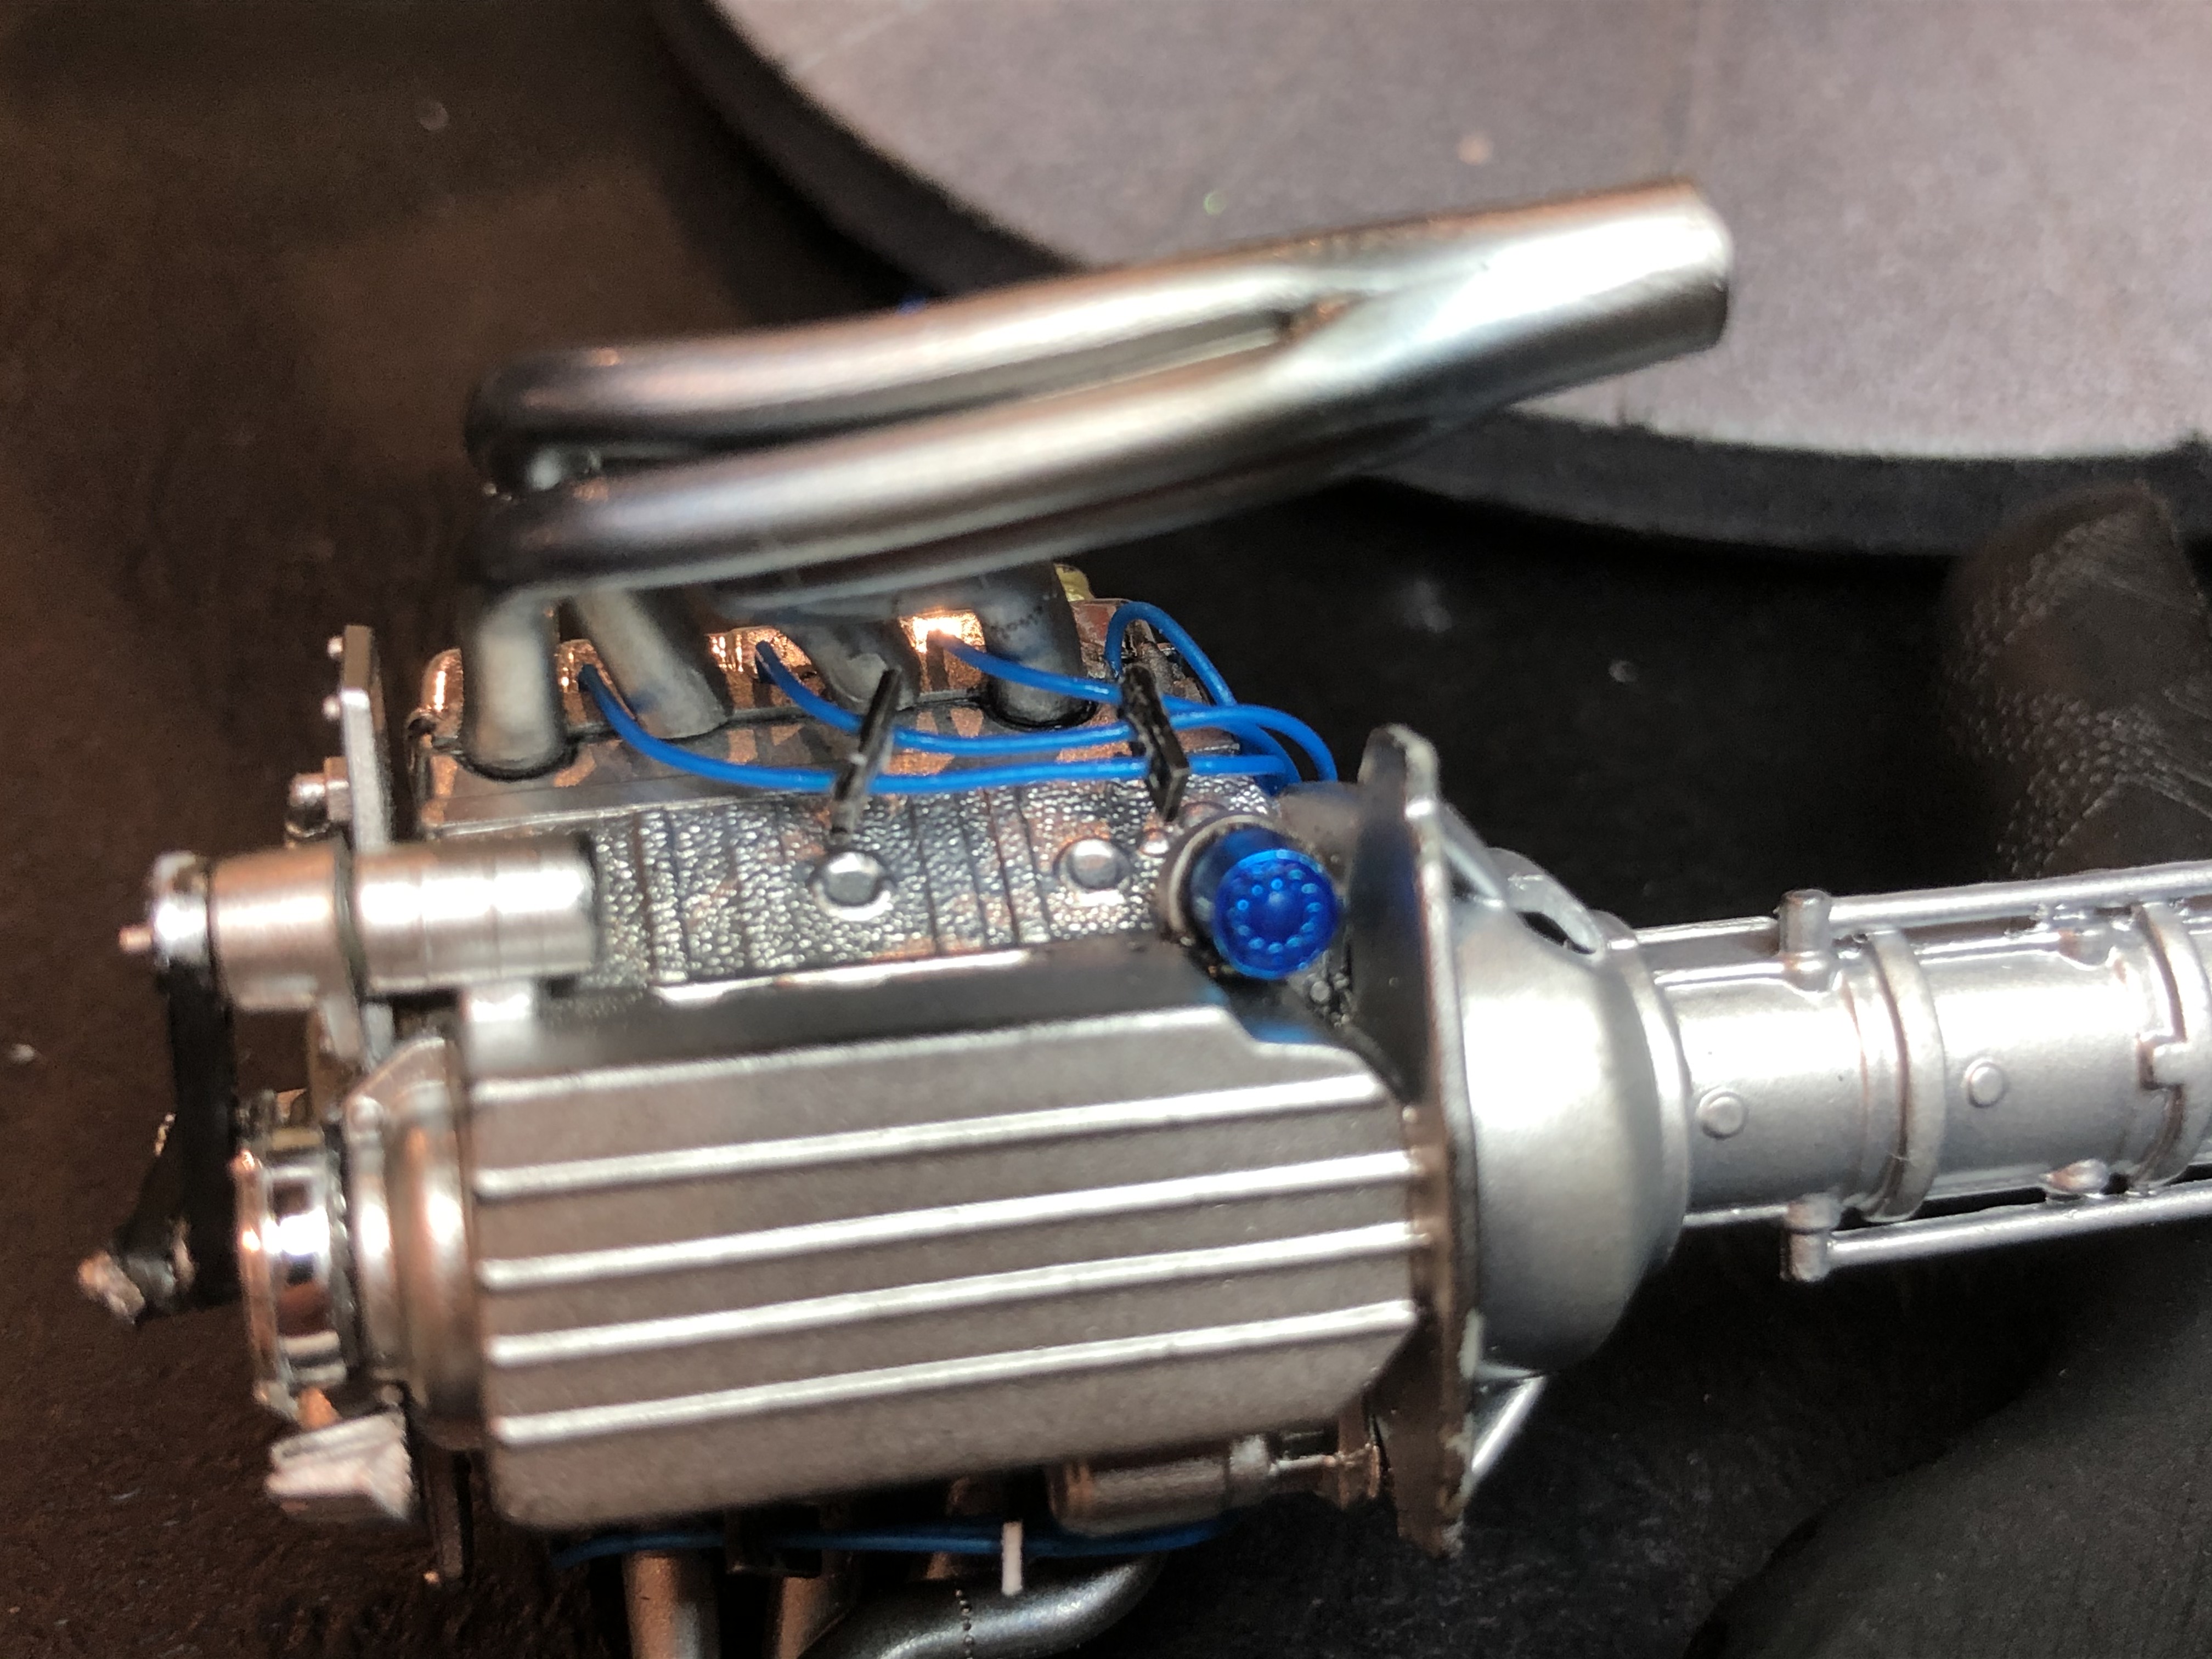
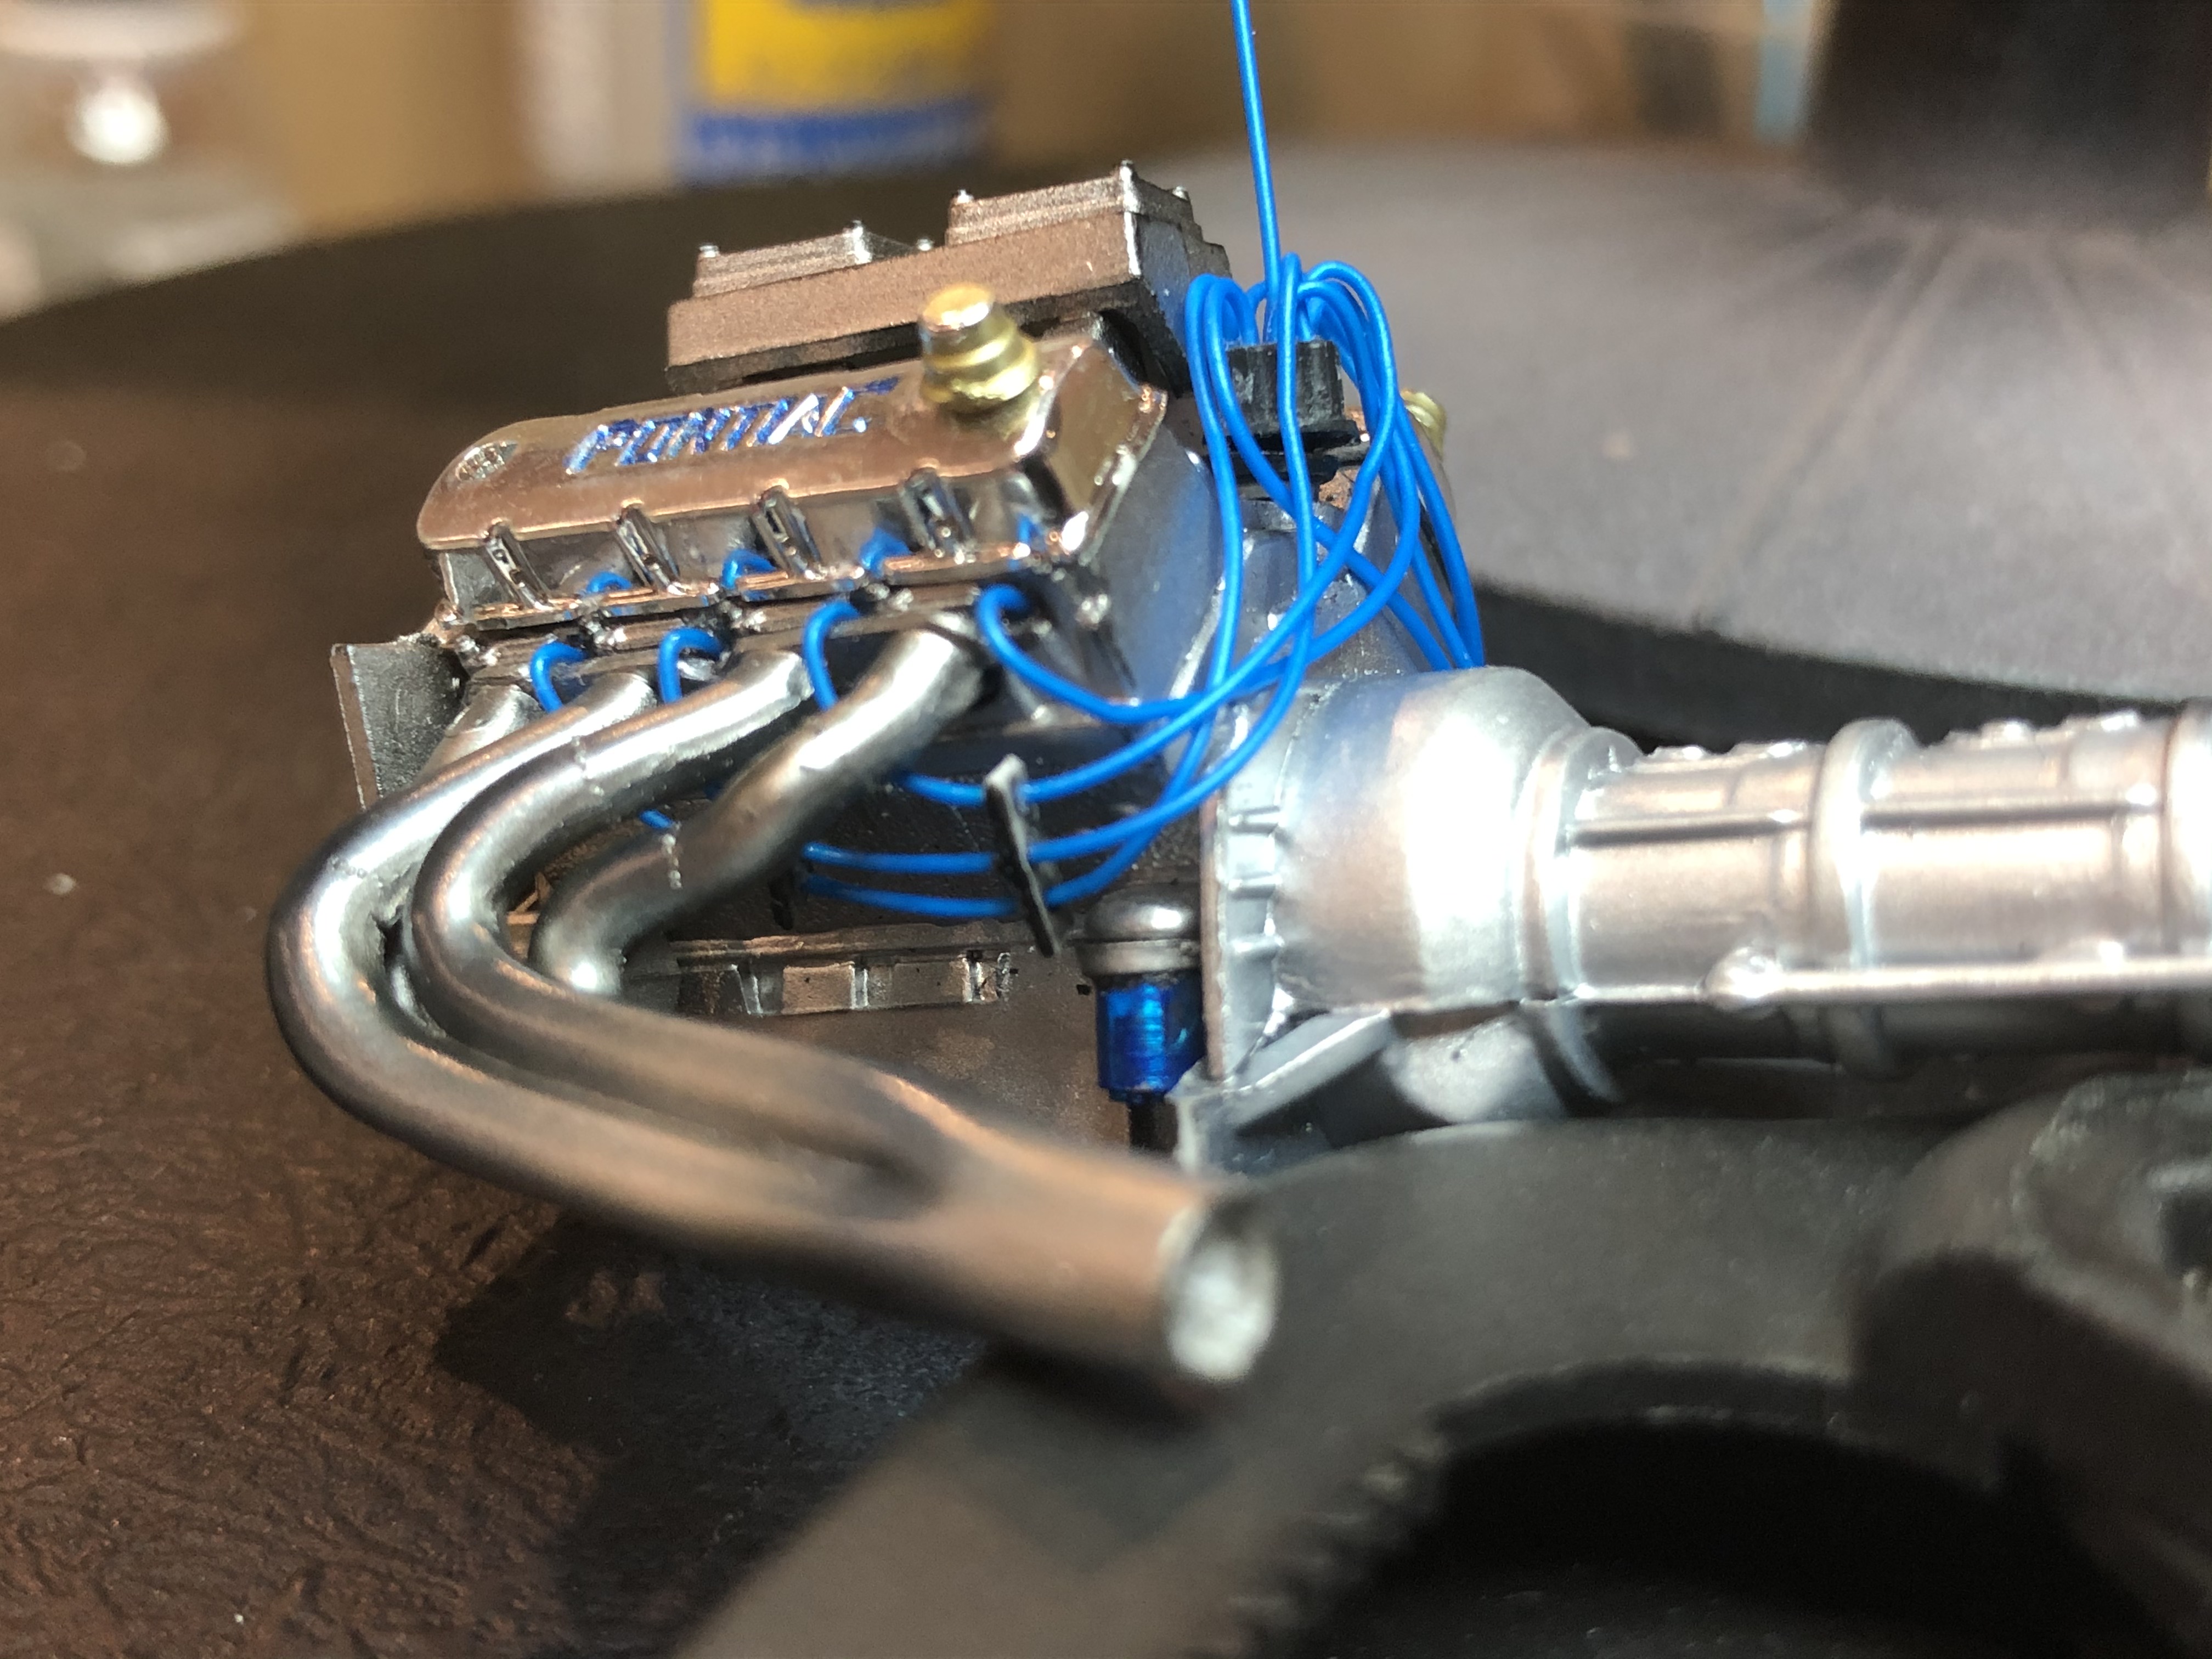
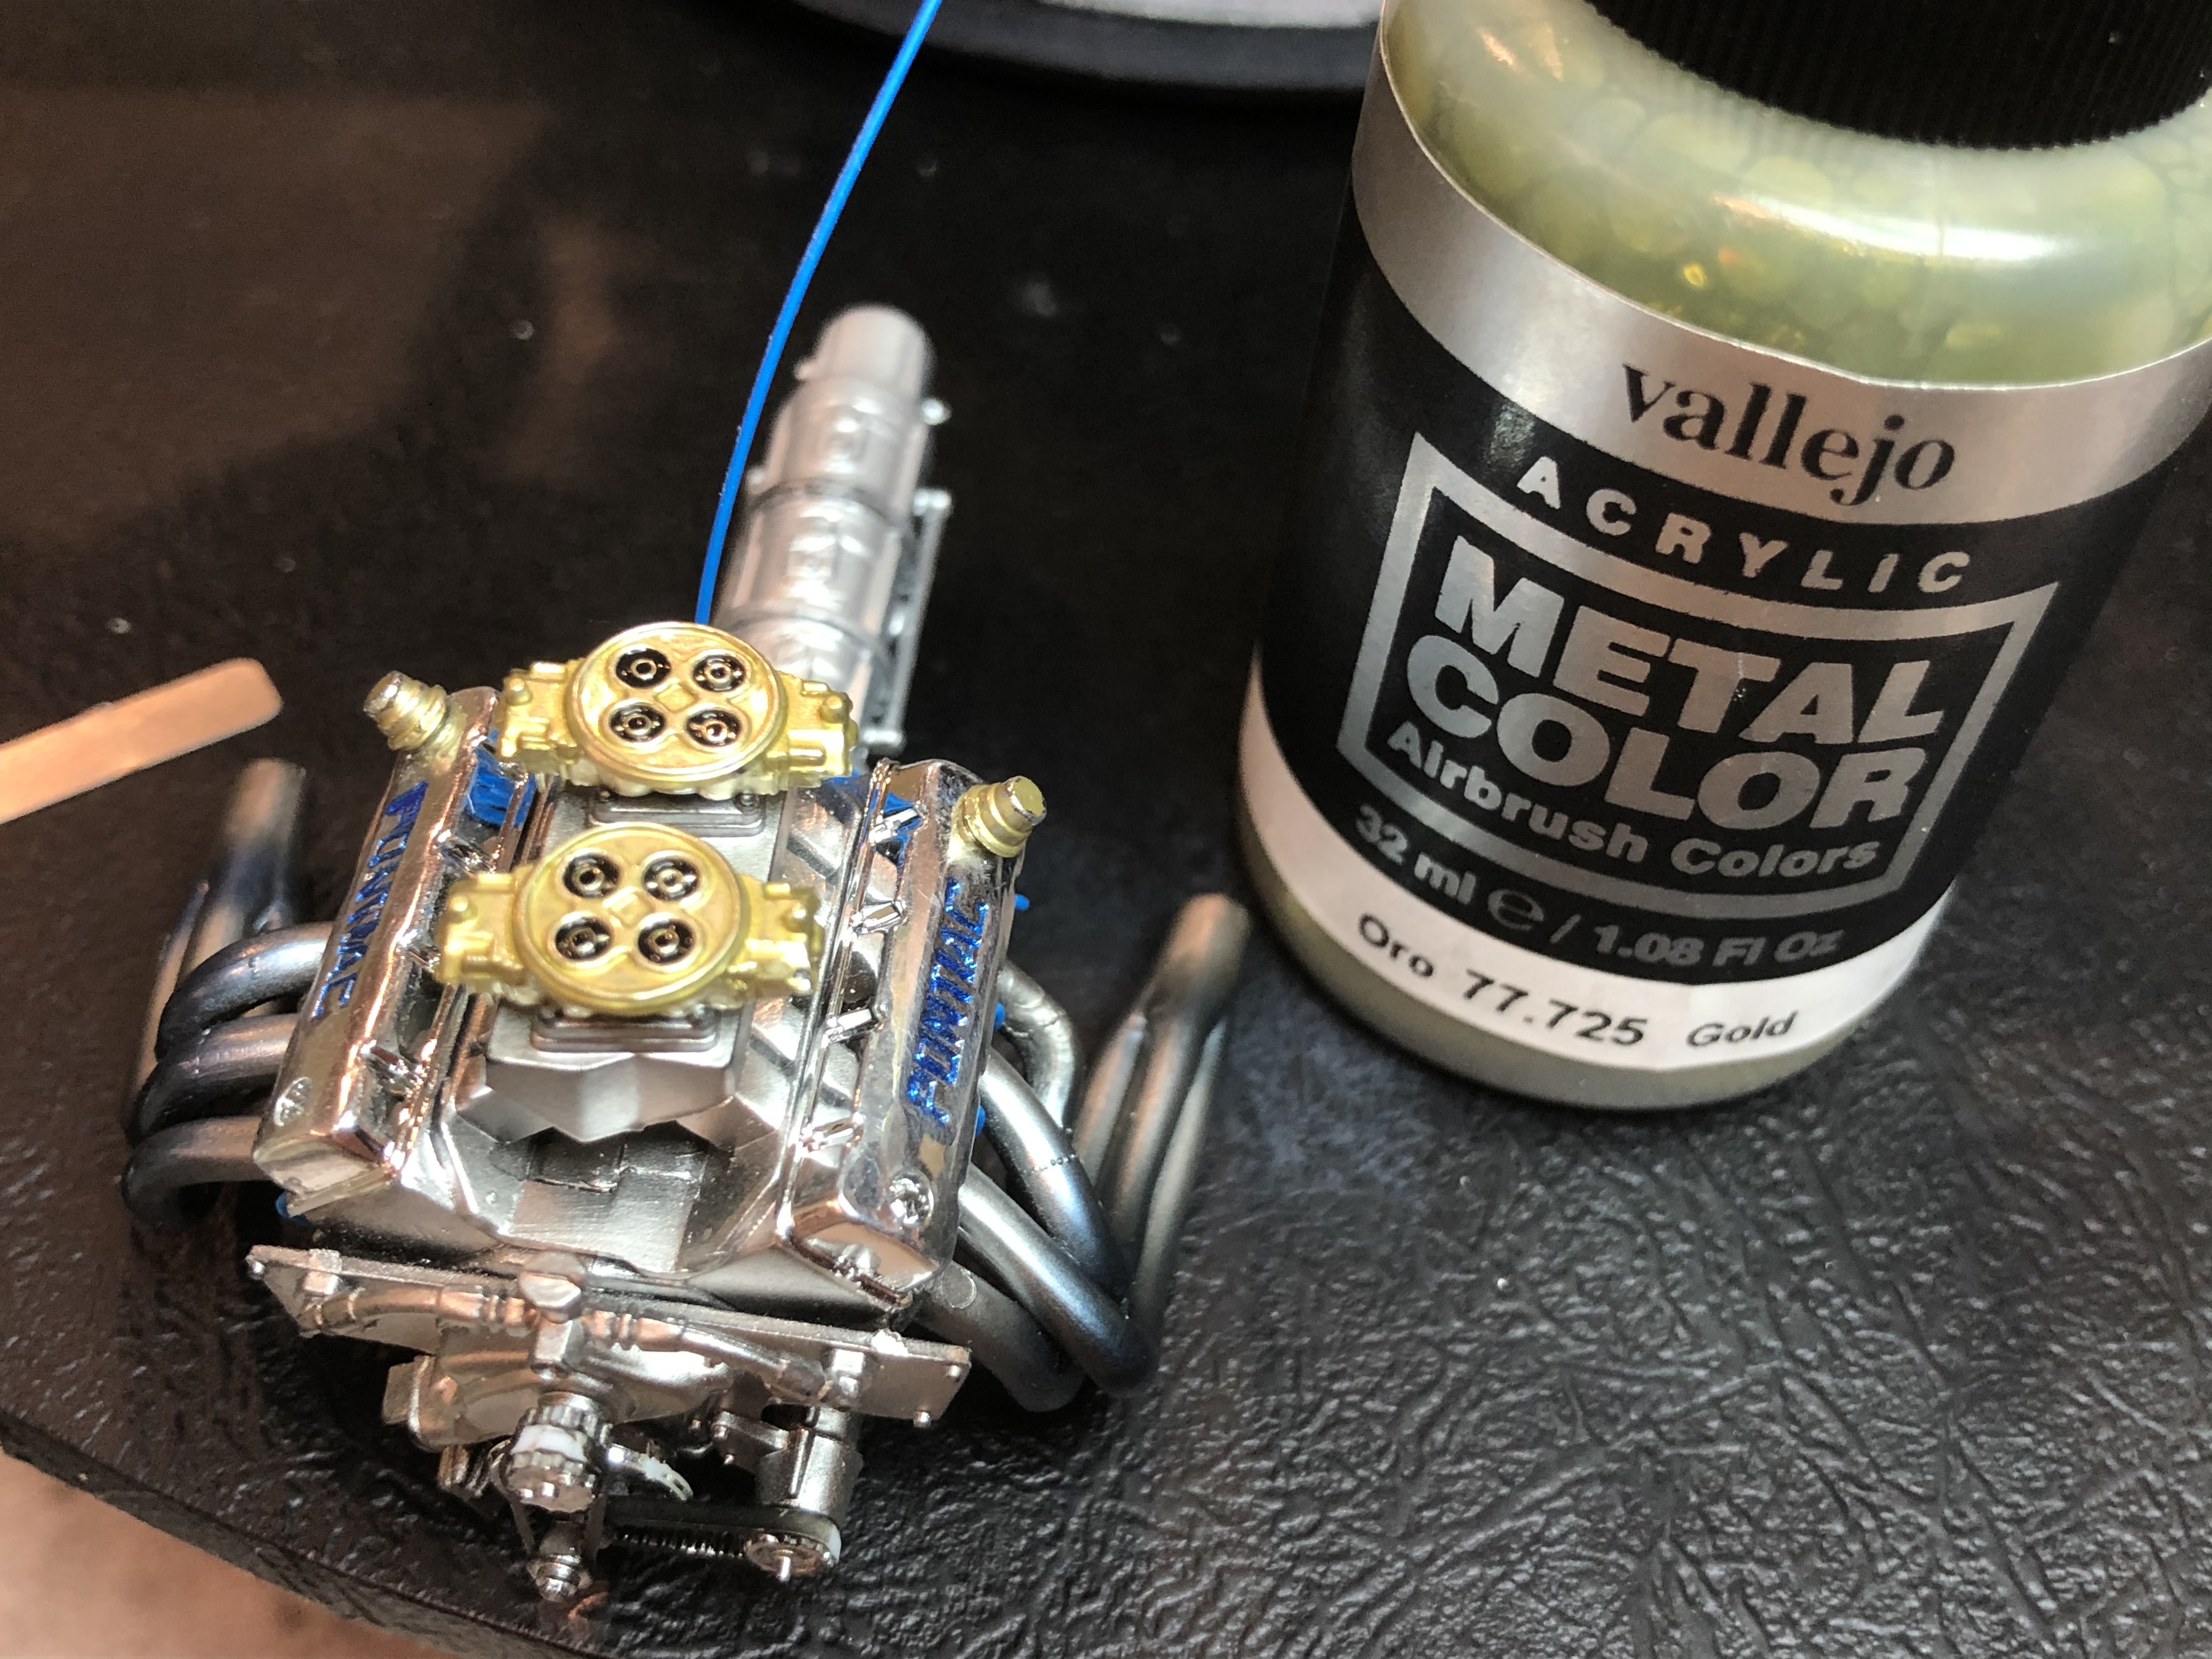
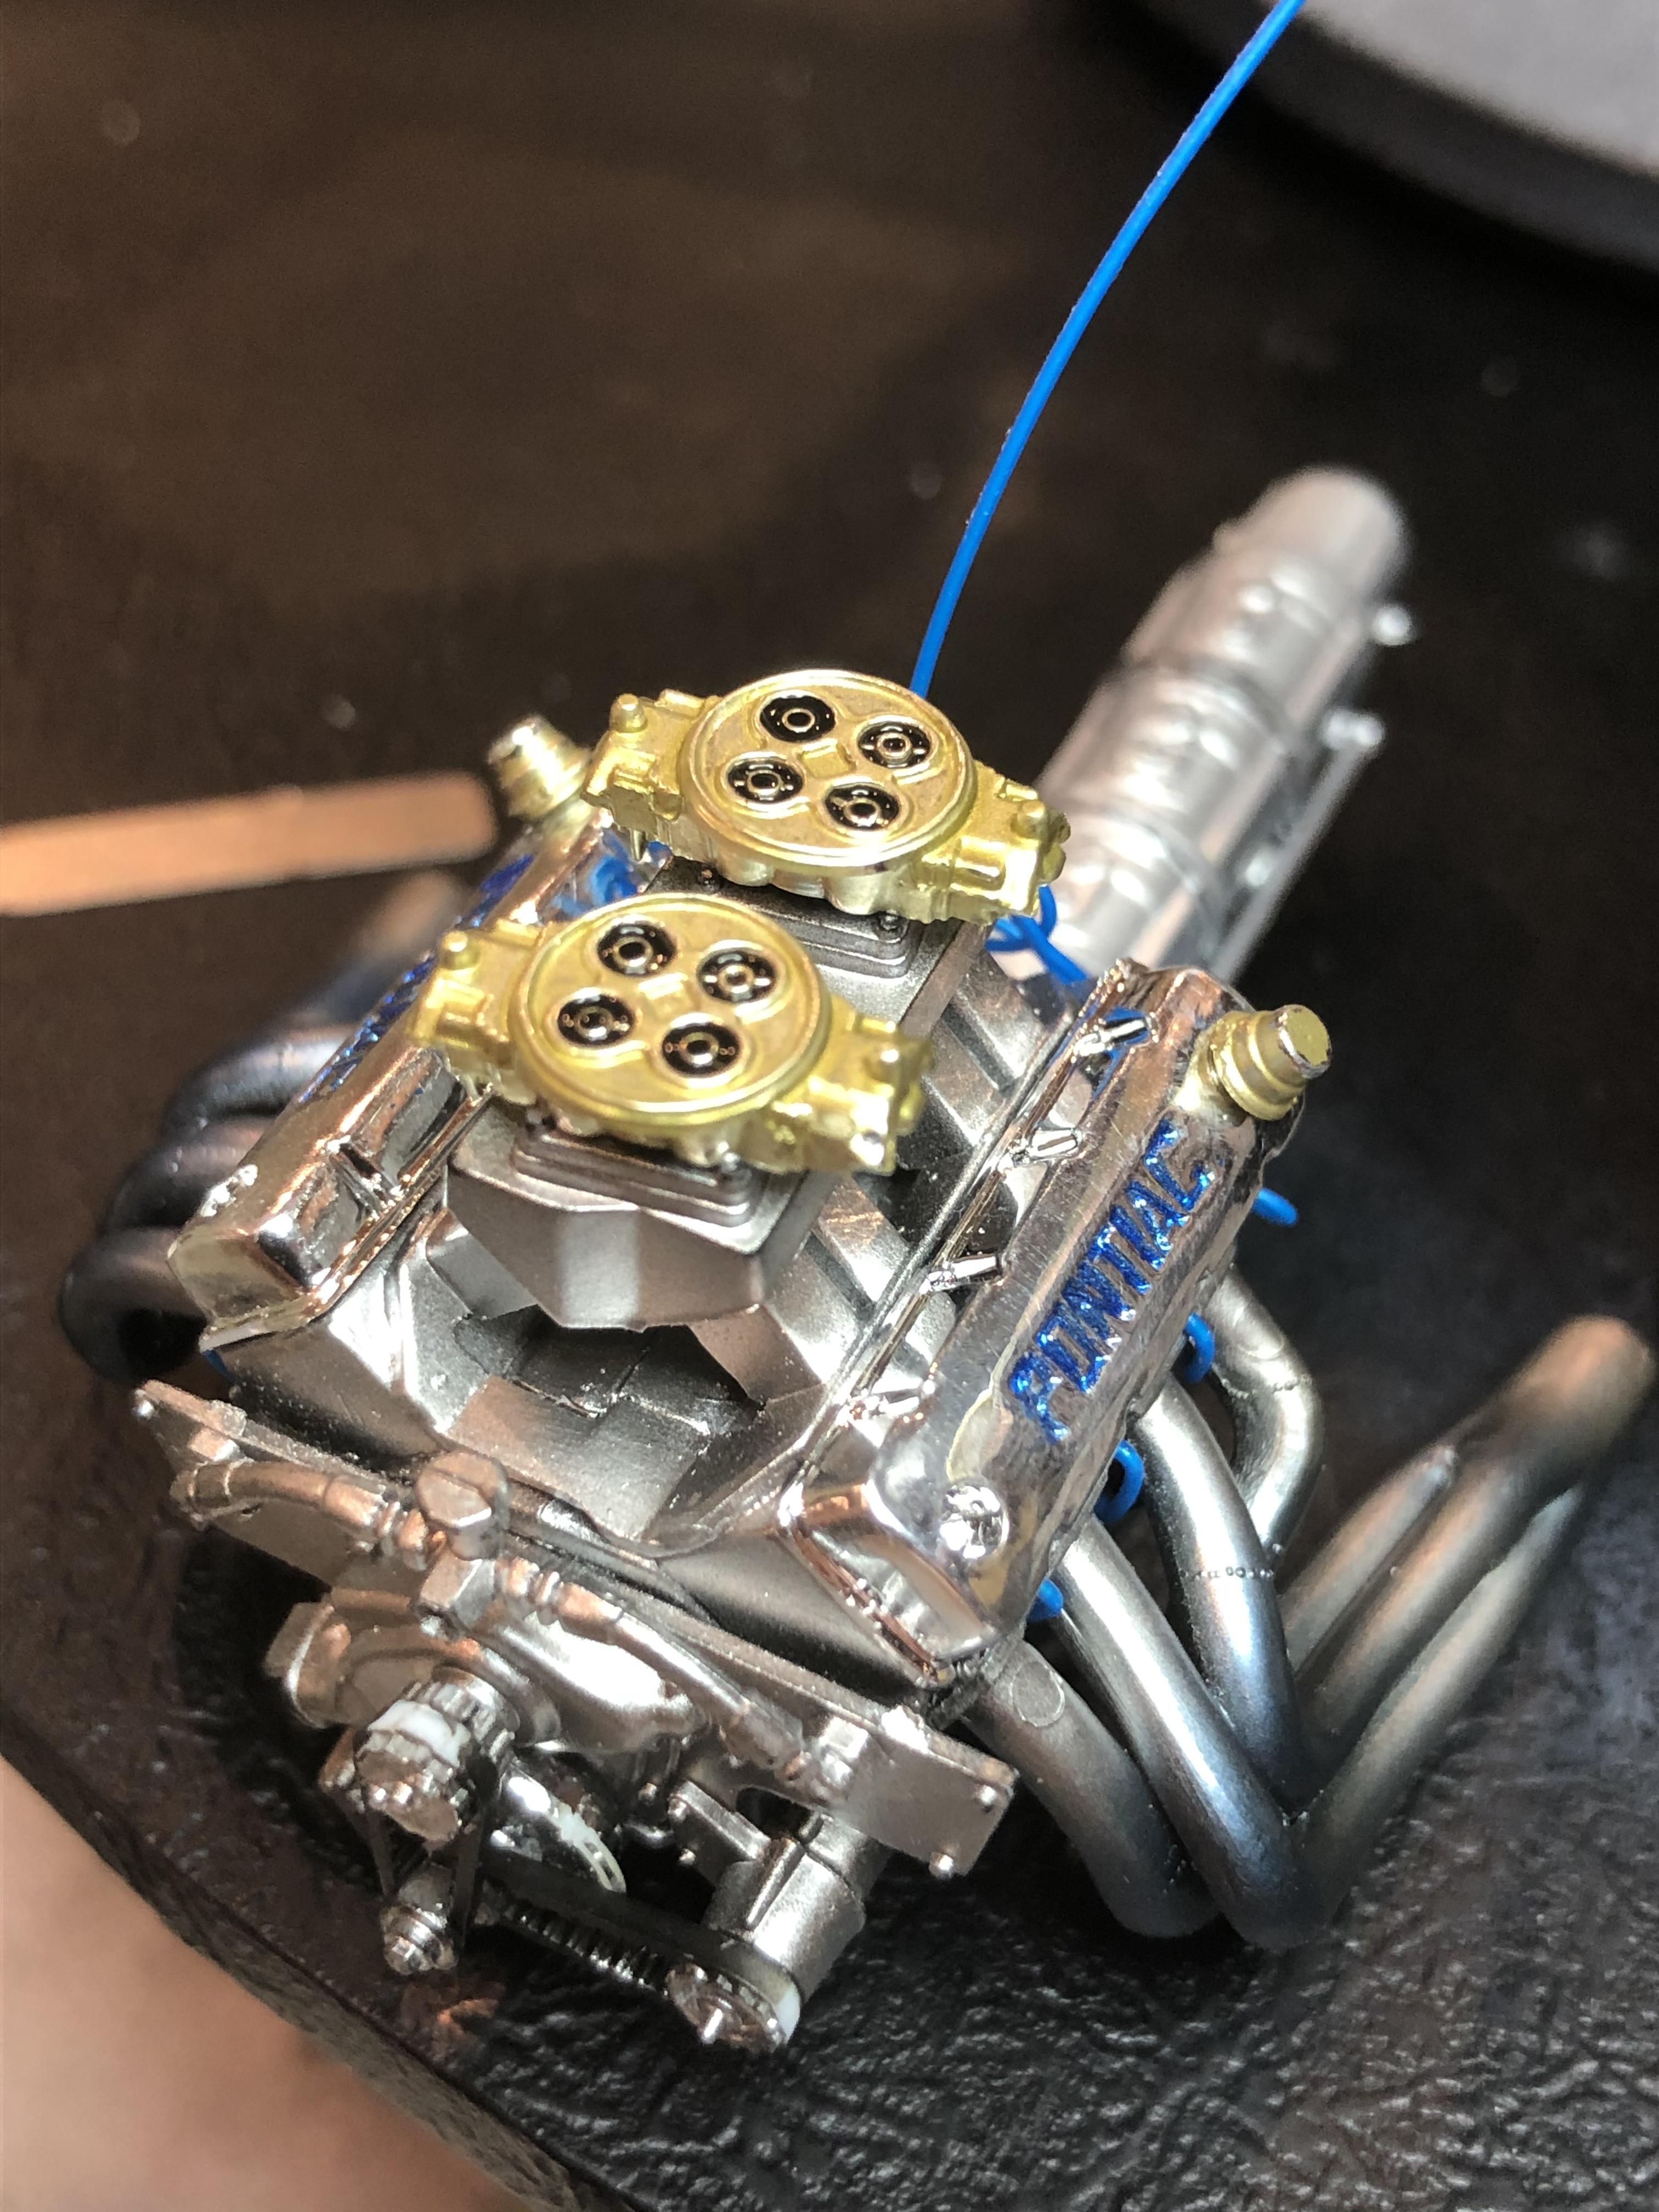
Szmann (Gabriel) -
FORMULA 1 -
Tyrrell P34 (Monaco 1977 #4) - 1/20 Tamiya kit kit -
Engine complete, chassis plate and outer shell paint/decalsHwa-Rang (Jesper) -
NASCAR - (TBA)
PasiAhopelto (Pasi) -
NASCAR -
enlisted - Olds 442 (Donnie Allison) - 1/25 Salvinos JR kit
forest1000 (David) -
FORMULA 1 -
enlisted - Williams Renault (Jaques Villeneuve) - 1/24 Revell/Monogram kit
Cosimodo (Michael) -
ENDURANCE -
1971 Porsche 917/20 - 1/12 MFH kit -
Step 1 of 26 (Engine Assembly) completed. Tube frame startedbluebell914 (Patrick) -
ENDURANCE -
enlisted - Ferrari P4 or 512S
2002hummer (Darrell) -
GRAND PRIX - Lotus Super Seven (Tamiya) -
Engine assembled and paintedTacFireGuru (Mike) -
NASCAR -
enlisted - Chev Monte Carlo (Home Depot)
Lakota (Don) -
ENDURANCE - Corvette C7.R - 1/25 Revell kit -
Engine assembled, floor pan/chassis under wayRedwingNev (Neil) -
GRAND PRIX -
enlisted - Lotus 79 (1978 Mario Andretti?) - 1/20 Tamiya kit
heavyjagdpanzer (Bill) -
STRAIGHTLINE - Blue Max Funny Car - 1/25 Revell kit -
Rolling chassis completed, body work commencedbmwh548 (Radu) -
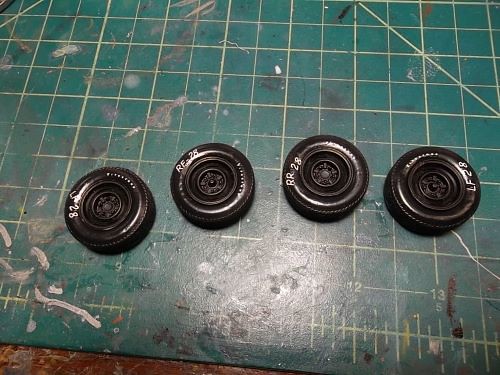
RALLY - '99 WRC Subaru Impreza - 1/24 Tamiya kit -
Wheels and tyrespnance26 (Patrick) -
FORMULA 1 - Ferrari 312T - 1/12 Tamiya kit -
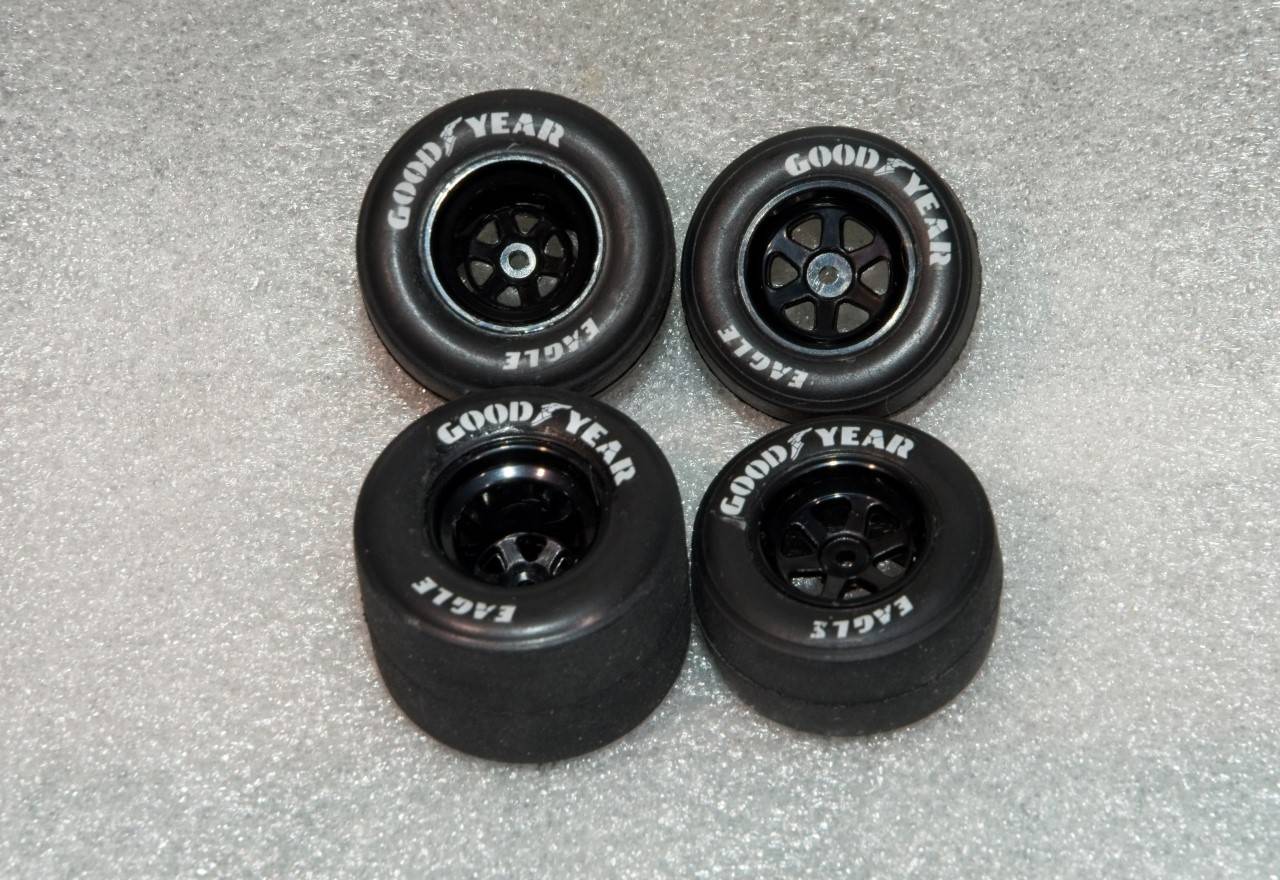
Rolling chassis/engine/drivetrain complete, body painting and decals under waybomber14 (Joe) -
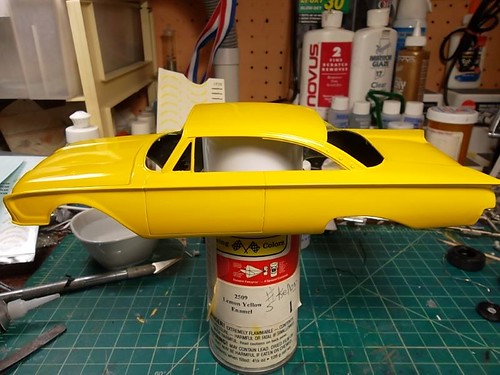
STOCK CAR - '60 Ford Starliner - AMT/ERTL kit -
Rolling chassis/interior done, body paint under wayIf anybody has changed or firmed up their proposed builds, or spotted anything wrong in the list, please let me know.
Cheers, D


 " BORDER="0">
 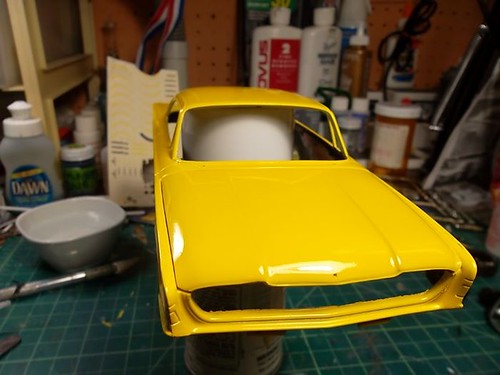 " BORDER="0">
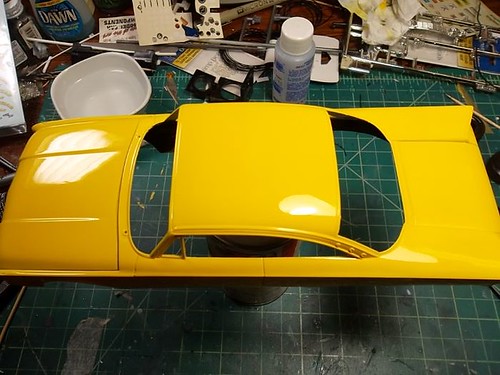
 " BORDER="0">