Trucks
Scale truck modeling topics.
Revell 1/25th Pete 359 Custom WIP.
c5flies
_VISITCOMMUNITY
California, United States
Joined: October 21, 2007
KitMaker: 3,684 posts
Auto Modeler: 294 posts
Posted: Sunday, August 10, 2014 - 10:57 AM UTC
Lol, more like 5 years Brian!!! Looking forward to seeing this one progress into your vision
BigfootV
_VISITCOMMUNITY
Colorado, United States
Joined: December 24, 2005
KitMaker: 1,624 posts
Auto Modeler: 216 posts
Posted: Sunday, August 10, 2014 - 02:32 PM UTC
I guess you are correct James..WOW!

I've had to redo the rig since it went into storage, I've also got some other build coming out of mothball too. The M3 75mm is one of them. That's for the Armorama side.

See ya in the funnies...............
BigfootV
_VISITCOMMUNITY
Colorado, United States
Joined: December 24, 2005
KitMaker: 1,624 posts
Auto Modeler: 216 posts
Posted: Sunday, August 10, 2014 - 03:45 PM UTC
Well, here's a teaser photo's.

Like I said, I've done some "hacking" to it since I pulled it out of mothball a month ago.

Before shot:


After shots:


See ya in the funnies............
BigfootV
_VISITCOMMUNITY
Colorado, United States
Joined: December 24, 2005
KitMaker: 1,624 posts
Auto Modeler: 216 posts
Posted: Tuesday, August 12, 2014 - 06:52 PM UTC
I've been kicking around the idea of a "camper" for the rear of the Pete. Made some drawings and I'm not happy with what I came up with, boxy looking and I think its too tall. Remember it has to clear 13' 6" in reality, so that would put it at........ in 1/25th?

See ya in the funnies.............
jimb
_VISITCOMMUNITY
New York, United States
Joined: August 25, 2006
KitMaker: 2,539 posts
Auto Modeler: 1,405 posts
Posted: Wednesday, August 13, 2014 - 12:24 AM UTC
Some nice mods you're making to the Pete. A camper would be interesting. Would you do a complete interior as well?

13'-6" in 1/25 is 162mm or 6-31/64",

Jim
BigfootV
_VISITCOMMUNITY
Colorado, United States
Joined: December 24, 2005
KitMaker: 1,624 posts
Auto Modeler: 216 posts
Posted: Wednesday, August 13, 2014 - 03:08 AM UTC
Hello James,

Been a long time. I'm still toying with the idea of an interior.
Thanks for the measurements. The "drawing" I've done places the "camper" at 5 5/16th inches from the center of the wheel to the top of the roof. So I think I've cleared that part. It's still in planning stage and I'm seeing if TacFireGuru have some spare flat stock left over from his P-1000 Ratte build.

Right now I'm modifying the rear tires by removing the spacer so there is little to no gap. P.I.T.A.

Thanks for tuning in, again.

See ya in the funnies.................
jimb
_VISITCOMMUNITY
New York, United States
Joined: August 25, 2006
KitMaker: 2,539 posts
Auto Modeler: 1,405 posts
Posted: Wednesday, August 13, 2014 - 04:51 AM UTC
I know what you mean about the tires. Some guys have had some success with replacing the Revell USA wheels & tires with either AMT, Italeri, or Moebius wheels & tires. Moebius even makes a "Wheel & Tire Accessory Pack" so you don't have to purchase the LoneStar or ProStar kit just to rob the tires.

Jim
BigfootV
_VISITCOMMUNITY
Colorado, United States
Joined: December 24, 2005
KitMaker: 1,624 posts
Auto Modeler: 216 posts
Posted: Saturday, August 16, 2014 - 02:22 PM UTC
Update here.

I've done some re-working on the Pete. Rear duels done, had to remove spacer and super glued them back together.
Mocked up front bumper. Needs to be squared up.
Sanded off "silver/chrome" paint from stacks and front grill.
Dry fit motor and drive line. Put rear shocks on, need to redo front shocks since front end was lowered.


I've been alternating between this and paint on the M103A1 build. Trying to keep busy I guess.

See ya in the funnies..............
BigfootV
_VISITCOMMUNITY
Colorado, United States
Joined: December 24, 2005
KitMaker: 1,624 posts
Auto Modeler: 216 posts
Posted: Wednesday, August 20, 2014 - 03:31 AM UTC
So here's what I had in mind.


The "camper" template is a cat food box the hold pouches.
It fit! So I notched out the front of the box to drop it down on the frame. Did dry fit. Wheel wells need to be cut out.

See ya in the funnies.................
BigfootV
_VISITCOMMUNITY
Colorado, United States
Joined: December 24, 2005
KitMaker: 1,624 posts
Auto Modeler: 216 posts
Posted: Friday, August 22, 2014 - 04:39 AM UTC
Hey gang,

Going to scout for supplies.

See ya in the funnies................
DaveCox
_VISITCOMMUNITY
England - South East, United Kingdom
Joined: January 11, 2003
KitMaker: 4,307 posts
Auto Modeler: 231 posts
Posted: Friday, August 22, 2014 - 05:43 AM UTC
Would you have the sleeper cab and camper body?
I'd sleep in the camper myself!
BigfootV
_VISITCOMMUNITY
Colorado, United States
Joined: December 24, 2005
KitMaker: 1,624 posts
Auto Modeler: 216 posts
Posted: Friday, August 22, 2014 - 04:49 PM UTC
Hello Dave,

Yes, I'll have both. The sleeper cab's function is like a pass thru/ emec. exit.

The original concept was to stretch out the frame and make an 120+" sleeper on the back, rework the front hood to make it look like a '46 Chevy truck with a butterfly hood, suicide doors for the cab and the sleeper door gull wing open. Whew!

HTH

See ya in the funnies....................
BigfootV
_VISITCOMMUNITY
Colorado, United States
Joined: December 24, 2005
KitMaker: 1,624 posts
Auto Modeler: 216 posts
Posted: Sunday, August 24, 2014 - 06:37 PM UTC
Hey gang,

Started rough framing of the camper today. Will have photos in the next few days of progress.

See ya in the funnies...............
BigfootV
_VISITCOMMUNITY
Colorado, United States
Joined: December 24, 2005
KitMaker: 1,624 posts
Auto Modeler: 216 posts
Posted: Monday, September 01, 2014 - 01:40 PM UTC
Hey Gang,

I've run into some framing issue, or lack of supplies I'm afraid.

Should be back on track in a week or so.

See ya in the funnies...............
BigfootV
_VISITCOMMUNITY
Colorado, United States
Joined: December 24, 2005
KitMaker: 1,624 posts
Auto Modeler: 216 posts
Posted: Tuesday, September 16, 2014 - 05:04 AM UTC
Hey Gang,

Back at it today.
I've got a little challenge I've run into. Fuel tank placement.
I've got 4 tanks, two are from the kit and two are from a truck alarm clock. (See photos below.)


Left tanks is from kit, right is from clock. I was thinking to put the clock tank under the open area just in front of the "camper" bulkhead and the kit tank in the box area of the "camper." (See photo below.)


The pipes will clear in front either way. If I do the smaller tanks in front they will have to be reworked......or hide them in the box area and have kit tanks up front?

Input?

See ya in the funnies...................
BigfootV
_VISITCOMMUNITY
Colorado, United States
Joined: December 24, 2005
KitMaker: 1,624 posts
Auto Modeler: 216 posts
Posted: Tuesday, September 16, 2014 - 08:39 AM UTC
In case I confused everyone with the last post, I went back and did a mock up of the fuel tanks, ignore the green putty.


Added some old wire window screen to the grill, re-aligned the drive shift.

See ya in the funnies......................
2002hummer
#257
_VISITCOMMUNITY
Ontario, Canada
Joined: October 11, 2011
KitMaker: 812 posts
Auto Modeler: 108 posts
Posted: Thursday, September 18, 2014 - 02:03 PM UTC
Great build, just started following it. I hope that all your personal trials and tribulations have sorted themselves out. I am going to follow this until you finish it. I have noticed that some photos are unavailable, I hope that this can be corrected.
BigfootV
_VISITCOMMUNITY
Colorado, United States
Joined: December 24, 2005
KitMaker: 1,624 posts
Auto Modeler: 216 posts
Posted: Thursday, September 18, 2014 - 06:14 PM UTC
Hello Darrell,

Thanks for tuning in.
So far things are stable, hope it stays that way for awhile.

As far as the earlier photos go, that would be Photobucket. The URL's got changed and I'm sure Kitmarker getting updated few times since I started this build has something to do with them not showing up.
So let's see if I can solve that....................
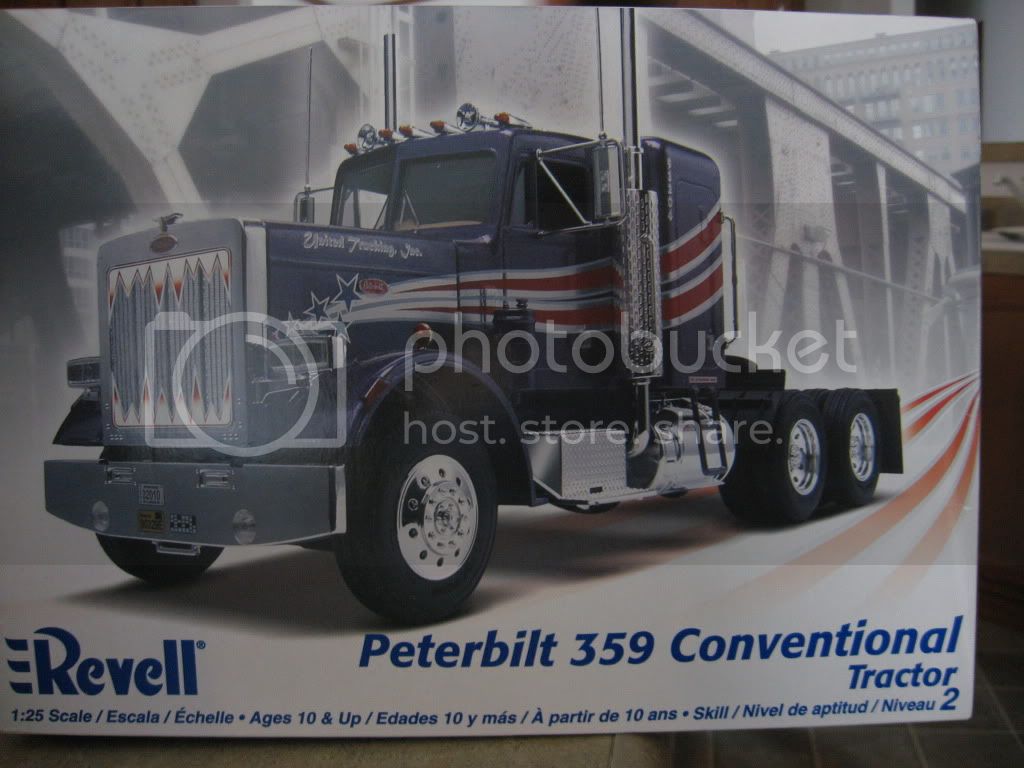


The kit.


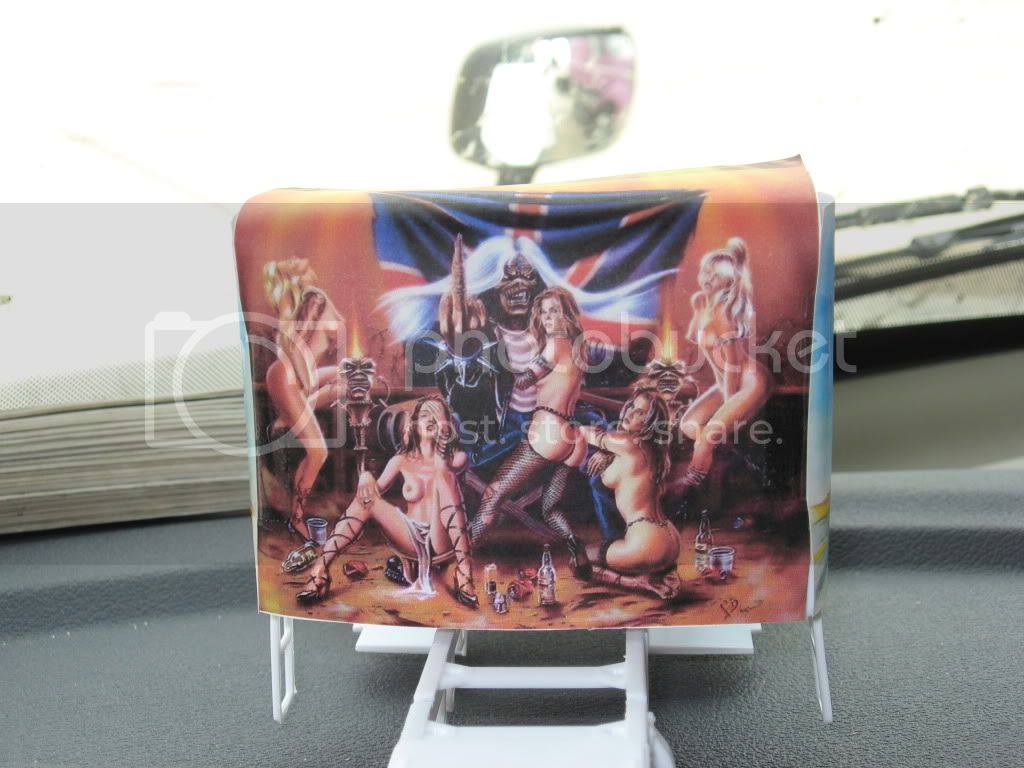
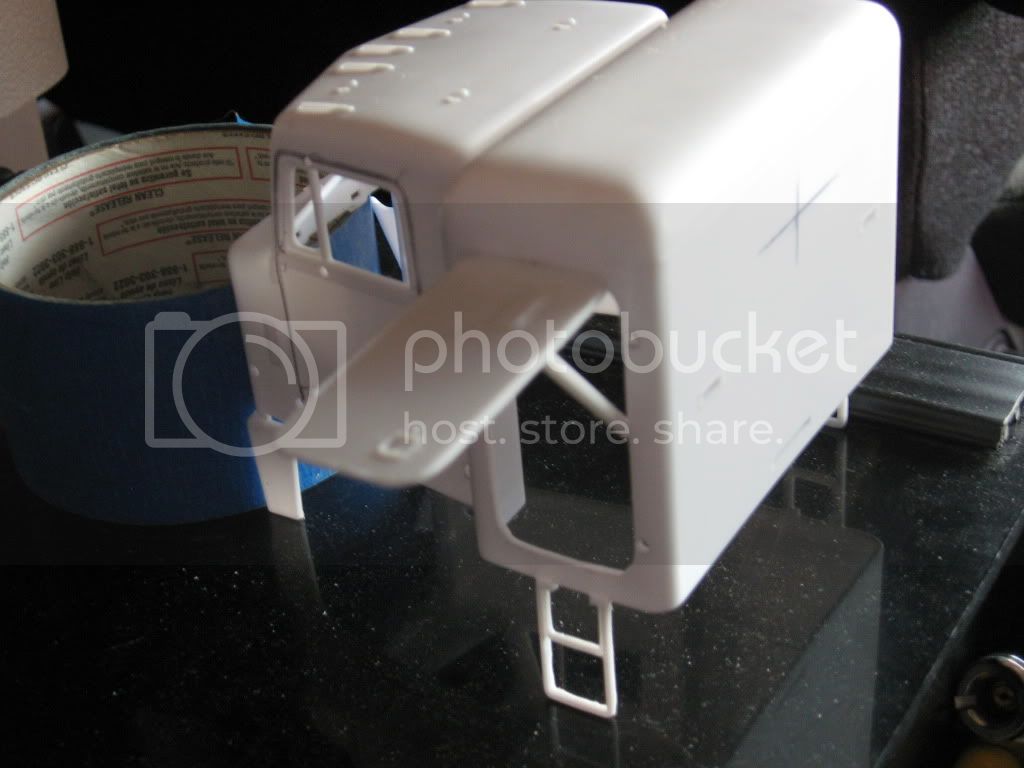
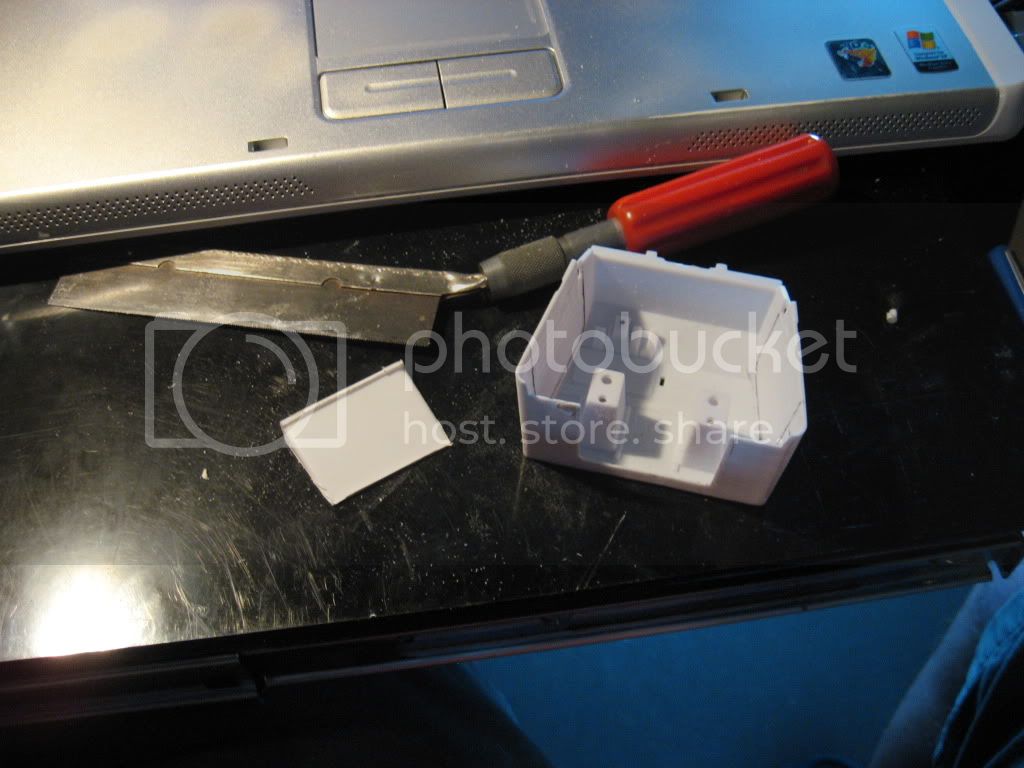
Early idea for Back of sleeper. Scarped, for now.


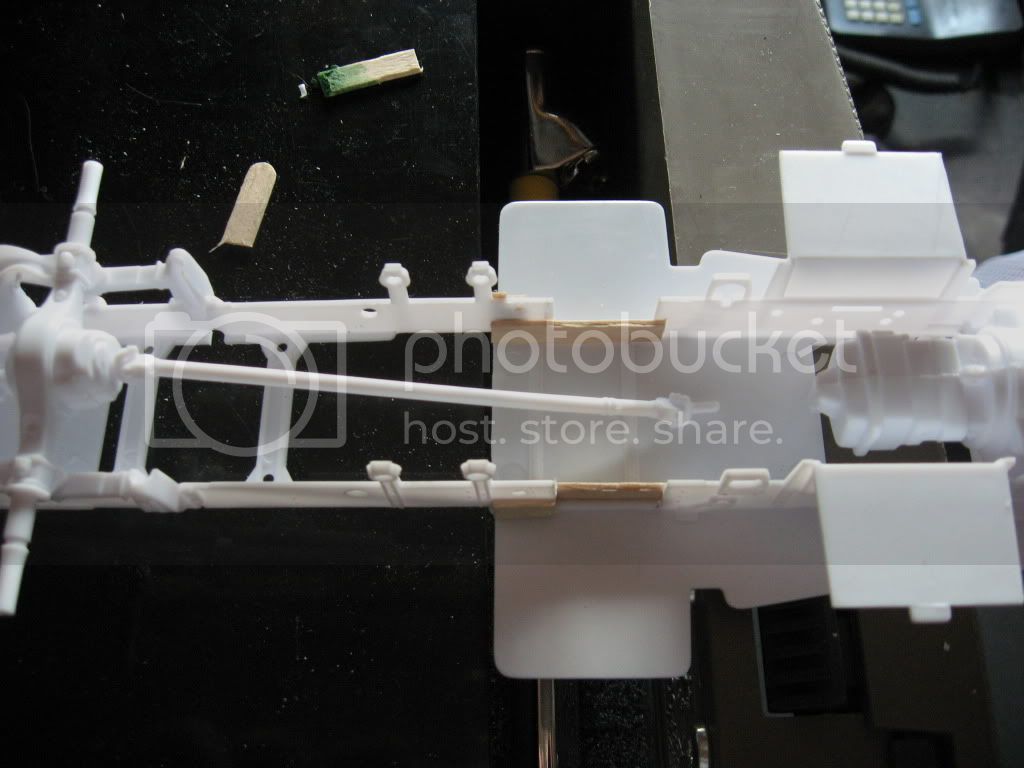
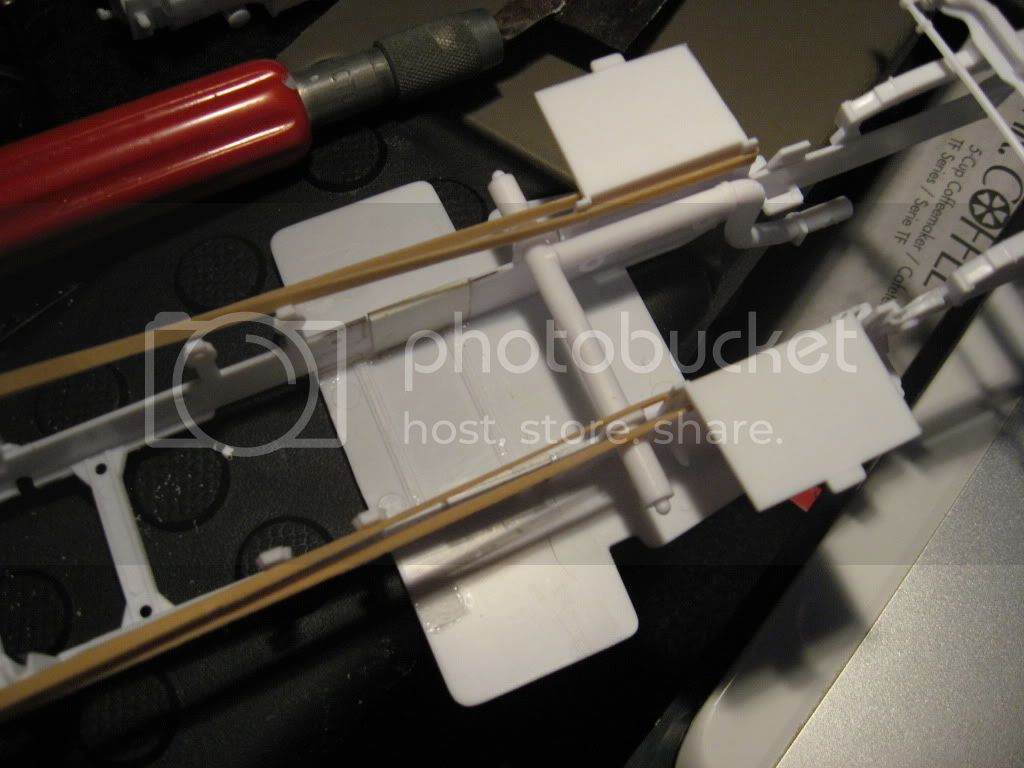
Frame cut, drive line under going a stretching out.


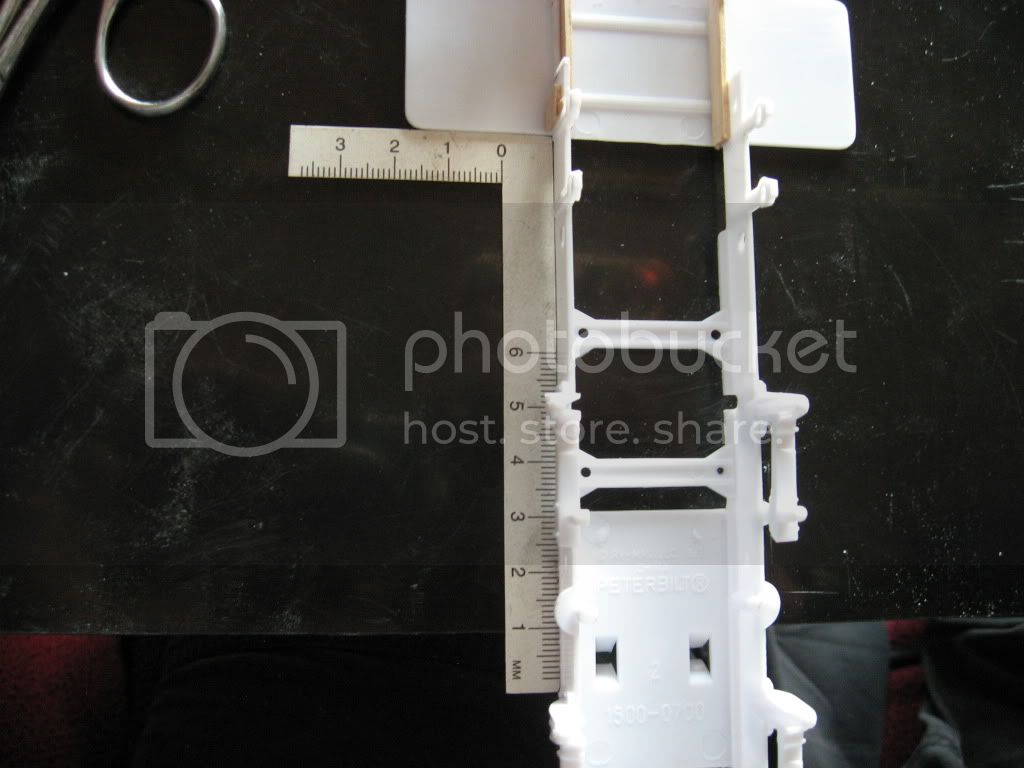
Frame squaring. left.


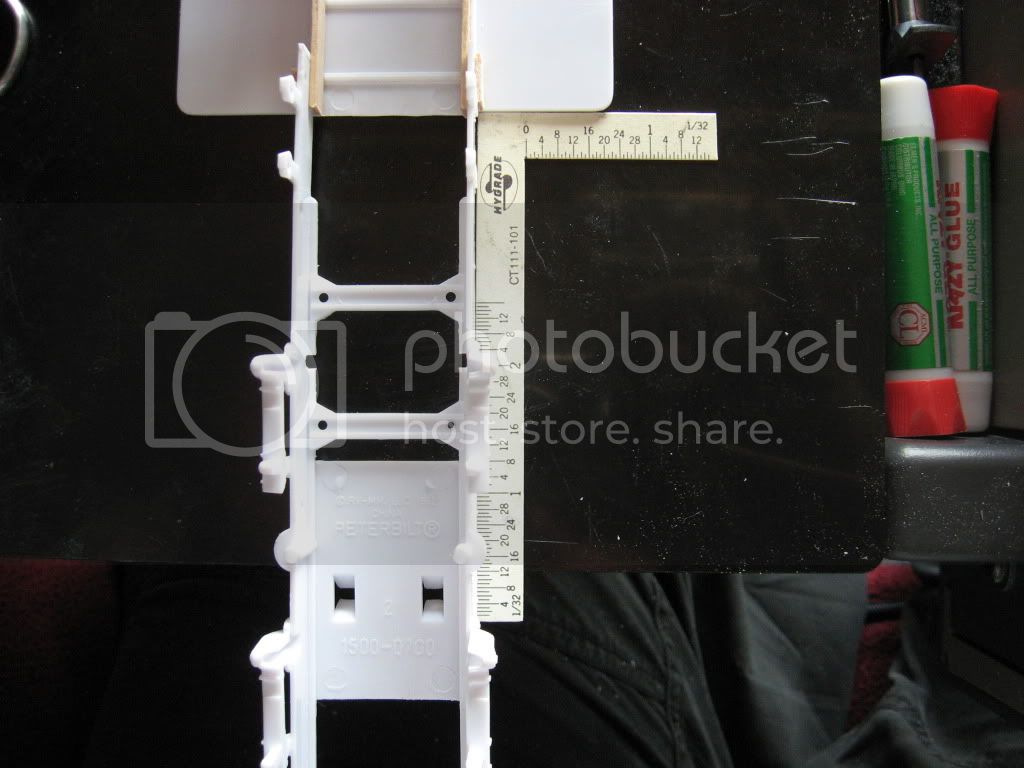
Right, or vise verse.


Sleeper door idea, still in play.


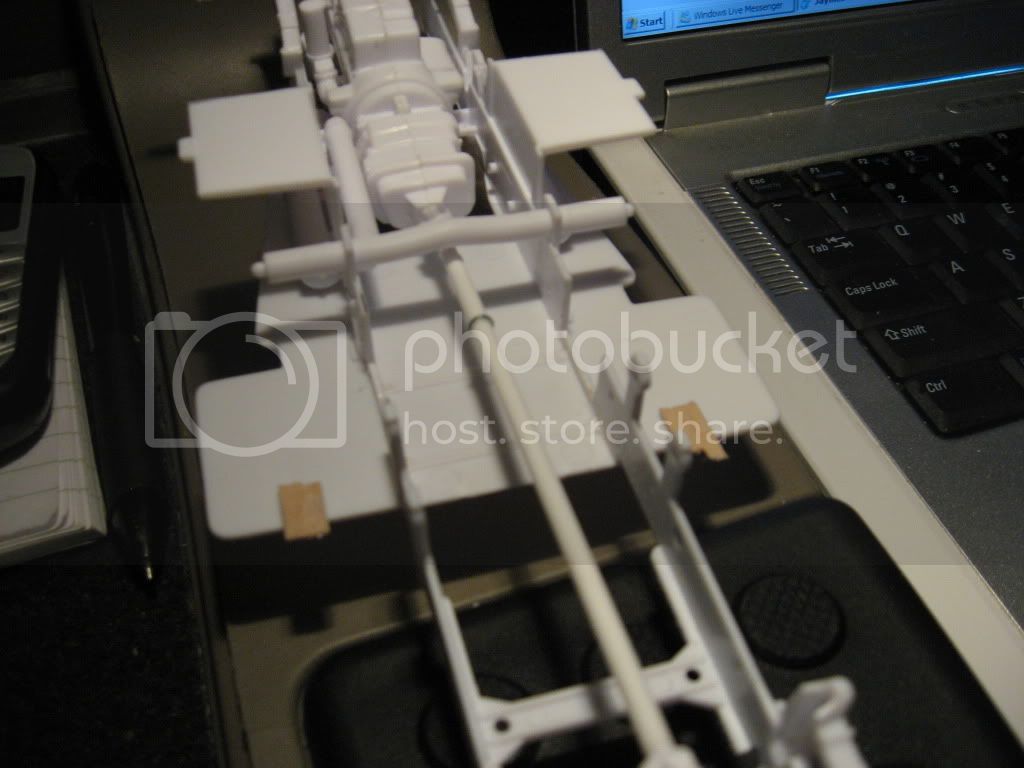
Stretched frame and drive line, dry fit.


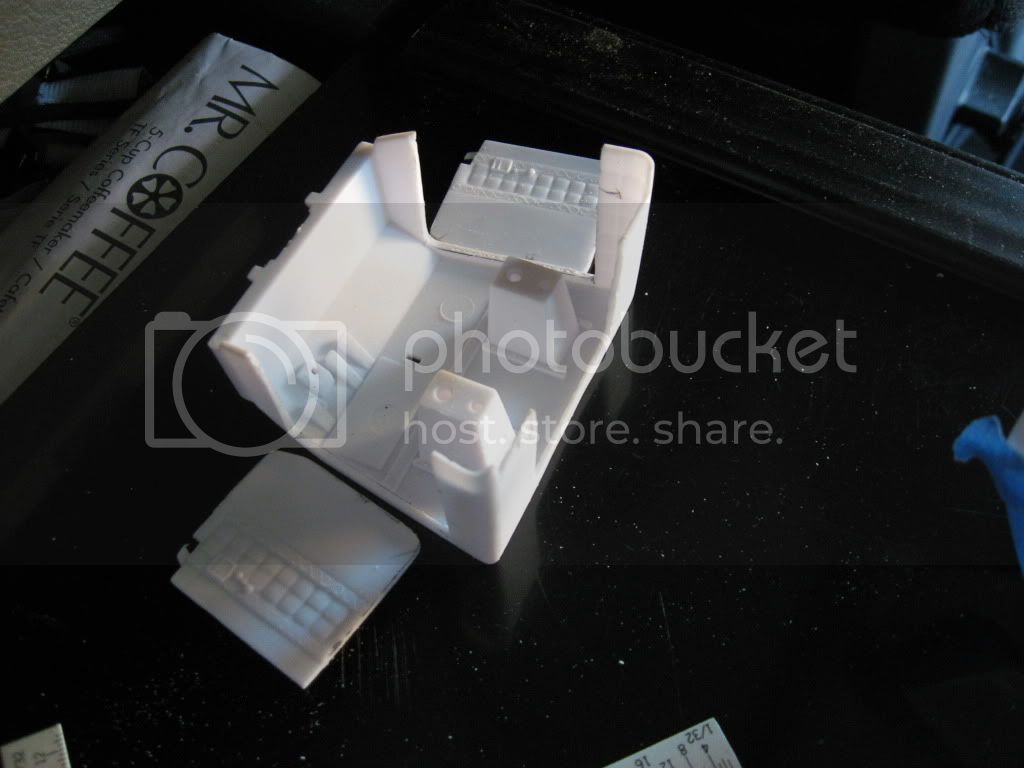
Sleeper access from cab.


Frame joined together.


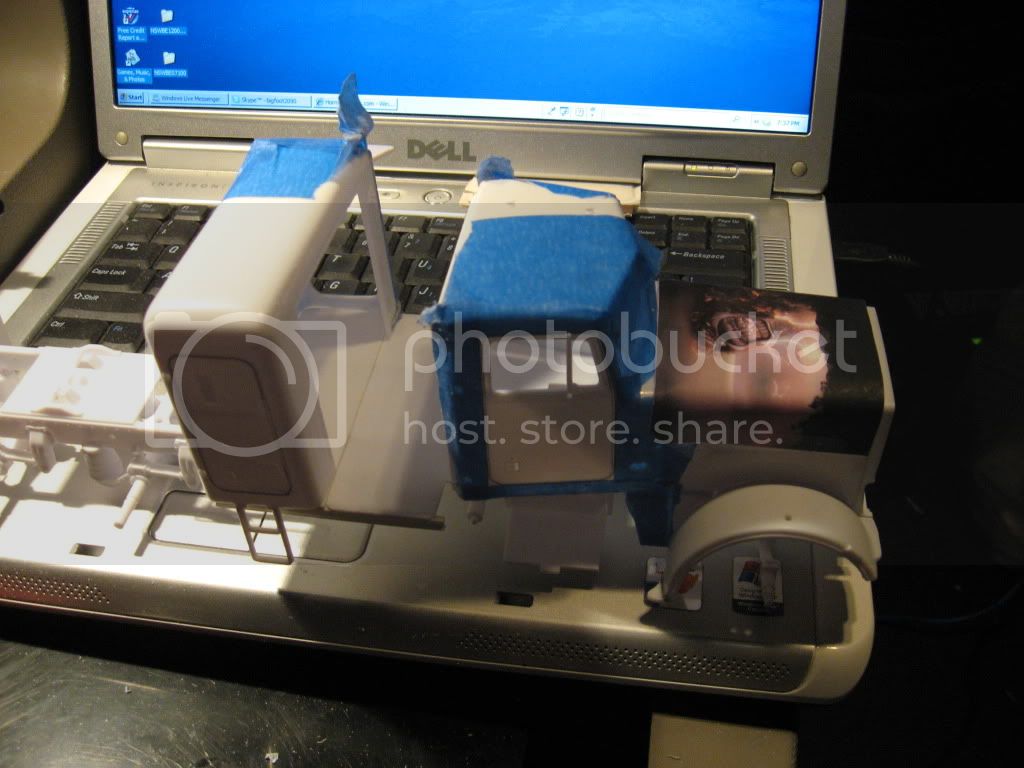
Extending the sleeper.


Doors, interior.


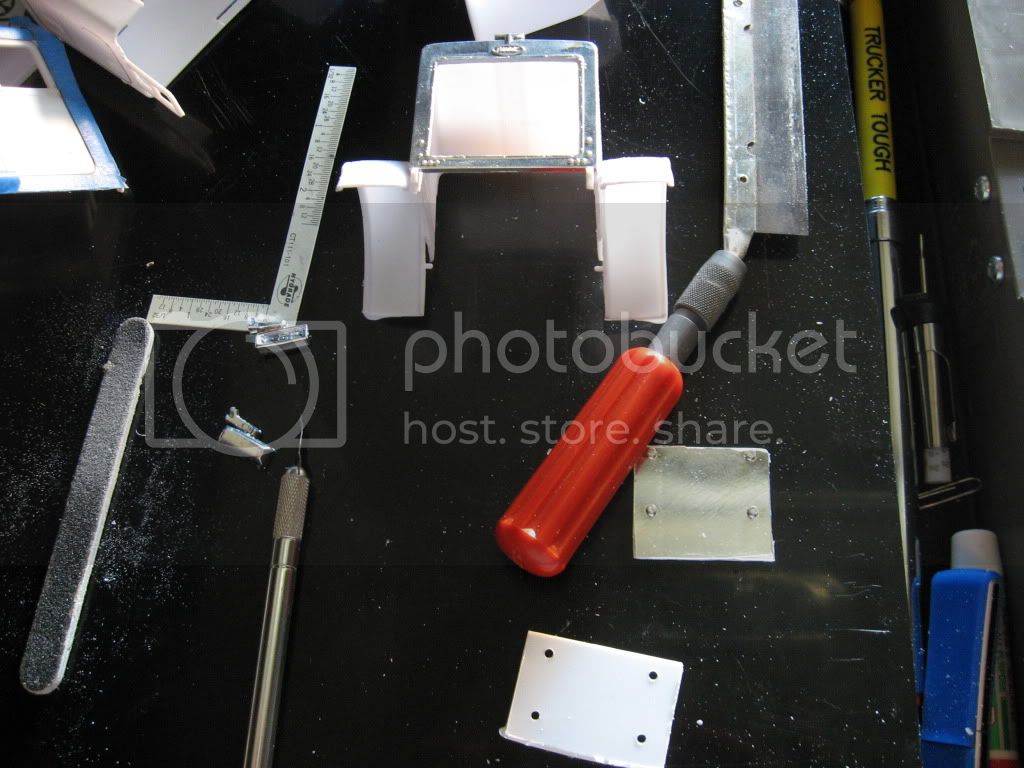
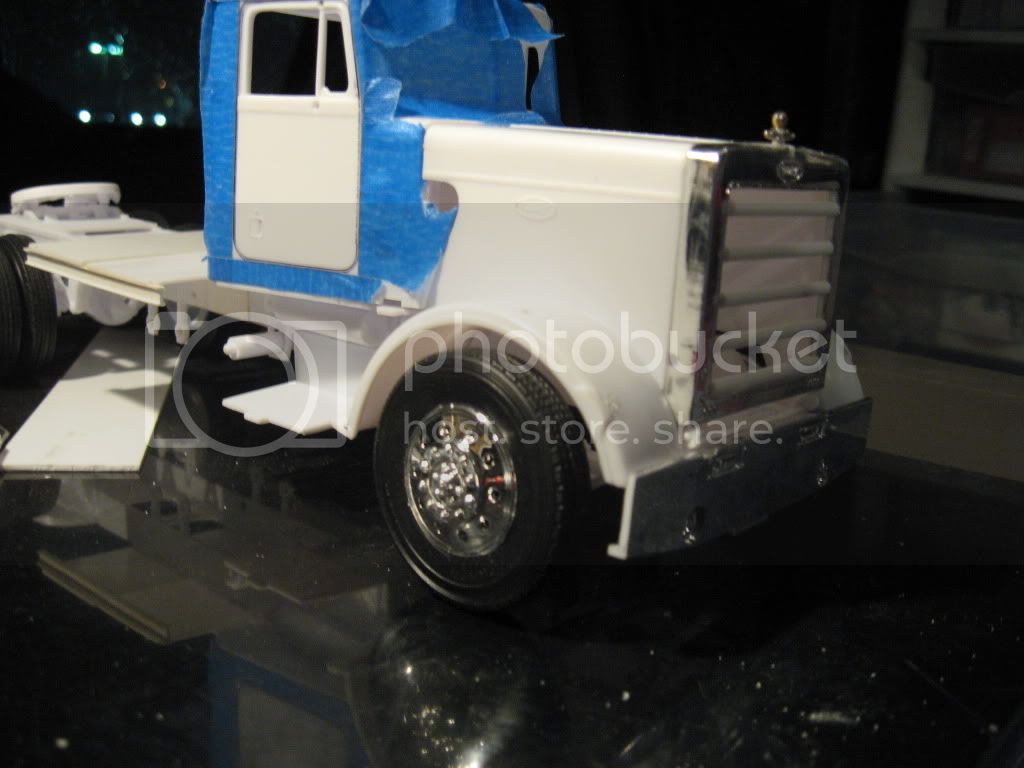
Front fenders pulled into hood, grill cut out, front end at normal height. See photo below.
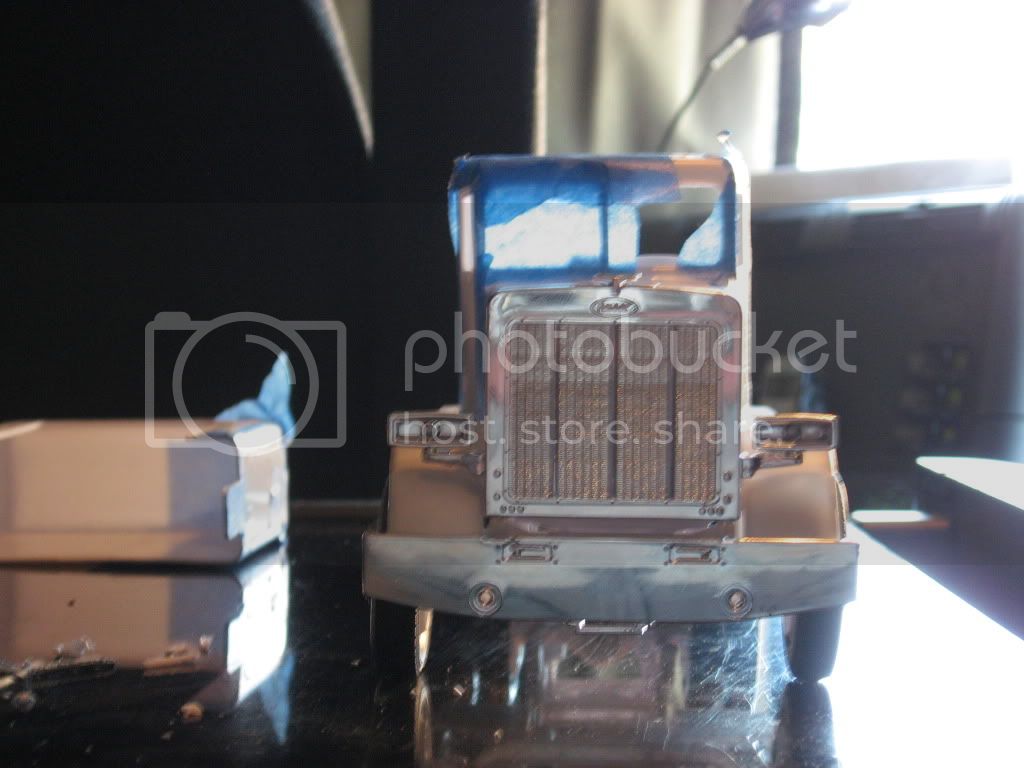


Front end lowered.


And that I think brings the photos up to speed.

HTH Darrell.

Btw, about 90% of the work seen here was done in the sleeper area while I was driving truck with very limited supplies and room. LOL.

See ya in the funnies...............
2002hummer
#257
_VISITCOMMUNITY
Ontario, Canada
Joined: October 11, 2011
KitMaker: 812 posts
Auto Modeler: 108 posts
Posted: Friday, September 19, 2014 - 03:19 AM UTC
Thanks Brian Great photos and even better work. I am goingto follow this buil dwith interest, I might even learn new tricks.
BigfootV
_VISITCOMMUNITY
Colorado, United States
Joined: December 24, 2005
KitMaker: 1,624 posts
Auto Modeler: 216 posts
Posted: Friday, September 19, 2014 - 04:21 AM UTC
Thanks Darrell,

I've still got a long ways to go. Still have the "camper" area to build out and other smaller stuff to do on it.

I'm looking at some aftermarket wheels and a winch to put on. Also got the crazy idea of making some Baja lights to put either on the Front of the "camper" or on top of the sleeper cab.

See ya in the funnies...............
BigfootV
_VISITCOMMUNITY
Colorado, United States
Joined: December 24, 2005
KitMaker: 1,624 posts
Auto Modeler: 216 posts
Posted: Monday, September 22, 2014 - 06:05 AM UTC
Hey gang,

I had to reinforce the frame, again. In doing so I run into a challenge of the drive line not being able to line up with the rear axle and motor. So this is what I did.......


I marked out a channel in Prem-marker, carefully hand cut out the channel, sanded, added the I-beam, then will cover.

See ya in the funnies.................
BigfootV
_VISITCOMMUNITY
Colorado, United States
Joined: December 24, 2005
KitMaker: 1,624 posts
Auto Modeler: 216 posts
Posted: Tuesday, September 23, 2014 - 07:10 AM UTC
More hacking and revamping.

Cut off the rear brake lights and mud flap hanger.


Added I-beam so "camper" will sit level on the back frame.


See ya in the funnies...................
c5flies
_VISITCOMMUNITY
California, United States
Joined: October 21, 2007
KitMaker: 3,684 posts
Auto Modeler: 294 posts
Posted: Tuesday, September 23, 2014 - 02:07 PM UTC
You're on a roll now Brian...keep up the great work!
BigfootV
_VISITCOMMUNITY
Colorado, United States
Joined: December 24, 2005
KitMaker: 1,624 posts
Auto Modeler: 216 posts
Posted: Tuesday, September 23, 2014 - 06:04 PM UTC
Thanks James,

I'm looking to put a generator on the frame, I've got an old Jeep motor I'm looking at using.

See ya in the funnies.................
BigfootV
_VISITCOMMUNITY
Colorado, United States
Joined: December 24, 2005
KitMaker: 1,624 posts
Auto Modeler: 216 posts
Posted: Monday, September 29, 2014 - 05:01 AM UTC
Minor update,

I've been on a quest to find parts for a generator motor for the last week.
I hope to have something slapped together here shortly.
In the process of looking I ran across some 1/32nd drop tanks from a P-51 kit I had years back. Hmmmm, what to do with them?

See ya in the funnies..............