

Go to automodeler.com for the current dynamic site!


Hosted by Jim Starkweather
Chev vs Hemi - The Rivalry Revival !

Hwa-Rang

Joined: June 29, 2004
KitMaker: 6,760 posts
Auto Modeler: 2,182 posts

Posted: Sunday, February 21, 2016 - 12:56 PM UTC
Needs to be very thin legs.

md72

#439

Joined: November 05, 2005
KitMaker: 4,950 posts
Auto Modeler: 555 posts

Posted: Wednesday, March 02, 2016 - 01:50 AM UTC
Got the primer on.
Beginning to wish I'd chosen red or gray primer, then I'd be almost done instead of almost started..

Beginning to wish I'd chosen red or gray primer, then I'd be almost done instead of almost started..


AussieReg

#007

Joined: June 09, 2009
KitMaker: 8,156 posts
Auto Modeler: 2,953 posts

Posted: Wednesday, March 02, 2016 - 01:08 PM UTC
Mark, it would look awesome in any primer or topcoat. Go on, admit it, you're loving this!
Jesper, sorry to hear about your setback, hopefully you can set it right without too much drama.
Update on the GTO, Goat, Pontiac, whatever you want to call it . . .

Build log thread is HERE if you want to check out the journey.
Cheers, D
Jesper, sorry to hear about your setback, hopefully you can set it right without too much drama.
Update on the GTO, Goat, Pontiac, whatever you want to call it . . .
Build log thread is HERE if you want to check out the journey.
Cheers, D

md72
#439
Joined: November 05, 2005
KitMaker: 4,950 posts
Auto Modeler: 555 posts
Posted: Wednesday, March 02, 2016 - 10:03 PM UTC
GTO = Garbage Truck Option
Well this build is different, that's for sure. First painted car since 1968, first car since 1973.
Pros: Bigger scale
more Details
Finish is supposed to be shiny
First generation Camaro
Cons: Fiddly bits are the same size in any scale (Schubert's law)
So many detail parts to keep up with
lotta work to get a shiny finish...
it's a Chevy
Might get the spray booth set up soon and be ready to go after the color coats...
Hwa-Rang
Joined: June 29, 2004
KitMaker: 6,760 posts
Auto Modeler: 2,182 posts
Posted: Thursday, March 03, 2016 - 01:12 PM UTC
Color looks good Damian.
Mark: In a couple of days the Camaro will turn red all by it's self, so it doesn't make much difference what color you paint it.
Mark: In a couple of days the Camaro will turn red all by it's self, so it doesn't make much difference what color you paint it.
md72
#439
Joined: November 05, 2005
KitMaker: 4,950 posts
Auto Modeler: 555 posts
Posted: Tuesday, March 08, 2016 - 09:04 PM UTC
Well, I got the first color coat on, looks just like the real thing!

I was hoping for a much glossier finish... I'm guessing pressure was too high, paint too thick and the airbrush too far away. Oh well I'll get out the sand paper, smooth it down and add another coat...

I was hoping for a much glossier finish... I'm guessing pressure was too high, paint too thick and the airbrush too far away. Oh well I'll get out the sand paper, smooth it down and add another coat...

Szmann

Joined: September 02, 2014
KitMaker: 1,977 posts
Auto Modeler: 1,371 posts

Posted: Tuesday, March 08, 2016 - 10:58 PM UTC
Sounds like a good plan, Mark. Yup, if you're looking for a mirror finish, very thin paint applied at low pressure in multiple sessions is the key.
Keep watching you, guys.
Cheers, Gabriel.
Keep watching you, guys.
Cheers, Gabriel.

md72
#439
Joined: November 05, 2005
KitMaker: 4,950 posts
Auto Modeler: 555 posts
Posted: Tuesday, March 15, 2016 - 02:55 AM UTC
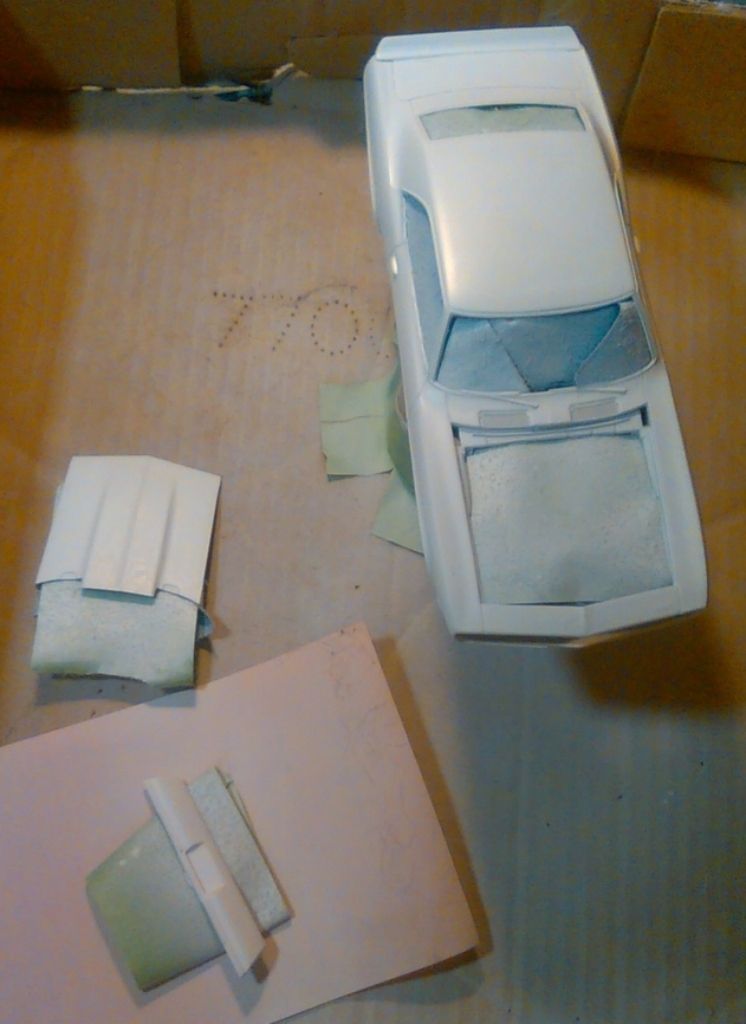
OK, I sanded it down,
Changed the mixture to mfg recommendation.
Set the compressor to "Medium" setting
sprayed closer, and this is what I got:

including this:
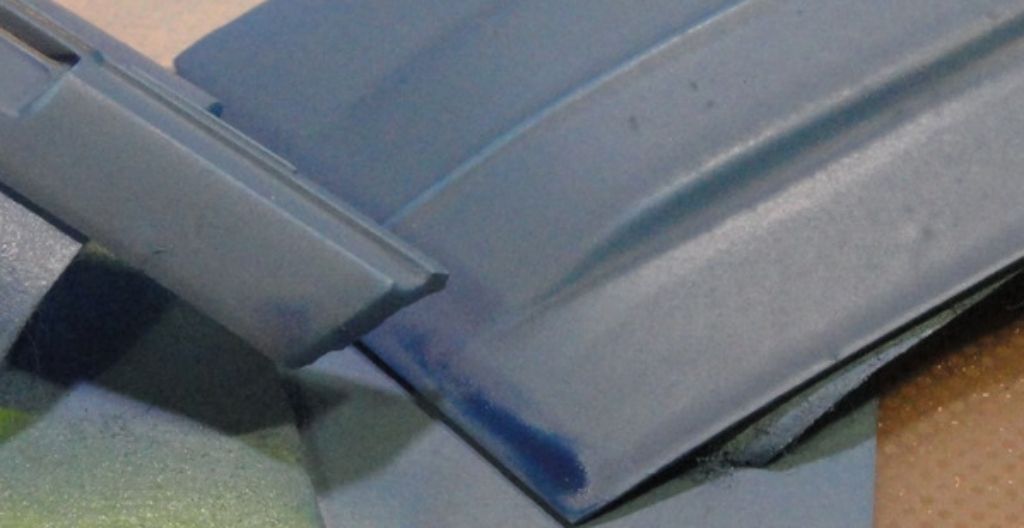
So what did I do wrong here? Did the paint separate mid way thru the spray?
I suppose I need to sand it out and try again.
I did solve the other problem, about why I was getting a flat finish...
I was using FLAT paint.

Who in their right mind calls a flat paint Bright Blue?????
Anyhow, sand it out, and try again, this time with a Mr Color gloss Blue...
Changed the mixture to mfg recommendation.
Set the compressor to "Medium" setting
sprayed closer, and this is what I got:

including this:

So what did I do wrong here? Did the paint separate mid way thru the spray?
I suppose I need to sand it out and try again.
I did solve the other problem, about why I was getting a flat finish...
I was using FLAT paint.
Who in their right mind calls a flat paint Bright Blue?????
Anyhow, sand it out, and try again, this time with a Mr Color gloss Blue...
AussieReg
#007
Joined: June 09, 2009
KitMaker: 8,156 posts
Auto Modeler: 2,953 posts
Posted: Tuesday, March 15, 2016 - 03:41 AM UTC
Hi Mark.
It is great to see that you are spending so much time and effort to get the finish perfect on such a deserving build! Obviously you have enormous respect for the Bowtie badge
Carry on sir, I'm sure that you will achieve the desired result.
Cheers, D
It is great to see that you are spending so much time and effort to get the finish perfect on such a deserving build! Obviously you have enormous respect for the Bowtie badge
Carry on sir, I'm sure that you will achieve the desired result.
Cheers, D
md72
#439
Joined: November 05, 2005
KitMaker: 4,950 posts
Auto Modeler: 555 posts
Posted: Tuesday, March 15, 2016 - 04:10 AM UTC
I said it before, it looks factory fresh to me.
I haven't put this kind of effort into a car model since 1968, it was a 34 Ford I think. Since then, I've built only 2 other cars (a Pinto funny car and Porsche 914) and neither of them were even painted...
So it's more important to me to learn to do it right for when I finally tackle the 2009 Charger!
Hwa-Rang
Joined: June 29, 2004
KitMaker: 6,760 posts
Auto Modeler: 2,182 posts
Posted: Tuesday, March 15, 2016 - 11:24 AM UTC
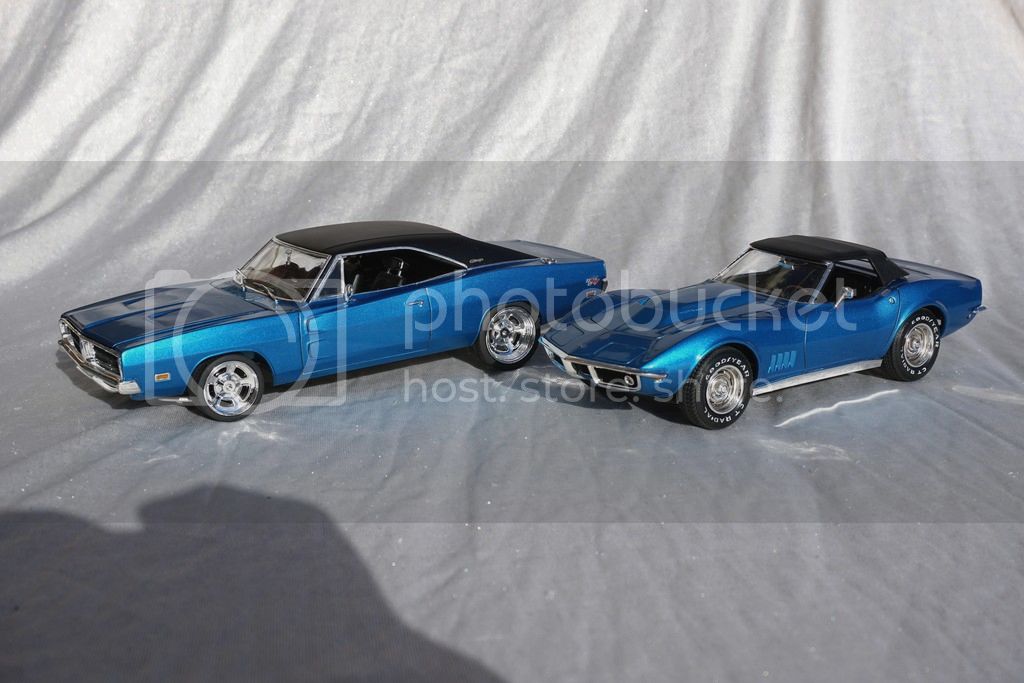
Yeah, I also practice on a piece of scrap sheet before painting the real thing. That's why I did the Corvette first.
Szmann
Joined: September 02, 2014
KitMaker: 1,977 posts
Auto Modeler: 1,371 posts
Posted: Thursday, March 17, 2016 - 06:12 PM UTC
Quoted Text
Yeah, I also practice on a piece of scrap sheet before painting the real thing. That's why I did the Corvette first.
Yup, Jesper is right. I always try the primer / basecoat combo on a piece of scrap. Actually I use dusposable plastic spoons for "scrap" from two reasons: the plastic they're made of offers very poor "grip" for paint. If your primer stays put on a plasric spoon, will go everywhere. The second reason is the compound curves a plastic spoon has - very similar with a car's body.
Cheers, Gabriel
md72
#439
Joined: November 05, 2005
KitMaker: 4,950 posts
Auto Modeler: 555 posts
Posted: Thursday, March 17, 2016 - 09:20 PM UTC
Quoted Text
I use disposable plastic spoons
Thanks for the insight, I wondered why several paint vendors are displaying their products on spoons.
Hwa-Rang
Joined: June 29, 2004
KitMaker: 6,760 posts
Auto Modeler: 2,182 posts
Posted: Monday, March 21, 2016 - 12:15 PM UTC
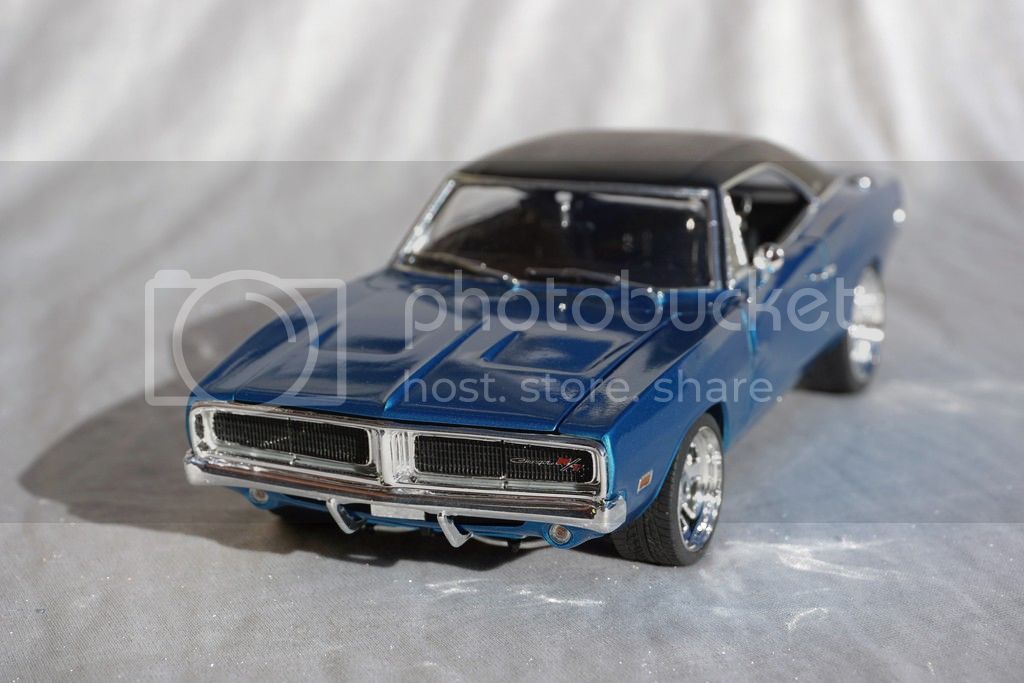
Well gentlemen, I'm calling this one done 
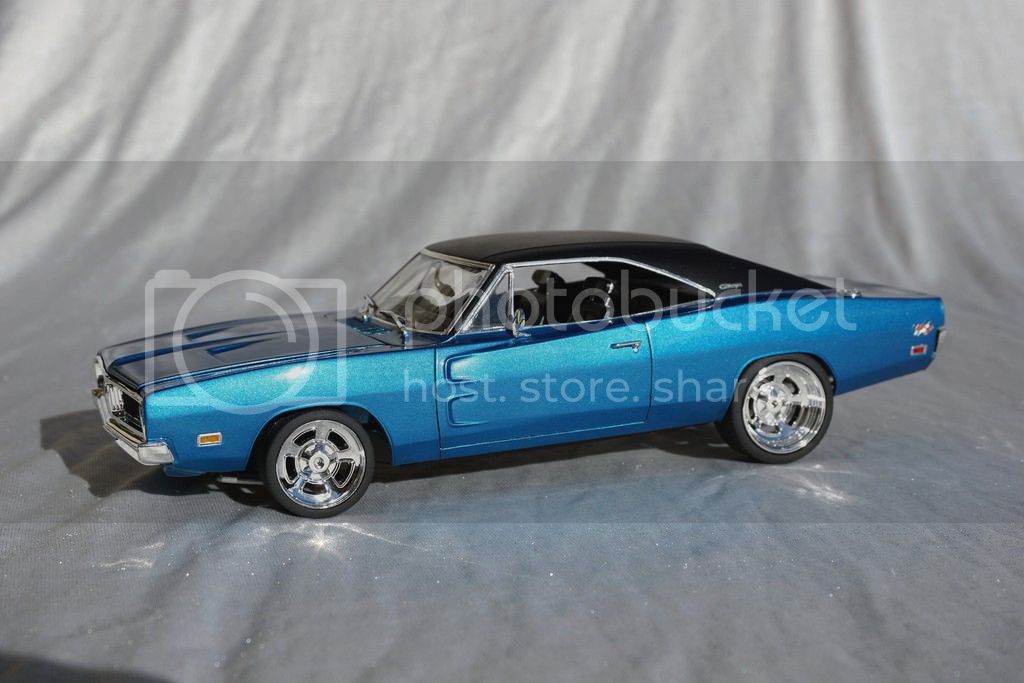
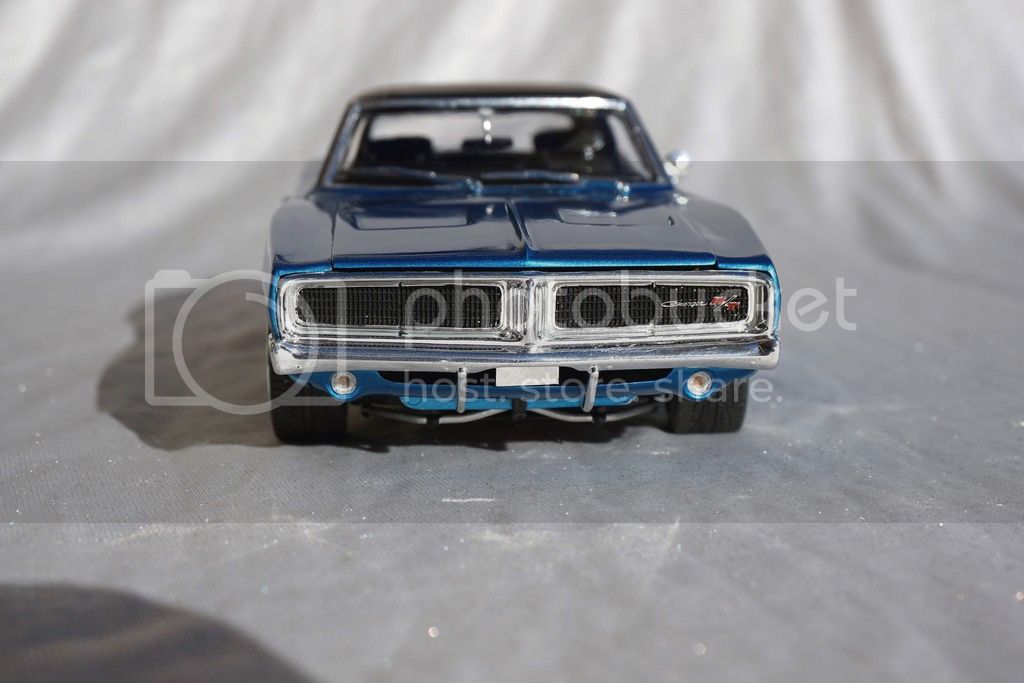


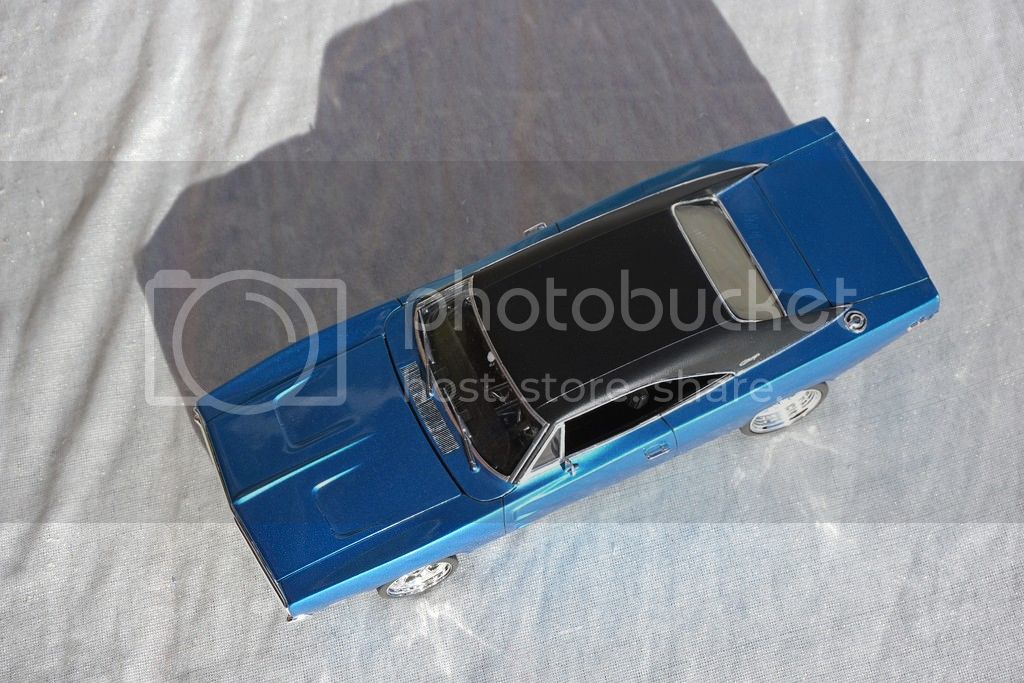
Finished a 54mm figure as well.
Here we have the head engineer at Chevy:

Soon, we to will have horseless carriages.


Finished a 54mm figure as well.
Here we have the head engineer at Chevy:

Soon, we to will have horseless carriages.
AussieReg
#007
Joined: June 09, 2009
KitMaker: 8,156 posts
Auto Modeler: 2,953 posts
Posted: Monday, March 21, 2016 - 05:31 PM UTC
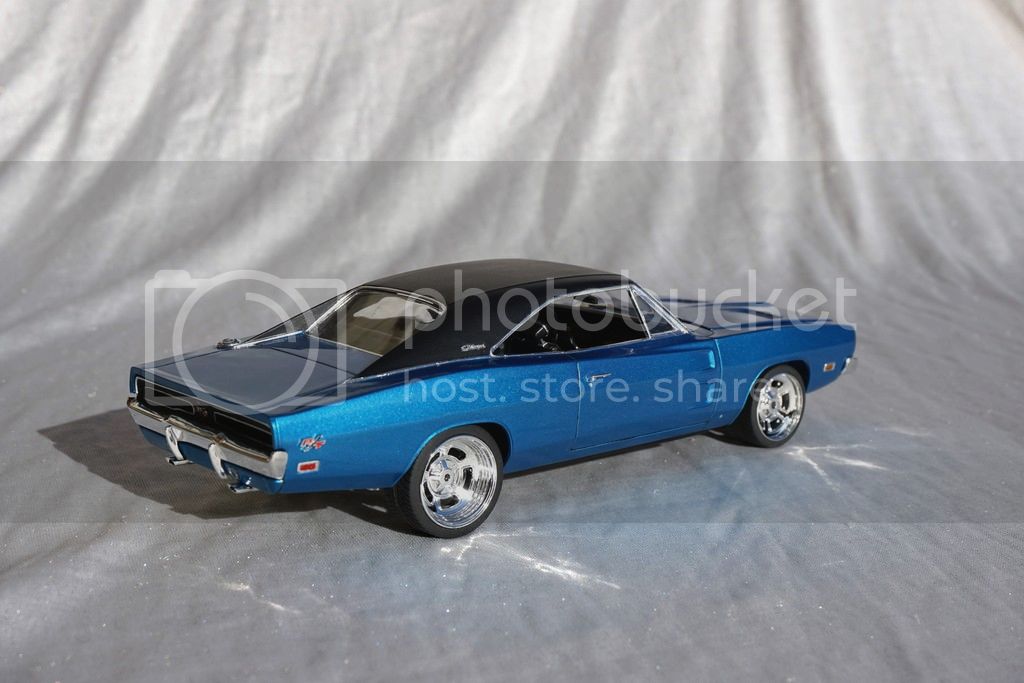
Beautiful pair of builds their Jesper, congratulations on getting them both finished! I love the stance on the Charger, it just looks ready to launch.
The figure just looks angry at all of the noise coming from the two cars sitting outside!
Cheers, D
The figure just looks angry at all of the noise coming from the two cars sitting outside!
Cheers, D
Szmann
Joined: September 02, 2014
KitMaker: 1,977 posts
Auto Modeler: 1,371 posts
Posted: Monday, March 21, 2016 - 06:30 PM UTC
Jesper, impeccable as always. Loved detailing on engine bay (jealous straightforward ).
Once more, well done and congrats for crossing the finish line with two cars!
Cheers!
Gabriel
).Once more, well done and congrats for crossing the finish line with two cars!
Cheers!
Gabriel
Hwa-Rang
Joined: June 29, 2004
KitMaker: 6,760 posts
Auto Modeler: 2,182 posts
Posted: Tuesday, March 22, 2016 - 12:33 PM UTC
Thank you gentlemen.

windysean
Joined: September 11, 2009
KitMaker: 1,917 posts
Auto Modeler: 268 posts
Posted: Tuesday, March 22, 2016 - 04:15 PM UTC
Ditto, Jesper! Two great looking cars there. Even the Hemi looks adequate!
-Sean H
-Sean H

Stickframe
#362
Joined: December 01, 2013
KitMaker: 1,661 posts
Auto Modeler: 431 posts

Posted: Wednesday, March 23, 2016 - 11:35 AM UTC
Wow Jesper! Those are beauties - great work!! I like the chrome reflecting onto your base - nice
Cheers
Nick
Cheers
Nick
Hwa-Rang
Joined: June 29, 2004
KitMaker: 6,760 posts
Auto Modeler: 2,182 posts
Posted: Wednesday, March 23, 2016 - 01:21 PM UTC
Thank you gents.
md72
#439
Joined: November 05, 2005
KitMaker: 4,950 posts
Auto Modeler: 555 posts
Posted: Monday, April 11, 2016 - 08:59 AM UTC
Well, at least isn't gloss paint this time.

At least it's glossy, but I managed to get it to orange peel.
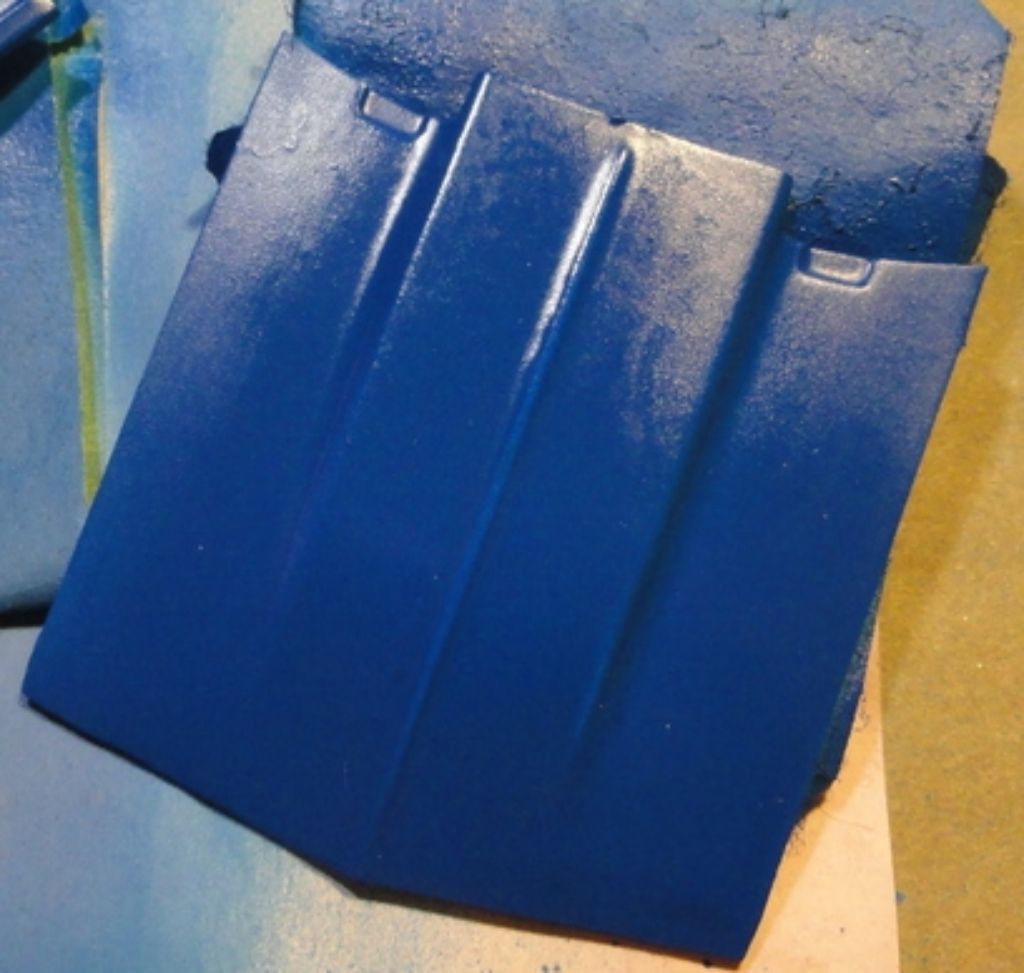
It's Mr Color Blue, I thinned it 2:1 looks Like I need to go to a 1:1 next time.

At least it's glossy, but I managed to get it to orange peel.

It's Mr Color Blue, I thinned it 2:1 looks Like I need to go to a 1:1 next time.
Szmann
Joined: September 02, 2014
KitMaker: 1,977 posts
Auto Modeler: 1,371 posts
Posted: Monday, April 11, 2016 - 06:35 PM UTC
Mark, it looks to me that some "grains" are still traped under the paint. It happened to me more than once. You need a good wet sanding (I use 600 grit). Dont't worry too much about the gloss yet. More important is the smoothness. Use very thin paint afterwards, in semi-wet coats (up to four coats, if needed) with occasional sanding in between.
Cheers!
Gabriel
Cheers!
Gabriel
md72
#439
Joined: November 05, 2005
KitMaker: 4,950 posts
Auto Modeler: 555 posts
Posted: Monday, April 18, 2016 - 09:52 PM UTC
Got it sanded down, looks like the grains are gone. Washed it down and now I just need some time at the paint booth.
Szmann
Joined: September 02, 2014
KitMaker: 1,977 posts
Auto Modeler: 1,371 posts
Posted: Monday, April 18, 2016 - 10:19 PM UTC
Great! Cannot wait to see the result!
Cheers!
Gabriel
Cheers!
Gabriel
md72
#439
Joined: November 05, 2005
KitMaker: 4,950 posts
Auto Modeler: 555 posts
Posted: Wednesday, April 20, 2016 - 12:04 AM UTC
Well, that didn't go well. Mixed up the paint, loaded the airbrush, pulled the trigger, and nothing happened. Apparently I didn't get all the old paint out of the brush. Shut it down, clean the brush and try again. Not good. paint is coming out nice and glossy, but it's not covering the high points. Then the brush jams. clean it again, now little to nothing is coming out and what does come out is grainy. Stop, strip brush all the way down and clean it. Maybe better luck in a couple of days...
 |

WEB HOSTING BY


Copyright ©2021 Auto Modeler and Kitmaker Network, a subsidiary of Silver Star Enterprises
All Rights Reserved. Please read our Conditions of Use and Privacy Policy.
All Rights Reserved. Please read our Conditions of Use and Privacy Policy.