Quoted Text
Gabriel,
Your mix looks darn close in the spoon pictures, and should be dead on over the light gray primer.
I actually did a comparison with the box lid under the same lighting conditions and I can say the difference is almost unnoticeable. My color it's a little lighter, but the clear coat and decals will take care of contrast and depth. I managed a quite close match.
Quoted Text
Like you said, with the hood down, no need to add anything to the engine bay, just weather what is visible when you turn it over. The engine does look good, but I'm wondering why they have the exhaust manifolds molded with flex pipe? I've never seen that before.
Joel
, I cannot answer the question

because I just don't know. I was watching a few YT videos for NASCAR models and apparently Revell, AMT, Monogram and Ertl share the same molds for the engine on this Chevy. I have an older Revell with a Pontiac NASCAR and the exhaust heads are as supposed to be - I just checked the manual.
Quoted Text
Gabriel, off to an absolutely flying start mate! So much done already, and it must feel great to have a kit that isn't fighting you back all the way! Looking great so far.
Well,
TCC started into a frenzy this edition. Believe it or not, I'm only on third place as completion ratio for the first entry!
The kit indeed is easy and so far I had only a problem, which I could have avoided it if I would have paid more attention - see the
update.
UPDATEMy first problem in this build raised with the tires. They are simple vinyl "donuts" out of the box:

I took the usual route, by sanding first the seam line and roughing up the rolling surface:

Then I added the decals for branding - good quality decals, clear film (the glue is yellowish) and good registry. But that proven to be the wrong step:

The tires are very tight on the wheels, and the assembly mode is similar with the real car. I needed to apply a huge amount of force, until the tires literally made white stretch marks and I had to use a sculpting spatula as a lever to put them on. The decals didn't hold up to this treatment, and this is what was left after adding the tires to the wheels:

A little disappointed, because the yellow branding has huge visual impact - lost now - but I don't mind it all that much. I need to check my spares maybe I'll find some pad printed tires. For sure I don't have replacement decals.
Better news from the paint booth: my orange mix worked just fine and I managed a quite good job:


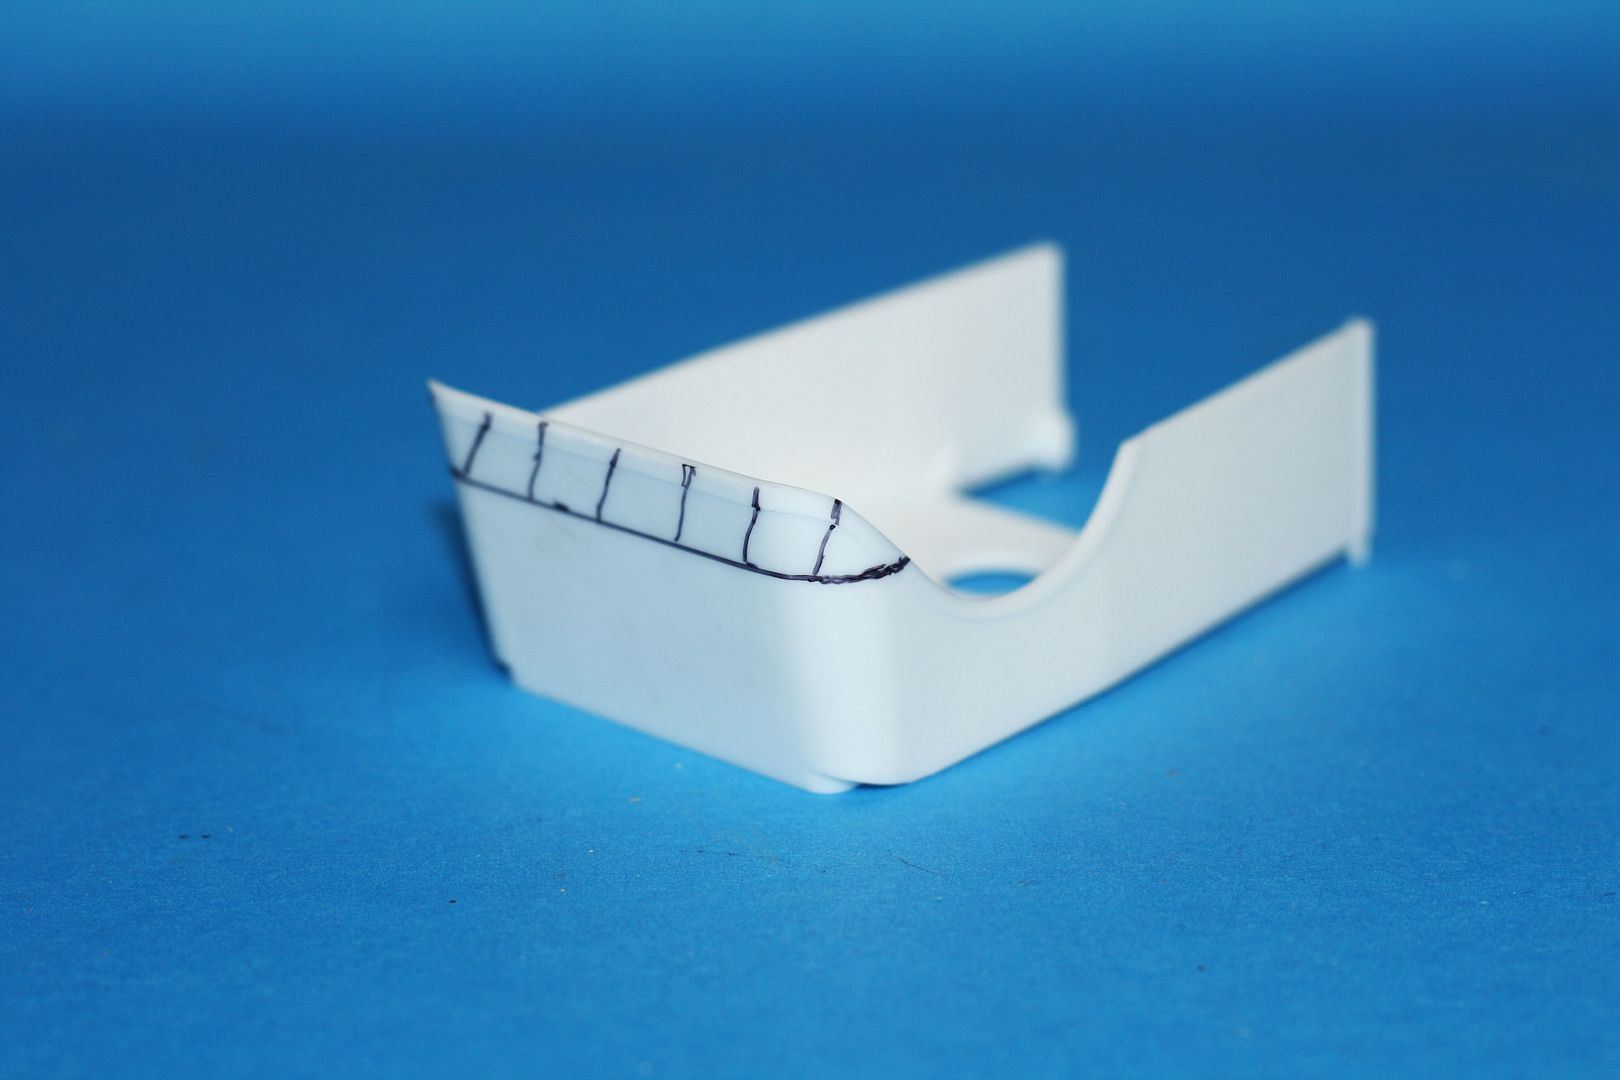
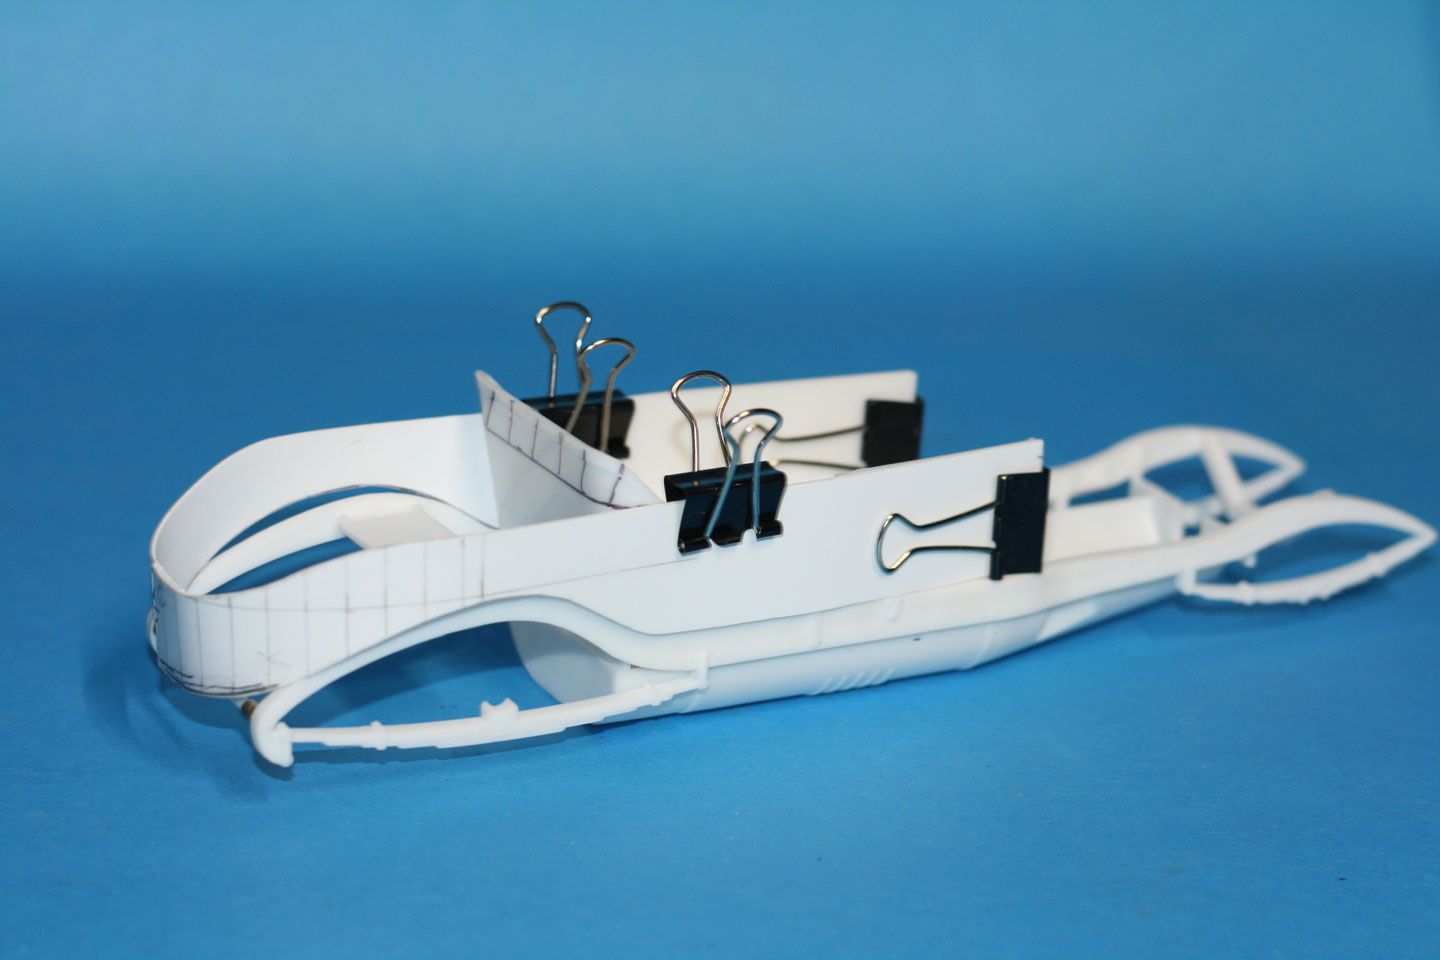
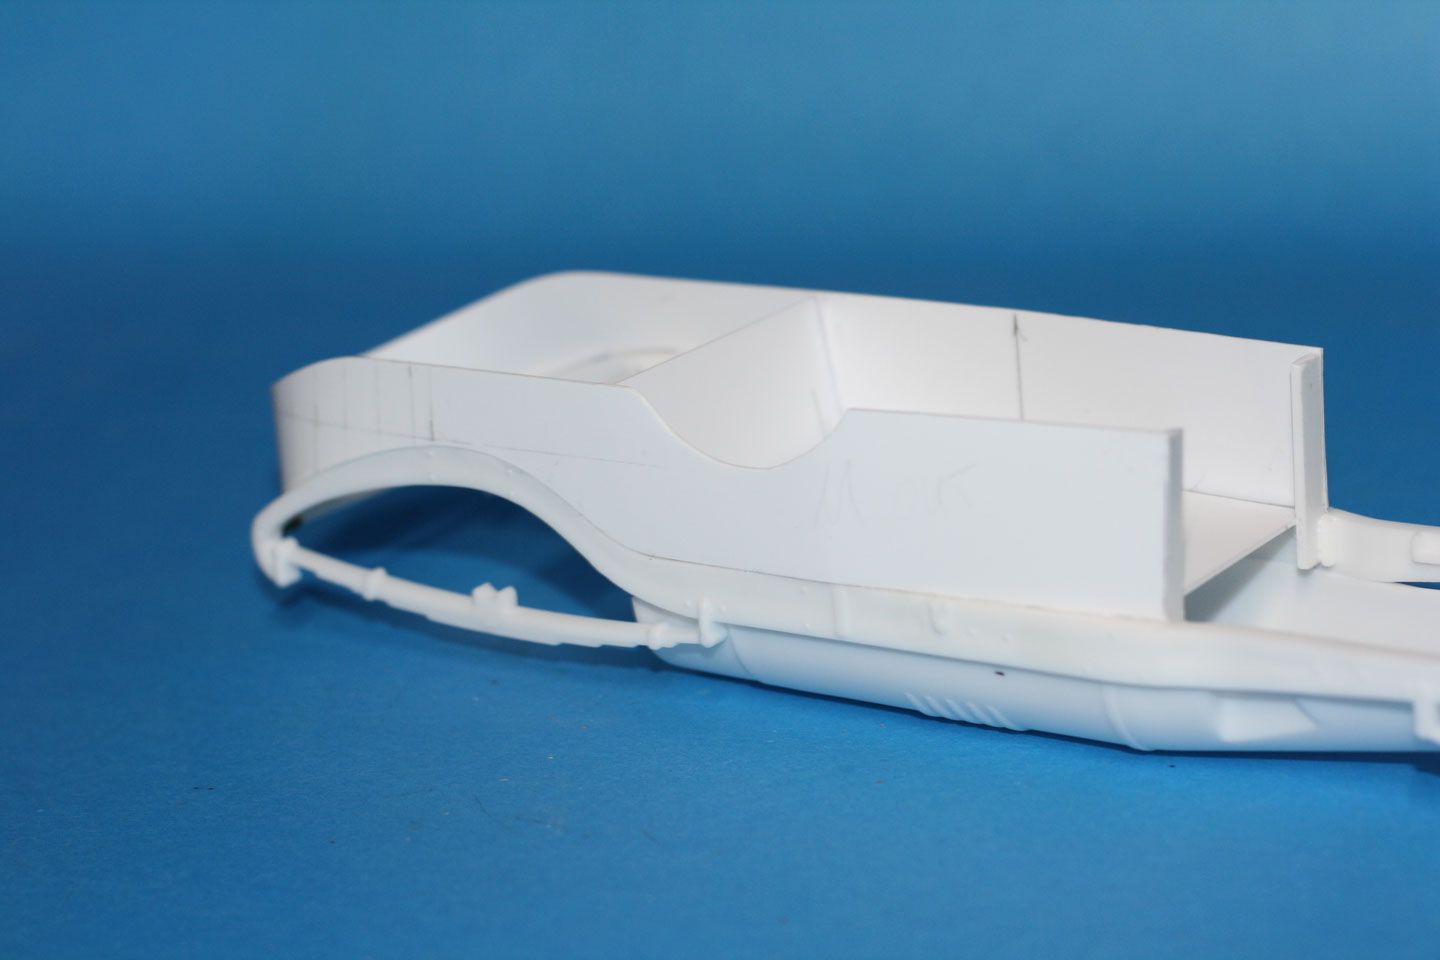
Next step: moving to the chassis. The floor pan and the front frame are molded as one. The mold is pretty clean and I made short work of eliminating a few ejector pin marks from the visible area and a few seam lines from the frame.

The floor pan was then primed with Mr. Surfacer 1500 Black:

The instructions manual calls for the entire interior floor to be painted aluminum (most likely bare metal), but a fast search online indicated than only the left half of the floor was bare metal - the driver's half had some black covering of sorts. I masked it accordingly.

The bare metal floor painted with Tamiya Chrome silver:

I test-fitted the engine to the frame, but I didn't glue it in place yet - I still need to detail it a little:


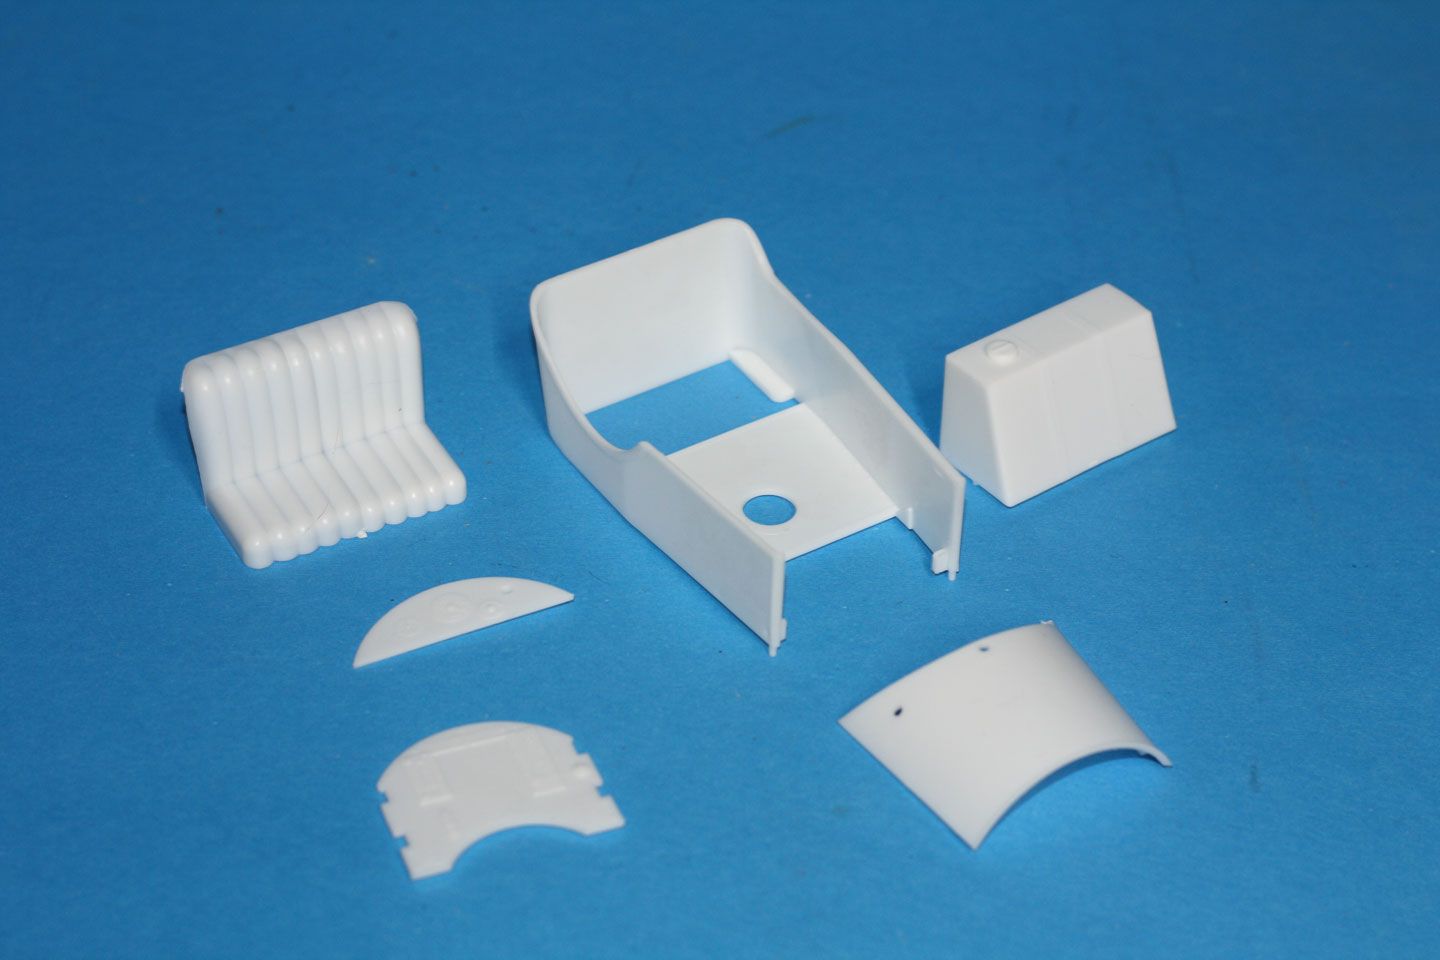
All the parts required for the next step dry-fitted. All of them fit flawlessly. At this time, most of them were already primed and a few painted:

Well, next step is to finish detailing and adding these parts, and painting the roll cage bars - the assembly is rather intricate.
Cheers!
Gabriel