Excellent paint work, Brian.
Here's my progress...

The seat back wanted to pop loose when I dry fit the body, so I beefed up the contact surface with sprue nubs and lots of cement. (Let's all pretend we can't see those mold release circles.

)
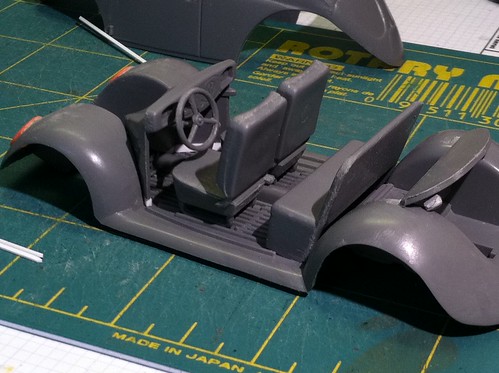
Without modification, the steering wheel pressed against the driver seat and there was a sizeable gap above the dashboard, so I applied some styrene strip under the cockpit front part (white in the photo).
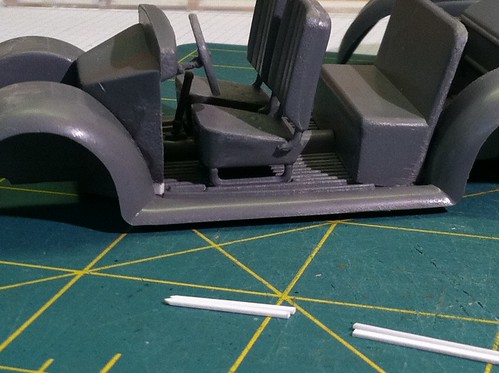
The seat legs had no pins or locator holes, so I tried to be careful filing them all to the same height. The frontseat backs likewise had no pins or locator holes, so I applied plenty of cement to their arms and propped the interior subassembly upside down at a decent angle for the backs to set. I'm sure a decent poke with a finger would break the seatback loose.
I do have to say though, that for a small company, the styrene they used is taking the Testor's liquid cement very well. I've had trouble with others in the past.
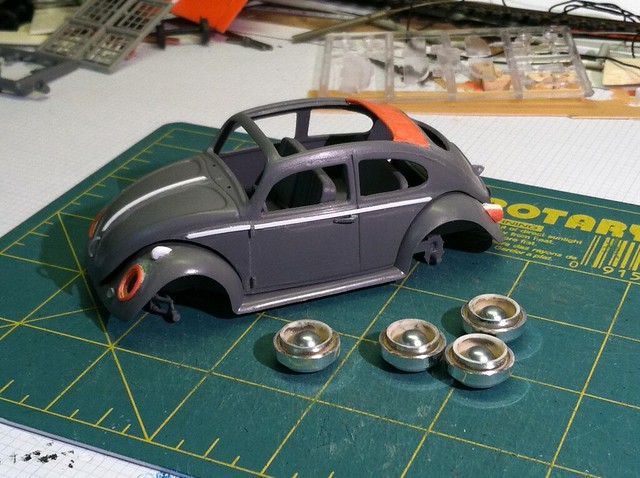
I have a plan for the wheels...
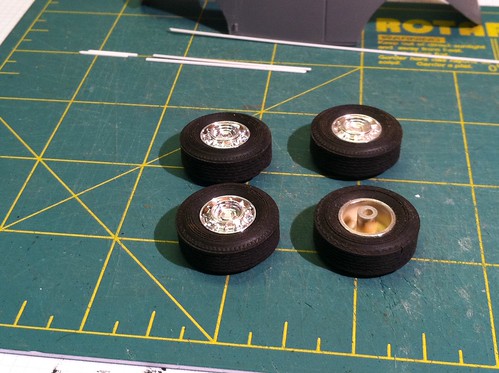
I salvaged these from a flashy Cadillac, but I think I can drill the hole through to the front, then mount them backward, grind down the post some, paint them the body color, and put baby moon hubcaps on. ...still looking for a suitable 1/35 baby moon hubcap. More on this later.
(Also note my chrome strips, not chromed yet, in the back of the photo.)
thanks for looking,
Sean H.


 )...
)...