


Glad to see you progressing Joel, and in very good quality. As usual, nice attention to details. Great on on those air filters and all around.
Gabriel


Not near as good as done by Patrick Nance or Robert Vaglio or the rest of you.


Joel-Wow that looks great hard to tell it's not real.
Darrel-Your engine looks really good, i would say your first pic is just fine your second pic is a little blurry maybe you were a little to close.


Patrick,
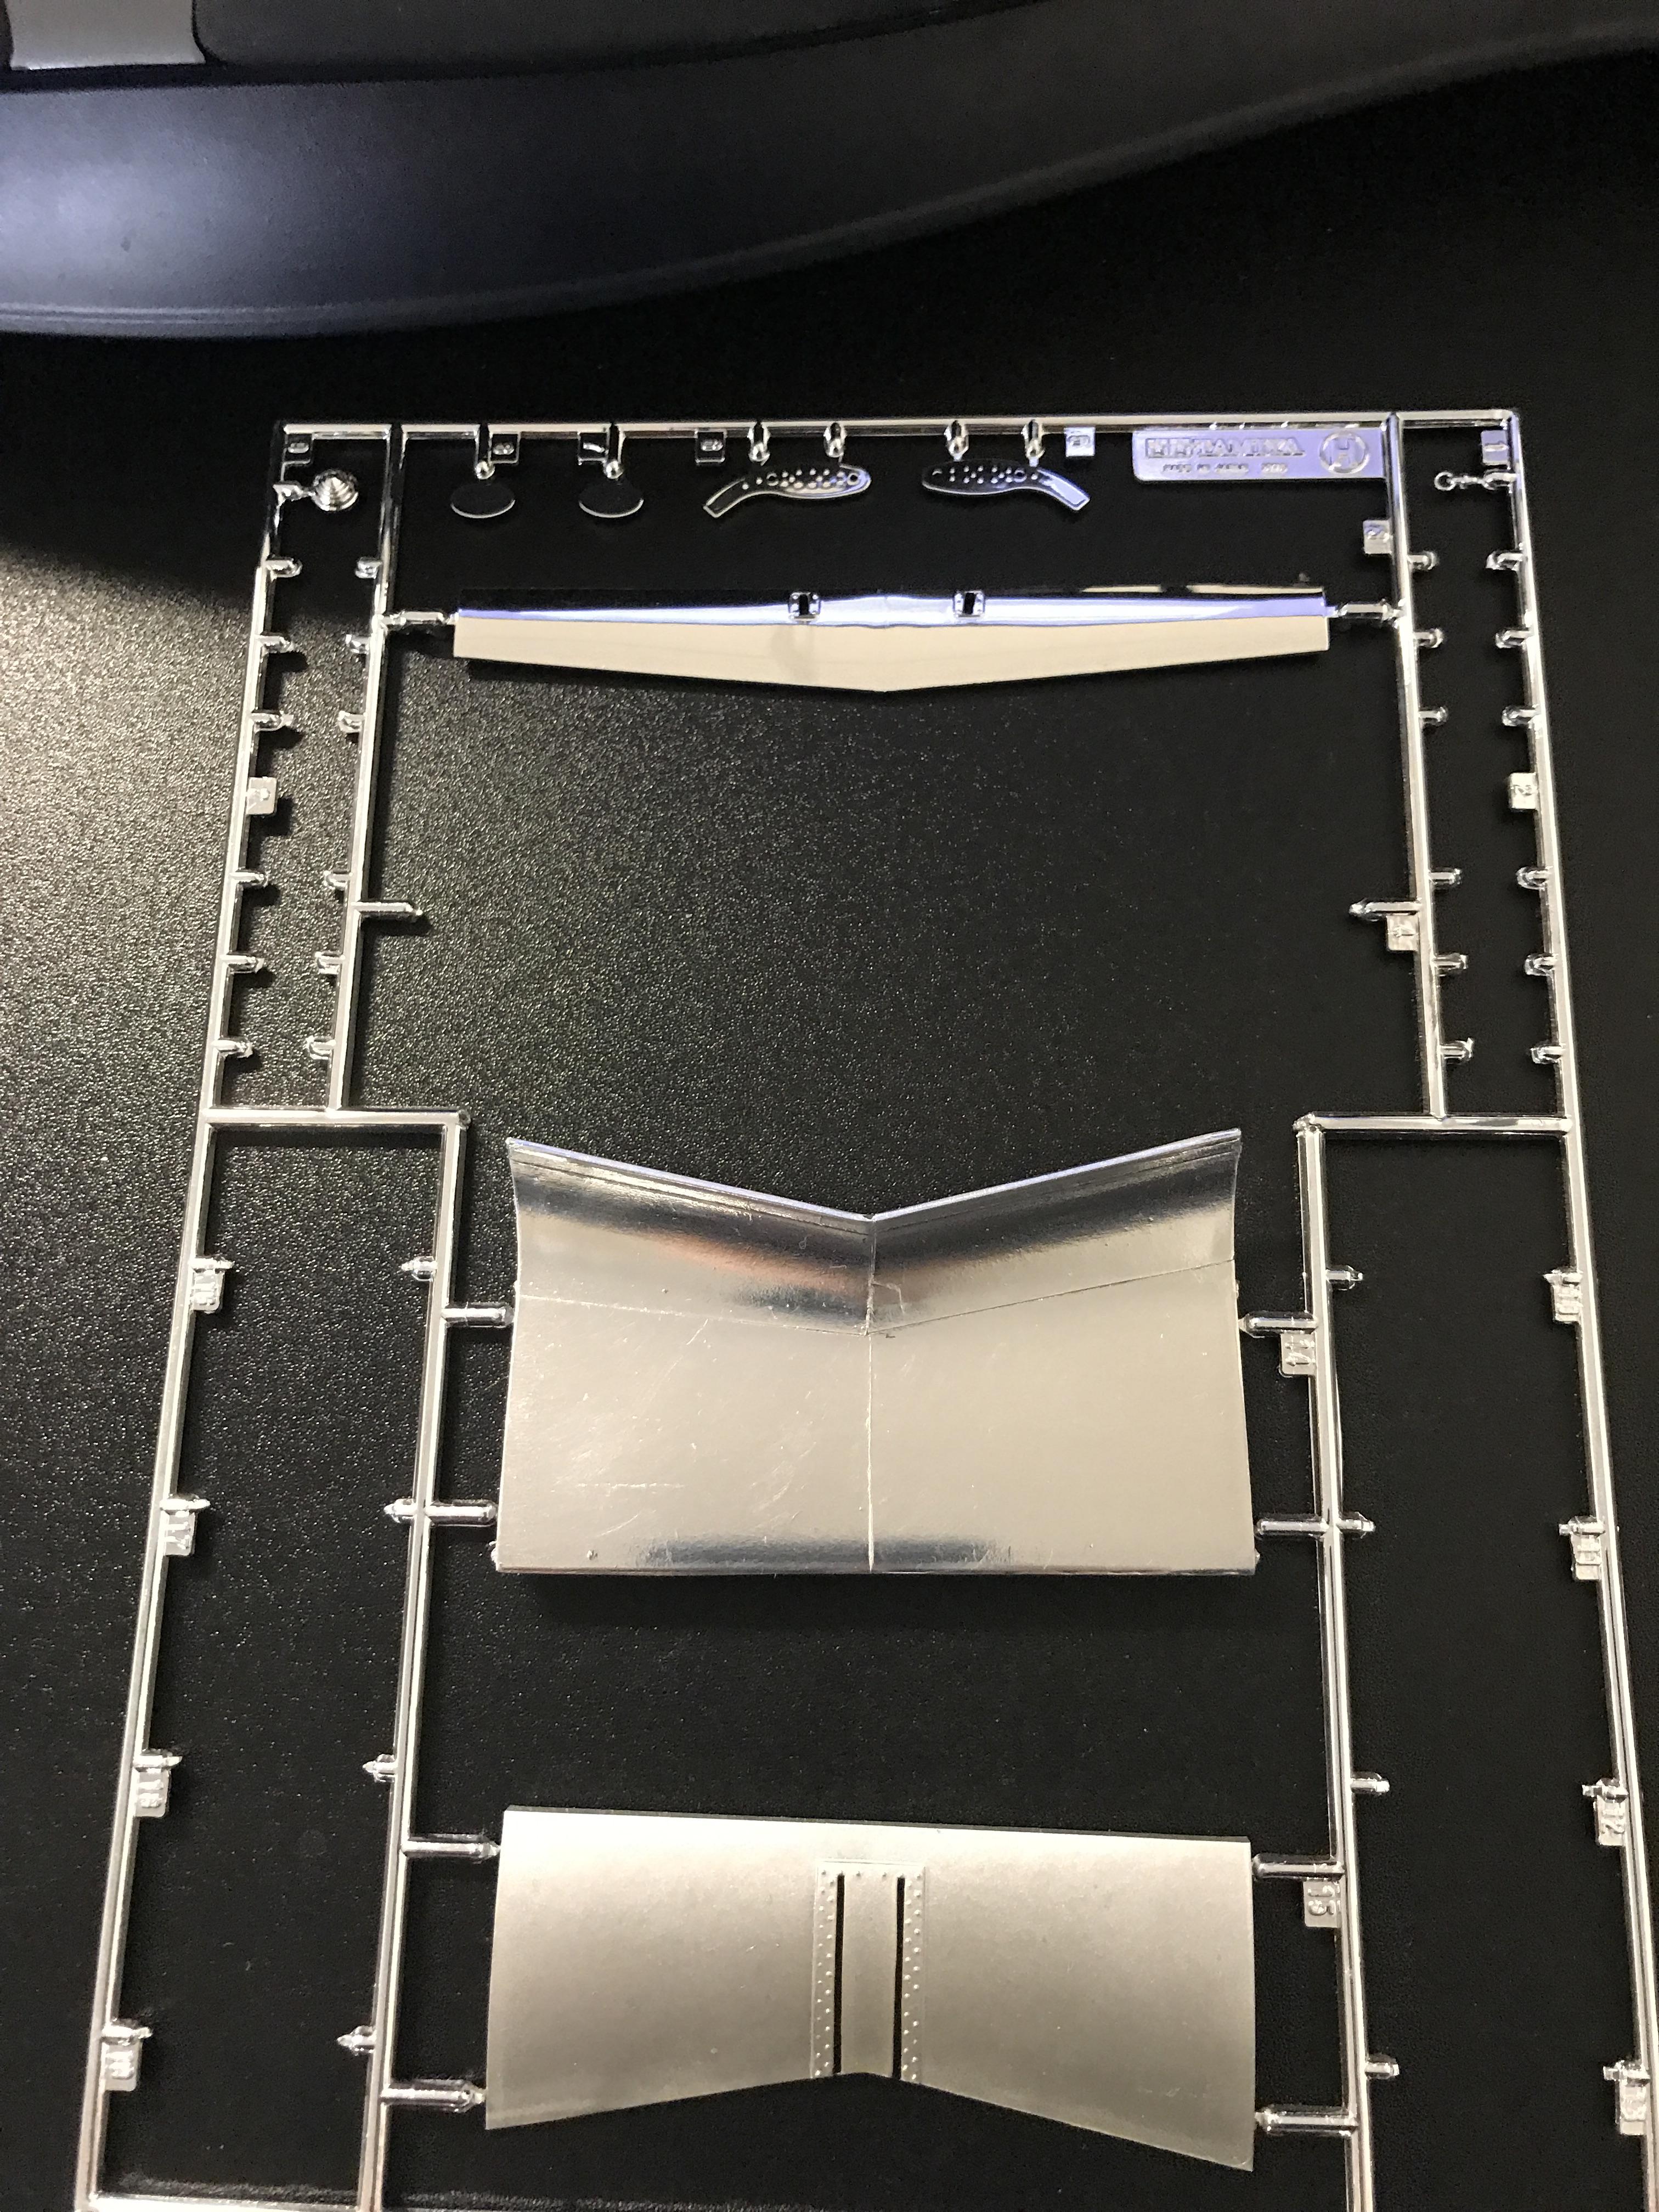
I really think that you should consider one of the Metalizer's like Alcad 2 Chrome over Gloss Black without a primer under the black. TS-12 decanted would be basically the same as the Alcad 2 Chrome.
Joel
This may be a first on any board... admitting that something scares you when it comes to this.
Patrick,
If you can use an air brush, you can shoot Alcads without any issues.
The primer coat is so that paint has a surface to bite into, but that surface is rough and is only useful for things like Aluminum castings. So the Gloss Black has to do both jobs, a primer coat for the Alcad to grab on to, and to prevent the plastic from crazing.
For all Alcads I set my flow rate to 15 psi, and you want nice easy even coats. the lighter the better. I also apply the Tamiya X-1 Gloss Black exactly the same way, and at the same pressure. I thin it 2:3 with my favorite LC thinner Mr. Leveler's #400. It's way easier then any color coat. As soon as you see the Chrome building up, you're done. Walk away, give it a few min and check it under a good light. Let it dry a full day. That's it.
Remember, i've seen your painting work, and this is a no brainer. If you want, do a practice run 1st.
I use my 3.5mm AB setup. You can go smaller but not larger.
And for the record, I've heard a lot of guys afraid of all sorts of modeling stuff. We all have those hidden demons.
Joel


 |


